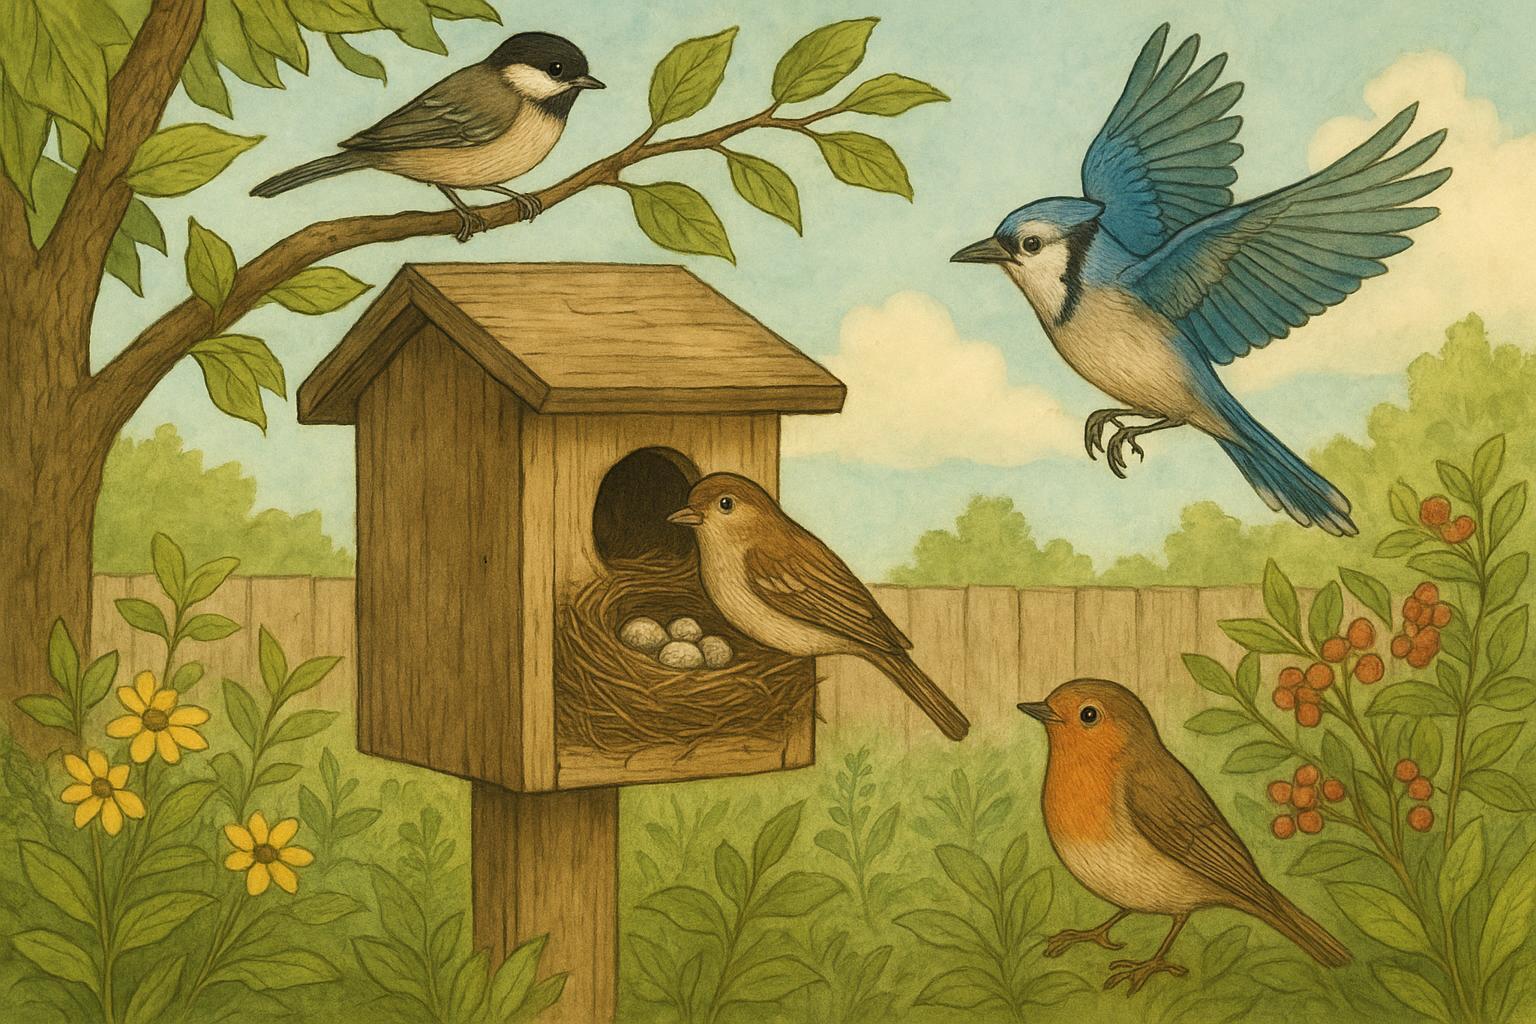
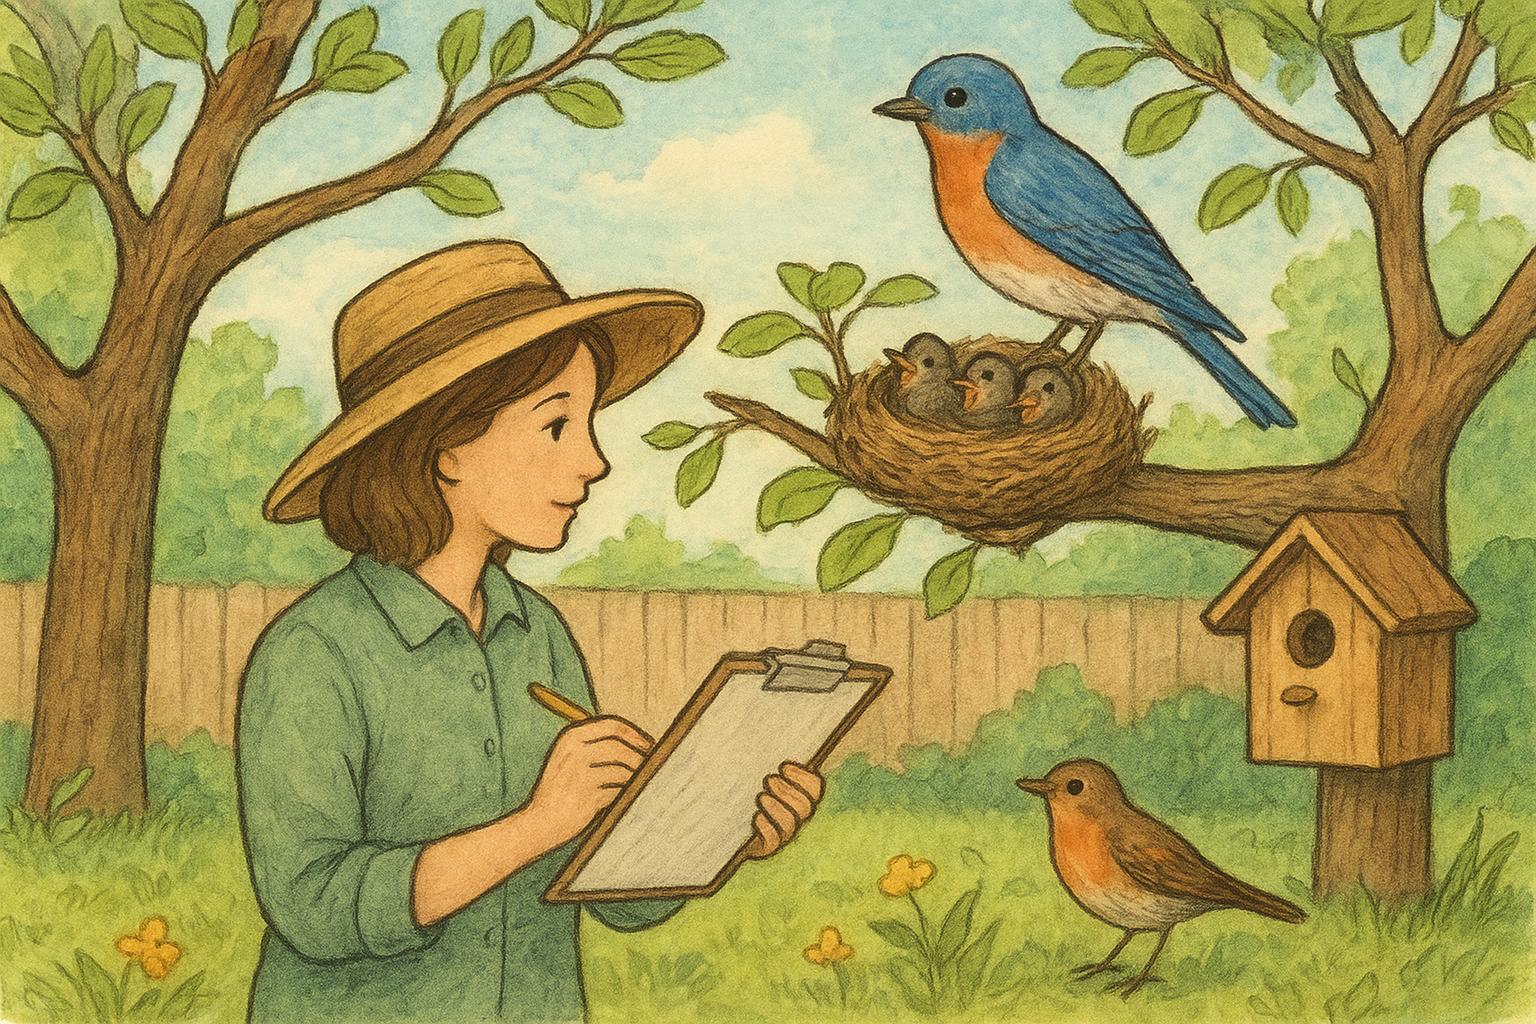
First snow is like an invitation: crisp, quiet, and covered in clues. Wander outside with a thermos, a pair of boots, and an open mind, and you’ll find a whole conversation written in white. This guide will walk you through reading winter footprints, spotting who was here, what they were doing, and how to preserve or respond to those tracks if you want to keep them for study or prevent repeat visits.
## Winter Footprints Guide To Reading Tracks In Snow Signs
### What The Snow Surface Tells You
Snow is a recording medium. Hard-packed, icy snow will produce shallow, crisp impressions. Fresh powder tends to slump and blur fine detail. Temperature swings — freeze-thaw cycles — can morph edges into halos or distort toes. So the first rule in reading winter footprints is: evaluate the canvas before you interpret the art.
#### Freshness And Weather Clues
Fresh tracks have sharp edges; older tracks soften and collapse. Look for temperature indicators: a glossy surface suggests refreeze, while granular tops indicate melting. If you can see delicate claw marks or fur impressions, conditions are exceptionally good for identification.
### Anatomy Of A Track
A track is more than a shape. Size, toe count, pad shape, claws, and spacing tell a story. For example, canine tracks typically show four toes and claw marks, while felid prints often hide claws and show a more compact pad shape. Rodent and rabbit prints show front and hind foot differences: hind feet often land ahead of the front feet in a characteristic bounding pattern.
#### Key Measurements To Take
Measure pad length and width, toe spread, and stride (distance between successive prints of the same foot). Photograph with a scale (a ruler, coin, or gloved hand) placed beside the print. Note the slope of the ground and nearby scent or activity indicators like scat or feeding sign.
### Common Winter Footprints To Know
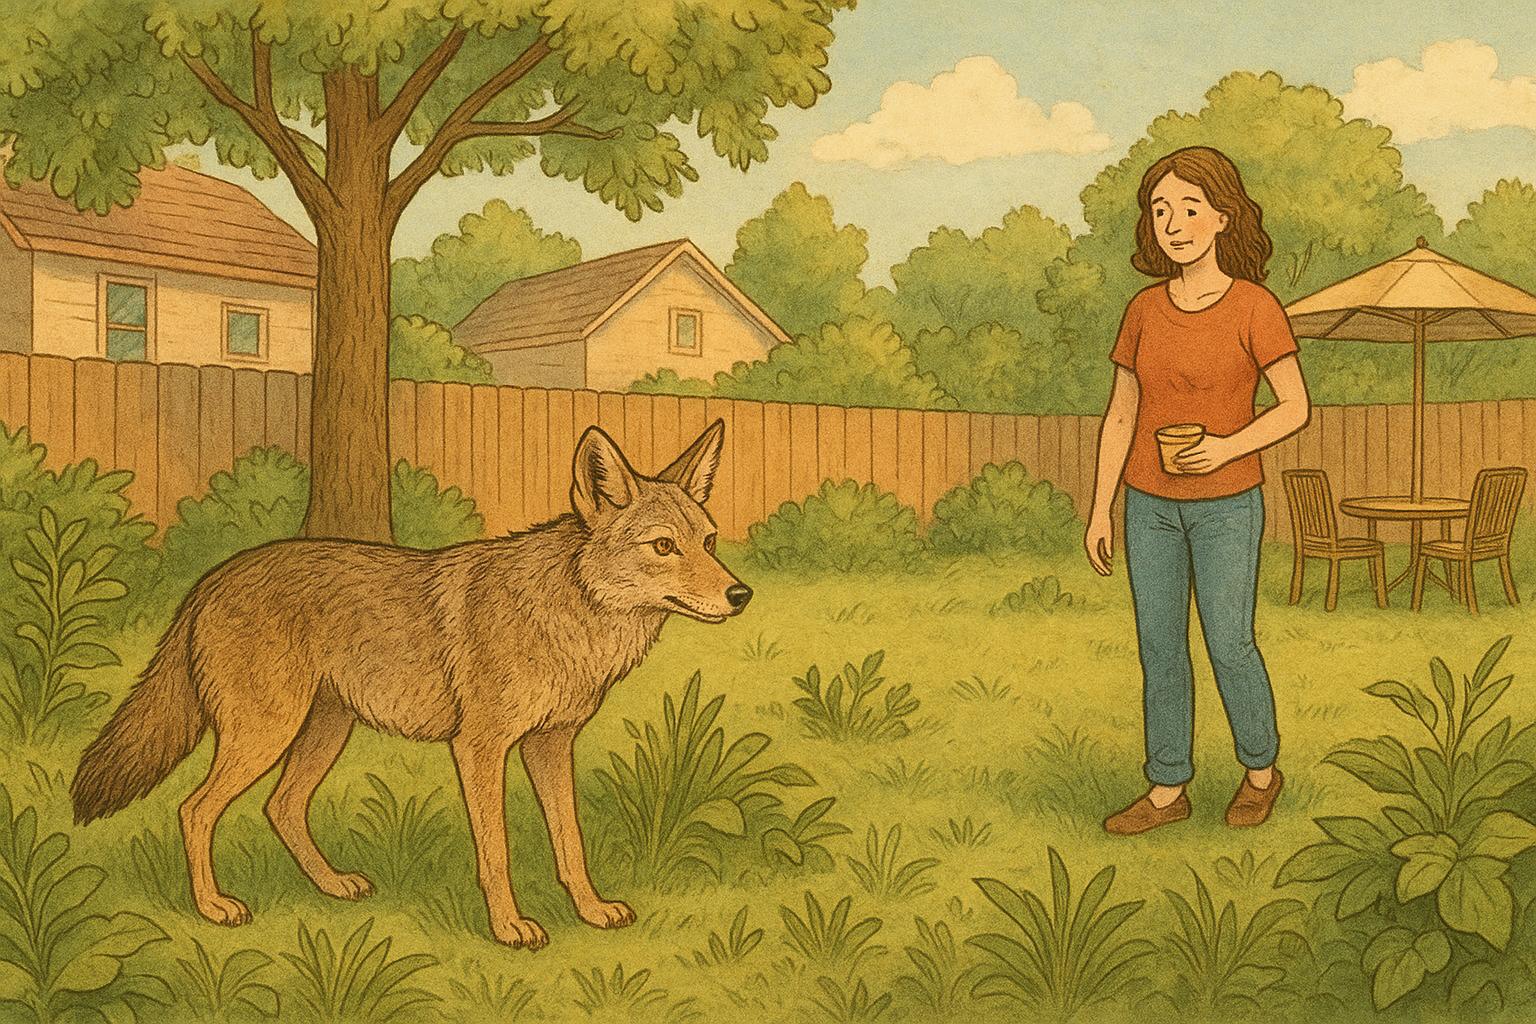
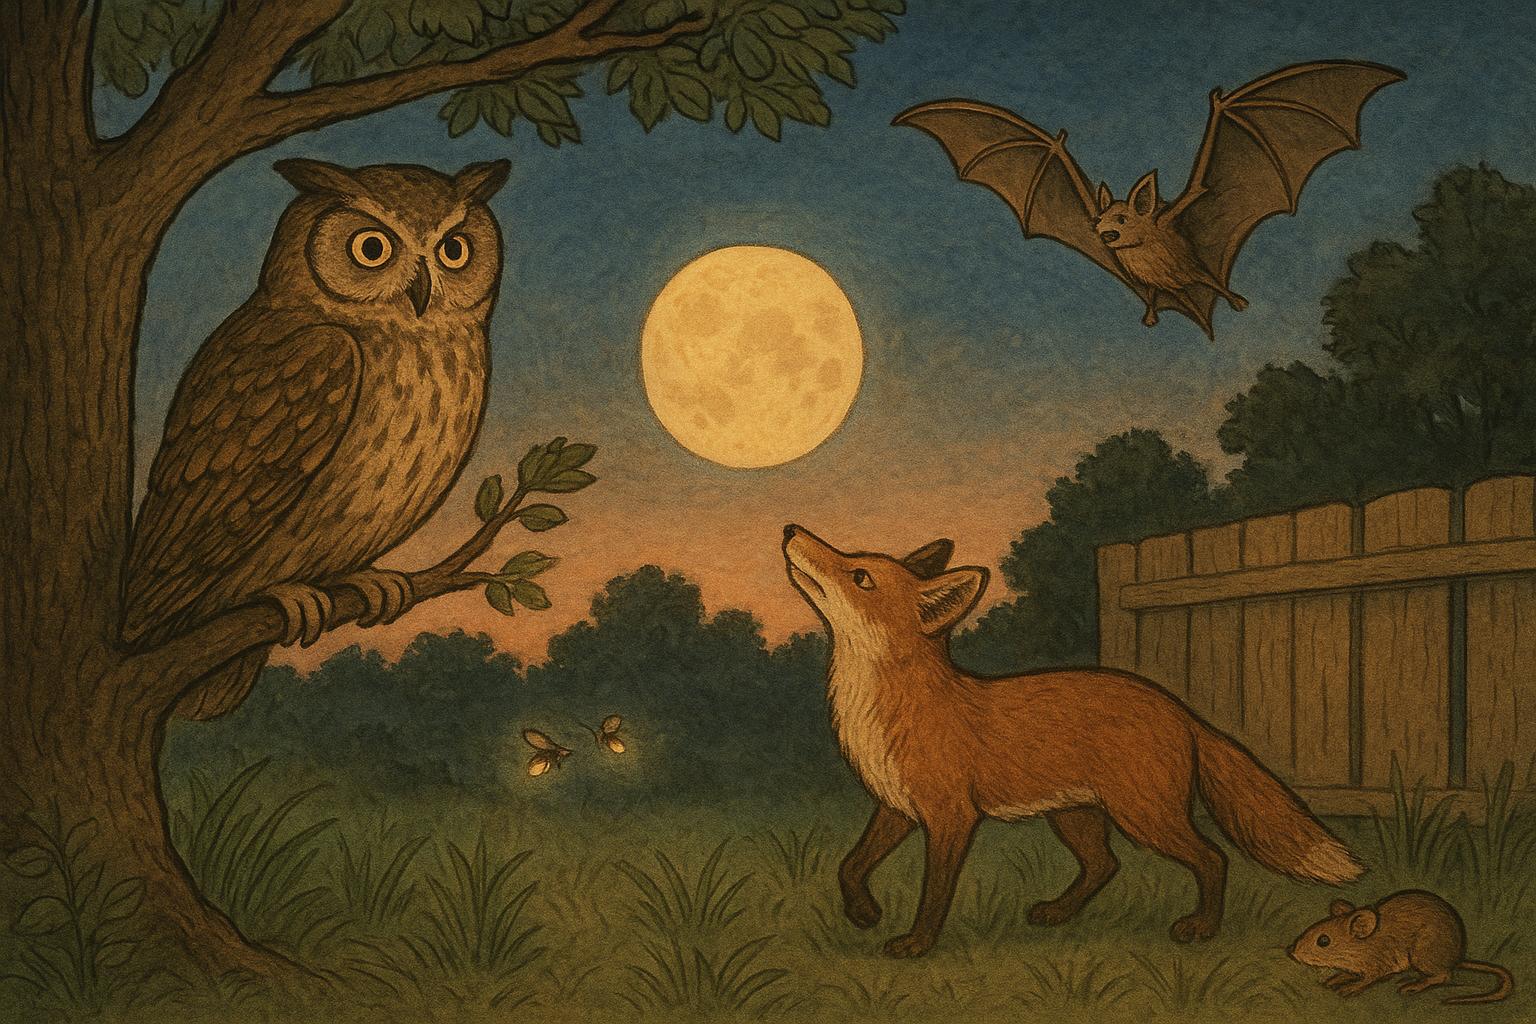
Recognizing a handful of common local animals gives you an instant advantage. Deer tracks are heart-shaped or cloven hooves; their stride is long when traveling and stockier when browsing. Coyote and fox prints often resemble small dogs but differ in gait — coyotes usually travel in a straight line more often than foxes. Snowshoe hares leave two long hind prints ahead of two smaller front prints; their bounding pattern is unmistakable.
### Gait And Behavior: How To Read Movement
Track patterns reveal movement intent. Direct register (hind foot lands in the depression of the front foot) often indicates energy-efficient travel—common in canids and ungulates on long treks. A staggered, erratic pattern suggests alarm or play. Look for tail drag marks (raccoons and some foxes) and bounding patterns (hares).
#### What Disturbances Mean
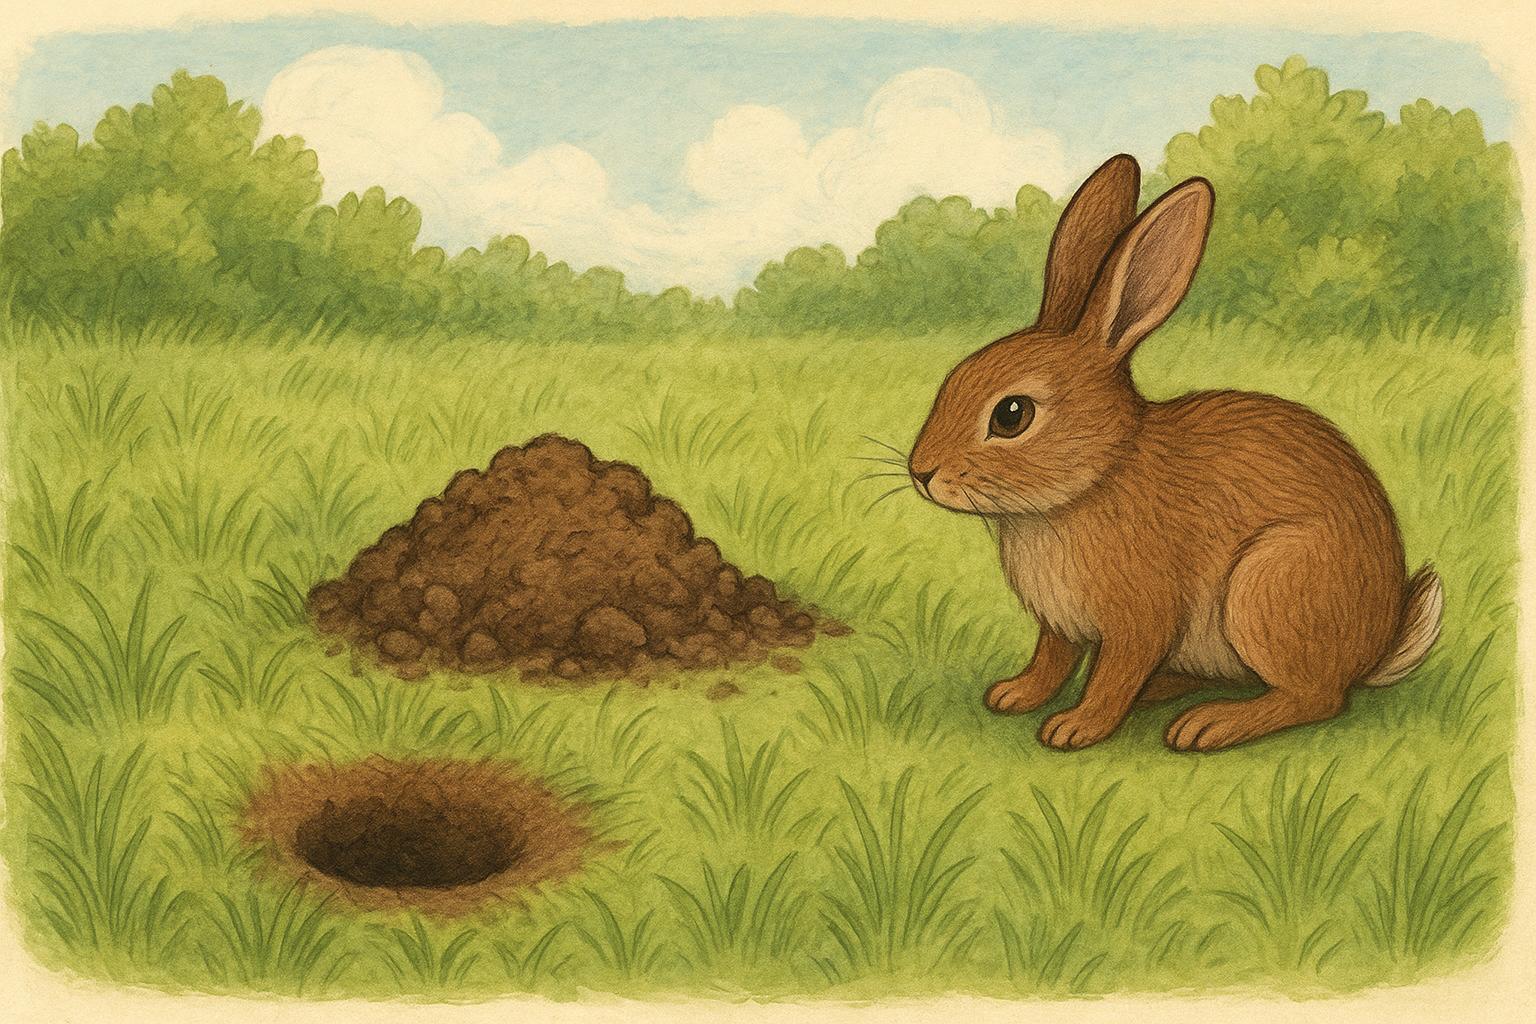
Scattered leaf litter, turned snow, or small trenches indicate foraging. Rows of small paired prints beside a line of holes probably mean a rodent was tunneling under the snow, poking its nose out between holes.
### Identifying Scat And Scent Signs
Scat location, consistency, and content can confirm a track-maker. Carnivore scats often sit on trails as territorial markers. Herbivore droppings are usually found near browse. Smell can be a clue in very fresh sign, but be cautious and respectful of wildlife space.
## Remedy 1: Cast And Preserve A Track (Numbered For Ease)
When you find an exceptional winter footprint and you want a permanent record, casting is the standard scientific approach. Below are formal, clear instructions and material lists for creating a lasting plaster cast.
Ingredients / Required Materials:
– Plaster of Paris (enough for at least 2–3 casts)
– Cold water
– Measuring bucket or container
– Stiff stick or disposable stirrer
– Cardboard or a rim (to form a mold wall) and small pegs to secure it
– Small trowel or spatula
– Protective gloves
– Plastic sheet or bag for transport
– Camera and scale for photographs
Step-by-Step Creation And Application:
1. Photograph the track from multiple angles with a scale beside it before touching anything.
2. Clear away loose snow gently with your gloved hand or a soft brush, taking care not to disturb the print’s crucial edges.
3. Build a shallow rim around the track using cardboard or packed snow to contain the plaster. Ensure the rim is at least 1–2 inches high above the highest point of the track.
4. Mix plaster of Paris in the bucket: a common ratio is about 2 parts plaster to 1 part water by volume, but follow manufacturer instructions. Mix to a smooth, yogurt-like consistency using the stirrer. Work quickly — plaster begins to set fast in cold air.
5. Pour the plaster evenly into the mold, starting at the lowest point so air bubbles are pushed upward. Avoid pouring from too high to prevent breaking delicate edges.
6. Let the plaster set. In cold conditions, allow extra time; consider insulating the casting with a light cloth but avoid applying pressure.
7. Once firm (surface not tacky), gently pry the cardboard rim away and lift the cast, taking care to support it from beneath. If it resists, wait a bit longer.
8. Transport the cast on a flat surface. Drying time can be longer indoors at warmer temperatures; do not expose to rapid heat which can crack the cast.
9. Record all field notes linked to the cast: GPS location, date/time, snow conditions, and nearby sign.
Be aware: casting in very deep or slushy snow may fail; use this method when prints are well-defined in stable, compacted snow.
## Remedy 2: Create A Simple Tracking Station To Monitor Night Visitors
If your goal is to learn who’s visiting your yard without disturbing them, a tracking station is an effective, low-tech solution. The following materials and method create reliable survey data over multiple nights.
Ingredients / Required Materials:
– A cleared, level plot of snow 3–6 feet square
– Fine sand or sifted dirt (to sprinkle lightly)
– Small stakes and string (to mark the station)
– A trail camera (optional) with night settings and sufficient battery
– A notebook or field sheet for nightly checks
– Measuring tape or stick for scale
Step-by-Step Creation And Application:
1. Select a sheltered spot near likely travel routes but not too close to human activity. Avoid steep slopes that cause snow movement.
2. Clear a flat area of fresh snow to create a visible platform. Pack the snow lightly to create a firm base.
3. Sprinkle a thin, even layer of fine sand or sifted dirt over the packed snow. This increases contrast and preserves fine prints better than bare white snow.
4. Mark the perimeter with stakes and string to standardize where animals enter the station. Leave a small gap as an entrance if you wish to funnel movement.
5. Install a trail camera if available, angled to capture the ground plane. Set to motion-trigger and use infrared/no-glow to reduce disturbance.
6. Check the station each morning (or as your schedule allows). Photograph and measure any prints, then refresh the sand and re-pack the platform for the next night.
7. Maintain a log: date, time of check, number and type of tracks, any camera images, and weather notes.
8. For longer studies, rotate station locations to reduce habituation and cover broader territory.
This method is intended for observational study; avoid baiting with food unless you have proper permits and understand the ecological and ethical implications of altering animal behavior.
### Ethics And Safety When Following Tracks
Respect wildlife space. Do not pursue animals to the point of disturbance. Young mammals may be temporarily separated from mothers; touching or moving them can do harm. Keep domestic dogs on leads, avoid trampling large areas of habitat, and follow local regulations regarding wildlife interaction.
### Keeping A Tracker’s Notebook
A field notebook is your best friend. Date entries, sketch or photograph prints, note measurements, snow conditions, and your hypotheses. Over winter, patterns emerge: repeated paths, timing of visits, and seasonal dietary changes. This slow accumulation of data is more satisfying than a one-off sighting.
### Tools For The Curious Tracker
A few simple tools enhance your reading: a small ruler, a compact camera, insulated gloves you can manipulate for detail work, and a simple magnifier for tiny rodent prints. If you get serious, portable GPS and a tracking field guide for your region are excellent investments.
Now, lace your boots, mind your footprint (that’s an ironic one), and remember: every winter footprint is a sentence in someone else’s story. Follow gently, observe carefully, and preserve responsibly.


Leave a Reply