
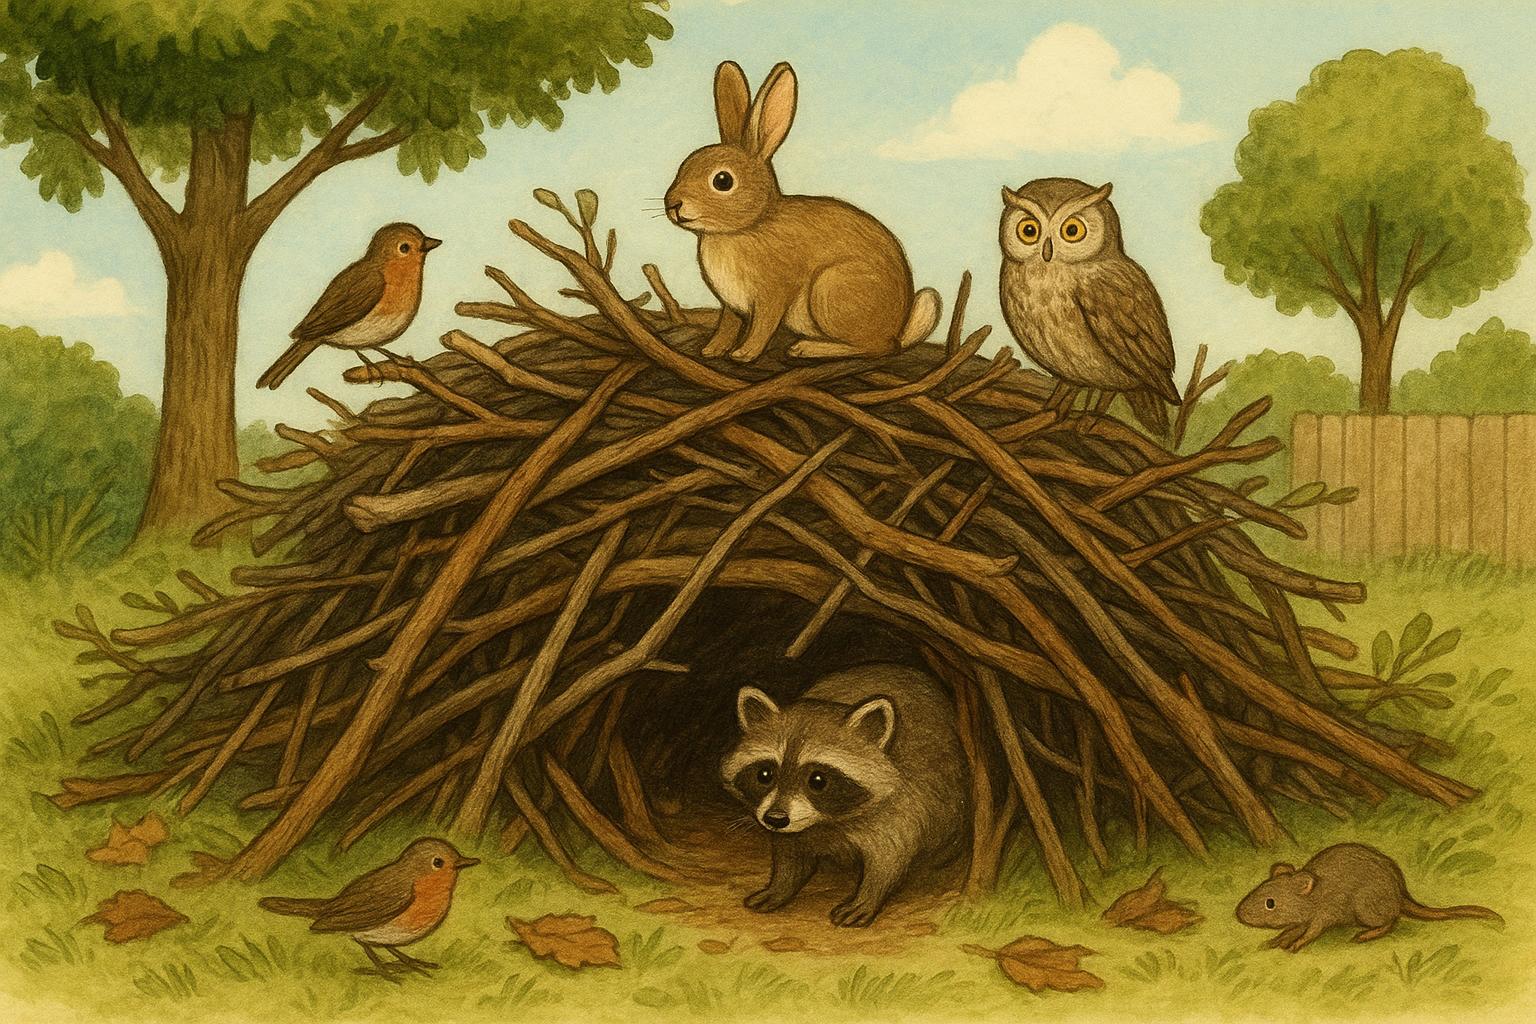
## Why Build A Brush Pile Habitat For Backyard Wildlife?
A brush pile isn’t a messy afterthought. It’s purposeful habitat that gives small animals a place to feed, breed, hide, and rest. When you set up a brush pile habitat for backyard wildlife properly, you’re doing more than tossing branches into a corner. You’re creating a small, dense ecosystem: cover for a brood of quail, a winter roost for toads, nesting pockets for wrens, escape routes for rabbits. It’s low-cost, low-effort, and it works fast.
### What A Brush Pile Actually Provides
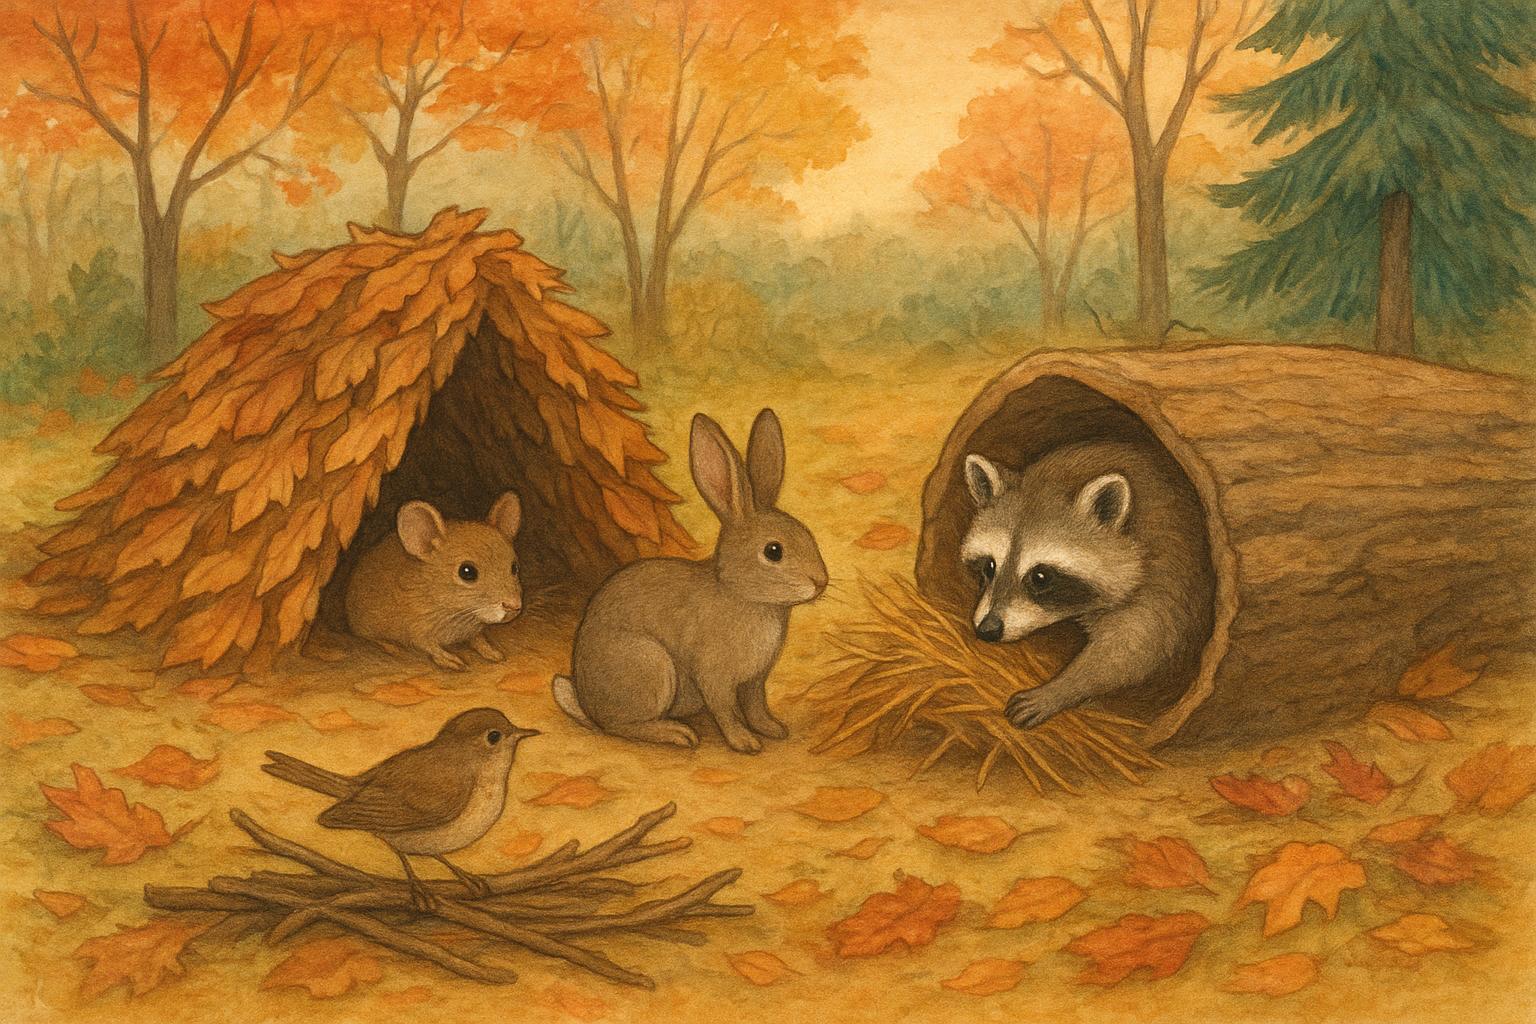
A brush pile is shelter, insulation, and feeding structure all at once. The tangle of sticks and leaves forms microclimates — cooler and moister inside during hot spells, warmer and wind-sheltered in winter. Insects, snails, and fungi move in, which brings birds, amphibians, and small mammals. Predators use the pile too, but the cluttered interior gives prey a fighting chance. That’s the point: more complex cover means better odds for the little guys.
#### Who Uses Them
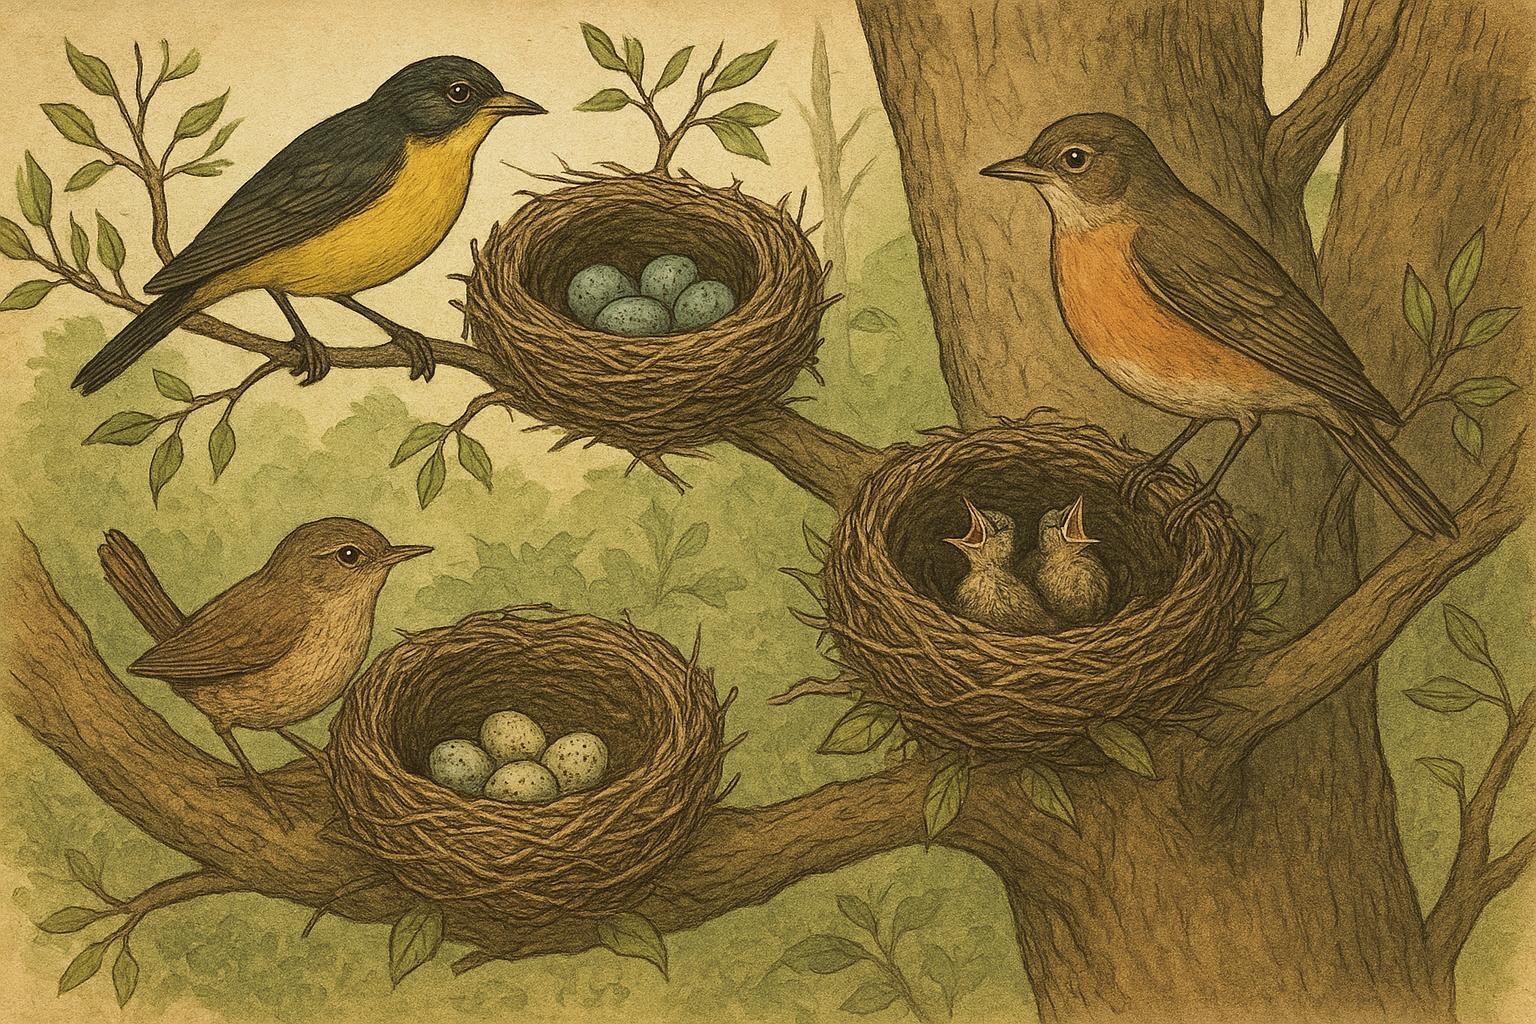
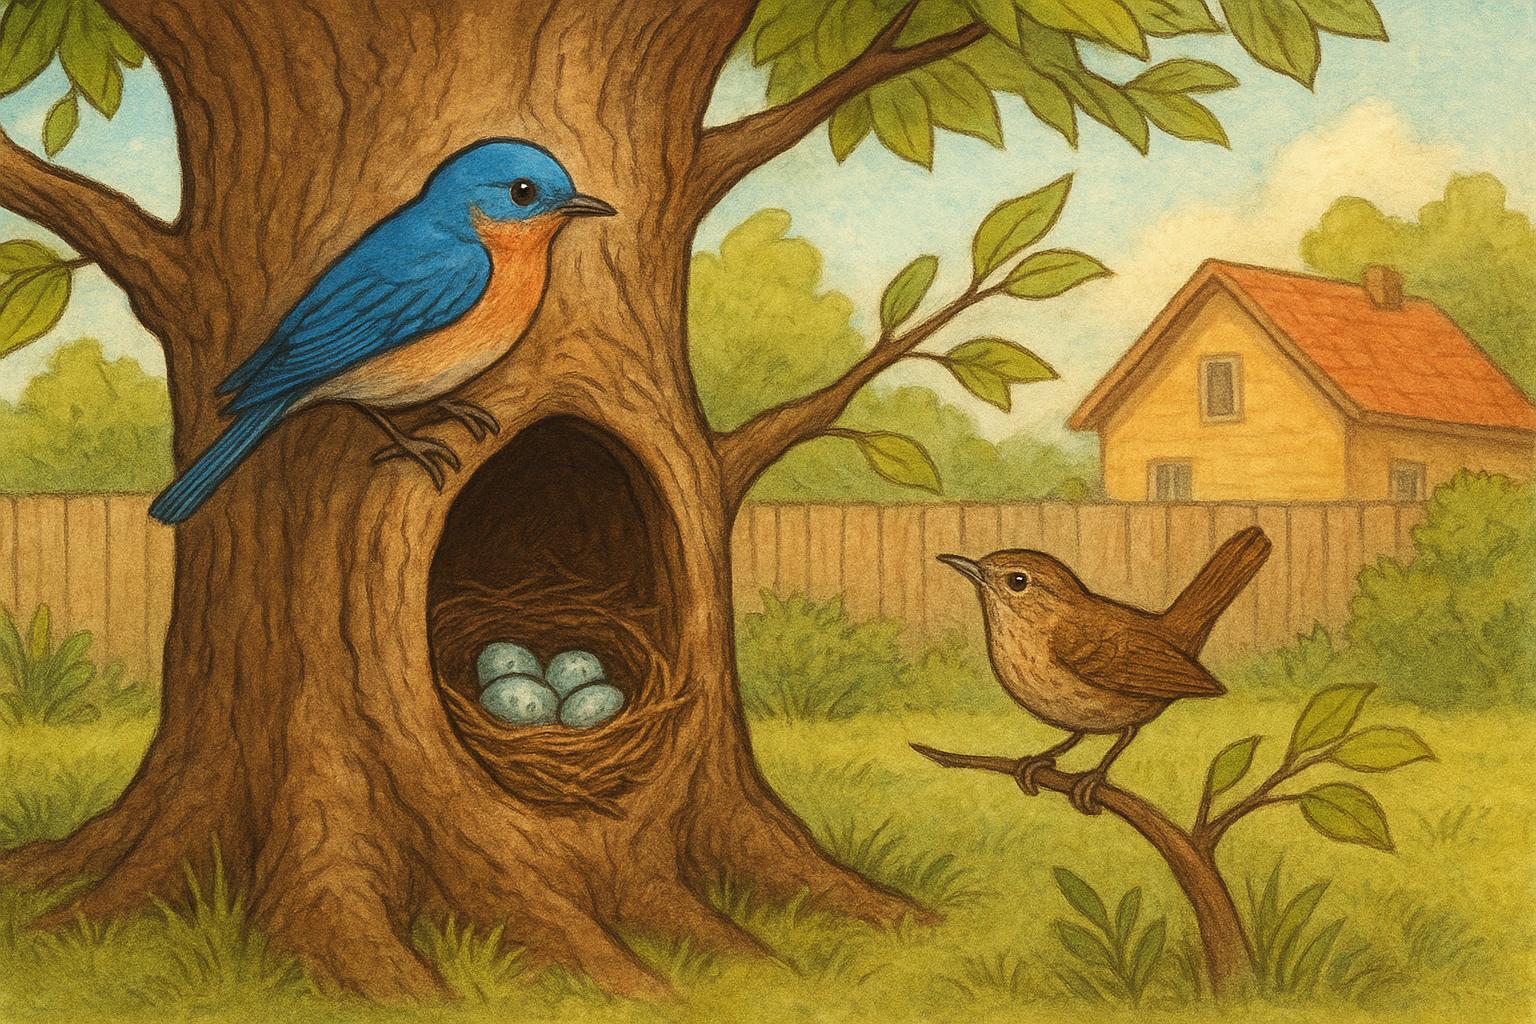
– Birds: wrens, sparrows, quail, and sometimes pheasants will nest or hide near brush.
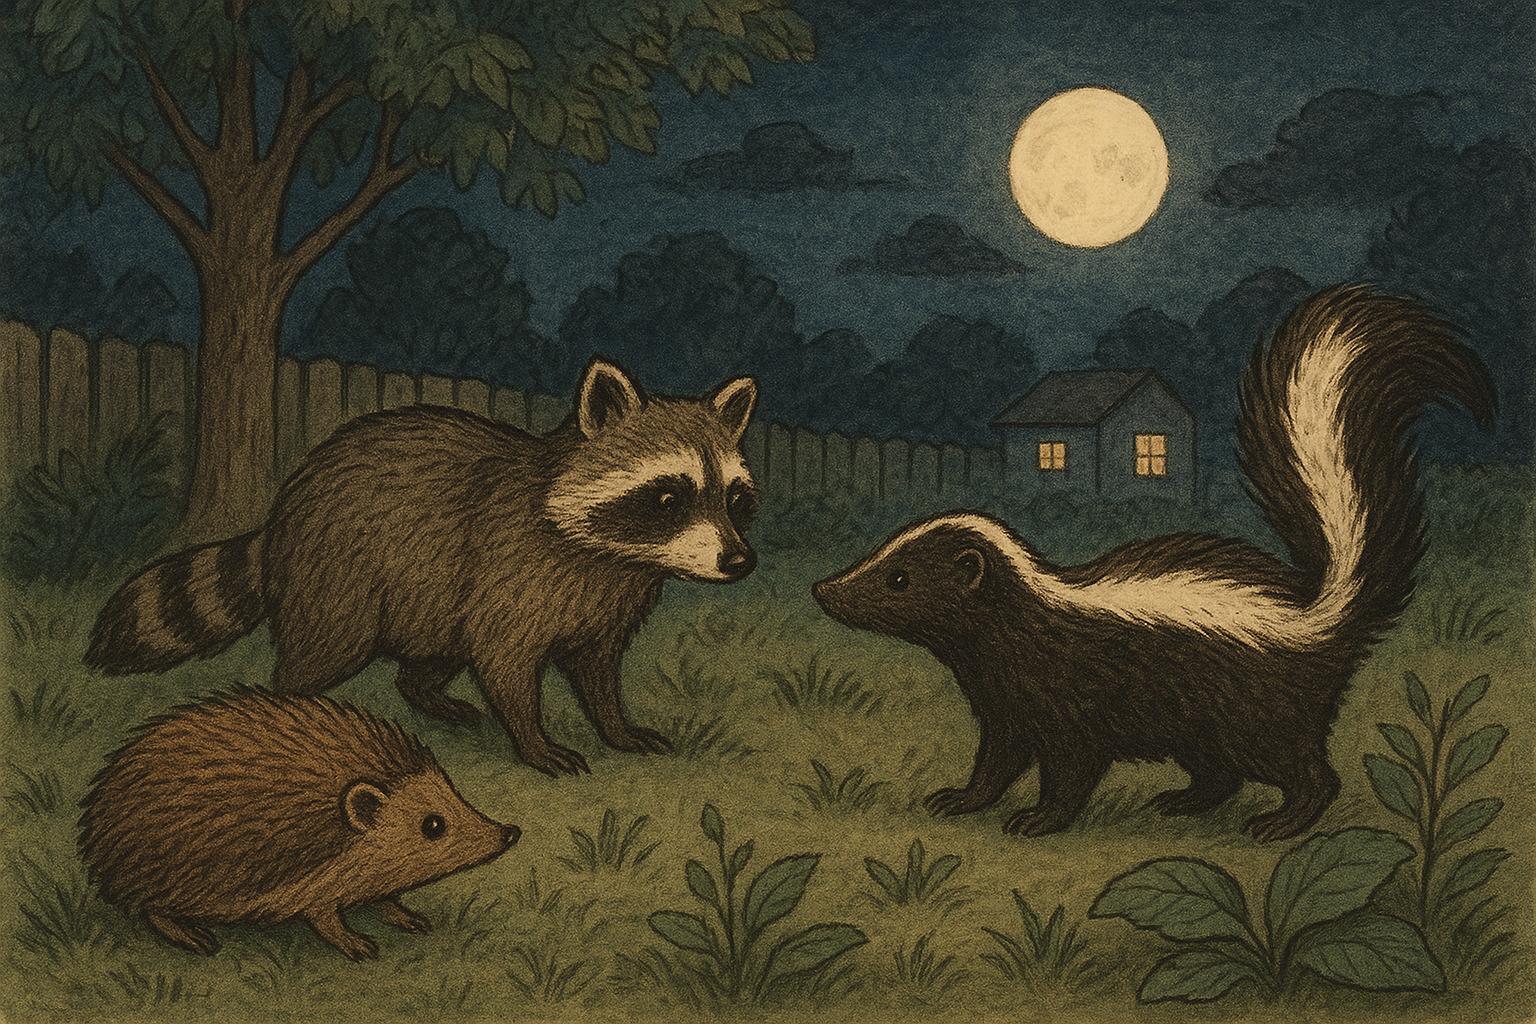
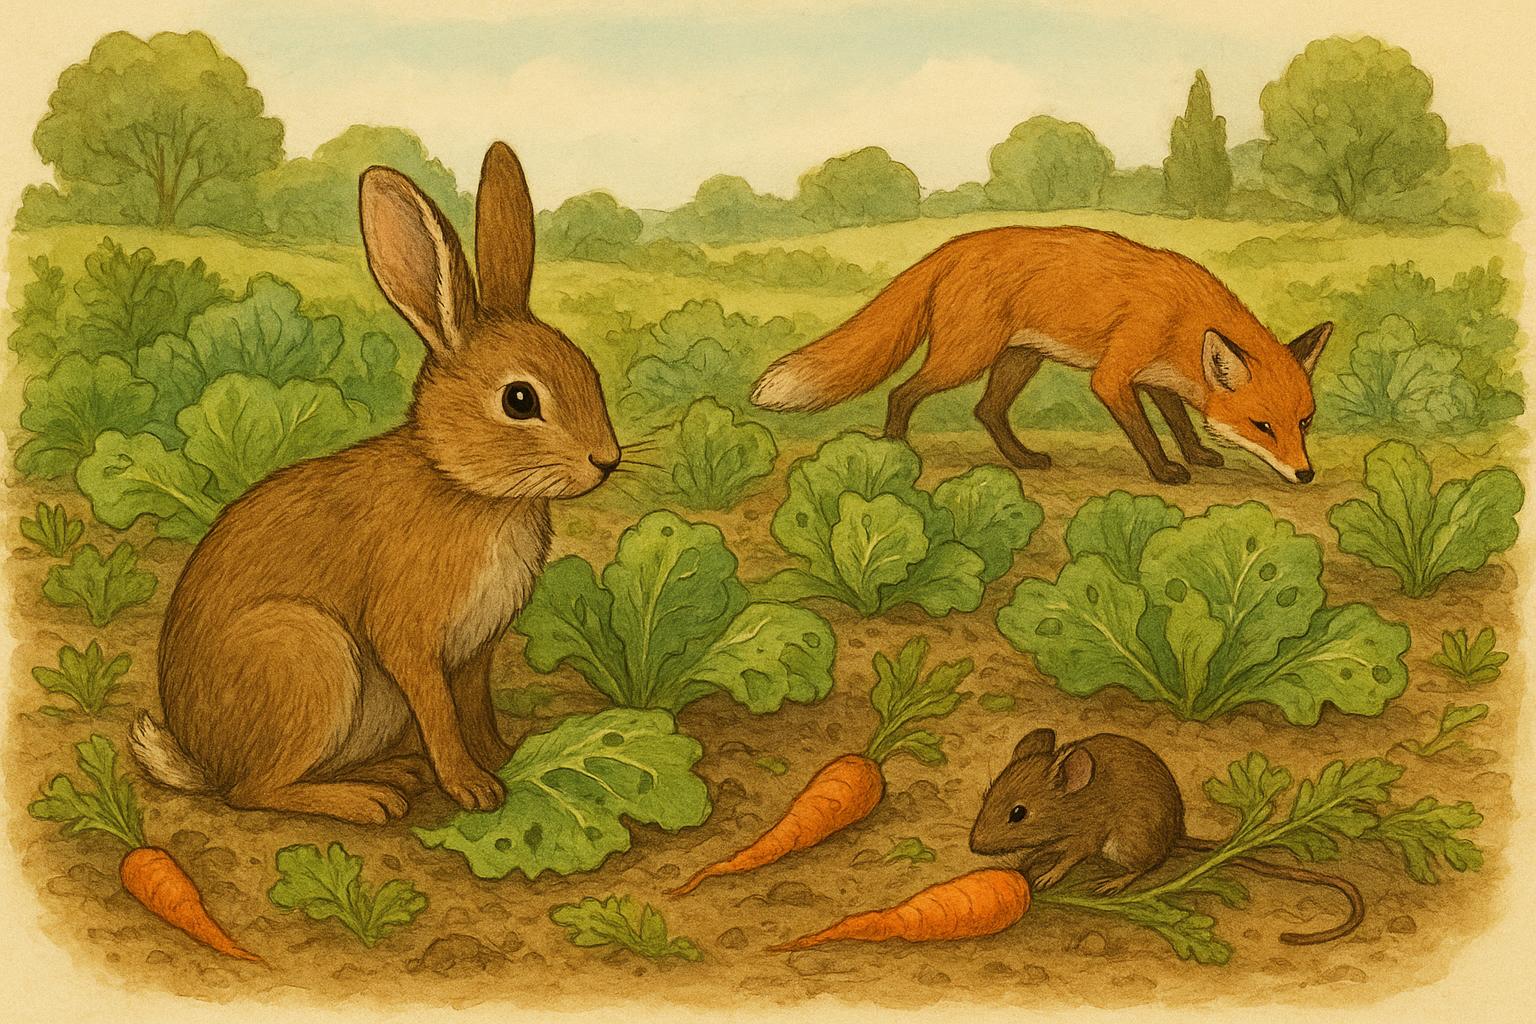
– Small mammals: rabbits, mice, chipmunks, and shrews use piles for refuge.
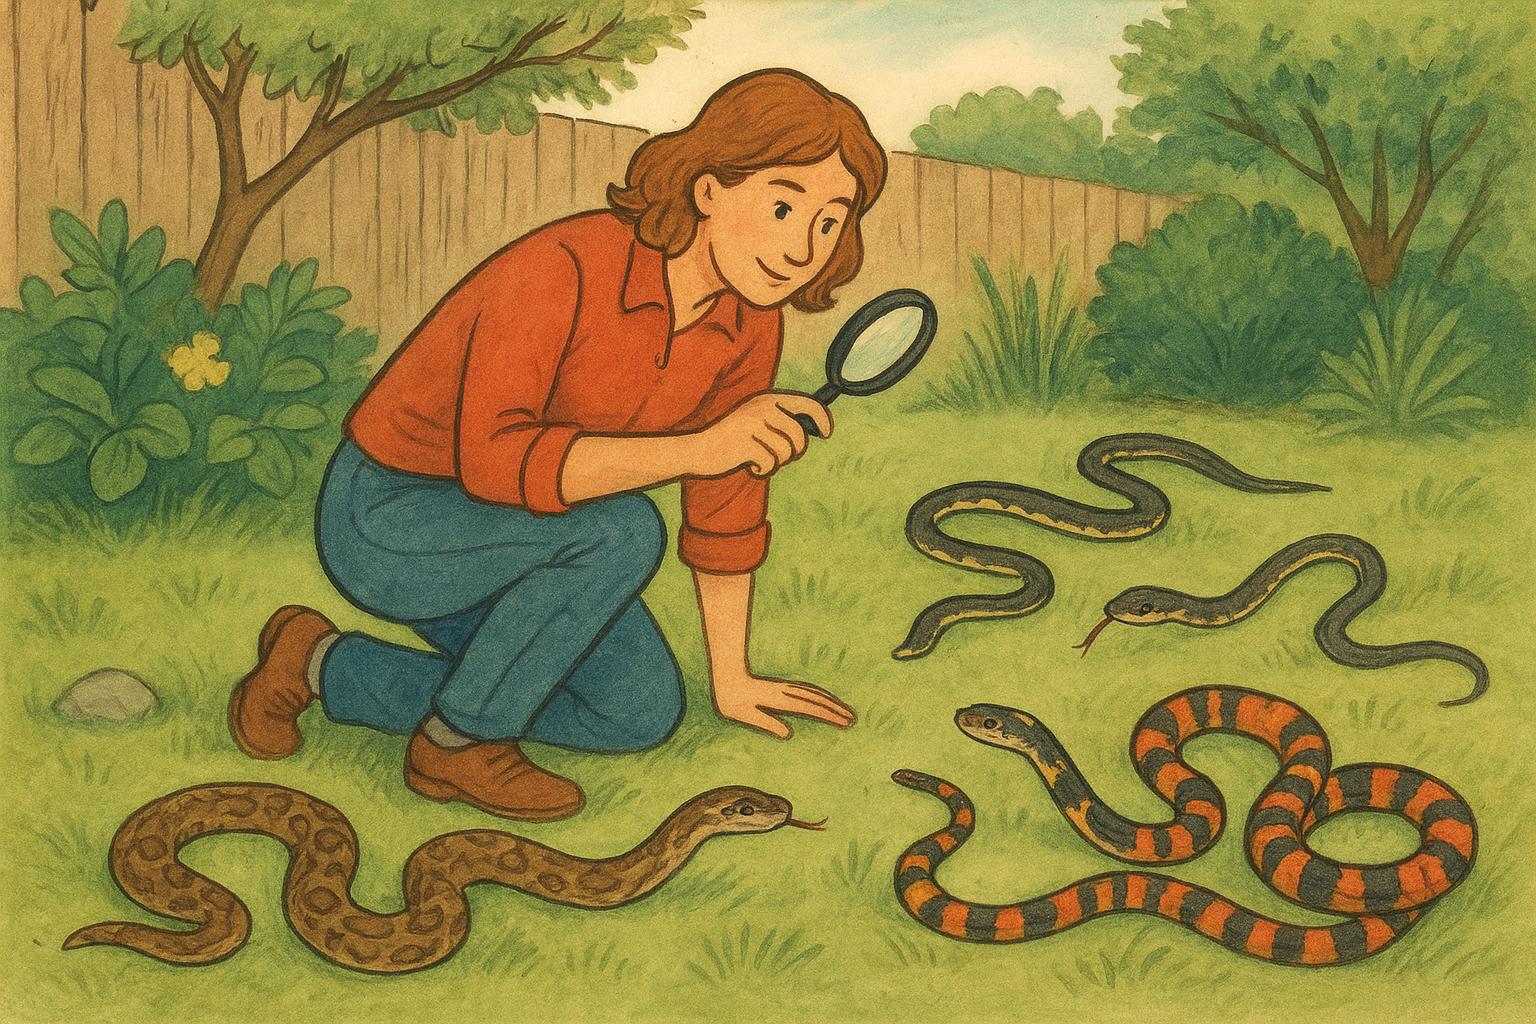
– Amphibians and reptiles: frogs, toads, and garter snakes find moisture pockets.
– Invertebrates: spiders, beetles, and earthworms thrive in the decomposition layer.
## Brush Pile Habitat For Backyard Wildlife Shelter Design Tips
If you’ve read instructions that say “pile everything up and call it a habitat,” ignore them. A bit of attention to shelter design changes a pile from “random junk” into something that’s durable and genuinely useful. Here’s how I lay it out when I build one.
### Location Matters
Pick a corner that’s quiet and not the main traffic path. Close to natural food sources is best: fruit trees, berry bushes, or a brushy hedge. Sun exposure affects use. A pile tucked in full sun will dry out quickly and be less attractive to amphibians; a partly shaded spot keeps moisture and bugs. If you expect to leave the pile for years, choose a spot where branches won’t block windows, paths, or landscape equipment.
### Layering And Structure
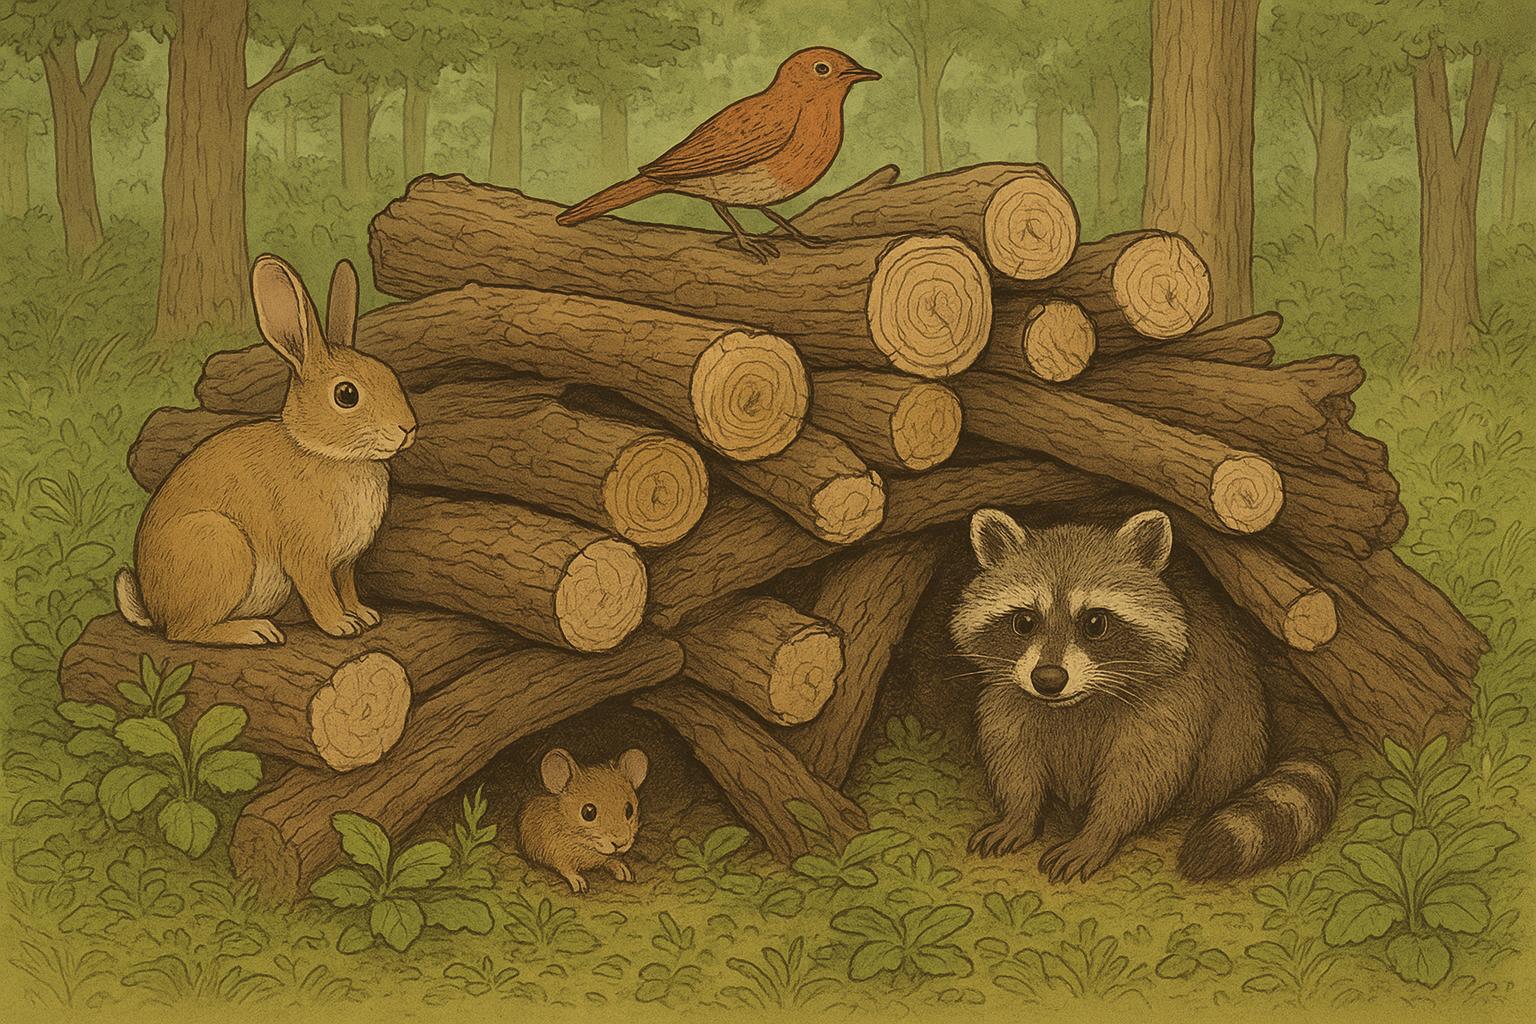
Don’t just make a single heap. Start with a base of larger logs laid parallel with a small gap between them to allow airflow and space for critters. On top of that add medium branches in a crisscross pattern. Then add fine twigs and leafy material. The result is loosely compacted but with cavities. Those cavities are valuable: they become nesting pockets and hiding holes.
Use heavier, sturdier pieces as a skeleton. Then wedge in smaller branches to form nooks. A common mistake is packing things too tightly; compressed piles lose interior space and dry out faster. Leave some open spaces and cavities. If you want an entrance that discourages predators, create a narrow, winding channel that leads into a larger chamber inside.
### Size And Shape
There’s no single right size, but scale affects who will use it. A 4-by-6-foot footprint, standing 3 feet high, serves a wide range of species in suburban yards. For smaller properties, a 3-by-3-foot pile still benefits wrens and ground-nesting birds. Spread multiple small piles instead of one huge mound if you want higher species diversity. Rounded or elongated piles blend better into natural edges; geometric piles look like garbage.
### Materials To Use And Avoid
Hardwood logs (oak, maple) last longer and sustain cavities as they rot. Pine and other softwoods break down faster, which can be fine if you plan to renew the pile periodically. Leaves, pine needles, and leftover garden cuttings are all useful. Avoid: treated lumber, pressure-treated pallets, or anything painted or coated. Those chemicals leach and harm wildlife. Also skip thorny invasive plants for the interior; they make the pile dangerous for you and for animals who get wounded.
## Building Steps: A Practical Walkthrough
You don’t need power tools. Here’s a practical sequence that produces a resilient brush pile habitat without fuss.
### Step 1: Clear a Base Area
Create a roughly leveled pad. Remove turf or weeds so the pile sits on soil. This contact encourages invertebrates to move in and speeds decomposition, which is good for nutrient cycling.
### Step 2: Lay the Foundation
Place large logs side by side, leaving 3–6 inches between. The space is important — it becomes a crawl space for insects and small mammals. If you want to make it stable, cross a couple of logs at the ends like bookends.
### Step 3: Build Up With Branches
Stack thicker branches across the logs in alternating directions. Think of a loose log cabin. Add thinner branches and then leafy material. Don’t cram it. Leave irregular voids. You’ll see birds begin reconnoitering within weeks.
### Step 4: Add Final Cover
Pile leaf litter or straw on top and tuck in some shredded bark where possible. This makes the outside surface soft and insulating. If you live where snow is common, mounding material higher helps animals move through deeper cover.
### Step 5: Create Entrances
If you want to encourage specific species, design entrances that fit their needs: small gaps and narrow tunnels for small mammals, lower, wider gaps for rabbits. For birds, leave accessible perches on the pile exterior.
## Seasonal Care And Long-Term Management
Once the pile is up, it’s mostly hands-off. But a yearly inspection is good. In late winter, check for collapsing sections; add another layer of branches if it looks flattened. In spring, you might find nests — leave them alone. If the pile leaches sap or attracts pests like rats, adjust: remove food sources nearby, avoid kitchen scraps, and ensure the pile isn’t next to a compost heap.
Rot is part of the design. As the inner wood decays, it becomes richer habitat. You’ll want a plan for renewal: every 3–5 years, replenish the skeleton logs, and rotate in fresh branches. That keeps the structure from turning into a soggy mound that sinks and exposes animals to predators.
#### Winter Considerations
Brush piles provide crucial winter shelter. Small mammals and amphibians that can’t migrate depend on insulated pockets. If heavy snow is common, build a slightly taller pile or add denser leaf cover to prevent collapse. A stable, slightly raised base lets animals move beneath the snow more easily.
## Safety, Neighbors, And Legal Stuff
Be mindful of local ordinances. Some neighborhoods have rules about what can be piled in yards, and piles that look like neglected debris can attract complaints. Talk to neighbors in advance if your pile is near a shared fence line. Also consider fire risk: keep piles a safe distance from your house, garage, and wooden fences. When dry materials sit against structures, the pile becomes a hazard.
If you regularly cut branches, store them in a way that doesn’t harbor pests that could spread to nearby properties. Avoid putting brush piles right against a wooden fence or deck. A gap of at least five feet reduces the risk of fire and prevents rodents from bridging structures.
### Predators And Disease
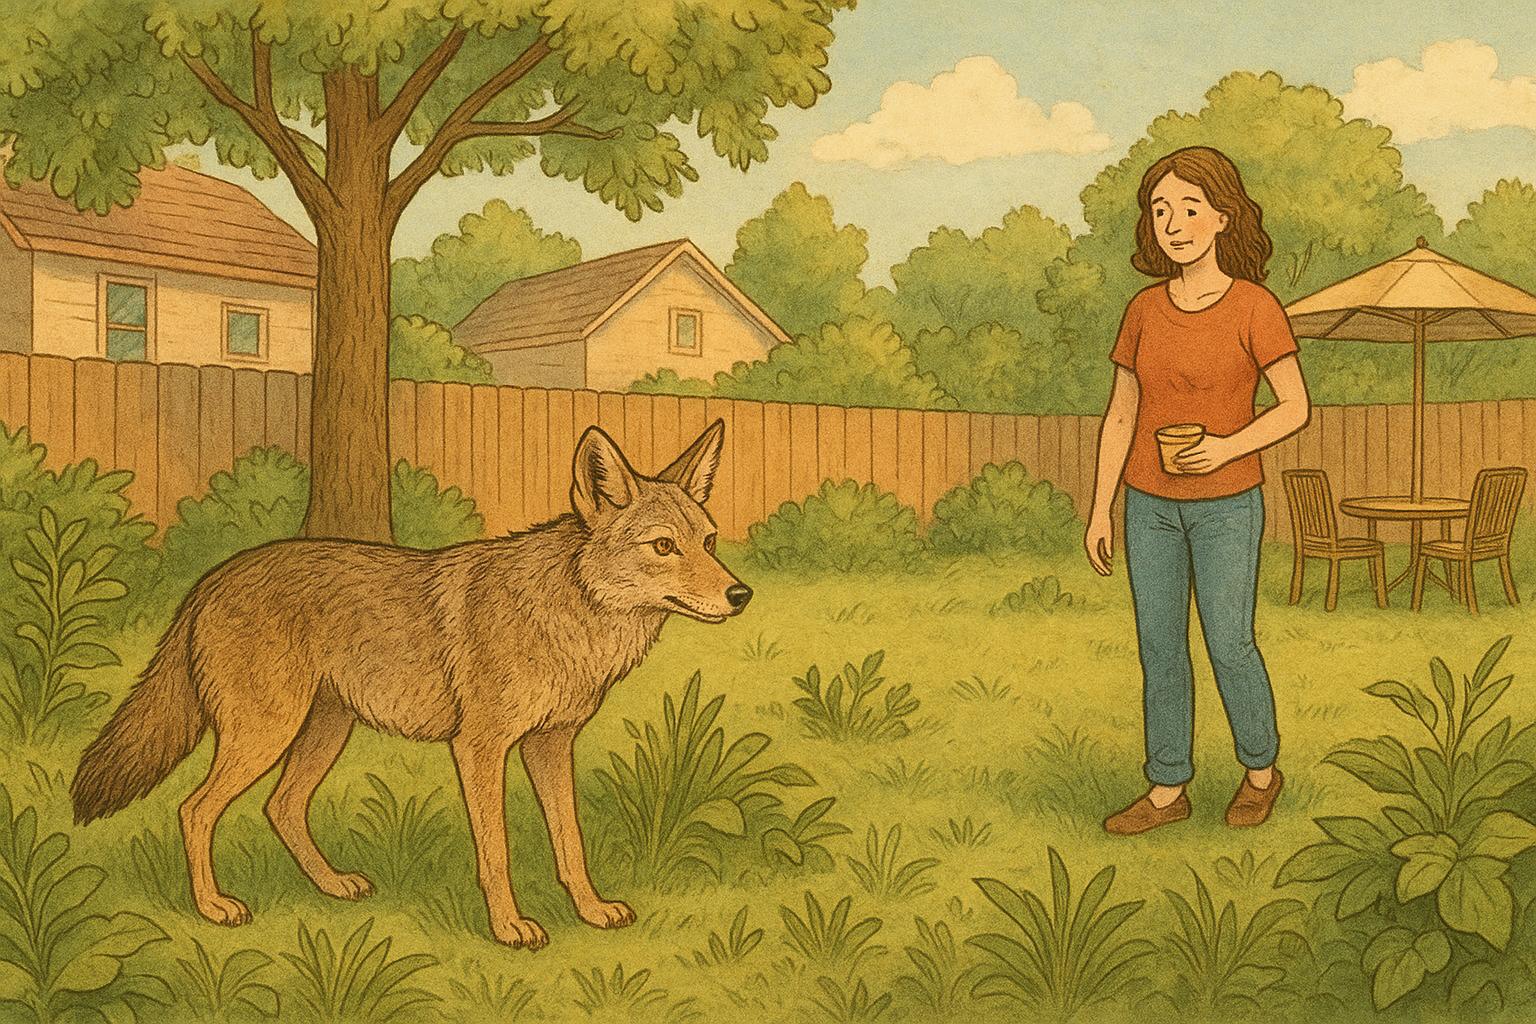
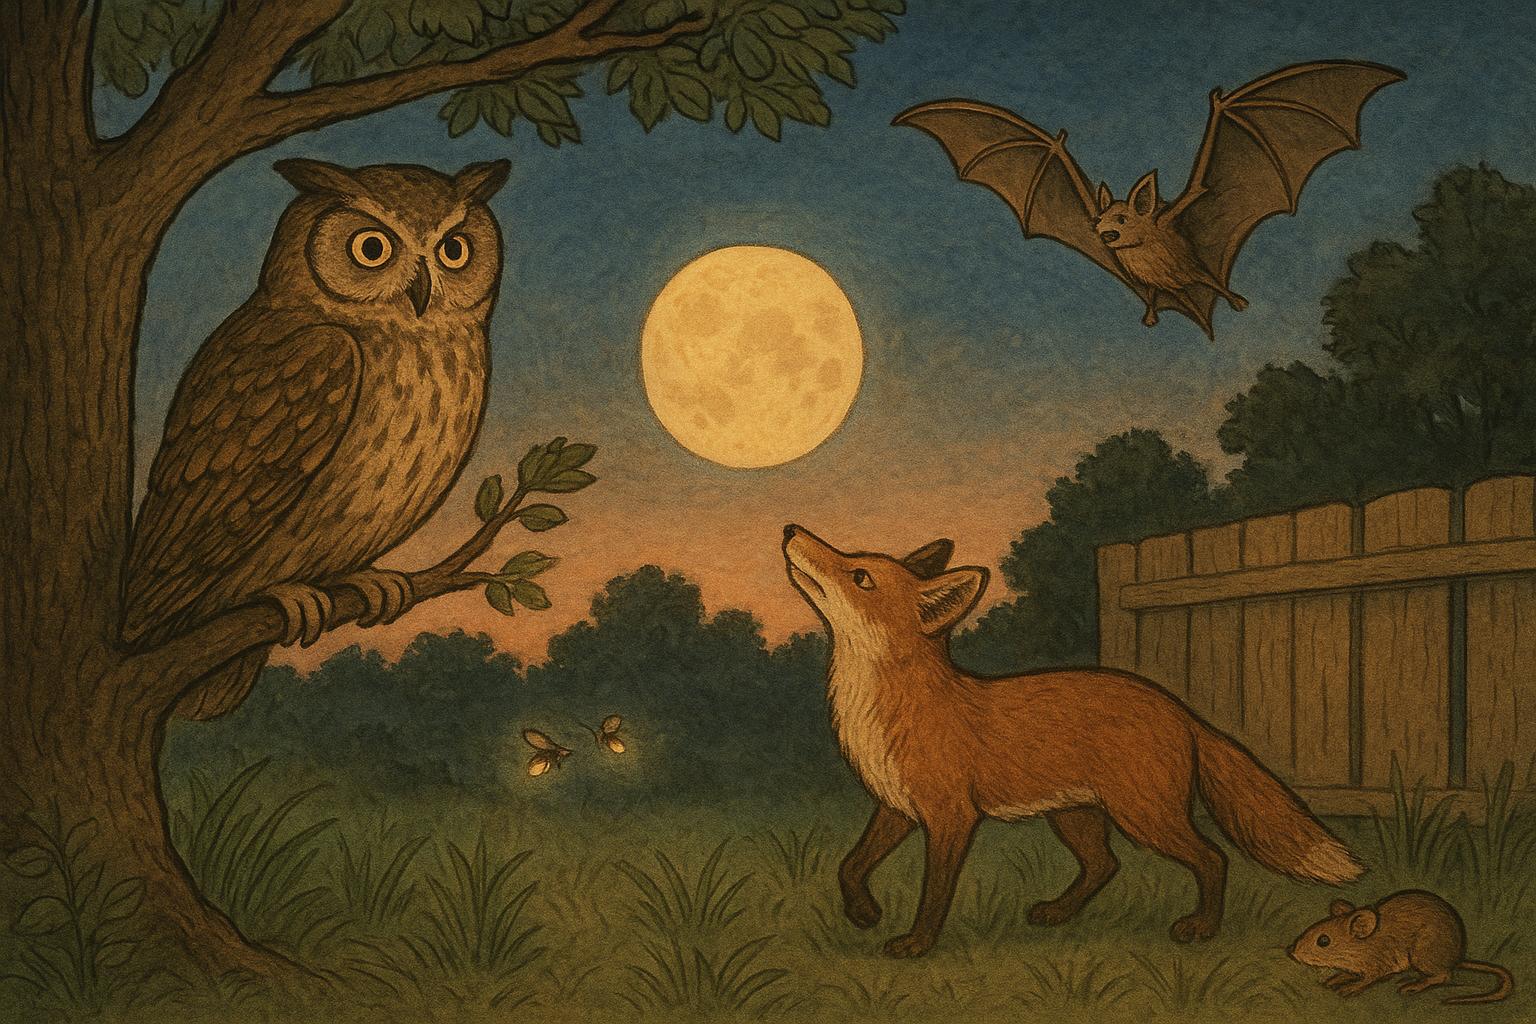
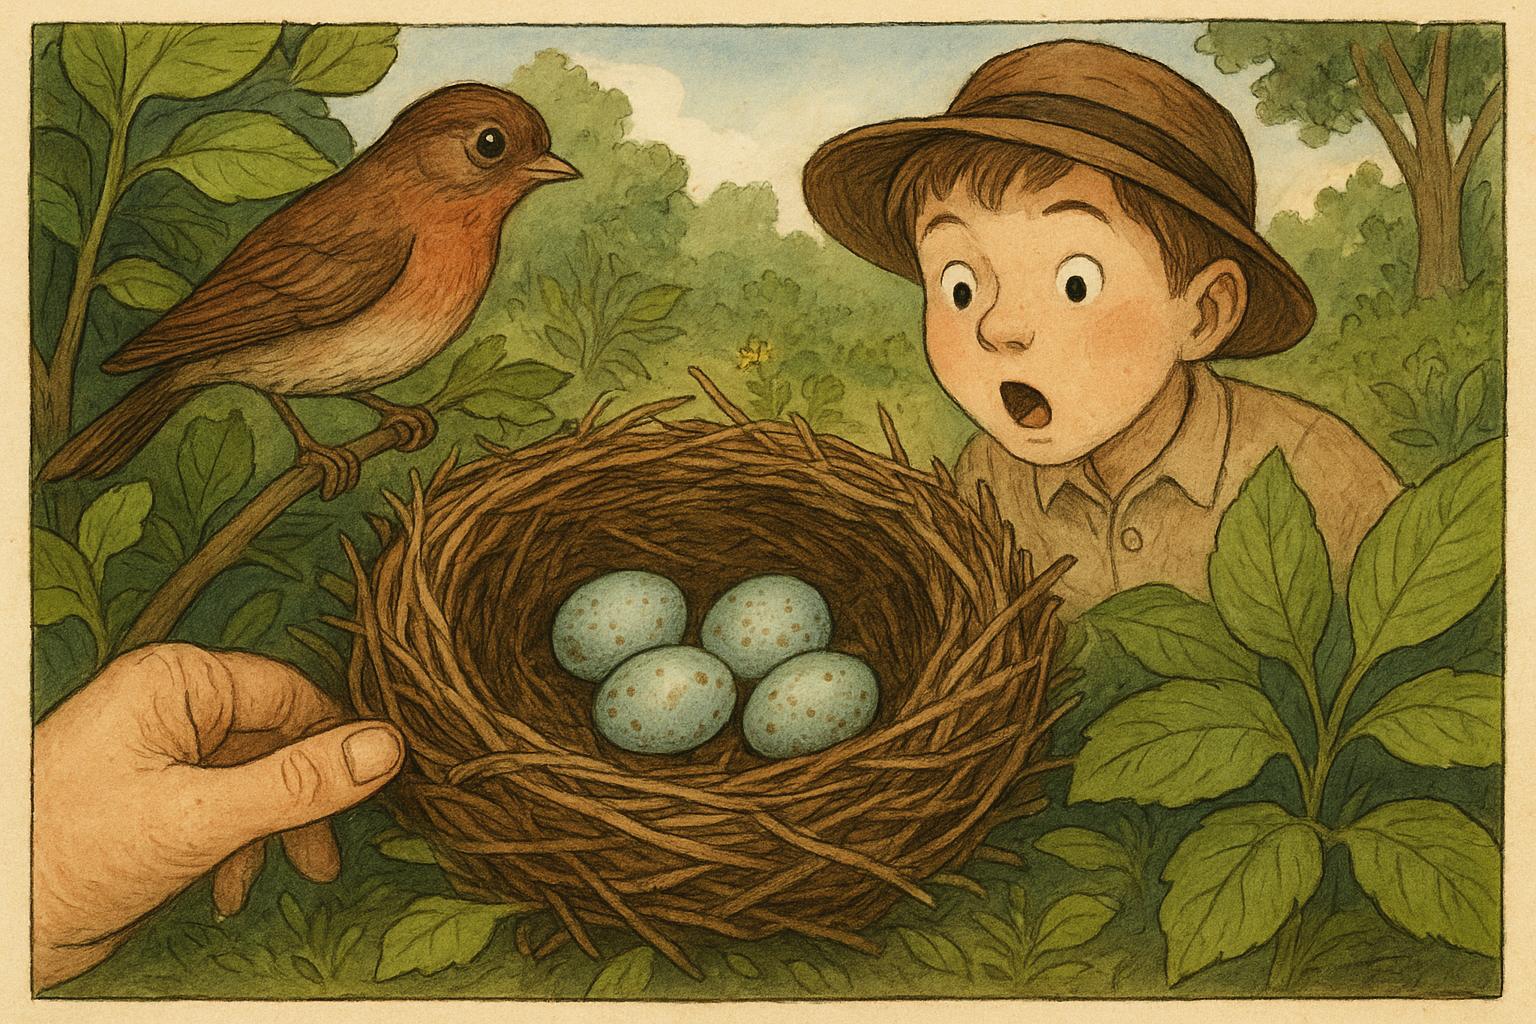
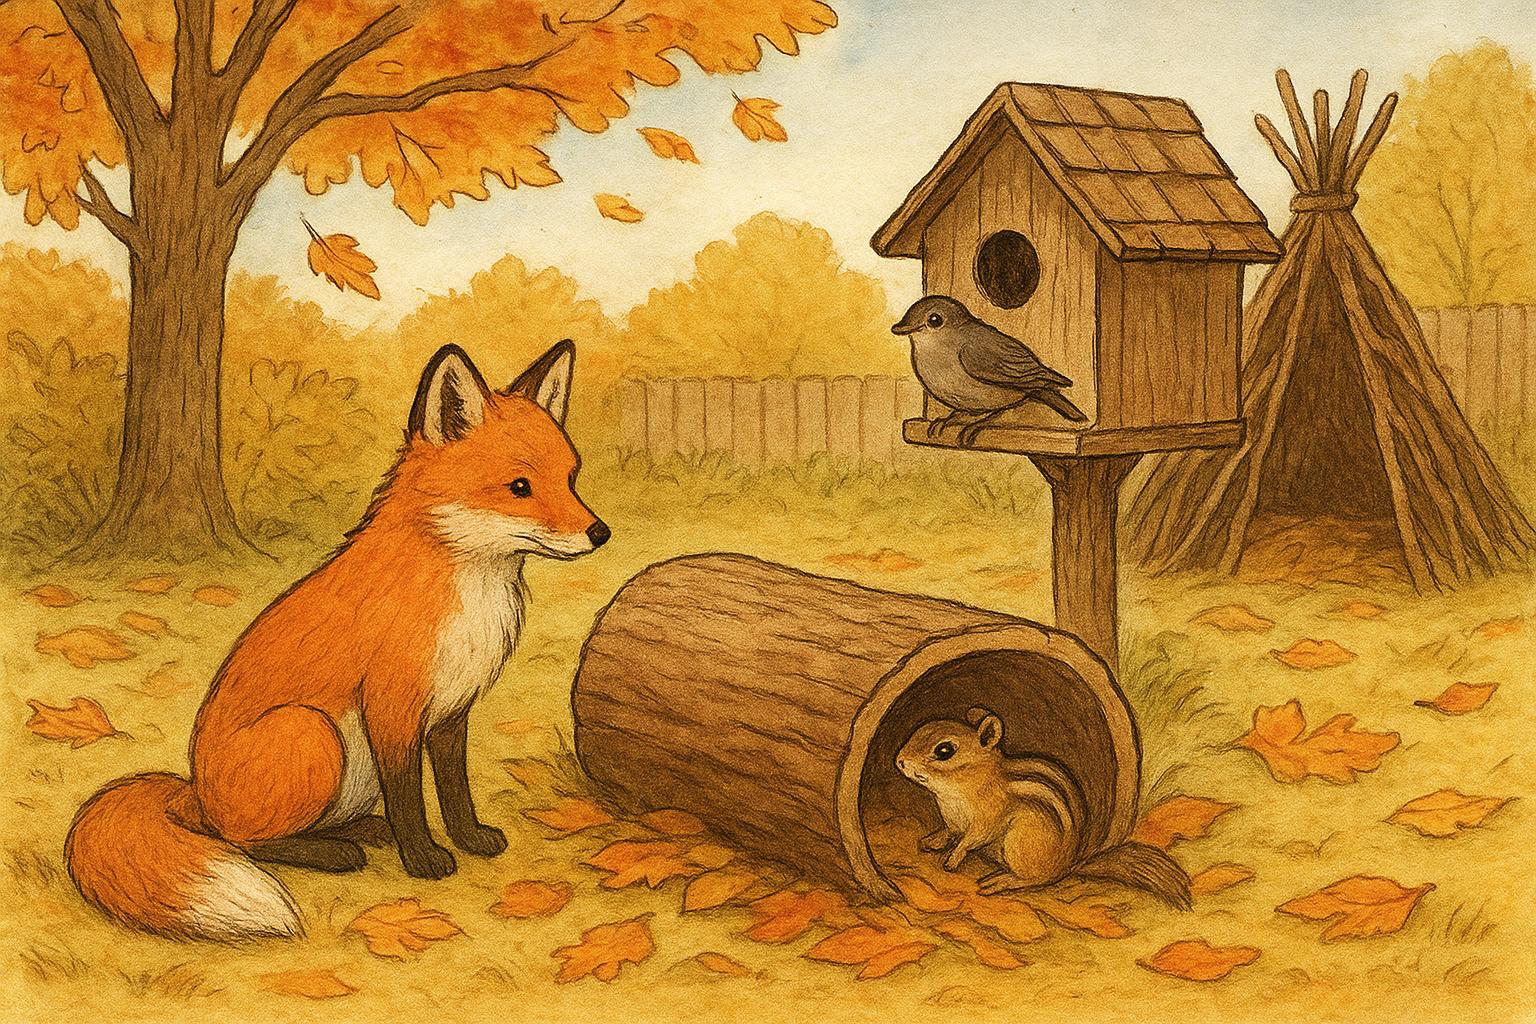
Brush piles attract both prey and predators. That’s natural. If you have concerns about larger predators (foxes, coyotes), make piles smaller and distribute them rather than creating a single, obvious den. Don’t handle nests or animals directly. Wear gloves when moving old material to reduce exposure to ticks or fungal spores. If you notice signs of disease in wildlife, contact a local wildlife rehabber instead of trying to intervene.
## Designing For Specific Species
If you have a target species in mind, tailor the shelter design.
### For Ground-Nesting Birds
Low, dense piles near shrubs with some clear ground nearby work best. Birds need quick escape routes and nearby perches. Keep dogs away during nesting season.
### For Rabbits And Small Mammals
Provide cover with multiple small entrances and a thick, tangled interior. Piles near hedgerows give easy access to food and escape space.
### For Amphibians And Reptiles
Moisture is king. A shaded pile, with a base that touches damp soil and a top that traps leaf litter, will hold the humidity amphibians like. Place it near a water source if possible.
### For Predatory Birds And Owls
If your goal is to attract raptors, focus more on perching posts and nest boxes than brush piles. Brush piles help the prey base, but birds of prey need open hunting grounds.
## Common Mistakes And How To Avoid Them
People often think any pile equals habitat. That’s not true. The biggest mistakes are:
– Piling material too densely so the interior is closed off.
– Placing piles in full sun where they dry out and lose invertebrate life.
– Using treated or diseased wood.
– Storing brush against buildings or wooden fences.
Fixes are simple: loosen the pile, add some shade or leaf cover, and relocate if necessary. Over time you learn the small things that change how wildlife uses a site.
## Integrating A Brush Pile With A Wildlife-Friendly Yard
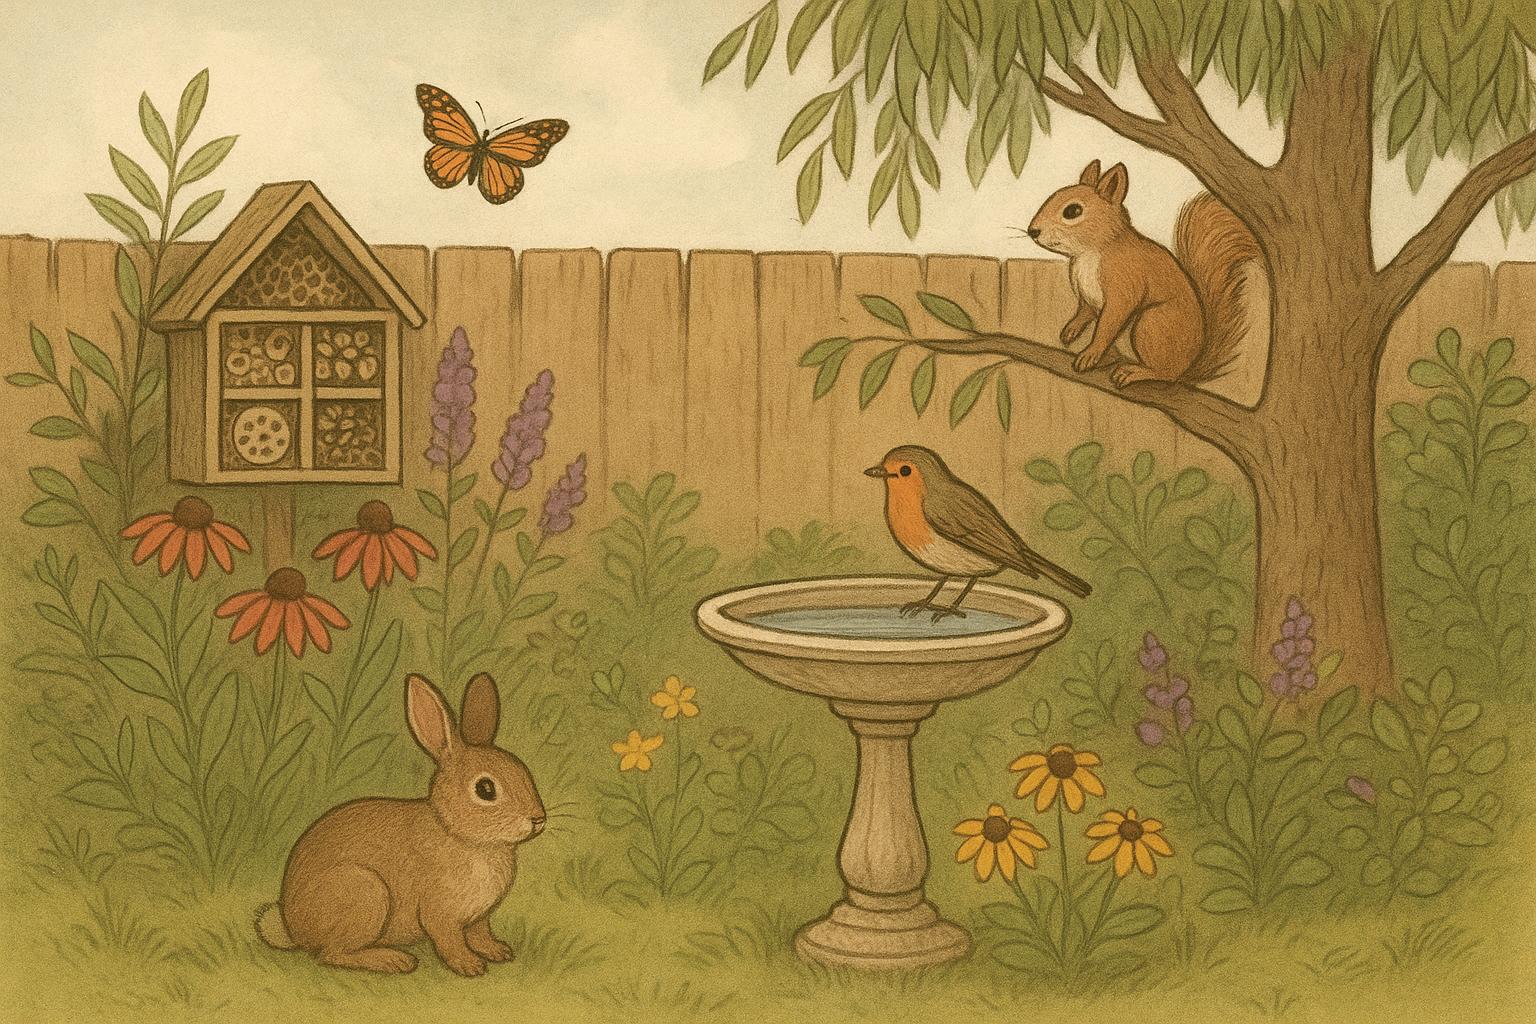
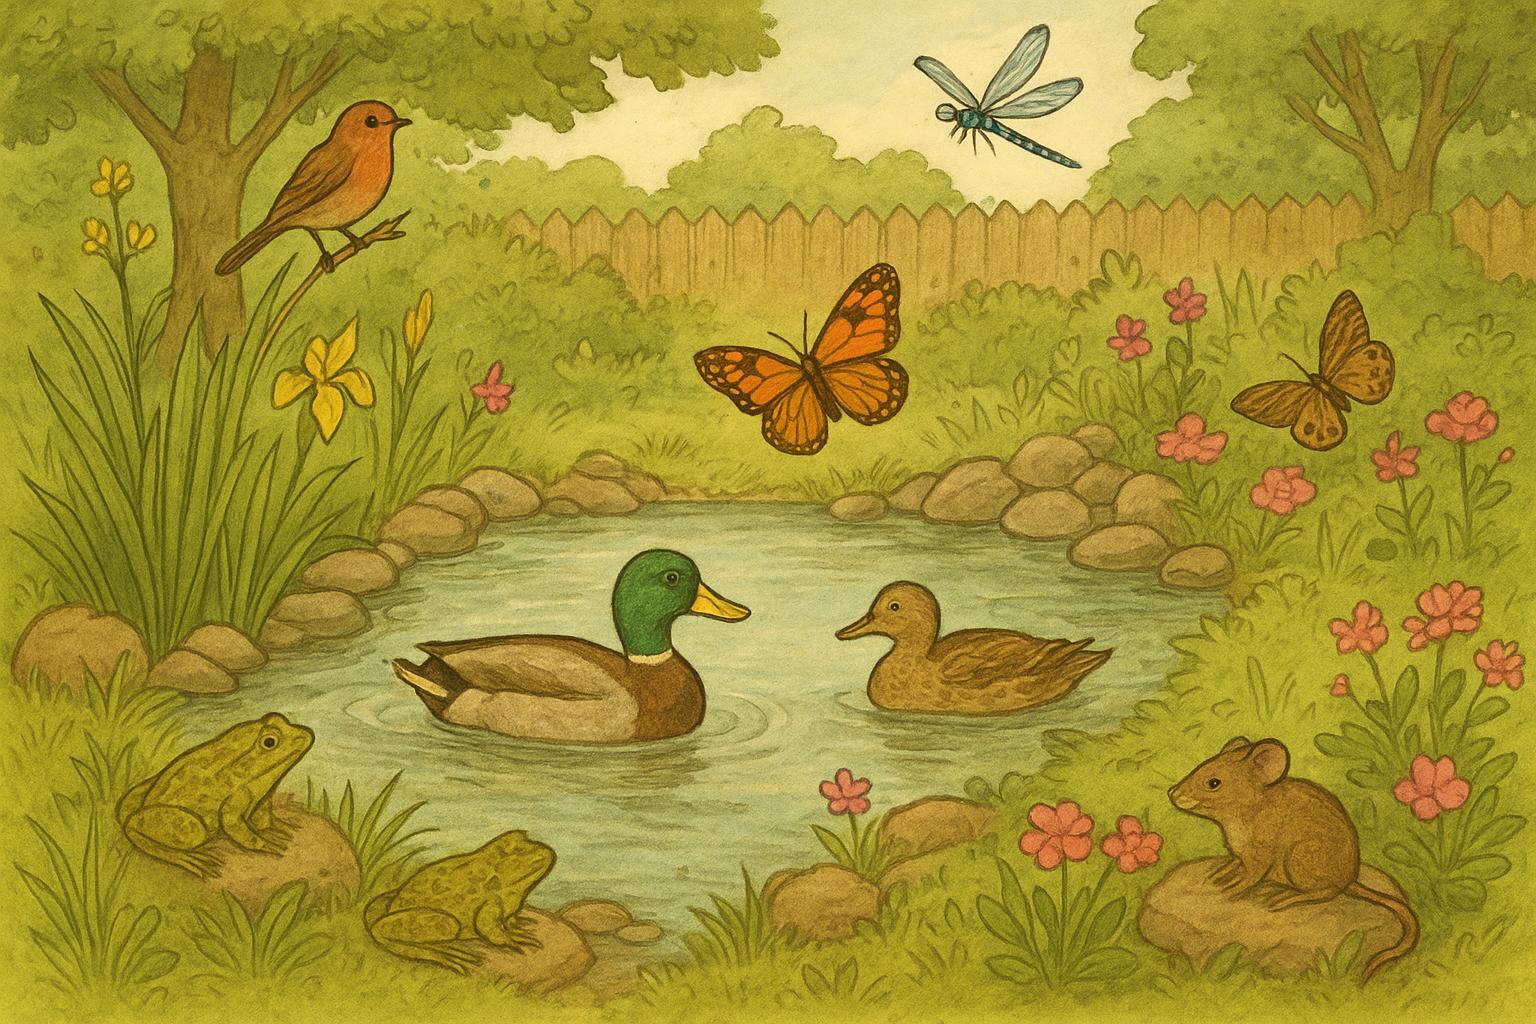
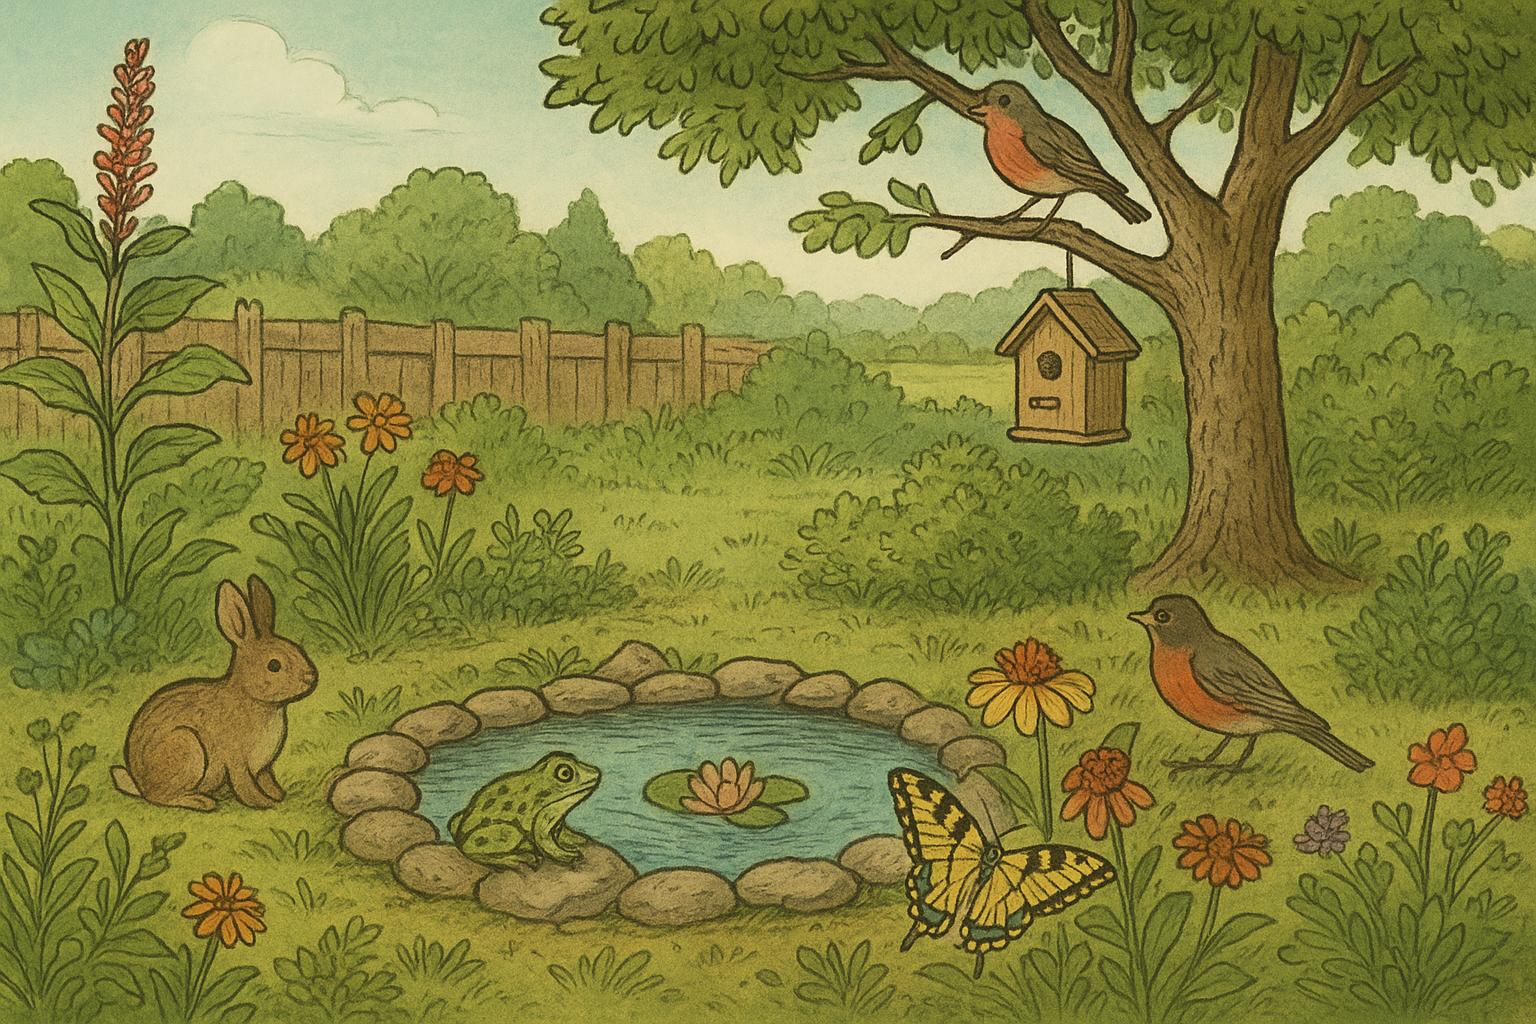
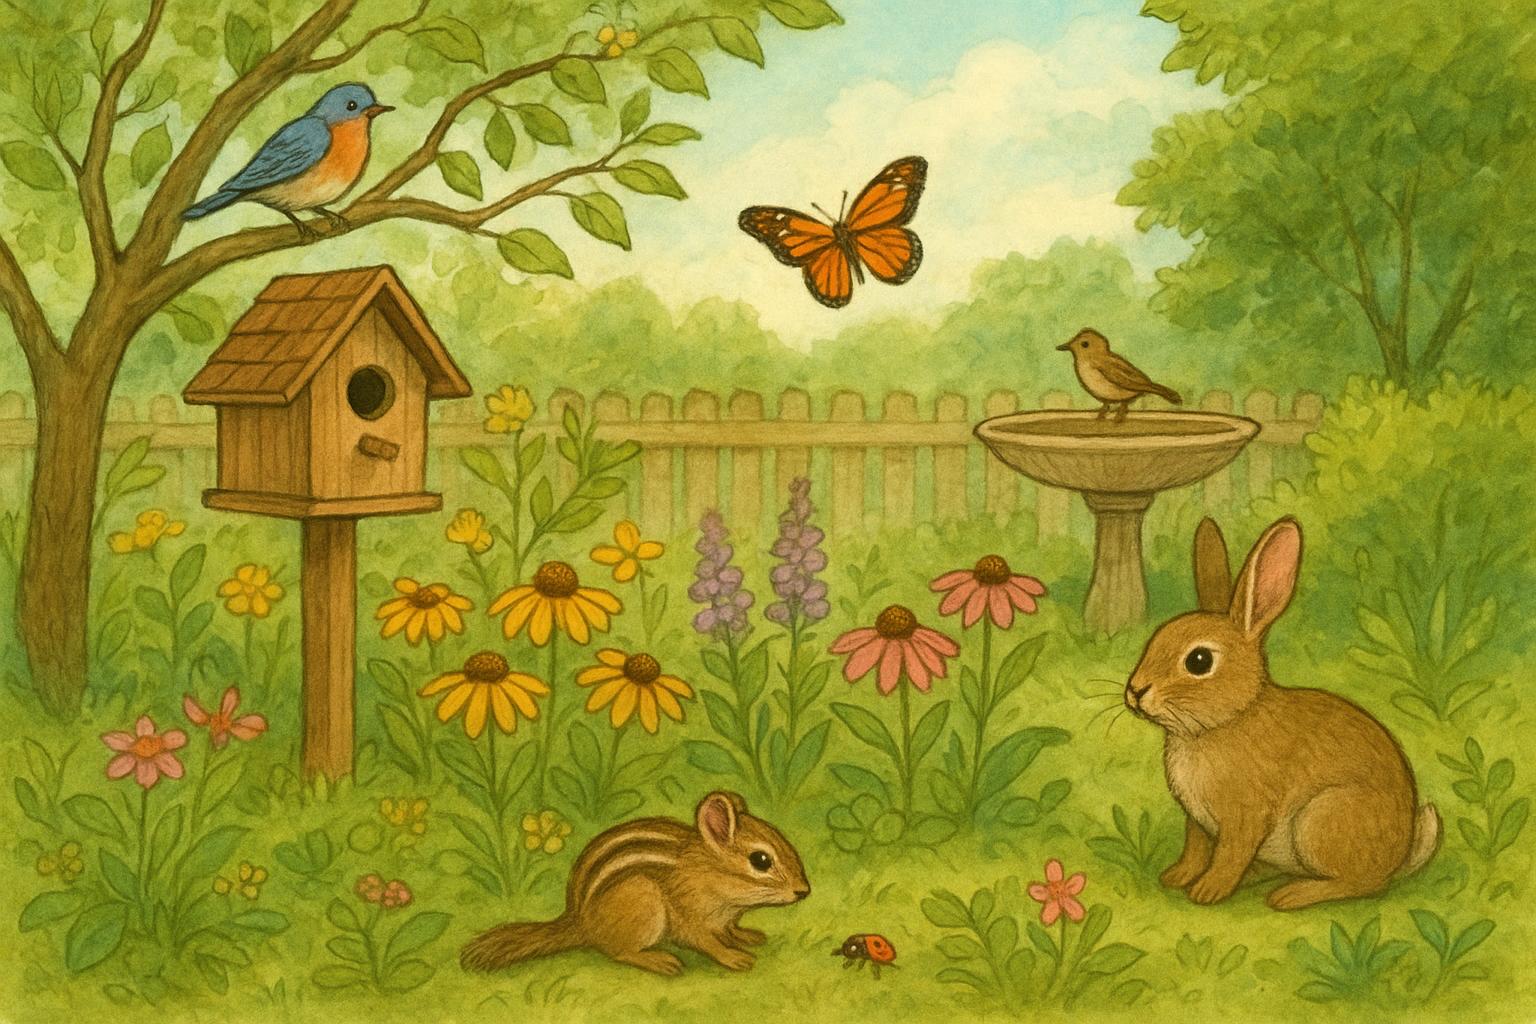
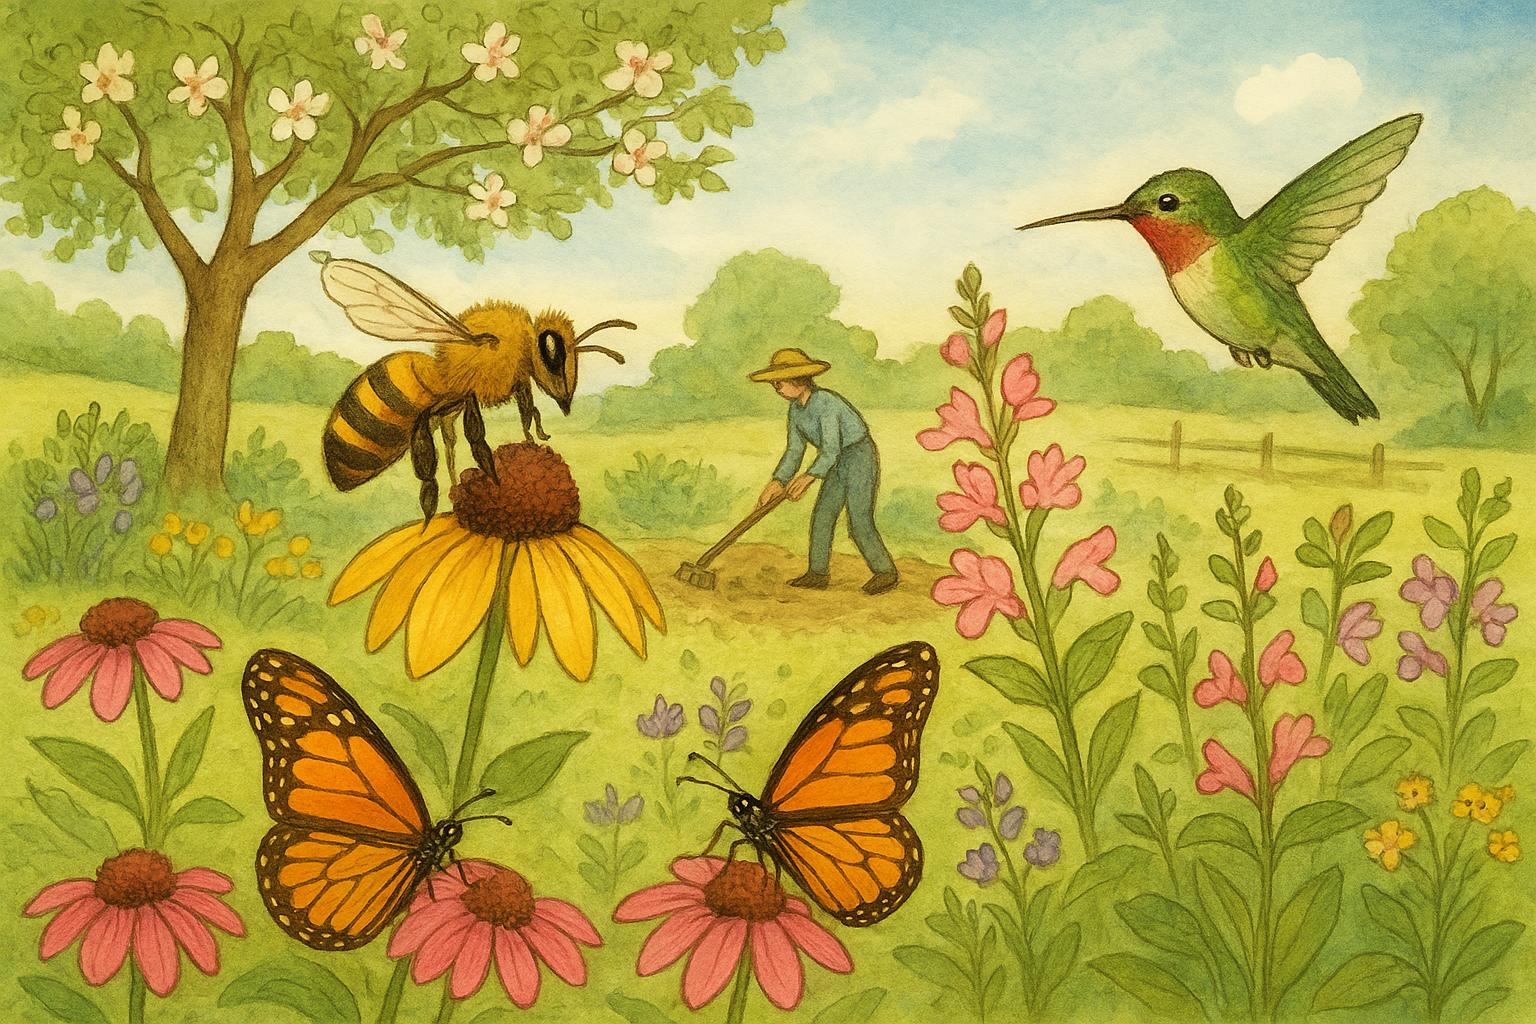
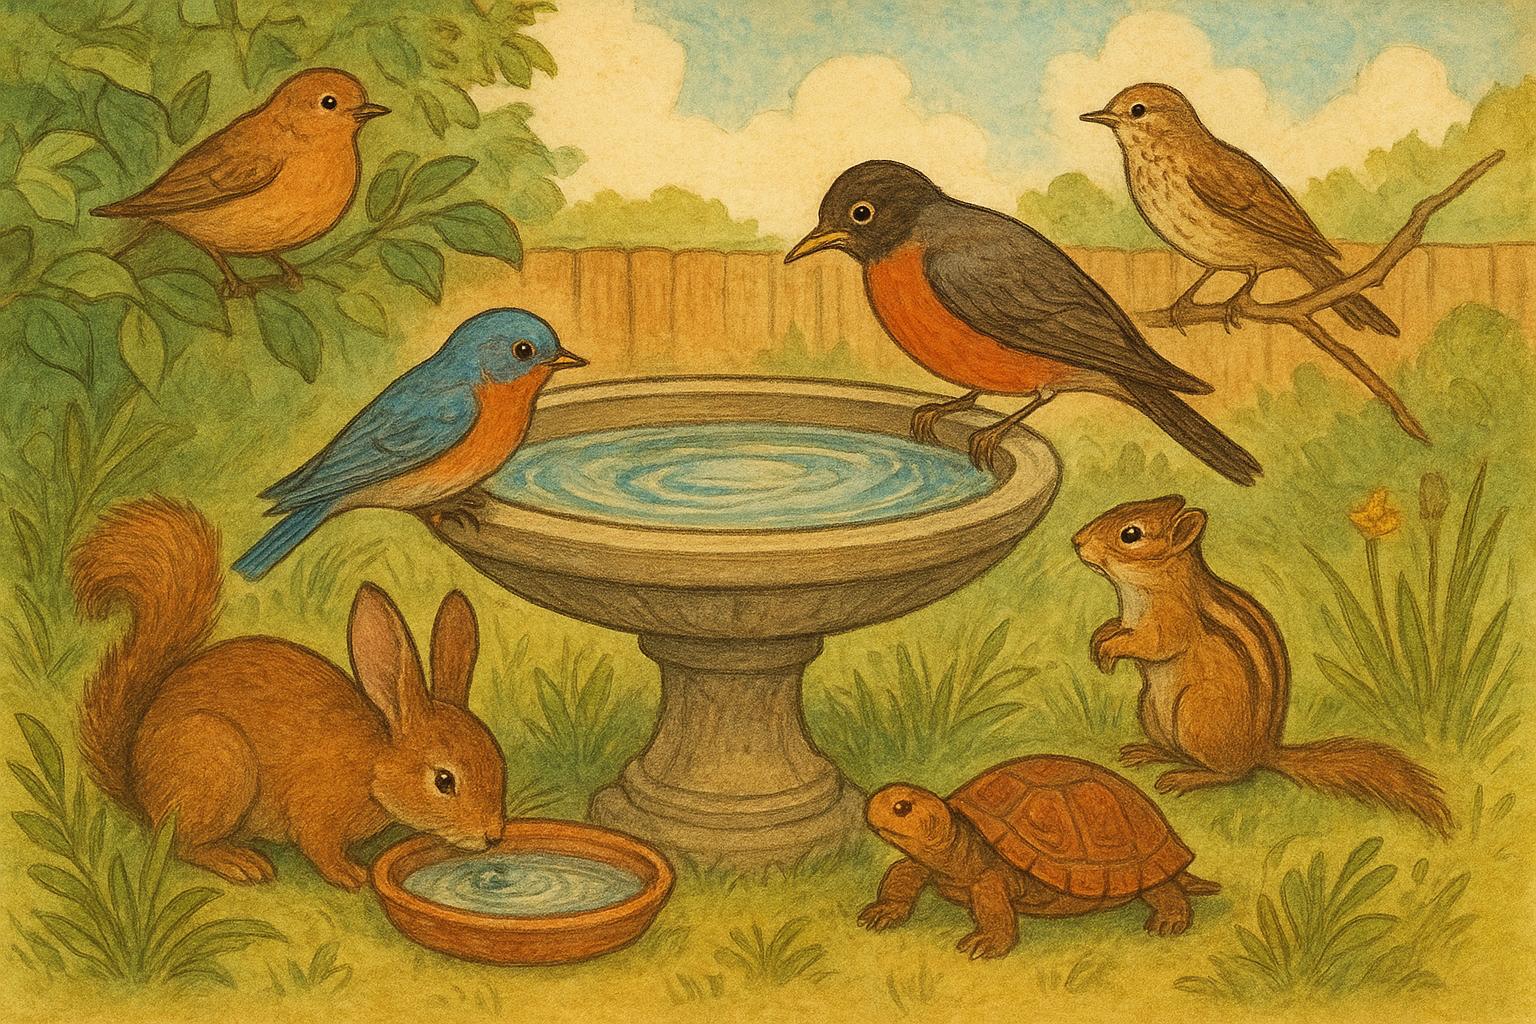
A pile is one element in a larger tapestry. Plant native shrubs and grasses nearby. Reduce lawn area. Offer a small, shallow water feature and avoid chemical pesticides. When those things come together, the brush pile becomes a reliable hub in a yard-wide network of habitat.
#### Little Extras That Help
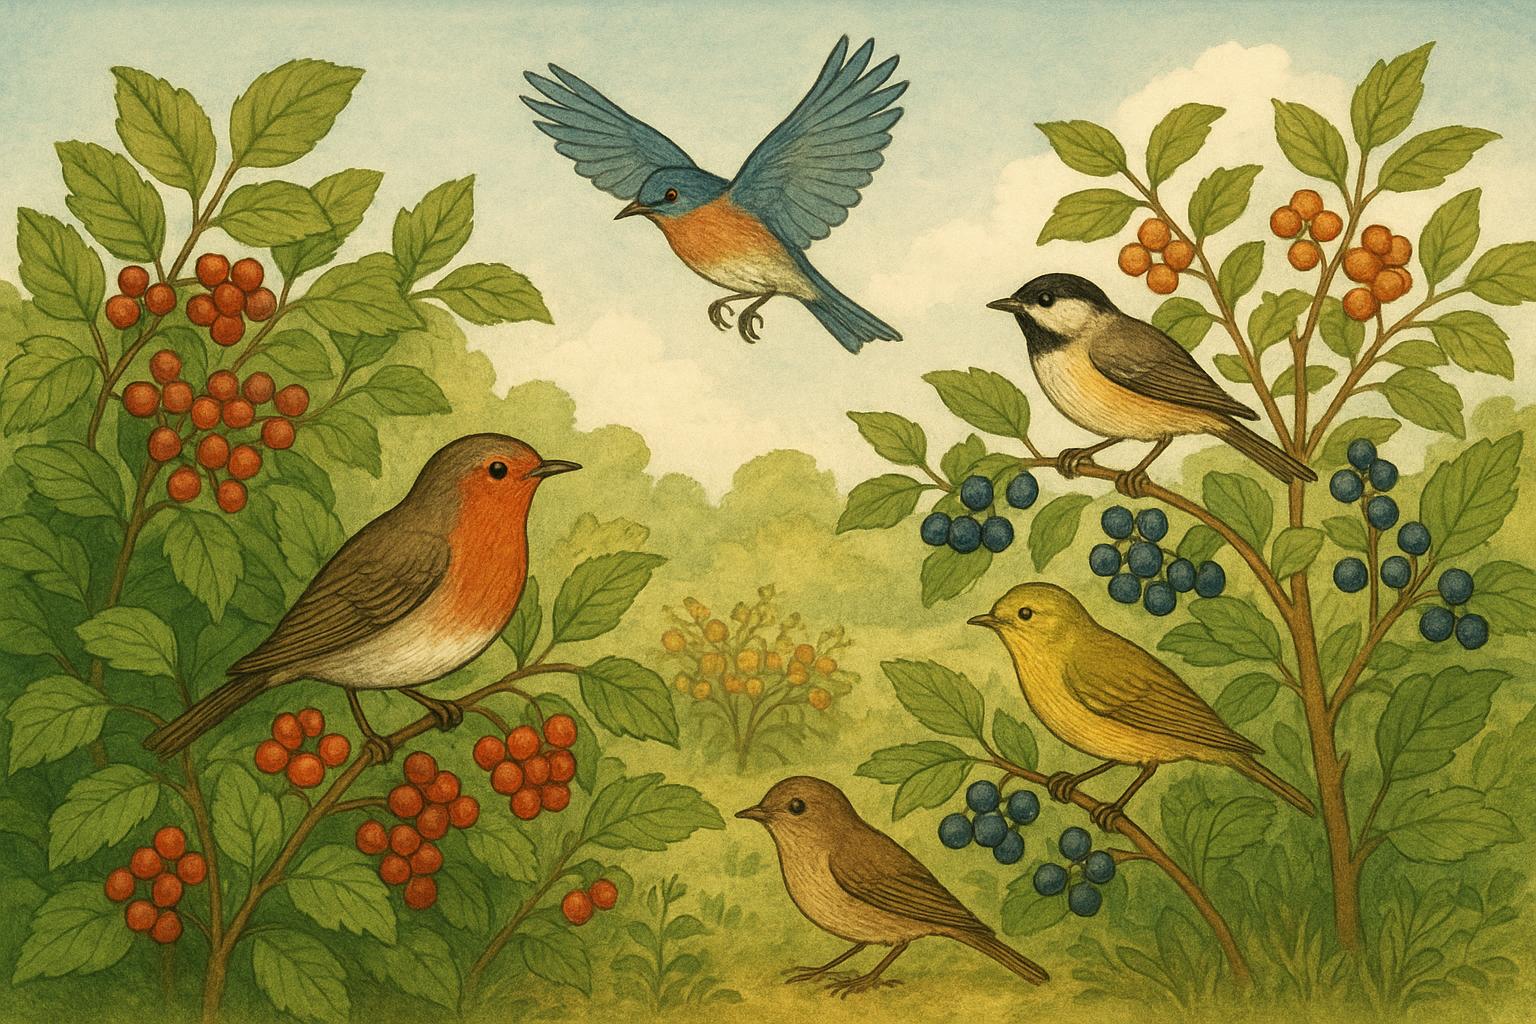
– Plant a hawthorn or serviceberry near the pile for winter berries.
– Leave a few dead snags if safe; they support woodpeckers and cavity nesters.
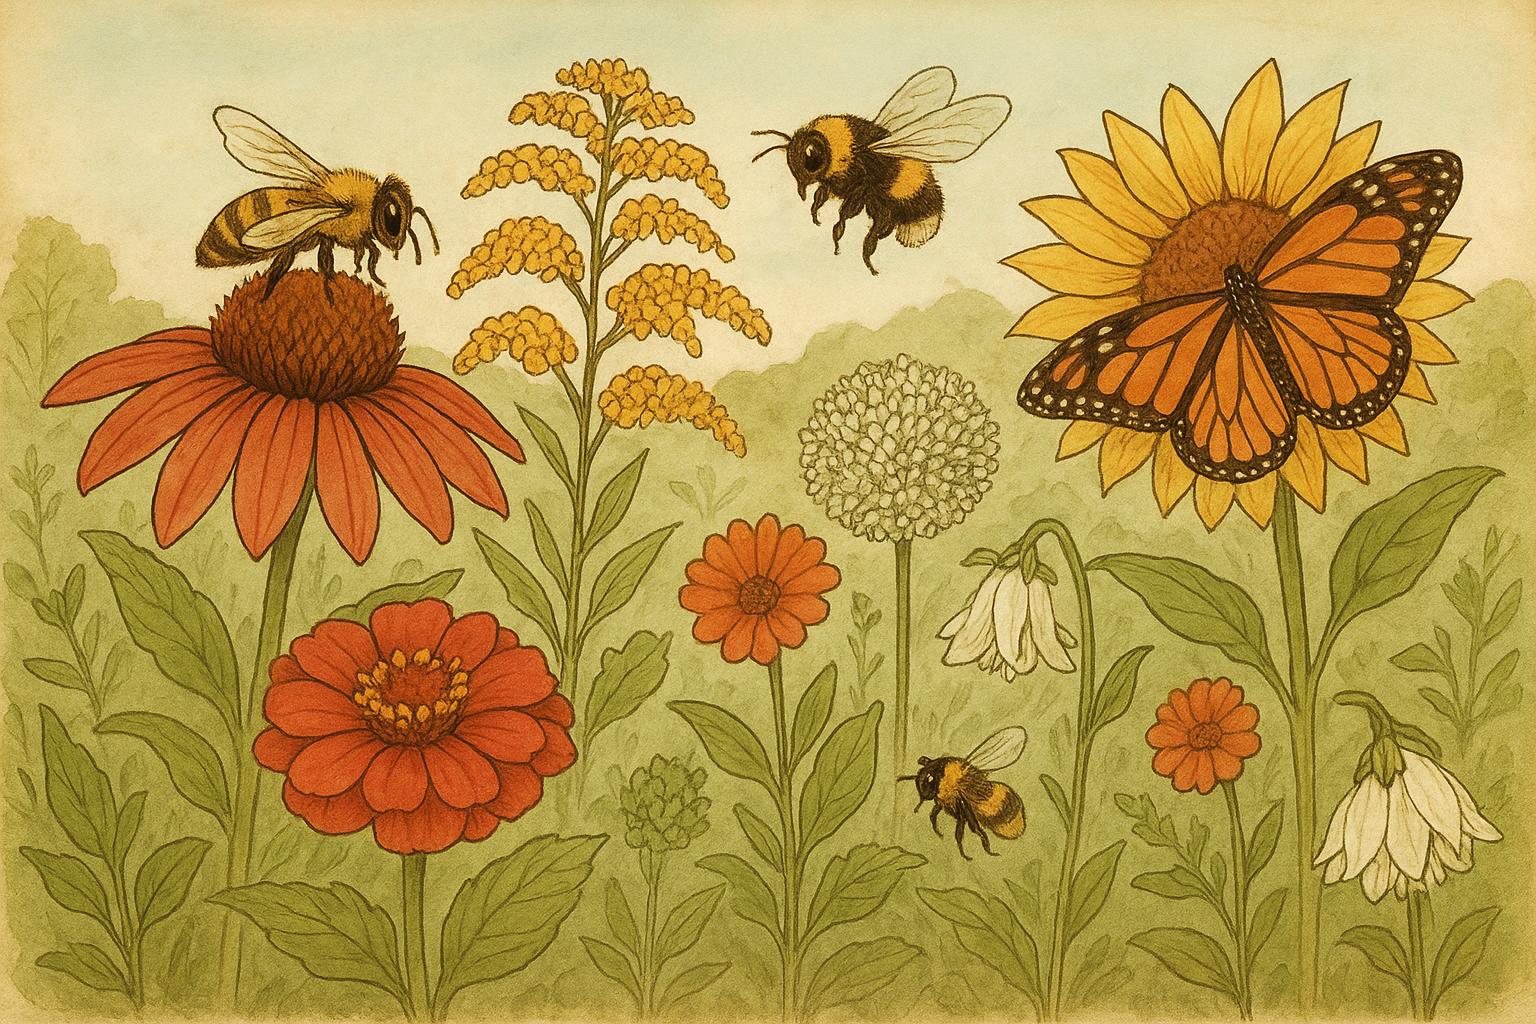
– Scatter native wildflower seed for insect food sources.
## The Housekeeping That Keeps It Working
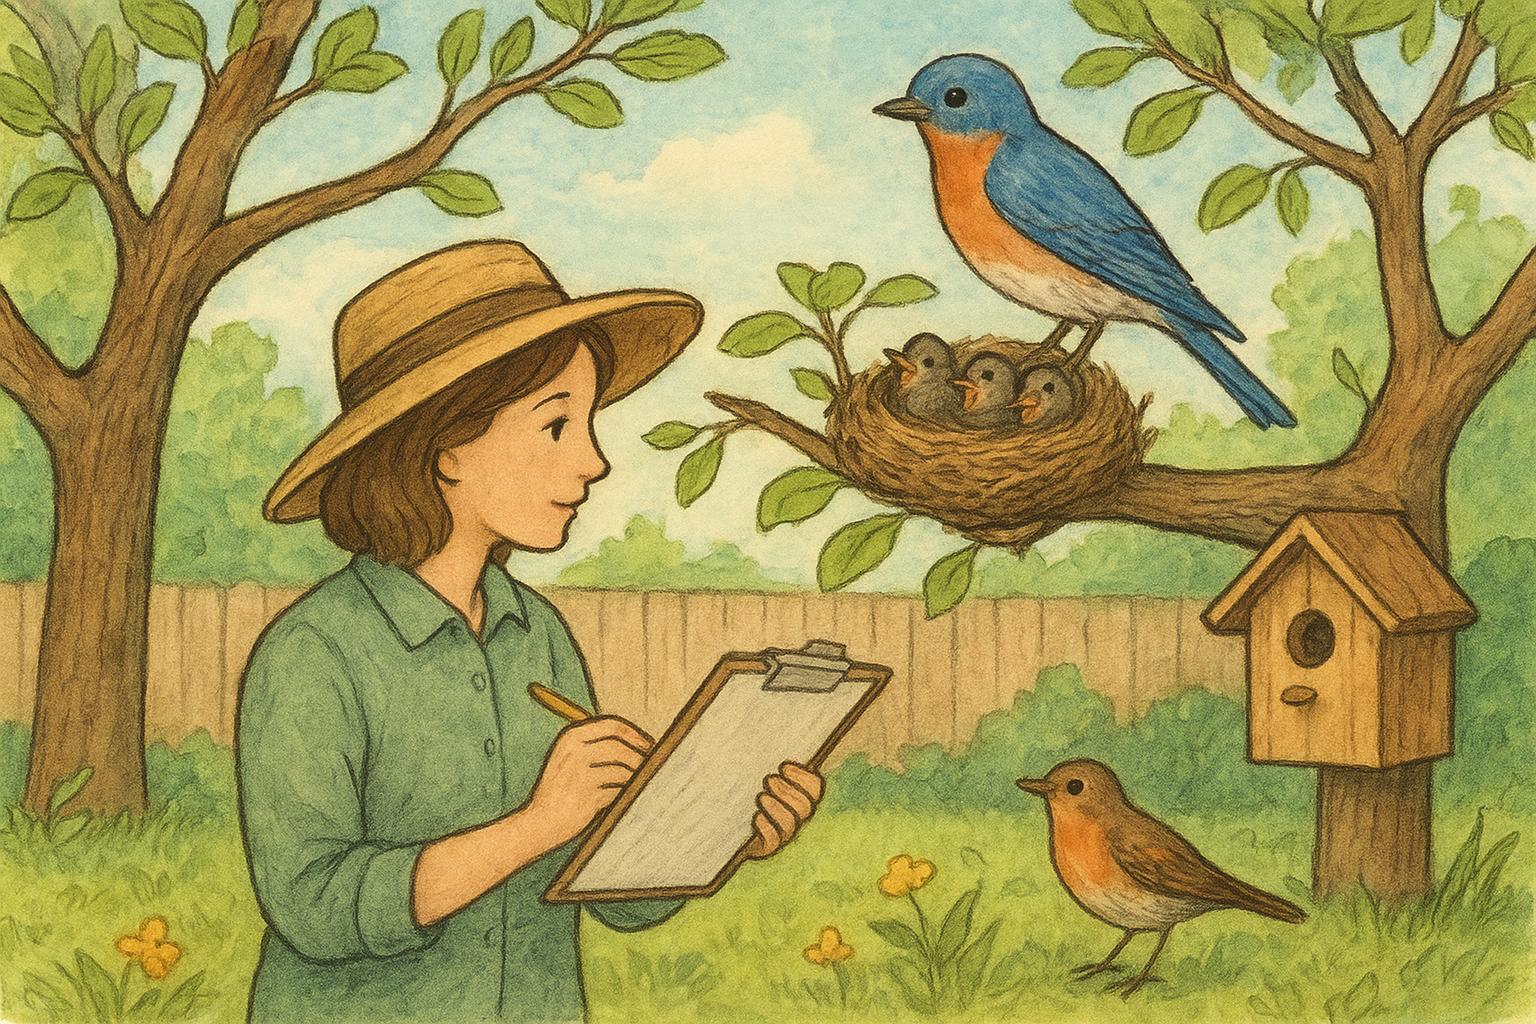
You won’t need to babysit the pile, but a yearly tidy is smart. Move any trash that blows in; remove invasive plant material before it takes root; top off with fresh branches as older material collapses. If you want to avoid larger pest buildup, rotate branches from one small pile to another so they don’t become a continuous attractant. And keep records: note what species you see using a particular pile. Over a few seasons you’ll see patterns and can adapt the shelter design to fit local users.
## Brush Pile Habitat In Small Yards
You don’t need acres. A 3×3-foot constructed pile, or even a series of three small stacks, supports birds and beneficial insects. Use vertical space too: a leaning pile against a low retaining wall can create cavities without consuming much footprint. This is often the best option for urban yards where space and neighbor tolerance are limited.
## Measuring Success
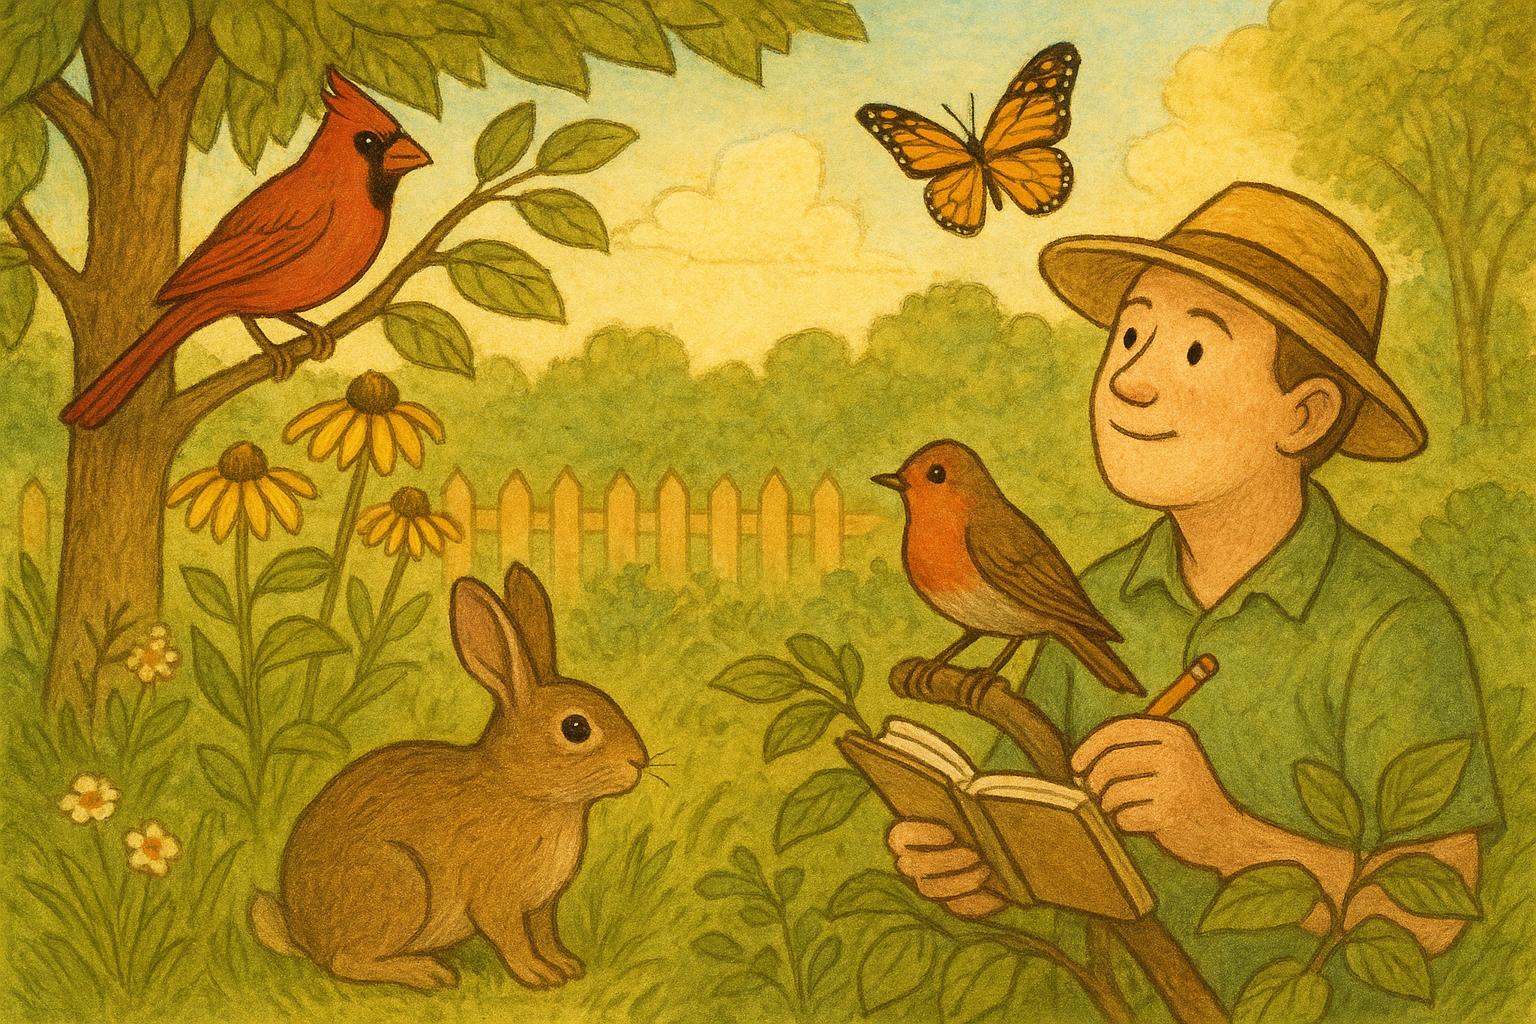
Success isn’t only visible nests. It’s an uptick in insect activity, more birds visiting, and seeing amphibians in spring. Keep a journal or take photos each season. You’ll notice incremental changes: a wren inspecting cavities one spring, then a rabbit out at dusk the next year. Those small wins matter.
## Brush Pile Habitat For Backyard Wildlife Shelter Design
If you want a tidy instruction wrapped as a headline, this one says it plainly: build with structure, think about species, and maintain a bit each year. The pile doesn’t have to be pretty. It just has to be useful. Make it part of a plan — a series of microhabitats that together support a surprisingly broad range of creatures. A single well-built pile can be a keystone feature for backyard biodiversity.
Be patient. It doesn’t all happen overnight. In the first season you’ll get insects and a few curious birds. By the third year the pile will feel settled, hosting a layered cast of inhabitants. Do it right and you’ll watch your yard gain a new kind of life. And yes, sometimes a critter will stash things in strange places; expect a sock or two to disappear. That’s nature, not a failure. Try it. You’ll learn as you go. And if a pile ever looks like it’s become a junk heap rather than habitat, break it down and start a fresh one. Simple cycles keep the wildlife coming back.



Leave a Reply