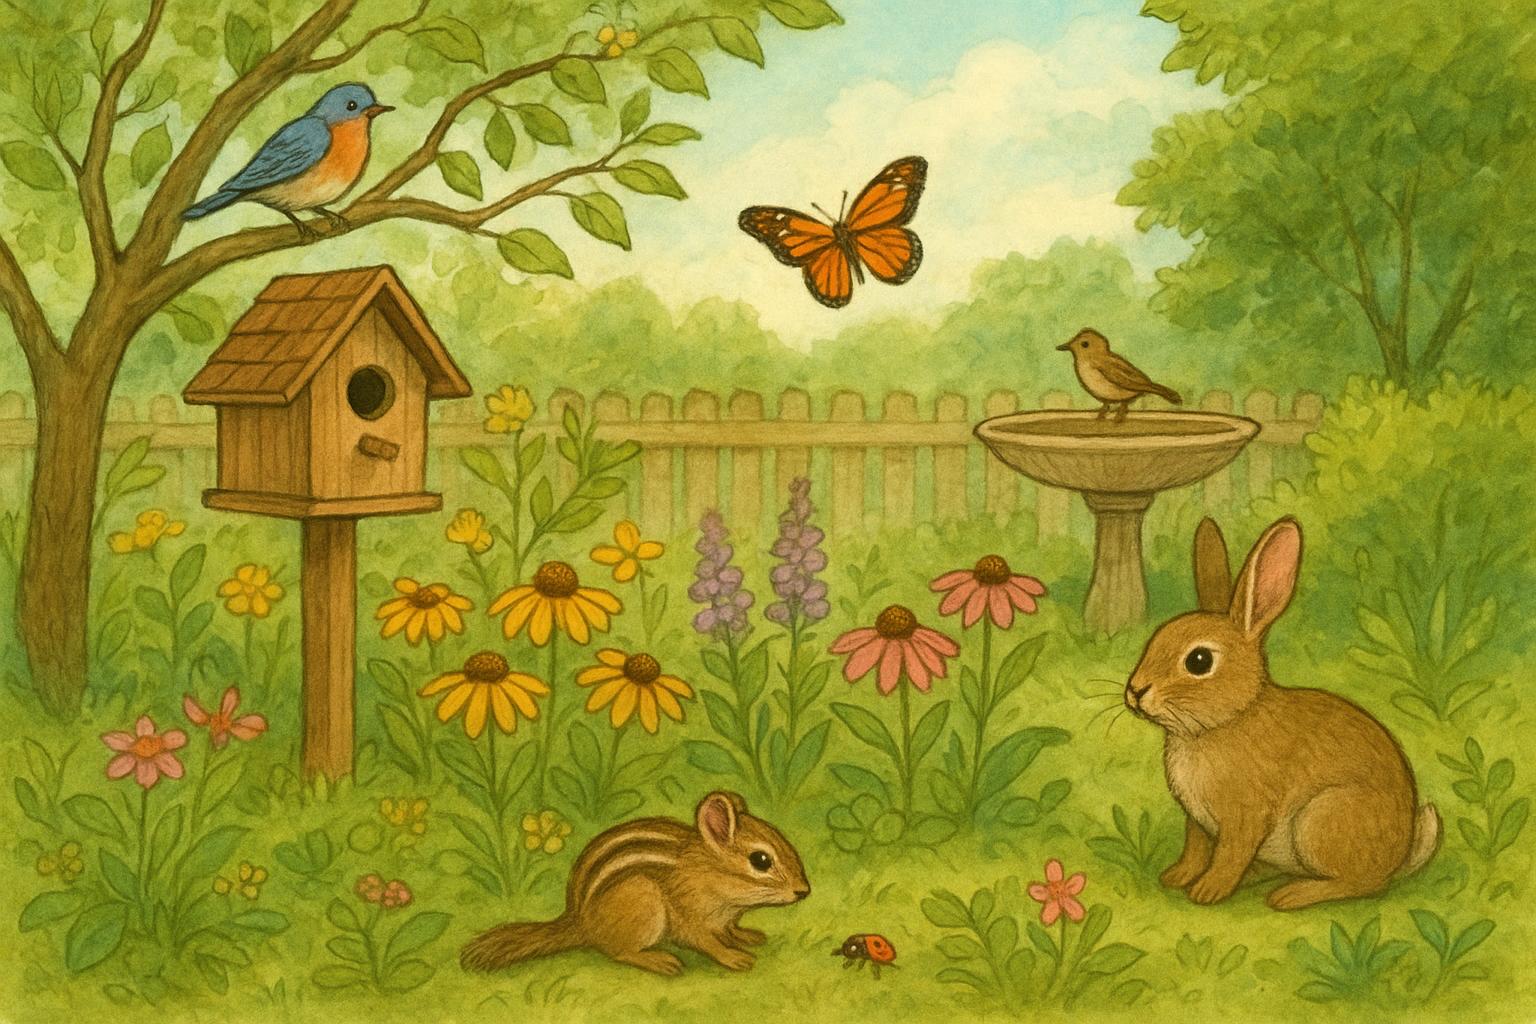
Welcome! If you like birds, coffee on the porch, and the occasional chorus of tiny feathery tenants, you’re in the right place. This guide covers the practical and slightly nerdy details of nest box placement so your backyard becomes a welcome neighborhood for cavity-nesting birds without becoming a predator buffet or a soggy real estate disaster. Think of it as matchmaking—between birds and boxes—minus the awkward small talk.
## Nest Box Placement Essentials
Good nest box placement starts with three simple goals: safety, suitability, and accessibility. Safety means protecting eggs and chicks from predators and extreme weather; suitability means matching box size, entrance, and placement to the species you want; accessibility means you can monitor and maintain the box without stressing the birds. Pay attention to local species, seasonal weather patterns, and the surrounding habitat.
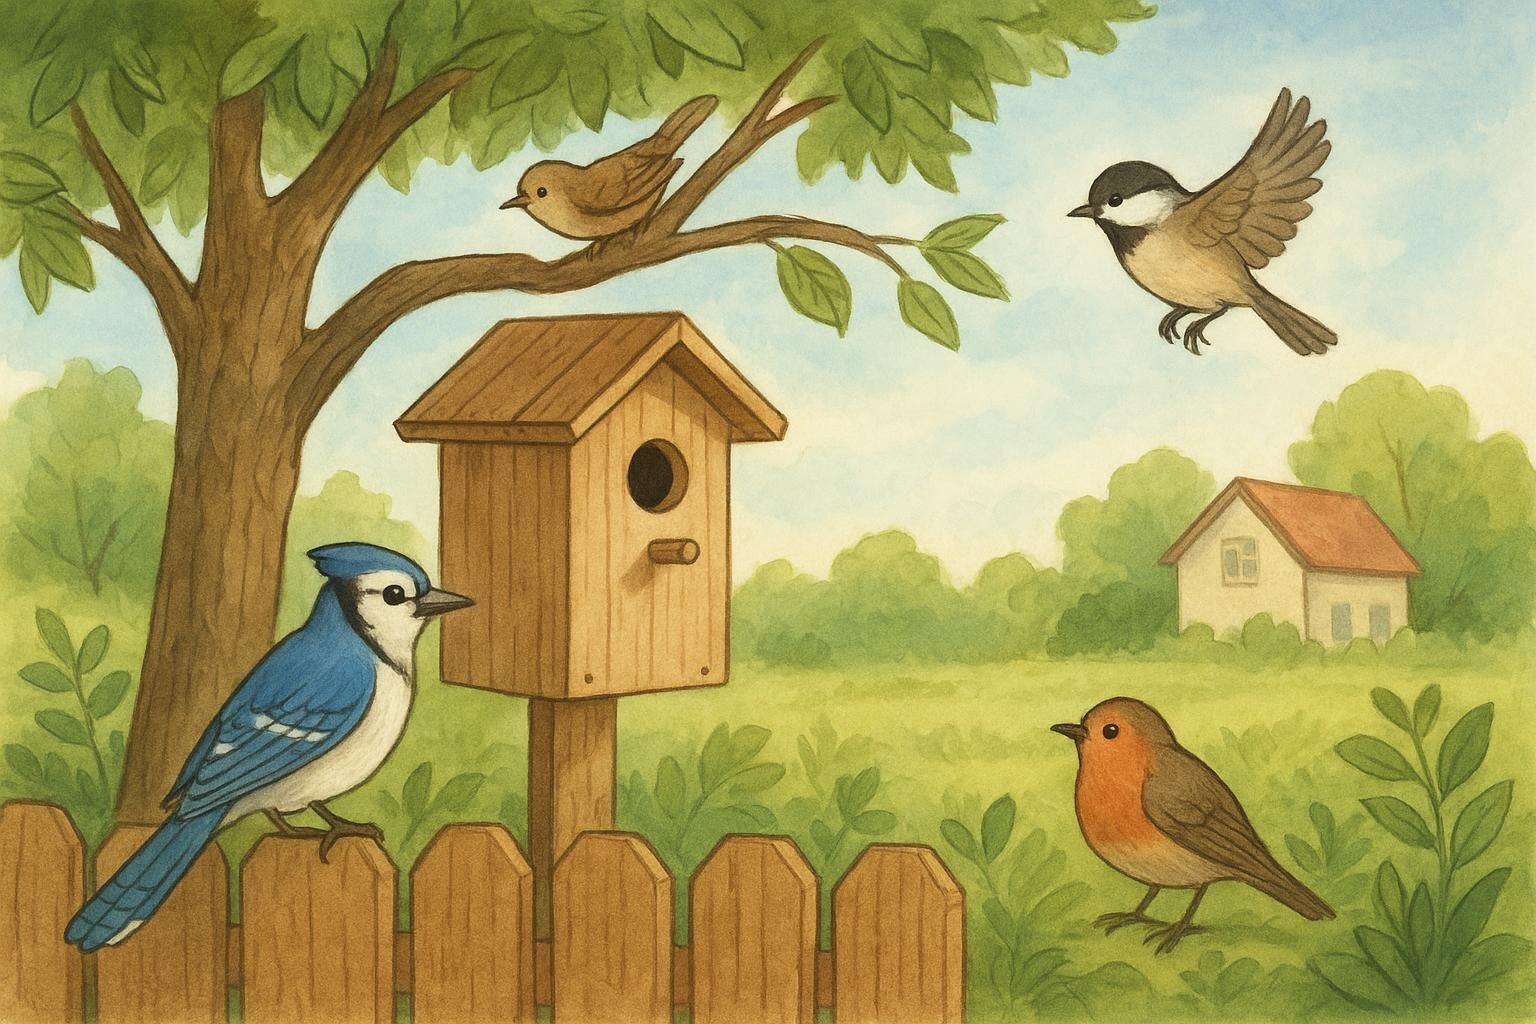
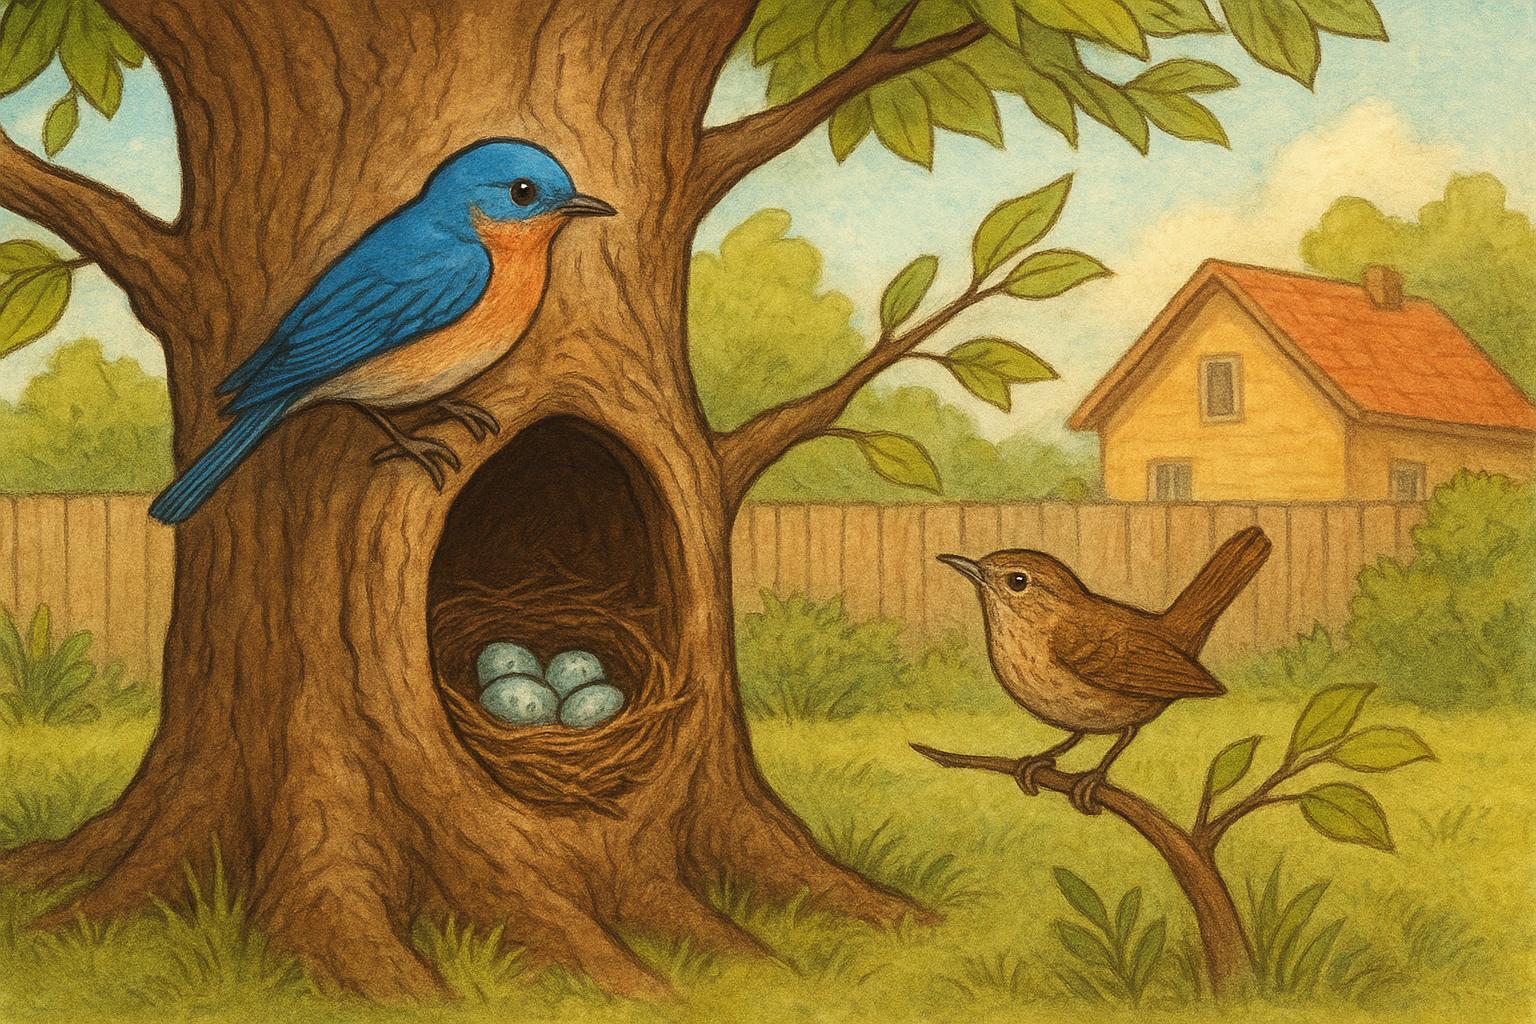
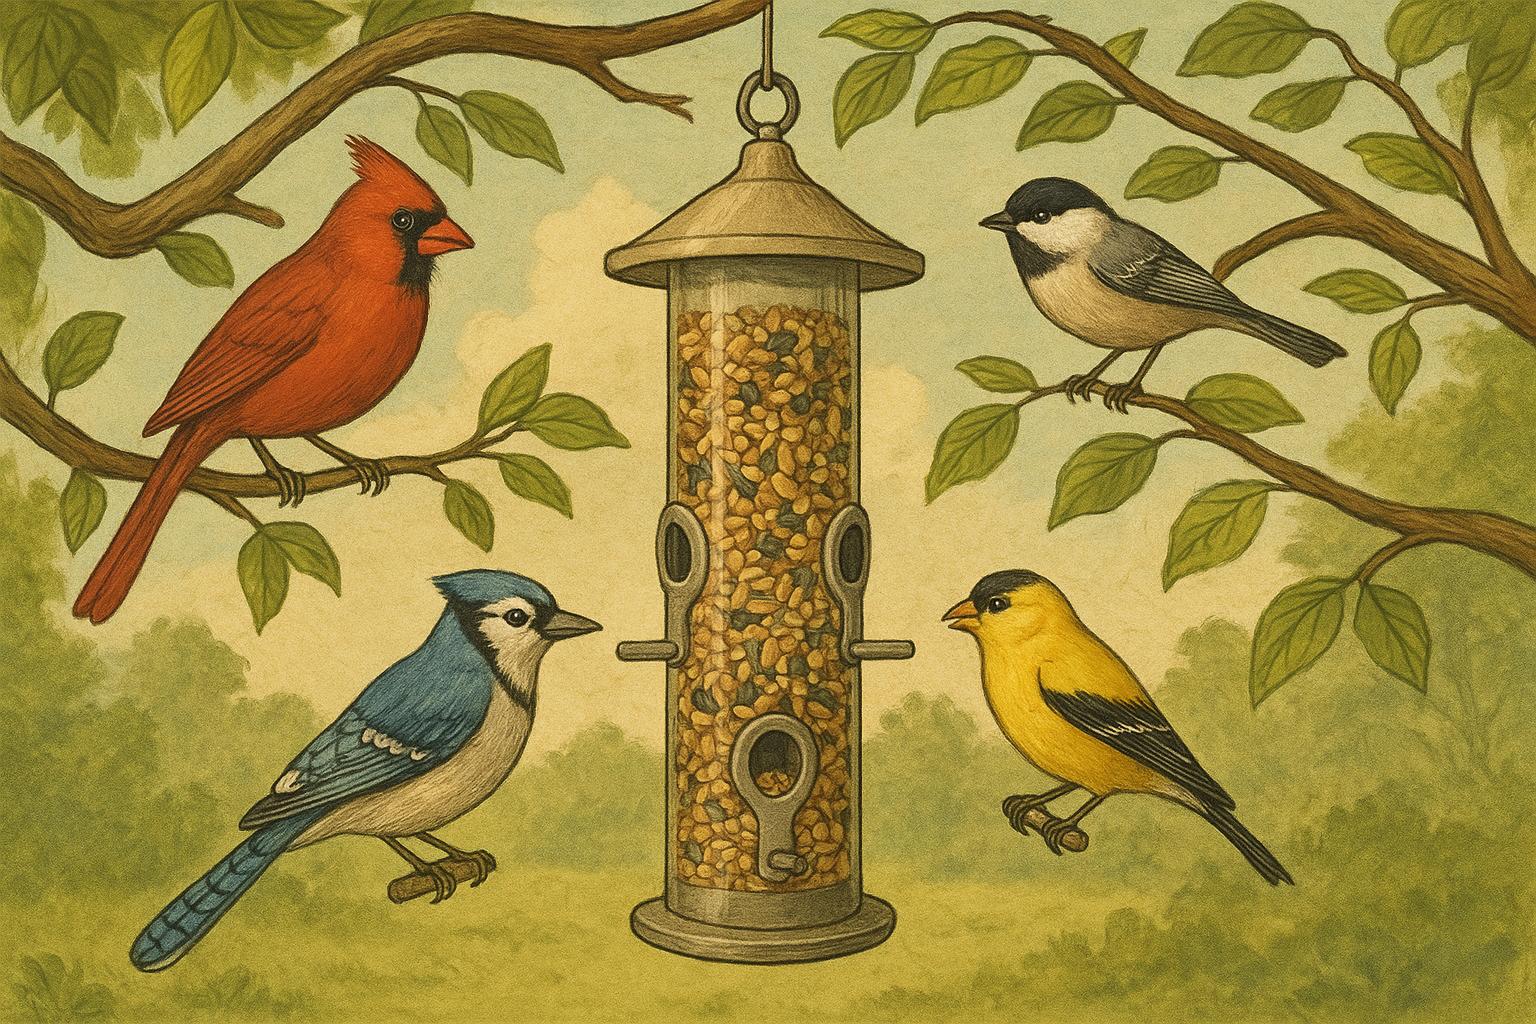
Proper nest box placement greatly increases occupancy rates. For example, bluebirds prefer open areas with short grass, while chickadees like forest edges. The height off the ground, the direction the box faces, and how securely it’s mounted all affect whether a pair moves in or moves on. If you place boxes randomly, you could end up with sparrows hogging the real estate or with boxes that collect water like a tiny Airbnb pool.
### Choosing Location By Species
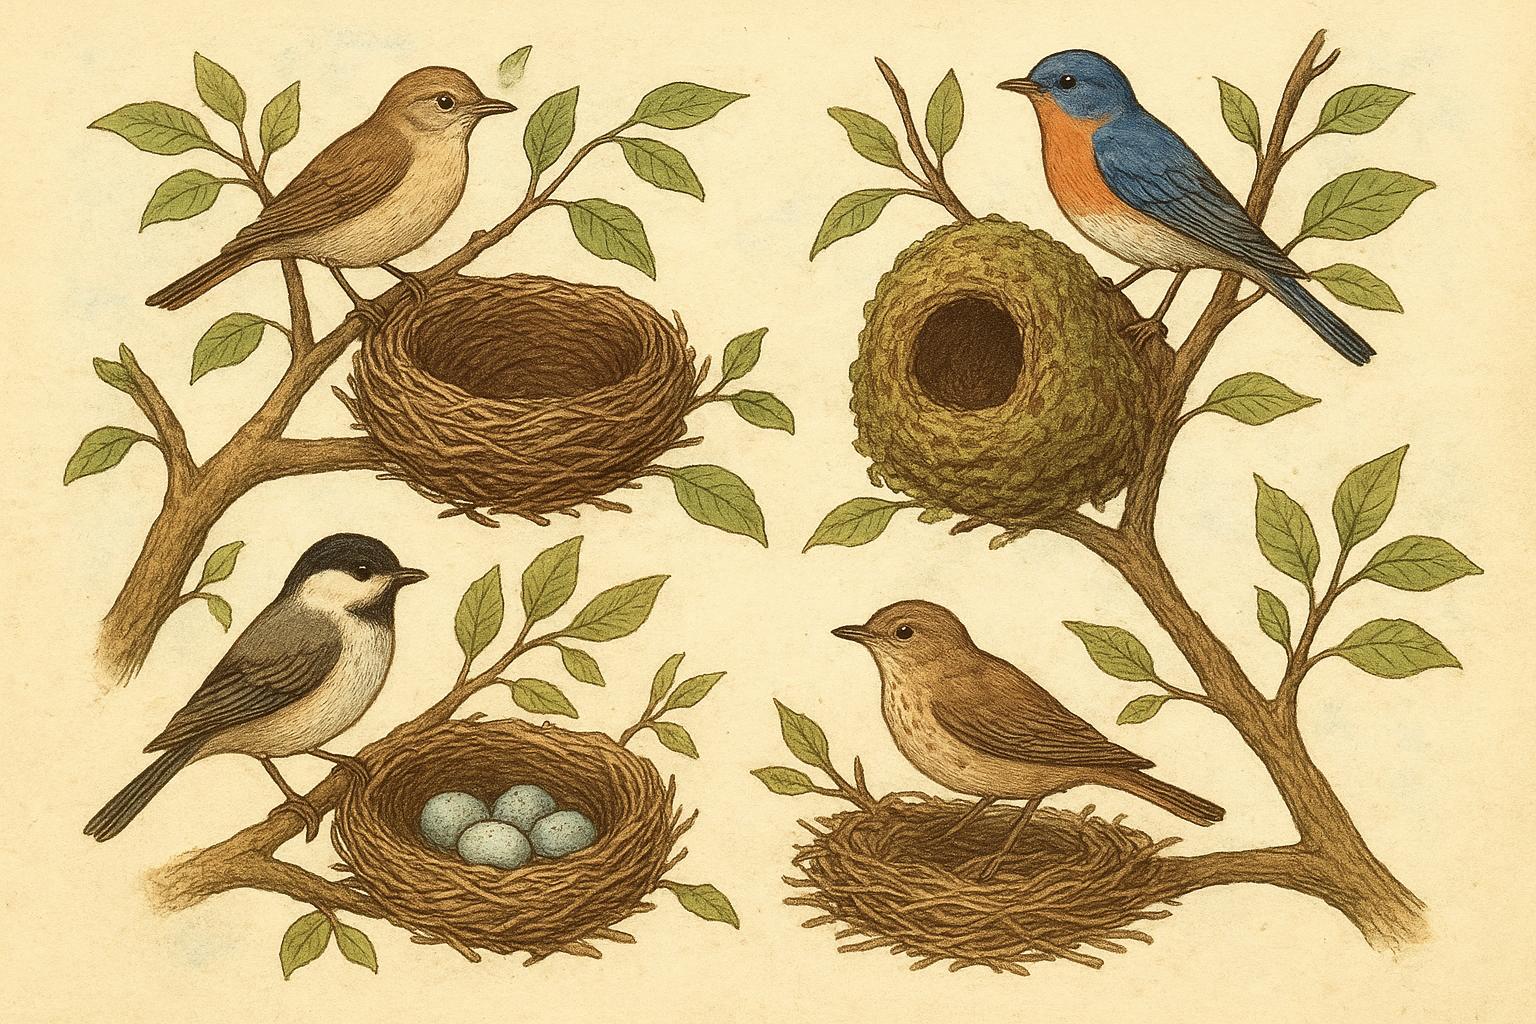
Different species have different preferences. Here are practical ranges that influence good nest box placement:
– Eastern Bluebirds: 4–6 feet above ground, facing a gap or small clearing, 75–150 feet apart for multiple boxes.
– Tree Swallows: 4–10 feet high, facing open water or meadow, 30–50 feet between boxes.
– Chickadees: 6–15 feet high in wooded or edge habitats.
– House Wrens: 4–6 feet, near brushy tangles; put up multiple boxes—wrens often explore many cavities.
Keep the surrounding area consistent with the birds’ feeding and perching needs. For instance, bluebirds hunt from low perches, so a nearby fence post or short tree is ideal. Tree swallows hunt over open water and meadows, so boxes near ponds or fields work best. This is nest box placement tailored to behavior, not guesswork.
### Orientation, Height, And Spacing
Face the entrance away from prevailing winds; in many temperate areas, that means facing east or southeast. Avoid facing boxes toward harsh afternoon sun and prevailing storms. Mount boxes at species-appropriate heights listed earlier. Spacing matters—some species are territorial (bluebirds), others more tolerant (wrens), so put the boxes far enough apart to reduce conflicts.
Predator guards and baffles are crucial parts of nest box placement. Place baffles below or above the box depending on whether aerial or climbing predators are the main threat. Keep vegetation trimmed within a few feet of the box entrance so predators don’t use overhanging branches as bridges.
## Remedy 1: Installing A Nest Box Correctly
When it comes to installation—the real remedy for poor occupancy—you’ll want a formal, methodical approach. Below are the required materials and a step-by-step protocol to ensure nest box placement maximizes safety and attractiveness for intended species.
Materials Required:
1. Weatherproof wooden nest box (species-appropriate dimensions and entrance hole size)
2. Galvanized screws and washers or appropriate mounting hardware
3. Metal predator guard or baffle (cone or wrap style)
4. Mounting post or sturdy pole (metal T-post or wooden post)
5. Level and measuring tape
6. Drill and screwdriver (or cordless drill)
7. Wire mesh (optional, for interior gripping if species needs it)
8. Ladder and safety equipment (gloves, eye protection)
9. Zip ties or stainless steel bands (for pole mounting)
10. Silicone caulk (for small sealing needs; use sparingly)
Step-by-Step Installation:
1. Select the Target Height and Spot: Measure the correct species height from ground level. Choose a clear line of sight and avoid dense foliage that could provide predator access.
2. Face Correctly: Orient the box entrance away from prevailing winds and direct afternoon sun. East or southeast is often ideal to warm the box in mornings.
3. Mount Securely: Attach the box to the post or pole using galvanized screws and washers. If using a T-post, fasten with stainless steel bands or durable zip ties; avoid screwing directly into thin metal which can loosen.
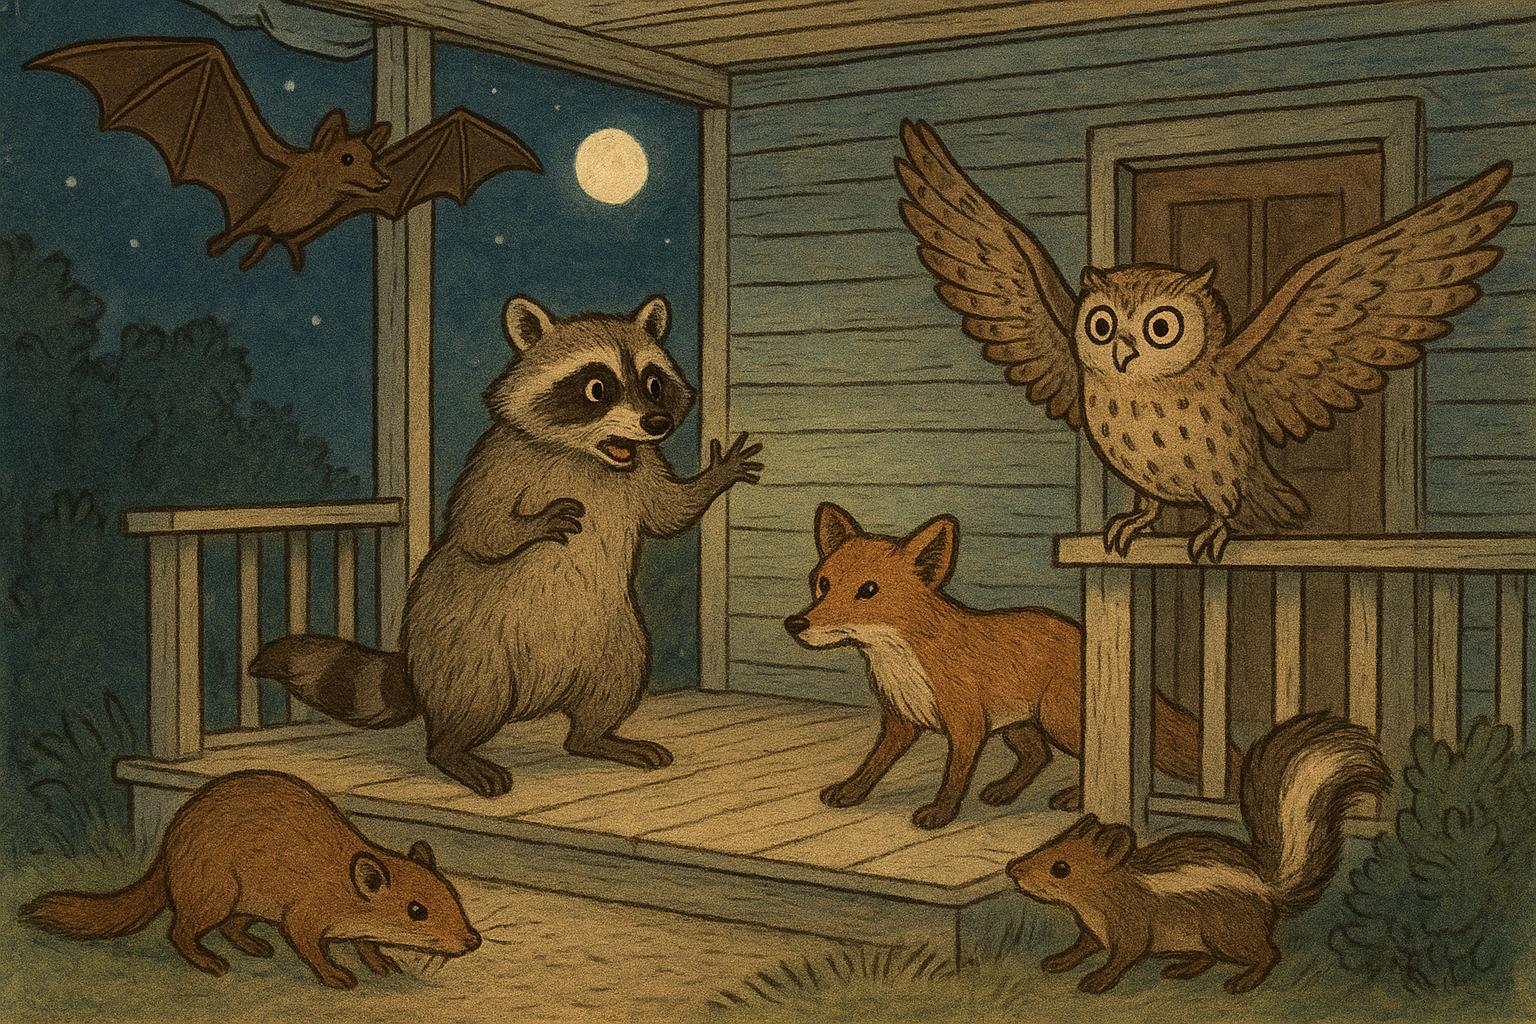
4. Add a Predator Guard: Install the metal cone or baffle on the pole below the box to prevent raccoons, snakes, or cats from climbing. Secure with hardware as recommended by the guard manufacturer.
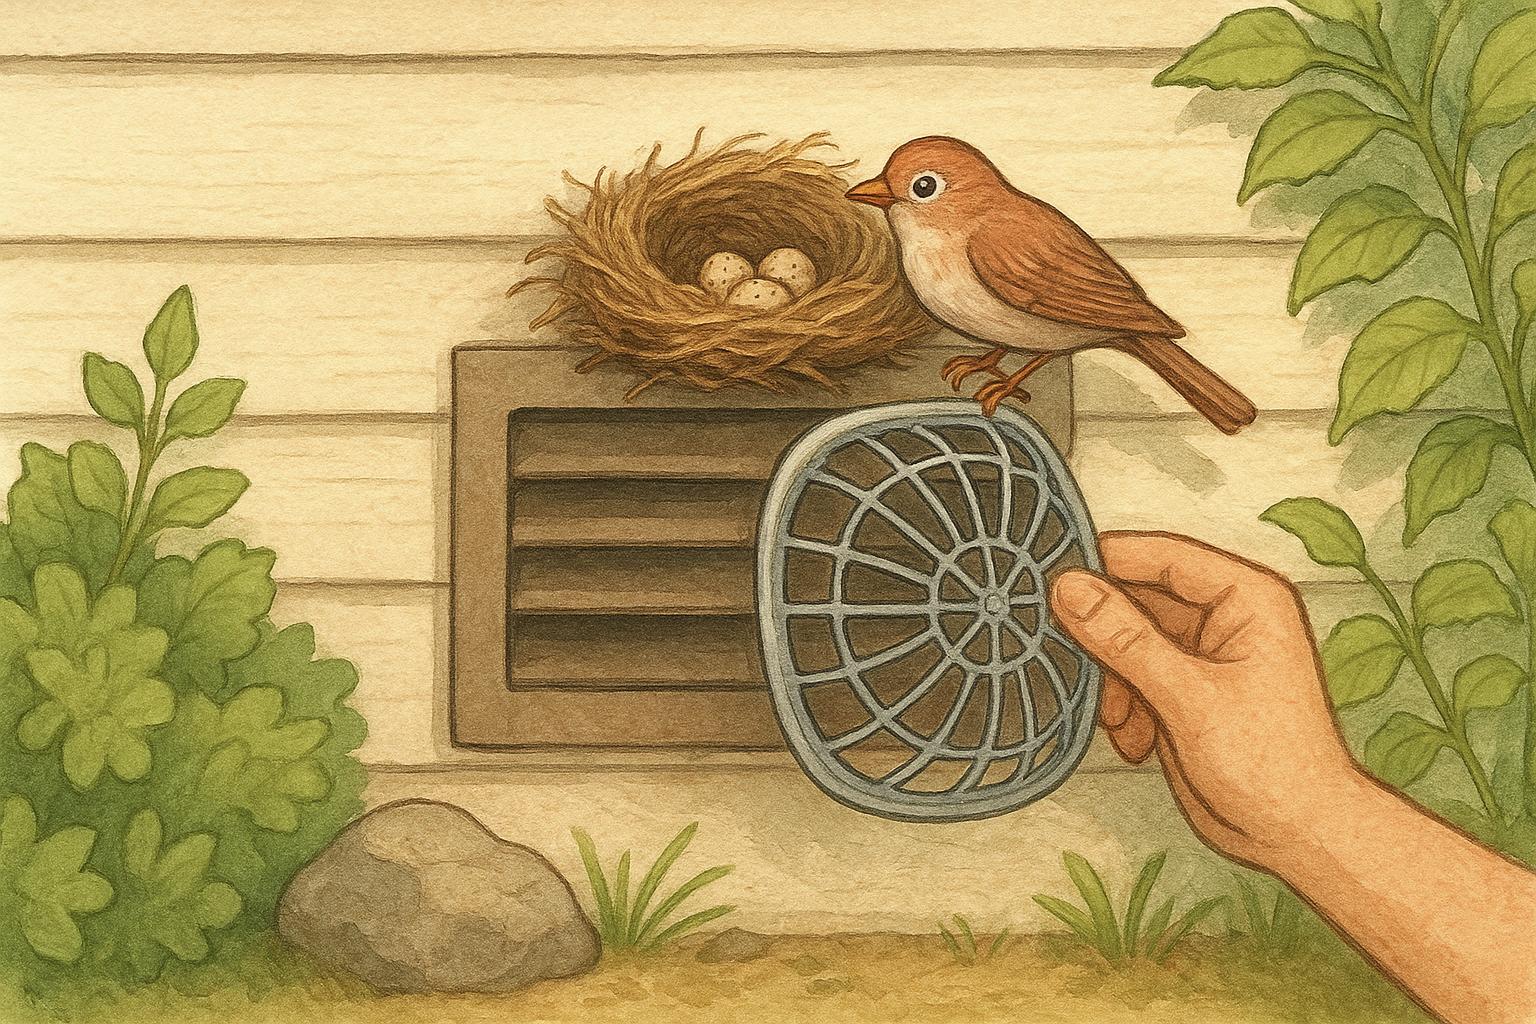
5. Ensure Proper Ventilation and Drainage: Confirm that small ventilation holes near the top and drainage holes in the floor are clear. Use silicone caulk sparingly to seal only where unwanted leaks occur—do not block vents.
6. Create Interior Grip (If Needed): For species that need a foothold, attach a 2×2 slat or a short strip of hardware cloth inside the box below the entrance; fasten securely and bury any sharp edges.
7. Final Leveling and Security Check: Use a level to ensure the box is upright or has a very slight forward tilt to shed rain. Tighten all fasteners and test the pole’s steadiness.
8. Record the Location: Note the GPS point or a clear description of the box location for monitoring. Regular checks are essential, especially during nesting season.
Follow these steps without skipping the predator guard and ventilation checks—those small details matter far more to nesting success than an adorable paint job.
### Predator Proofing And Maintenance
Predators are one of the main reasons nesting attempts fail. For effective predator control, use metal entrance hole plates for species with larger holes, and keep vegetation trimmed. A formal inspection schedule reduces stress on birds: check early season to ensure boxes are clean and free of old nests, then limit inspections during active nesting to quick visual checks from a distance or through a small opening to avoid disturbing the birds.
Maintenance checklist:
– Clean boxes in late fall or very early spring.
– Replace or repair any loose fasteners.
– Reposition a sagging pole promptly.
– Replace rotted boxes; do not patch structurally compromised wood.
### Camouflage, Color, And Material
A box’s material matters—use untreated, rot-resistant wood like cedar or pine. Avoid pressure-treated wood or toxic paints. Exterior paint should be light and breathable; white or light tan reduces overheating in summer but avoid high-gloss finishes. Camouflage with natural tones if your box is in a visible area, but prioritize safety and ventilation over aesthetics.
### Mounting Options And Site Considerations
You can mount nest boxes on poles, trees, or building walls. Poles often provide the best predator reduction and allow optimal placement height and orientation. Trees are natural but can make predator access easier; if using a tree, add a baffle and avoid attaching boxes to thin branches that sway excessively in wind.
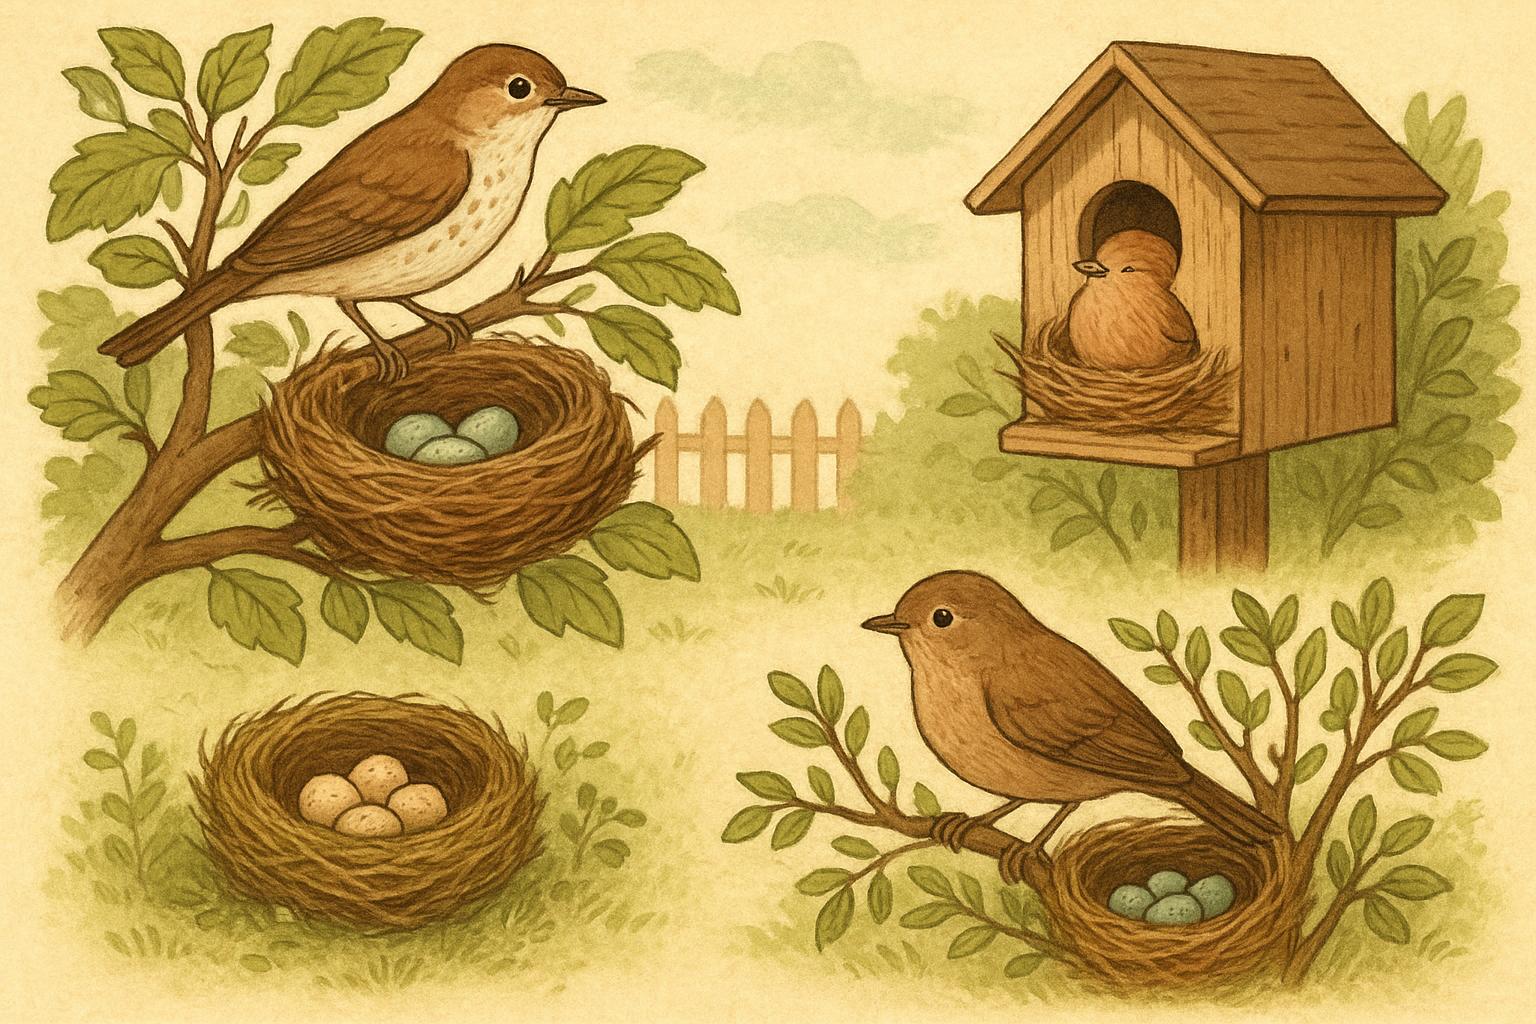
If you’re placing multiple boxes, stagger them in different microhabitats—edges, open fields, near shrubs—so you increase the chances of attracting diverse species. When placing near human activity, keep boxes about 20–30 feet from high-traffic areas to minimize disturbance yet close enough for you to enjoy watching.
### Troubleshooting Common Problems
If boxes remain unoccupied, re-evaluate placement and local competition. Sparrows and starlings can dominate boxes; use species-specific entrance plates to exclude them. Excessive rain in the box suggests poor orientation or blocked drainage—correct by re-angling and clearing holes. Predation often indicates a missing baffle or a neighboring perch; eliminate perches and install guards.
If tenants abandon mid-season, check for signs of parasites, frequent disturbance, or harsh weather. Sometimes a small tweak—moving a box a few feet into denser cover or adding a predator guard—solves the issue. Be systematic: change one variable at a time and monitor the results.
### Monitoring And Citizen Science
Record occupancy, species, and nesting success to contribute to local bird records or citizen science platforms. Regular monitoring helps you refine nest box placement over years. A little data goes a long way in understanding what works in your particular backyard microclimate.
Thanks for doing the hard work of thinking like a bird. Proper nest box placement is part art, part science, and mostly patience—plus a bit of elbow grease when installing that baffle. Go ahead, get the tools, pick the spot, and prepare for the delightful chaos of a successful nesting season.


Leave a Reply