If you’ve ever stepped outside after a rainy night and found a maze of tiny impressions leading to your compost pile, welcome: you’re officially a backyard detective. Mud holds stories — who visited, where they went, and sometimes what they were carrying. The trick is learning to read those wet-page novels without getting your gumshoe hat muddy.
## Mud Tracks Mystery For Backyard Animal Prints Guide
### Why Mud Tracks Are Useful Clues
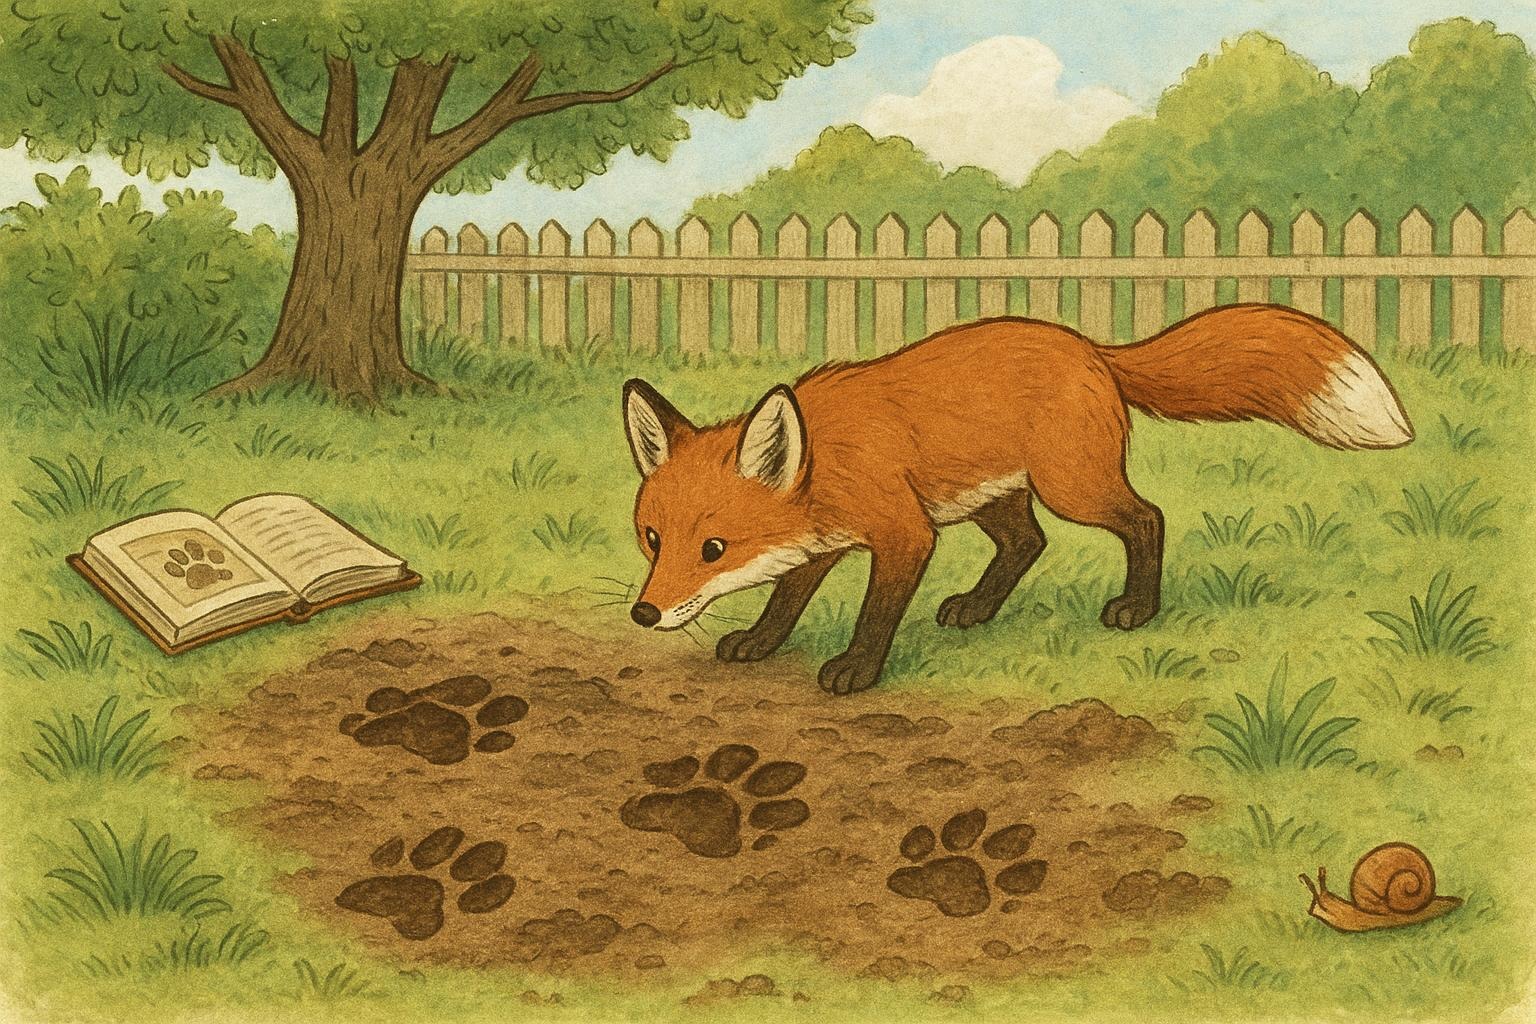
Mud tracks are like nature’s sticky business cards. A single clear print can tell you whether your nighttime visitor was a raccoon rifling the trash or a cat practicing its parkour. Look at pad shape, claw marks, stride length, and number of toes. Even the sloppy edges of a print can hint at gait — a sliding hind foot, a dragging tail, or a hopping rabbit. And yes, mud can preserve detail better than dry soil, making it a great medium for identification.
### How To Read The Size And Shape
Start by measuring the track. A ruler or a coin gives you scale. Small, rounded prints with four toes and no visible claws? Think cat. Oval prints with five toes and visible claw impressions usually point to a raccoon. Deer tracks are heart-shaped and cloven; dogs and coyotes show elongated ovals with claw marks. The distance between prints reveals gait: short steps for meandering browsers, long strides for purposeful hunters. Don’t forget the toe orientation — splayed toes suggest swimming or running; tight toes often mean a deliberate walk.
### Interpreting Patterns And Behavior
Tracks don’t exist in isolation. Trail patterns tell a story. A straight, narrow path often indicates a predator on patrol. Scattered, zigzag prints might be birds or squirrels chasing insects. If you find repeated prints around a single spot — shallow, messy impressions concentrated near a bird feeder or compost bin — you likely have a regular visitor making frequent short stops. Seasonal behavior matters too: spring fledglings make skittery tracks; winter visitors may show signs of slipping or deeper prints if the ground’s frozen beneath a thin layer of mud.
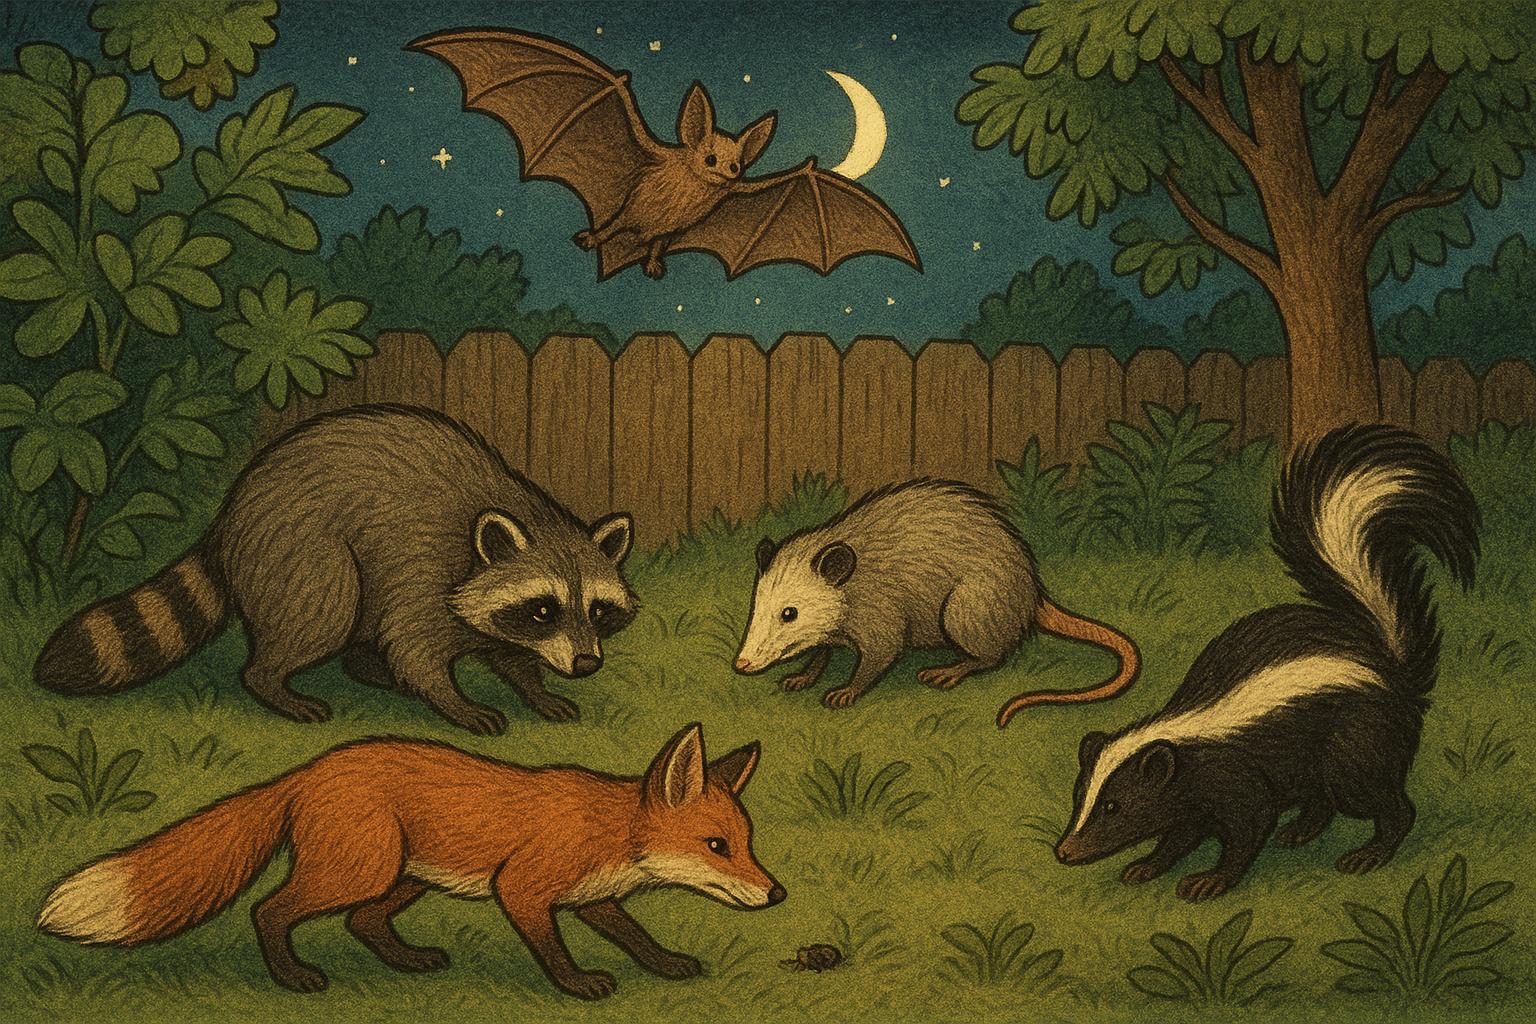
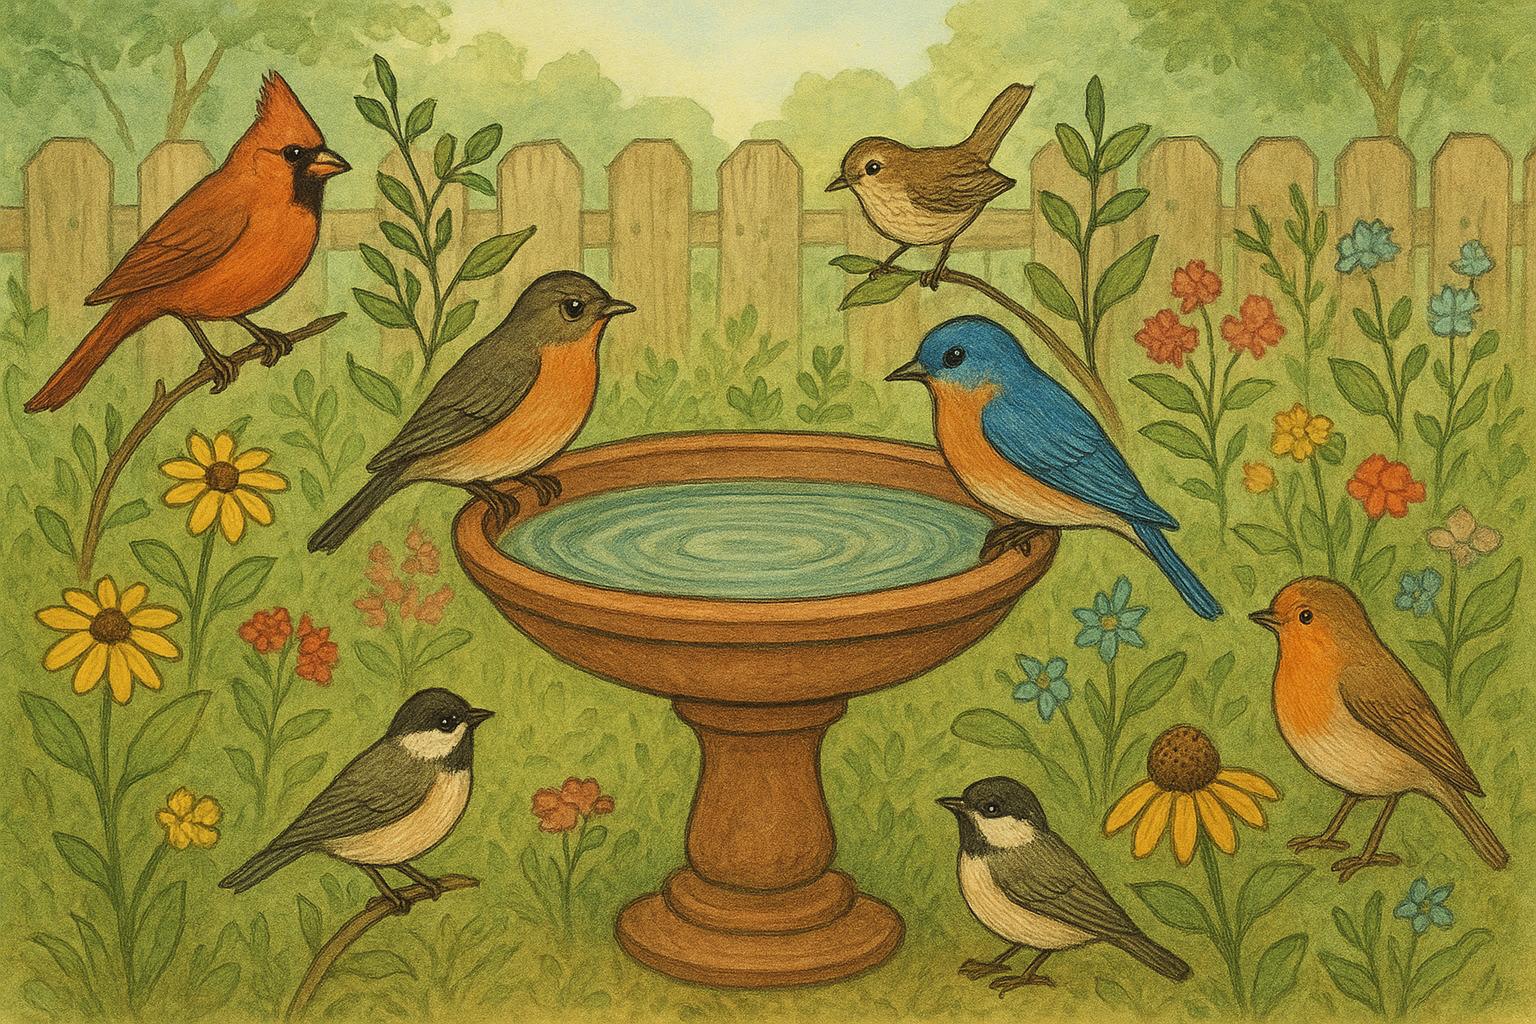
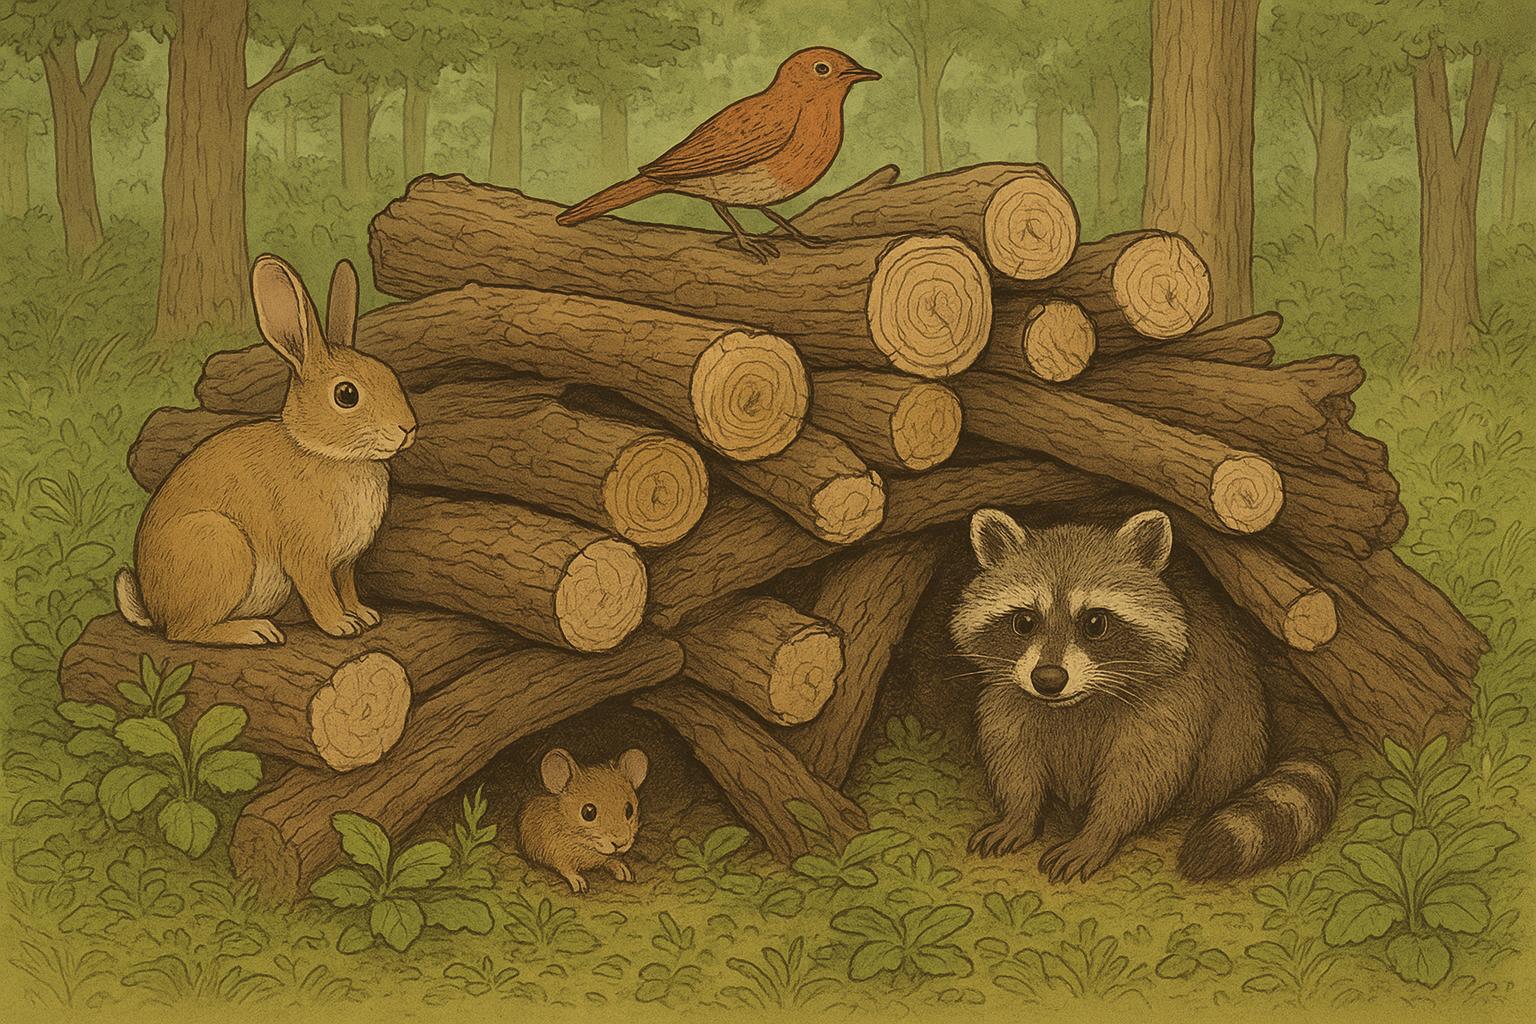
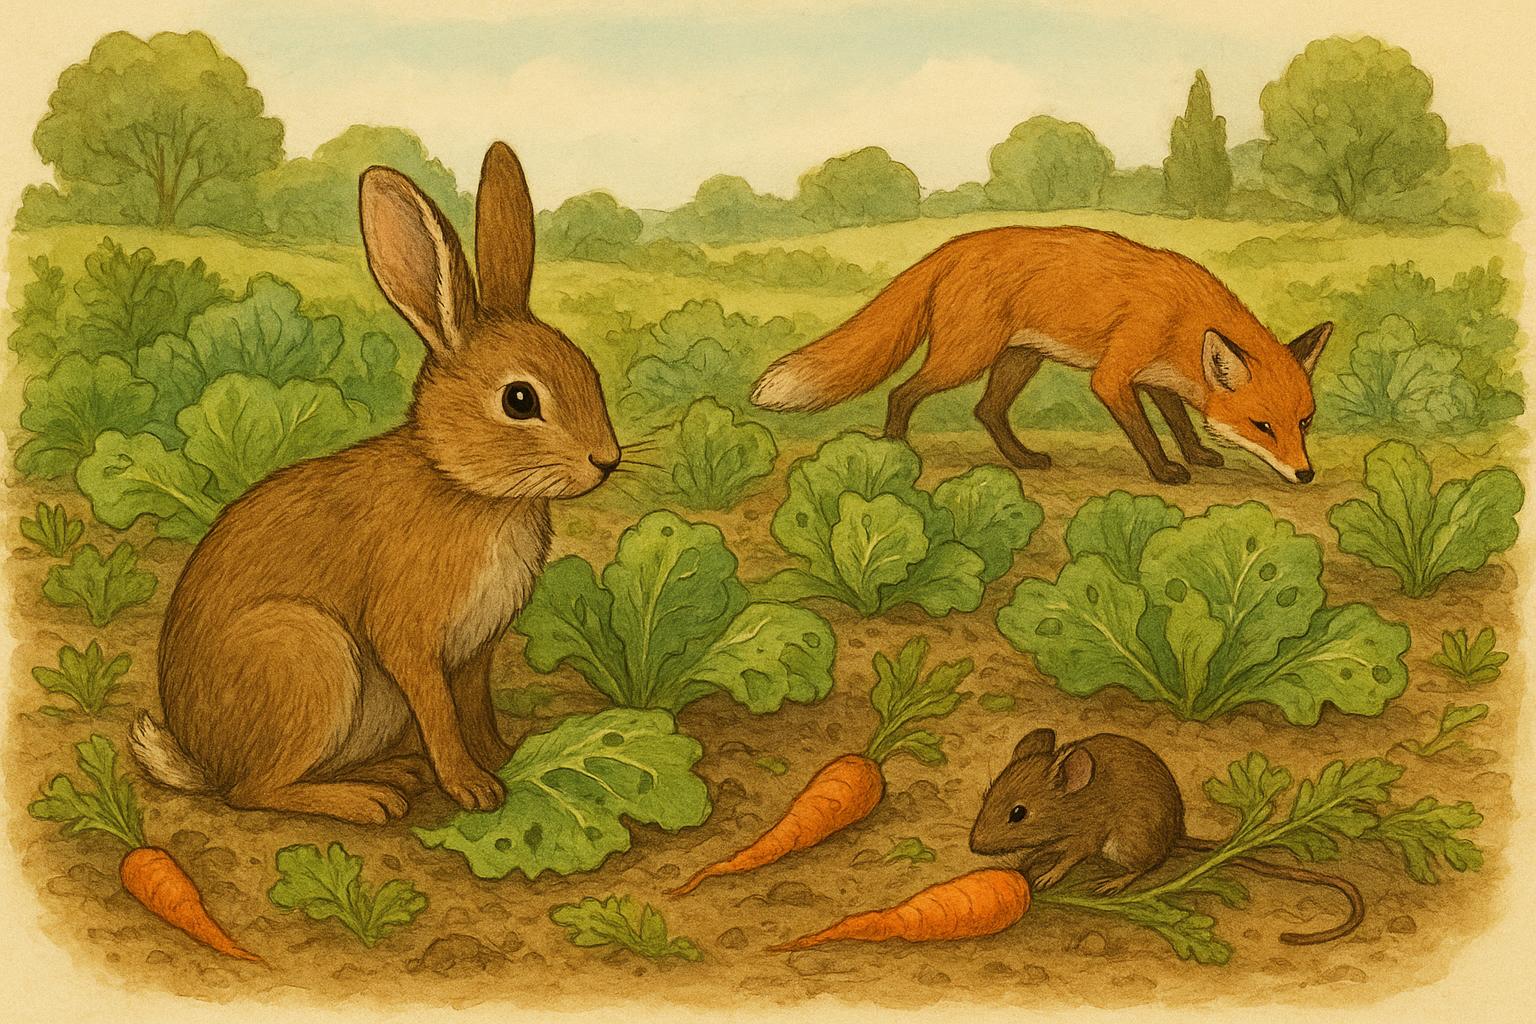
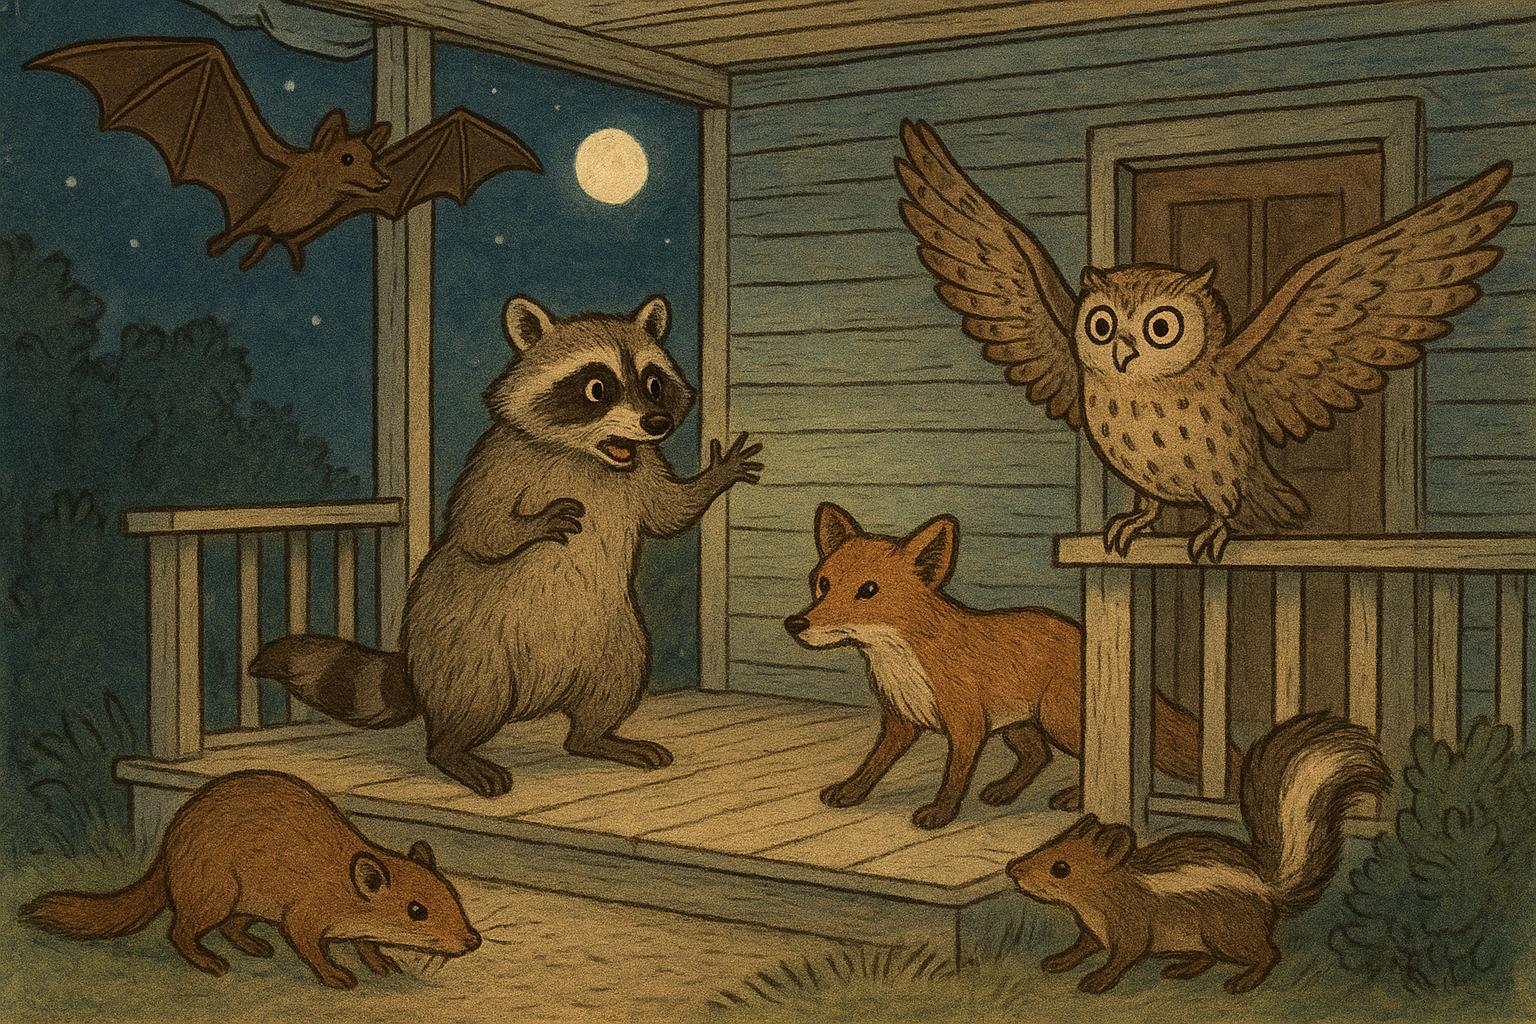
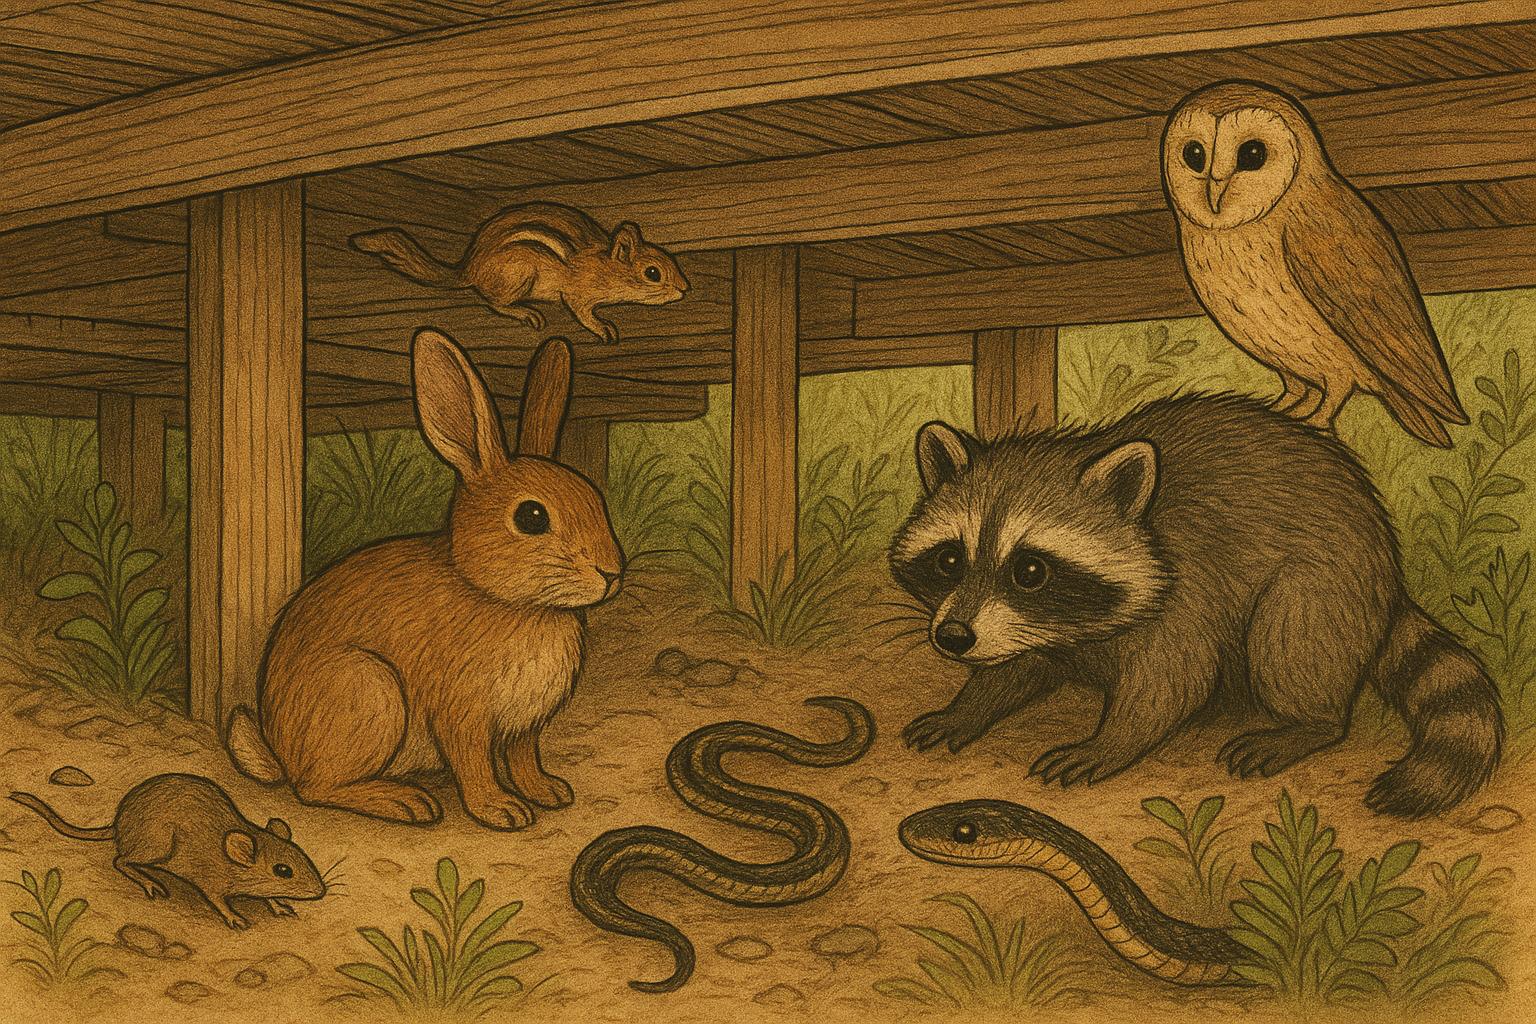
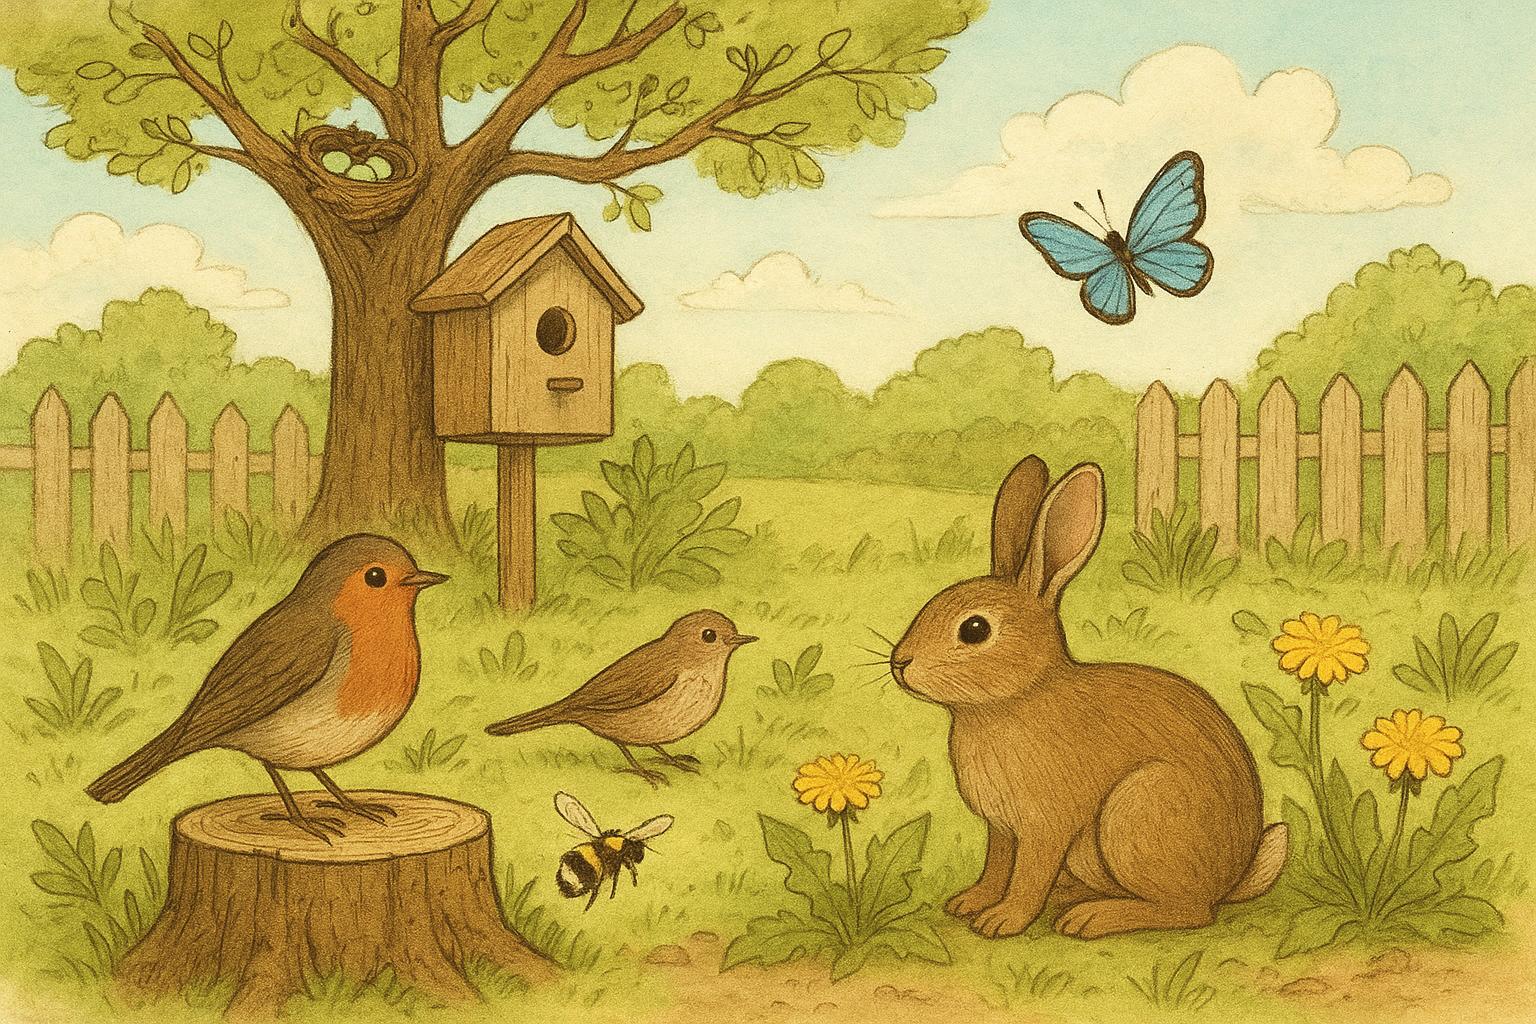
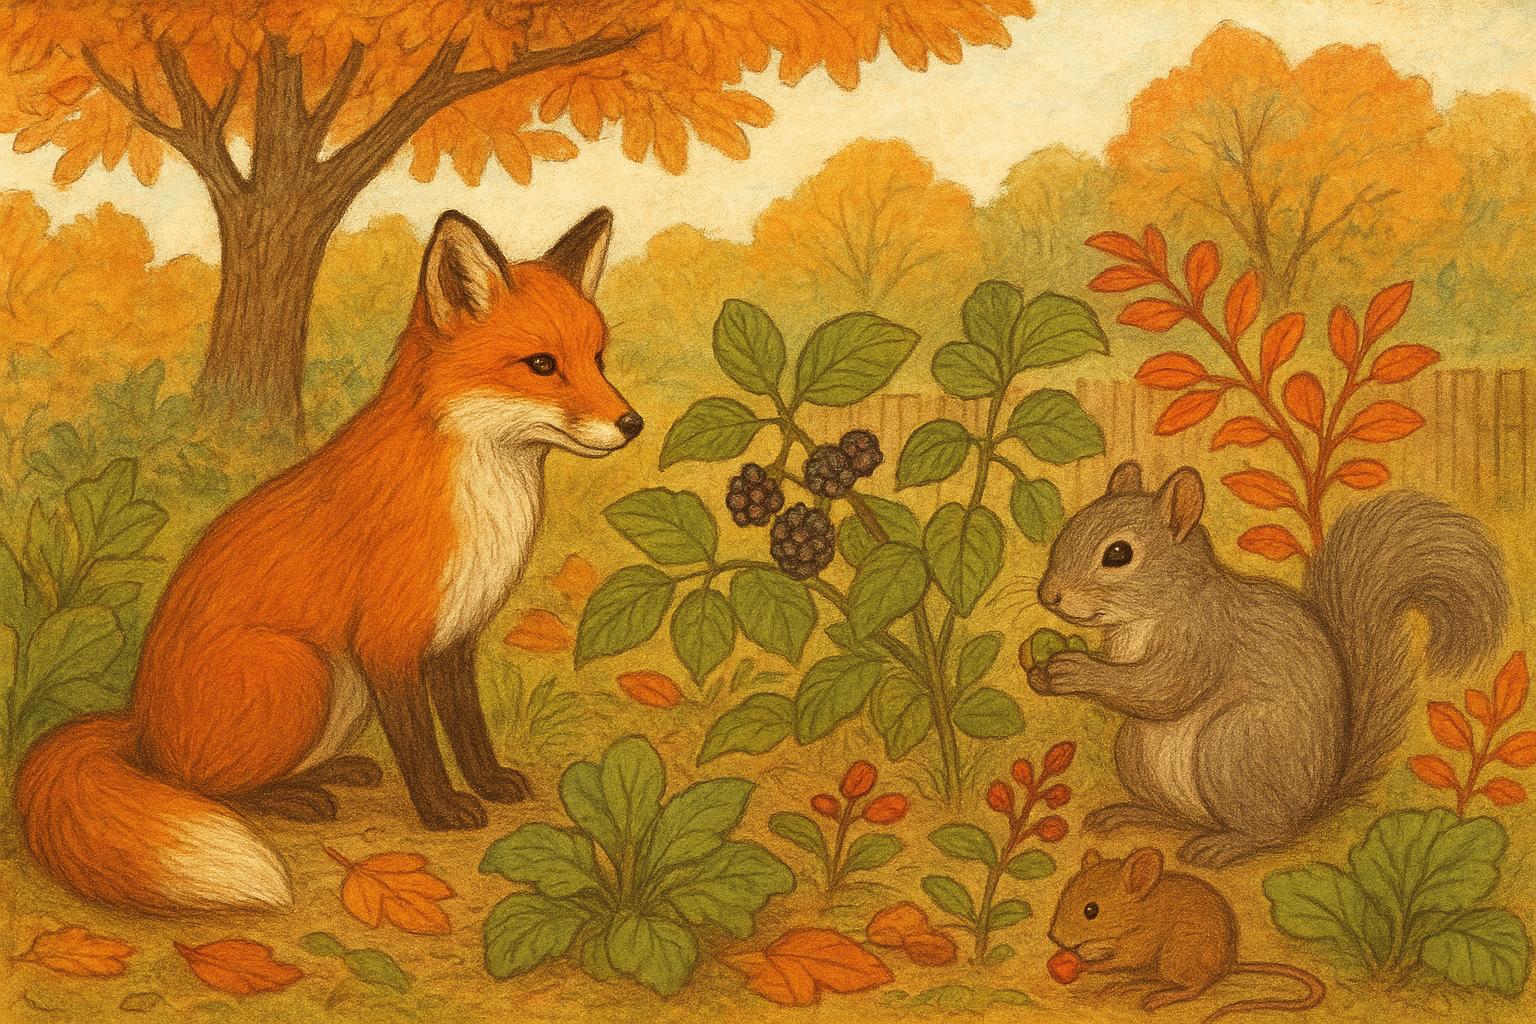
### Common Backyard Culprits And Their Clues
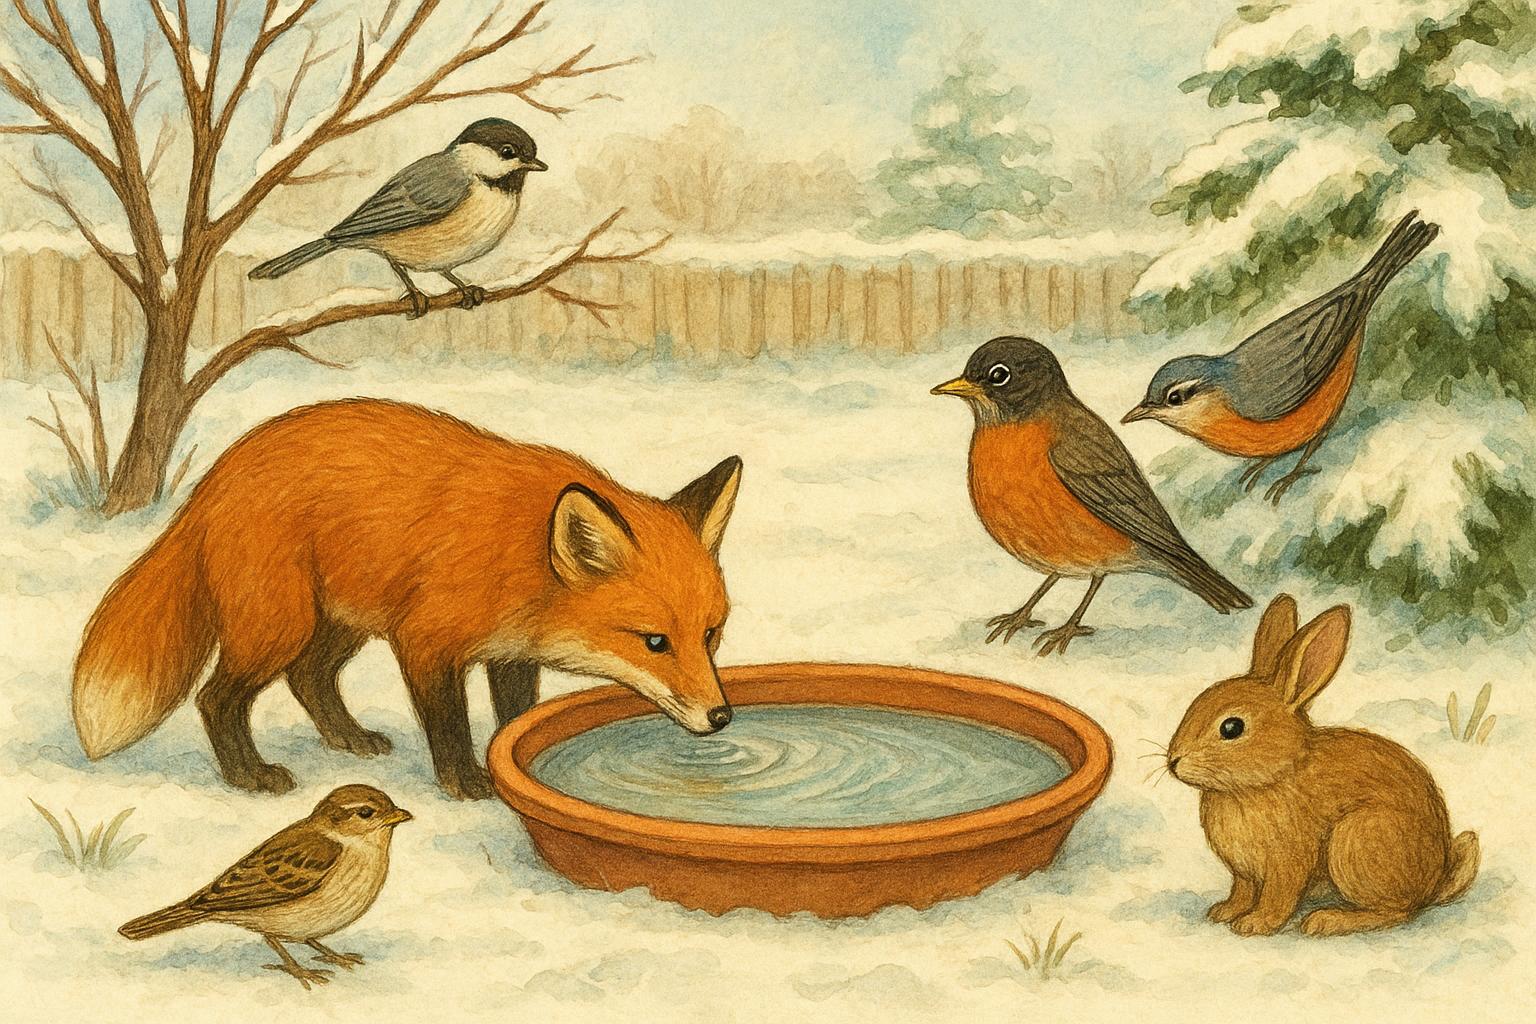
#### Raccoon
Raccoon prints look almost human — five finger-like toes on both front and hind feet. They often manipulate objects, leaving rake-like drag marks.
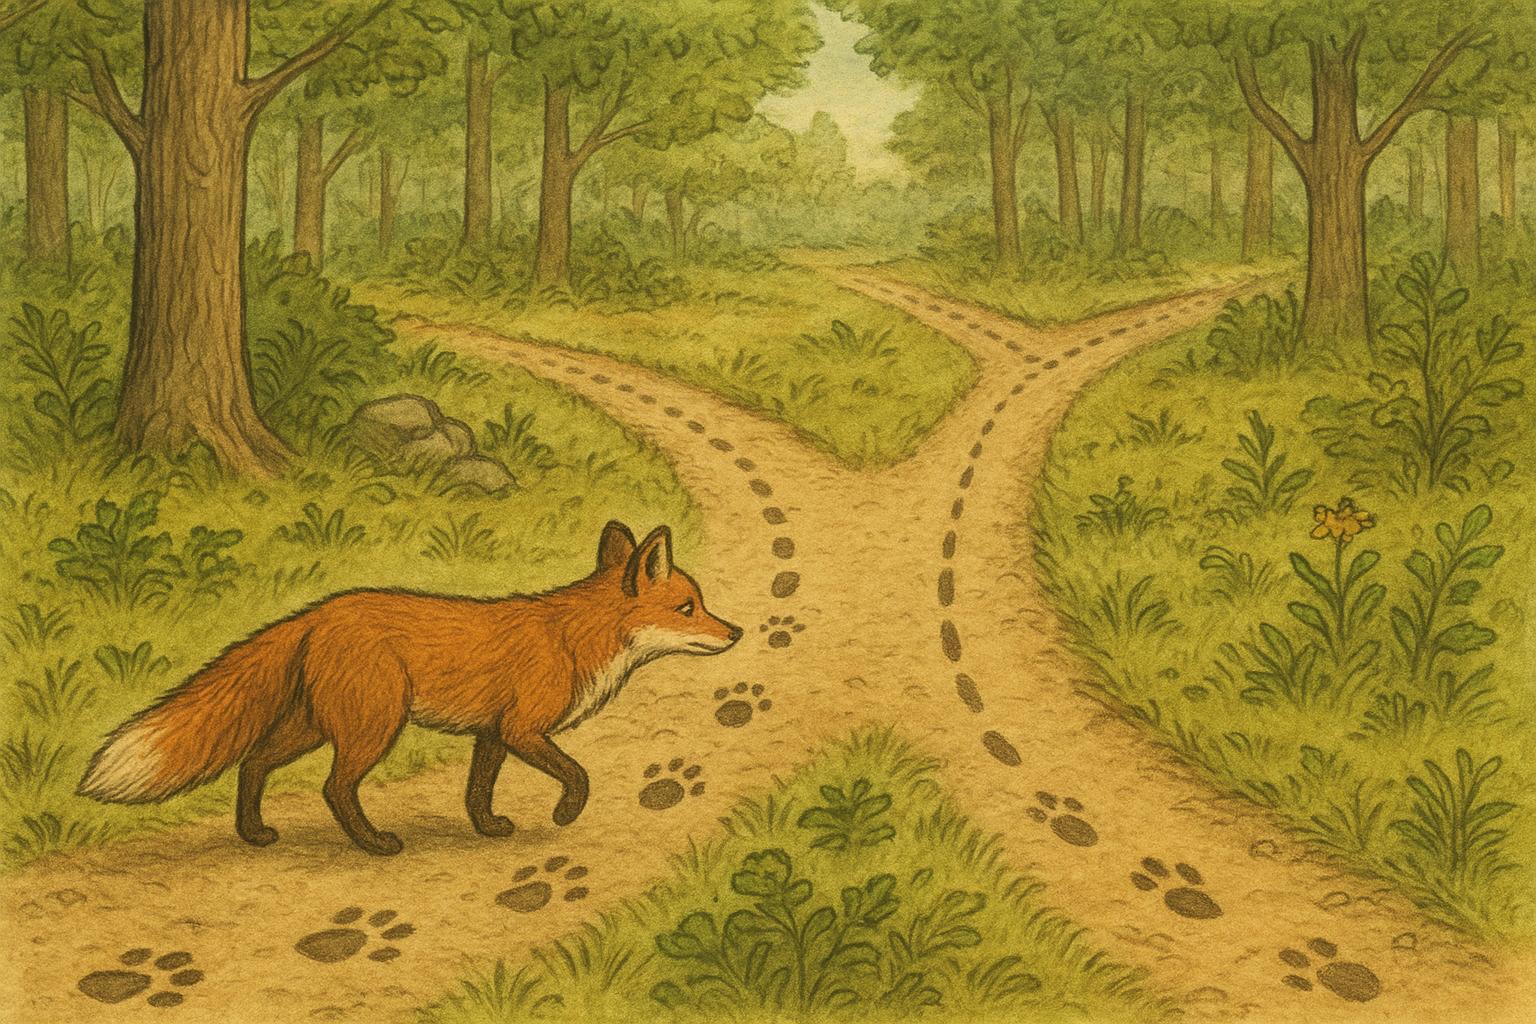
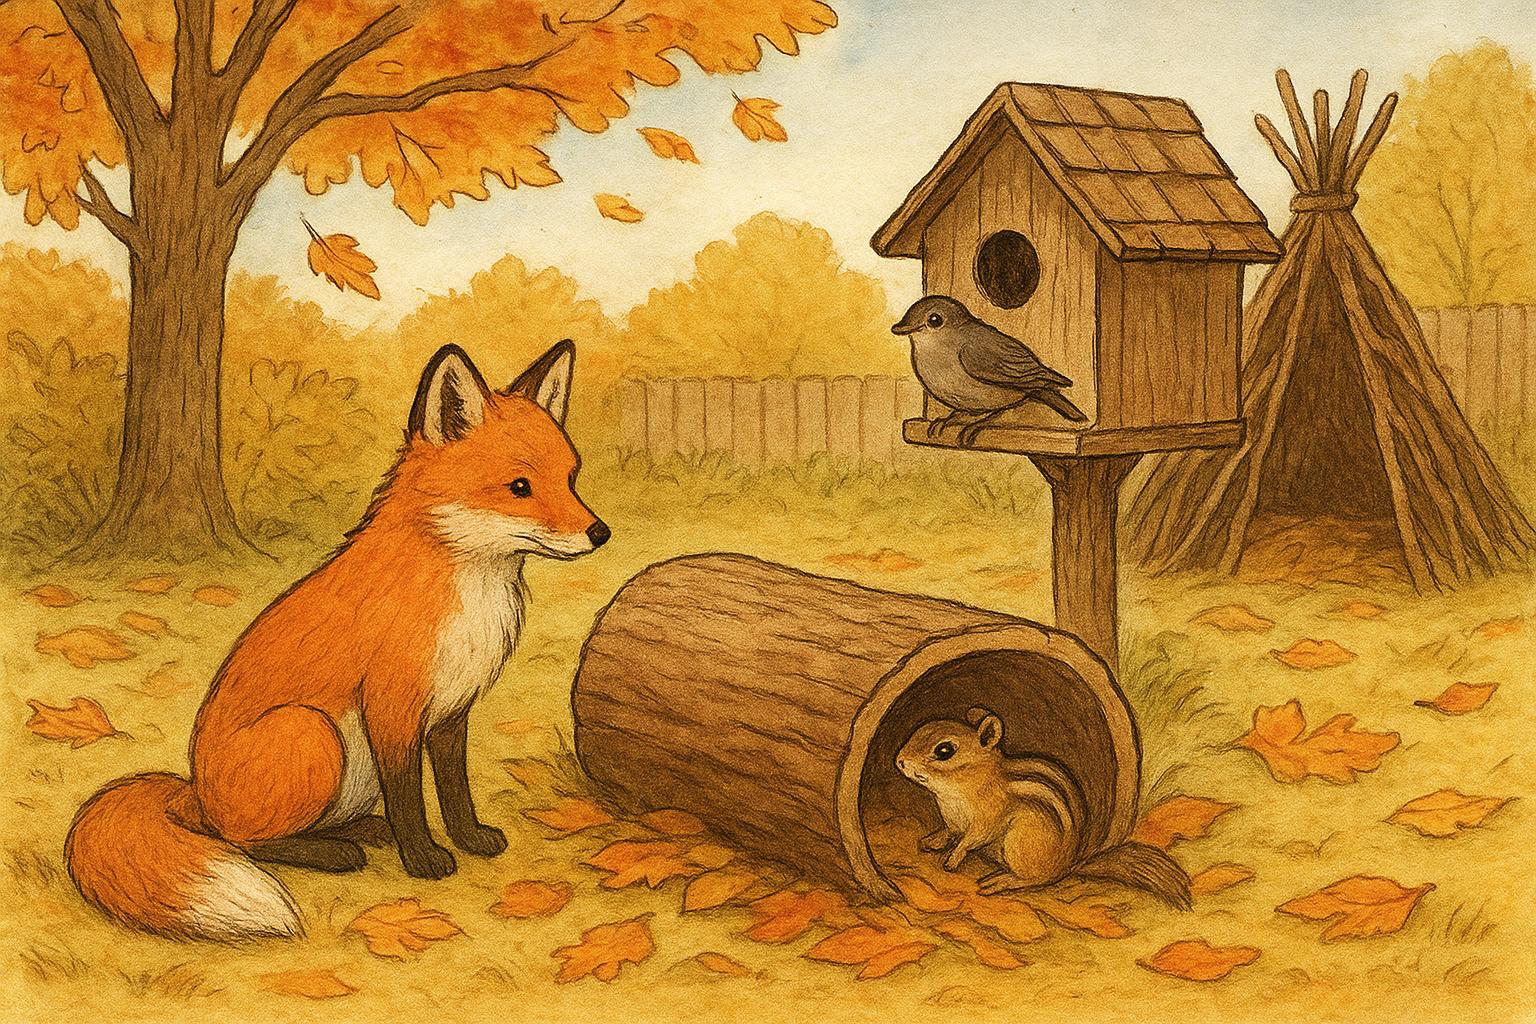
#### Fox
Foxes leave neat, oval prints about 2–3 inches long with a straight tracking line. Claws are sometimes visible, and the hind foot often lands in the print of the front foot in a direct register.
#### Deer
Deer tracks are cloven and heart-shaped, typically two sharp-pointed halves. Groups of deer mean many tracks in compact areas.
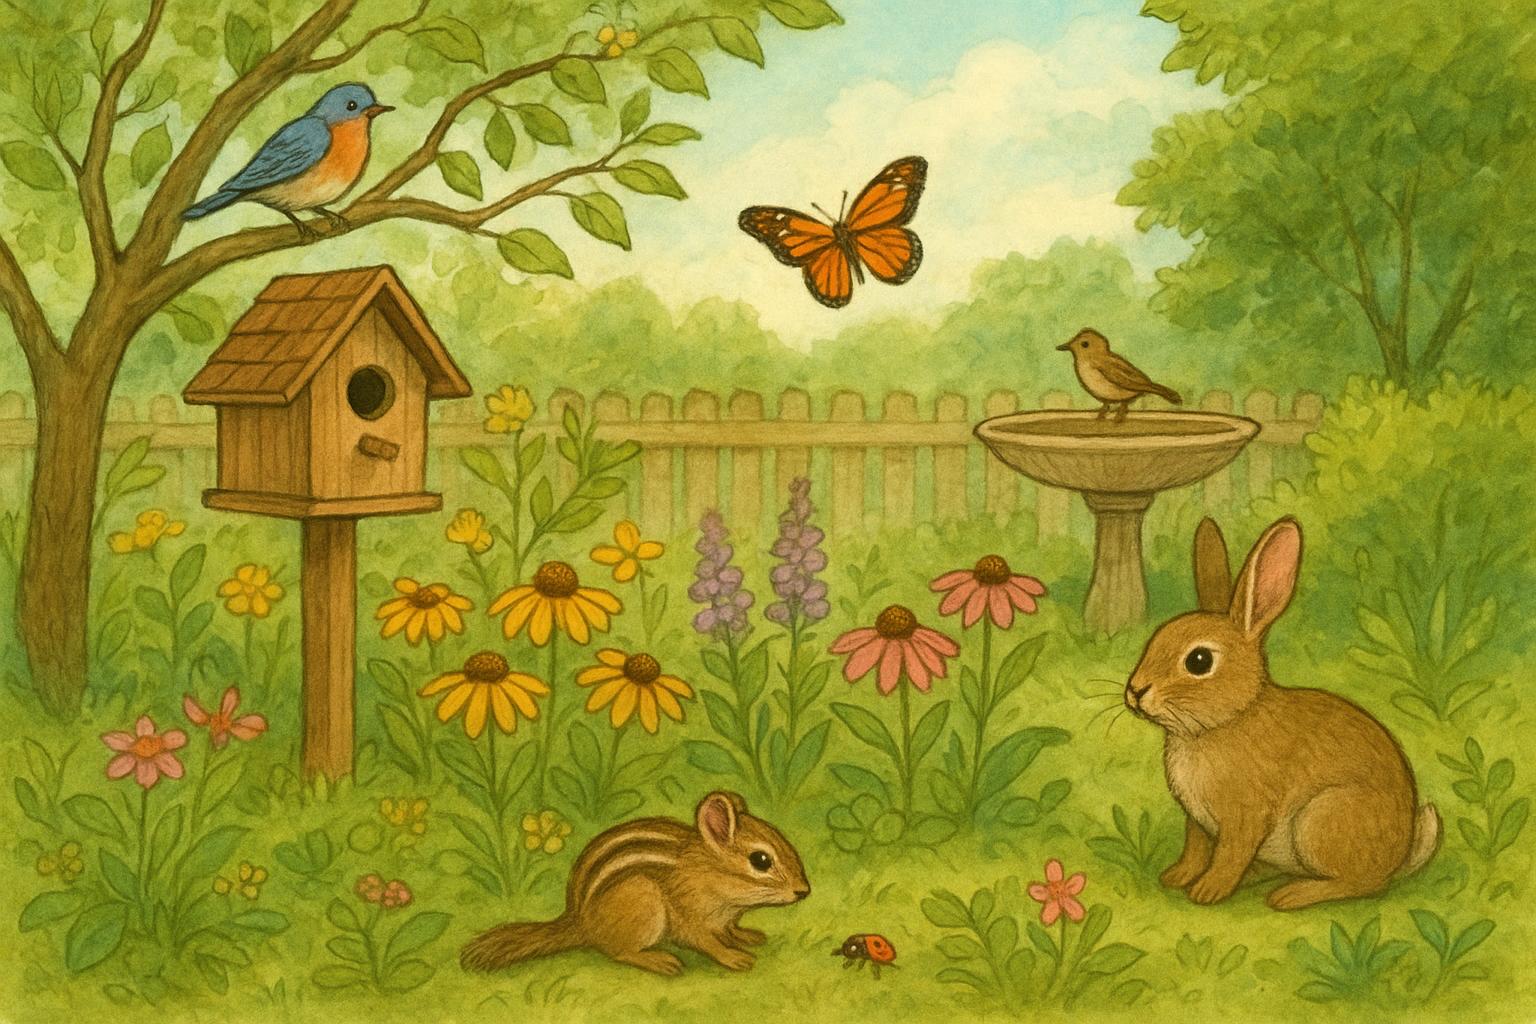
#### Squirrel And Rabbit
Squirrels show small front prints with larger rear feet, creating a double-set pattern. Rabbits produce a bounding pattern: two front toe prints followed by two rear oval impressions that land ahead.
#### Domestic Pets
Dog and cat prints are common and distinguishable: cats retract claws, so claws are often absent; dogs leave larger pads and visible claws.
## 1. Make A Track Station For Recording Mud Tracks
This is the friendly, scientific way to collect prints without guessing. Use a small prepared pad of soft mud or fine sand to encourage clear, repeatable prints.
Materials Required:
– A shallow wooden or plastic tray (roughly 12–18 inches wide)
– Fine topsoil or sterile potting soil mixed with enough water to be malleable (or use sifted clay)
– A flat board or small rock to level the surface
– A piece of stiff cardboard or PVC pipe to create an edge
– Measuring tape, removable ruler, and a small notebook for notes
– Optional: a small camera or smartphone for photos
Creation And Application (Step-By-Step):
1. Choose a Placement: Position the tray along a suspected path (near a garden edge, under a feeder, or along a fence line). Place it where animals are likely to step and where you can check it easily.
2. Prepare The Mud: Mix fine soil or potting mix with water until it reaches a peanut-butter-like consistency. If using clay, dampen until smooth but not runny.
3. Fill The Tray: Spread the moistened soil evenly in the tray to a depth of about 1/2 inch. Use a flat board to level the surface so prints are clear.
4. Edge The Station: Place the cardboard or PVC on one side to create a gentle ramp, guiding animals to step into the tray rather than over it.
5. Add A Lure (Optional): If you want to attract specific wildlife, place a small amount of bait (scraps of fruit for birds, cat food for raccoons) at the far edge of the tray. Use sparingly to avoid habituating wildlife.
6. Check Regularly: Inspect the tray after each night or day as appropriate. Photograph the best prints with a scale (ruler) in the photo, then gently re-smooth the mud for the next visitor.
7. Record Observations: Note date, time (if known), weather, and any distinguishing features of the prints.
Practical Notes:
– Keep stations small and unobtrusive to avoid attracting pests or unnerving neighbors.
– Clean and replace soil periodically to avoid mold or unwanted odors.
– If you want to preserve a print for longer study, pour a small amount of plaster of Paris mixed per manufacturer instructions into the tray following identification steps below — see safety notes and local wildlife regulations before using invasive methods.
## 2. Create A Mud-Resistant Border To Reduce Mud Tracks
If you’d rather prevent muddy tracks from getting into flower beds or across patios, construct a practical barrier. This is more of a landscaping remedy and should be carried out formally to be effective and durable.
Materials Required:
– Landscape edging material (metal or plastic)
– Gravel or crushed stone (3/4-inch size recommended)
– Landscape fabric (weed barrier)
– Shovel and rake
– Level and tamper (hand tamper or mechanical)
– Measuring tape and gloves
Creation And Application (Step-By-Step):
1. Plan The Border: Mark the area you want to protect. A 2–3 foot wide border is usually sufficient to intercept muddy paws before they reach plants or hardscape.
2. Excavate A Trench: Dig a trench 4–6 inches deep and 6–8 inches wide along the marked line. Ensure the trench follows a slightly sloped grade away from foundations.
3. Lay Landscape Fabric: Place the fabric along the bottom and sides of the trench. This prevents soil mixing with gravel and improves drainage.
4. Install Edging: Set the landscape edging into the trench, ensuring a snug fit. Use a level to keep the top even and secure with stakes per manufacturer instructions.
5. Add Gravel: Fill the trench and the border area with 2–3 inches of gravel or crushed stone. Tamp down firmly to create a stable, permeable surface that dries quickly and discourages mud formation.
6. Finish And Maintain: Fold the edges of the fabric over the top and cover with an additional 1–2 inches of gravel for a clean look. Rake periodically to remove debris and replenish gravel as needed.
Benefits And Formal Considerations:
– Properly installed gravel borders improve drainage and reduce mud, lowering the chance of clear mud tracks forming.
– Choose materials that complement your landscape and comply with local water management rules.
– For larger properties, consult a landscape contractor to design swales or grading solutions that address persistent pooling that creates mud.
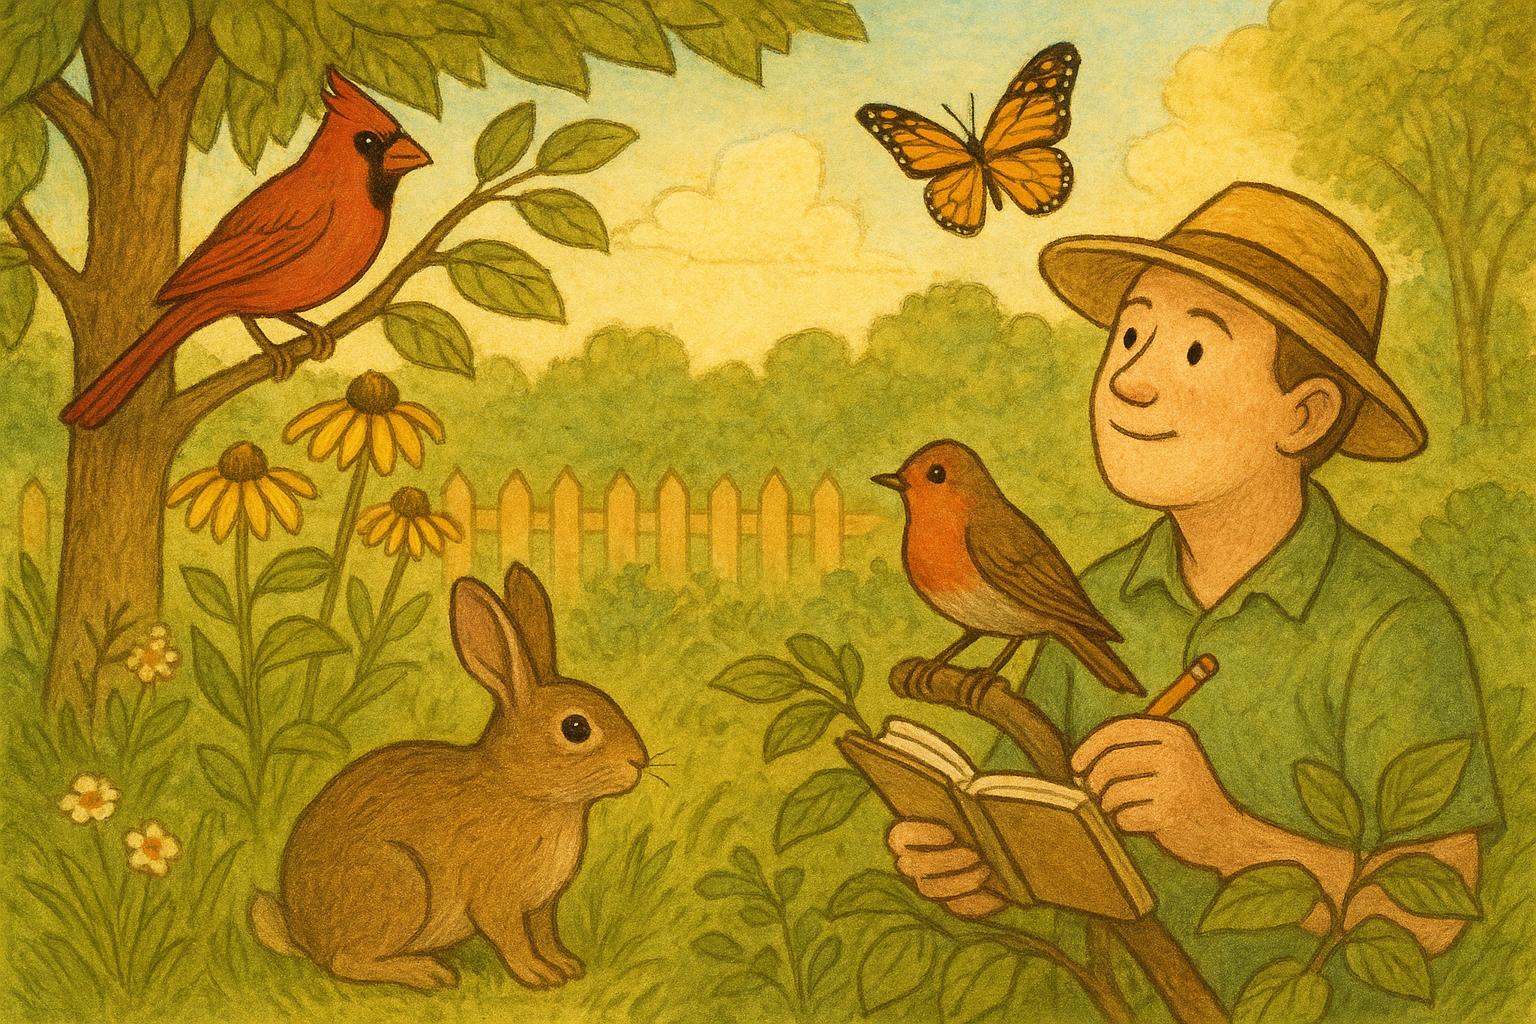
### Photographing And Cataloging Prints Like A Pro
When you find a clear print, photograph it with a scale and note orientation (north, south, etc.). Use graph paper or a small ruler in shots. Keep a simple log with date, weather, and suspected animal. Over time, your notebook will become a localized field guide to your yard’s residents.
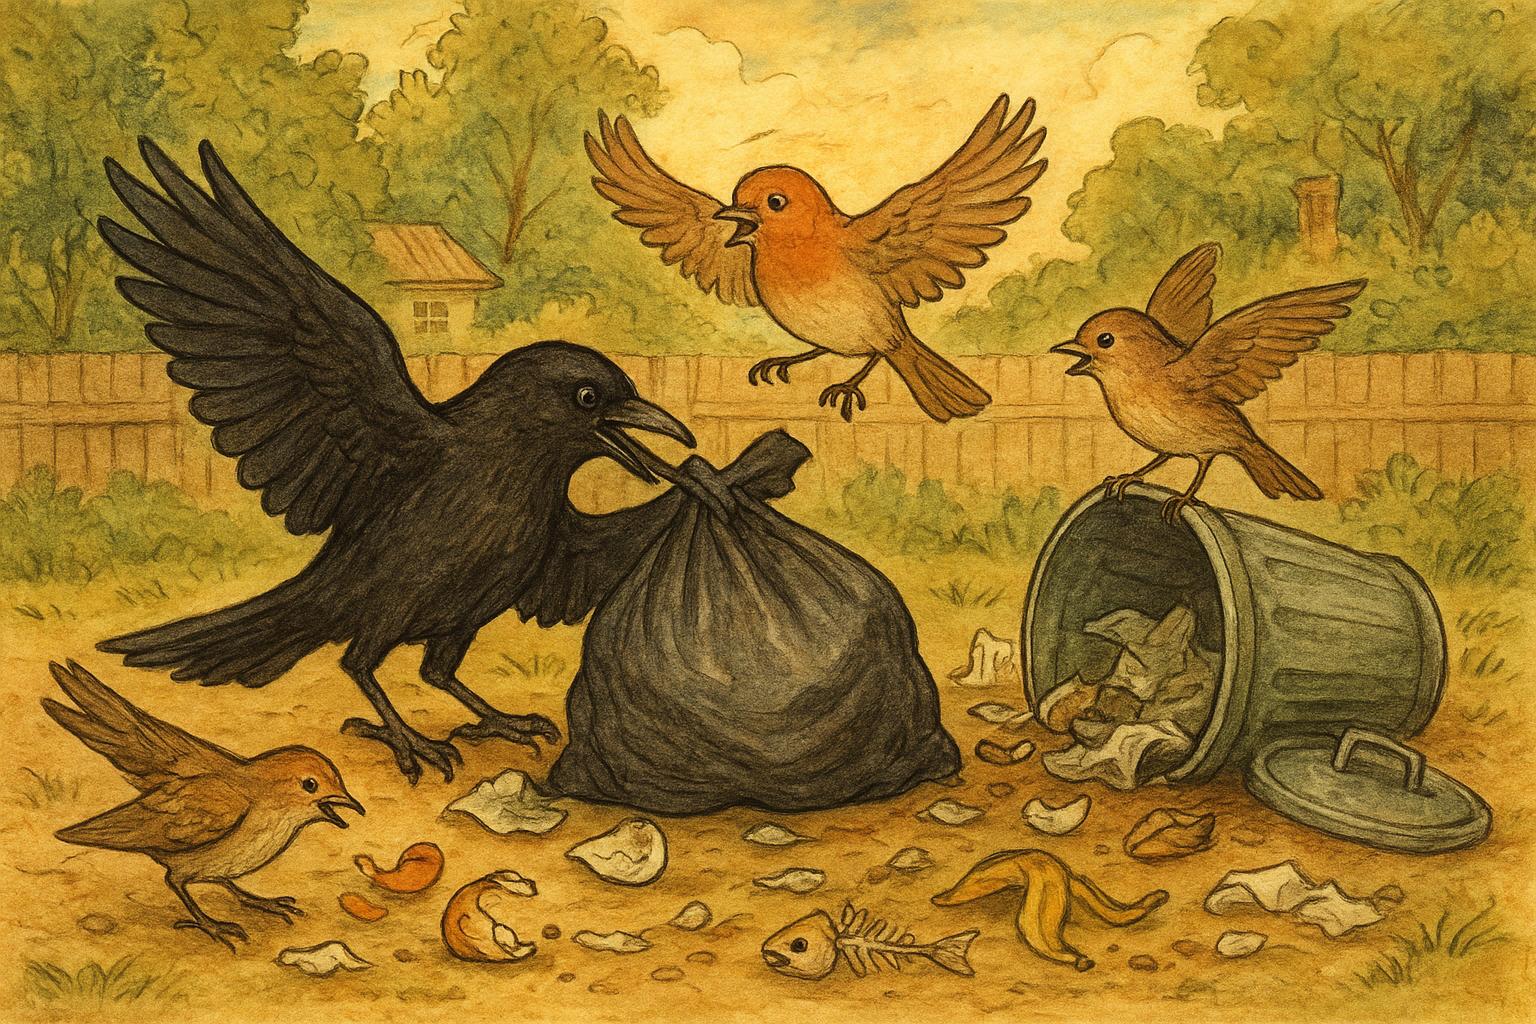
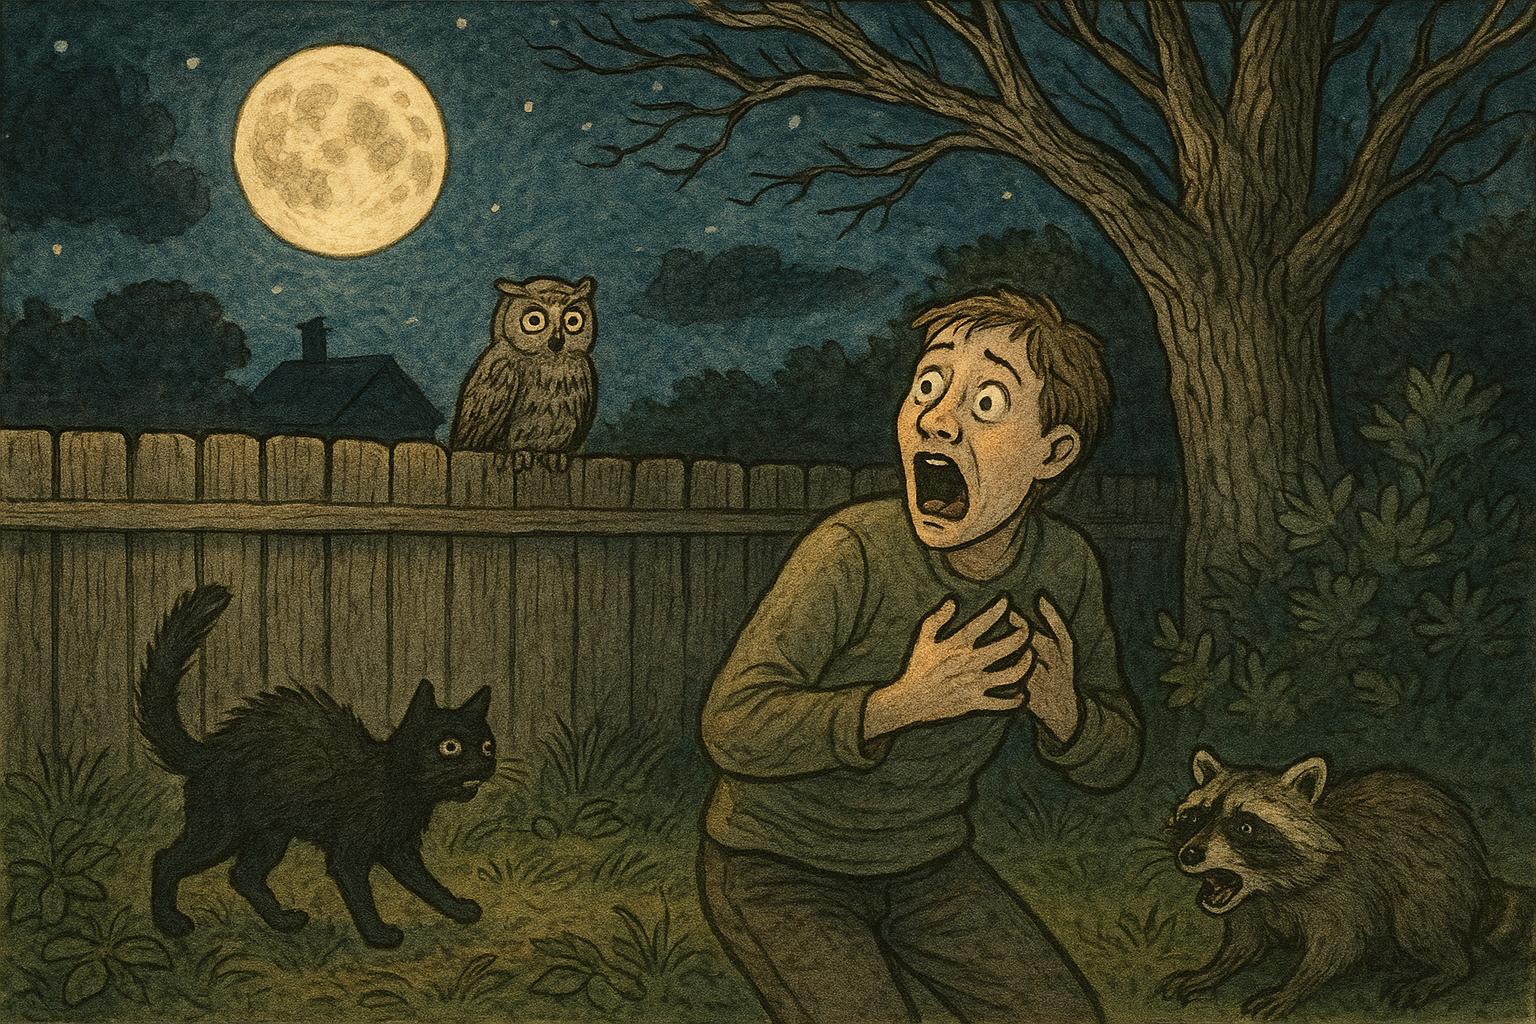
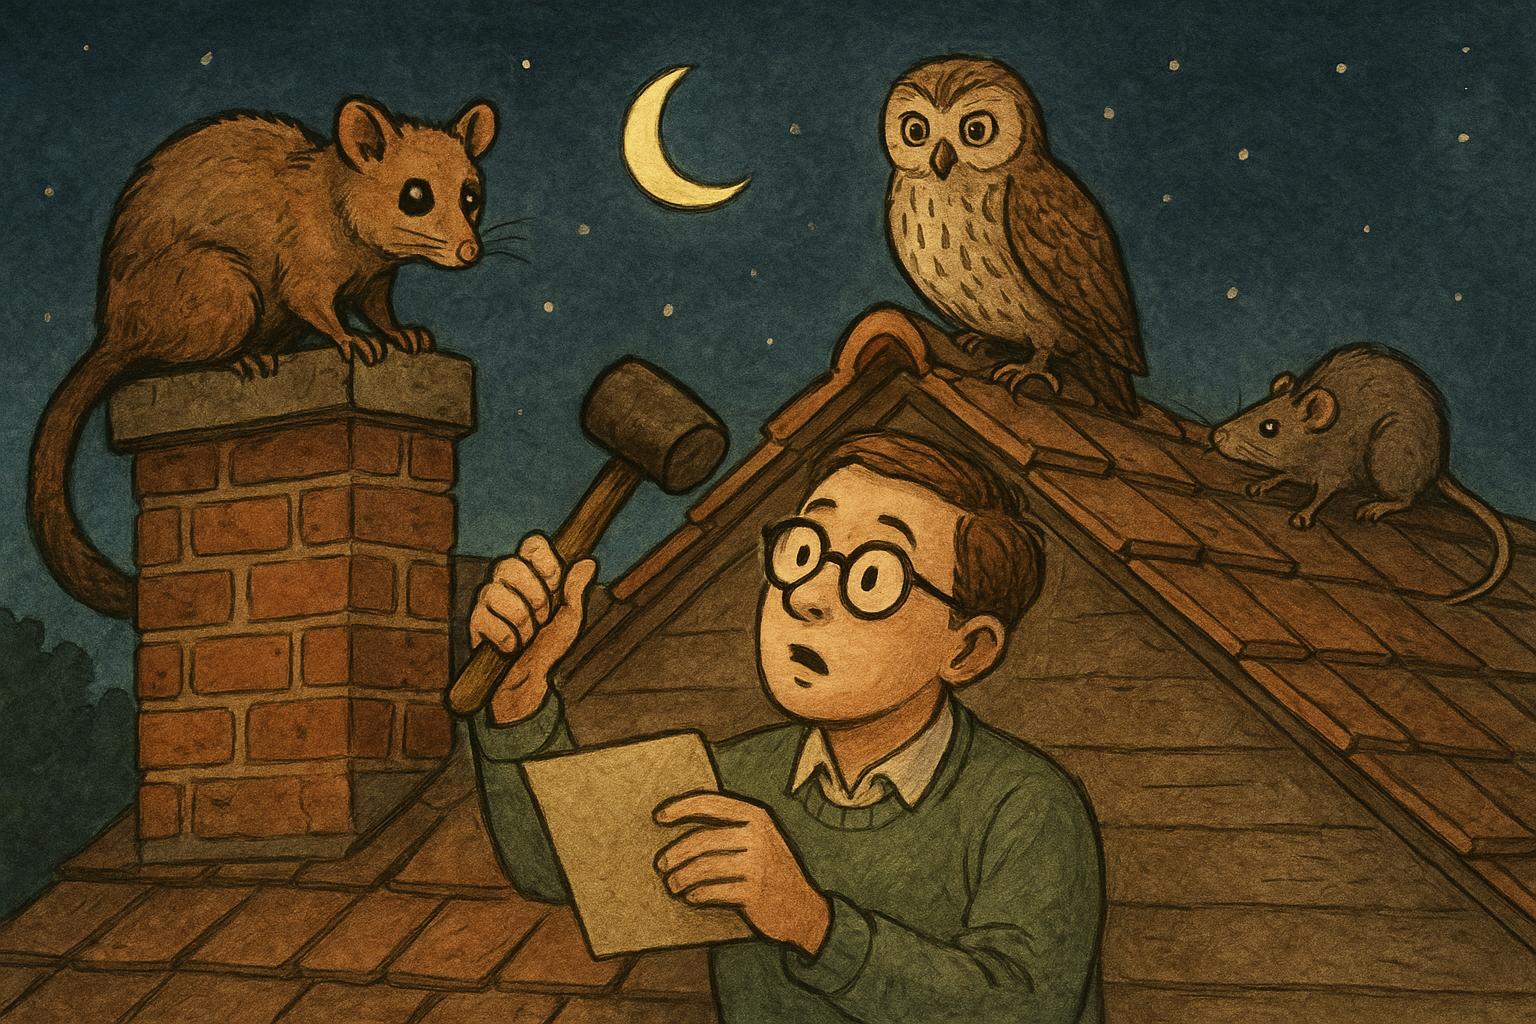
### Preventing Undesired Visitors (Quick Tips)
– Secure trash and compost bins with tight lids.
– Remove or elevate pet food and bird seed at night.
– Use motion-activated lights or sprinklers for persistent nocturnal pests (ensure humane options).
– Plant deterrent species or install fencing where appropriate.
A good pair of boots and a little curiosity go a long way when solving the mud tracks mystery. Whether you want to memorialize prints for science with a tidy track station or reduce unwanted prints with a professionally installed border, you now have practical, hands-on methods to both read and manage the stories left in the mud.


Leave a Reply