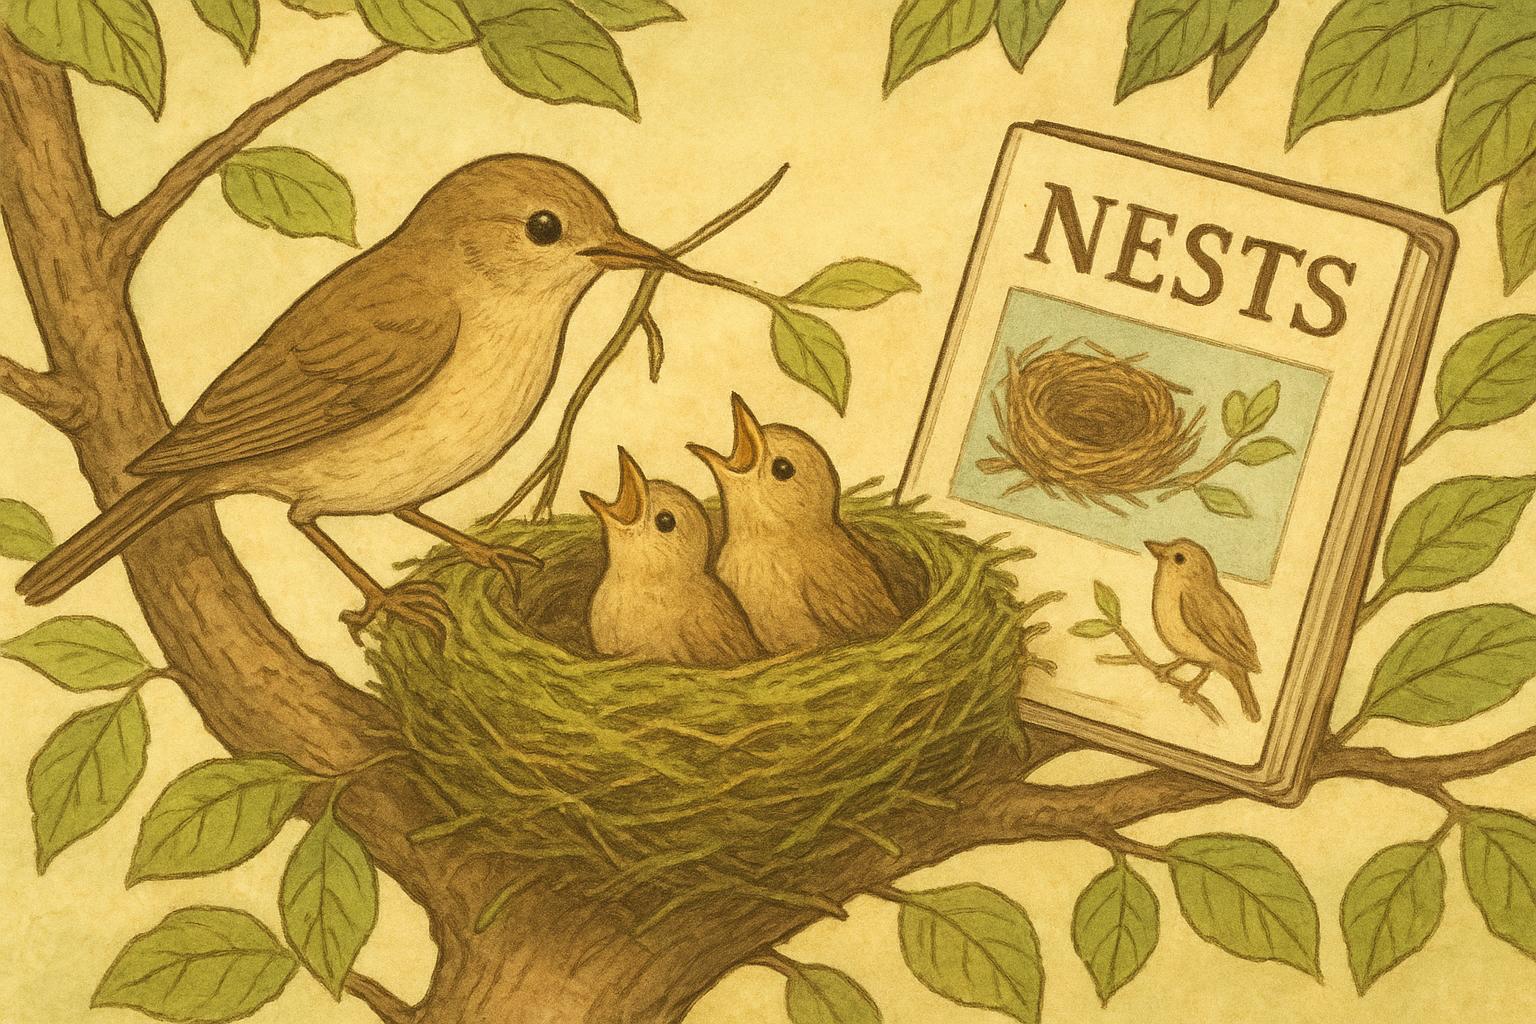
A warm hello, fellow bird nerds and curious backyard wanderers. Whether you’ve found a tiny cup on a fence post or a cleverly hidden platform under the eaves, nests are nature’s most inventive little apartments. We’ll stroll through what makes them work — fabrics, frameworks, and a few secrets you didn’t know birds tucked into their designs. Expect relaxed chat, a sprinkle of humor, and clear, practical fixes if you want to encourage or redirect nesters. Now, onward to the good stuff.
## Bird Nest Anatomy A Friendly Guide To Backyard Nests
### Why Learn Bird Nest Anatomy?
Knowing bird nest anatomy helps you read a nest like a small, living blueprint. When you understand the parts and materials, you can tell what species might live there, whether a nest is active or abandoned, and how to offer help in ways that are safe for birds and legal (yes, some nests are protected by law). Plus, it makes backyard birdwatching feel a little like being a detective — with feathers.
### The Big Picture: Core Parts Of A Nest
Birds may be artists, engineers, and interior decorators rolled into one. Most nests share a few basic elements:
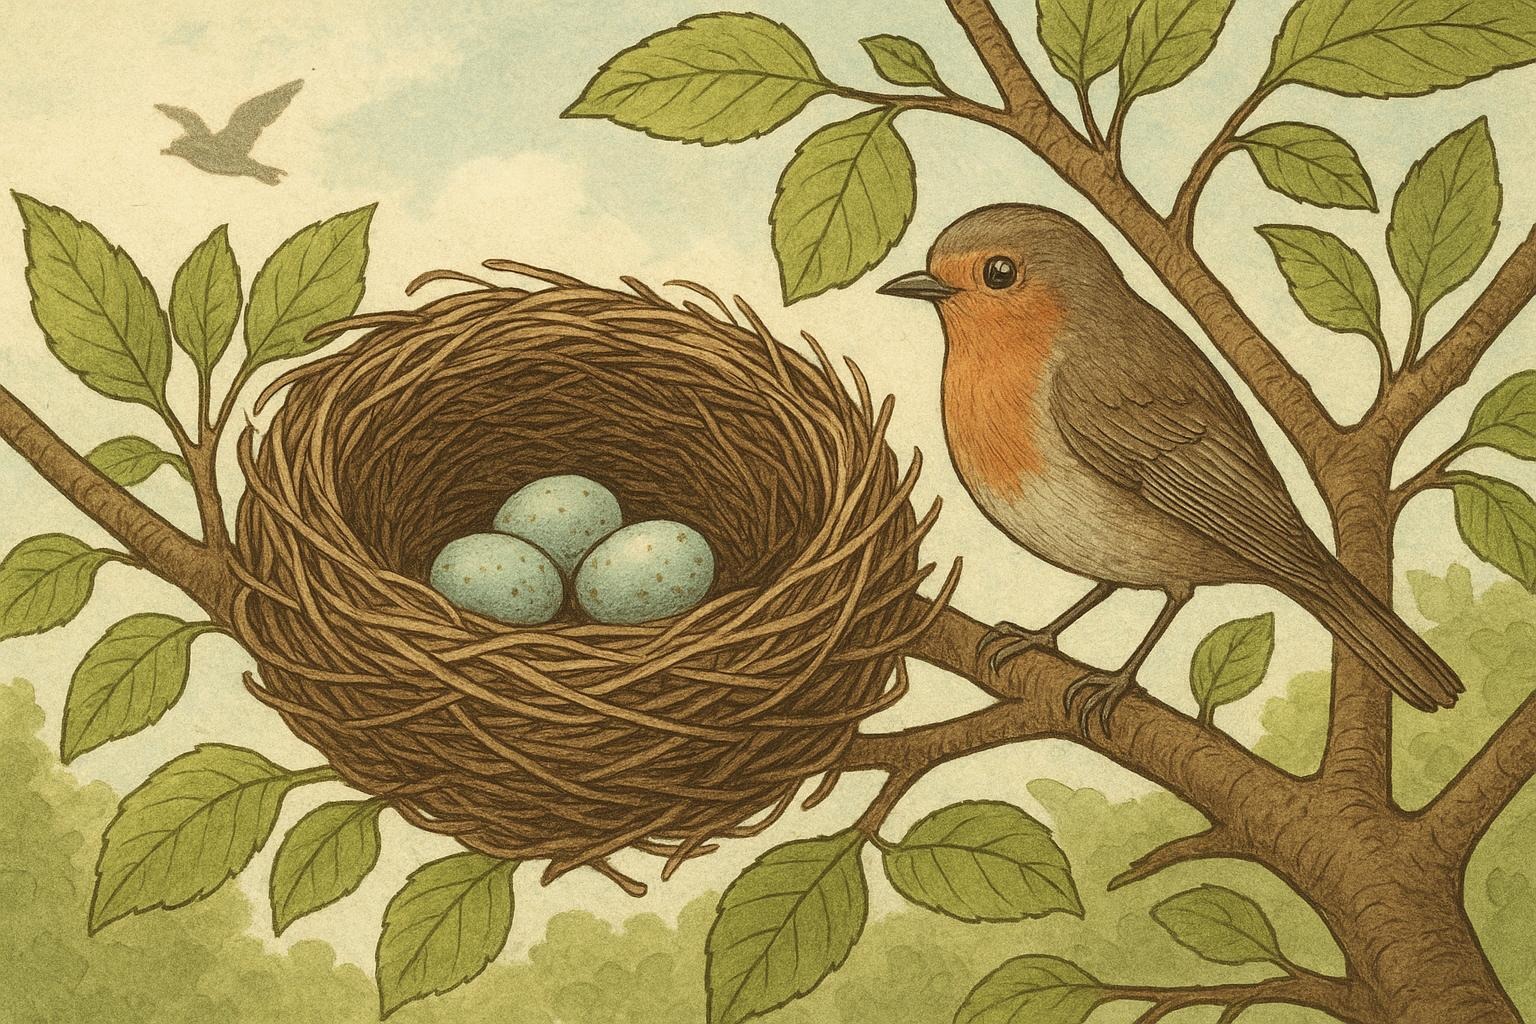
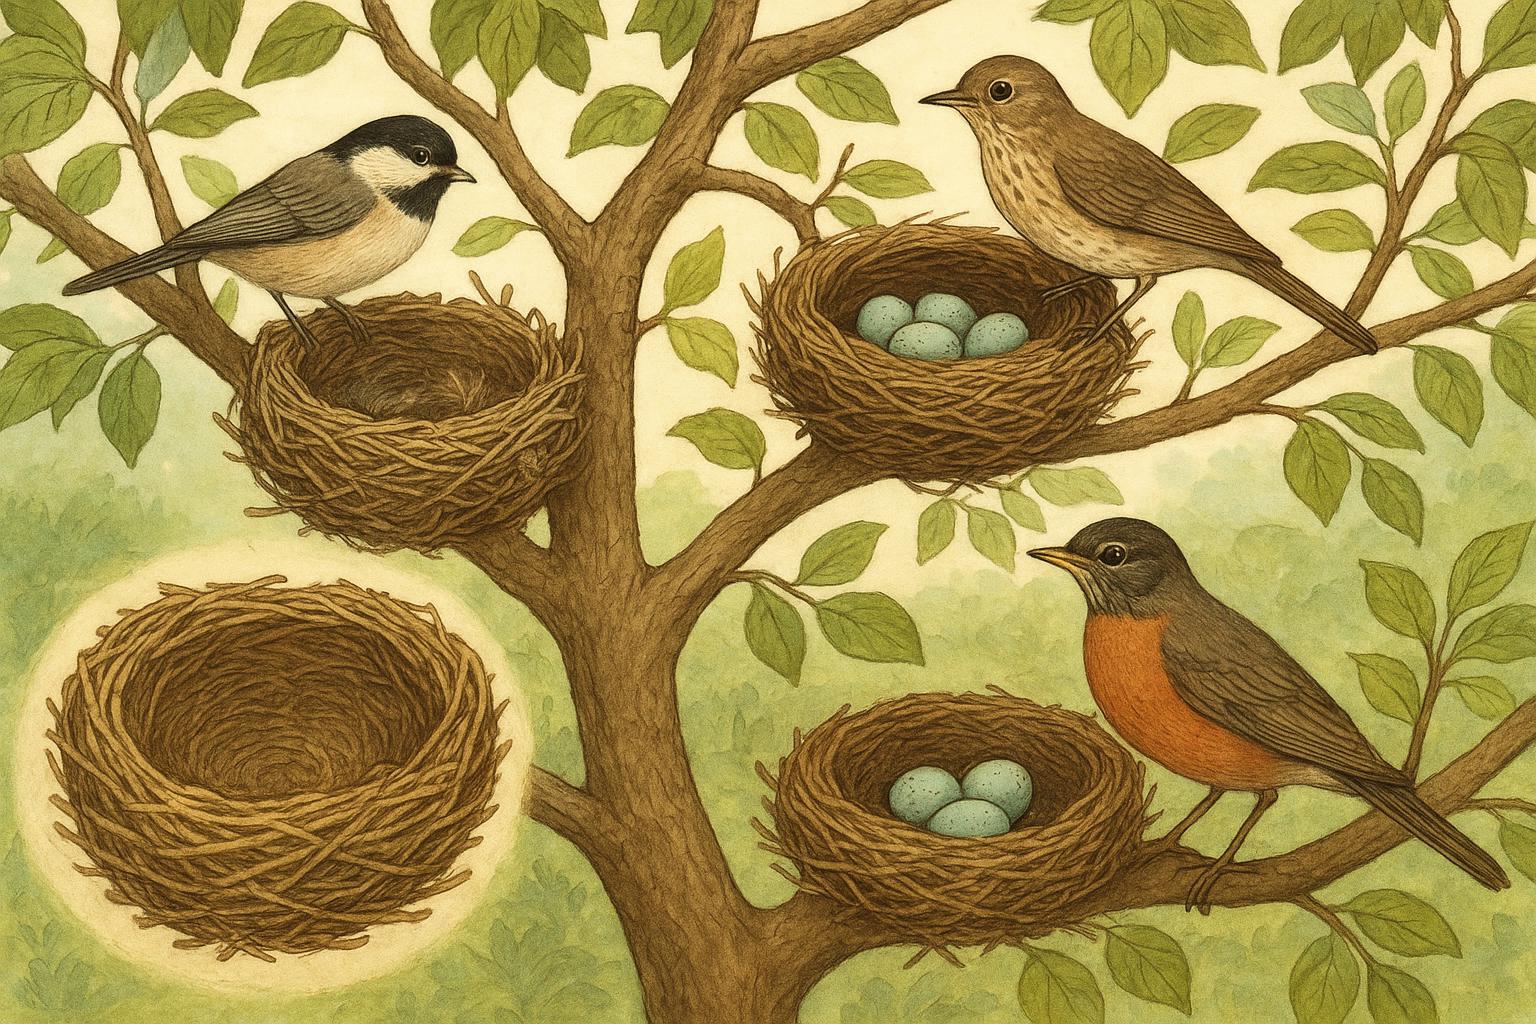
#### Cup Or Shell
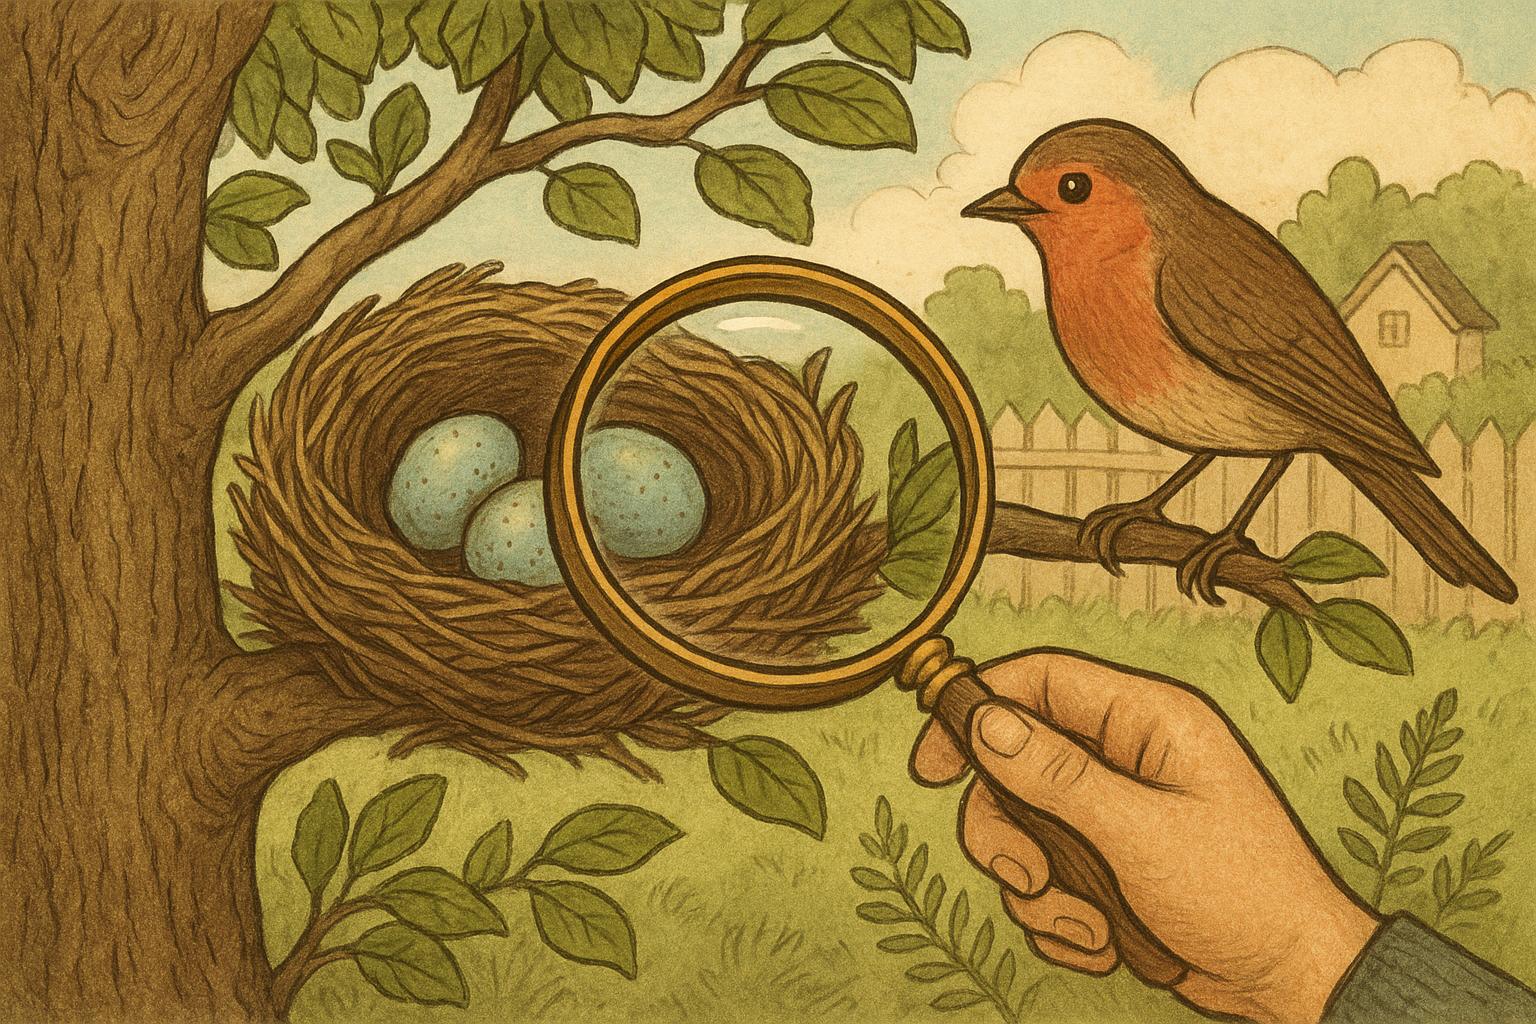
The most obvious part is the cup or shell — the main cavity where eggs are laid and chicks are brooded. Some species build deep, cozy cups; others make shallow dishes. Cup design influences warmth retention, egg stability, and predator protection.
#### Rim Or Lip
A nest’s rim helps keep eggs and nestlings from falling out. It can be a subtle raised edge of intertwined grasses or a more rigid saddle built of twigs. Rim height and sturdiness often match the bird’s habit — more active parents may need higher rims to prevent spillover.
#### Lining
The soft inner lining is the five-star mattress: feathers, fur, plant down, moss, or fine grasses. Lining materials are chosen for insulation, cushioning, and moisture control.
#### Outer Shell And Anchors
The outer shell is the structural support: twigs, mud, leaves, spider silk, and sometimes even human-made bits like string. Anchors are how nests stay put — woven into forks, glued with mud, or wrapped around branches.
### Materials: What Birds Use And Why
Bird nest anatomy is as much about material science as it is about habit. Birds select materials based on availability, climate, and intended nest lifespan. Common components:
– Twigs and stems for framework
– Grasses and rootlets for weaving
– Mud or saliva for cementing
– Feathers, fur, and down for lining
– Spider silk for elasticity and strong bonds
– Man-made bits (string, yarn, hair) — which can be helpful, but sometimes hazardous
Think of birds as experienced recyclers: they use what’s handy, but their preferences reflect clever problem-solving.
### Nests By Design: Shapes And Strategies
Different species favor different architectures. Understanding these forms is a core part of bird nest anatomy.
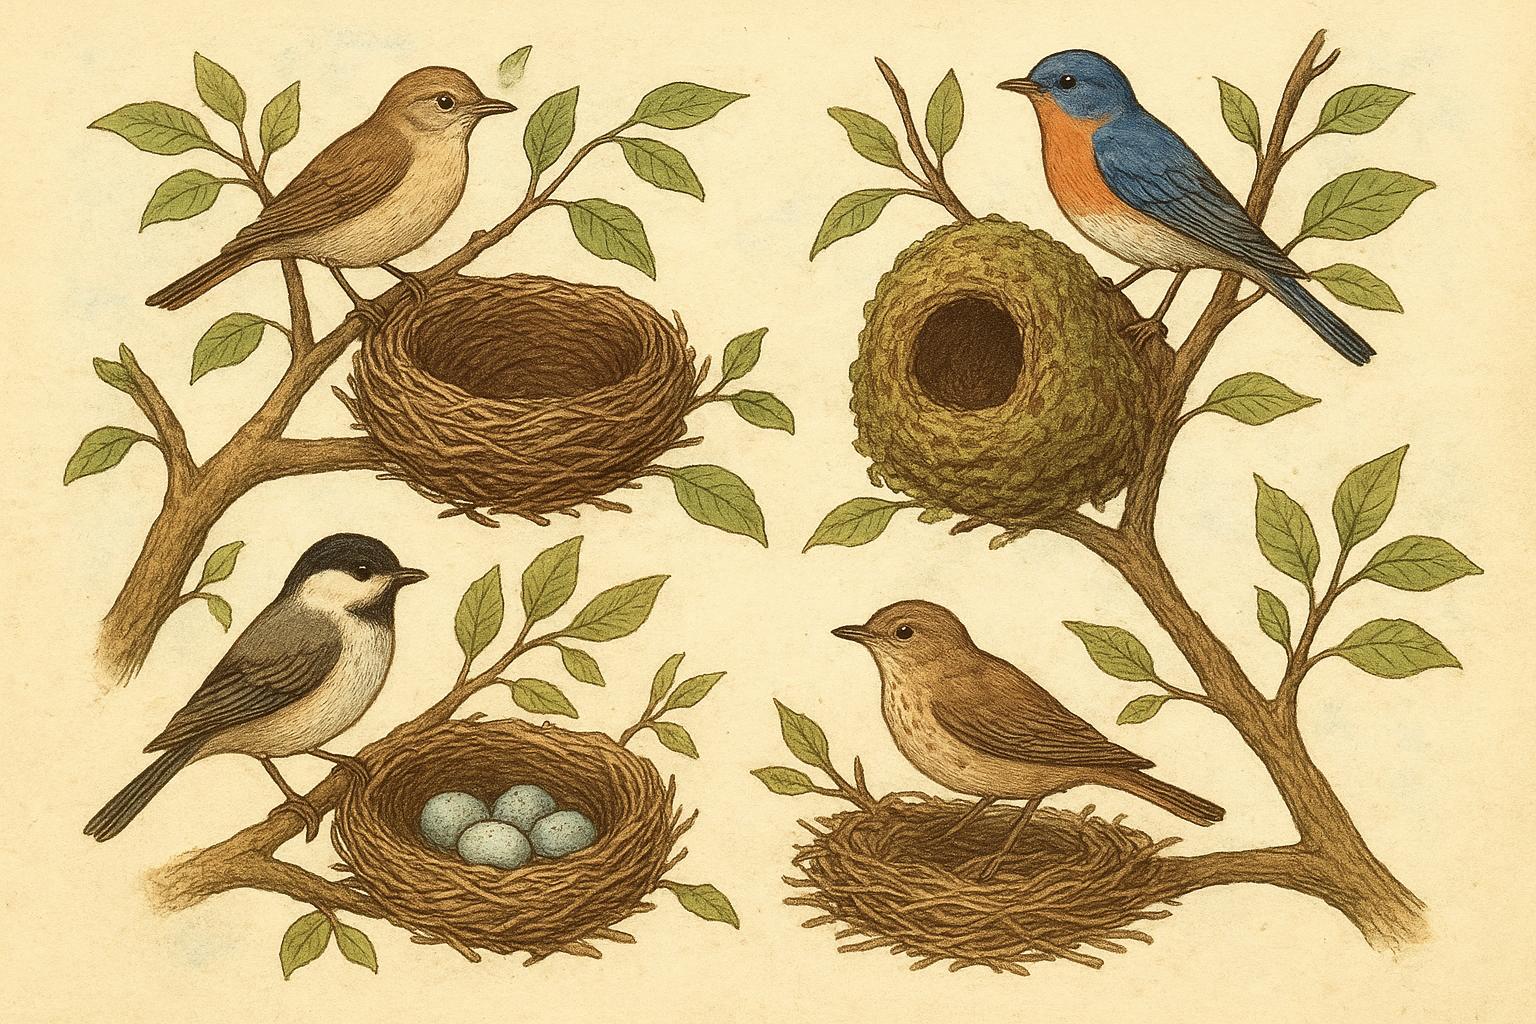
#### Cup Nests
Most familiar — songbirds like robins and finches. Built in branches, shrubs, or showy spots, cup nests balance accessibility and concealment.
#### Platform And Stick Nests
Larger birds — crows, hawks — make platform nests with robust outer frameworks. These are durable and reused across seasons.
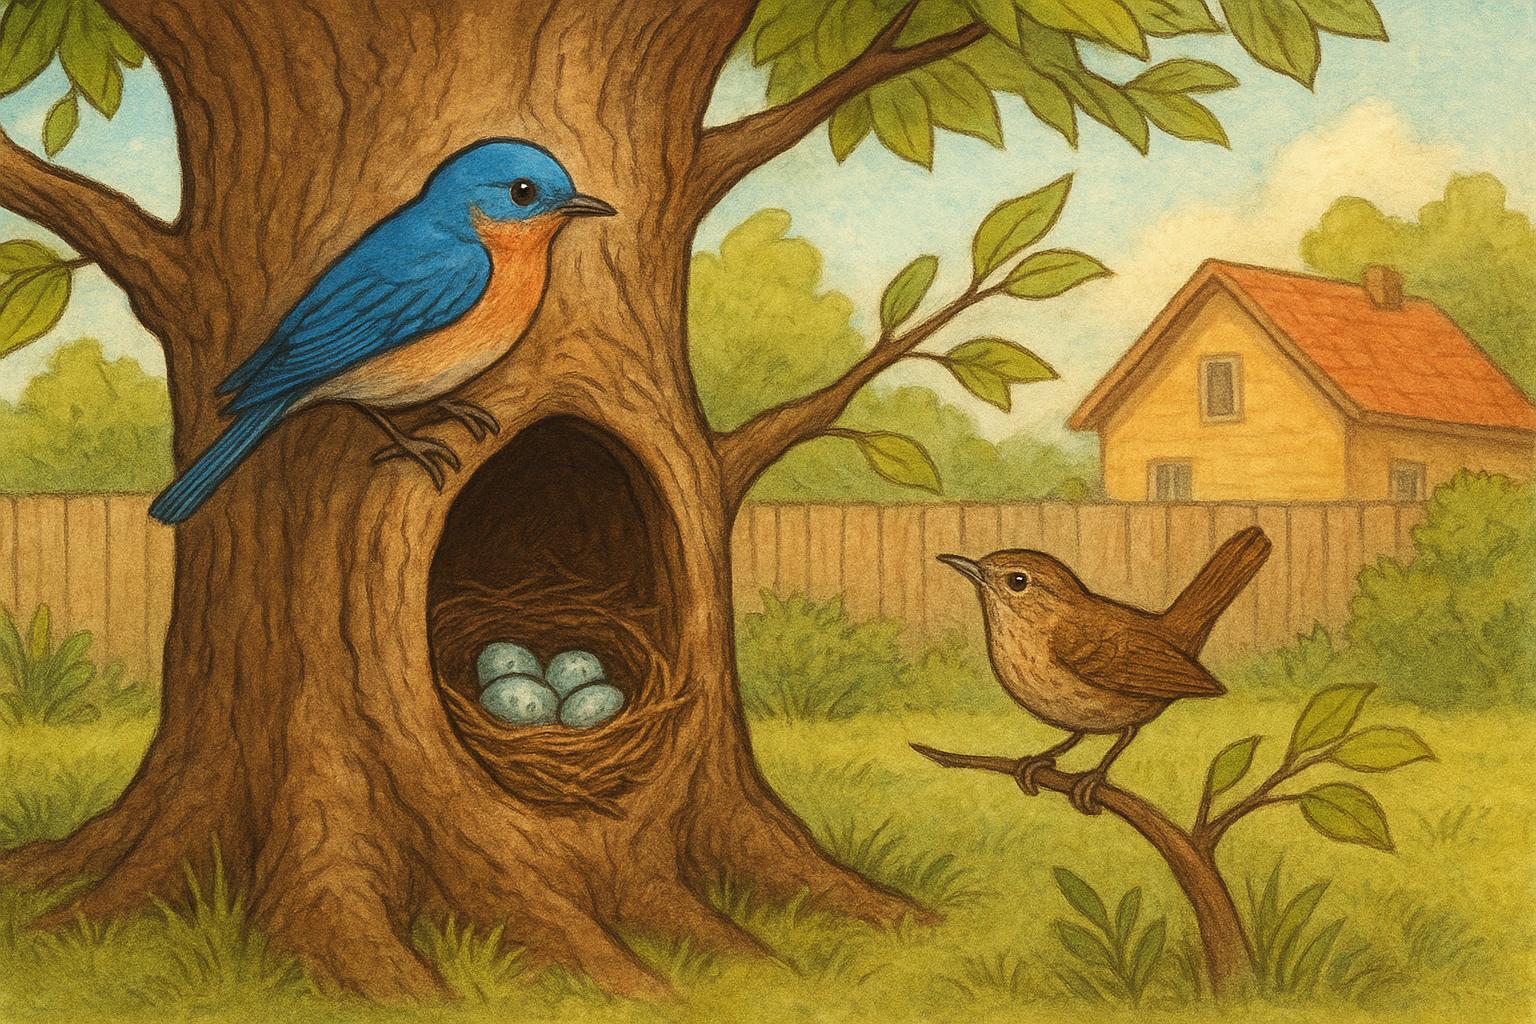
#### Cavity Nests
Woodpeckers, some owls, and chickadees nest in holes. Cavity architecture is less about woven structure and more about location and insulation.
#### Pendant And Hanging Nests
Orioles and some weavers craft pods that dangle from twigs. The hanging design deters many predators and offers sway tolerance.
#### Ground Nests
Plovers and some sparrows scrape a shallow depression and line it with minimal materials, relying on camouflage and stealth instead of architecture.
### Reading Nest Clues: What Materials Tell You
A nest made with mud and moss likely belongs to a sturdy, grounded builder like a robin. If you spot spider silk woven through the walls, think of swifts or hummingbirds, who use silk for elasticity. Finding feathers and fur in the lining usually signals a focus on warmth — common in cooler climates or species that incubate exposed eggs.
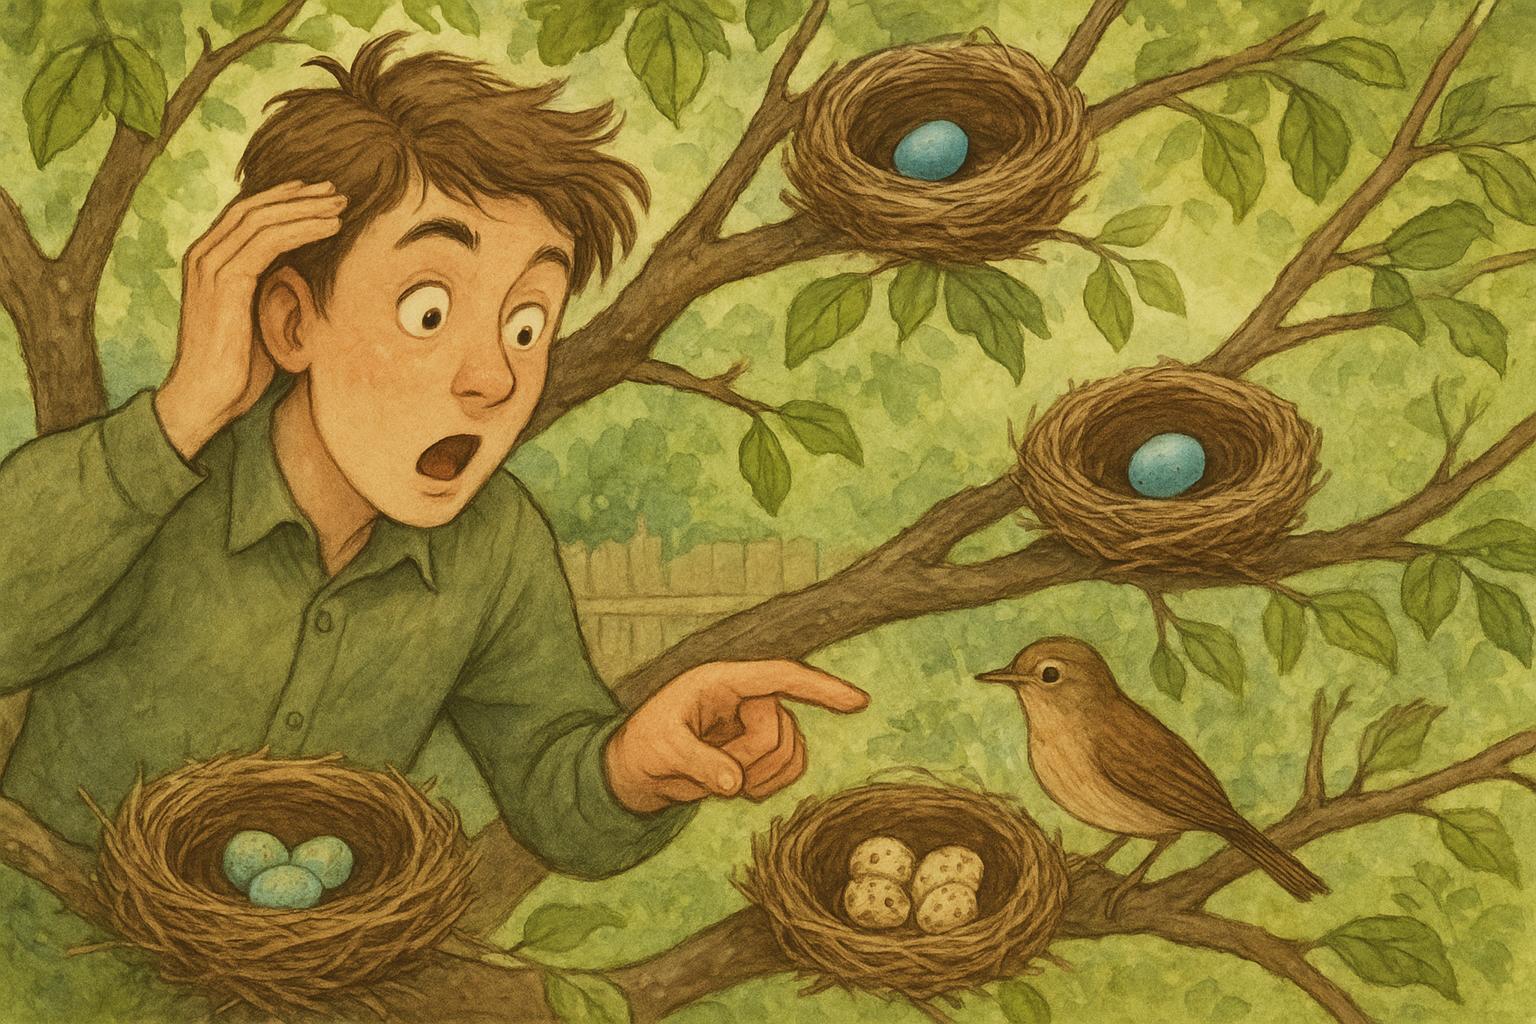
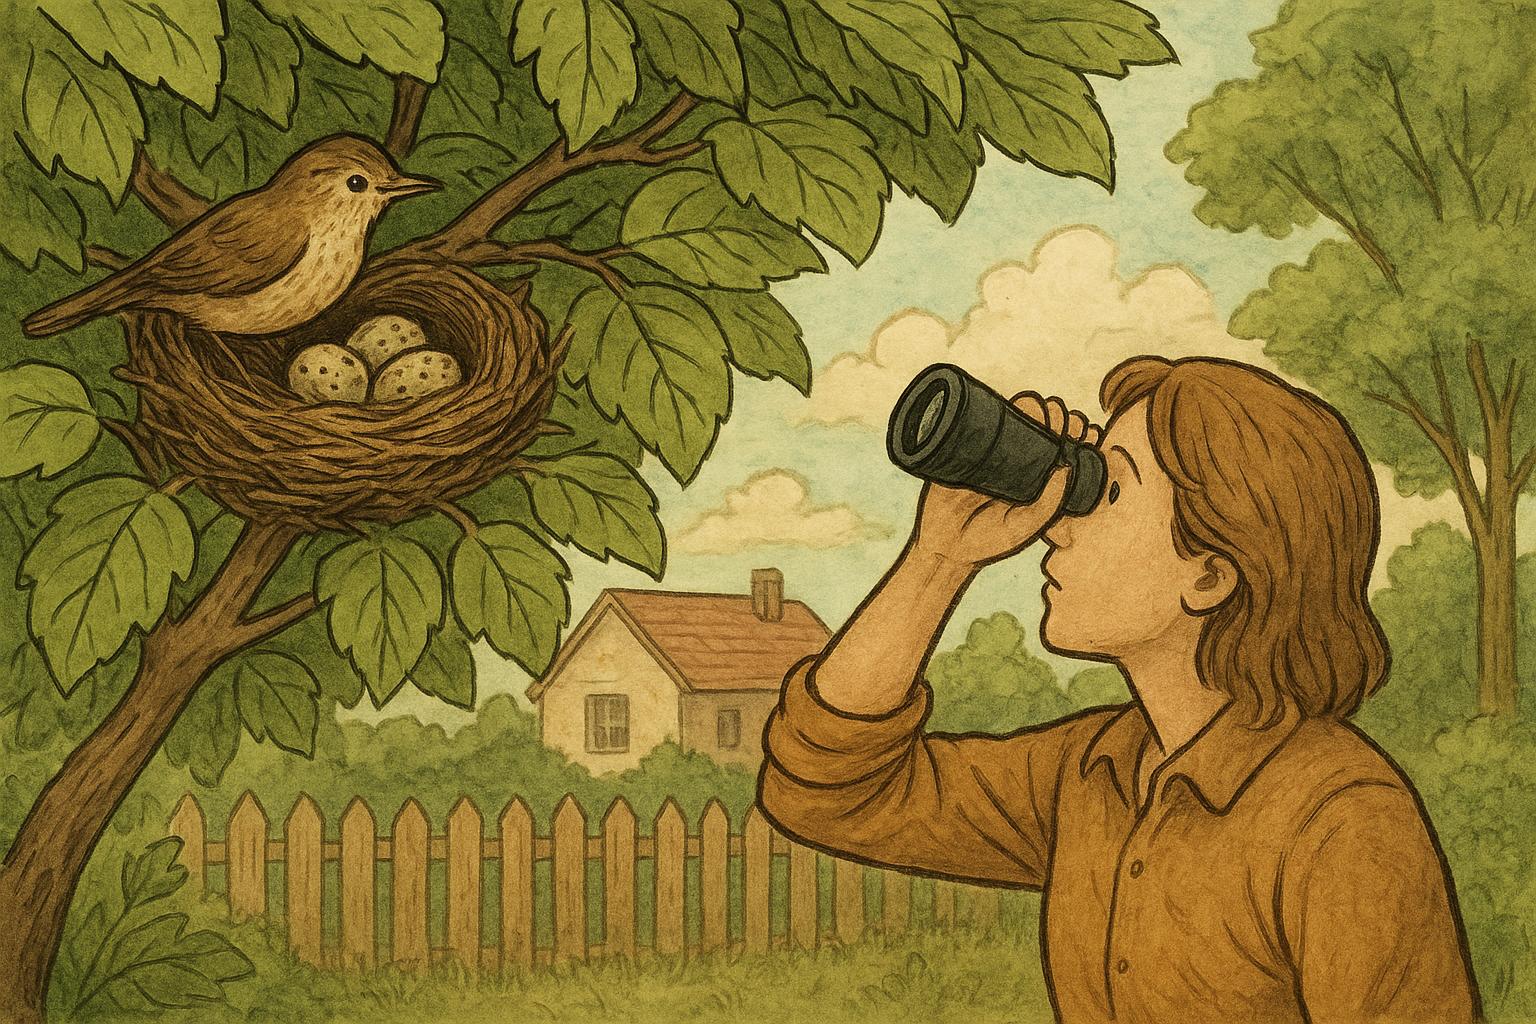
### Observing Nests Responsibly
Bird nest anatomy fascinates, but caution is essential. Disturbing active nests can cause abandonment or stress. Legal protections exist for many species; always observe from a distance, avoid handling, and never move an active nest.
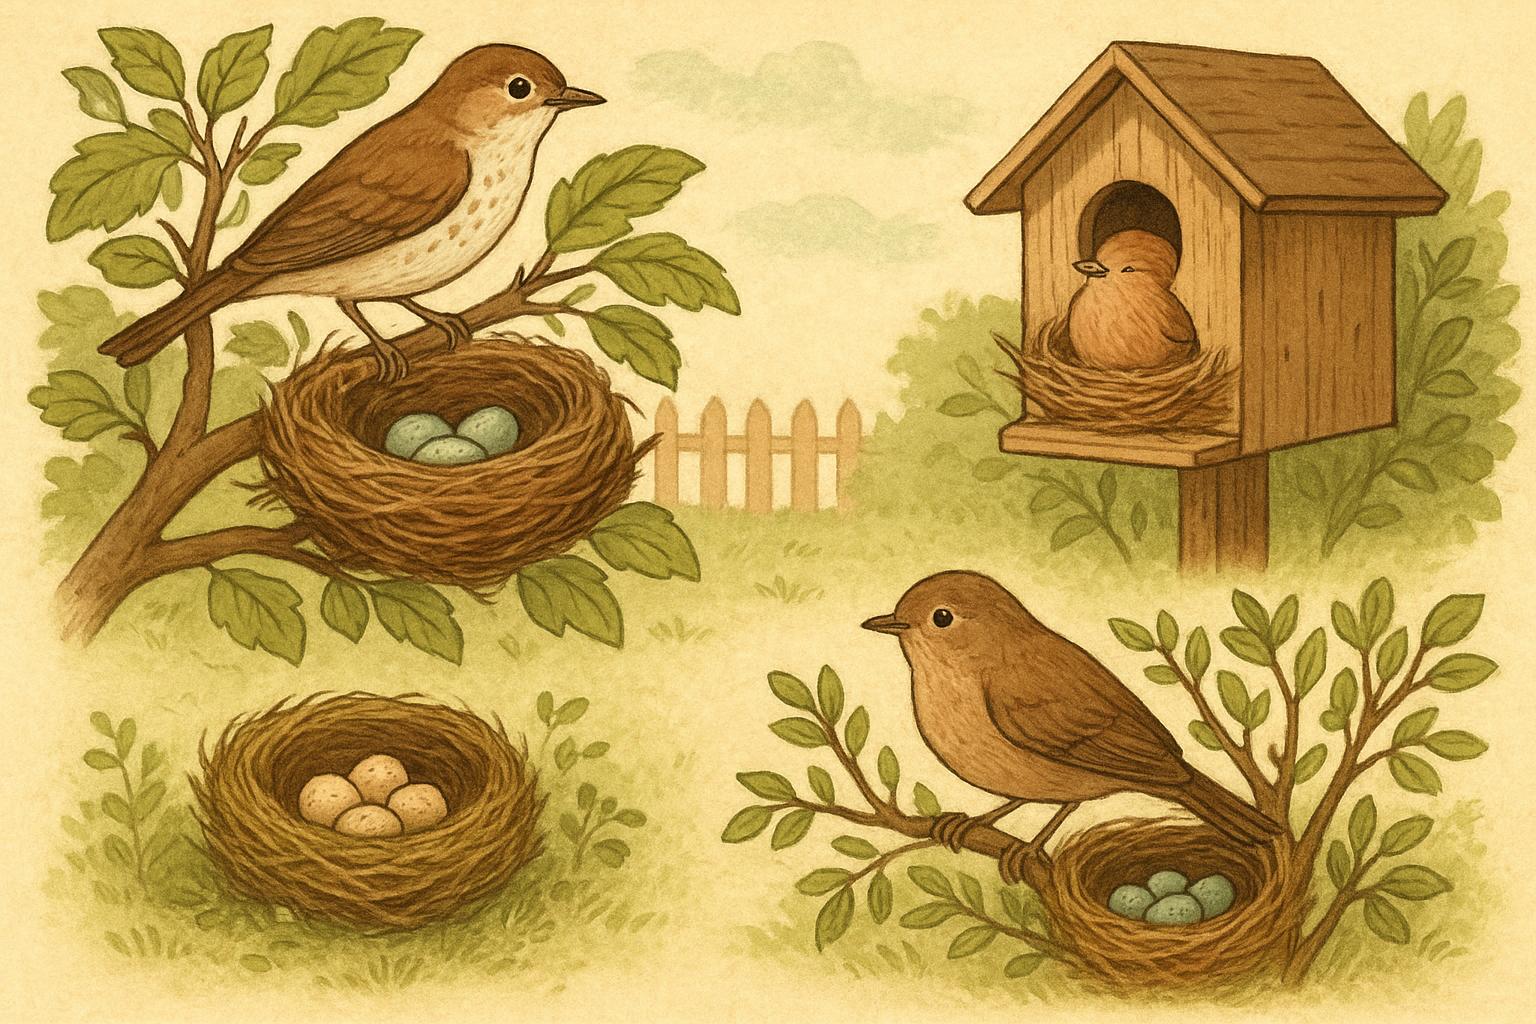
## Remedy 1: Build A Simple Nest Box To Encourage Cavity Nesters
When you want to help backyard birds and avoid accidental feathered squatter surprises in eaves or vents, a purpose-built nest box is a formal, effective remedy. Below are materials and step-by-step instructions to create a basic nest box suitable for chickadees, bluebirds, or wrens.
Materials/Required Items:
– Untreated cedar or pine boards (1″ thick recommended)
– Galvanized screws (1-1/4″ to 1-1/2″)
– Exterior-grade, non-toxic wood glue (optional)
– Hinges and a latch (for cleaning access)
– Drill and appropriately sized bits
– Jigsaw or handsaw
– Sandpaper
– Paint (water-based, exterior, optional) — paint only the outside
– Mounting hardware (pole bracket or tree straps)
Step-by-Step Construction and Installation:
1. Cut Panels: Cut back, front, two sides, and a floor to make a box roughly 8″ wide x 8″ deep x 10″ high (adjust for target species). Make the roof slightly larger to shed water.
2. Entrance Hole: Drill a hole in the front panel sized for your species (1 1/8″ for chickadees, 1 1/2″ for bluebirds). Place it 6–8″ above the floor.
3. Ventilation and Drainage: Drill small vents near the top of the side panels and a few drainage holes in the floor.
4. Assemble: Pre-drill screw holes to prevent splitting. Attach sides to back, then floor, then front panel. Use exterior-grade screws and glue if desired.
5. Roof and Cleaning Panel: Attach the roof with hinges so you can open it for end-of-season cleaning; install a latch to secure it.
6. Sand and Seal: Sand rough edges. Paint or seal only the exterior with a light, natural color, leaving interior raw wood. Avoid bright colors that attract predators.
7. Mounting: Mount the box on a pole or securely fasten to a tree 6–12 feet high, depending on species, facing away from prevailing winds and direct afternoon sun.
8. Monitor Responsibly: Check from a distance. Clean out old nests after the breeding season to reduce parasites.
This formal approach ensures long-term utility, reduces unwanted nest placement in precarious spots, and supports cavity-nesting species legally and effectively.
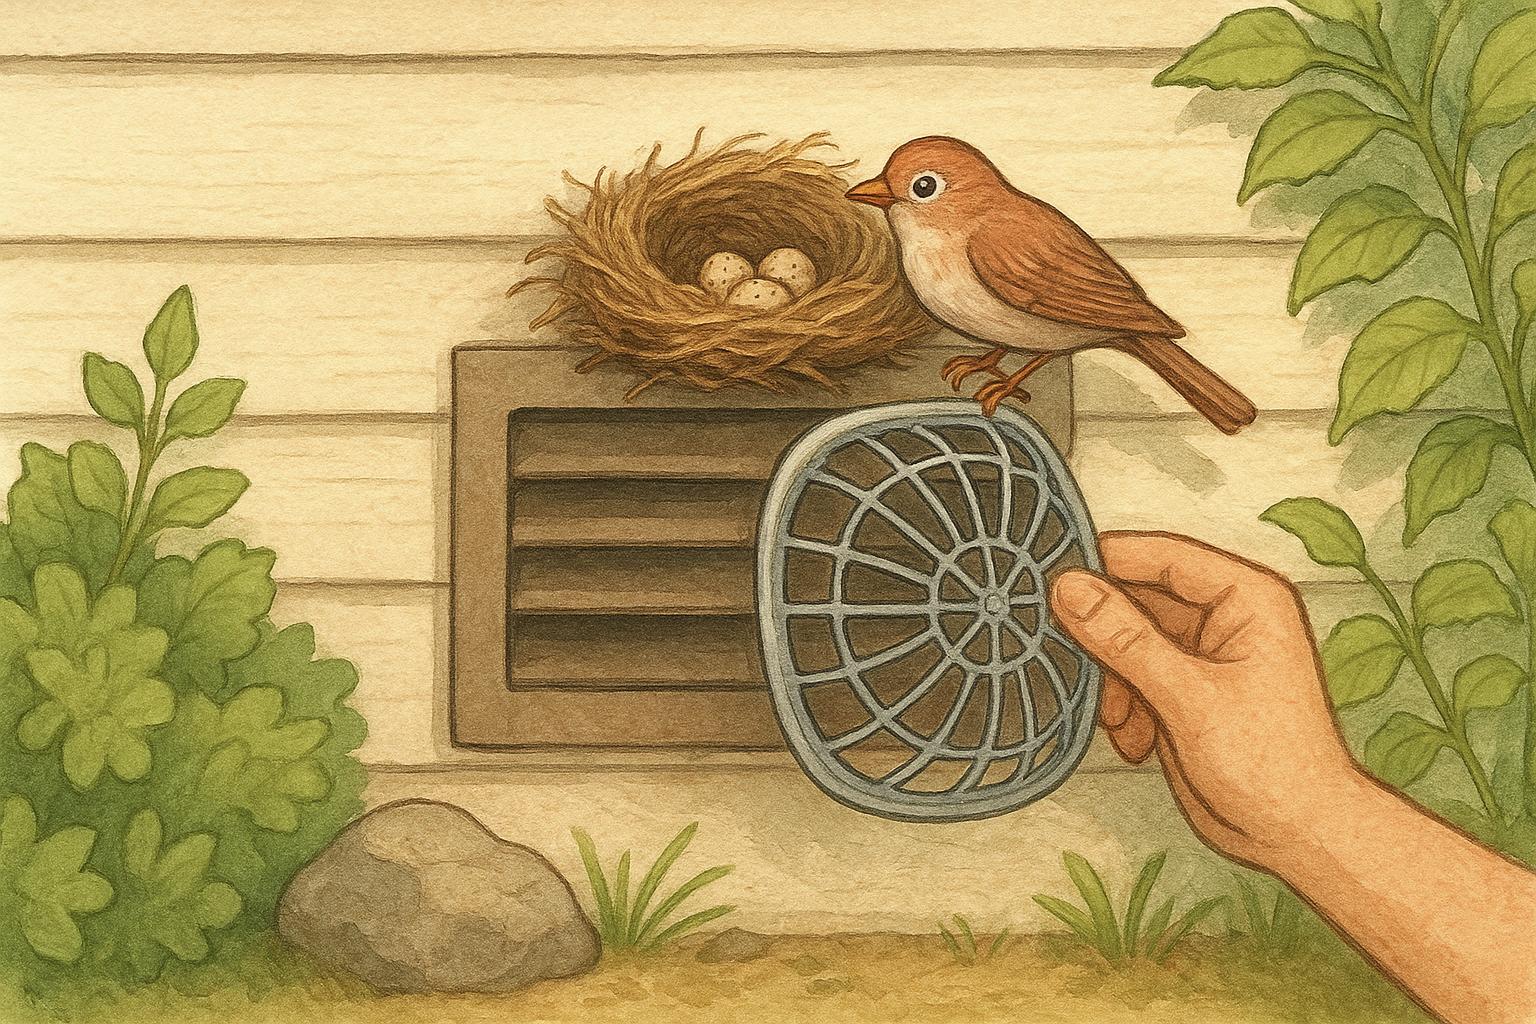
## Remedy 2: Deter Nesting In Undesired Spots (Safe, Humane Methods)
Sometimes you need to discourage nesting under eaves, vents, or machinery without harming birds. Use humane, legal deterrents. Below are required materials and a formal, stepwise application plan.
Materials/Required Items:
– Mesh or hardware cloth (1/2″ or finer)
– Cable ties or stainless-steel screws and washers
– Bird-safe sealant for gaps
– Visual deterrents (reflective tape or movable objects) — optional
– Ladder and safety gear
– Gloves and eye protection
Step-by-Step Application:
1. Inspect and Identify: Determine where birds are attempting to nest and whether it’s active. Do not remove or block active nests — consult local wildlife regulations if unsure.
2. Time It Right: Apply deterrents outside of breeding season or after nests are permanently abandoned. Blocking entry during active nesting can be illegal and harmful.
3. Install Mesh Barriers: Cut hardware cloth to size and secure it over openings with screws and washers or cable ties. Ensure no sharp edges can entangle birds. Leave a small inspection access if needed.
4. Seal Gaps: Use bird-safe sealant to close small entry points. Avoid trapping any nesting material inside.
5. Visual Motion Deterrents: Deploy reflective tape or slow-moving streamers in areas where birds are persistent. Rotate or move them occasionally, as birds habituate to static objects.
6. Maintenance and Monitoring: Regularly check barriers for wear and for any signs of new attempts. Remove obstructions during non-breeding months and reapply as necessary.
7. If Birds Persist: Consult a licensed wildlife rehabilitator or local conservation agency for guidance. Do not use poisons, glue traps, or other lethal means.
When implemented correctly, these steps protect both your property and the birds, comply with legal protections, and reduce the chance of conflicts.
### When To Call A Professional
If a nest is in a hazardous location (chimney, HVAC intake, or under heavy machinery) and birds are present, contact a licensed wildlife removal specialist or local conservation authority. Professionals can assess legal constraints and provide safe relocation or exclusion measures. Intervention should always prioritize bird welfare and compliance with local laws.
### A Few Final Friendly Tips
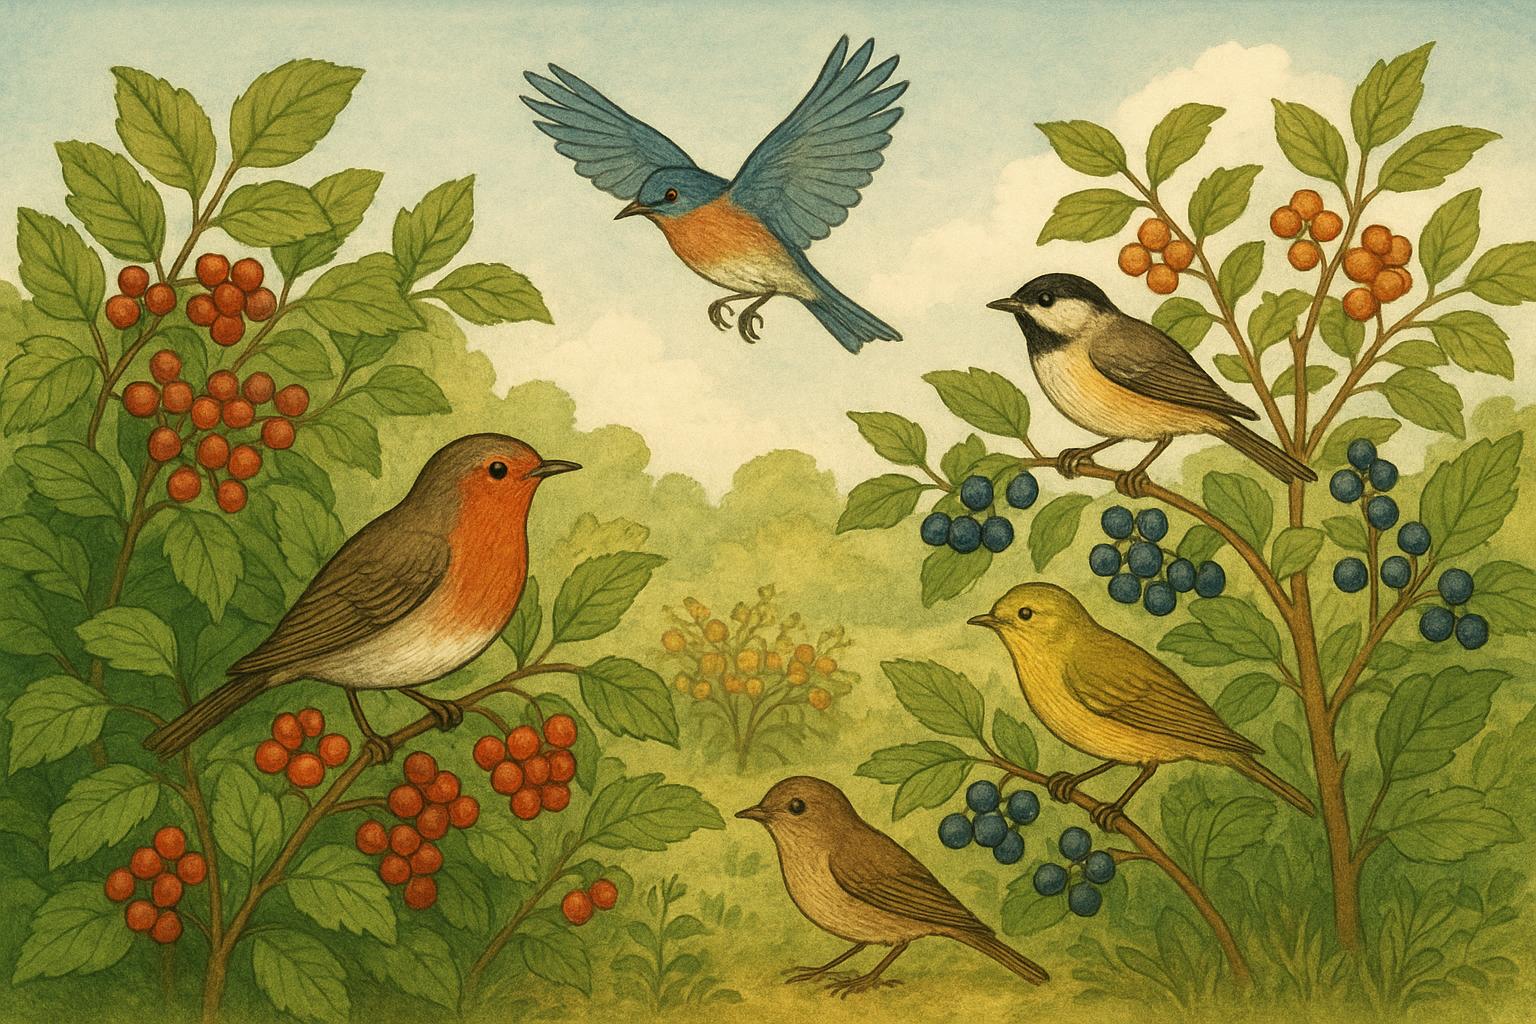
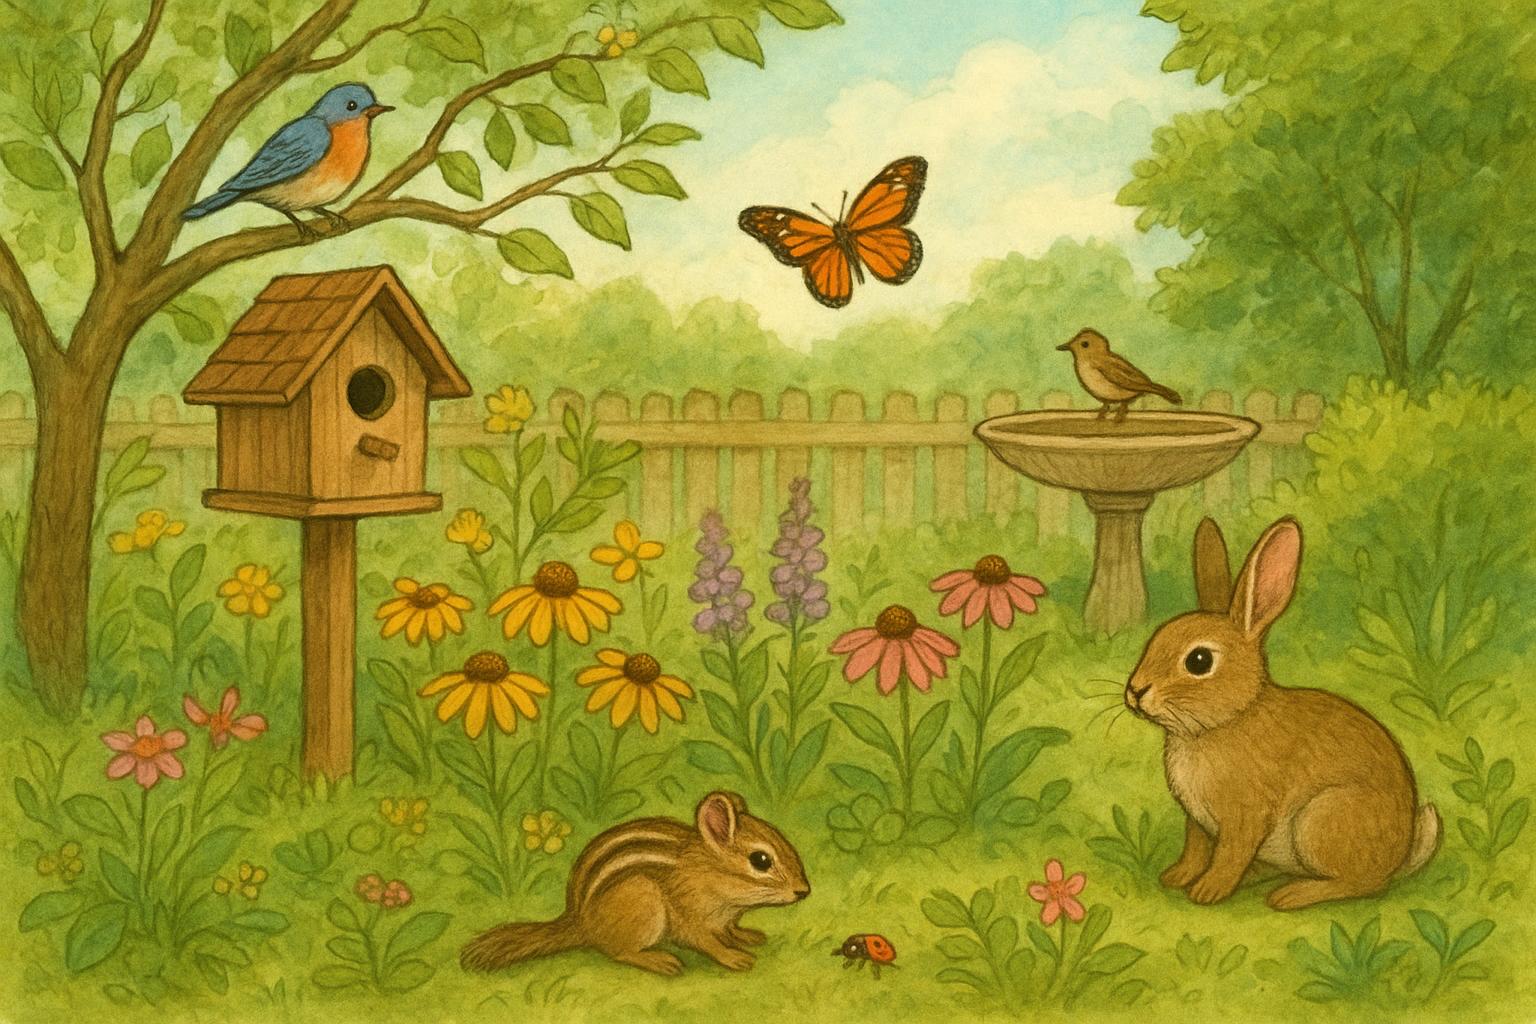
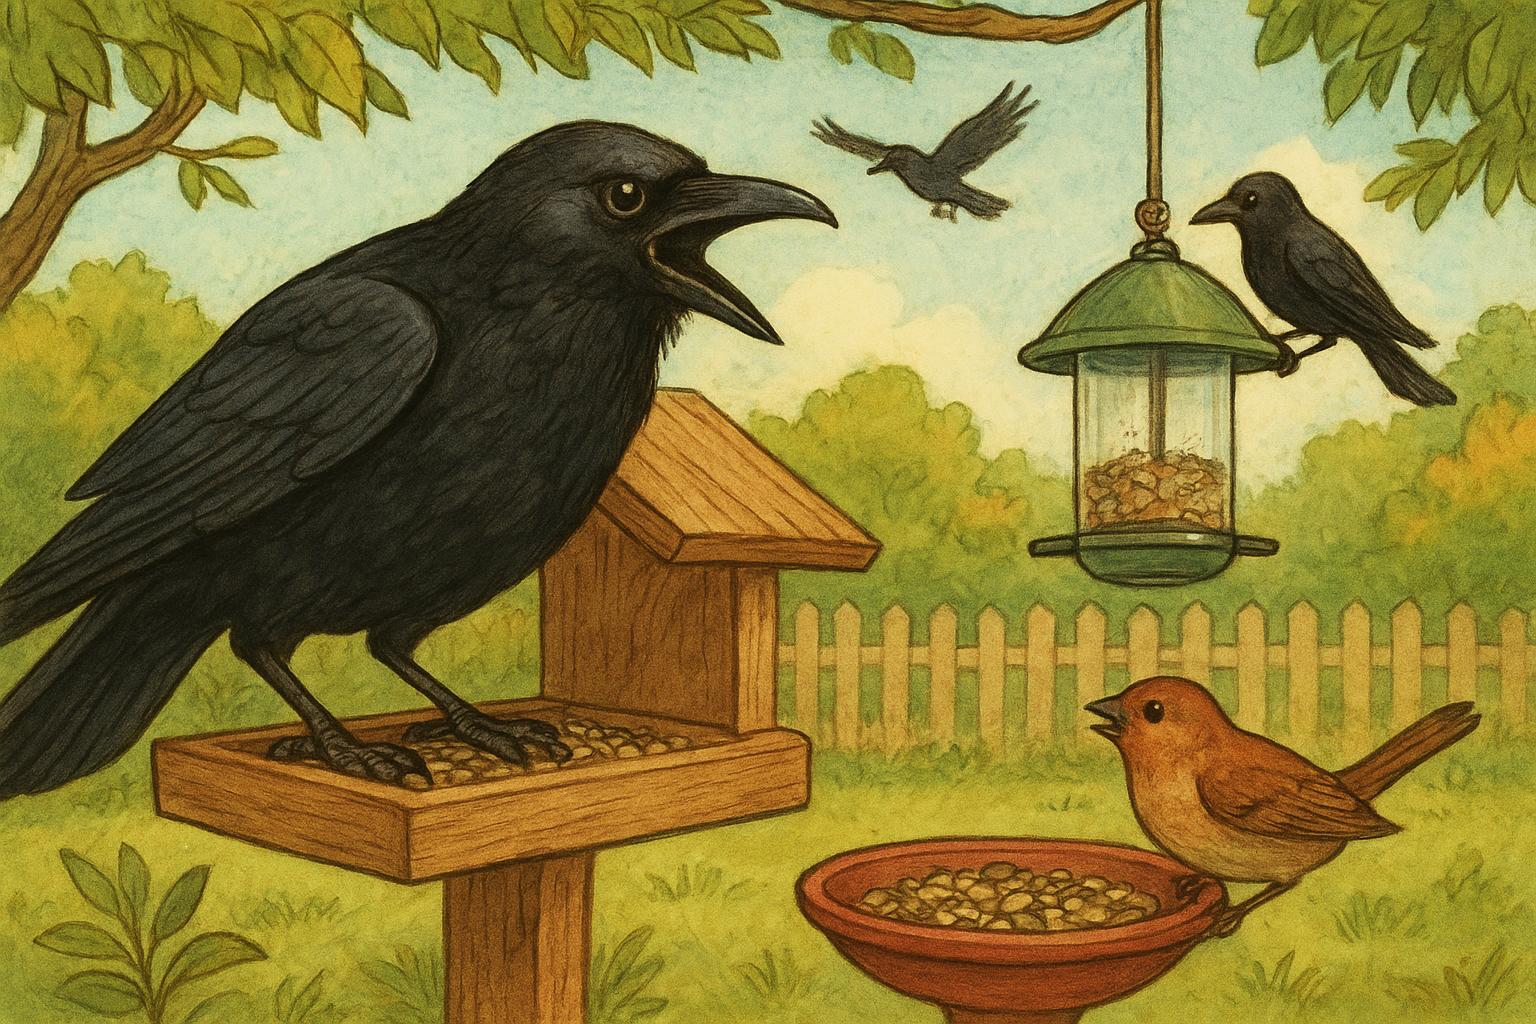
– Keep native plants and shrubs to provide natural nesting materials and cover.
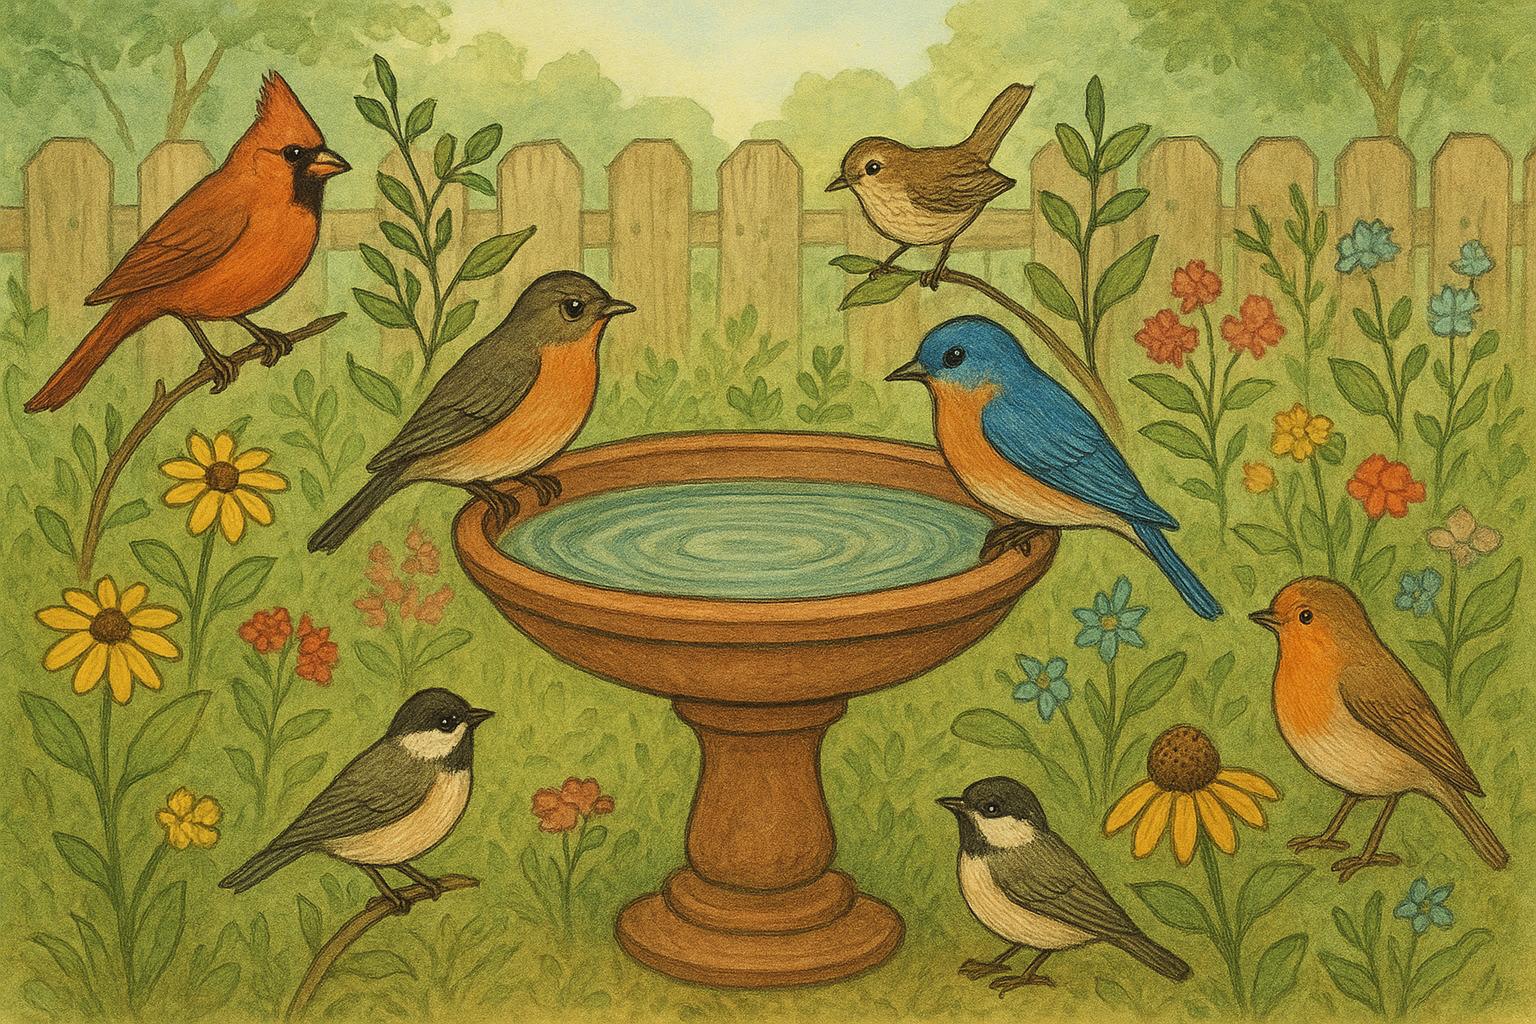
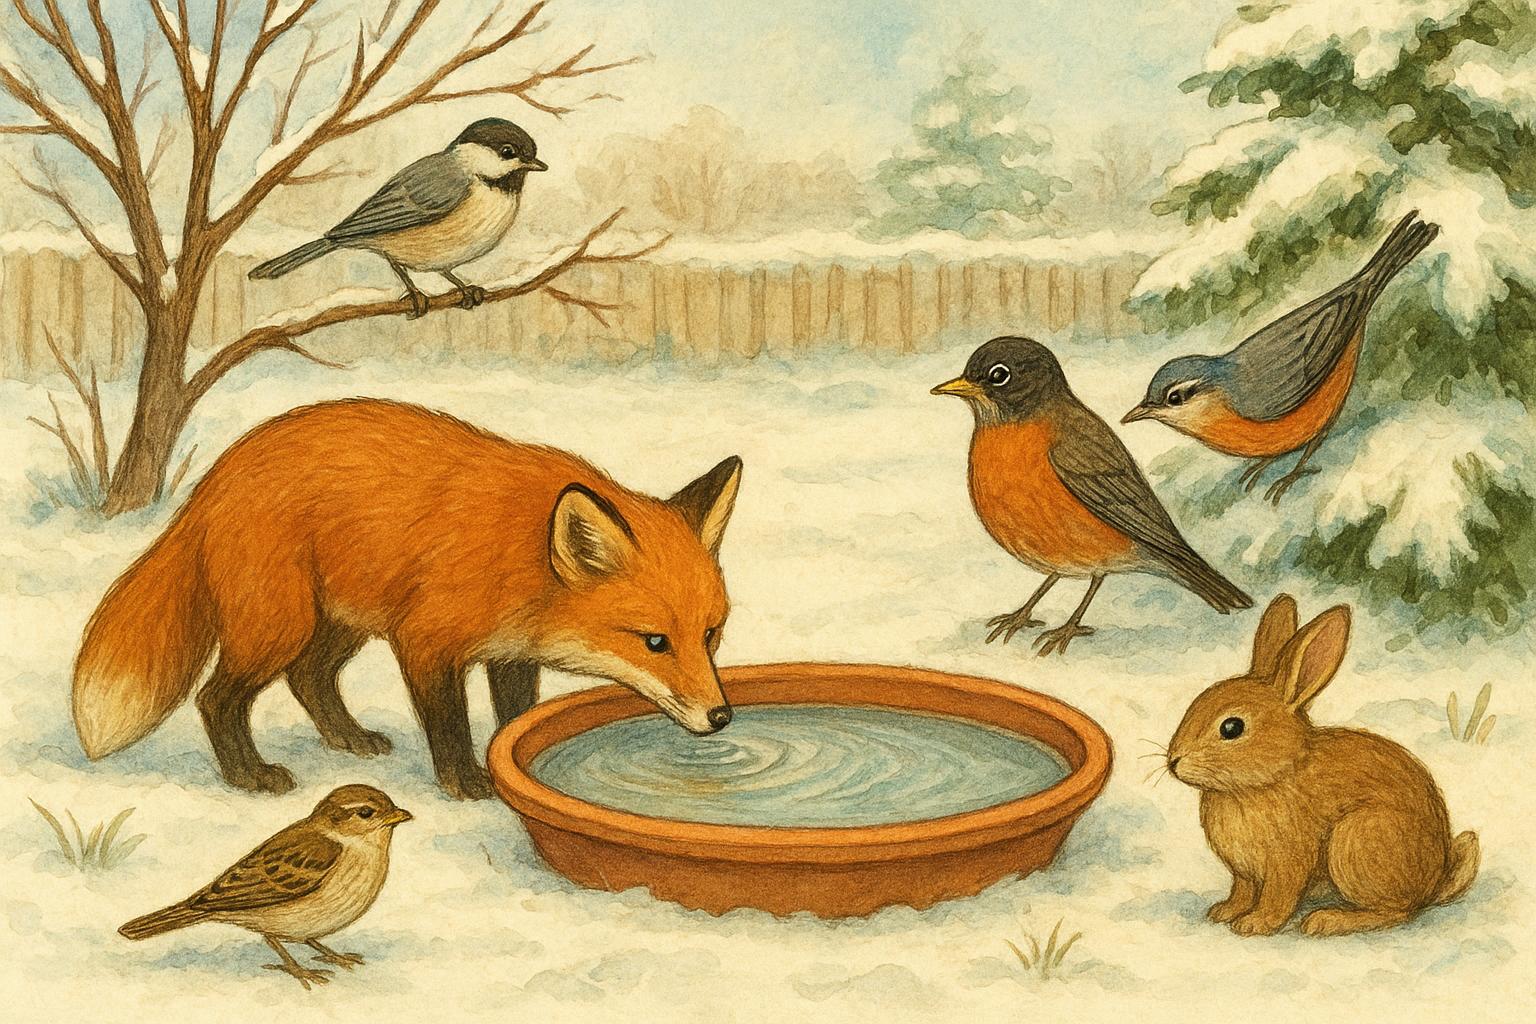
– Provide water sources like a shallow birdbath; proximity to water increases nesting success.
– Avoid trimming dense shrubs during nesting season (spring-summer) to prevent accidental disturbance.
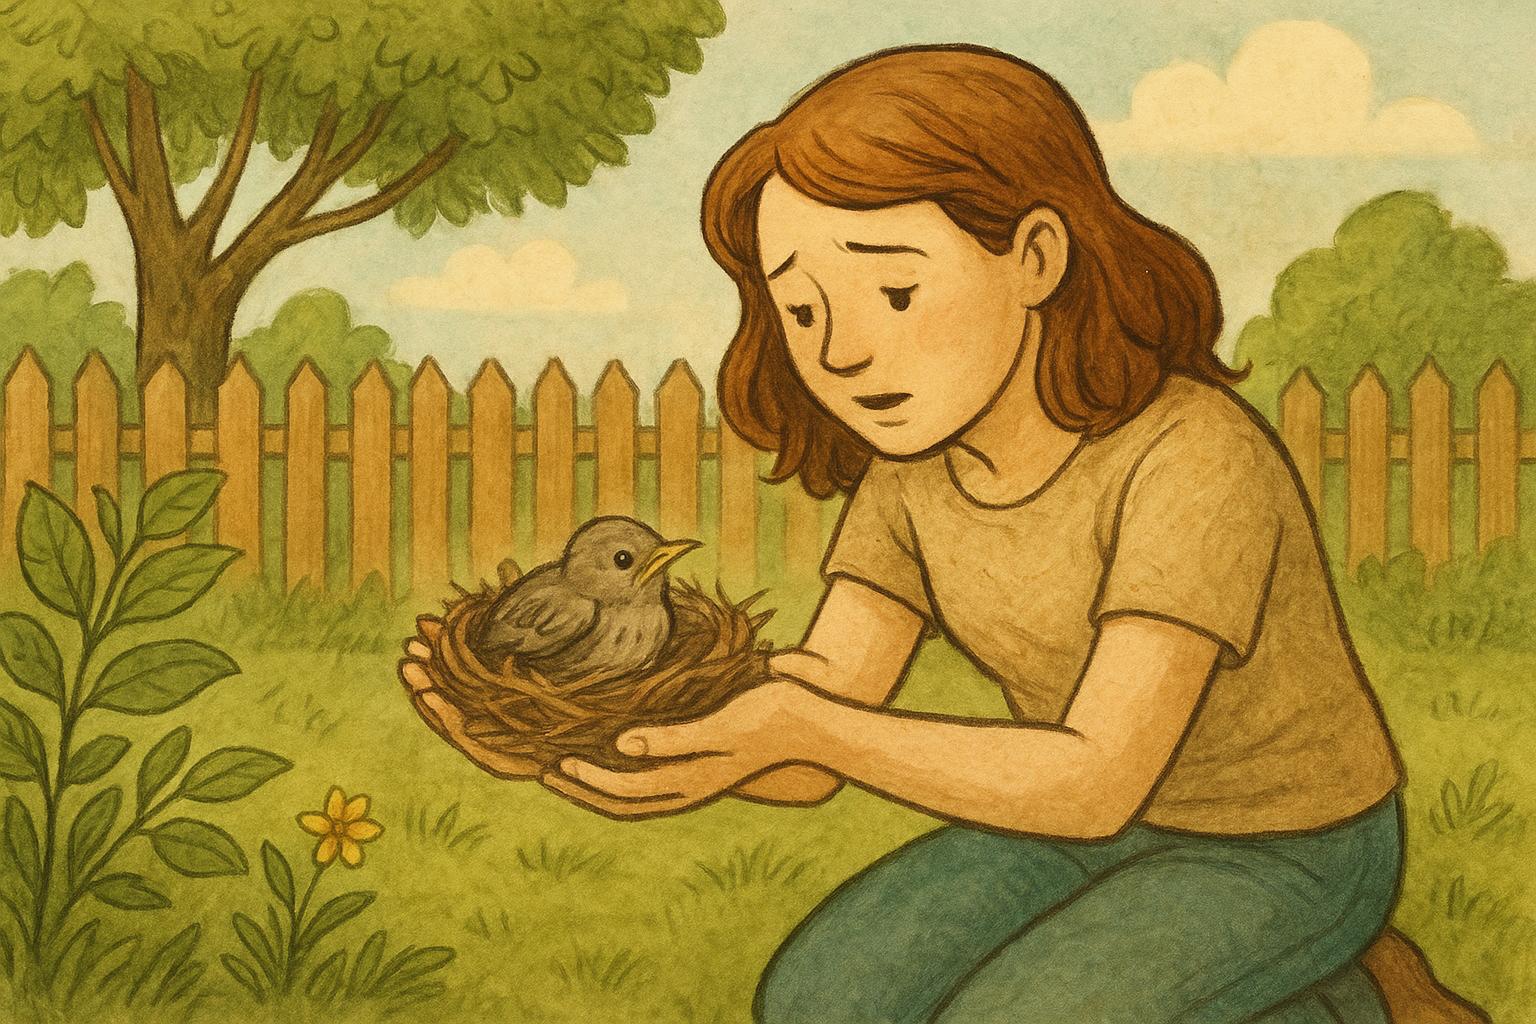
– If you find baby birds on the ground, they may be fledglings — observe before intervening.
Enjoy the small dramas of nest building. Learning bird nest anatomy will make your backyard feel like a tiny open-air museum of avian engineering — and now you’ve got the knowledge to assist, protect, or politely redirect residents when needed.


Leave a Reply