Gardening for bees is like throwing a backyard party and remembering to invite your hardest-working neighbors. They won’t RSVP, they’ll arrive on time, and they’ll do the heavy lifting—pollinating flowers, fruit trees and your tiny patch of pride. If you want to make that neighborhood thriving, read on for practical plant choices, placement tips, and two formal remedies to help bees nest and sip safely.
## Bee Plants For Pollinator Gardens
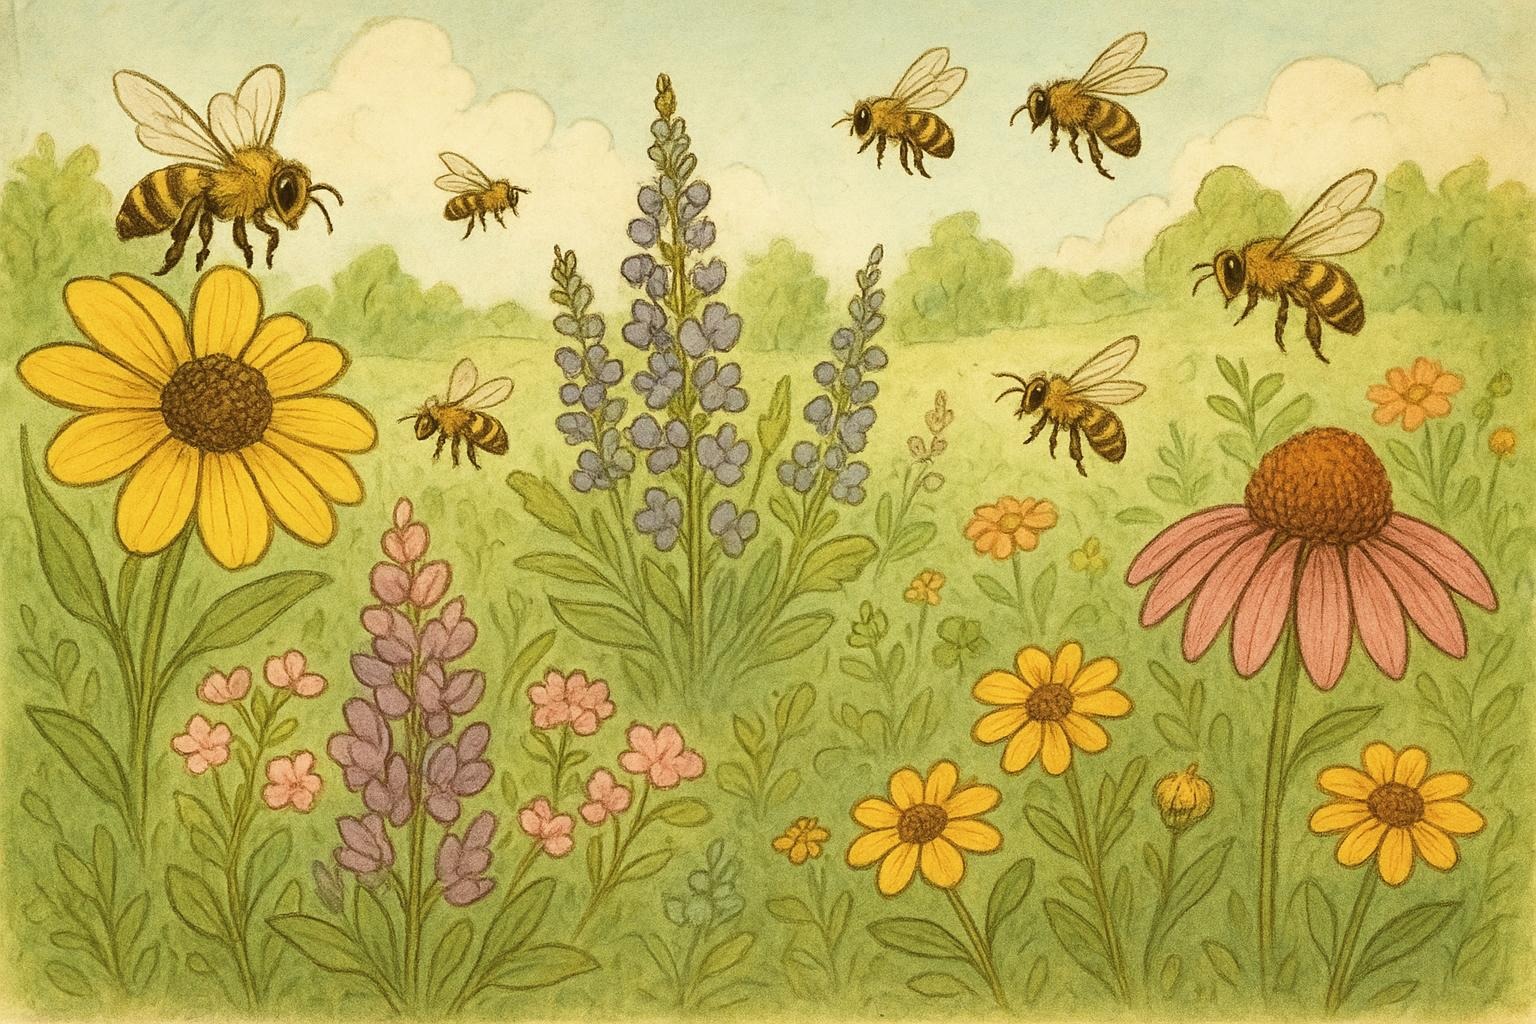
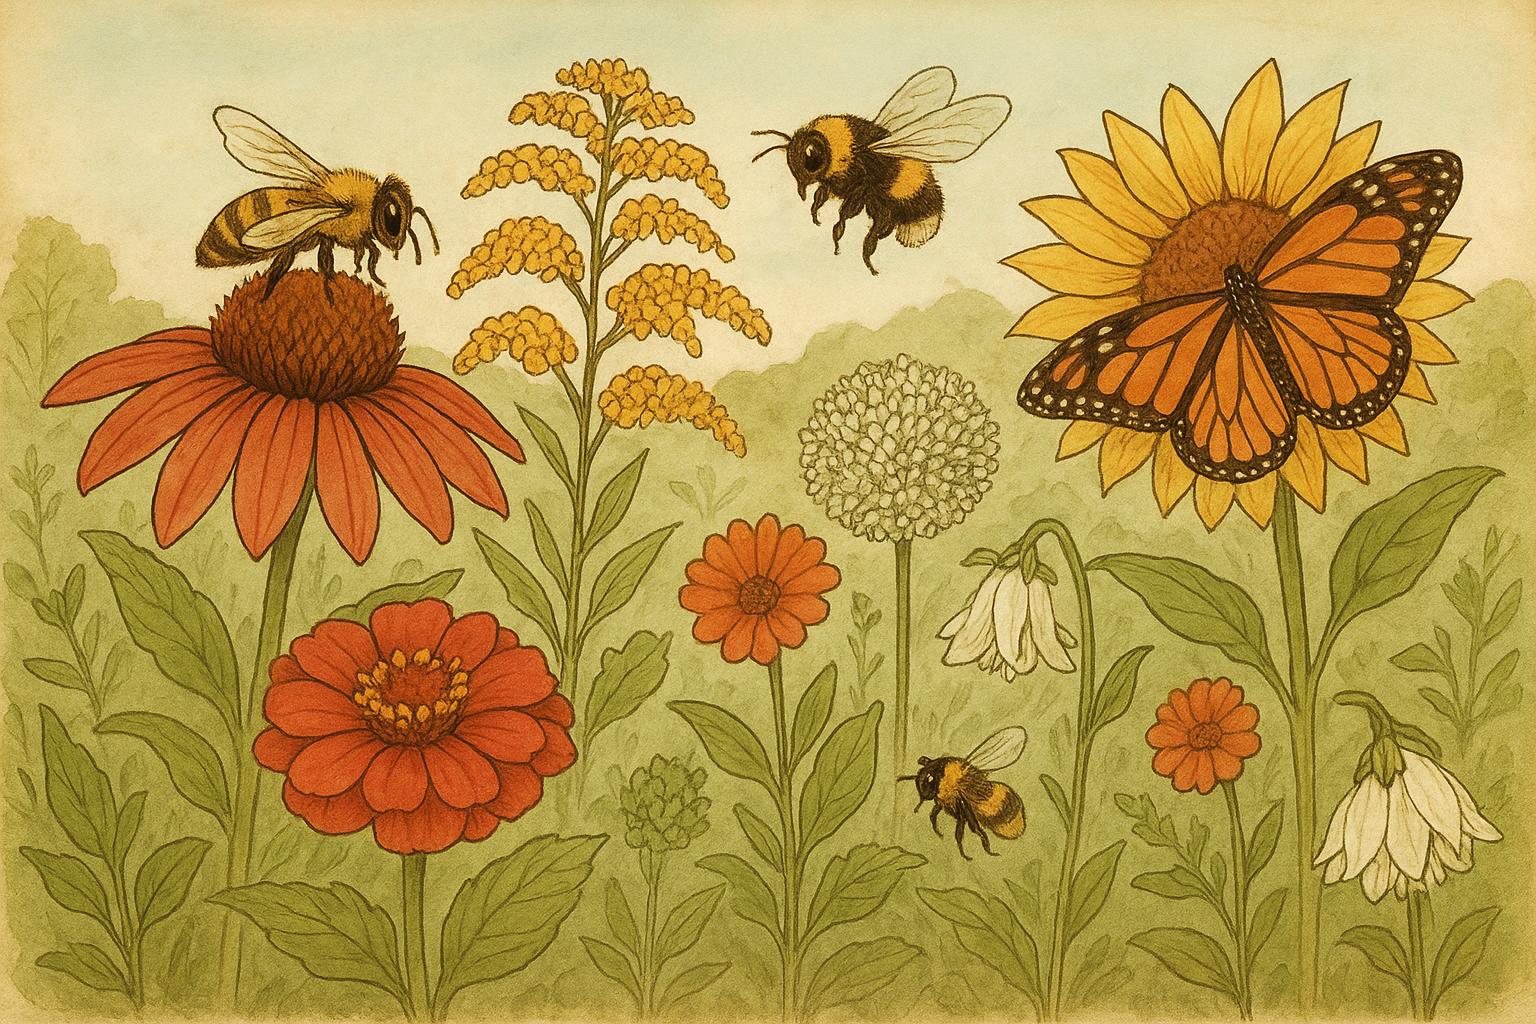
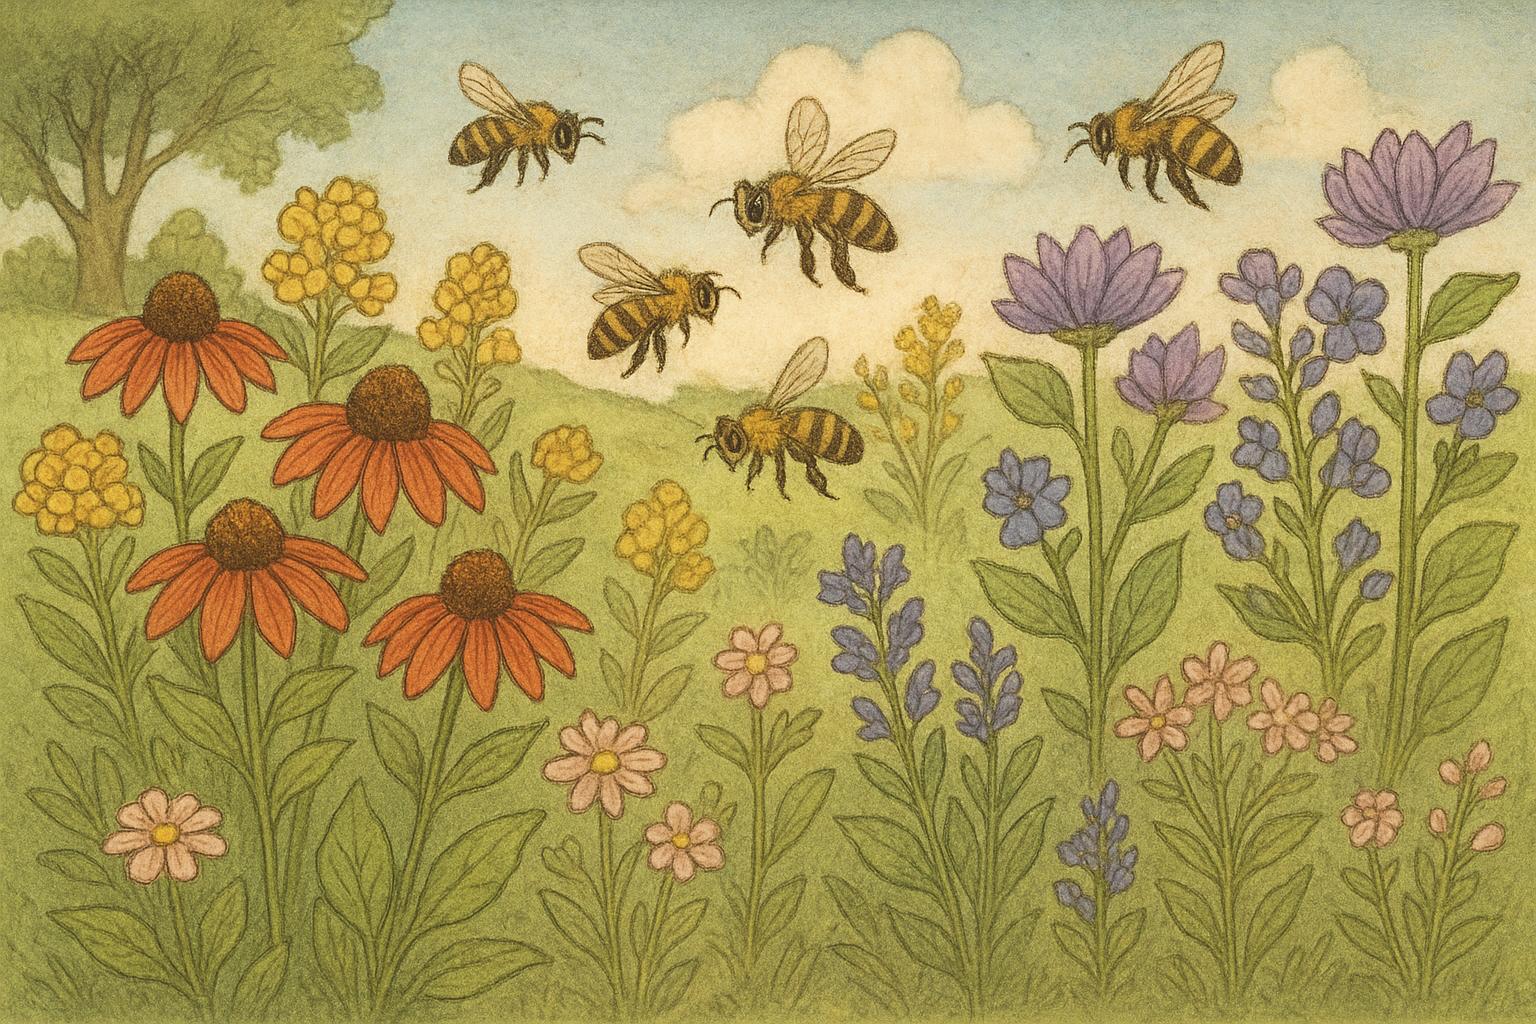
Picking the right bee plants is the foundation of any pollinator garden. These are the nectar- and pollen-rich species that attract honeybees, bumblebees, mason bees and other native pollinators. Choose a mix of native perennials, annuals and shrubs to provide season-long blooms. Think of it as stocking the pantry: early-season, mid-season and late-season offerings keep bees fed from spring through fall.
### Popular Choices That Actually Work
– Lavender invites foragers with a scent that says “snack time.”
– Salvia (sage) offers long tubular flowers perfect for long-tongued bees.
– Asters and goldenrod provide late-season sustenance when other blooms are dwindling.
– Native clovers are both lawn-friendly and bee-friendly.
– Echinacea and bee balm are resilient, showy and pollinator-popular.
#### Planting For Diversity
Aim for varied flower shapes, colors and heights. Different bees have different preferences—some favor shallow dish-like blooms, others seek deep tubular flowers. A diverse palette of bee plants increases the odds that any given pollinator finds a meal and sticks around.
## Where To Plant And How To Plan A Bee Garden
Location matters. Bees like sun. Fill at least half the garden with full-sun placements (6+ hours), cluster plants in groups rather than scattering single plants about, and place taller shrubs and perennials toward the back or center so shorter flowers aren’t shaded out. A cluster of five to seven plants of a species is far more attractive to bees than a single lonely bloom.
### Soil, Mulch, And Maintenance Tips
Good soil gives plants a longer, healthier blooming season. Use organic compost at planting time and avoid persistent broad-spectrum pesticides. If you must treat for pests, choose targeted, bee-safer options and apply in the evening when bees are less active. Leaving some bare, undisturbed ground in a sunny spot helps ground-nesting bees, while retired stems and cavities support cavity-nesters.
#### Seasonal Timing And Succession Planting
Plan for succession: sow early spring blooms, then follow with plants that peak in mid-summer and late summer/fall. This approach ensures that bee plants continually provide resources rather than appearing in a single dramatic flush and then vanishing.
## Remedy 1: Build A Native Bee Nesting Block
When bees can’t find a place to nest, even excellent foraging habitat falls short. A nesting block helps cavity-nesting native bees establish colonies nearby, increasing pollination in your garden. The following is a formal, step-by-step guide to building a durable, sanitary nesting block.
Materials Required
1. Untreated hardwood block (approximately 6″ x 6″ x 8″)
2. Drill with various-sized spade bits (3/32″ to 3/8″)
3. Sandpaper (medium and fine grit)
4. Exterior-grade wood sealant (optional; do not coat drilled holes)
5. Mounting hardware or heavy-duty twine
6. Weatherproofing platform or small roofed box for placement (optional)
Creation Steps (Formal Procedure)
1. Select a piece of untreated hardwood; softwoods can split and rot quickly. The block should be free of preservatives and chemicals.
2. Using spade bits, drill an assortment of holes into the face of the block. Hole diameters should range from 3/32″ to 3/8″; lengths should be 3″ to 6″ deep. Drill holes parallel to the grain to reduce splitting.
3. Avoid drilling all the way through; leave a ¼”–½” back wall. This protects larvae from predators and weather.
4. Smooth the entrance of each hole lightly with medium-grit sandpaper. Do not round the interiors; bees prefer straight-walled cavities.
5. Optionally seal the sides and back of the block with an exterior-grade sealant, avoiding any contact with the drilled holes to keep interiors untreated.
6. Mount the block on a south- or southeast-facing wall or post 3–6 feet above ground. Ensure it sits in full sun for much of the morning; protect it from heavy rain and prevailing winds with a small overhang or inside a weatherproof box.
Application And Maintenance
1. Inspect annually in late winter. Replace the block every 2–3 years to reduce parasite buildup.
2. If holes become clogged or infested, either re-drill fresh cavities in a new block or use removable, sanitary nesting tubes (paper or bamboo) that can be changed yearly.
3. Position multiple blocks in varied sun exposures to accommodate species with different microclimate needs.
## Remedy 2: Create A Bee-Friendly Water Station
Bees need water for hydration and for cooling hives. A simple, well-designed water station reduces the risk of bees drowning and provides safe access to moisture. Follow this formal recipe to build a stable, low-maintenance bee water source.
Ingredients And Materials
1. Shallow basin or saucer (ceramic or heavy plastic)
2. Clean stones, pebbles, or wine corks
3. Fresh water (non-chlorinated if possible)
4. Optional: aquatic plants (e.g., water lettuce) for evaporation control
Construction And Application Steps (Formal Procedure)
1. Select a shallow, wide basin to reduce depth and surface tension challenges for small bees.
2. Arrange stones, pebbles or wine corks so they protrude above the waterline, creating landing pads. Ensure every point within the basin has an accessible foothold less than an inch from the surface.
3. Fill with water to just below the top of the stones, so bees can land and drink without risking submersion.
4. Place the station in partial sun near flowering bee plants and sheltered from strong winds. Refill daily in hot weather and check for contaminants.
5. Clean and refresh the water every 2–3 days to prevent mosquito breeding and stagnation; scrub the basin monthly to control algae.
Maintenance Notes
1. Avoid using deep bowls or slick surfaces that increase drowning risk.
2. During freezes, provide shallow heated baths or replace with warmer water during daytime hours if safe to do so.
3. Position at multiple spots if your garden is large, especially near concentrations of bee plants.
## Design Ideas And Plant Combinations That Work
Combine erect perennials like echinacea and salvia with low-spreading legumes and herbs—chives, thyme and borage are both culinary winners and beloved by bees. Plant bulbs like crocus and hyacinth for early nectar, and tuck native shrubs, such as serviceberry or ceanothus, into borders for structural interest and seasonal blooms. If you have limited space, container gardens heavy with bee plants like lavender, rosemary and marigolds can still make a big difference.
### Practical Tips For Small Spaces
– Use vertical layers: tall plants in the back, trailing herbs at the front.
– Convert a small lawn patch to a clover-rich meadow to instantly increase forage.
– Groupings of three to five pots of the same species are more attractive to pollinators than single pots scattered around.
#### Dealing With Pests Without Harming Pollinators
When pests show up, choose focused, least-toxic interventions. Hand-pick large pests, use insecticidal soaps during evening hours and avoid spraying blooms. If chemical measures are necessary, shield blooming plants and apply after sunset when pollinator activity is low.
A thriving bee garden is built one bee plant at a time, with an attitude of “help, not harm.” Plant well, provide water and shelter, and keep your garden a pesticide-free sanctuary. Your bees will repay you with better fruit set, brighter flowers and the satisfying hum of a healthy backyard ecosystem.


Leave a Reply