Start with a cool drink, a comfy chair, and maybe binoculars. If you’ve ever wanted to invite feathered friends to set up shop in your yard without turning your property into a reality TV series for sparrows, a little planning goes a long way. Below you’ll find practical advice on choosing locations, avoiding predators, and installing shelter so birds actually use your effort — not just take a fleeting selfie.
## Why A Nest Box Matters In Your Yard
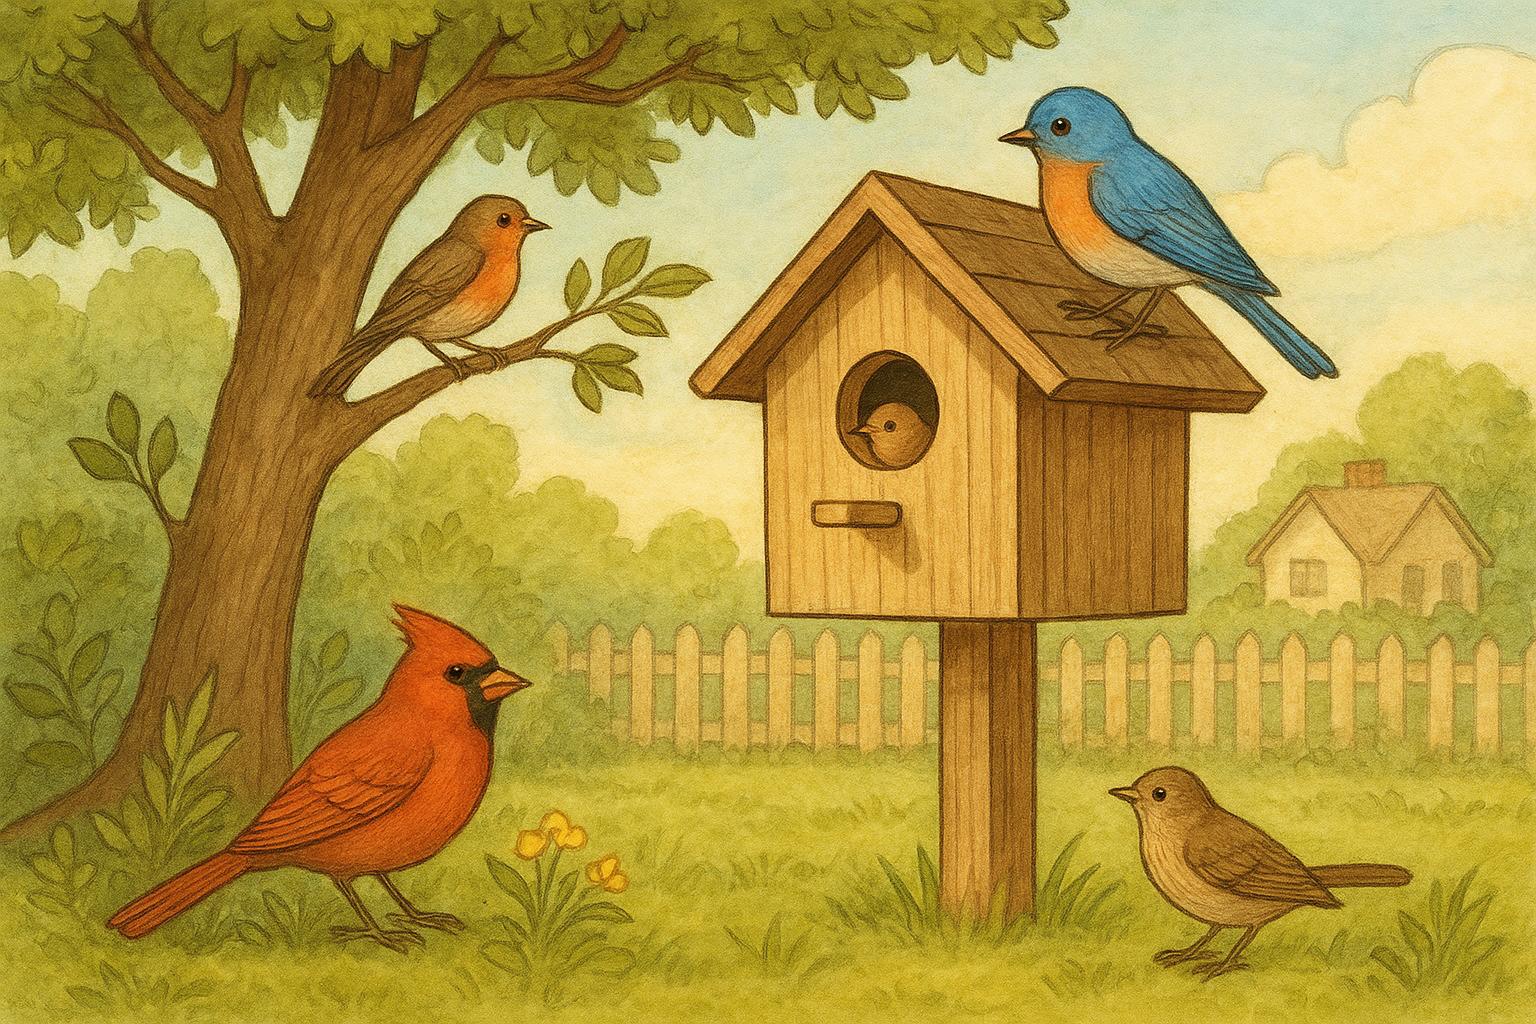
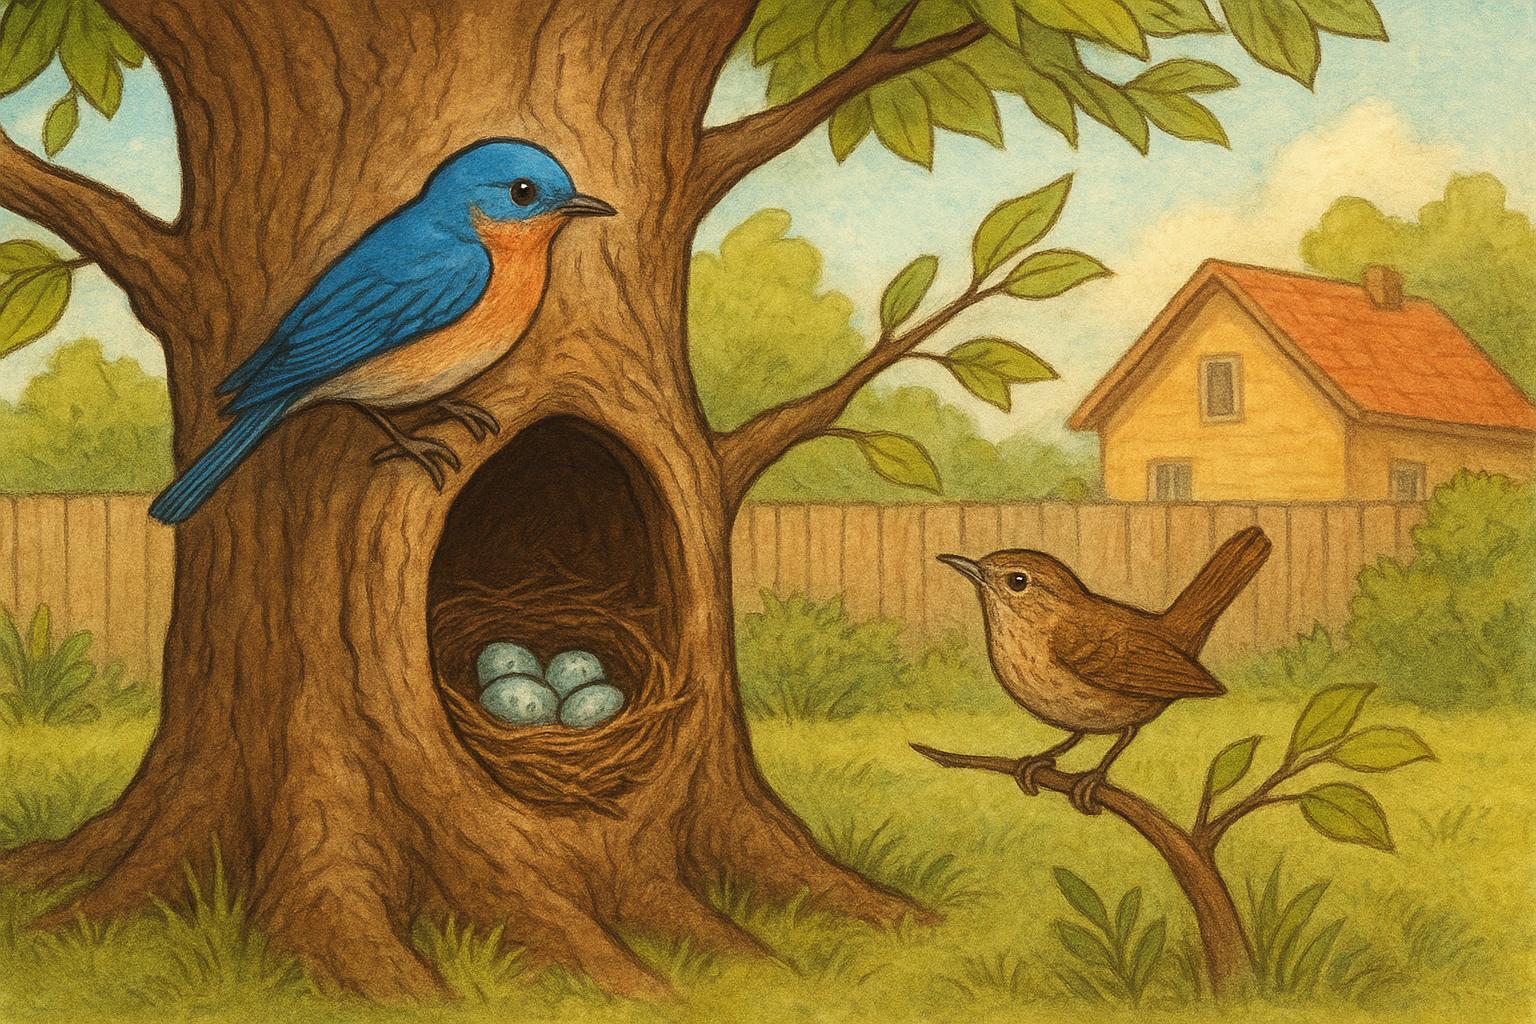
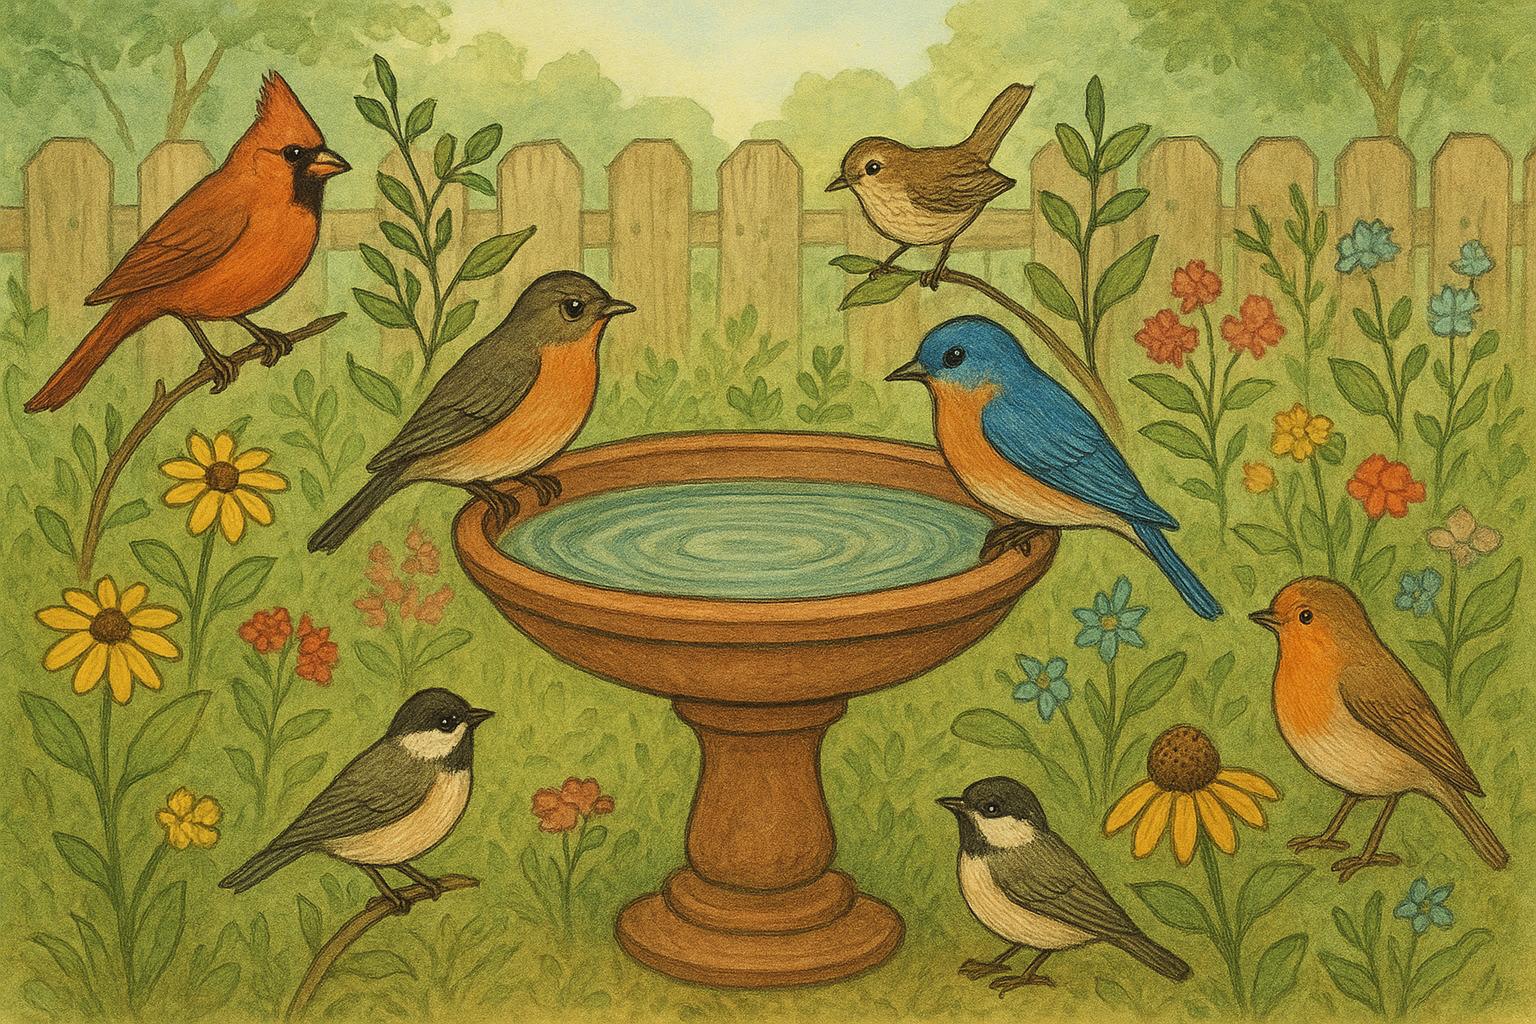
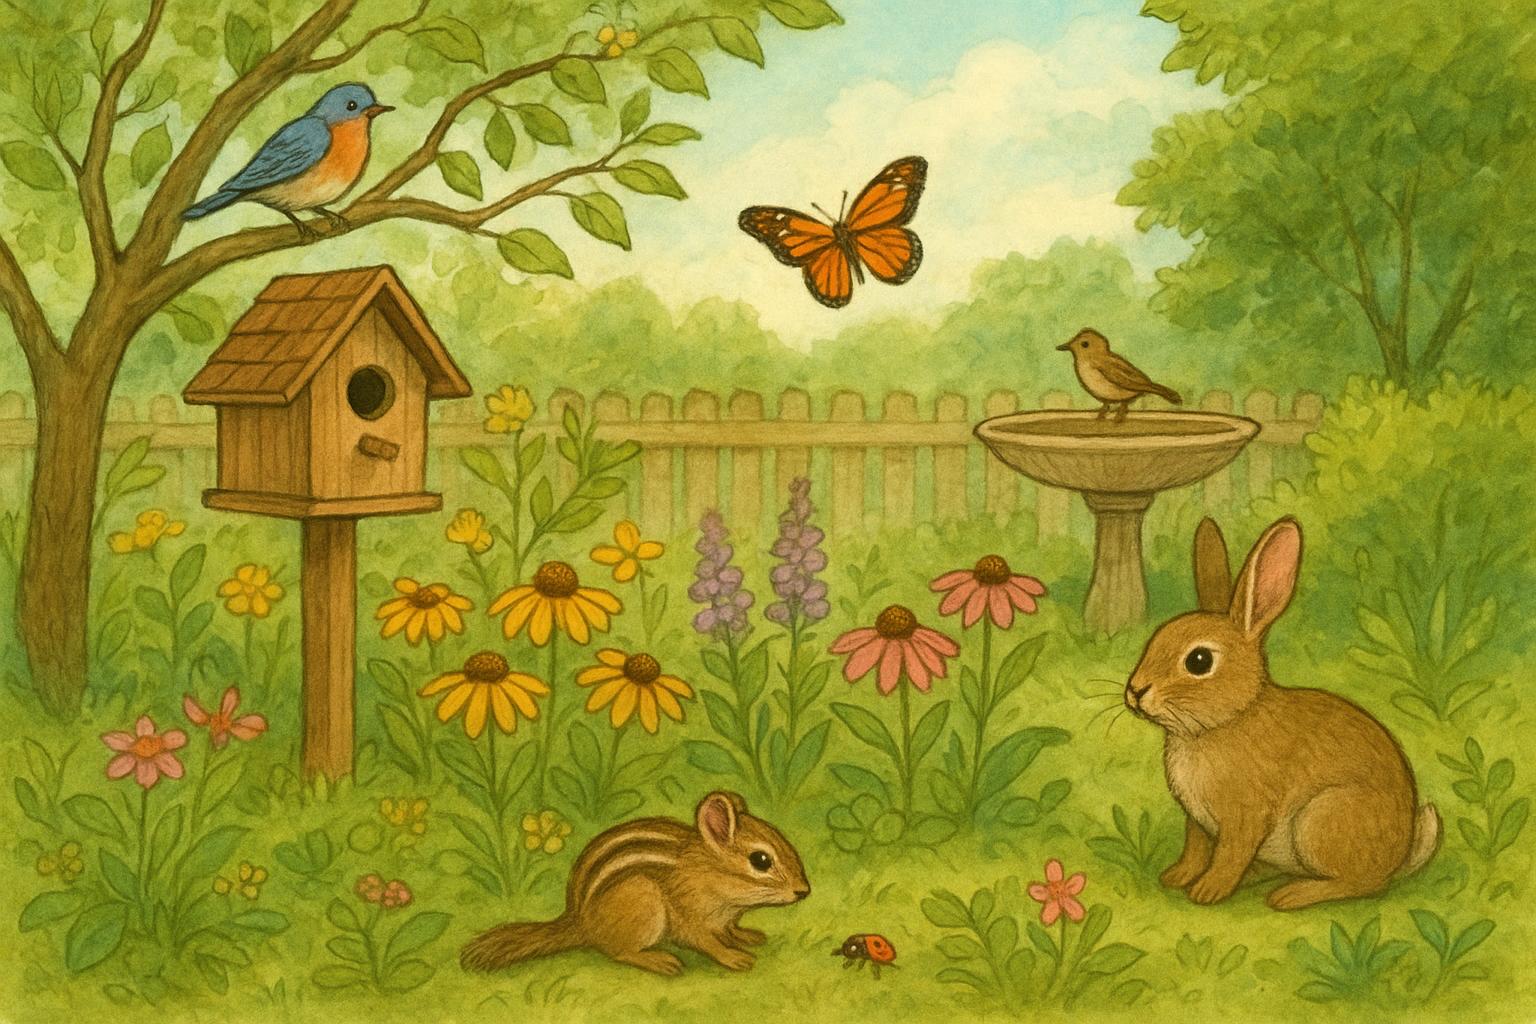
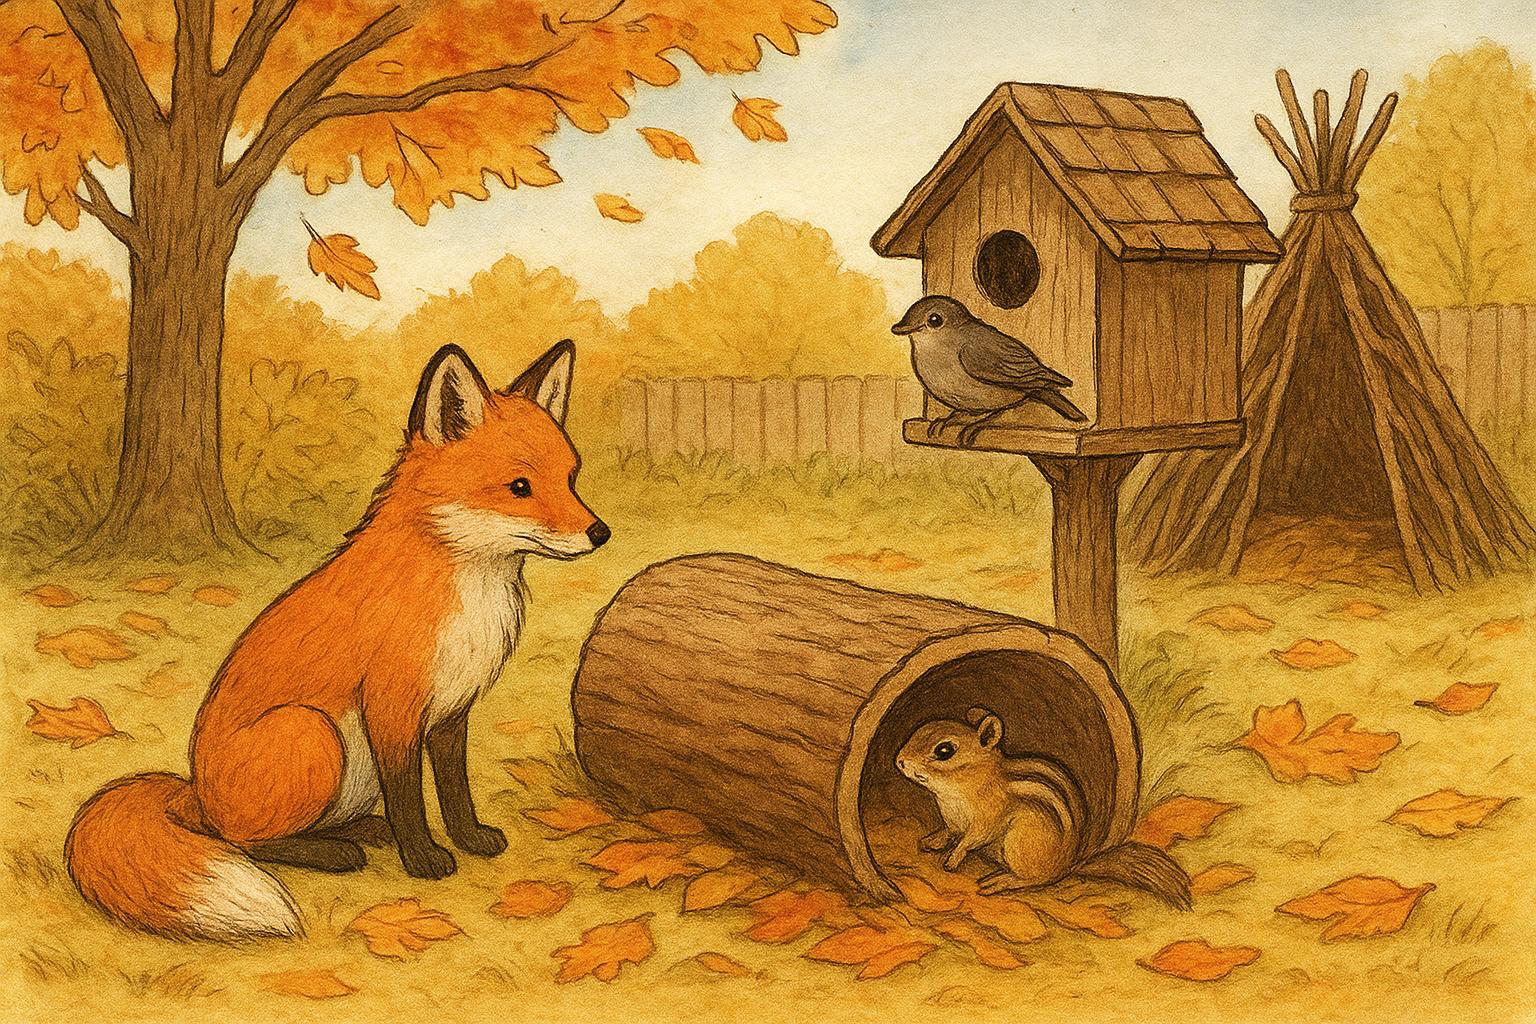
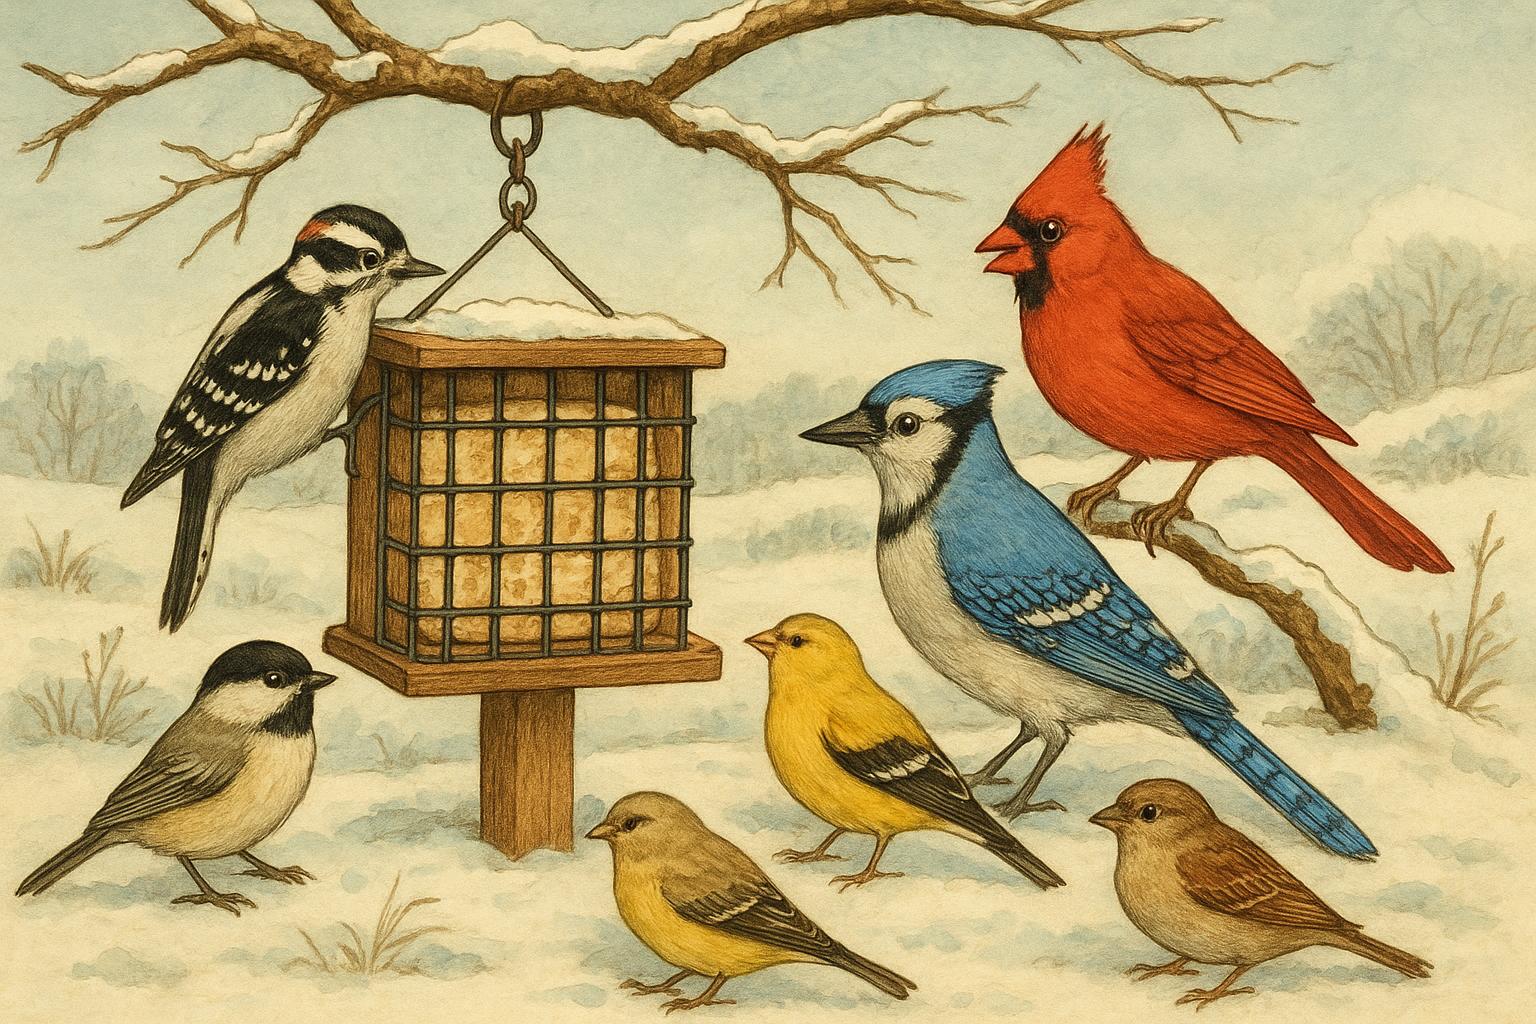
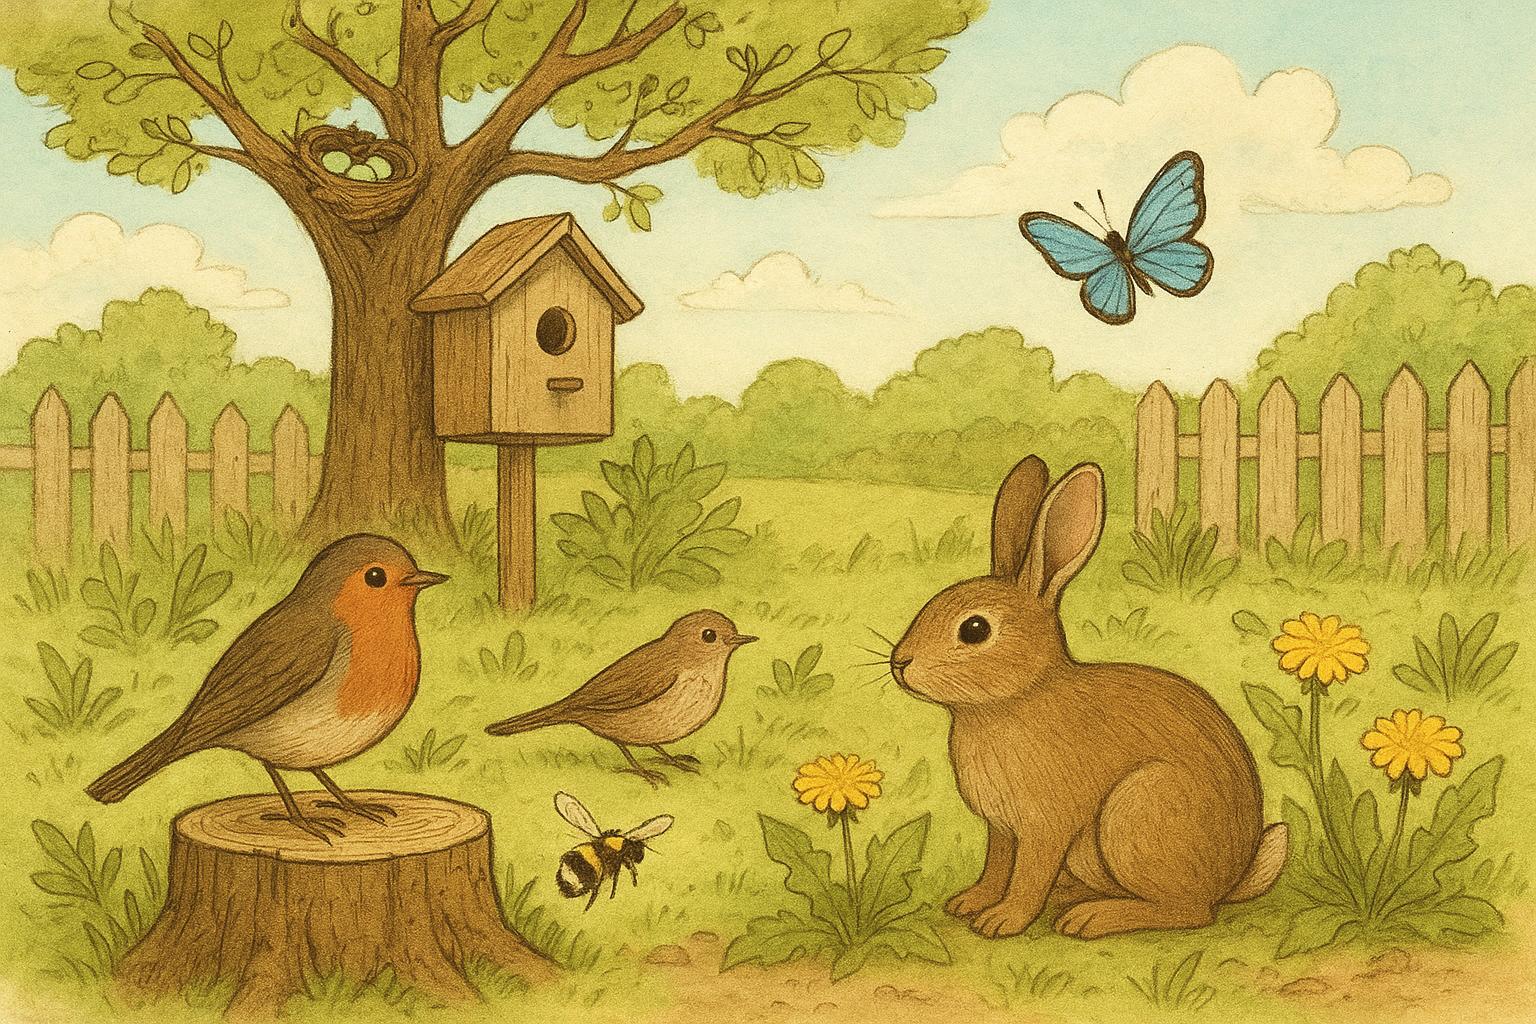
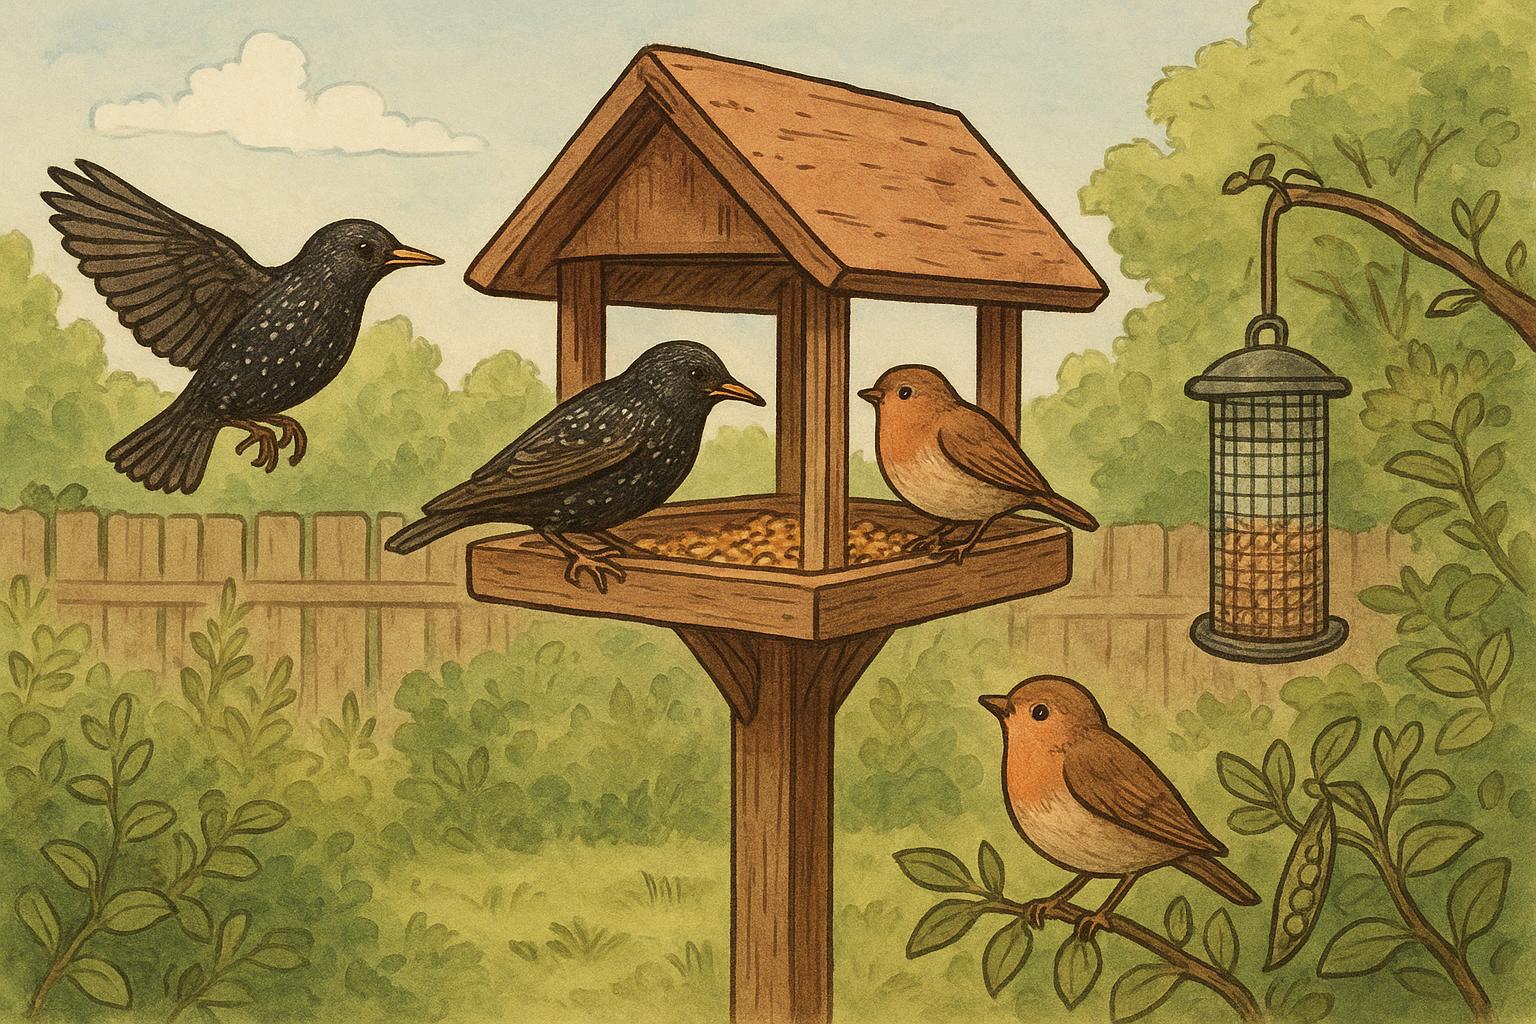
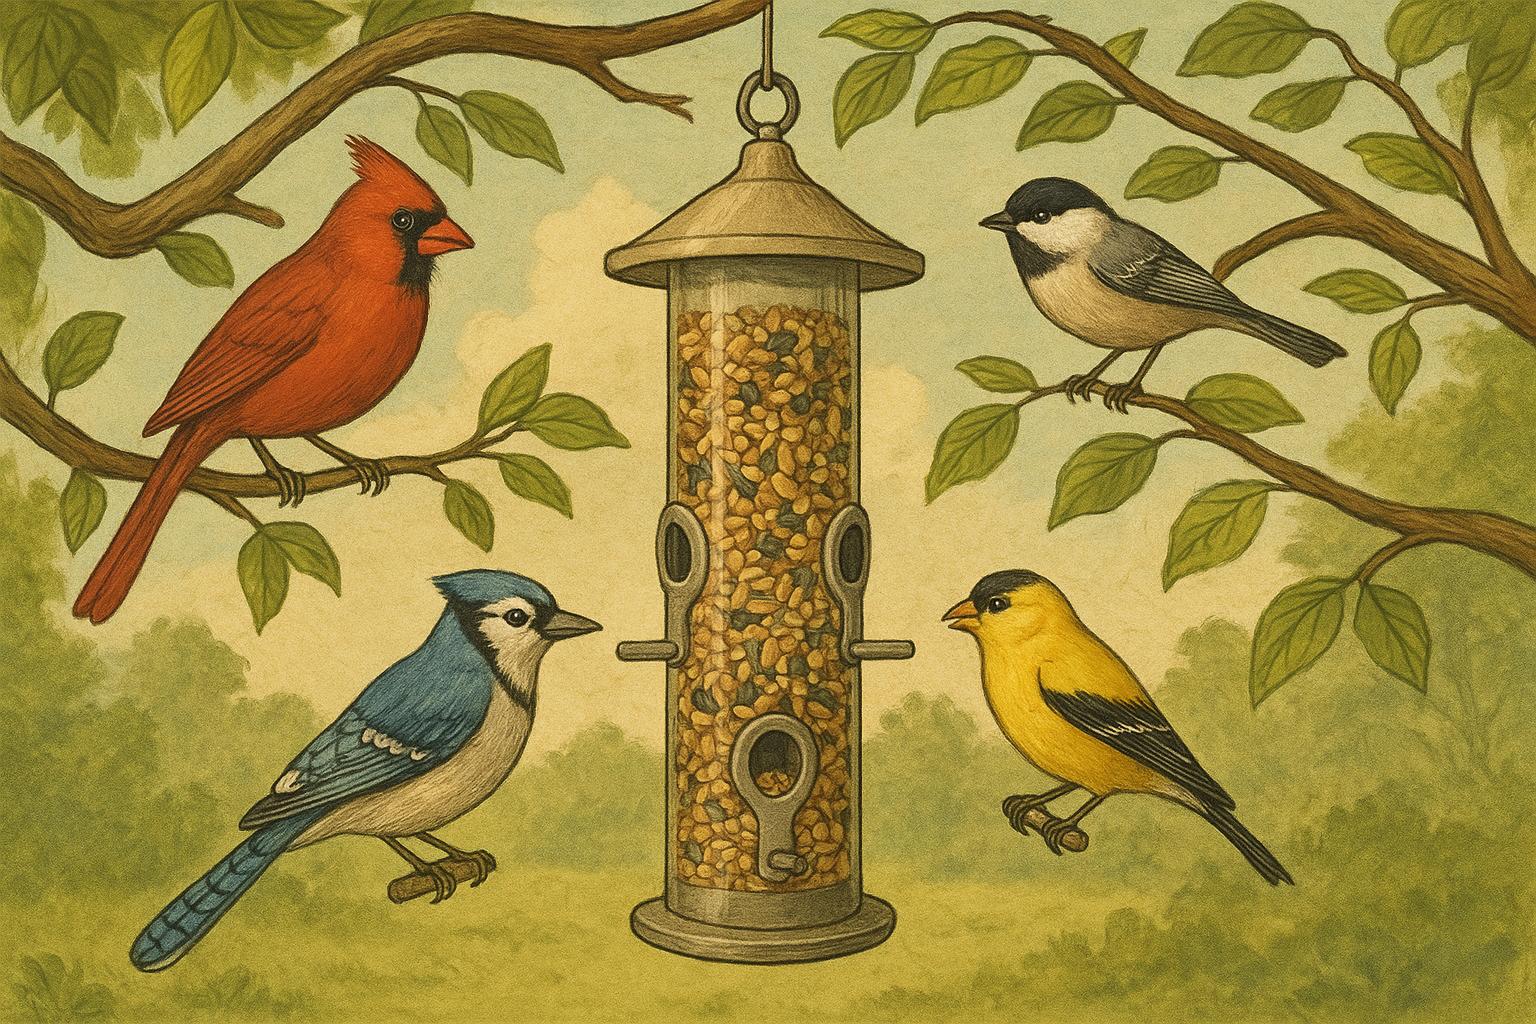
A properly sited nest box provides essential shelter where natural cavities are scarce. Many cavity-nesting species — bluebirds, chickadees, nuthatches, titmice, some small owls — rely on safe cavities to raise young. Modern yards often lack old trees or natural holes, so a nest box fills that gap. Beyond the feel-good factor, homeowners get pest control and the joy of watching parent birds shuttle food to hungry mouths. It’s like hosting a tiny, winged dinner party that’s eco-friendly and low maintenance.
### Benefits For Birds And For People
Birds get safe nesting space; you get biodiversity and backyard entertainment. Nest boxes can:
– Increase local breeding habitat.
– Reduce competition for limited natural cavities.
– Help threatened species in some regions when designed to appropriate specs.
### Common Mistakes To Avoid
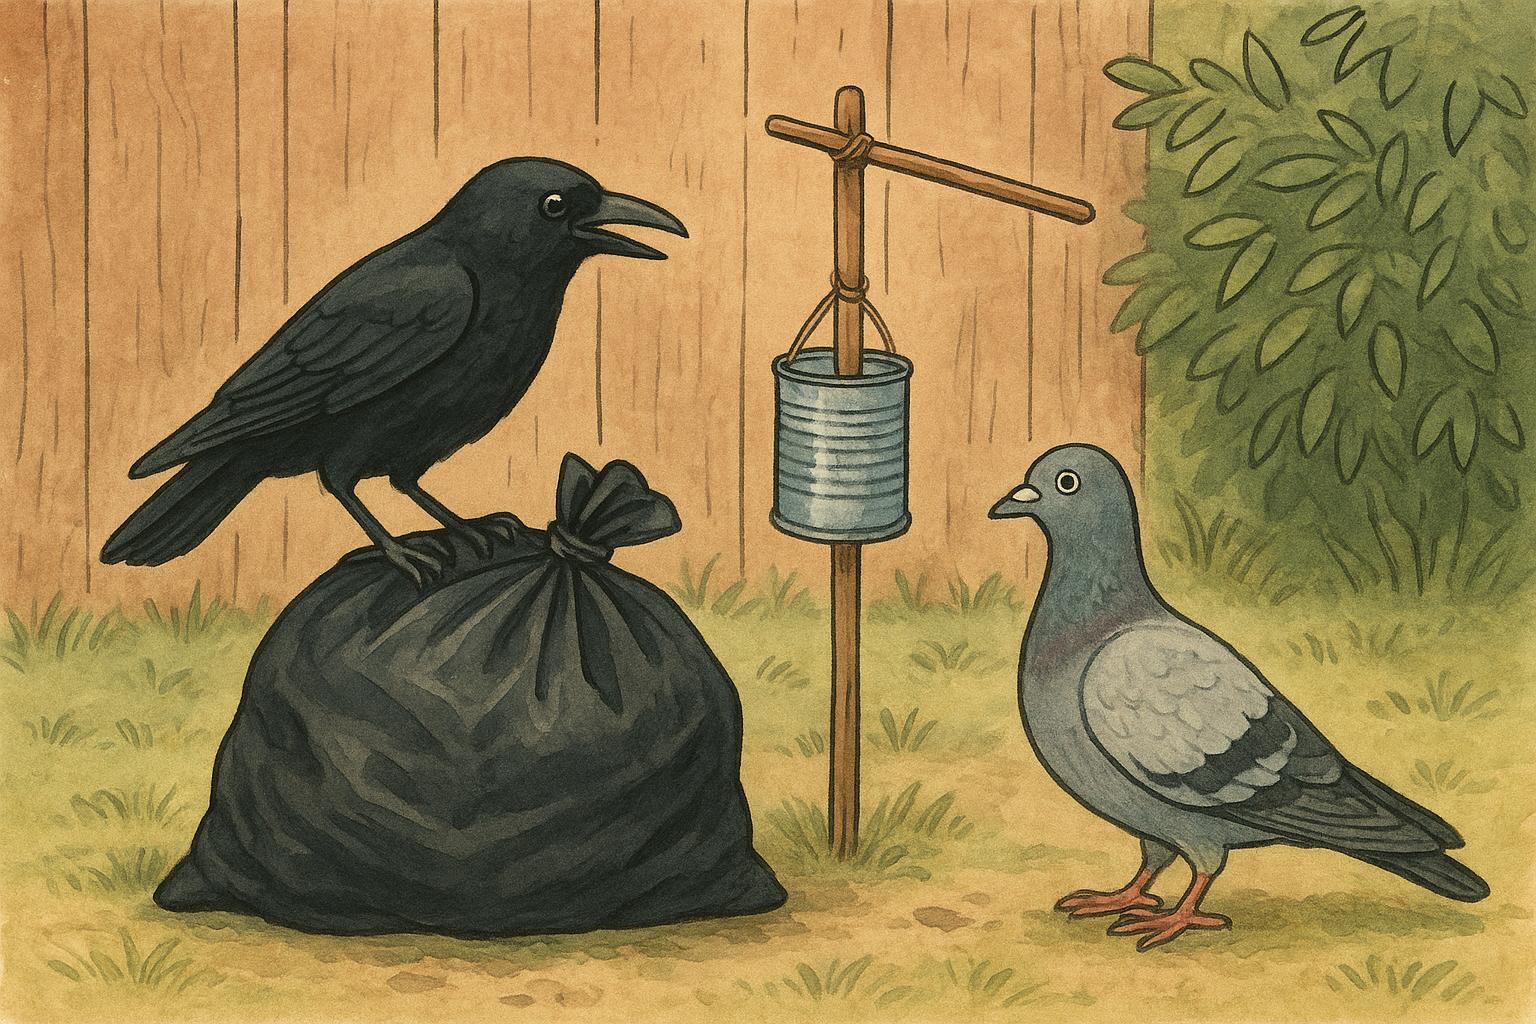
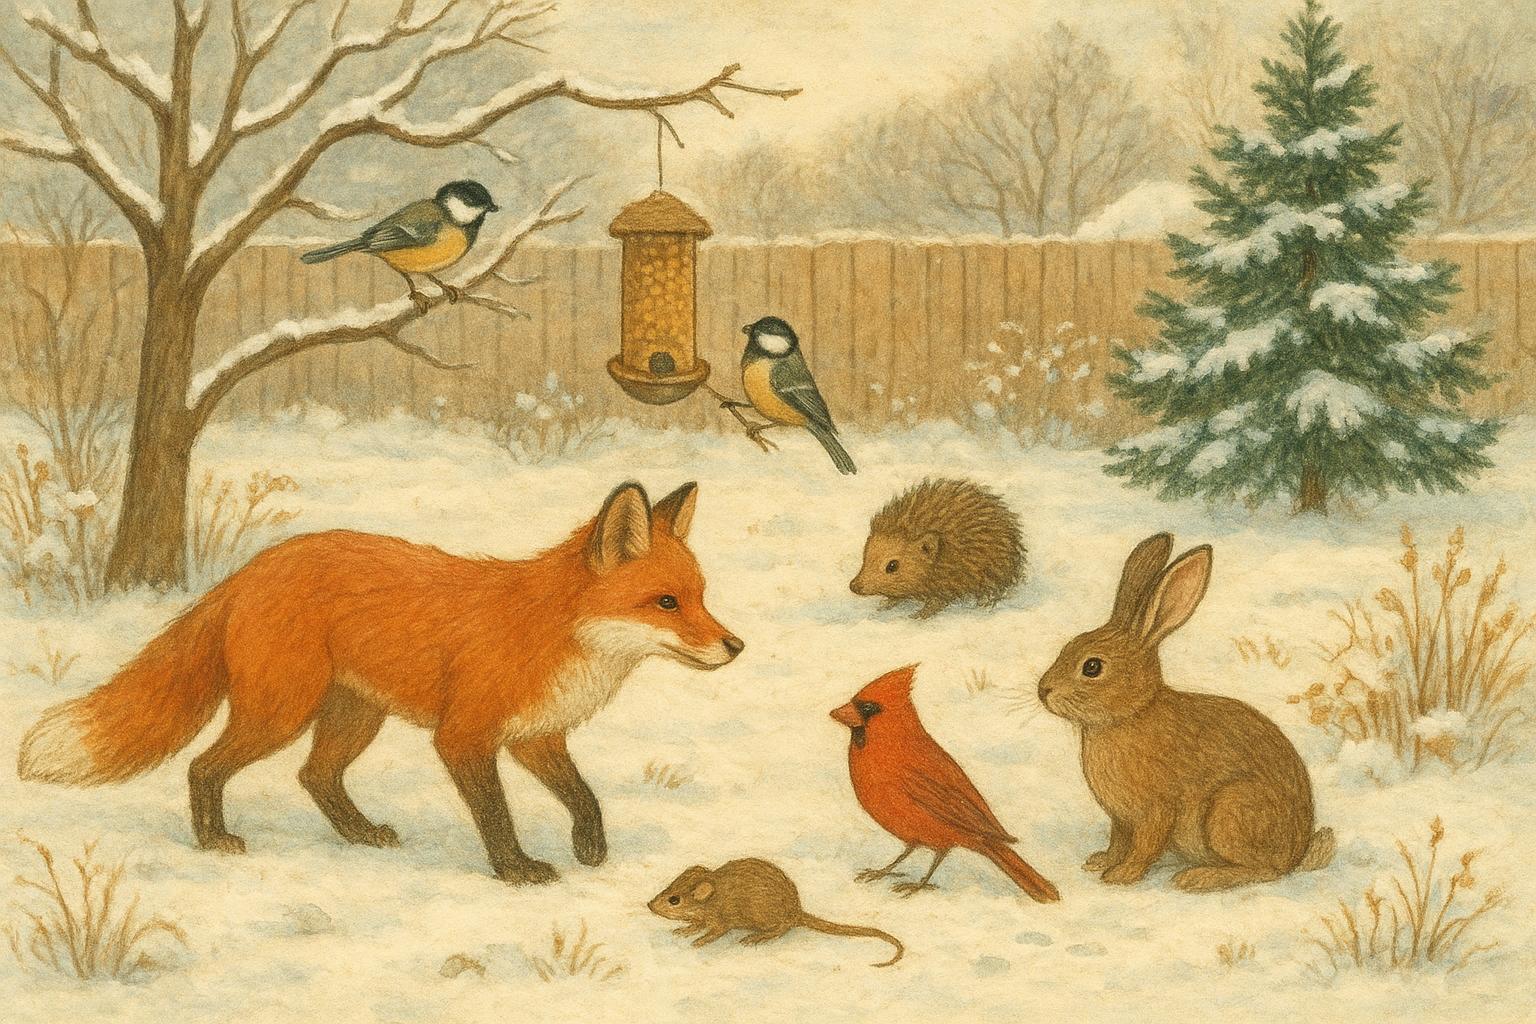
Avoid mounting boxes too low, placing entrances facing prevailing winds, or installing near dense predator cover. Think of the nest box as a tiny, defensible apartment — birds prefer safety, and bad real estate choices mean vacant units.
## Best Locations And Orientation For Success
Placement matters more than fancy paint or cedar siding. Birds evaluate boxes by safety, relative seclusion, and approachability.
### Height And Mounting Options
Different species have preferred heights. Generally:
– Small songbirds (titmice, chickadees): 4–10 feet high.
– Bluebirds: 4–6 feet on a post or fence.
– Tree swallows: 6–15 feet.
– Owls and larger birds: much higher (consult species-specific guides).
Use poles, posts, or tree mounts that keep the box steady. Avoid hanging from flimsy branches. A stable platform gives birds confidence to move in and helps you avoid future repair work. And trust me — you don’t want to fish a fallen nest box out of a shrub when the parents are in residence.
### Direction And Sun Exposure
Face the entrance away from prevailing winds and intense afternoon sun. East or southeast is often recommended to catch morning sun and avoid noon heat. In colder climates, a little extra morning warmth helps eggs hatch. In hot climates, add shade or slightly larger overhangs to keep the interior cool.
## Remedy 1: Installing A Nest Box Properly
This step-by-step remedy covers selection, materials, and installation. Follow these instructions precisely to maximize the chance a pair of tenants will move in.
Materials Required:
– One properly sized wood nest box (untreated cedar or pine recommended) with ventilation and drainage holes.
– Mounting hardware (pole bracket, lag screws, or tree straps depending on mount).
– Predator guard (metal baffle or cone) optional but recommended.
– Drill with bits, screwdriver, level, measuring tape, and protective gloves.
– Exterior-grade screws or bolts (stainless steel preferred).
– Optional: roof hinge for seasonal cleaning, non-toxic paint or stain (exterior grade).
Step-By-Step Installation (Formal):
1. Select Species-Appropriate Box: Confirm internal dimensions and entrance hole size match target species requirements. Entrance size is critical; too large invites unwanted species or predators.
2. Choose the Mounting Location: Pick a height consistent with the target species and ensure a clear flight path to the entrance. Avoid dense shrubbery immediately in front of the entrance.
3. Prepare the Mount: If using a pole, install the post firmly in the ground (at least 2 feet buried) and attach the bracket at the desired height. If mounting on a tree, use tree-friendly straps or lag screws placed into the trunk with care to minimize damage.
4. Secure the Box: Fasten the nest box to the mount using exterior-grade screws or bolts. Use a level to ensure the box sits straight; tilt slightly forward (about 5 degrees) only if drainage is a concern.
5. Add Predator Protection: Install a predator guard or baffle on the pole or around the entrance as appropriate. Ensure that the guard is at the correct distance from the ground to block ground predators and that it does not impede the birds’ approach.
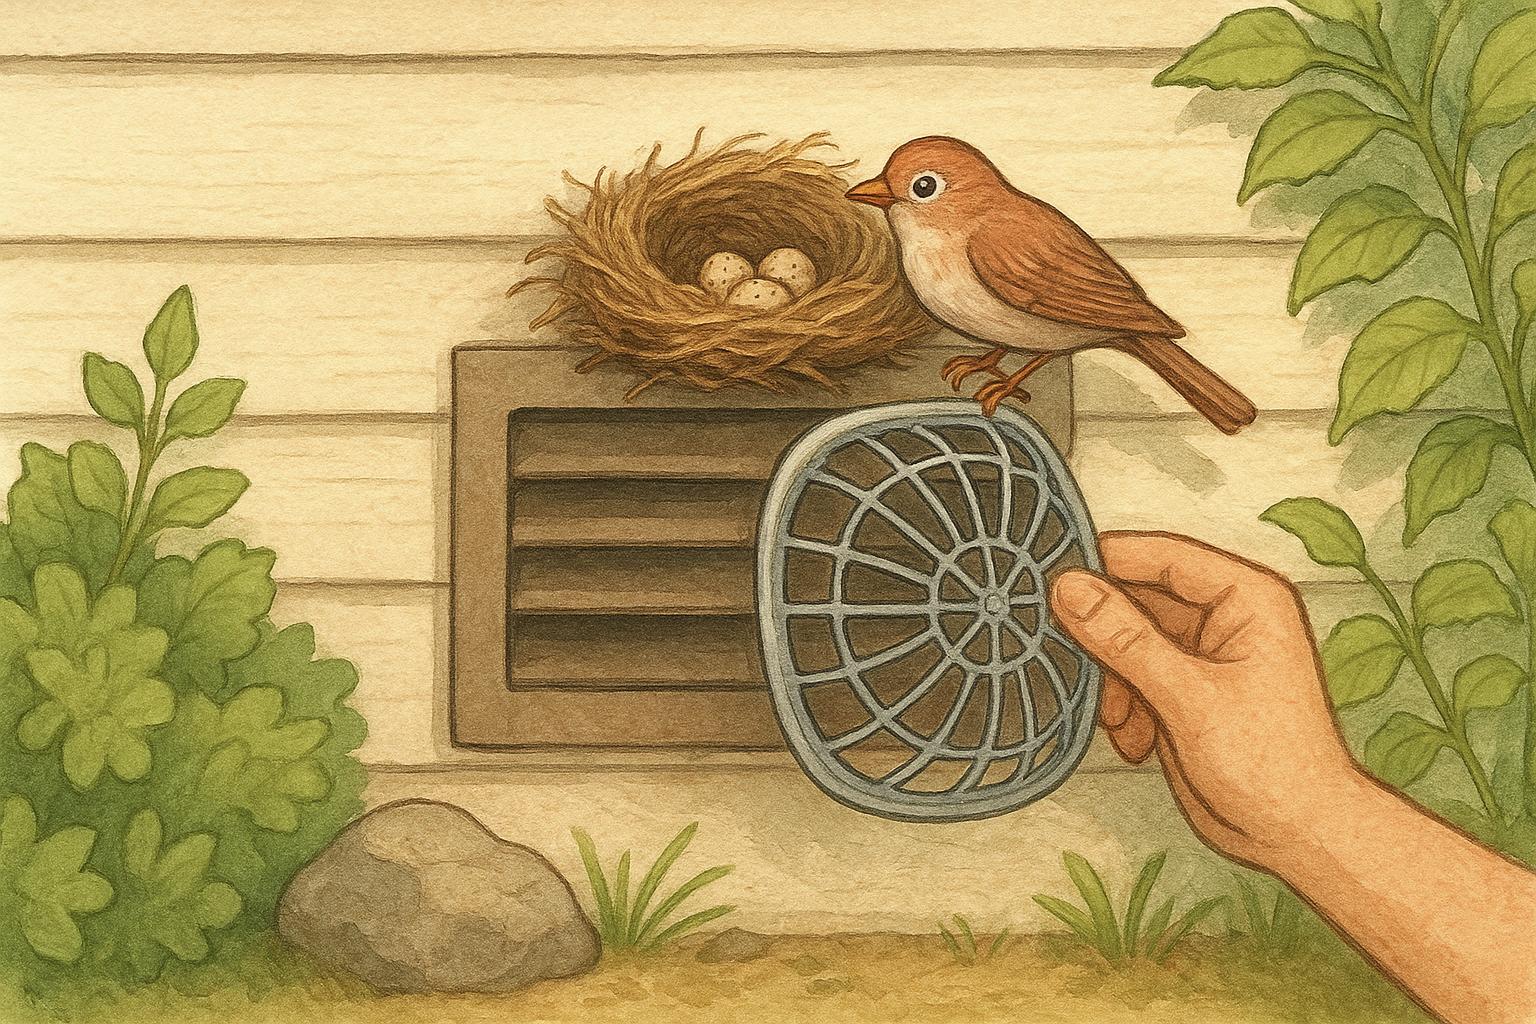
6. Check Ventilation And Drainage: Verify ventilation gaps and drainage holes are clear. If absent, drill small vent holes near the top and drainage holes in the floor.
7. Record The Location: Note the GPS or mark a map of your yard with the box’s location and installation date for monitoring.
8. Monitor From A Distance: Observe discreetly to avoid stressing the birds. Minimal disturbance increases the chance of occupancy.
## Remedy 2: Predator Guards And Annual Maintenance
A nest box that’s installed and forgotten is an invitation for trouble. Predator guards and routine care dramatically improve nesting success.
Materials Required:
– Metal baffle or predator cone (sized for your pole).
– Stainless steel or galvanized mesh (optional).
– Long pole or ladder for access, gloves, eye protection.
– Basic cleaning tools: brush, gloves, bucket, mild bleach solution (1 part bleach to 9 parts water) or hot soapy water.
– Replacement screws or hinges as needed.
Step-By-Step Application And Maintenance (Formal):
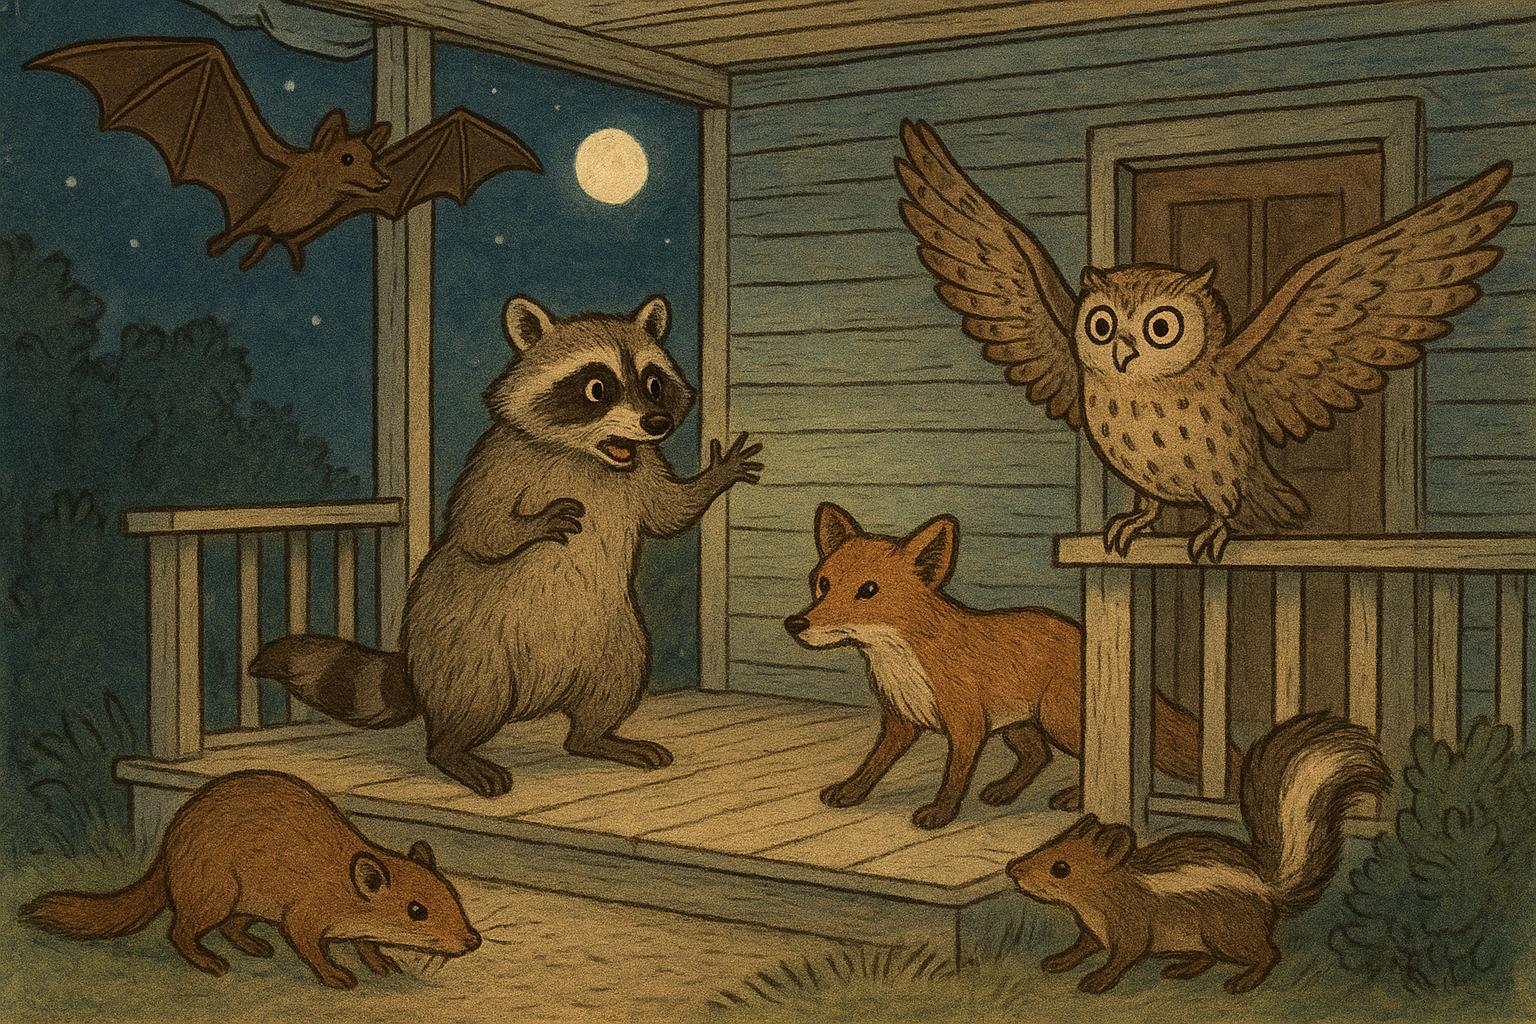
1. Install Predator Guard: Fit the metal baffle onto the mounting pole at a height that prevents raccoons, snakes, and climbing predators from accessing the box. Ensure the baffle is securely fastened and cannot be bypassed by clever critters.
2. Add Entrance Protection If Needed: For avian predators, a short length of smooth metal around the entrance can deter squirrels and those with sharp claws. Do not reduce the entrance size below species recommendations.
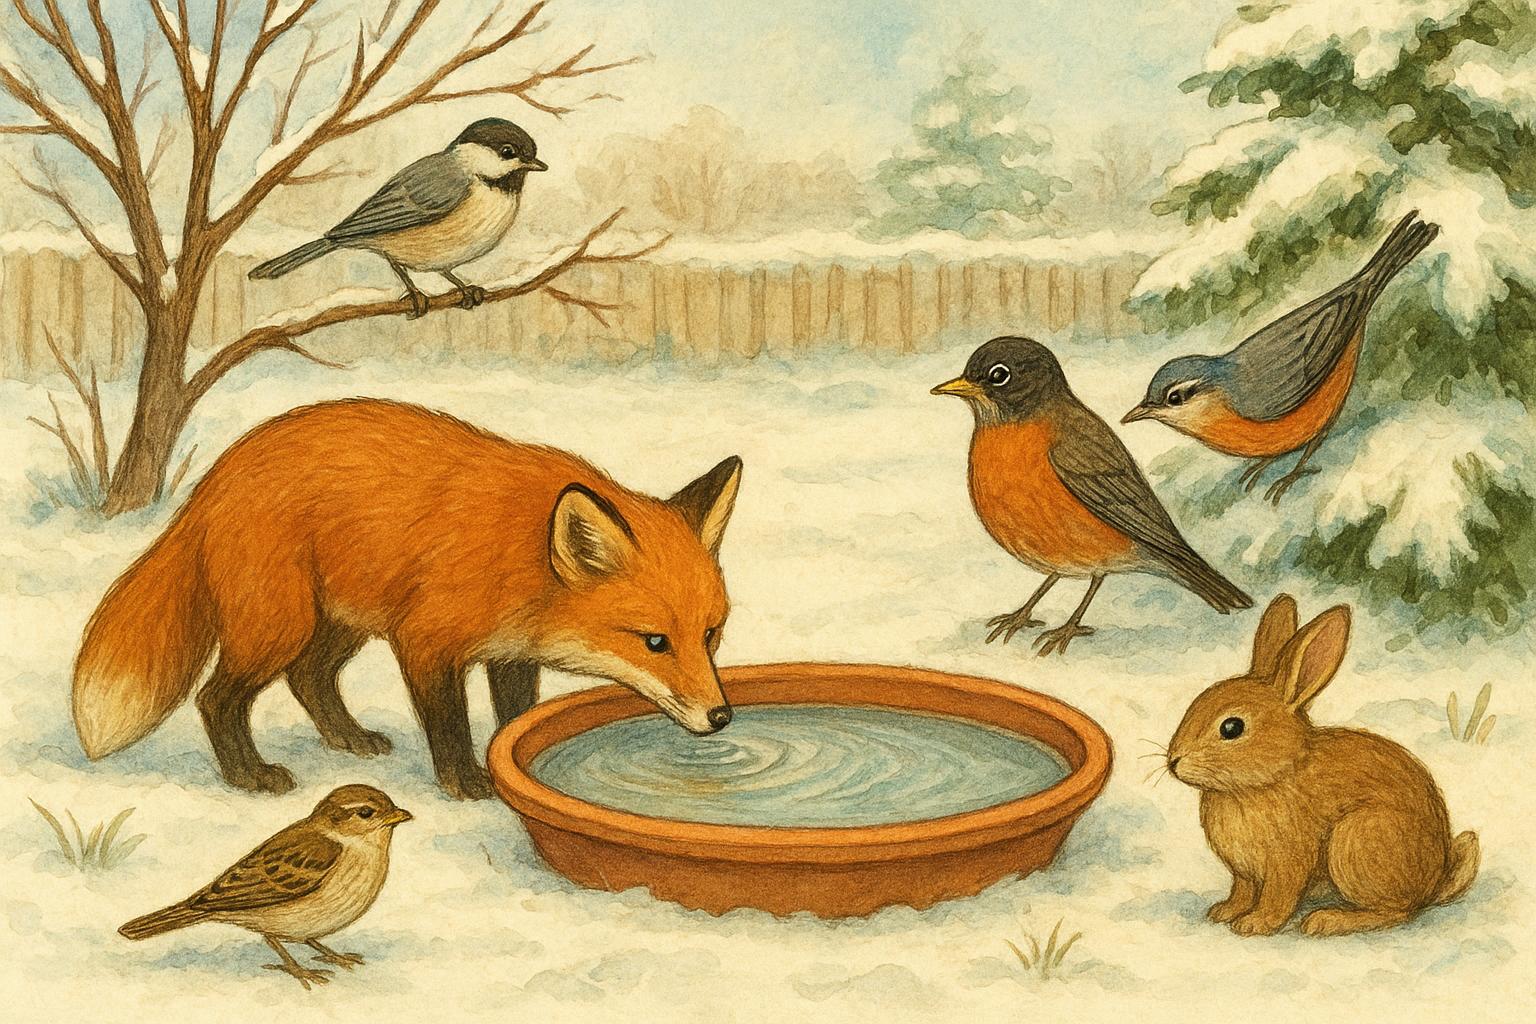
3. Annual Cleaning Schedule: Clean boxes during the off-season (late fall or winter) before the next breeding cycle. Wear gloves and use a brush to remove old nesting material. Disinfect with a diluted bleach solution or hot soapy water, rinse well, and allow to dry completely before closing.
4. Inspect For Wear: Check hinges, ventilation, drainage, and internal parasites (if heavy infestations are found, replace nesting material and consider treating or relocating the box temporarily).
5. Record Observations: Keep a simple log of occupancy, timing of nesting, brood counts, and any predator activity. This data helps you refine placement and protection methods in subsequent seasons.
6. Adjust As Needed: If you notice persistent predator issues, adjust baffle height or move the box to a slightly more open or visible location; sometimes a small shift of a few feet changes predator behavior.
### When To Repair Or Replace
Wood boxes exposed to weather may last several years, especially if made from cedar. Replace boxes that show extensive rot, split seams, or warped panels that compromise insulation or predator resistance. For species with cavity site fidelity, keeping a consistent, safe structure can encourage return visits year after year.
## Monitoring Nest Box Success Without Harassing Birds
Watching is the fun part, but it requires restraint.
### Ethical Watching Tips
Use binoculars, limit close approaches during egg-laying and early nestling phases, and avoid opening the box during critical periods. If you must check inside, do so briefly and infrequently, and only when the adults are away. Keep a record of visit dates and outcomes rather than constantly peeking — the birds will appreciate fewer interruptions.
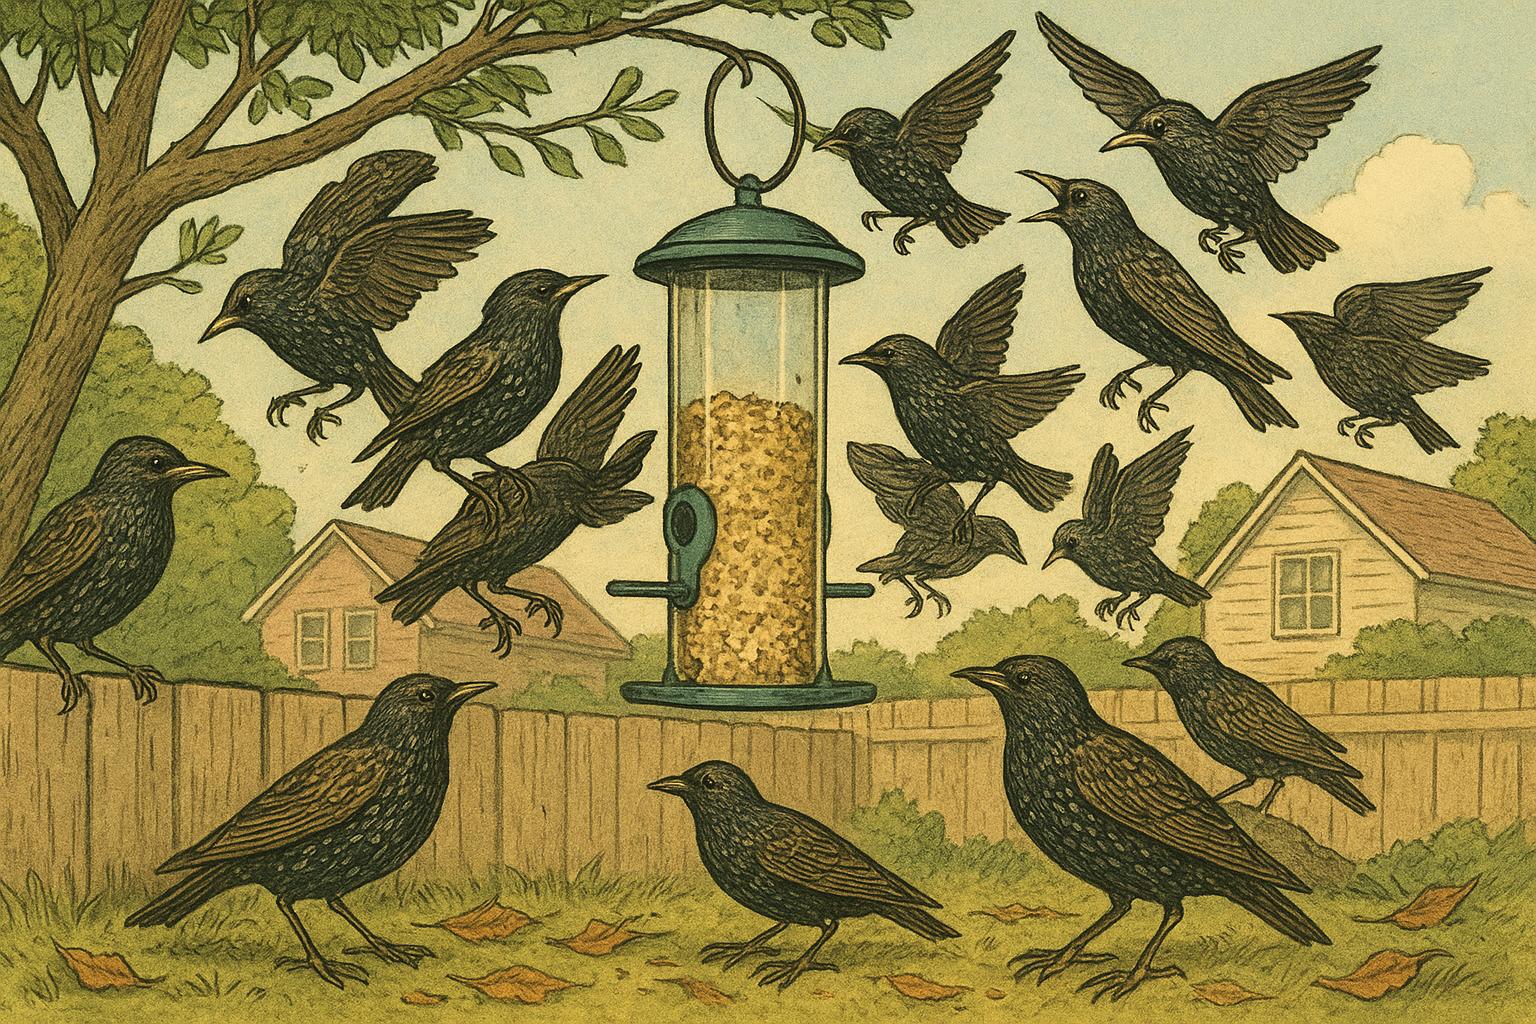
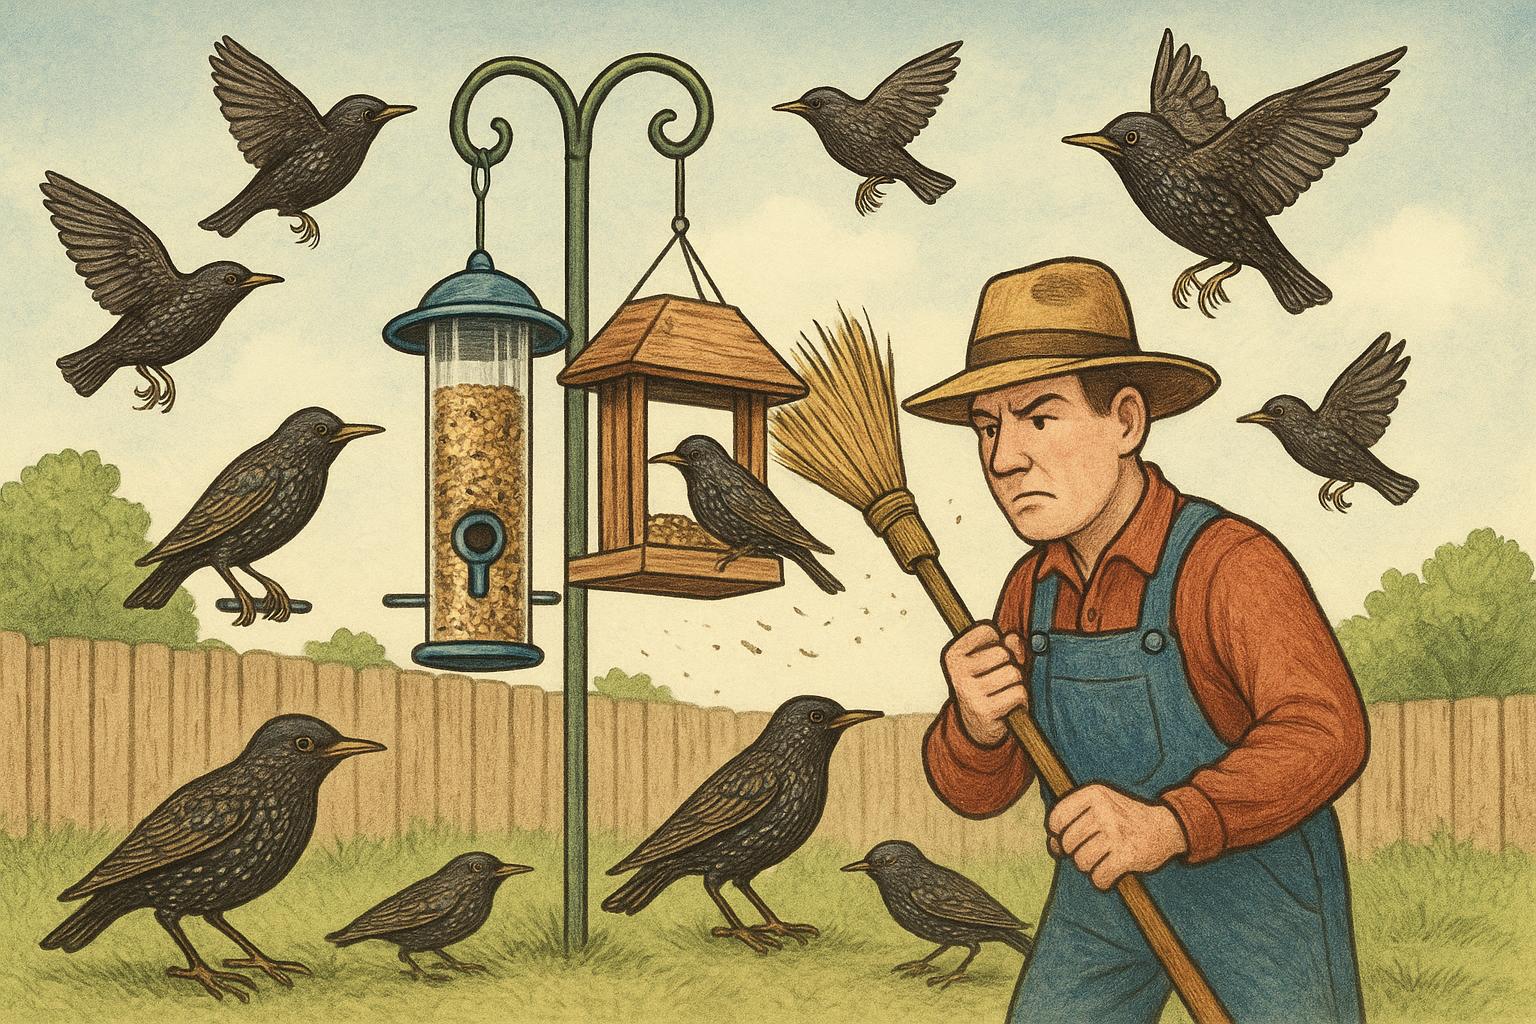
### What To Do If You Find Unwanted Tenants
If a non-target species takes the box (e.g., starlings in some regions), remove nesting material during non-breeding months and consider modifying entrance size or relocating the box. In many cases, design tweaks solve the problem without harm to wildlife.
## A Few Common Questions Answered
– How many boxes should I put up? Start small. One or two well-placed boxes is better than a dozen chaotic ones. Birds are territorial; too many boxes close together reduces occupancy.
– Can I paint my box? Yes, but use earth tones and non-toxic exterior paints sparingly. Bright colors may deter some species or attract predators.
– What about fleas, mites, or parasites? Annual cleaning reduces risk. If you detect heavy infestations, consult a local bird conservation group for species-safe treatment options.
A thoughtful nest box — well placed, protected, and maintained — becomes a tiny, successful habitat in your yard. It’s the difference between a lonely wooden square and a bustling family home with feathers, songs, and occasional melodrama. Now go grab those tools and give a bird a decent place to settle down.


Leave a Reply