
If you’ve been waking to scratching noises behind drywall at night, you might have rats in walls. That high-pitched scrabble, the faint gnaw, or the muffled scurrying that seems to move up and down between studs—these are the sounds that make you suspicious, a little annoyed, and maybe just a touch paranoid. This guide will help you identify whether those sounds are indeed rats or something less dramatic (squirrels, mice, or your house settling), and it will give you clear, practical remedies to deal with the problem.
## Signs Of Rats In Walls
Rats in walls have a few telltale signs beyond just noise. Look and listen for these indicators to narrow down the culprit.
### Nighttime Scratching Vs Other Sounds
Rats are nocturnal. If the noises are loudest between dusk and dawn, that raises the probability that rats are the source. Sounds to listen for:
– Continuous, quick scuttling or light thumping along a specific wall section.
– Gnawing sounds—harder, sharper clicks than a mouse’s softer scrabble.
– Movement that seems to come from inside walls rather than in an attic or under floorboards.
### Visual Clues And Odors
You can’t see through drywall easily, but other clues appear around the house:
– Droppings: Rat droppings are about 3/4 inch long, capsule-shaped, and dark. Finding them near baseboards or openings suggests activity.
– Grease marks: Over time, rats leave rub marks along routes they frequently use.
– Scattered nesting material: Shredded paper, insulation, or cloth near vents and wall openings.
– Urine odor: A strong, musty ammonia smell in enclosed spaces may indicate established infestations.
## Comparing Rats To Squirrels, Mice, And Other Noisemakers
Not all wall-scratching is caused by rats. Distinguish by behavior and sound.
### Size And Timing Clues
– Mice: Smaller, with lighter, more rapid scratching. Often heard in walls and ceilings but droppings are much smaller.
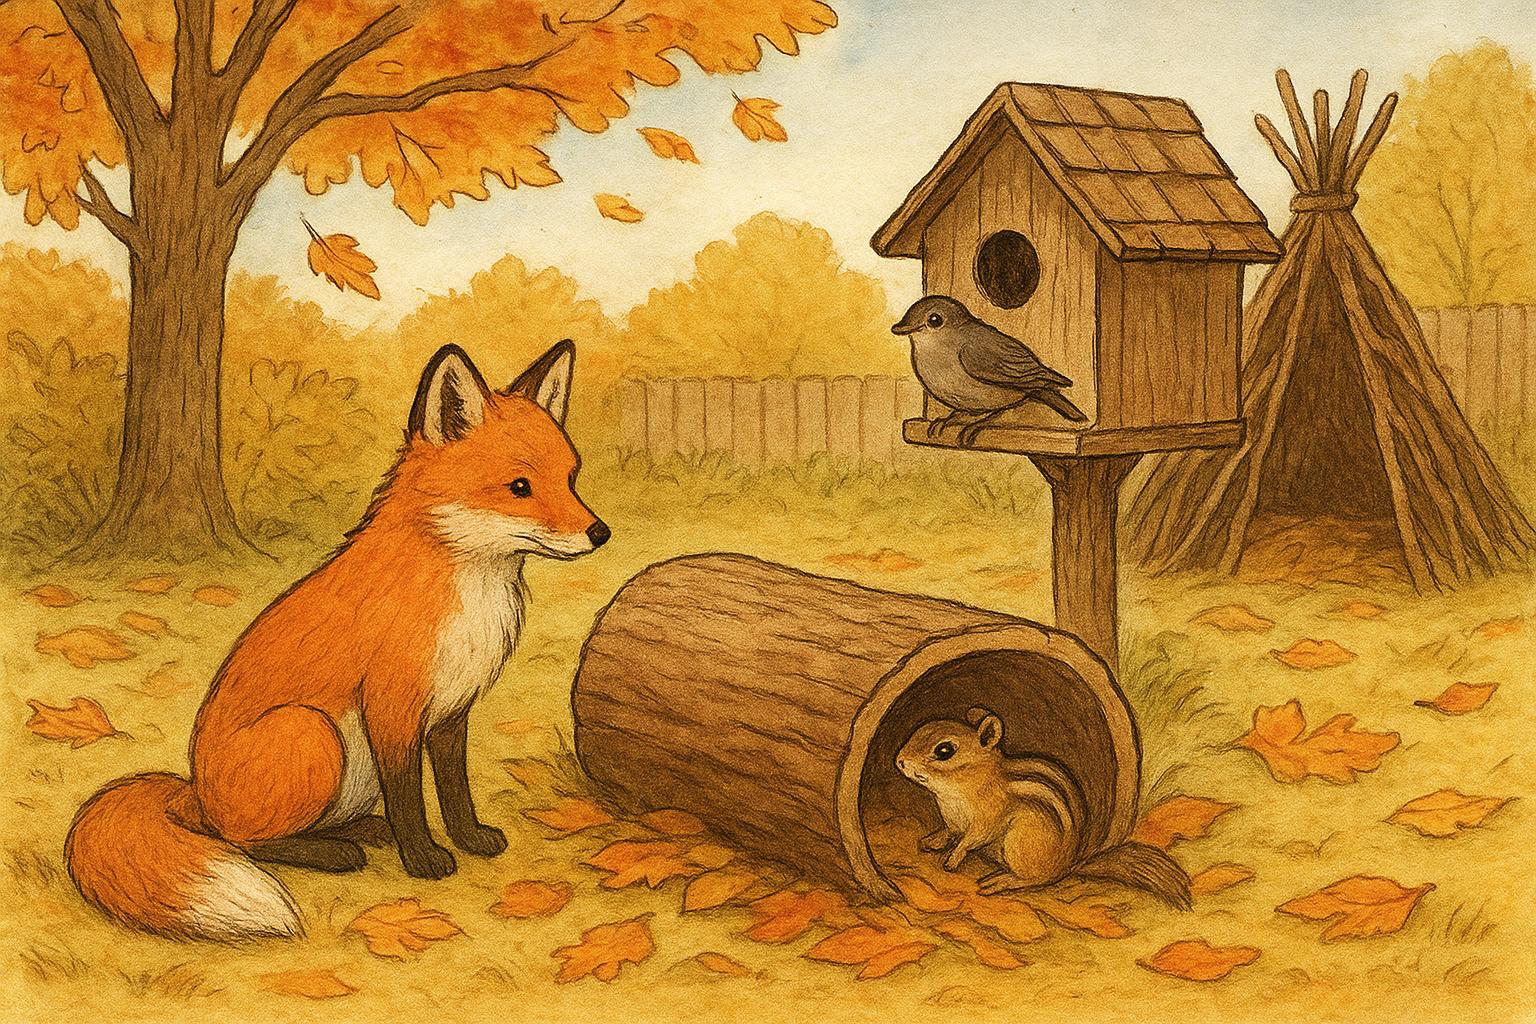
– Squirrels: Louder, heavier thumps and daylight activity. Often in attics or rooflines rather than within stud bays at head-height.
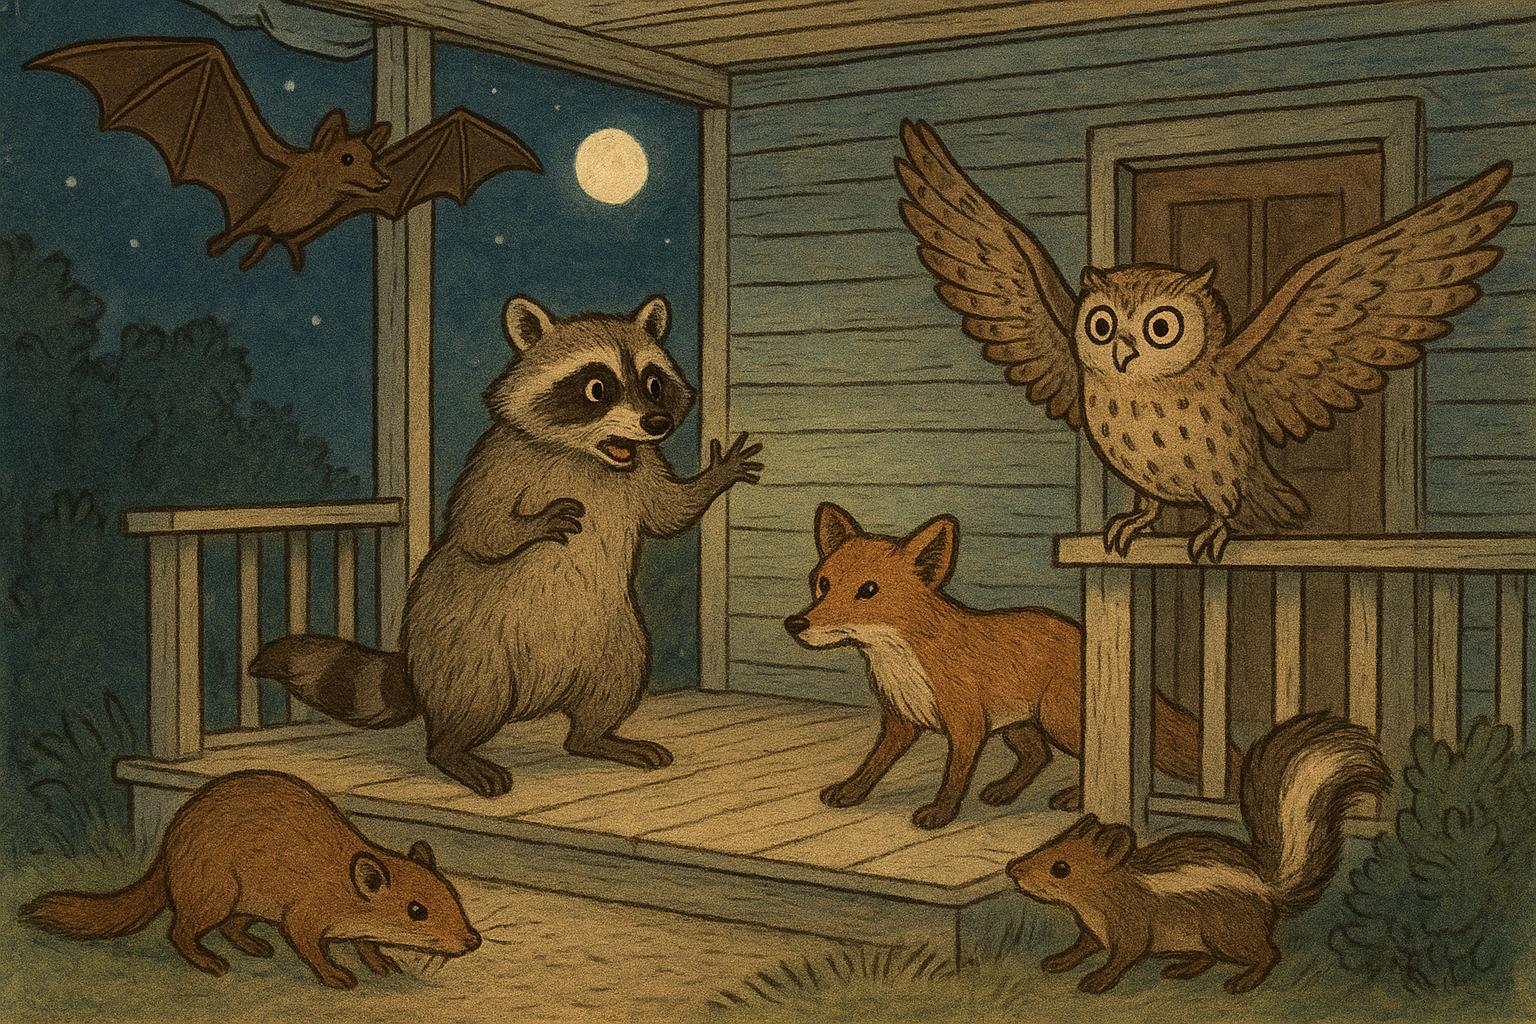
– Birds/bats: Higher-pitched fluttering. Bats are usually in attics or eaves and make a distinct fluttering rather than gnawing.
### Structural And Seasonal Considerations
– Cold weather often drives rodents indoors, increasing night noises.
– After rain or disruptions (like nearby construction), rodents may relocate into walls.
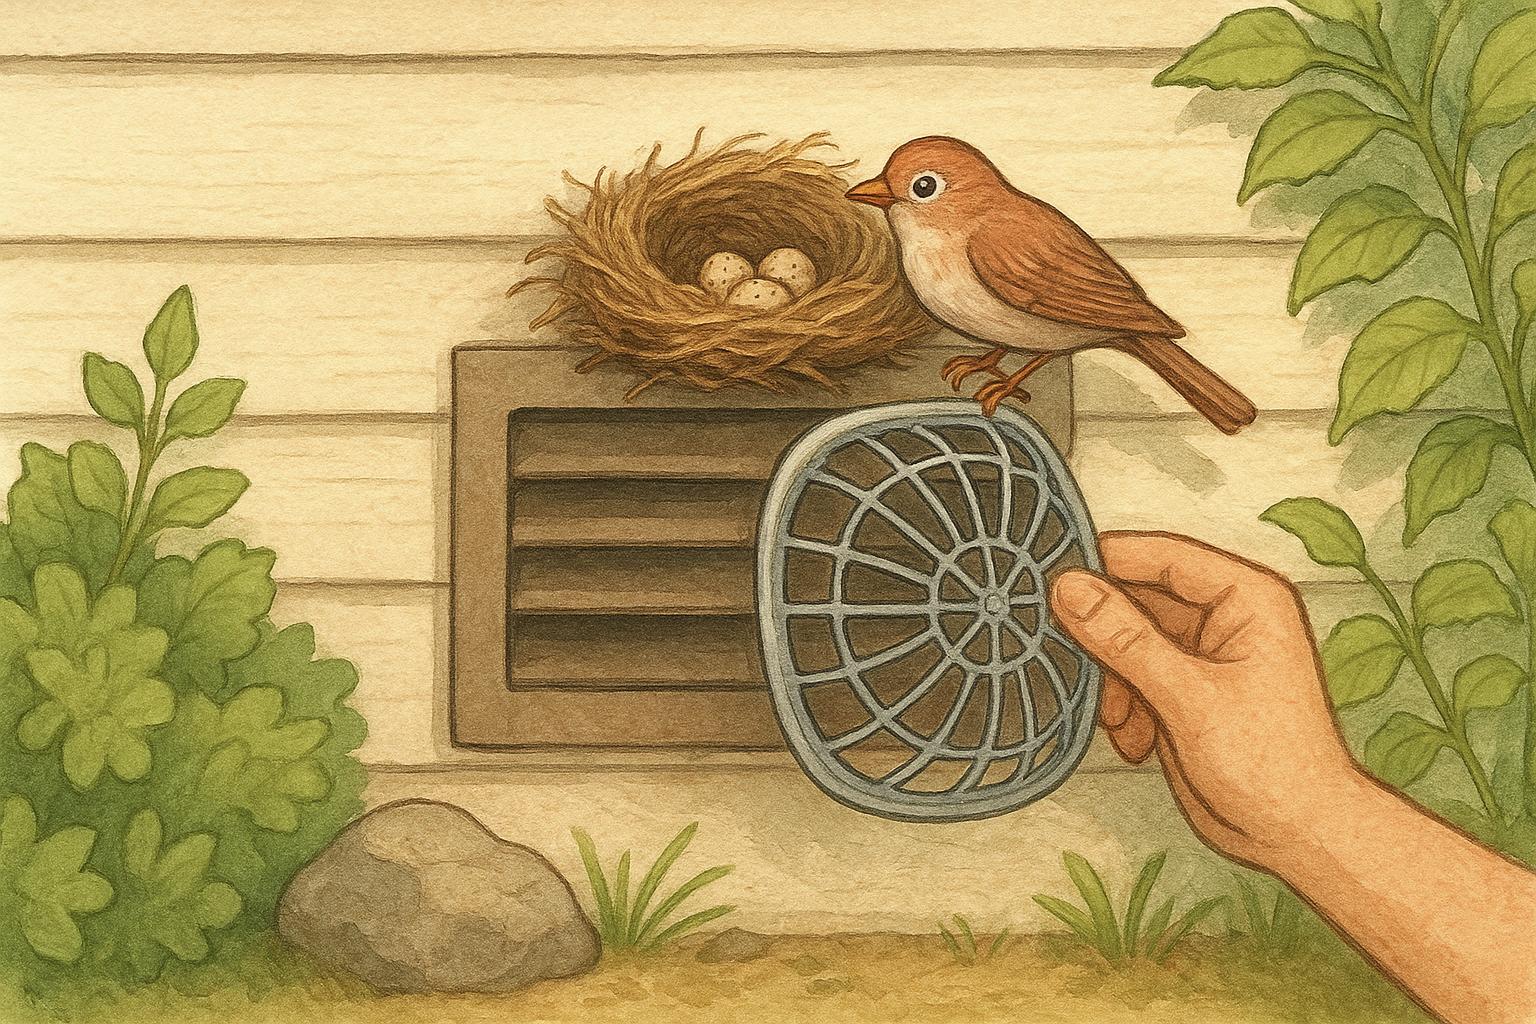
– Check for entry points near soffits, utility lines, or where siding meets foundation.
## How To Confirm It’s Rats Without Tearing Down Walls
Before committing to major repairs, use detection techniques to confirm rats in walls.
### Listening And Observation Techniques
– Place a quiet listening session: Sit by the wall at night with lights off. A stethoscope or an inexpensive listening device can help localize the sound to a stud bay.
– Mark fresh droppings with non-toxic chalk to see if they’re replaced overnight—this confirms ongoing activity.
– Use flour or talcum powder lightly along suspected runways to capture footprints.
## 1. Proofing And Trapping Remedy
Materials Required:
– Heavy-duty snap traps (multiple units)
– Nitrile gloves
– Bait: peanut butter, dried fruit, or bacon
– Flashlight
– Caulking or steel wool and expanding foam (for sealing holes)
– Protective eyewear and dust mask
– Long-handled tongs or trap-setting tool
This remedy is presented formally and precisely because effective trapping and proofing require safety and method.
Step-By-Step Creation And Application:
1. Inspect and Map: Using a flashlight, identify likely entry points and locations where droppings or rub marks concentrate. Map these spots.
2. Prepare Traps: Wear gloves. Apply a small quantity of bait (peanut butter is effective) to the snap traps’ bait pedal—avoid over-baiting, which reduces trap sensitivity.
3. Position Traps: Place snap traps along wall bases, behind appliances, and in attics adjacent to the suspected wall. Place traps perpendicular to the wall with the baited end closest to the baseboard to intercept runways.
4. Secure And Mark: For safety, position traps where pets and children can’t reach. Mark each trap’s location on your map for monitoring.
5. Monitor Daily: Check traps at least once daily. If you catch rats, wear gloves and dispose of carcasses in sealed bags per local regulations.
6. Seal Entry Points: After activity stops for several consecutive days, seal holes larger than 1/4 inch. Use steel wool stuffed into gaps, then follow with caulking or expanding foam. Metal flashing or hardware cloth over larger openings is preferred.
7. Clean And Sanitize: Remove droppings and nesting materials carefully, wearing gloves and a mask. Disinfect affected areas with a bleach solution (1 part bleach to 10 parts water) to reduce disease risk.
## 2. Humane Live-Trap And Relocation (If Permitted)
Materials Required:
– Multi-catch live traps or single-catch humane traps
– Bait (peanut butter, nuts)
– Nitrile gloves
– Heavy-duty transport cage or sealed container
– Local wildlife relocation permit information (check regulations)
– Sanitation supplies: bleach, disposable wipes, masks
Step-By-Step Creation And Application:
1. Check Legal Requirements: Before trapping for relocation, verify local laws. In many areas relocating rats is discouraged due to disease spread and the animal’s impact on other ecosystems.
2. Choose Appropriate Live Traps: Select traps sized for common rats (Norway rats or roof rats). Multi-catch units are useful for larger infestations.
3. Set And Bait Properly: Place traps along suspected runways inside wall voids adjacent spaces, bait with a small amount of peanut butter, and ensure traps are stable and won’t tip.
4. Monitor Frequently: Check traps twice daily. Rats can suffer stress quickly; prompt checking reduces harm.
5. Transport Humanely: If relocation is legal and chosen, transfer the animal using a secure container. Release at least several miles from your home in appropriate habitat only if allowed by law.
6. Sanitize And Seal: As with lethal trapping, clean and disinfect all areas the rats contacted and seal entry points to prevent re-entry.
## Preventive Measures And Ongoing Monitoring
Prevention is less glamorous but far less expensive than rebuilding a wall or dealing with repeat infestations.
### Habitat Reduction And Exclusion
– Trim vegetation away from walls and rooflines to remove pathways.
– Store firewood and compost away from the house.
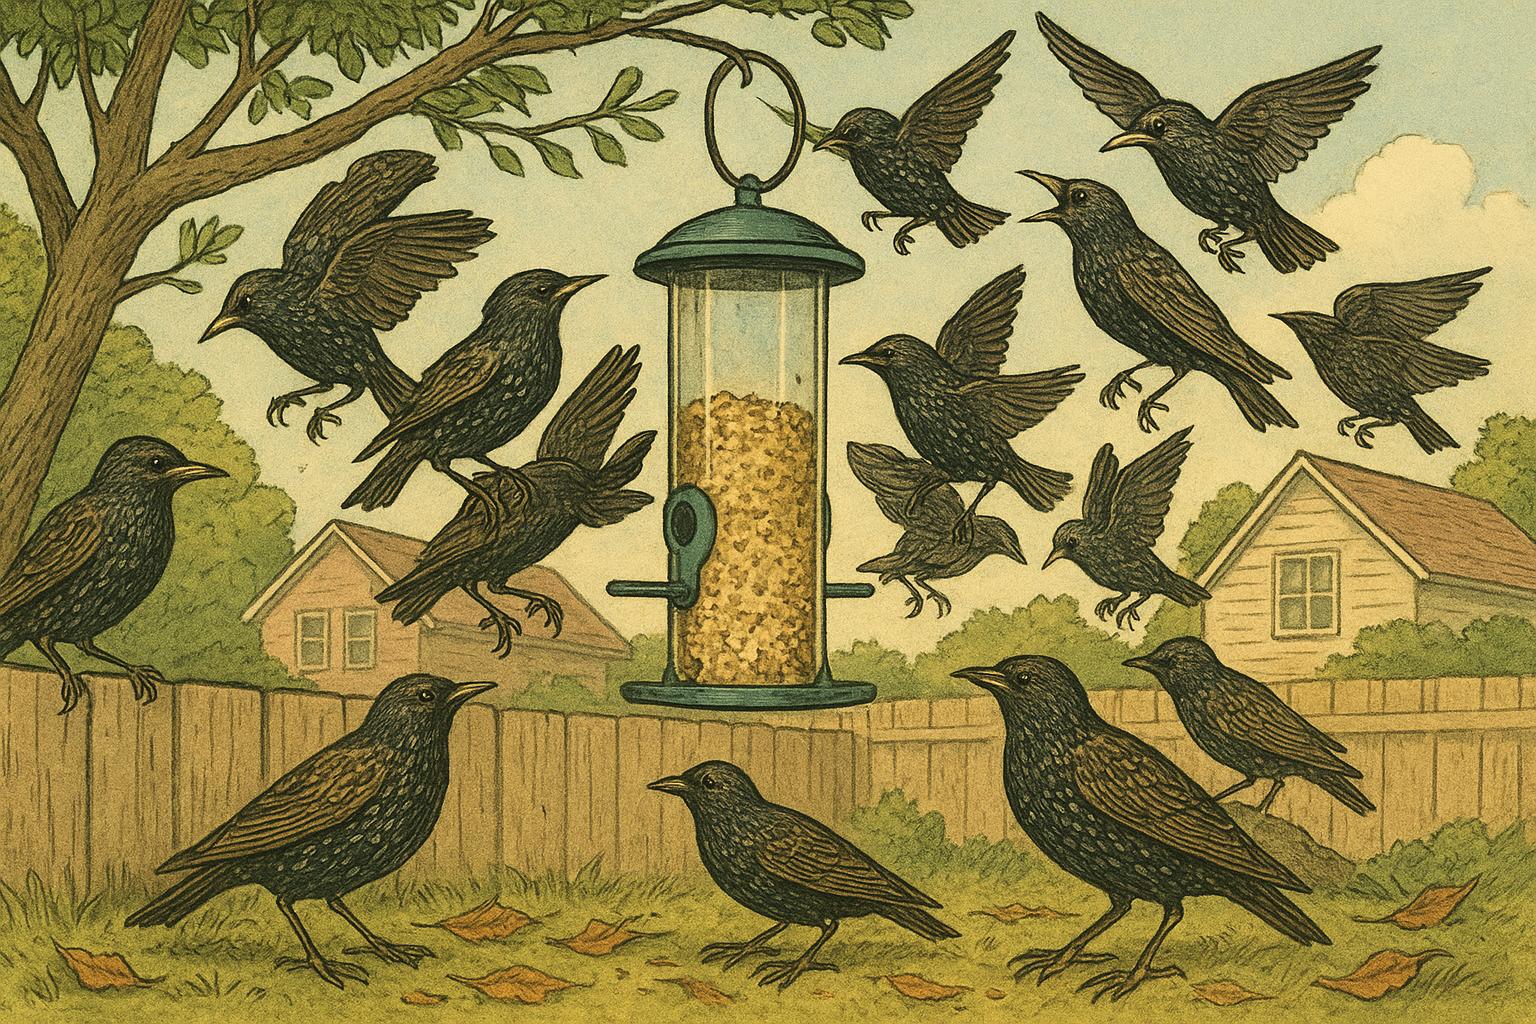
– Keep exterior garbage cans sealed and eliminate outdoor food sources.
– Inspect foundations, vents, and utility penetrations annually and seal or screen gaps.
### Ongoing Monitoring
– Periodically place non-toxic monitoring blocks or tracking powder to detect early activity.
– Re-check common entry points after storms or when wildlife activity in your area changes.
– If you suspect continued activity in the walls after your interventions, consider an in-wall camera inspection or professional thermal imaging to confirm.
#### When To Call A Professional
If noises persist despite traps and sealing, or if you find extensive damage, nesting in insulation, or signs of disease (sick rodents, large amounts of droppings), engage a licensed pest control professional. Professionals can access hard-to-reach voids, advise on structural repairs, and apply integrated pest management strategies that balance effectiveness and safety.
Throughout this process, remember: hearing rats in walls can be unnerving, but with careful identification, methodical trapping or exclusion, and sensible sanitation, you can reclaim quiet nights and protect your home.


Leave a Reply