
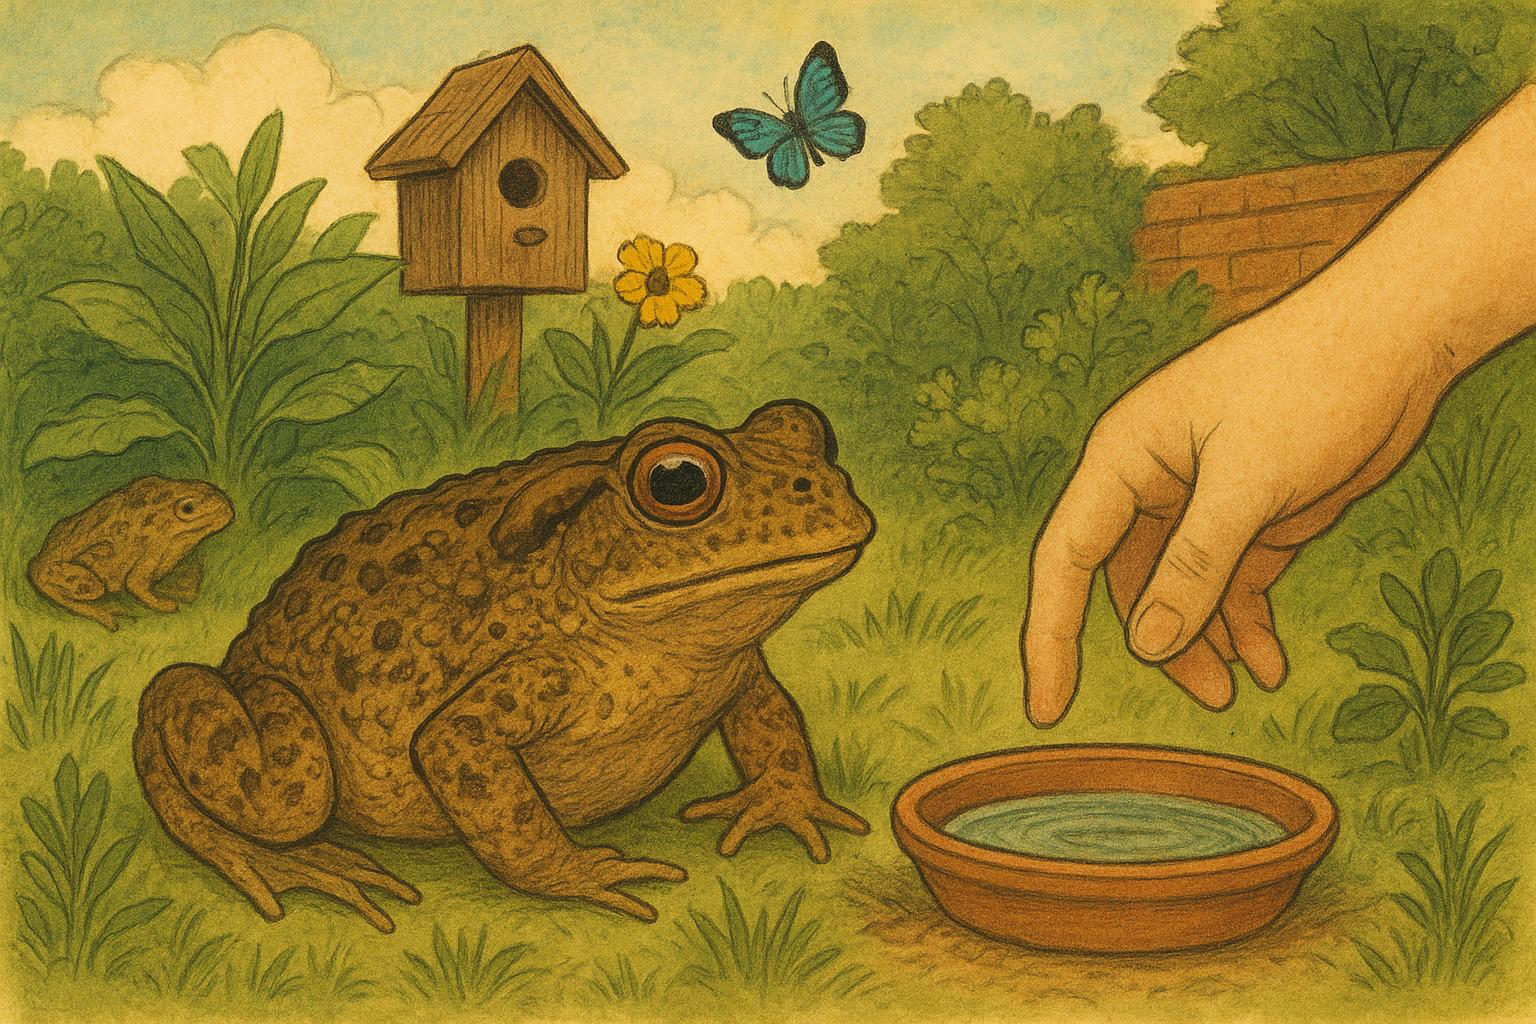
If you want to invite toads to your yard, creating a welcoming anuran habitat is easier than you think. Toads are low-maintenance roommates: they eat pests, don’t chew your baseboards, and provide that charming chorus on warm nights. This article walks through practical care, habitat features, and two step-by-step remedies to help your backyard become a bona fide anuran habitat.
## Anuran Habitat Basics For Backyards
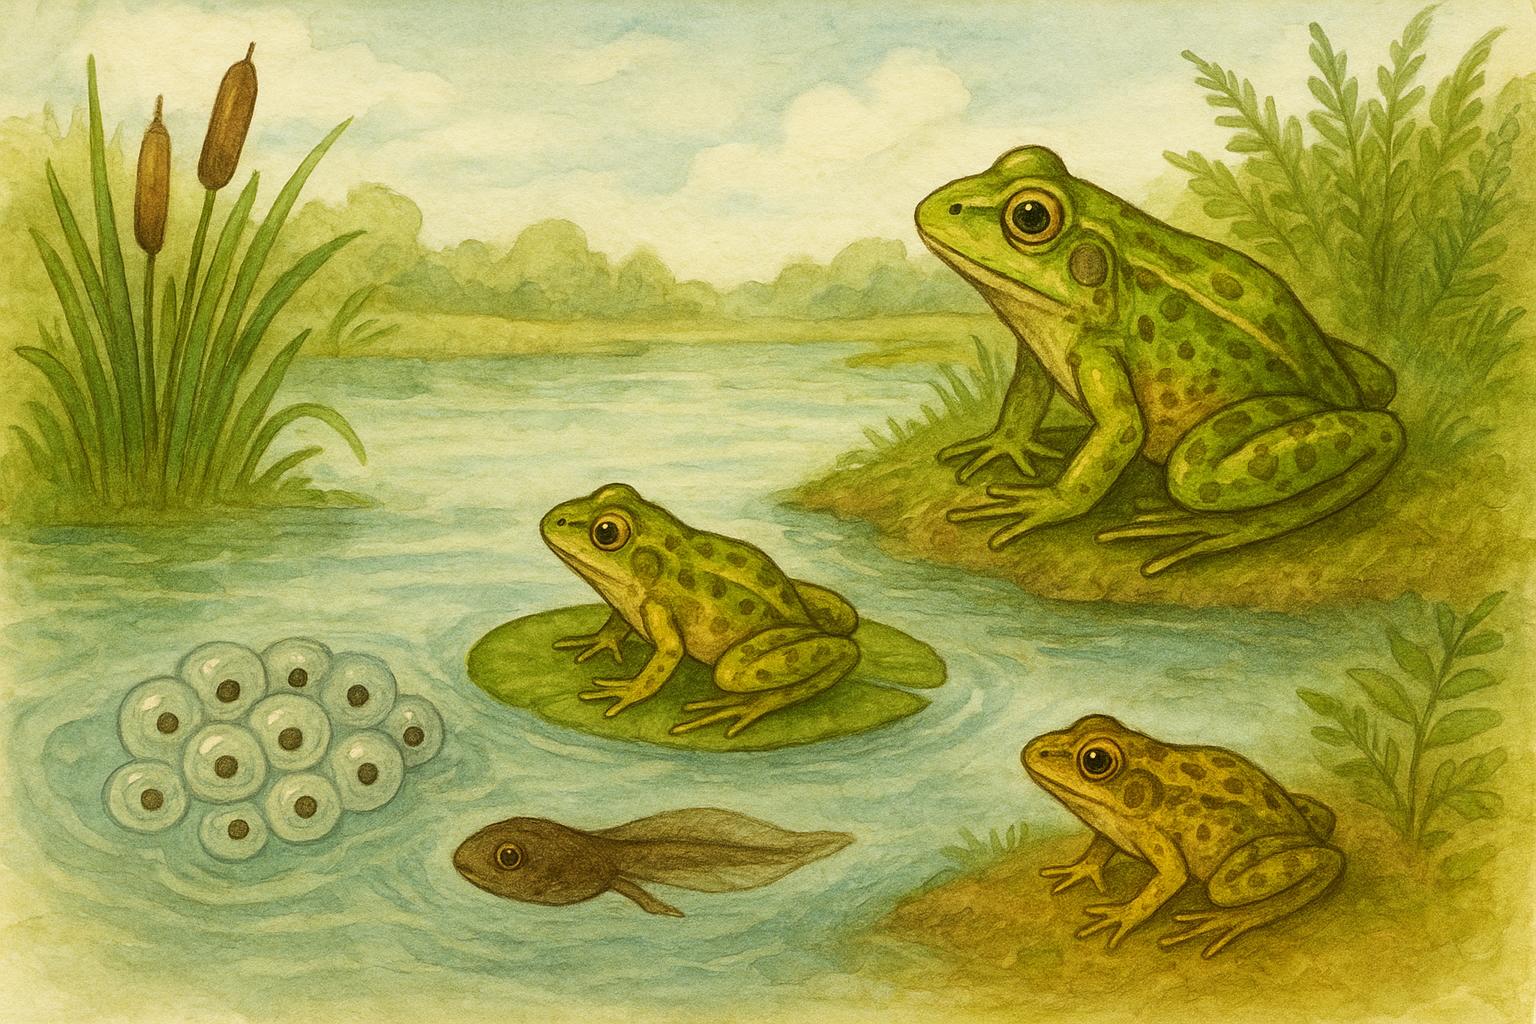
Toads are members of the anuran order (frogs and toads), and they need three simple things: water for breeding, moist cool shelter for daytime rest, and a steady food supply. A good anuran habitat balances shallow water, dense cover, and insect-rich plantings. You don’t need a swamp—just thoughtful microhabitats.
### Understand Toad Behavior And Needs
Toads are mostly nocturnal feeders. During the day they hide under logs, leaf litter, or in burrows to retain moisture and avoid predators. They’re not great swimmers like some frogs, so shallow ponds with gently sloped edges suit them better than steep-sided ornamental pools. Nighttime is feeding time—expect them to patrol lawns, garden beds, and margins of ponds for insects, slugs, and worms.
### Water Features: Size, Depth, And Placement
A toad-friendly pond should be shallow (6–18 inches in places), with varying depths and shallow shelves for emergent plants. Position the water near shelter—rocks, wood piles, or dense native plants—so toads can hop from dry cover to water without crossing large open lawns. Avoid placing the pond in full sun; partial shade reduces evaporation and keeps water cooler.
#### Safe Water Practices For Anuran Habitat
Avoid chemical fertilizers, pesticides, or herbicides near water. Runoff containing these compounds is toxic to amphibians. Use only natural compost and allow at least a 10-foot vegetative buffer between treated lawn areas and water features.
## Shelter, Substrate, And Plant Choices
Provide multiple types of cover to mimic natural anuran habitat: logs, flat stones, leaf litter, small rock crevices, and low-growing shrubs. Native plants are preferred because local insects co-evolved with them—more insects, more meals for toads.
### Plant Recommendations
Pick native, low-to-medium height plants to maintain damp shade near the ground. Examples: sedges, native grasses, ferns, and moisture-loving wildflowers. Avoid dense lawns immediately adjacent to water; instead, transition to mulch and native groundcovers.
#### Mulch And Soil Management
Use coarse wood mulch or leaf litter rather than fine bark nuggets; they hold moisture better and create easier burrowing conditions. Keep mulch piles slightly elevated and aerated—compacted mulch can overheat and dry out.
### Lighting And Predation Considerations
Outdoor lighting attracts insects, which can help toads feed, but bright constant lighting also exposes them to predators. Use motion-activated, low-UV lights or shielded fixtures aimed away from pond margins to keep feeding safe.
## 1. Build A Small Toad Pond (Remedy)
Materials:
1. Flexible pond liner (sized approximately 4–8 feet in diameter, depending on space).
2. Sand for underlayment (enough to create a smooth base).
3. Variety of rocks and flat stones for edges and shelves.
4. Native aquatic plants (e.g., water mint, pickerelweed, marsh marigold).
5. Shaded location or shade cloth if needed.
6. Mesh or fine-screen netting (temporary, for debris control during establishment).
7. Shovel, level, and water source.
Creation And Application Steps:
1. Select Location: Choose a partially shaded spot close to shelter (logs, shrubs) and away from runoff or treated lawn areas.
2. Excavate Pond: Dig a hole with varied depth—create shallow shelves (3–6 inches) for plants and deeper zones (12–18 inches) for cooler refuge. Slope banks gently.
3. Prepare Base: Remove sharp objects from the excavation. Add a 1–2 inch layer of sand and tamp it smooth to protect the liner.
4. Install Liner: Lay the flexible liner into the hole, smoothing wrinkles toward the center. Ensure there are natural-looking folds at shelves to create microhabitats.
5. Add Rocks And Shelves: Place flat stones and cobbles under and around the liner edges to create gentle entry points and basking stones. Arrange larger rocks to form crevices for hiding.
6. Plant Margins: Plant native marginal species in pockets of soil on the shelves and around the pond perimeter, keeping crowns slightly above waterline to reduce rot.
7. Fill With Water: Slowly fill with dechlorinated water or allow tap water to sit 48 hours to off-gas chlorine. Monitor for liner movement and adjust rocks as needed.
8. Establish A Buffer Zone: Surround the pond with a 2–3 foot wide planting of native grasses and mulched cover to provide easy transit for toads.
9. Manage For Safety: Initially cover with temporary mesh to prevent debris while plants take hold; remove after establishment. Do not introduce fish—fish predate tadpoles and reduce anuran reproductive success.
10. Ongoing Care: Inspect monthly for algae build-up. Remove fallen leaves manually rather than using chemical algicides. Test pH if necessary; aim for neutral to slightly acidic conditions (pH 6.5–7.5).
This pond design focuses on slow-release habitat benefits and minimizes chemical inputs. Formal maintenance includes periodic vegetation management, monitoring for invasive plants, and ensuring water levels are sustained during dry spells without using well water with chlorine or heavy minerals.
## 2. Create Shelter Zones And Feeding Corridors (Remedy)
Materials:
1. Untreated logs, large flat stones, and a stackable rock pile.
2. Leaf mulch or shredded bark.
3. Native groundcover plugs and seed.
4. Small PVC or terracotta pipe (optional, 4–6 inches diameter) for artificial burrows.
5. Hand tools and gloves.
Creation And Application Steps:
1. Identify Shelter Sites: Place shelter zones within 10–20 feet of the pond or moist area and under overhanging vegetation. Toads prefer proximity to water during breeding season.
2. Construct Log And Rock Piles: Lay untreated logs in a staggered stack, leaving cavities. Add flat stones on top for cool surfaces. Build rock piles with interstitial crevices for additional shelter.
3. Install Artificial Burrows (Optional): Bury short lengths of PVC or terracotta pipe at a slight angle with one end flush to the ground and the other slightly elevated beneath mulch. Ensure drainage by tilting downward to prevent standing water.
4. Add Mulch And Leaf Litter: Spread a 2–3 inch layer of coarse mulch or leaf litter around shelter zones. Replenish annually to maintain moisture and insect habitat.
5. Plant Native Groundcover: Introduce native groundcovers and low shrubs to create shaded corridors that link the pond to garden beds and hedgerows—this reduces open-ground crossings and exposure to predators.
6. Monitor And Adjust: Check shelters quarterly for stability and replace any compacted mulch. Remove invasive species promptly to preserve microhabitat quality.
These shelter zones provide thermal buffering and predator protection. Maintain records of sightings and breeding activity to adjust features for better efficacy. Formal monitoring protocols—monthly habitat checks and seasonal species surveys—are recommended to assess population response.
### Monitoring Health And Troubleshooting
Watch for sudden die-offs or malformed individuals—these are rare but signs of pollution, disease (chytrid fungus), or pesticide exposure. If you suspect chemical contamination, immediately stop nearby chemical applications and notify local wildlife authorities. For disease concerns, minimize handling amphibians and consult an amphibian health specialist.
#### Additional Practical Tips
– Avoid mowing right up to the pond edge; leave a 2–3 foot no-mow buffer.
– Reduce slug populations by encouraging beetles and birds rather than using slug pellets.
– Create multiple small water features rather than one large, to increase breeding opportunities and population resilience.
If you’re aiming to attract a chorus, patience is key. It can take a season or two for toads to find and fully utilize a new anuran habitat, but once established, they become your natural pest control team—no contract required.


Leave a Reply