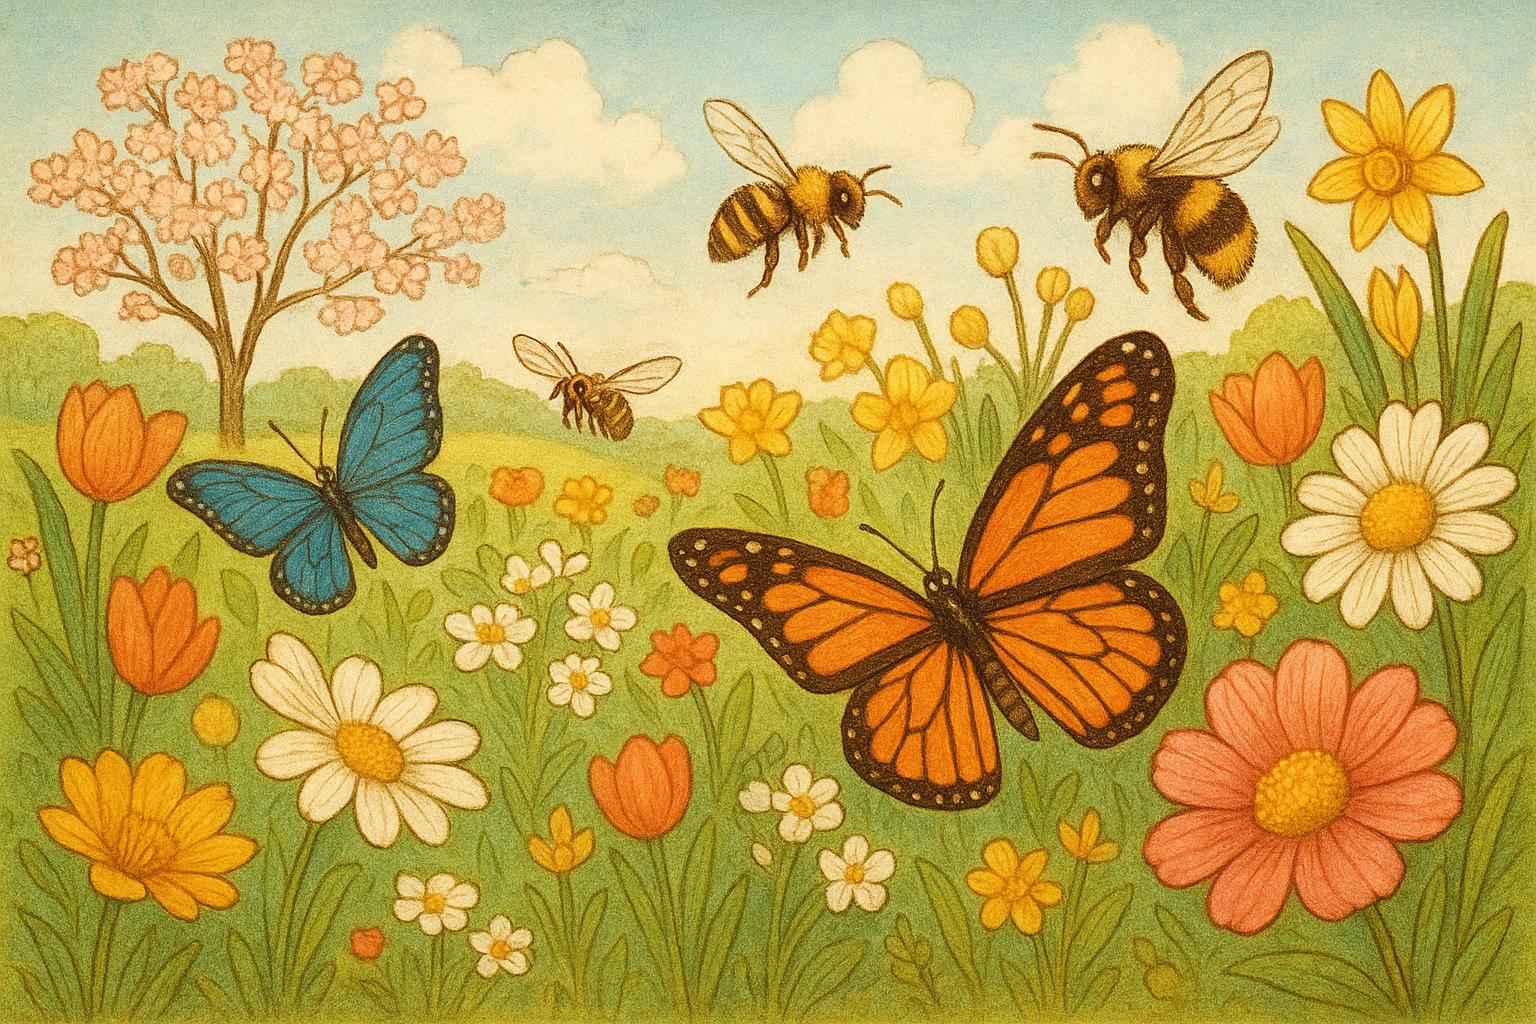
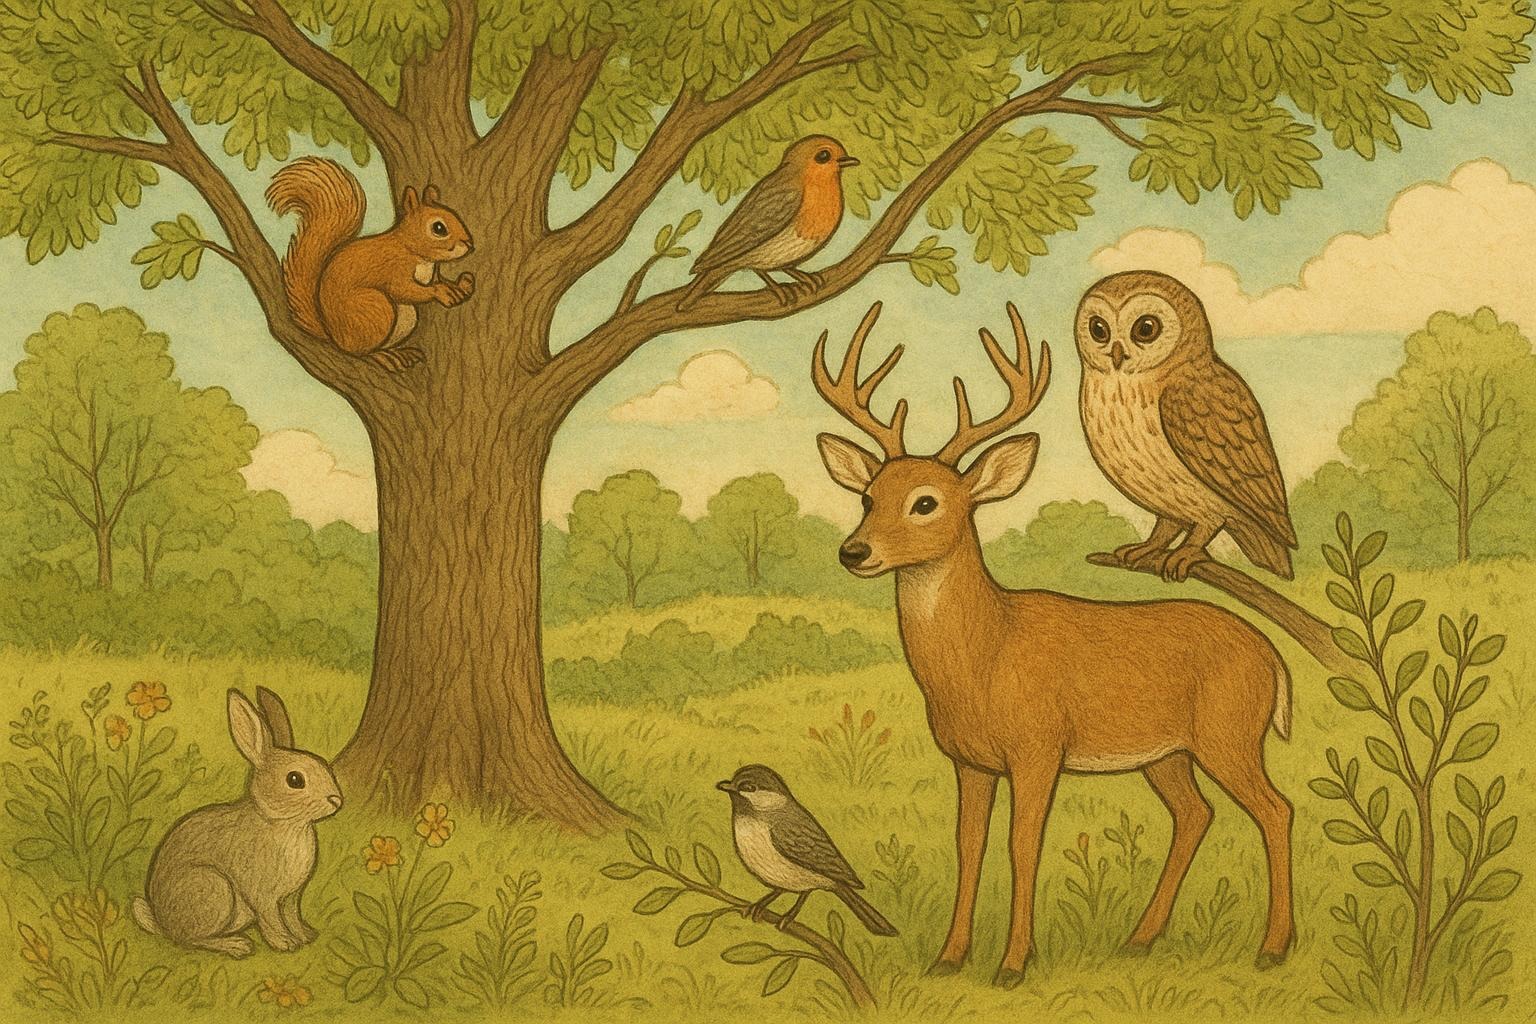
A backyard that hums with bees, flutters with butterflies, and buzzes with beneficial insects doesn’t happen by accident. With a little planning keyed to what’s blooming when, you can keep nectar and pollen coming from the first thaw to the last frost. Think of this as gardening with a tiny, six-legged clientele—and yes, they expect a good seasonal bloom menu.
## Seasonal Bloom Planning By Season For Pollinator Gardens
### Why Staggered Blooms Matter
Pollinators rely on continuous food sources. If your garden peaks all at once and then goes quiet, many species will pass through hungry or move on. A deliberate seasonal bloom strategy stretches foraging resources, supports life cycles (from larvae to adult), and increases pollinator diversity in your yard. Plus, staggered color in the garden is nice for humans, too—less mowing, more coffee-time admiration.
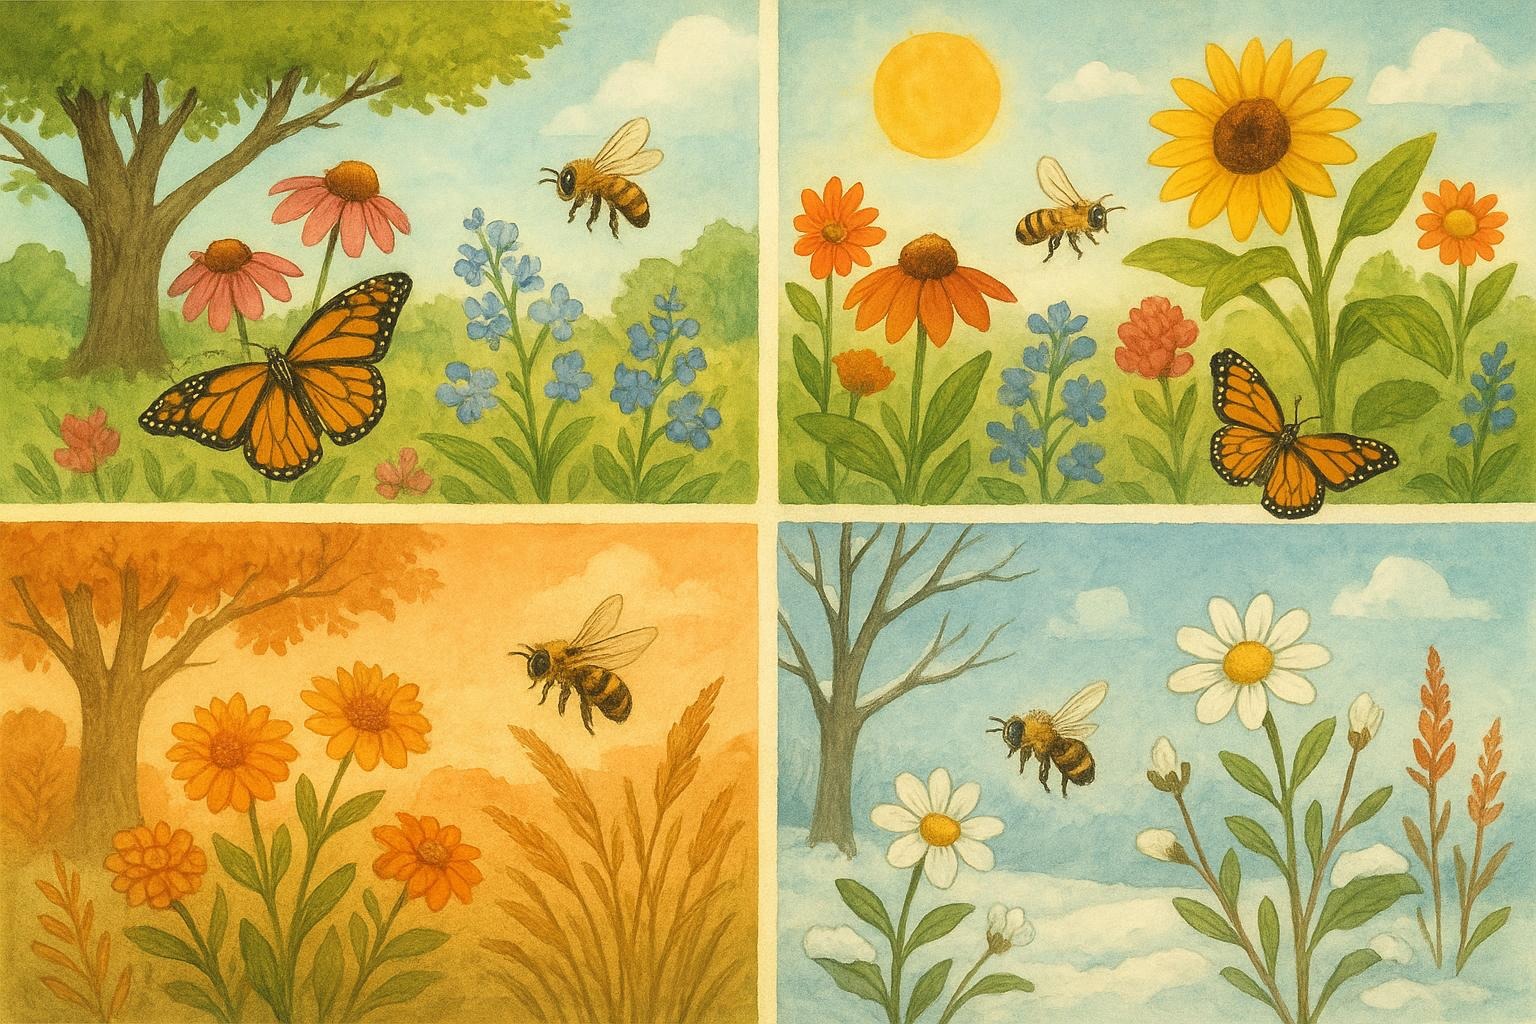
### Spring: Early Boost For Emerging Pollinators
Early spring is about being first on the scene. Bulbs, early perennials, and native trees provide sap, nectar, and pollen when pollinators are waking up.
– Key Plants: Crocus, snowdrops, willow catkins, witch hazel, native flowering quince, pulmonaria, early maples, and dandelions (yes—leave some).
– Design Tip: Plant in sunny, sheltered spots to warm early-emerging bees. Group species in drifts so insects can find concentrated foraging.
– Seasonal Bloom Note: Prioritize native species that have co-evolved with local bees; these typically offer the right floral shape and nutrients.
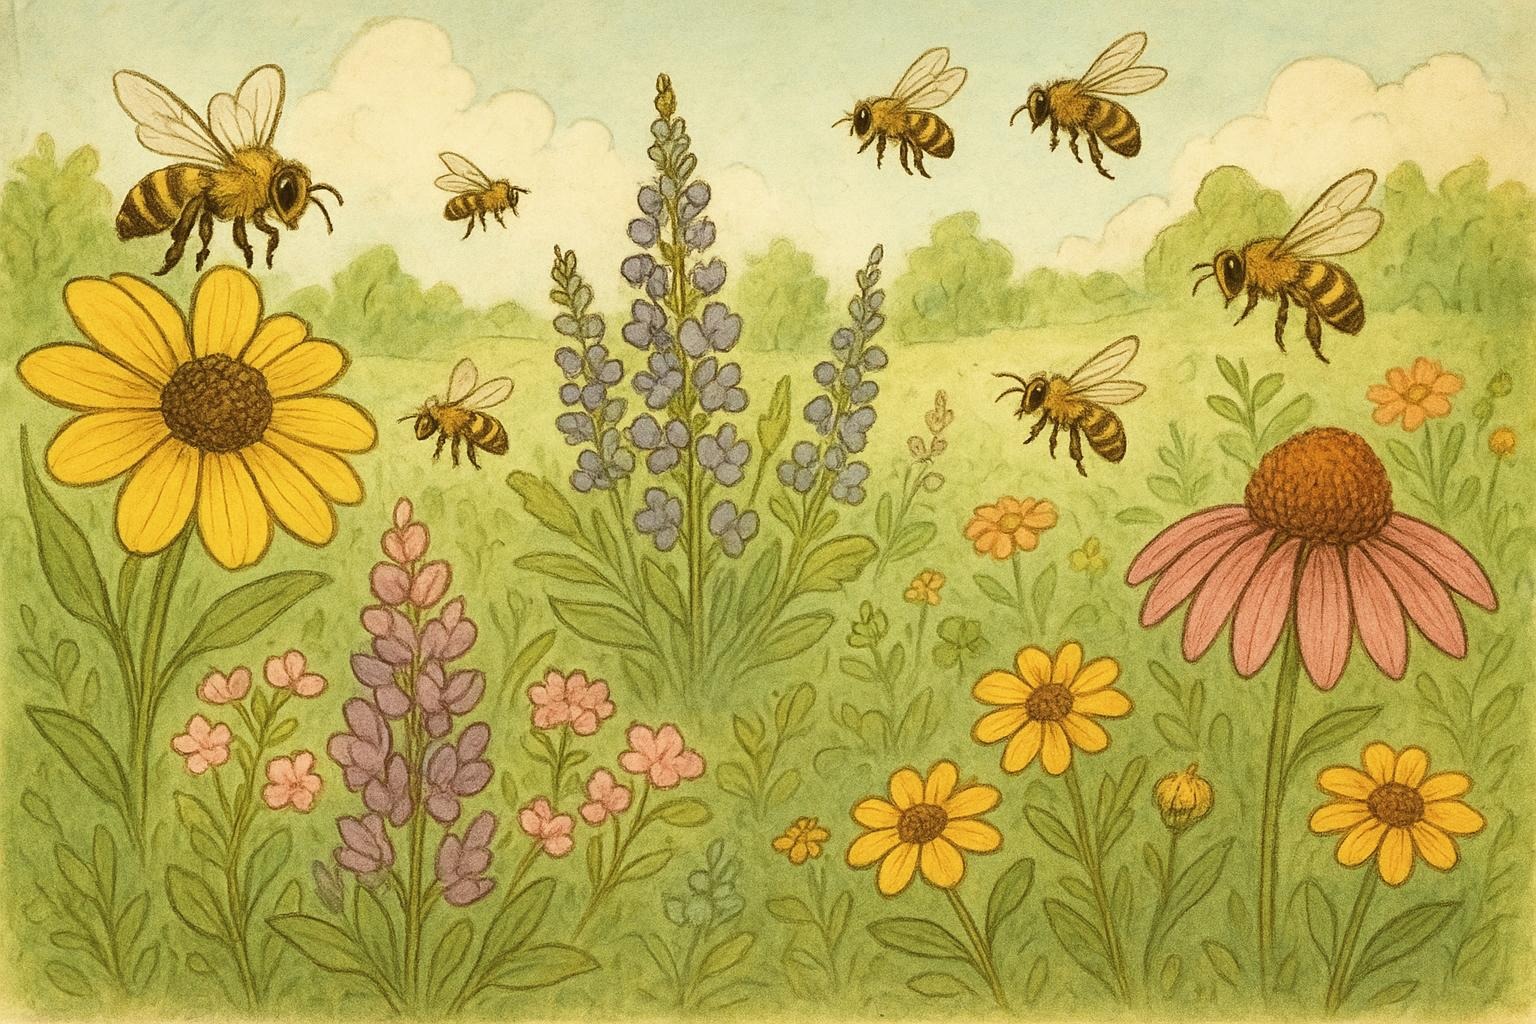
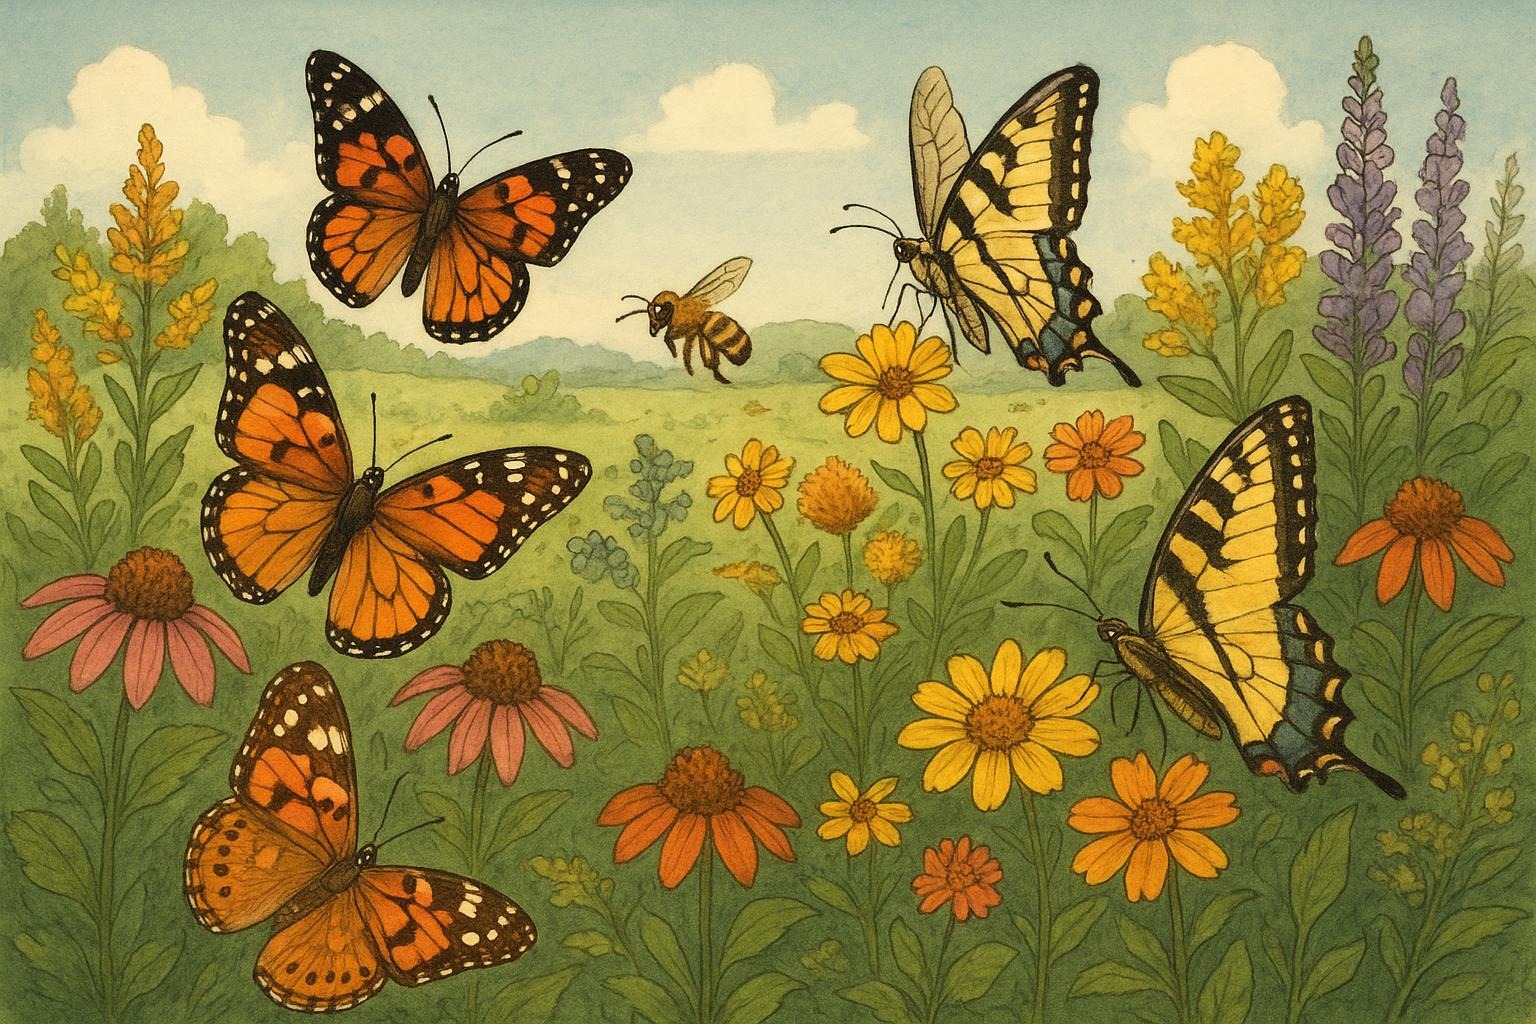
### Summer: Peak Activity And Diversity
Summer is when things get busy. Continuous floral variety from mid-summer perennials and shrubs keeps butterflies, bees, and hoverflies well-fed.
– Key Plants: Monarda (bee balm), Echinacea, Liatris, Phlox, native salvias, and goldenrod (later summer into fall).
– Design Tip: Layer heights so butterflies have landing platforms and bees can access tubular blooms. Include both nectar-rich and pollen-rich flowers.
– Seasonal Bloom Note: Water deeply but infrequently to help plants develop sturdy root systems that support heavy summer bloom.
### Fall: Late-Season Lifelines
Many pollinators mate and lay eggs late in the season; late-blooming flowers help adults build energy reserves before overwintering or migration.
– Key Plants: Asters, late-blooming goldenrods, Sedum spectabile, and certain native mints.
– Design Tip: Don’t deadhead all your flowers—leave seedheads and blossoms where safe, as they can feed insects and birds.
– Seasonal Bloom Note: Encourage continuous bloom into fall with staggered planting dates or varieties that flower successively.
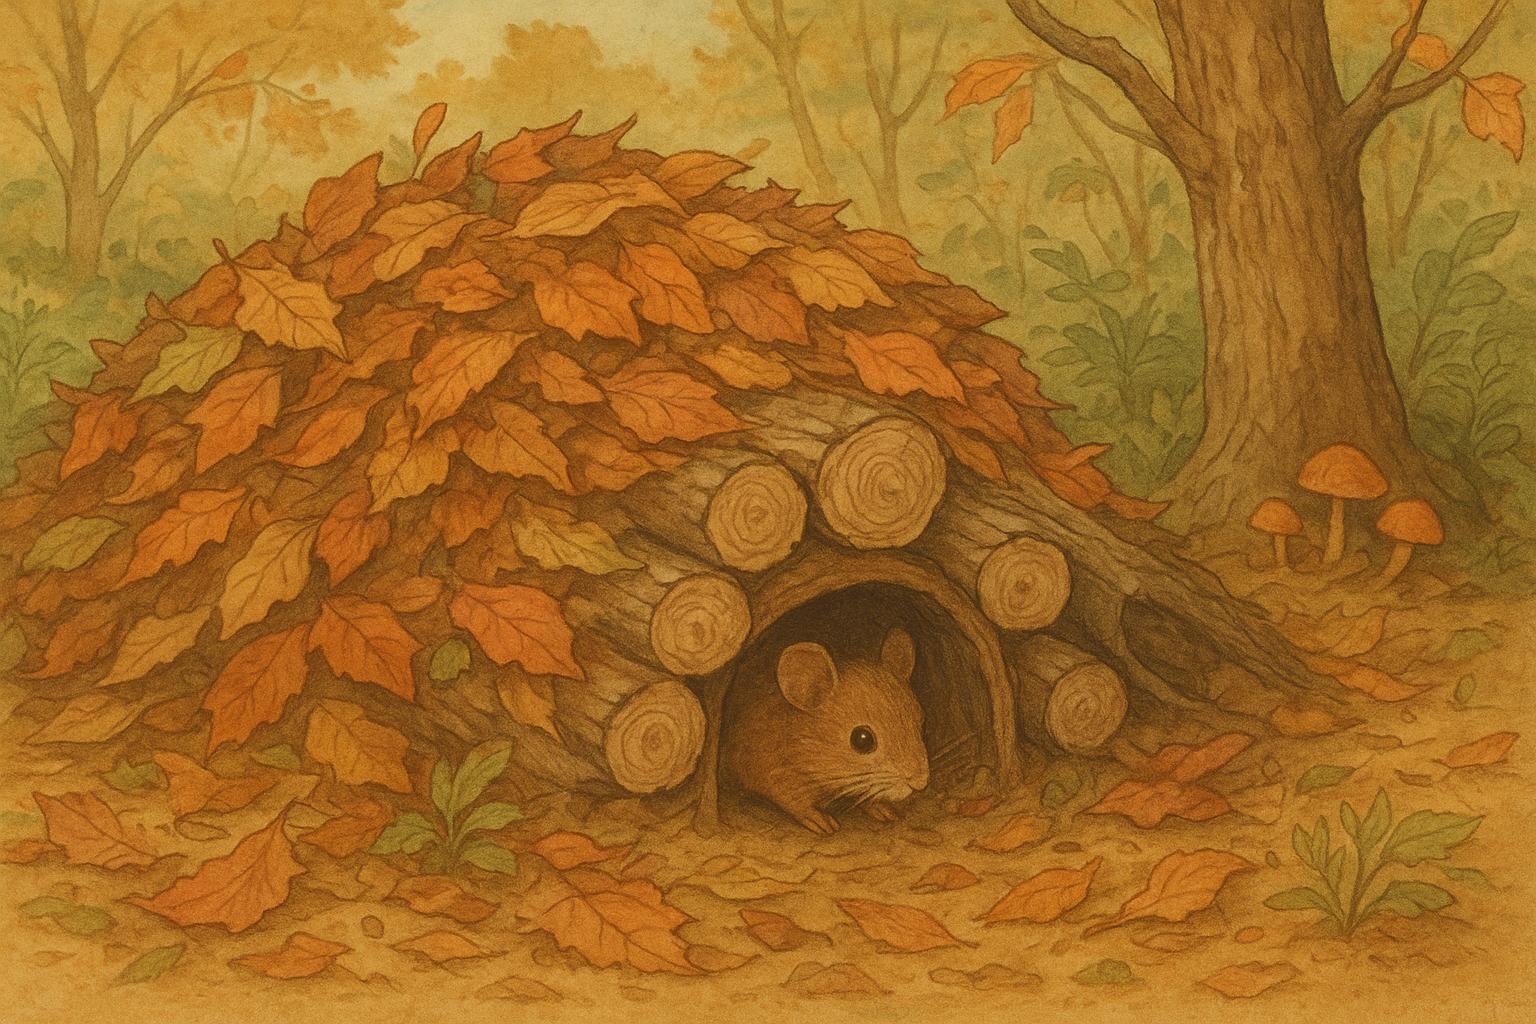
### Winter: Shelter And Planning
Even when flowers are scarce, your garden can support overwintering pollinators. Focus on structural habitat and planning for spring.
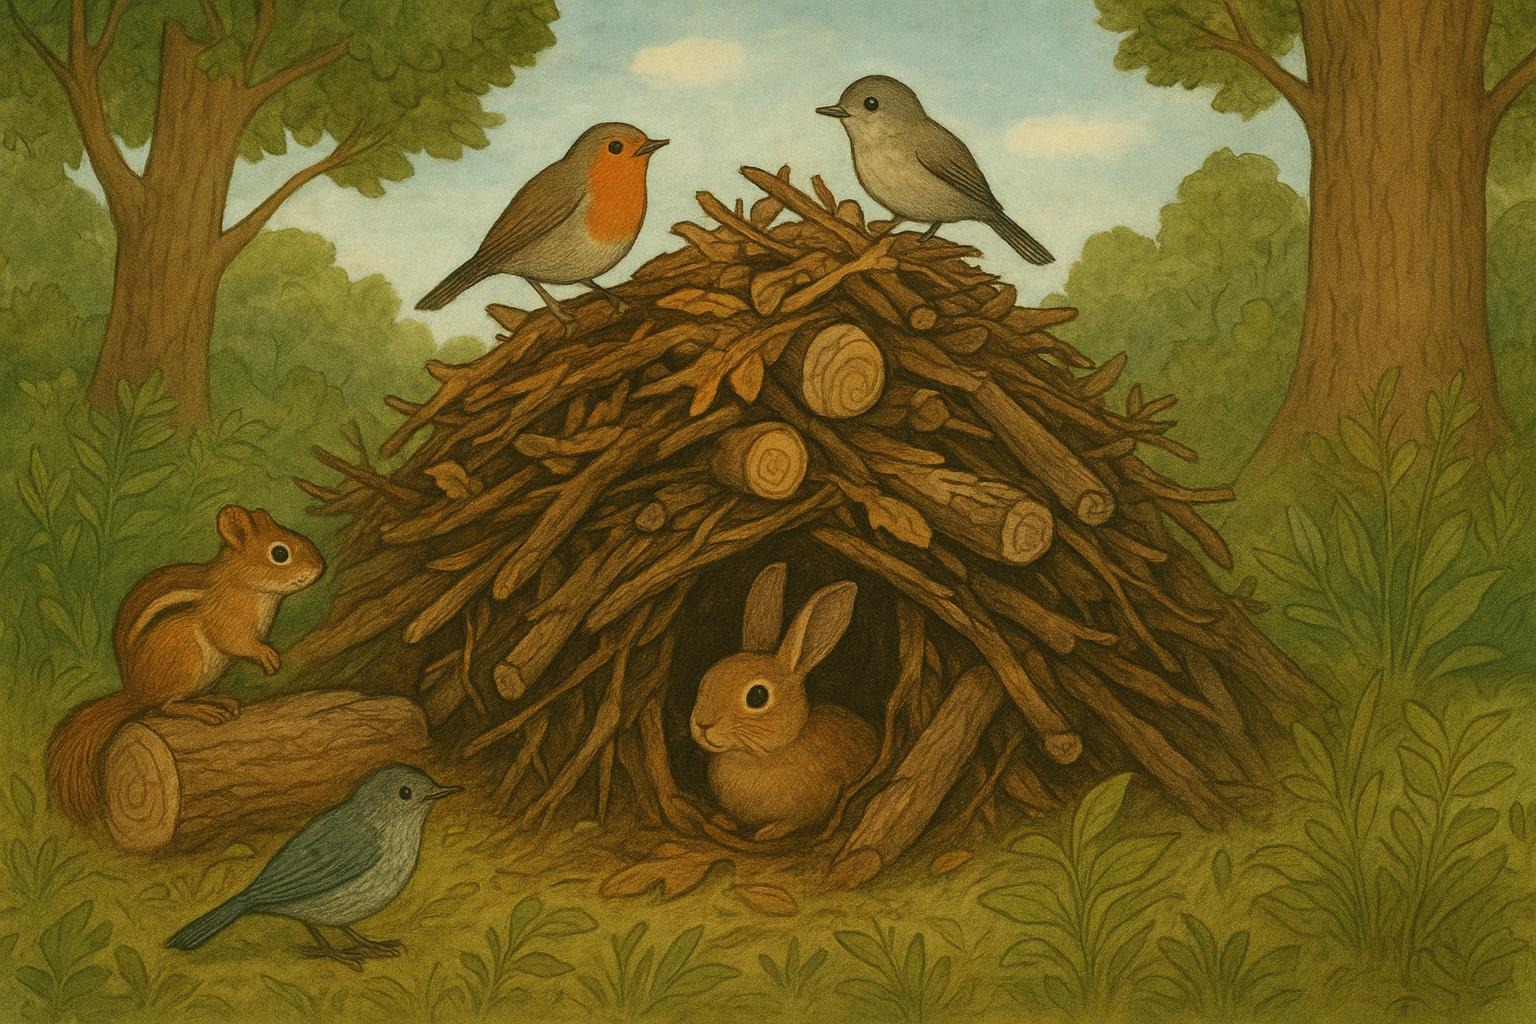
– Key Elements: Native shrubs for shelter, dead stems left standing for insect nests, leaf litter, and log piles.
– Design Tip: Create south-facing sunny spots and maintain some bare ground patches for ground-nesting bees.
– Seasonal Bloom Note: Map your garden in winter to identify gaps in the seasonal bloom sequence and plan spring plantings.
## Seasonal Bloom Succession Strategy
### Mapping Your Garden Calendar
Create a simple chart listing your plants and their bloom times. Identify months with low coverage and fill gaps with species chosen for that window. Aim for overlapping bloom periods so there’s no more than a week or two without a reliable nectar source.
### Diversity Over Monoculture
Plant a mix of flower shapes, sizes, bloom colors, and native versus non-invasive ornamentals. Different pollinators prefer different flowers—bees often favor blues and purples, butterflies like flat-topped flowers for landing, and hummingbirds go for tubular red blooms.
### Small-Scale Habitat Features
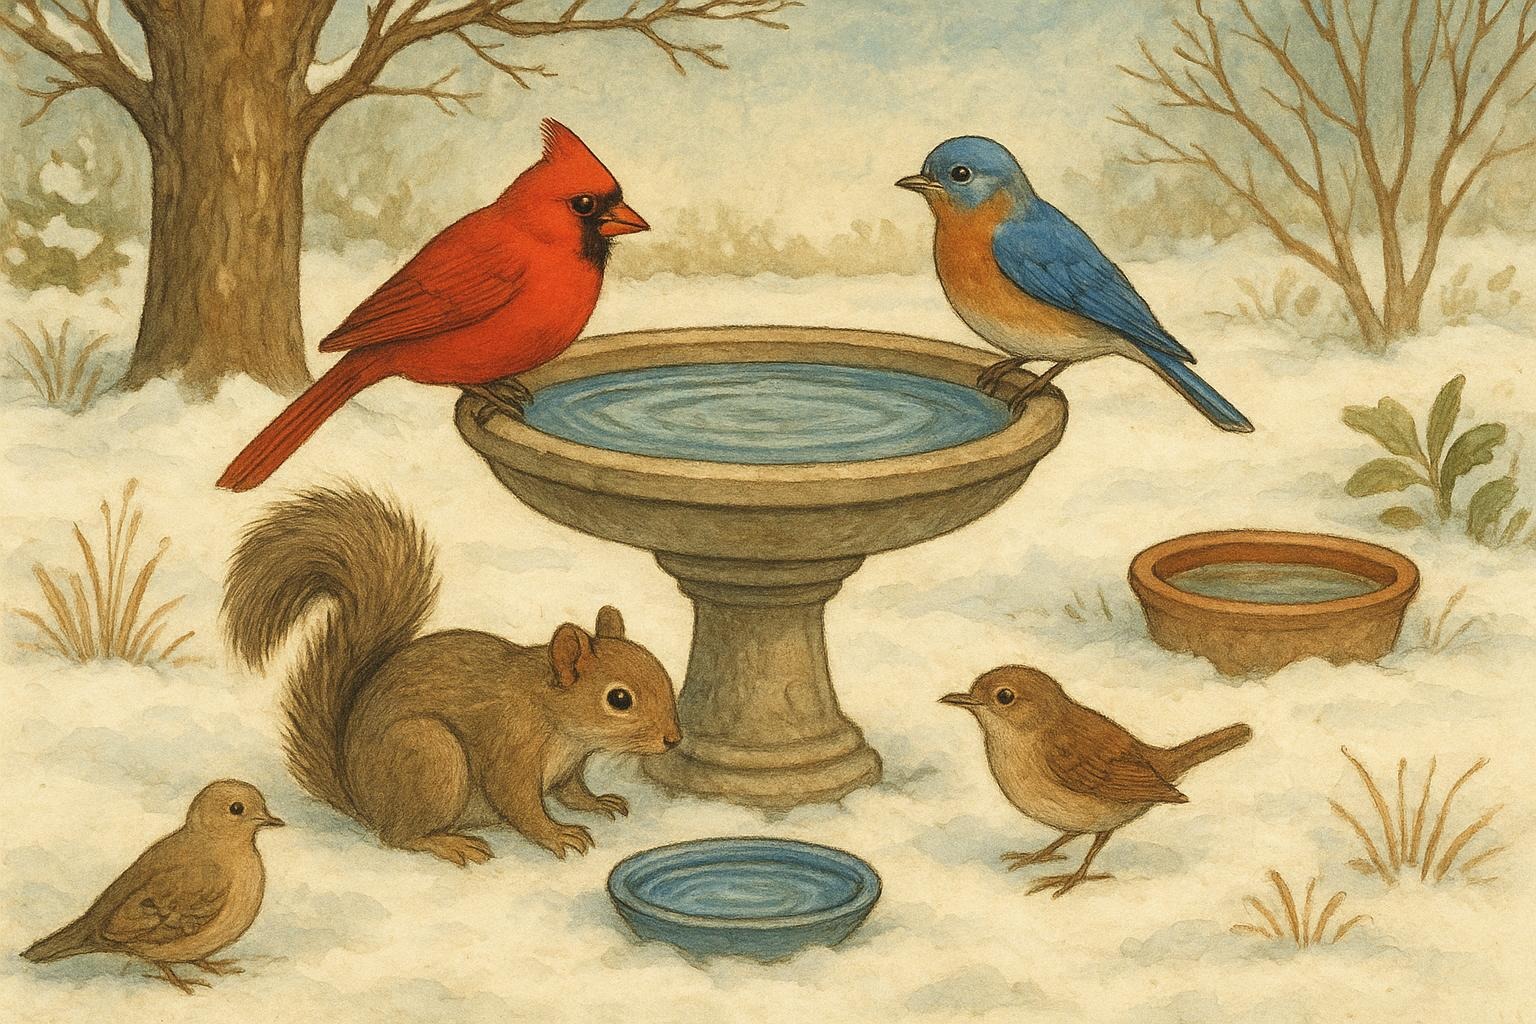
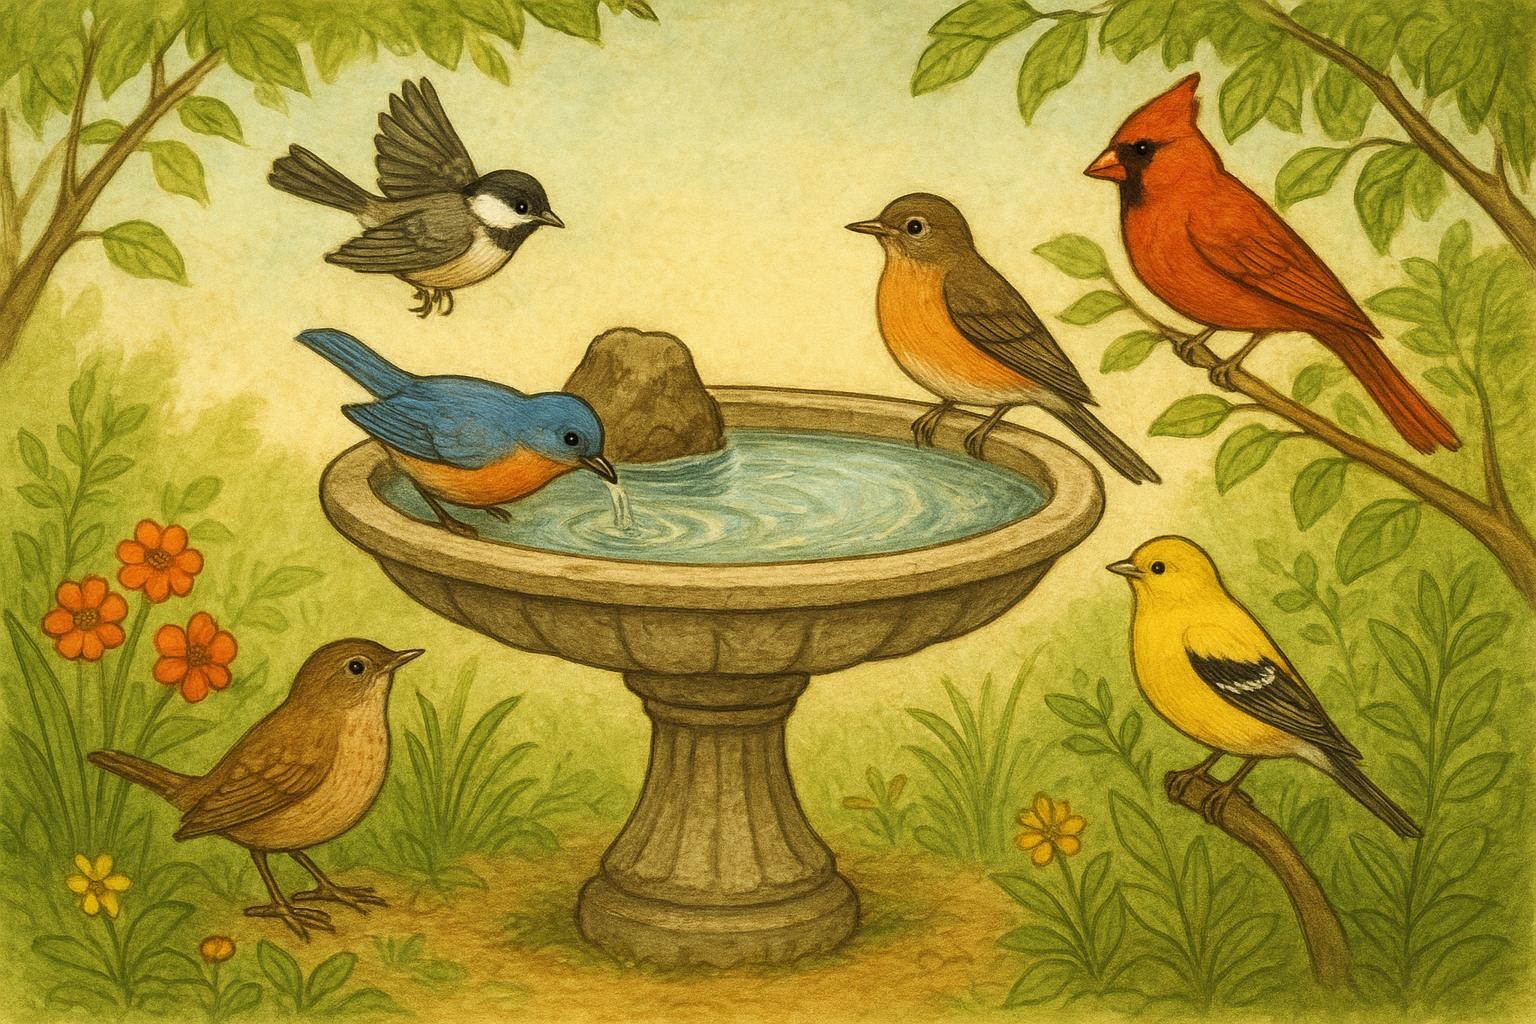
Include water sources, shallow dishes with stones (for bees), and varied microhabitats (sunny, shady, damp, dry). These features pair with your seasonal bloom choices and help pollinators make full use of your garden year-round.
## Remedy 1: Build A Pollinator Watering Station
When discussing how to support pollinators in practice, clarity and precision help ensure success. A reliable, safe water source is essential—pollinators need easy access to water without the risk of drowning.
#### Materials Required
– Shallow ceramic or stone dish (6–12 inches wide)
– Smooth stones or pebbles (enough to create partial surfaces above water)
– Clean garden hose or watering can
– Optional: small fountain pump for circulation
– Optional: native aquatic plants in a nearby container
#### Step-By-Step Creation And Application
1. Choose Location: Place the dish in a sunny, sheltered spot near flowering plants. Avoid deep shade and areas prone to heavy wind.
2. Prepare Base: Lay the dish on level ground. If using a pump, set it according to manufacturer instructions so water movement is gentle.
3. Add Stones: Arrange stones so they protrude above the water surface. These create perches for bees, butterflies, and small birds.
4. Fill With Water: Add fresh water until stones are partially emerged, producing shallow foraging spots.
5. Maintain: Replace water every 2–3 days to prevent mosquito larvae and algae; clean the dish weekly. In freezing climates, empty and store before hard freezes; resume in spring.
6. Application Tip: Position a few additional small water dishes around the garden to reduce competition and stress among pollinators.
## Remedy 2: Create A Bee Block For Solitary Bees
Providing nesting sites for solitary bees increases local pollination. A well-constructed bee block mimics hollow stems and can be a long-term asset.
#### Materials Required
– Untreated hardwood block (3–6 inches thick, 6–8 inches wide, 8–12 inches long)
– Drill with assorted bit sizes (2–10 mm)
– Sandpaper
– Exterior-grade hanging hardware or post mount
– Optional: small roof or overhang to keep rain out
#### Step-By-Step Creation And Application
1. Select Wood: Use hardwood like oak, maple, or beech. Avoid treated wood or cedar that can split.
2. Drill Holes: Drill holes 2–10 mm in diameter, 3–6 inches deep. Space holes evenly and avoid drilling all the way through.
3. Sand Edges: Smooth hole edges with sandpaper to prevent splintering that can injure bees.
4. Mount Securely: Install the block 3–6 feet above ground, facing southeast or east to catch morning sun. Ensure the block is stable and sheltered from prevailing rain.
5. Maintain Annually: Replace the block after several seasons if holes deteriorate. Clean only if disease is suspected; otherwise, leave provisions for reuse.
6. Application Tip: Pair bee blocks with nearby flowering plants that bloom during the nesting season to provide immediate forage.
### Legal And Safety Notes For Remedies
Always use untreated wood and materials safe for wildlife. Avoid chemical treatments. Check local regulations for attracting and supporting native pollinator species, and never move nests of wild or managed bees without expert guidance.
### Planting Calendar Suggestions
– Early Spring: Crocus, willow, witch hazel
– Mid Spring: Tulips (unmown lawns), native cherries, bergenia
– Early Summer: Salvia, catmint, bee balm
– Mid Summer: Echinacea, Liatris, Monarda
– Late Summer Into Fall: Asters, goldenrod, Sedum
– Year-Round Support: Native shrubs, seedheads, and structural habitat
Sprinkle your beds with succession plantings—stagger seed sowing and use multiple varieties with different bloom windows. That simple habit is the backbone of a reliable seasonal bloom plan.
### Maintenance Practices That Support Seasonal Bloom
– Cut back aggressively only when appropriate; many pollinators overwinter in stems and seedheads.
– Minimize pesticide use; if chemical control is required, target pests in the evening and use spot treatments.
– Mulch with organic material but leave some bare patches for ground-nesting bees.
– Replace or add plants in the winter planning phase to address any identified seasonal bloom gaps.
This approach blends a relaxed gardener’s pleasure with practical, evidence-based steps: map, plant, provide water and shelter, and maintain with pollinators in mind. Your yard will reward you with months of activity, and you’ll become that neighbor people notice—because your garden never seems to stop putting on a show.


Leave a Reply