
Finding a tiny, scruffy bird in your yard can flip your day from ordinary to full-on wildlife rescue TV—minus the dramatic music. Before you panic, squirm, or try to teach it to fetch, read on. This guide will calmly walk you through what to do, when to step aside, and how to give effective nestling help without making things worse.
## Nestling Help: First Steps When You Find A Baby Bird
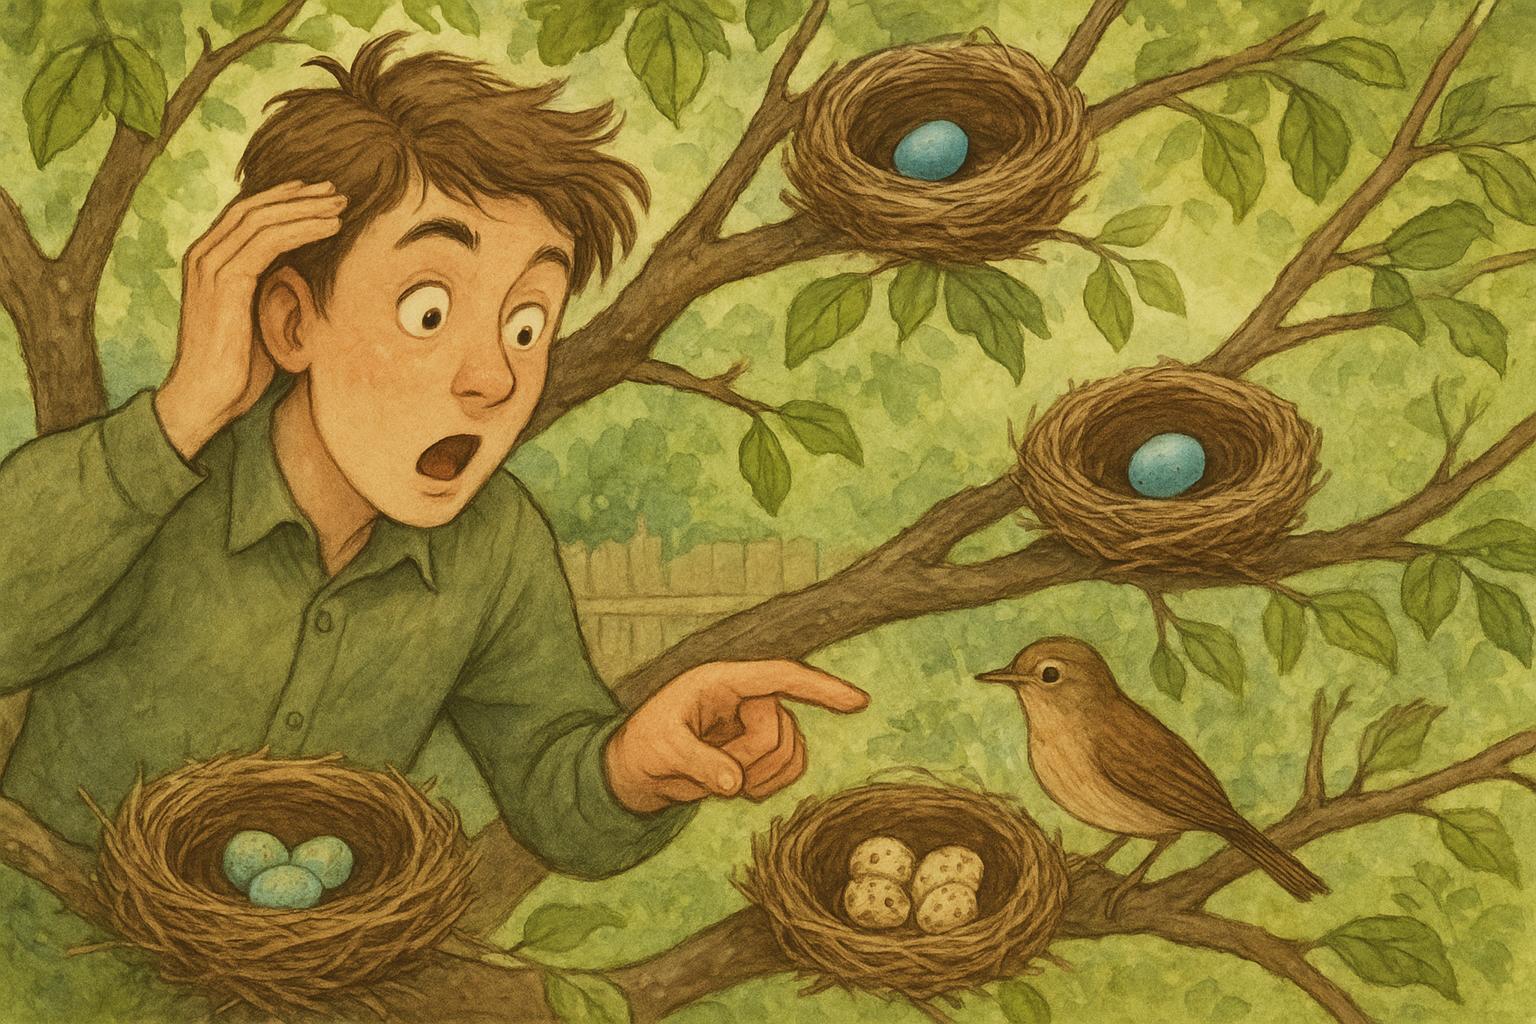
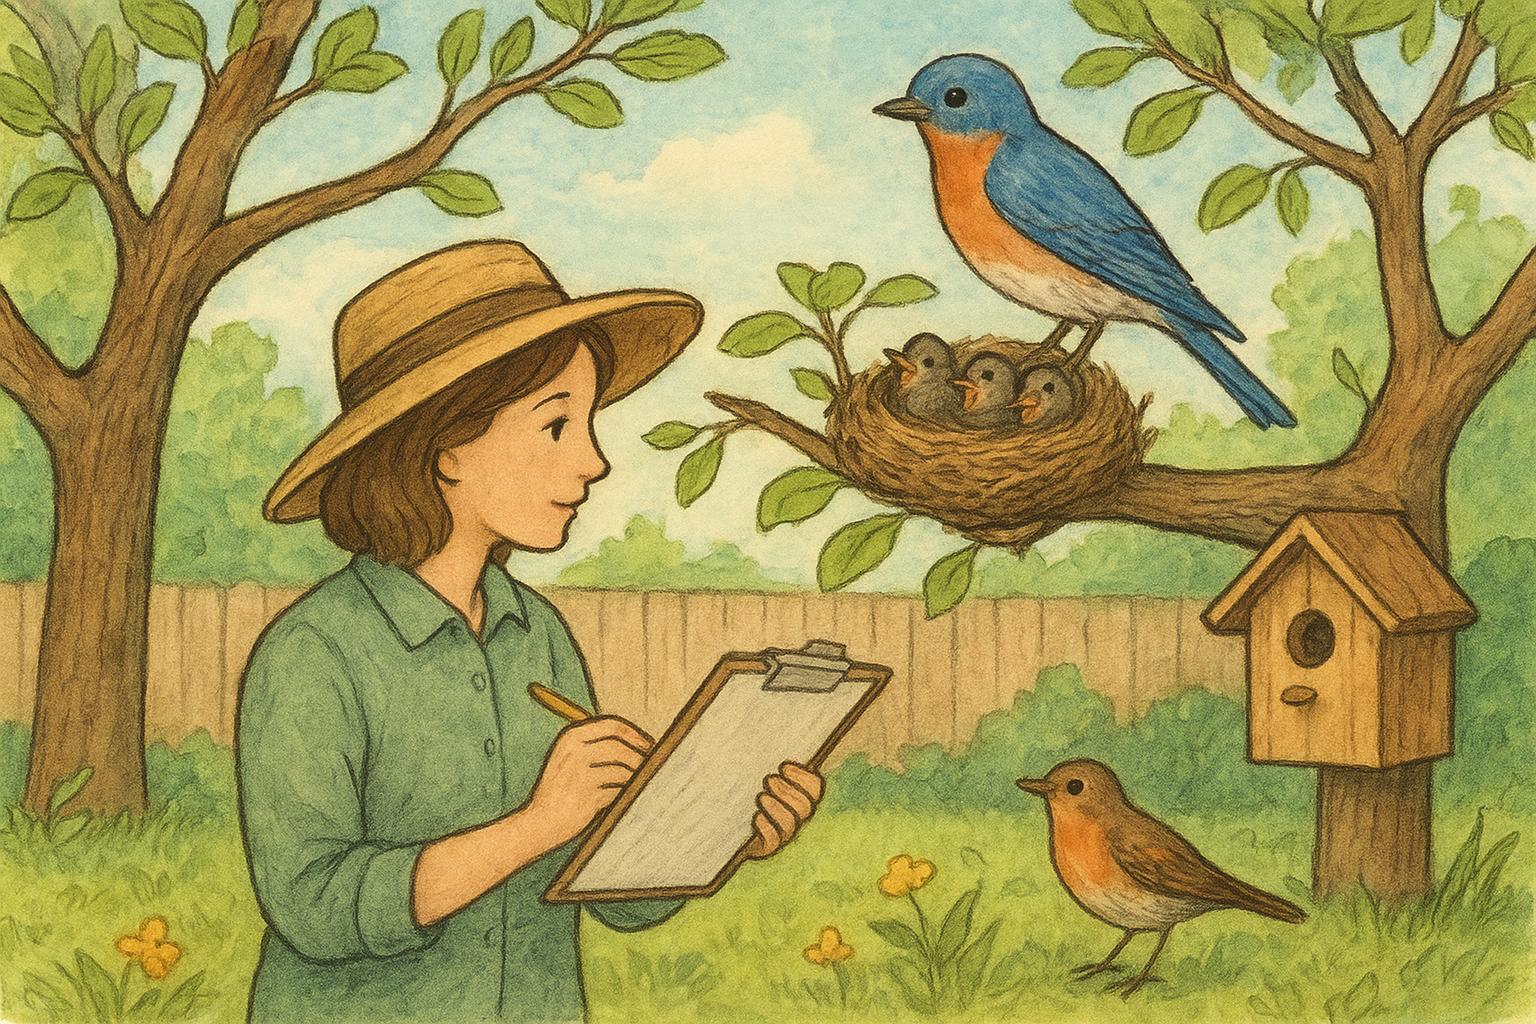
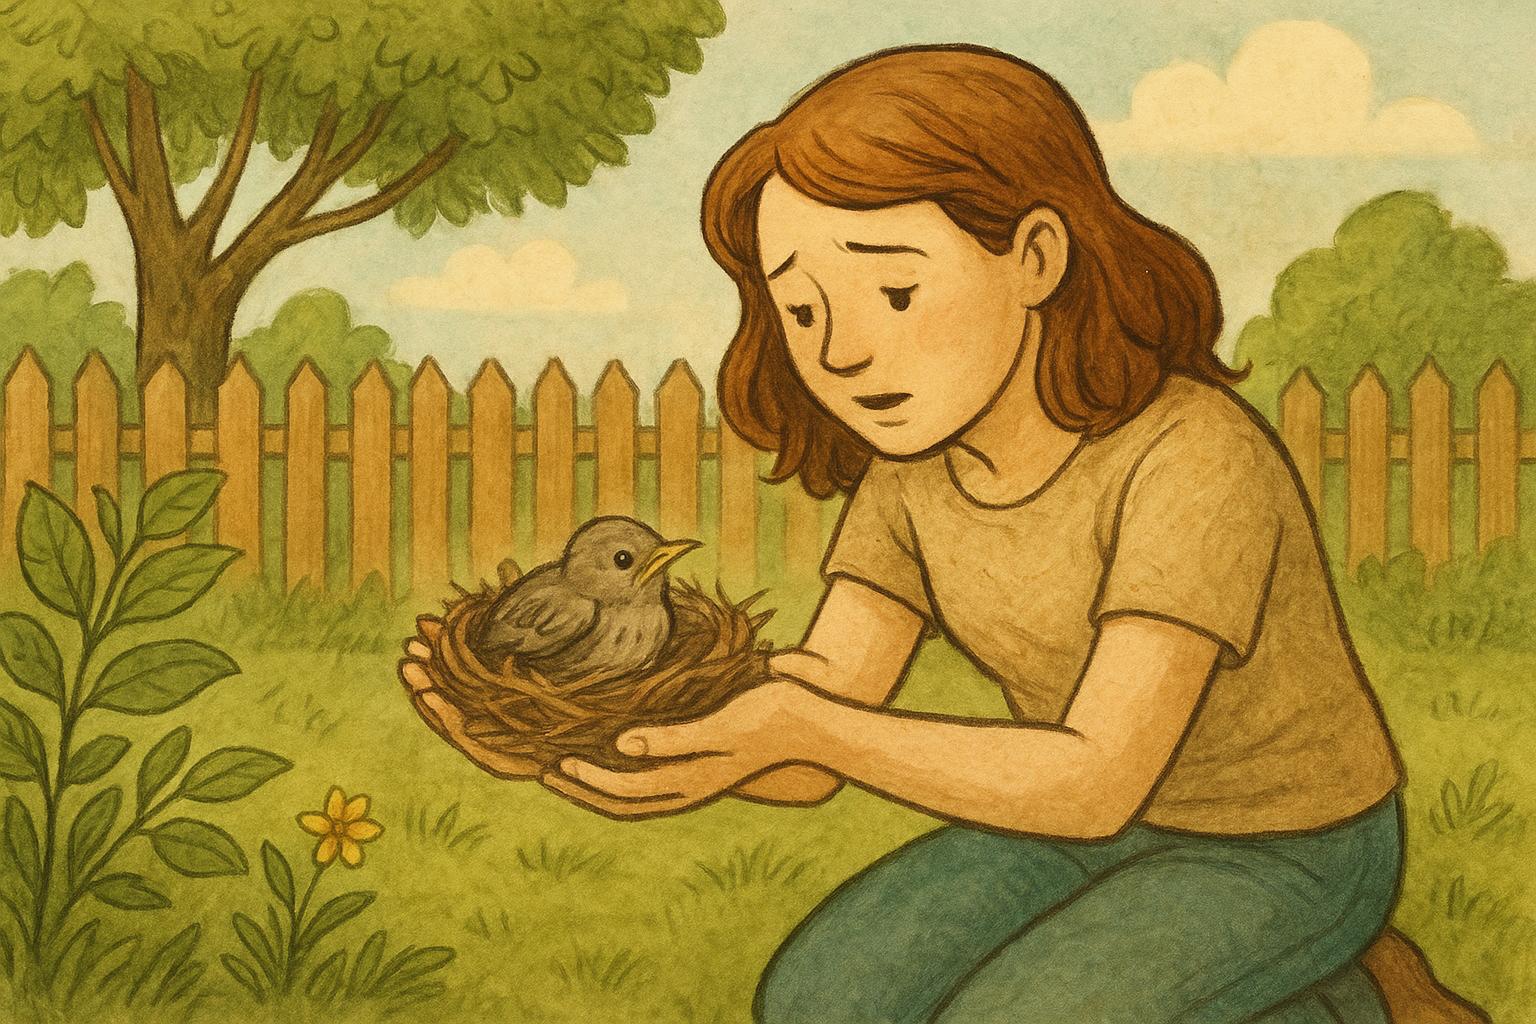
When you discover a grounded baby bird, the first thing is to breathe. Not every little bird on the ground needs a rescue. Distinguishing between a nestling (an undeveloped chick that needs a nest) and a fledgling (a young bird learning to fly) is the foundation of good nestling help.
### Assess The Situation Calmly
Stand back and observe for 10–20 minutes if you can. Look for parent birds nearby—chattering adults often bring food intermittently. If parents are active and the bird appears alert, it’s often best to leave it alone. Use binoculars or watch from a window; keep pets and children away during this time.
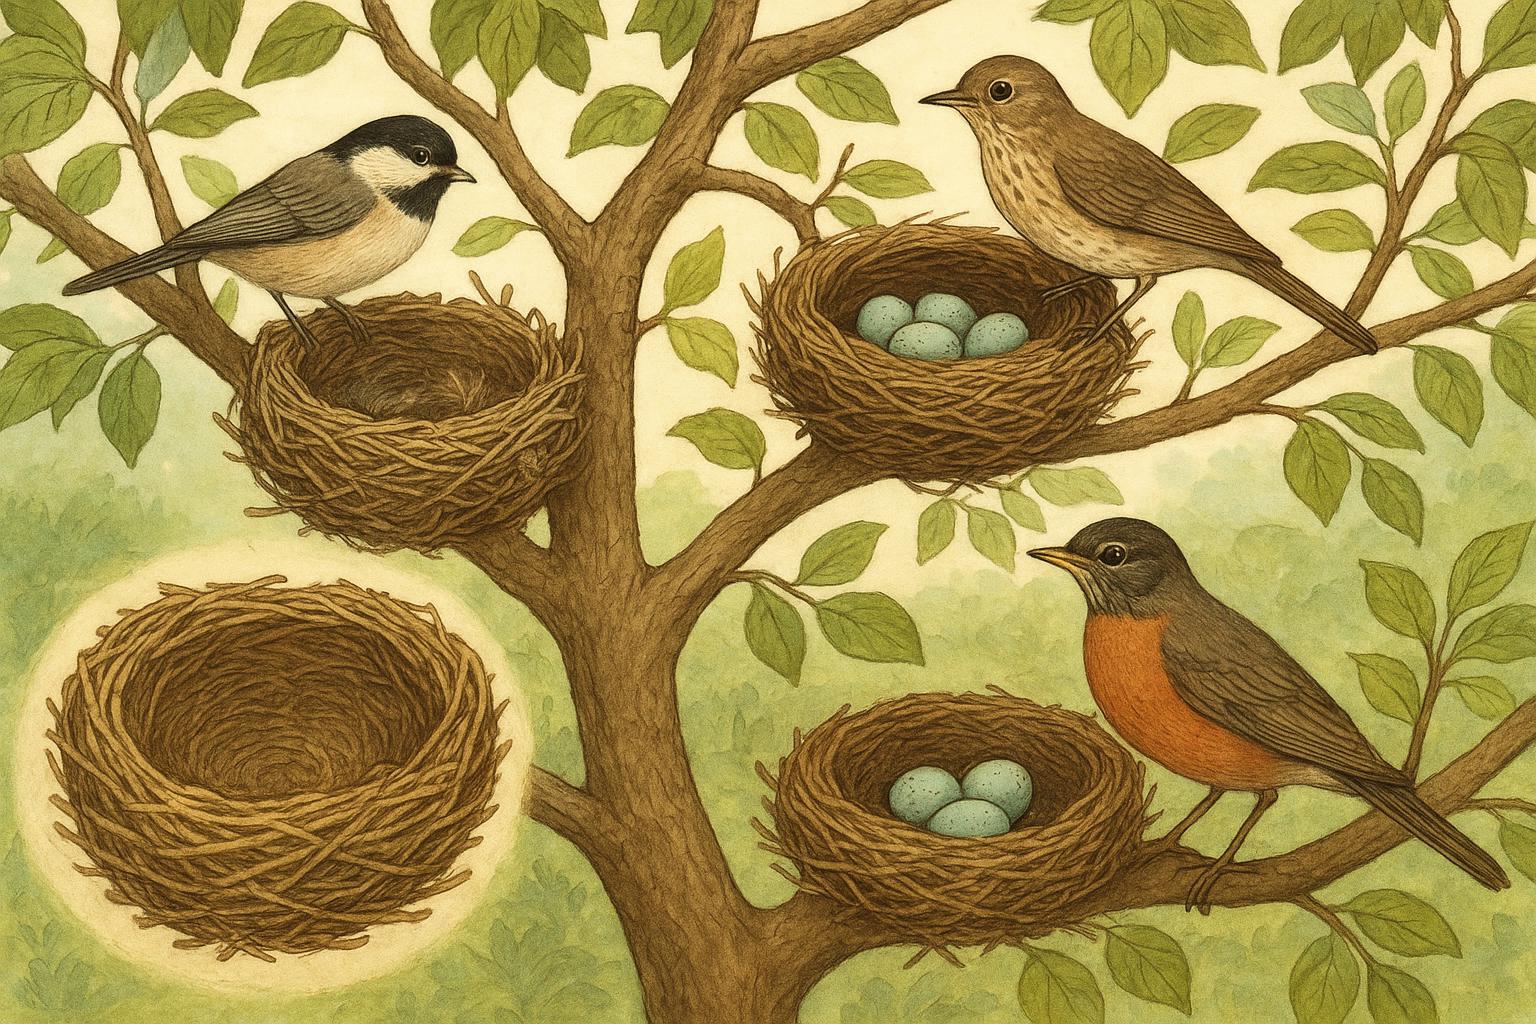
### Is It A Nestling Or A Fledgling?
Identify whether it’s a nestling or a fledgling:
– Nestlings: Sparse down or bare skin, closed or barely open eyes, and little to no hopping ability. They belong in a nest.
– Fledglings: Fluffy feathers, open eyes, some wing movement and hopping. They’re being taught to fly and are usually fine on the ground.
For targeted nestling help, you intervene only if the bird truly is a nestling or if it’s injured or in immediate danger.
## When To Intervene: Safety And Legal Considerations
Human handling of wild birds is regulated in many places. In the United States, most native birds are protected by federal law (e.g., the Migratory Bird Treaty Act). That doesn’t mean you can’t provide nestling help, but it does mean long-term possession is illegal unless you are a licensed rehabilitator. Your role is short-term care and getting the bird to a professional if needed.
### Signs Of Injury Or Hypothermia
Intervene immediately if the baby bird shows:
– Visible wounds, bleeding, or a dangling limb
– Inability to hold itself upright or move its head normally
– Extreme lethargy, fluffed feathers, or rapid breathing
– Hypothermia (cold to the touch, weak): the chick should be warmed slowly and kept dry
If you notice these signs, consider nestling help that involves professional assistance or emergency stabilization.
### When To Leave It Alone
If parents are returning, the chick is feathered and active, and there’s no sign of injury, the best nestling help is no interference. Removing a fledgling from the ground can disrupt the parents’ natural rearing process.
## Remedy 1: How To Return Or Rebuild A Nest (Nestling Help Procedure)
If the chick is definitely a nestling and you can locate the original nest or a safe nearby spot, returning it is often the best option. Below is a formal, step-by-step protocol for safely returning or rebuilding a nest.
### Materials Needed
– Clean, small basket or shallow container (lining—see below)
– Non-toxic, breathable nesting materials (untreated grass, pine needles, dry leaves)
– Soft cloth squares (no cotton batting) for padding
– Ladder (if nest is high and you are physically capable)
– Gloves (thin, to reduce contamination; avoid strong scents)
– Phone to call a wildlife rehabilitator if needed
### Step-By-Step: Rebuilding Or Returning A Nest
1. Confirm it’s a nestling: Check for closed eyes, little down, and inability to hop.
2. Observe parents for 10–20 minutes from a distance. If adults return and feed, place the chick back quietly and step away.
3. If the original nest is intact and reachable, gently place the chick back into it. Use gloves to minimize scent transfer, but don’t obsess over smell—birds have limited scent discrimination.
4. If the original nest is destroyed or unreachable, construct a temporary nest: line the small basket or shallow container with the soft cloth and nesting materials to create a cupped shape. The container should allow drainage and airflow.
5. Secure the makeshift nest in the original nest’s tree/area, attaching it with soft ties to branches so it won’t fall. Place it as close as possible to the original nest site and sheltered from wind and rain.
6. Place the chick into the temporary nest and stand back. Observe quietly for up to an hour. If parents approach and feed, you’ve succeeded.
7. If parents do not return within a reasonable observation period (varies—often 1–2 hours), proceed to contact a licensed wildlife rehabilitator for further nestling help.
Be careful: if the chick appears injured, skip steps 3–6 and move to emergency stabilization or a professional.
## Remedy 2: Safe Transport To A Wildlife Rehabilitator
If the chick is injured, orphaned, or the site is unsafe (predators, chemical exposure), professional care is the proper nestling help. Below is a formal procedure for preparing and transporting the bird safely.
### Materials Needed
– Small ventilated box or pet carrier
– Soft cloth or paper towels for bedding
– A secure lid with air holes
– Heating source if needed (warm water bottle wrapped in towel), only if hypothermic
– Phone with rehabber contact number
– Gloves (optional)
### Step-By-Step: Preparing And Transporting
1. Prepare a quiet, dark, and warm container: line the bottom with a soft cloth or paper towel placed flat. The bedding should be non-slip to help the chick maintain posture.
2. Place the chick gently into the container. Minimize handling—use a soft scoop technique with a cloth if necessary. Avoid feeding or giving water unless instructed by a professional.
3. If the chick is cold, provide gentle warmth: a warm (not hot) water bottle wrapped in cloth placed against one side of the box so the bird can move away if too warm. Do not overheat; stable, mild warmth is sufficient.
4. Keep the transport time as short as possible. Secure the box in the vehicle to prevent tipping and keep it quiet.
5. Call the wildlife rehabilitator ahead to let them know you are en route, give the bird’s species (if known), condition, and estimated arrival time.
6. Upon arrival, hand the bird directly to the licensed rehabilitator and provide details: where it was found, observed parent activity, and any signs you noticed.
Handling and transport are part of responsible nestling help only when done with the aim of quick transfer to expert care.
### How To Find A Rehabilitator
Search local wildlife rehab networks, state wildlife agency pages, or use national directories. Vet clinics often have contacts. Keep a list of local numbers in your phone for quick nestling help in future emergencies.
#### If Parents Don’t Return
If parents don’t return after you’ve returned a chick to a rebuilt nest, follow Remedy 2. Do not attempt to raise the chick yourself; specialized diet and care are required and often legally restricted.
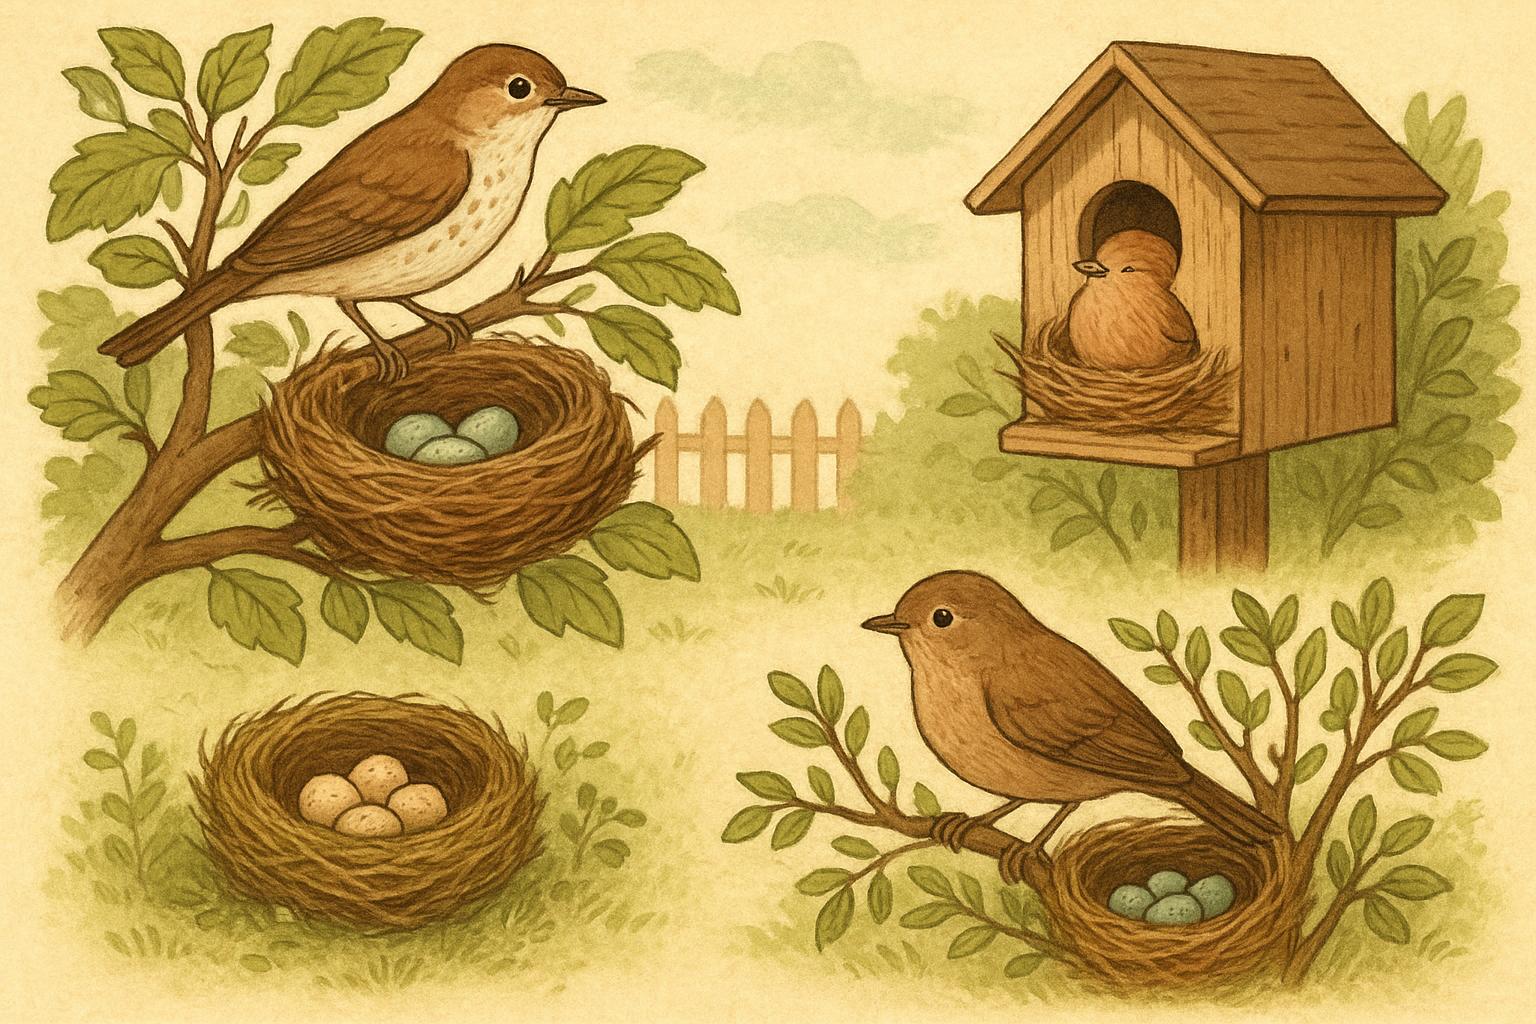
## Preventing Future Incidents And Yard Bird Care
A little prep in your yard reduces the number of times you’ll be called upon for nestling help. Birds nest in yards for good reasons—food, shelter, and relative safety. You can make adjustments that protect them while still enjoying your outdoor space.
### Simple Yard Adjustments
– Keep cats indoors or use cat bibs and bells to reduce predation.
– Avoid major pruning during nesting season (usually spring–summer).
– Provide dense native shrubs and trees for natural cover.
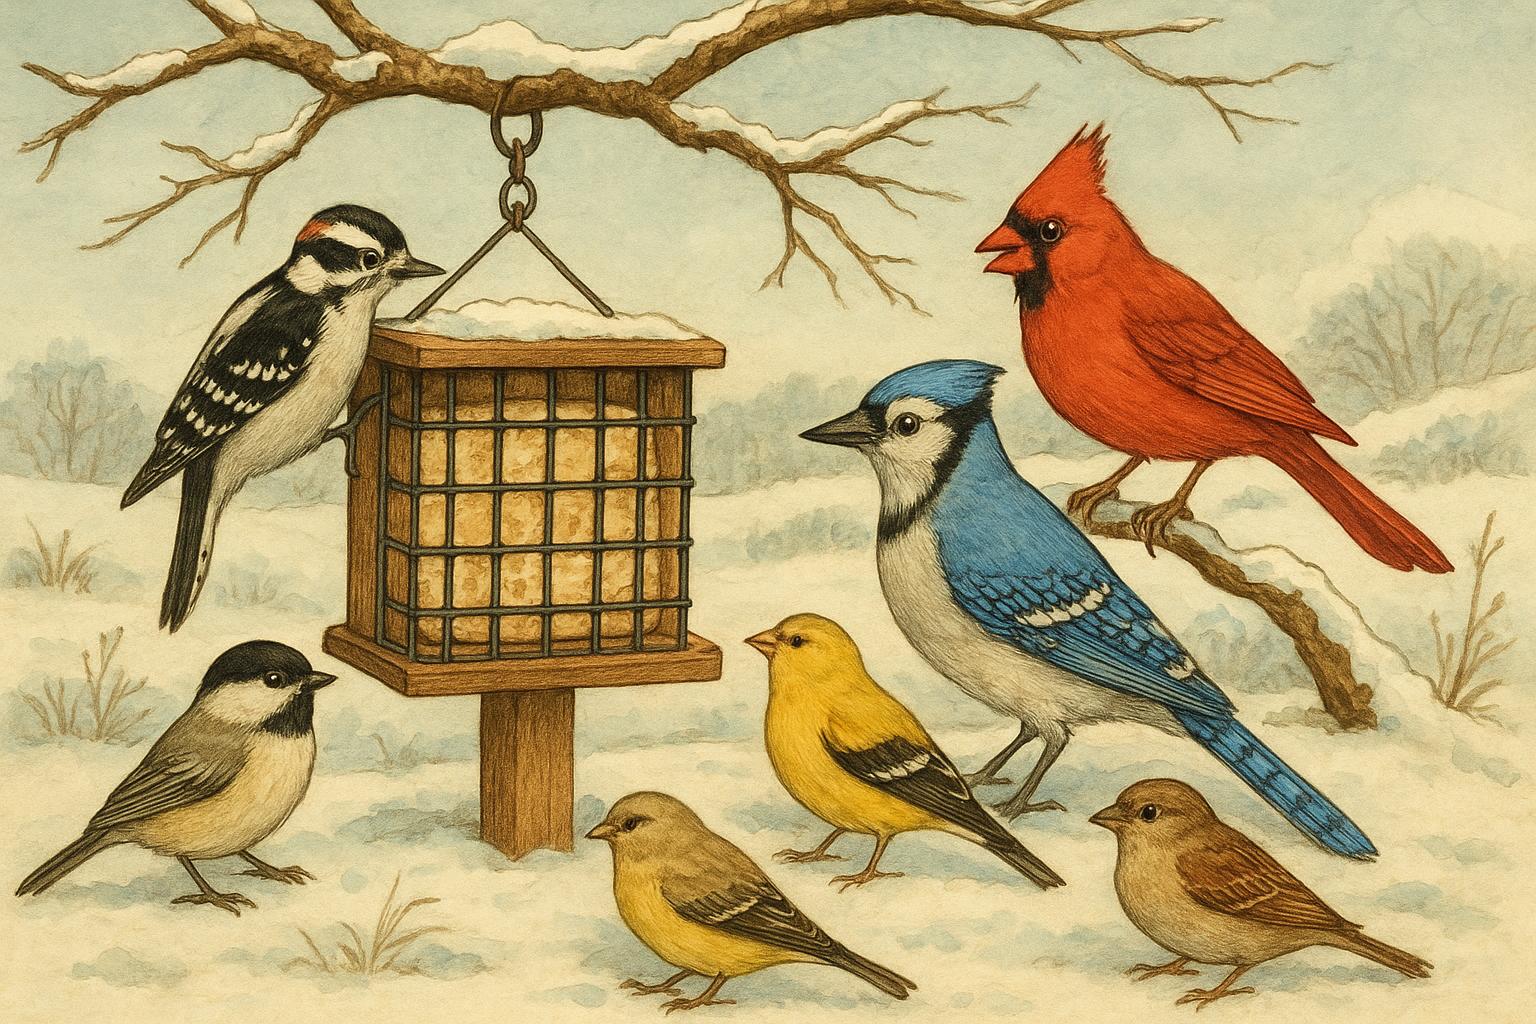
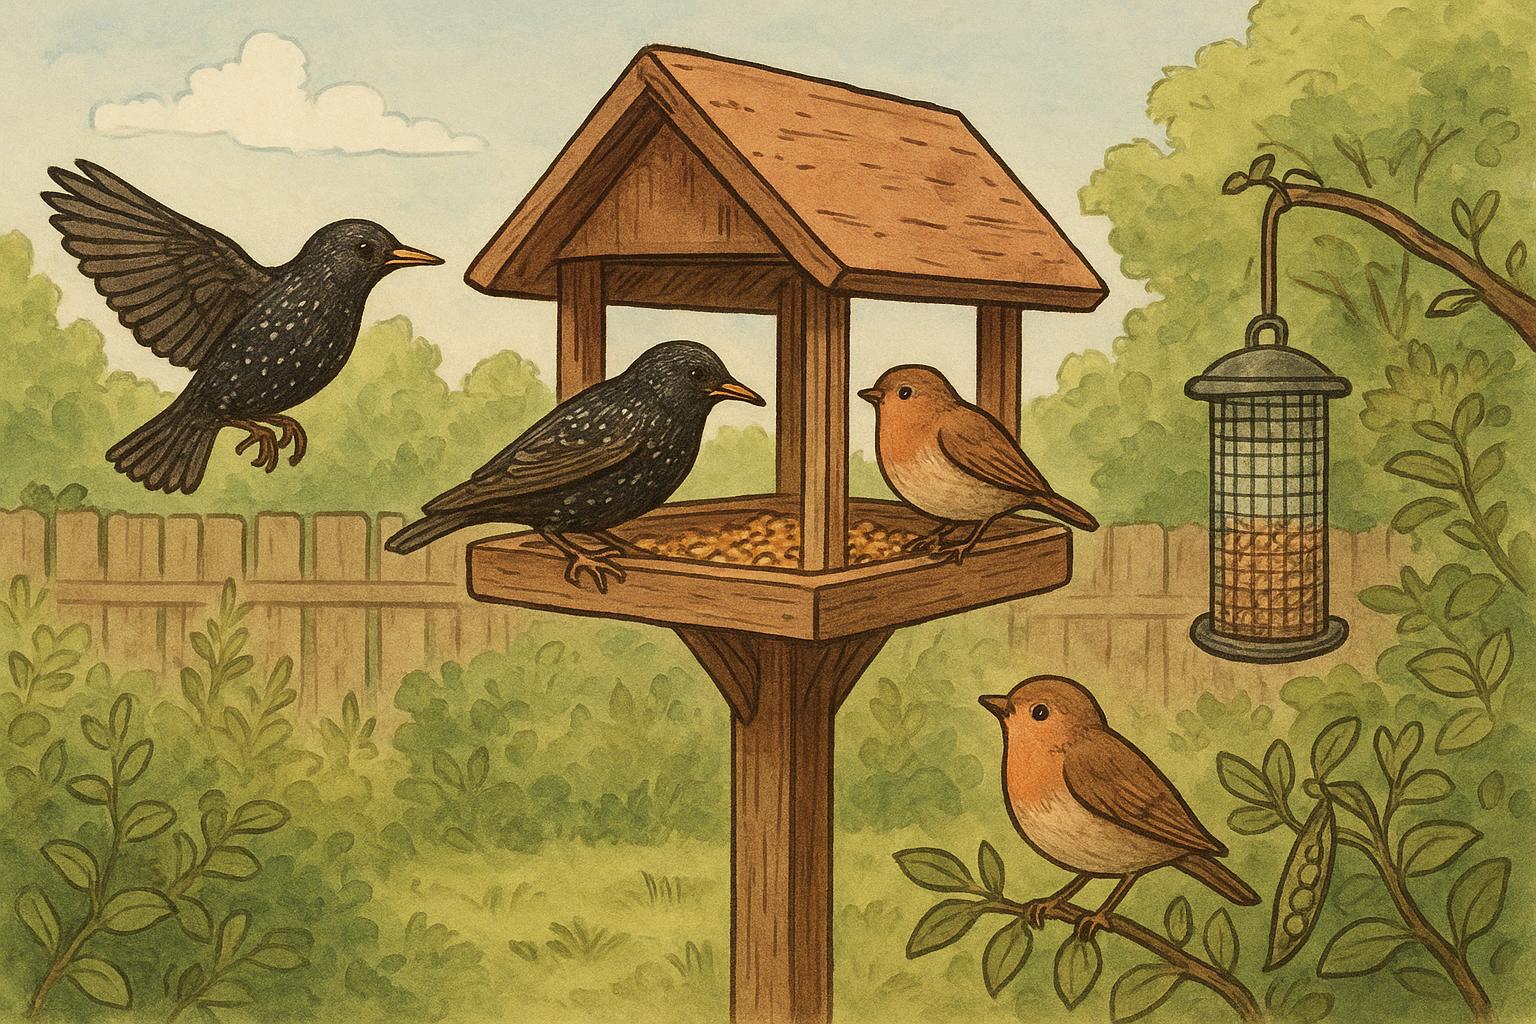
– Place feeders in clear areas away from dense predator cover and keep them clean.
### When To Contact Professionals
Contact a wildlife rehabilitator or local wildlife agency if the bird is injured, cold, unable to perch or right itself, or if you’re uncertain whether adults will return. For nestling help that involves medical care or long-term care, trained rehabilitators are the right call.
A little knowledge, a calm approach, and knowing when to call for help are the best forms of nestling help you can offer. You’ll likely go back to mowing your lawn with a slightly increased sense of parental pride and a few stories about the feathered drama that unfolded in your yard.


Leave a Reply