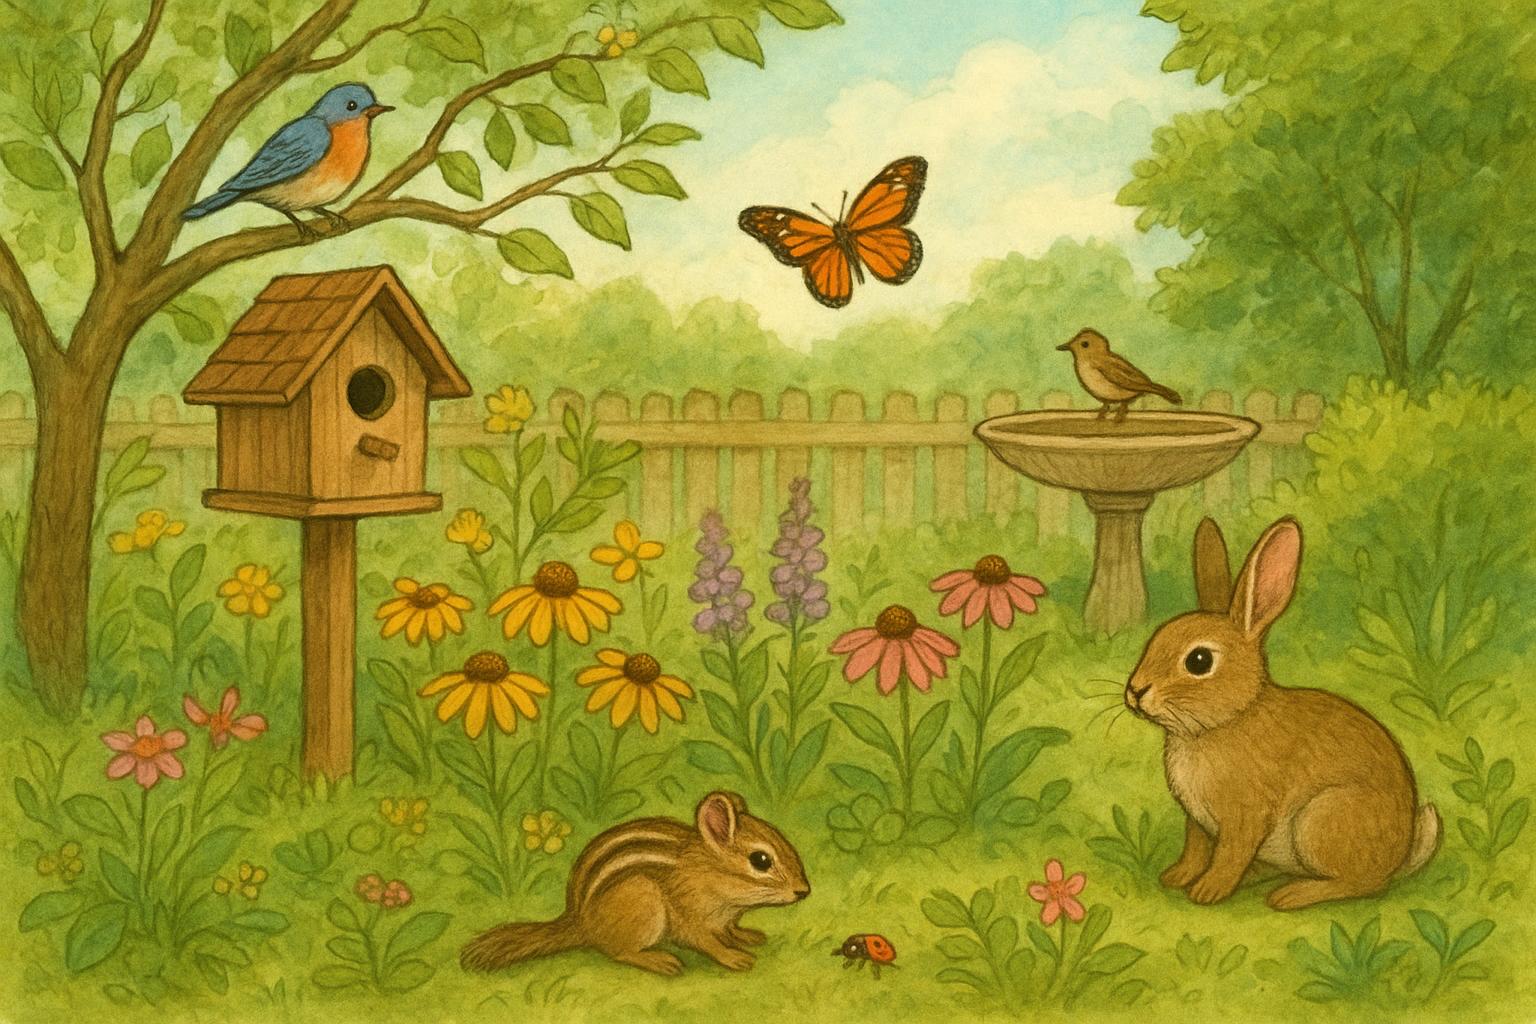
Welcome to a little backyard revelation: your yard is probably hosting unsung pollinator heroes—yes, those efficient, quiet, and often misunderstood solitary bees [1]. These aren’t the hive-dwelling, honey-making types most people picture; they fly solo, mind their own business, and do a staggering amount of the heavy lifting when it comes to pollination. Stick around and you’ll spot secrets that will change how you garden (and maybe how you think of bugs).
## Why Solitary Bees Are Secret Garden Superstars
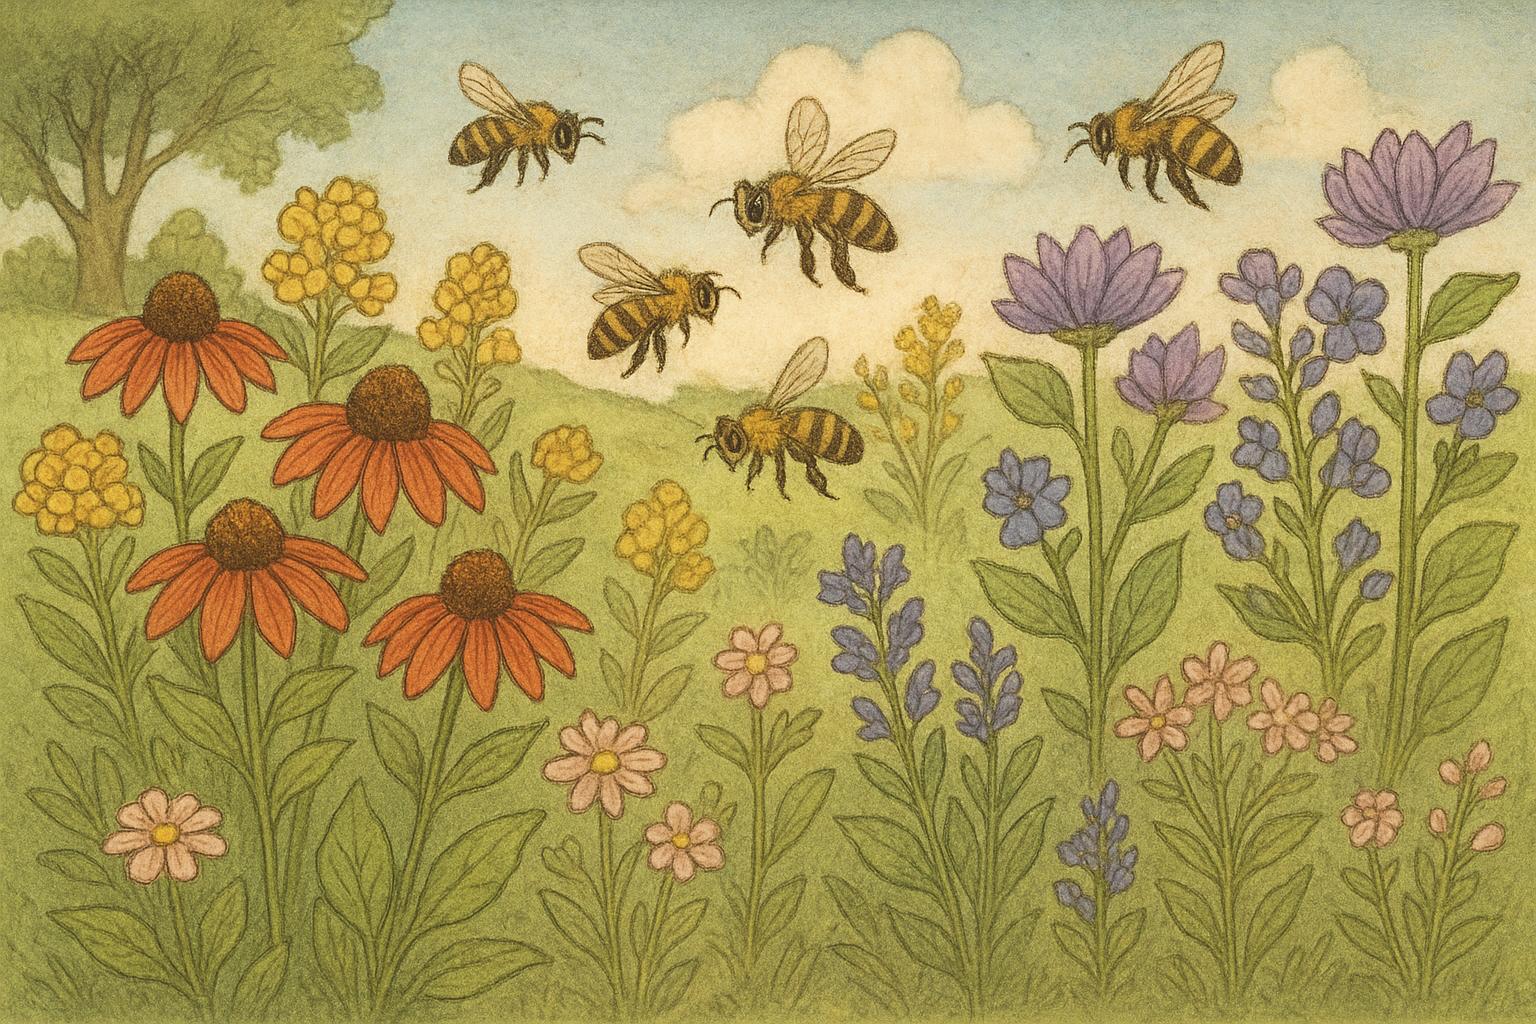
Solitary bees may not live in big family units, but they punch way above their weight in pollination. Unlike honeybees that visit many flowers in one go, solitary bees tend to focus and be extremely efficient at transferring pollen between like plants. That makes them excellent for fruit, veg, and flower productivity. Best of all, they’re easy to support without turning your yard into a wilder wilderness—though a little wild is a good thing.
### How To Recognize Solitary Bees
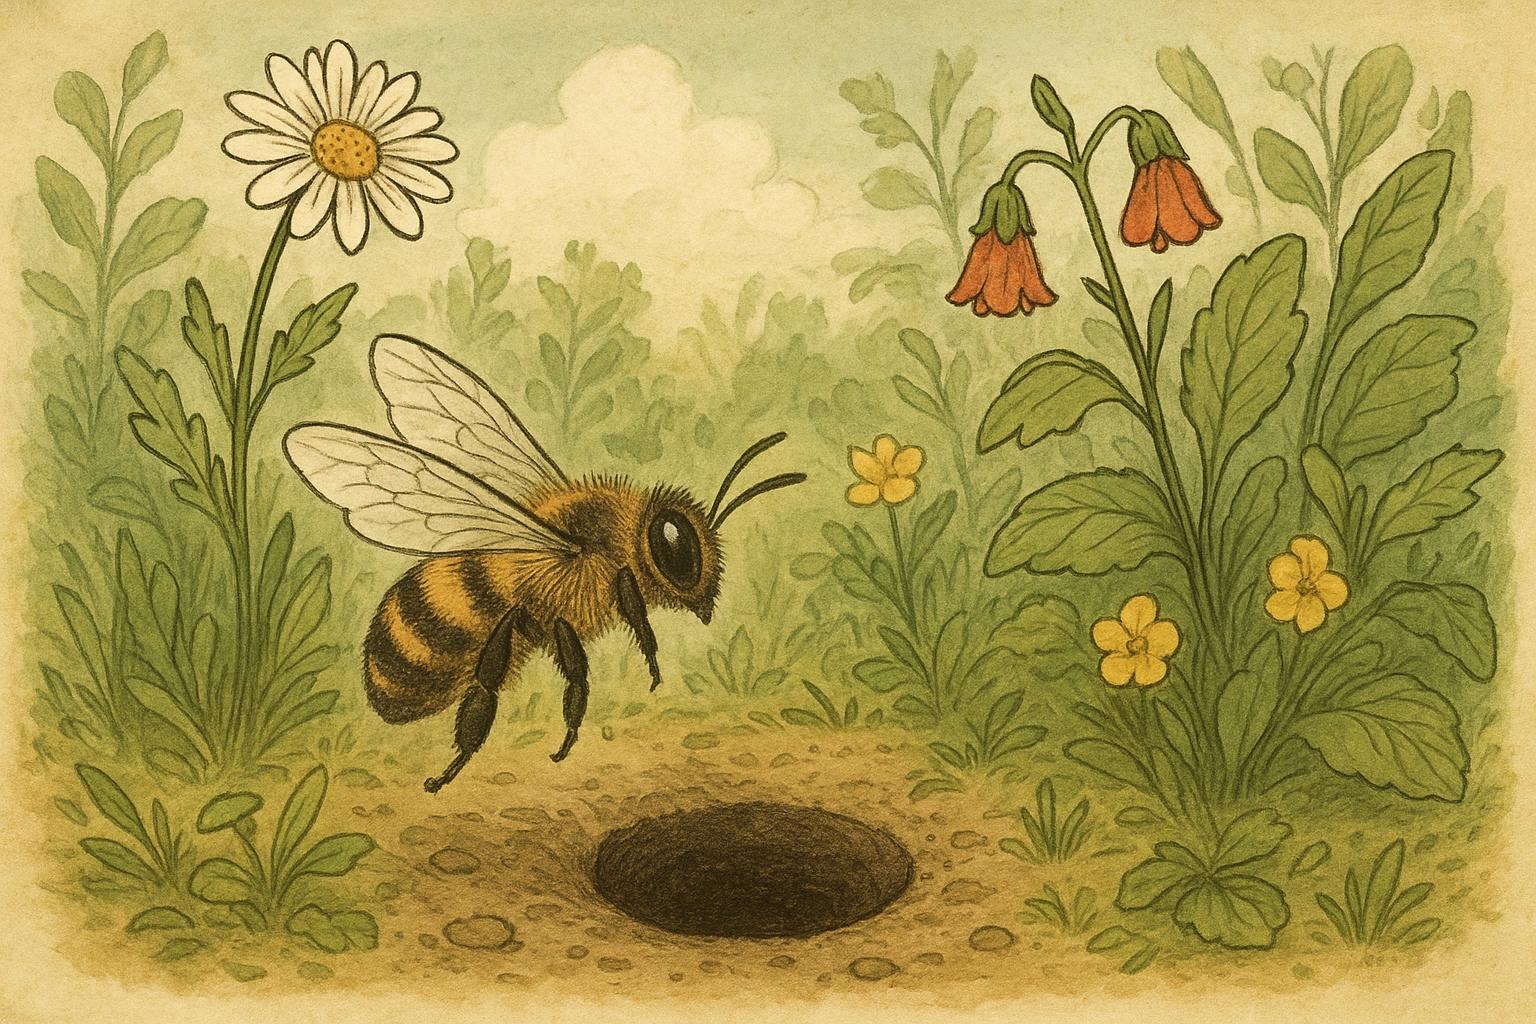
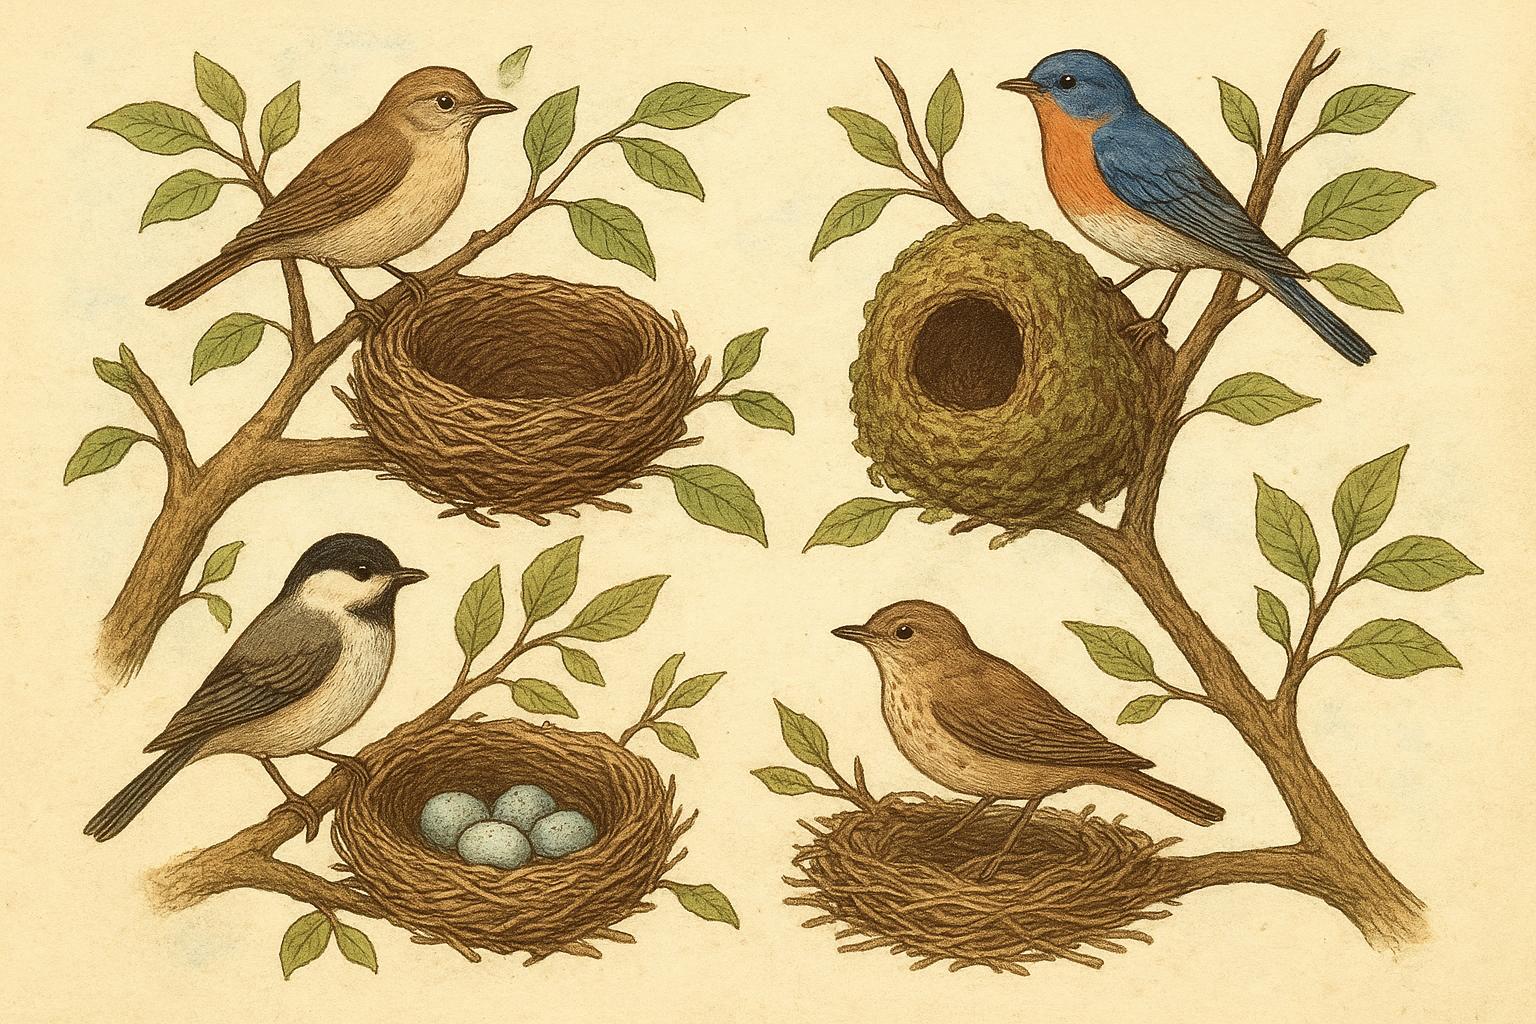
These bees come in a variety of sizes and colors, from tiny metallic blues and greens to fuzzy, robust species that look like small bumblebees. Key behavioral clues:
– They arrive alone to nest sites rather than streaming in and out of a hive.
– You might see males hovering near emergence sites in spring, waiting for females.
– They use existing cavities or dig small tunnels rather than building comb.
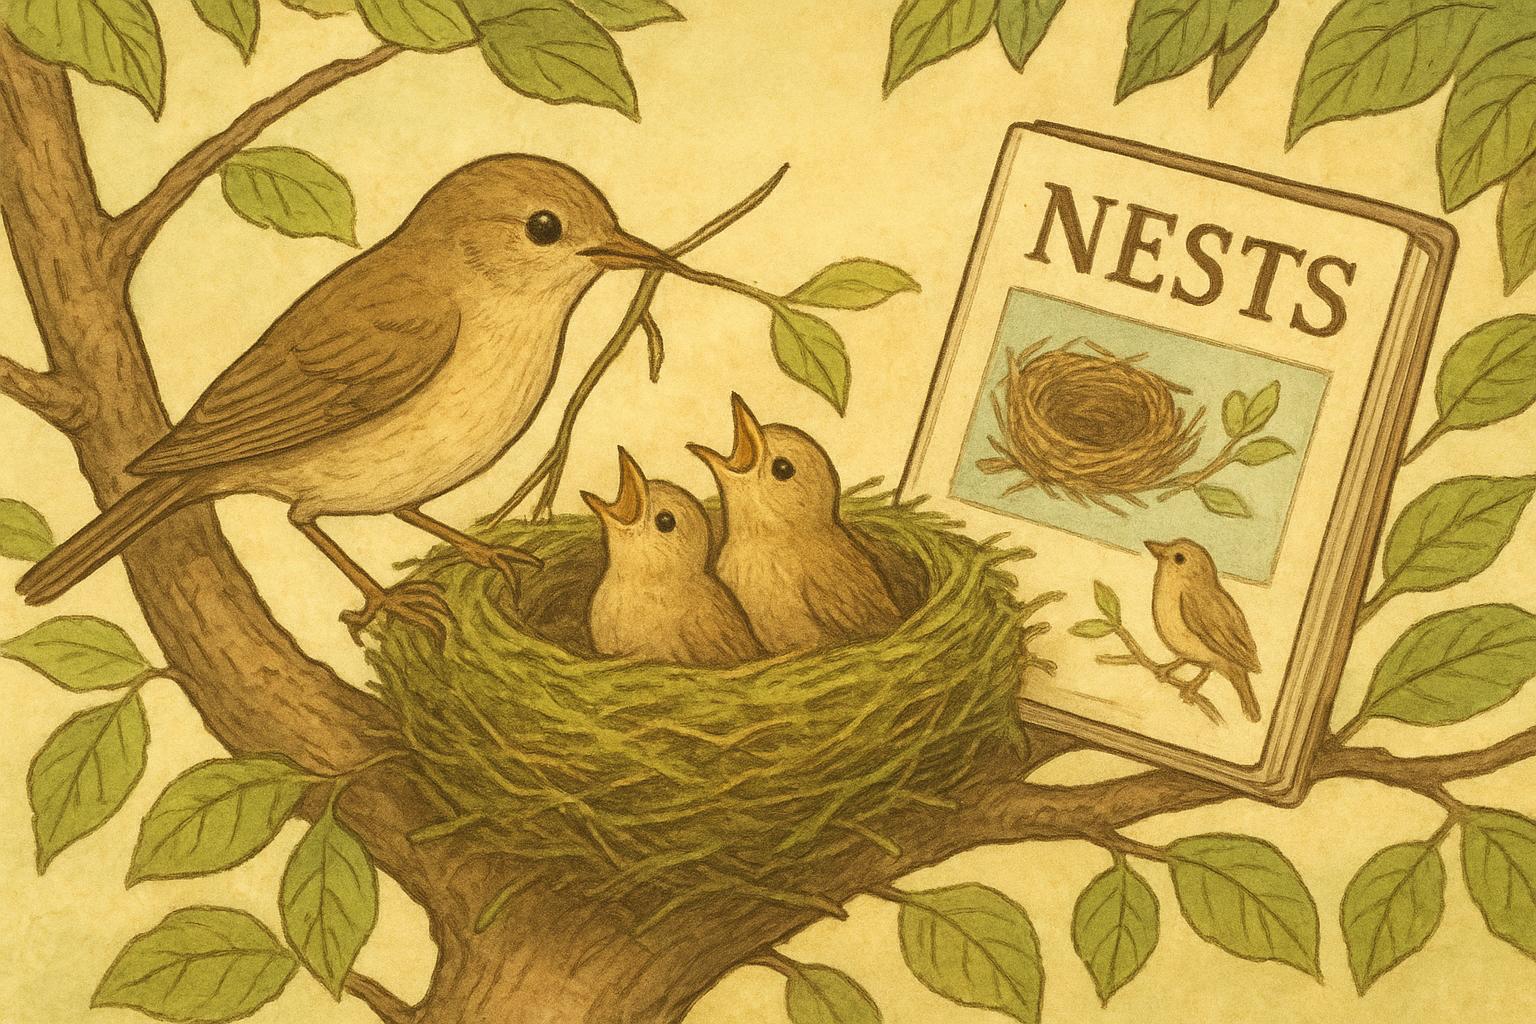
If you watch a nesting tunnel or tube, you’ll often see a neat line of sealed brood cells—each with its own pollen lump and egg. That’s classic solitary bees in action.
#### Size And Color Clues
Many solitary bees are compact—some under a centimeter long—while others reach about the size of a common housefly. Metallic sheen on the abdomen often signals mason bees, a very friendly and productive group.
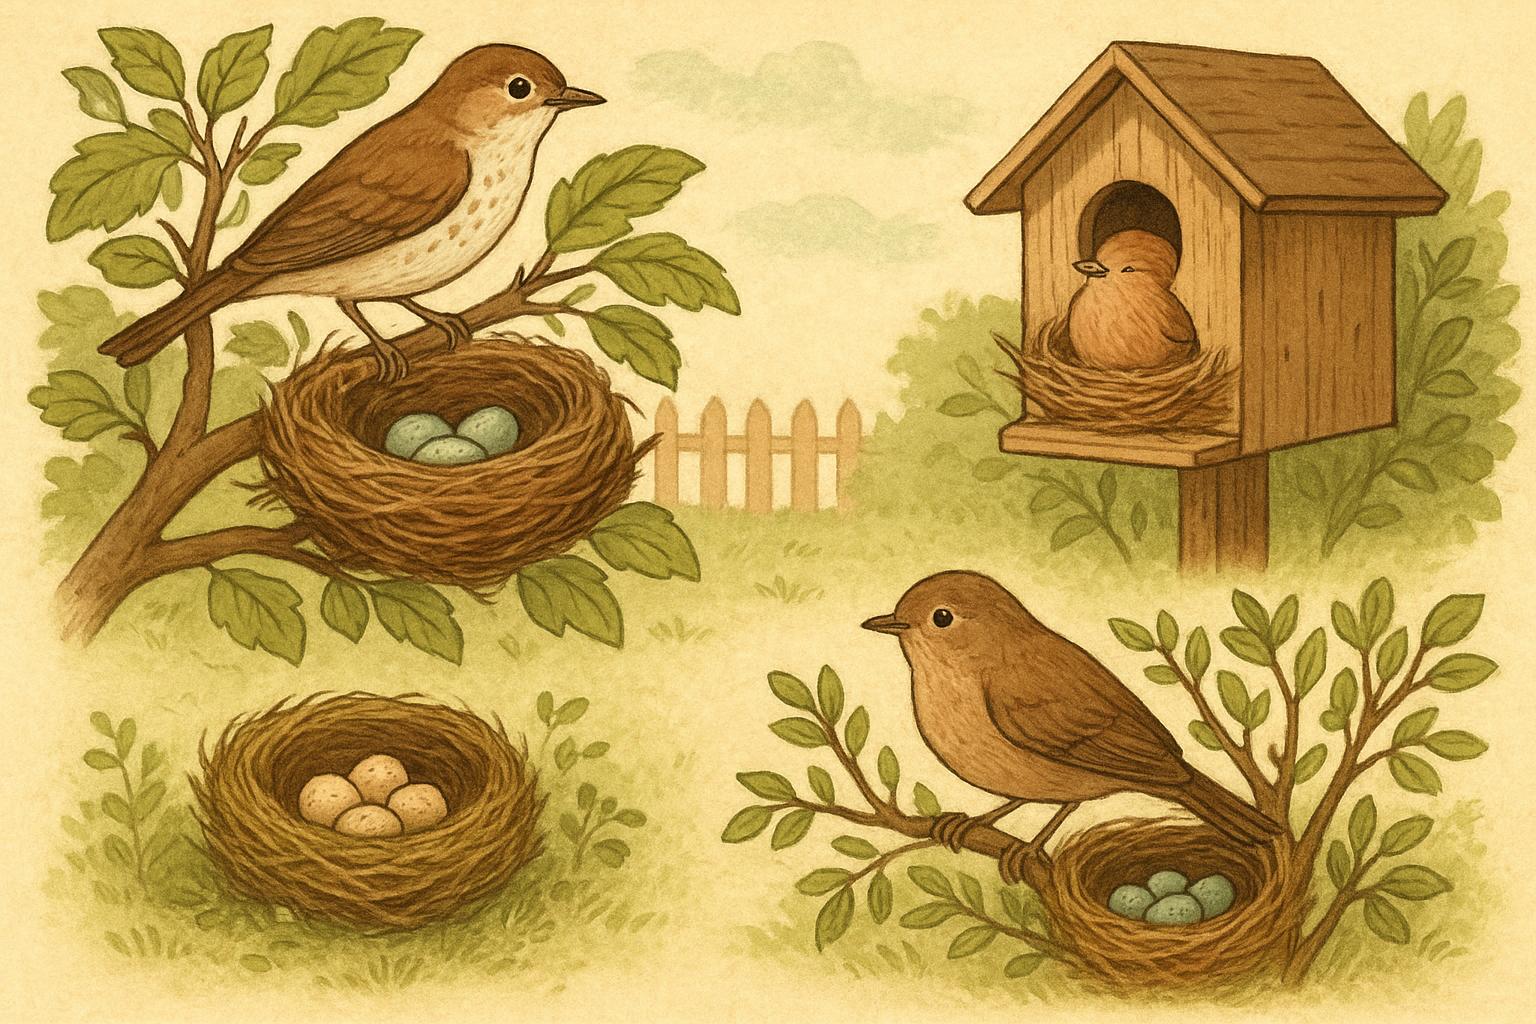
### Nesting Habits And Why It Matters
Solitary bees split broadly into two nesting strategies: cavity nesters (using hollow stems, beetle tunnels, or manmade tubes) and ground nesters (digging small burrows in bare, well-drained soil). Knowing which types are in your yard helps you provide practical, targeted habitat—and reduces unnecessary interventions.
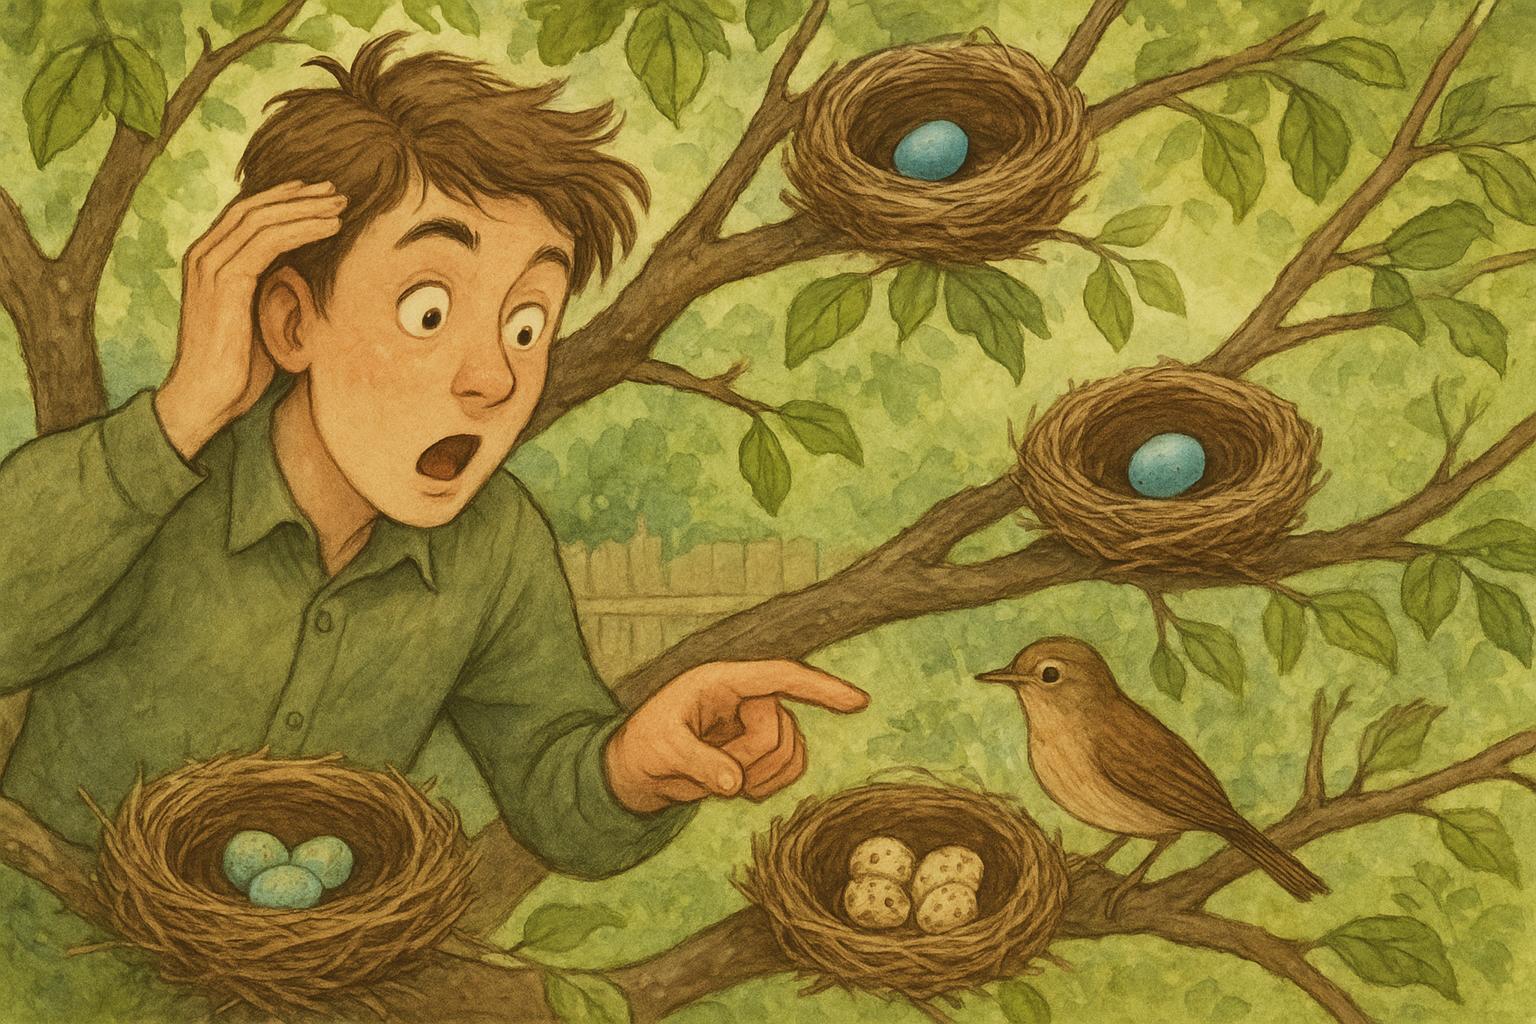
## Shocking Facts You Didn’t Expect
The “shocking” part isn’t thunderbolt-level drama; it’s the delightful surprise that these tiny creatures are doing a lot more than you imagined.
### Silent But Mighty Pollinators
A single solitary bee can be more effective per visit than a honeybee, especially on certain crops like almonds, apples, and cherries. Their bodies are often hairier relative to size, which helps them carry pollen like tiny green-lanterns.
### They’re Not Aggressive, Really
Since solitary bees don’t have a hive to defend, they’re generally non-aggressive. Stings are rare and most species are not interested in people. If a bee buzzes past, it’s likely on a mission and not out to start trouble.
## 1. Build A Simple Solitary Bees Nesting Block
When you want a practical, low-cost way to support cavity-nesting species, a nesting block is a top choice. This remedy is presented in formal, clear steps so you can replicate it effectively.
Materials / Ingredients:
– Untreated, kiln-dried hardwood block (e.g., oak or maple), 4–6 inches thick, about 6–8 inches square
– Variety of drill bits: 3/32″ (2.5mm) up to 3/8″ (9mm)
– Drill with variable speed
– Sandpaper (fine grit)
– Non-toxic, exterior-grade wood oil (optional)
– Mounting bracket or sturdy rope/chain for hanging
– Small roof or overhang material to keep rain off (optional)
Step-by-Step Construction and Application:
1. Choose the Block: Select an untreated hardwood block. Softwoods like pine can split or rot faster; hardwood holds up better for nesting tunnels.
2. Drill Holes: Drill holes straight into the block from the front face. Use a mix of diameters (roughly 3/32″, 1/8″, 5/32″, 3/16″, and 1/4″) to attract different species. Hole depths should be 3 to 5 inches; stop before breaking through the back.
3. Smooth Interiors: Lightly sand the fronts so there are no sharp splinters that could trap or injure bees. Do not insert paper or tubes; some designs use cardboard tubes, but solid wood holes are preferred by many species.
4. Weatherproofing: If desired, apply a thin coat of non-toxic wood oil to the exterior only—do not coat the hole interiors. Let cure fully before placing outdoors.
5. Mounting: Install the block 3–6 feet above the ground on a south to southeast-facing wall or post, angled slightly down to prevent rain from pooling in holes. Provide a small overhang roof if your location gets heavy rain.
6. Timing: Put the nesting block up in late winter or early spring before bees become active. Leave it in place year-round; many species reuse nest cavities or nearby sites.
7. Maintenance: Inspect yearly. If holes become moldy or parasitized, replace the block every 2–3 years. Avoid cleaning out holes—this can destroy brood or beneficial microhabitats.
Placement Details: Solitary bees like warmth and bright exposure. Avoid placing blocks near high-traffic human or pet areas and keep them away from strong pesticides.
## 2. Create A Ground Nesting Patch
Many backyard species are ground nesters—simple bare soil areas can be hugely beneficial. This is a second remedy with specific materials and steps to follow.
Materials / Ingredients:
– Area of well-drained soil (minimum 1 square meter recommended)
– Mulch or rocks for surrounding borders (optional)
– Shovel or rake
– Stones or flat rocks for partial shading (optional)
– Low pollen-rich native flowers nearby (see planting suggestions below)
Step-by-Step Creation and Application:
1. Select Location: Choose a sunny, south-facing spot that receives at least half a day of sun and has good drainage. Avoid compacted turf or areas that collect water.
2. Prepare the Soil: Remove vegetation and lightly till or rake the top few inches to loosen the surface. Aim for a patch of firm, sandy or loamy soil; bees prefer easier digging medium and dislike clay-heavy puddling.
3. Create Gradients: Make a gentle slope or multiple small banks to provide varied nesting microhabitats. Small terraces help different species choose preferred orientations.
4. Border and Protect: Use rocks, mulch borders, or small fencing to keep lawn mowers and pets away. Do not cover with mulch; the surface should remain bare.
5. Plant Nearby Forage: Within a few feet, plant native, pollen-rich flowers that bloom across the season to supply adults and larvae with food.
6. Minimize Disturbance: Once established, leave the patch undisturbed during nesting season (spring through summer). Restrict heavy foot traffic and avoid tilling annually.
7. Pesticide Policy: Commit to pesticide-free management in and around the nesting patch to protect developing brood.
### Plants That Help Both Nesting Strategies
Native plants with overlapping bloom times are especially valuable. Consider a mix that flowers from early spring to late summer: early bulbs (e.g., crocus), native shrubs (like willow or ceanothus), and perennial herbs (e.g., lavender, salvia, echinacea). These sustain adult bees and increase reproductive success.
### When Not To Intervene
If you see a cluster of bees around a soil patch or nesting block, patience is best. Intervening often causes more harm than good. Remove only when a clear issue like mold, parasitism, or structural hazard is identified. In doubt, consult a local extension office or a certified entomologist.
#### Legal And Safety Notes
Be mindful of local regulations if you live in managed communities; some HOAs have rules about structures or bare soil patches. Also, if a nesting site is on a commercial property or a public easement, get permission before installation. If someone in your household is highly allergic to stings, weigh risks and consider placing habitat away from high-use human areas.
### Maintenance And Monitoring
Quick, periodic checks help you know if your efforts are working:
– Note activity in spring and early summer—active provisioning and sealed tubes are good signs.
– Replace nesting blocks every few years to reduce disease buildup.
– Keep records or photos; citizen science projects often want data on emergence dates and species sightings.
Enjoy watching the tiny workhorses of your yard—most times they’ll reward you with better blossoms and harvests, and a quieter, friendlier pollinator community.


Leave a Reply