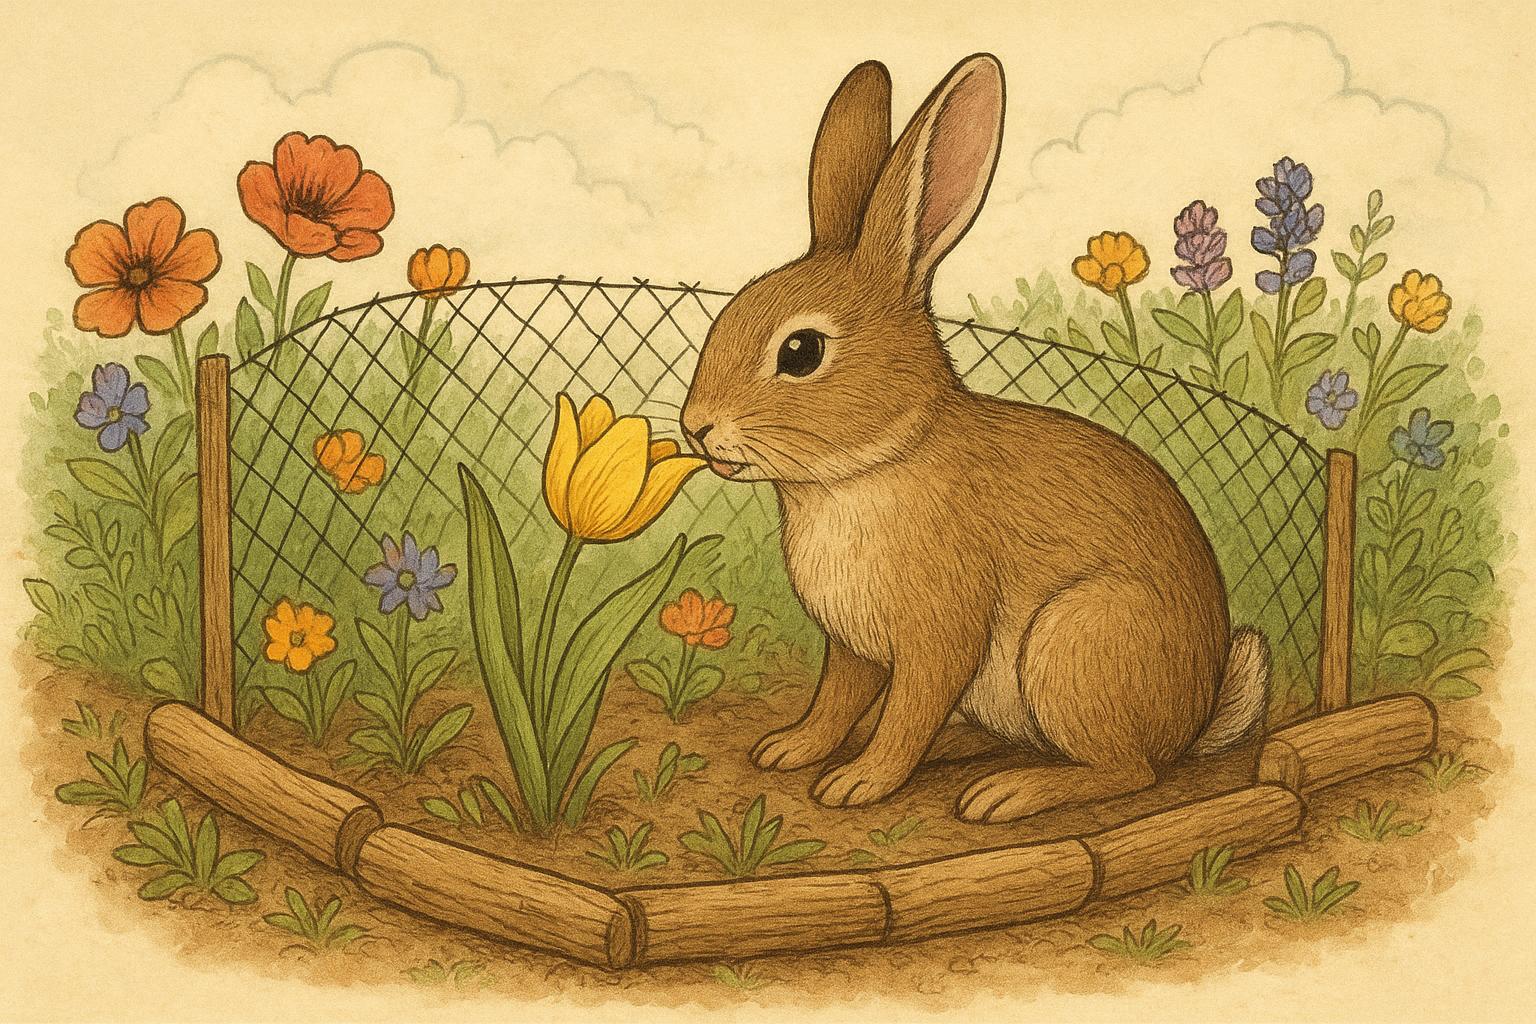
If you’ve ever wished your backyard looked less like a lawn-mower commercial and more like a buzzing nature refuge, you’re in good company. Planting native wildflowers brings color, character, and a cheery buffet for bees, butterflies, and birds — plus the occasional curious neighbor who’ll ask what weirdly wonderful thing you planted. Native wildflowers are the easiest, most rewarding way to turn a patch of grass into a living ecosystem that practically runs itself once it’s established.
## Native Wildflowers Create Habitat For Wildlife
The phrase “help the planet” can feel grand and vague, but planting native wildflowers is a small-scale, high-impact action you can take this weekend. Native wildflowers evolved with local insects, birds, and soils; they provide the right nectar, pollen, seeds, and structure that wildlife actually needs. Unlike some exotic ornamentals that offer little more than color, natives support the whole food web — from pollinators to insect-eating birds — so your yard becomes a functioning habitat, not just a display garden.
### Why Native Plants Matter
Native species and native wildlife have had millennia to get to know one another. Caterpillars, the favored protein balls of many birds, often rely on specific native host plants to complete their life cycles. Pollinators prefer blossoms that match their tongue length, bloom timing, and nutritional needs. When you choose native wildflowers, you’re choosing plants that are more likely to thrive in your climate and feed the right animals at the right time.
#### Soil And Climate Matching
Native wildflowers usually require less watering and fewer inputs because they’re adapted to your region’s rainfall and soil. That means lower maintenance and fewer chemical treatments — a win for wildlife and for your time budget.
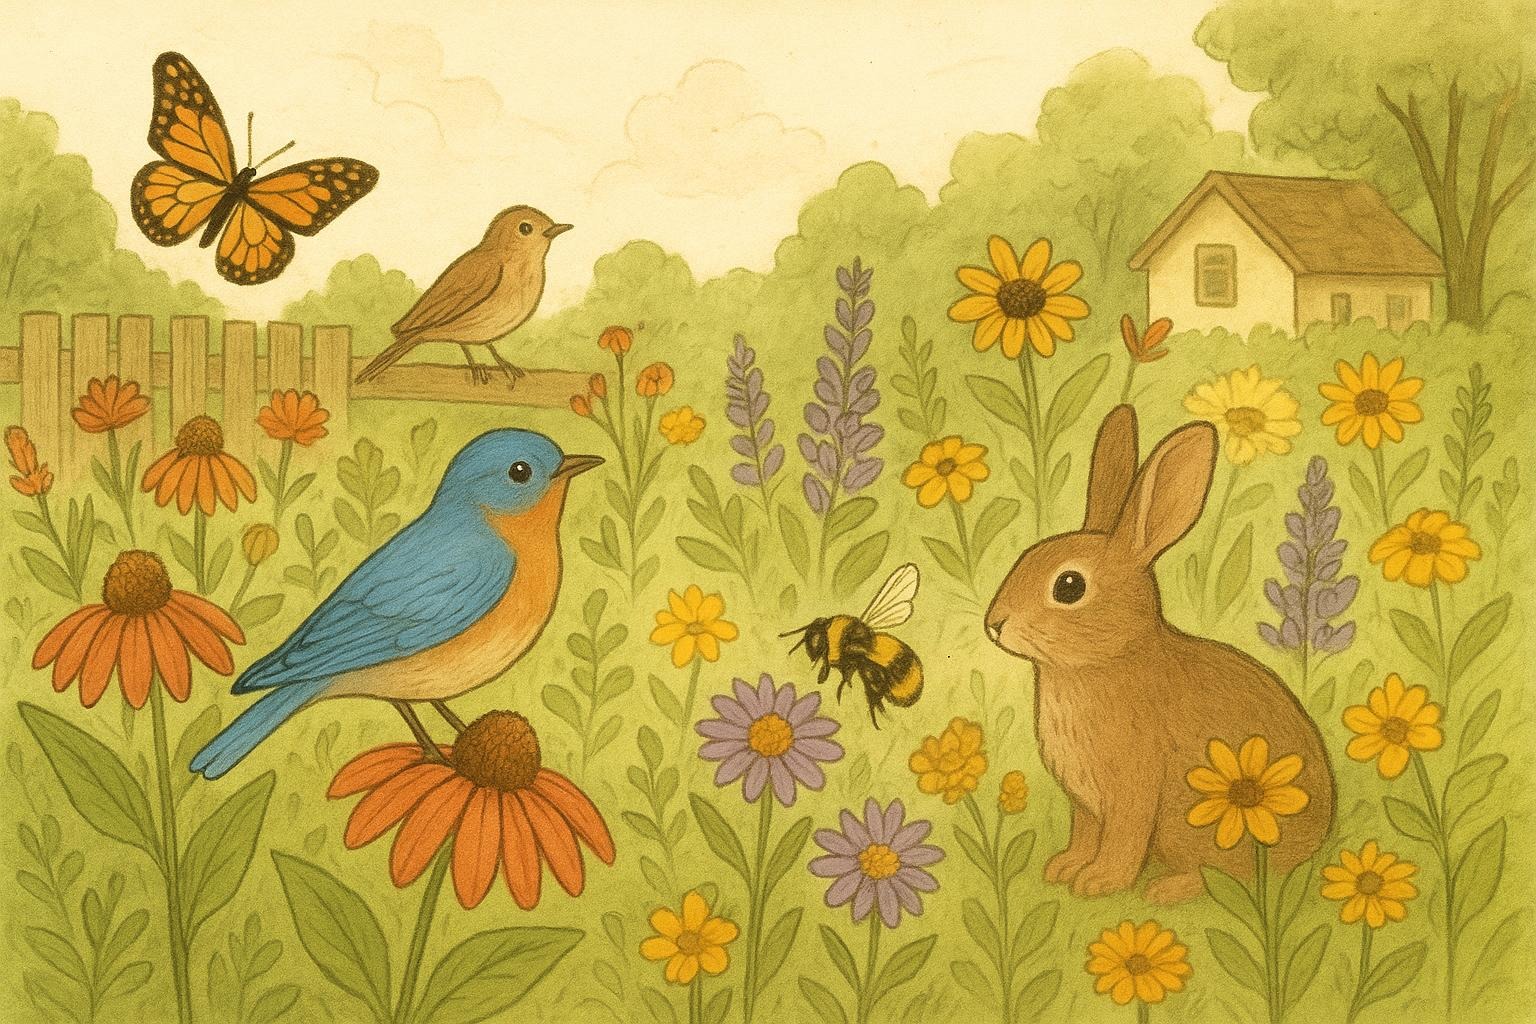
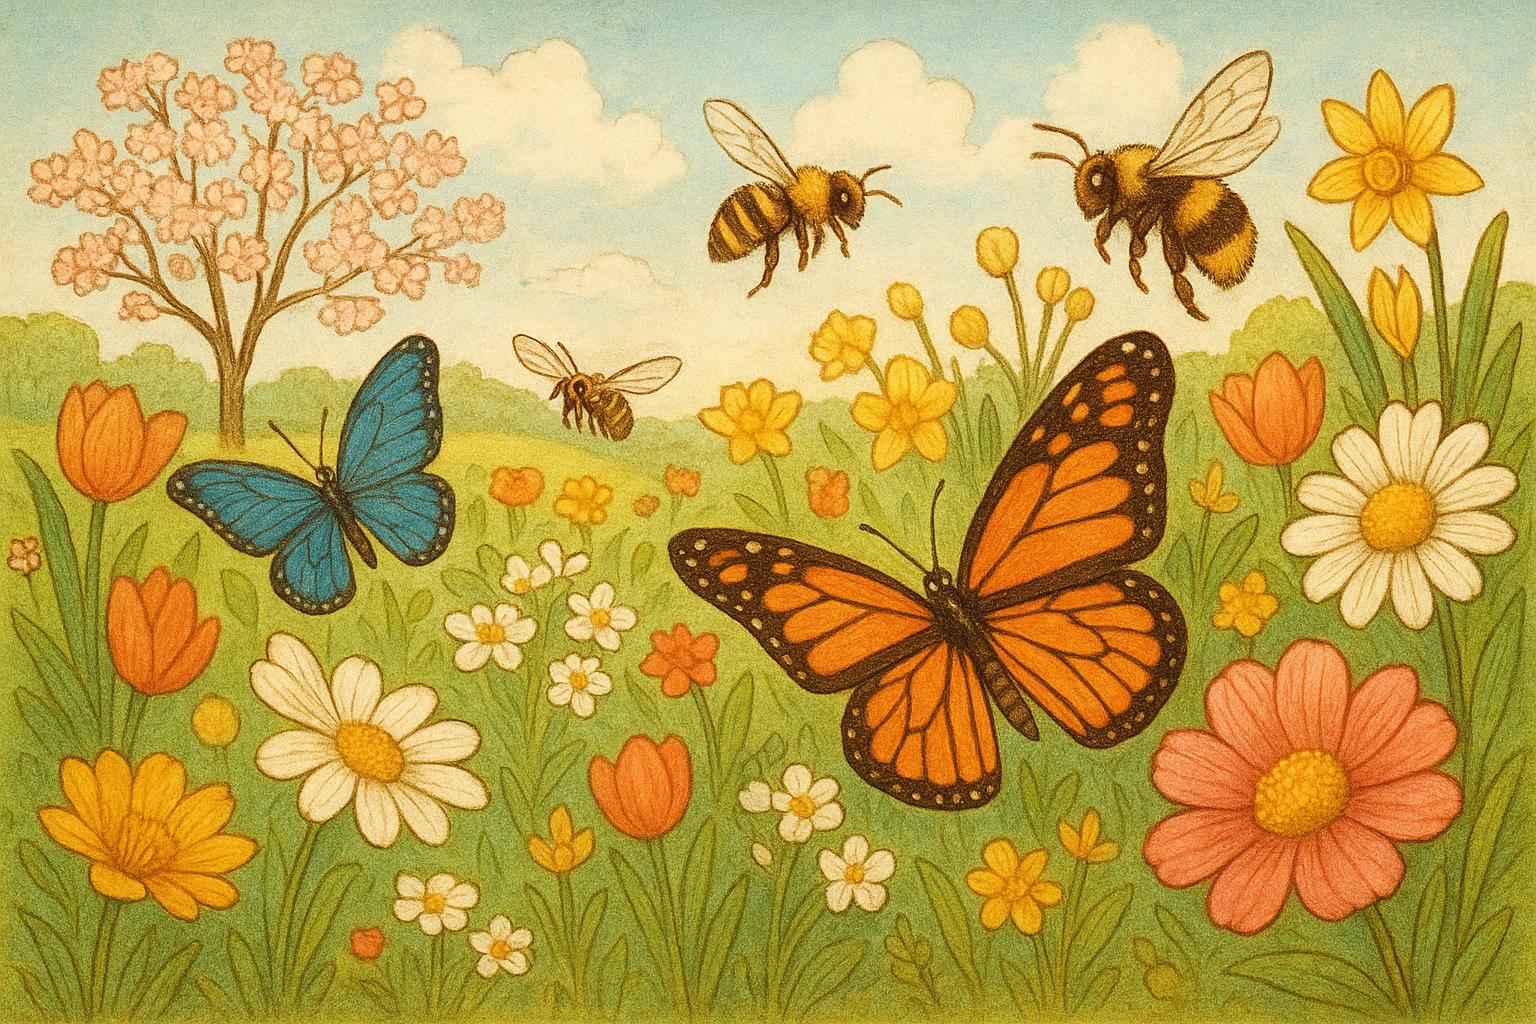
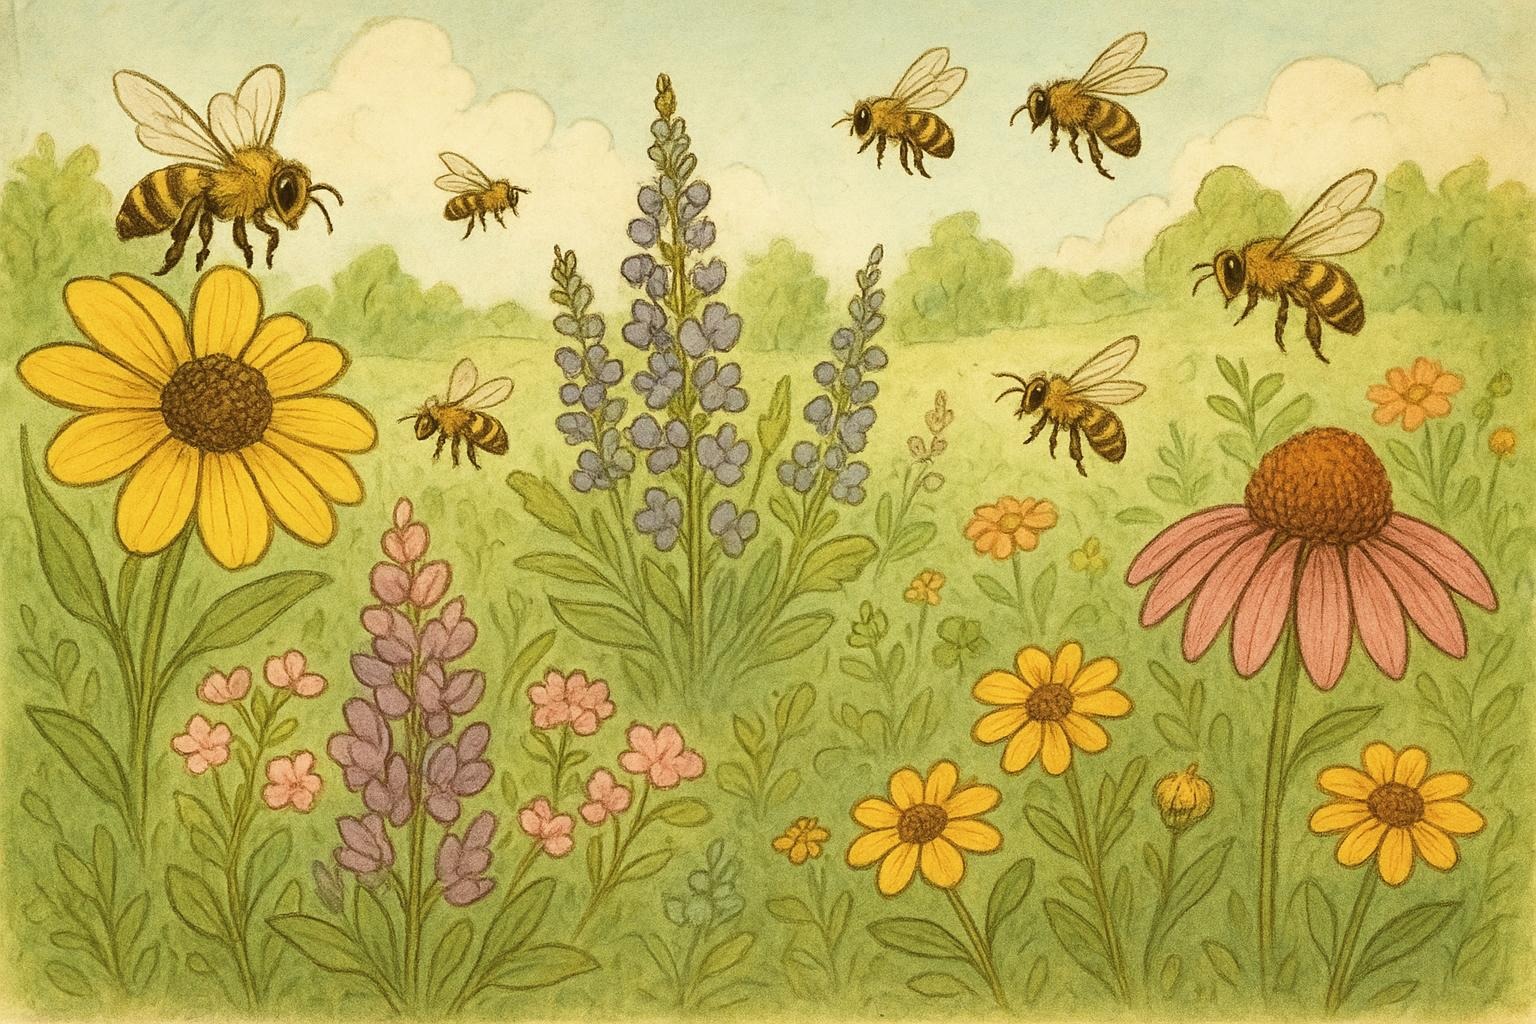
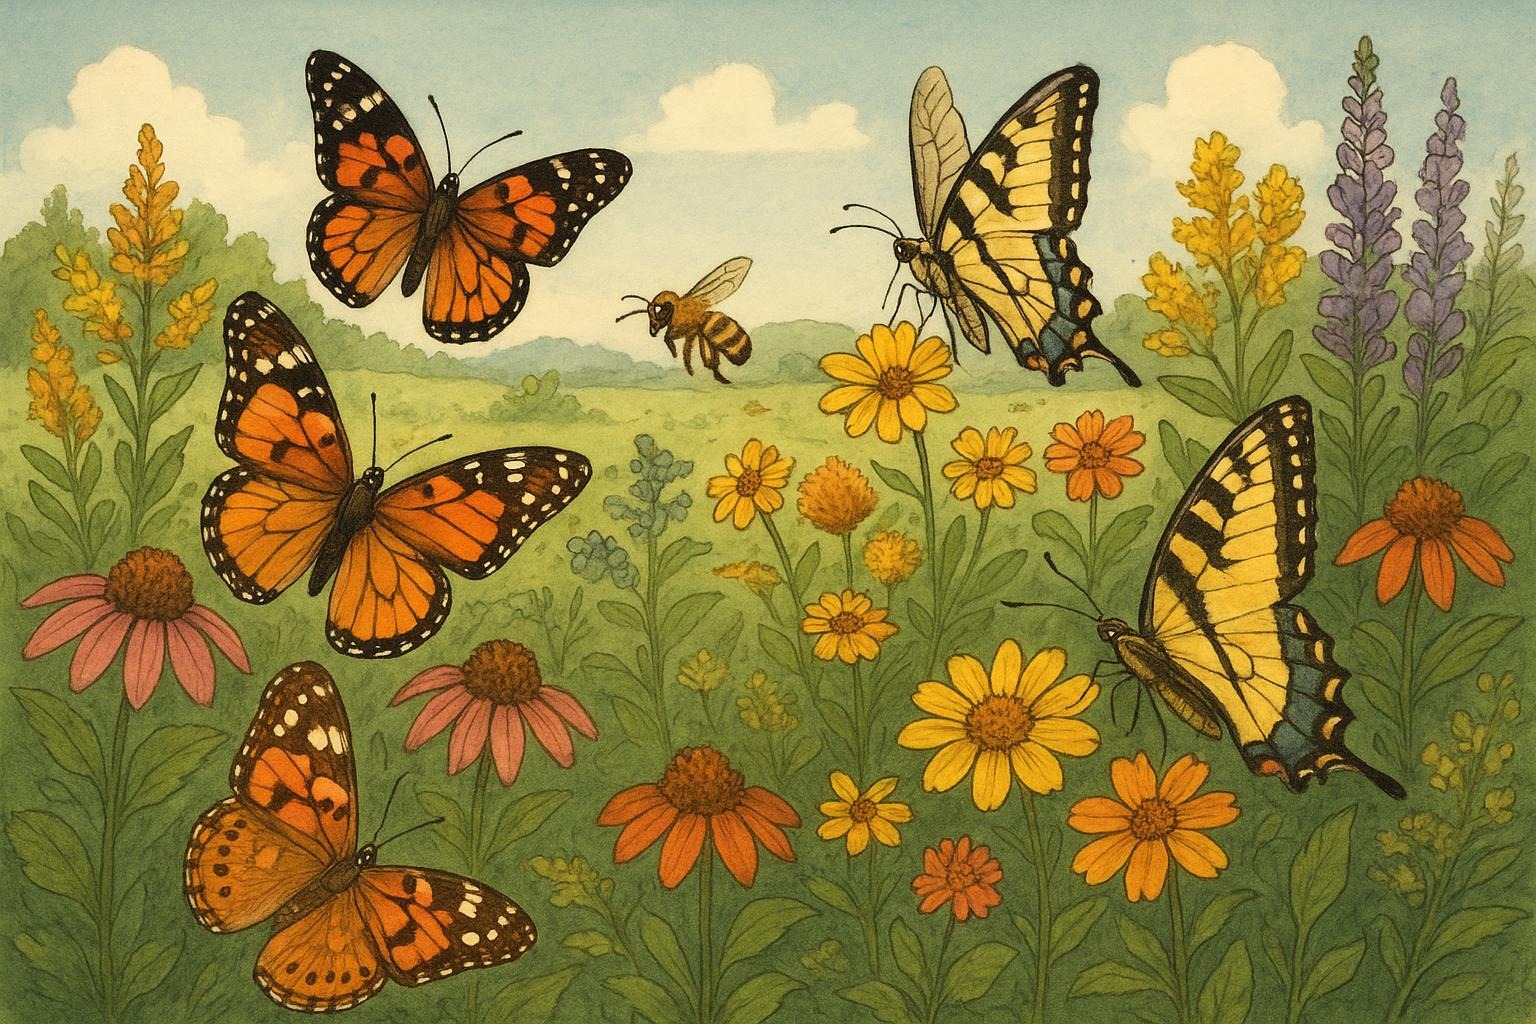
### The Wildlife You’ll Invite
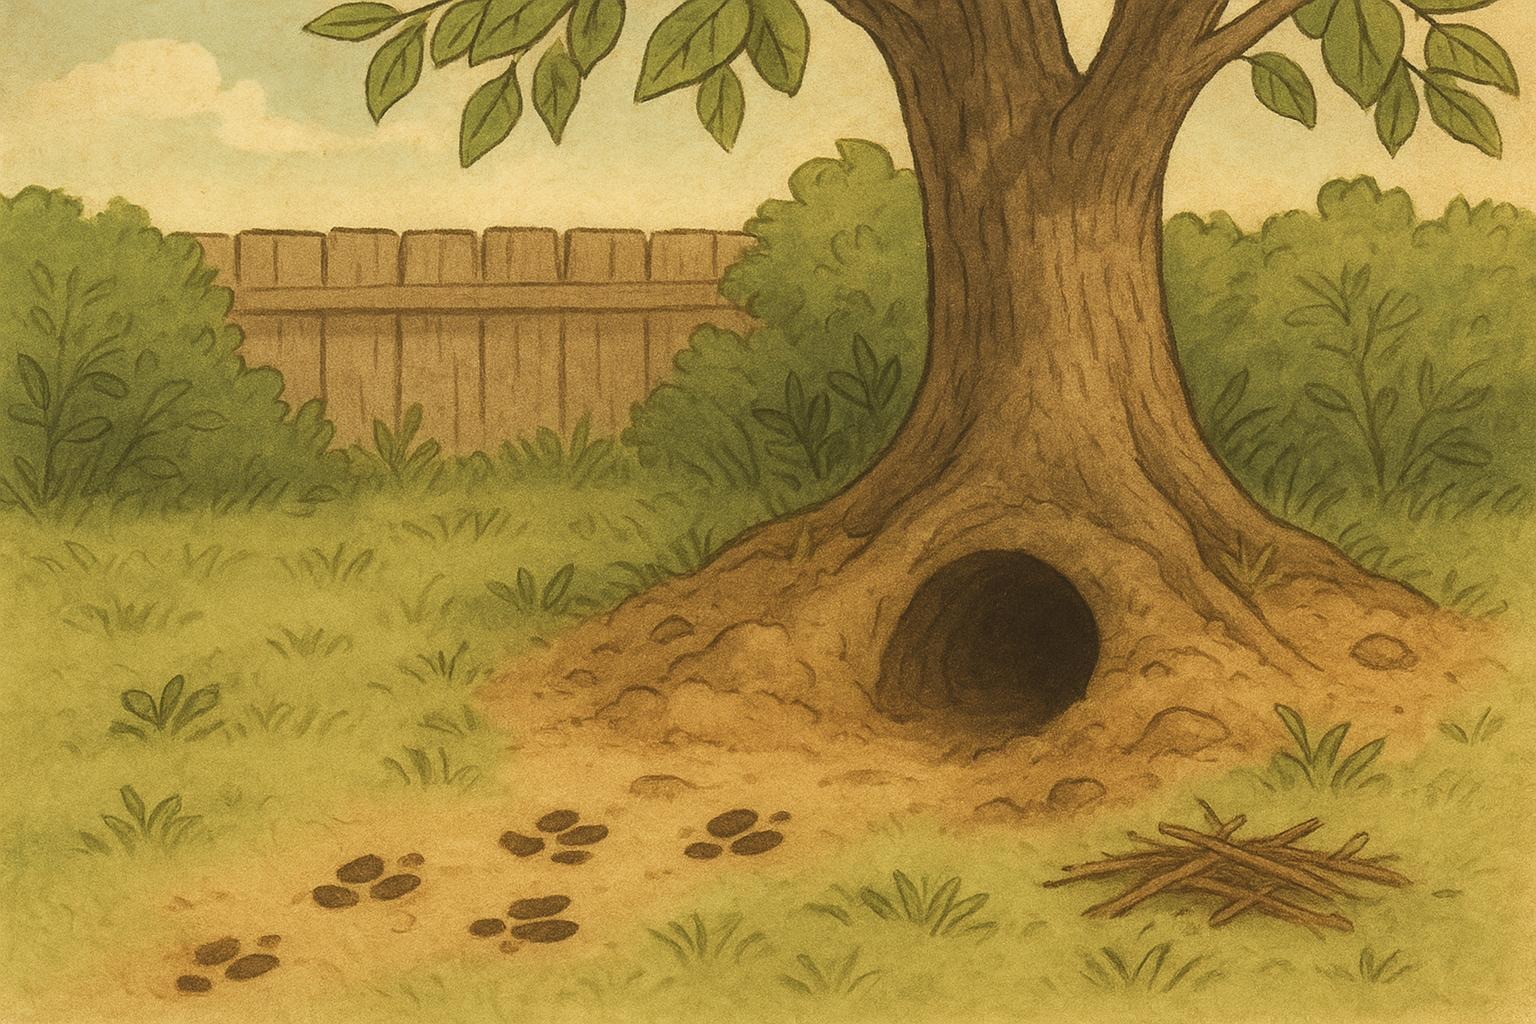
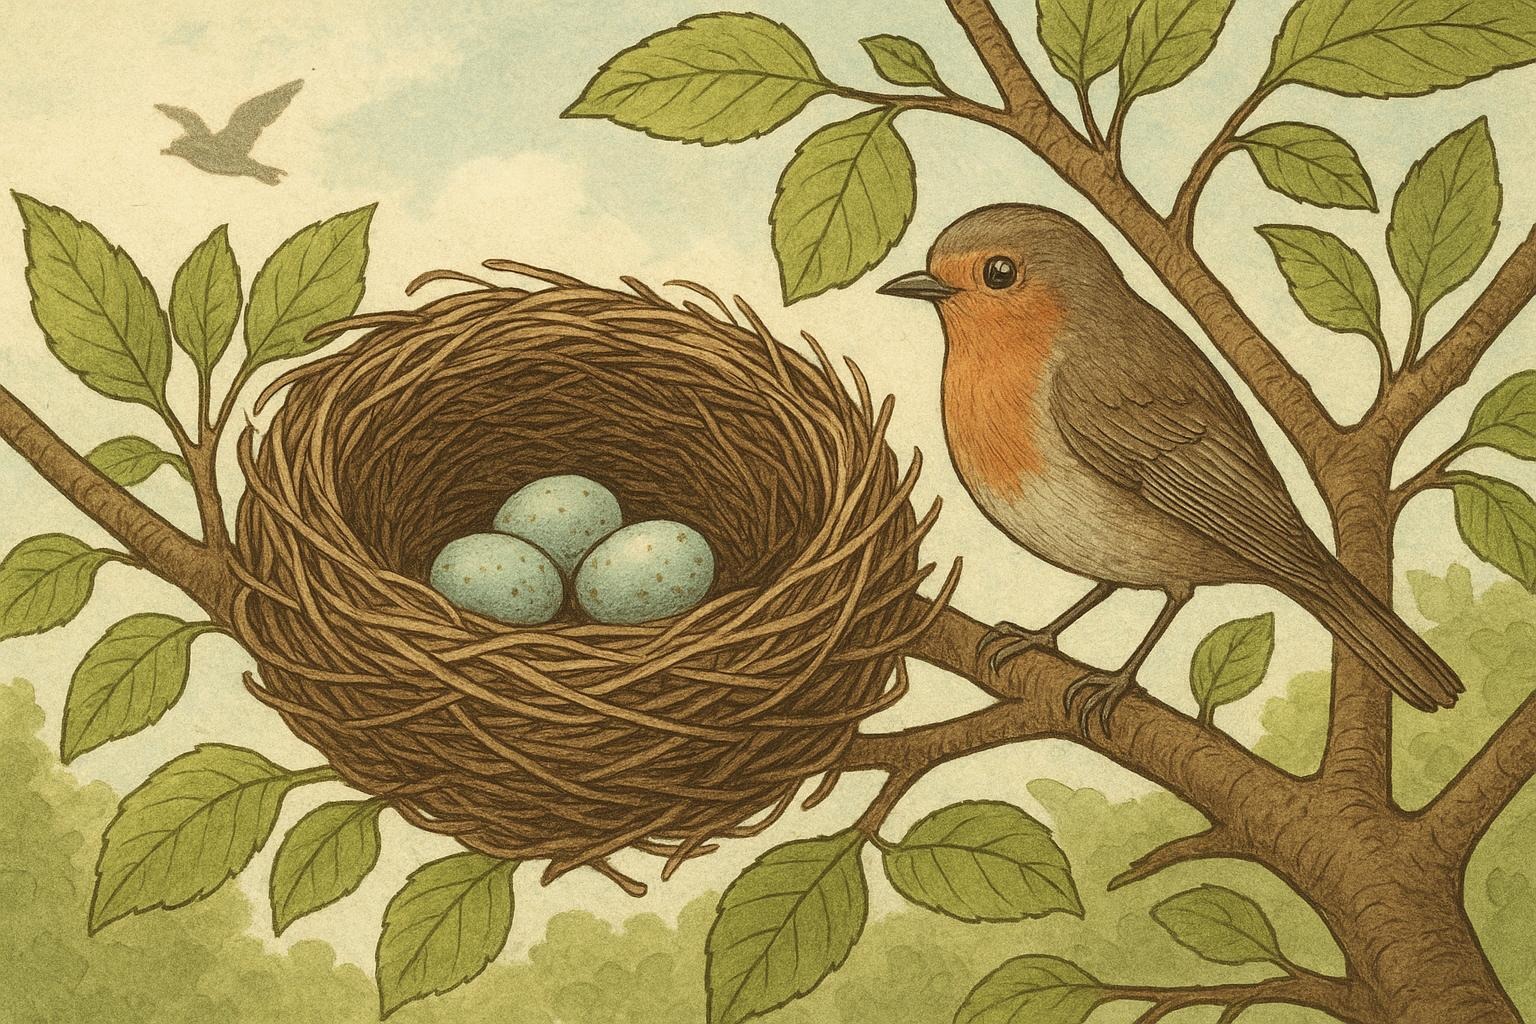
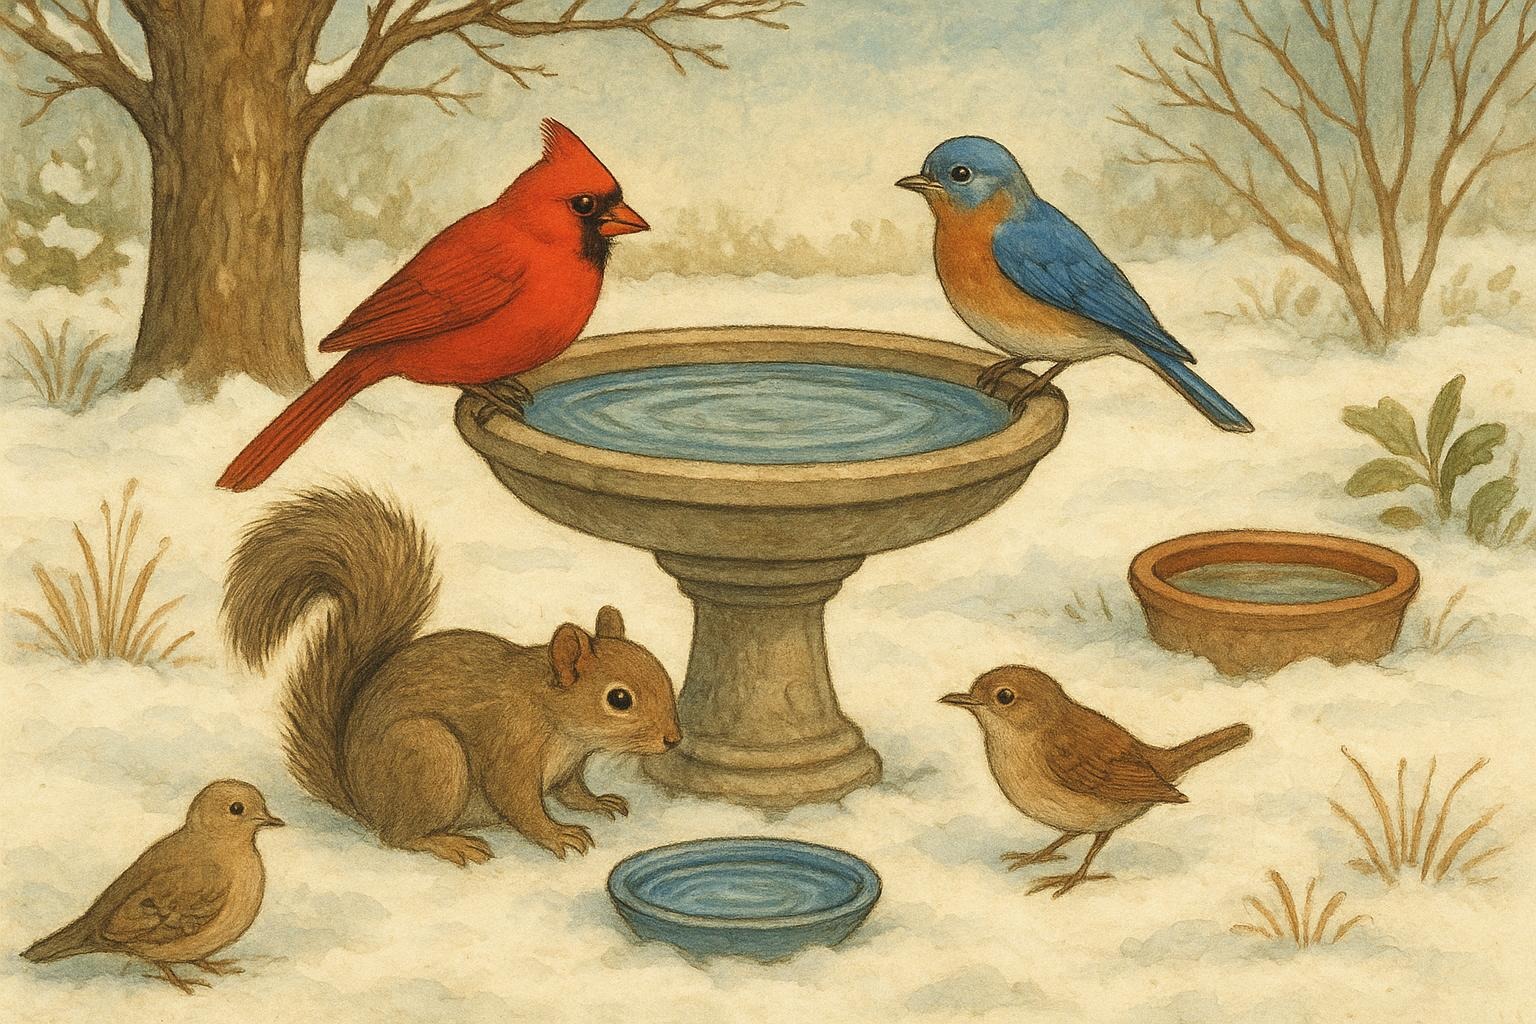
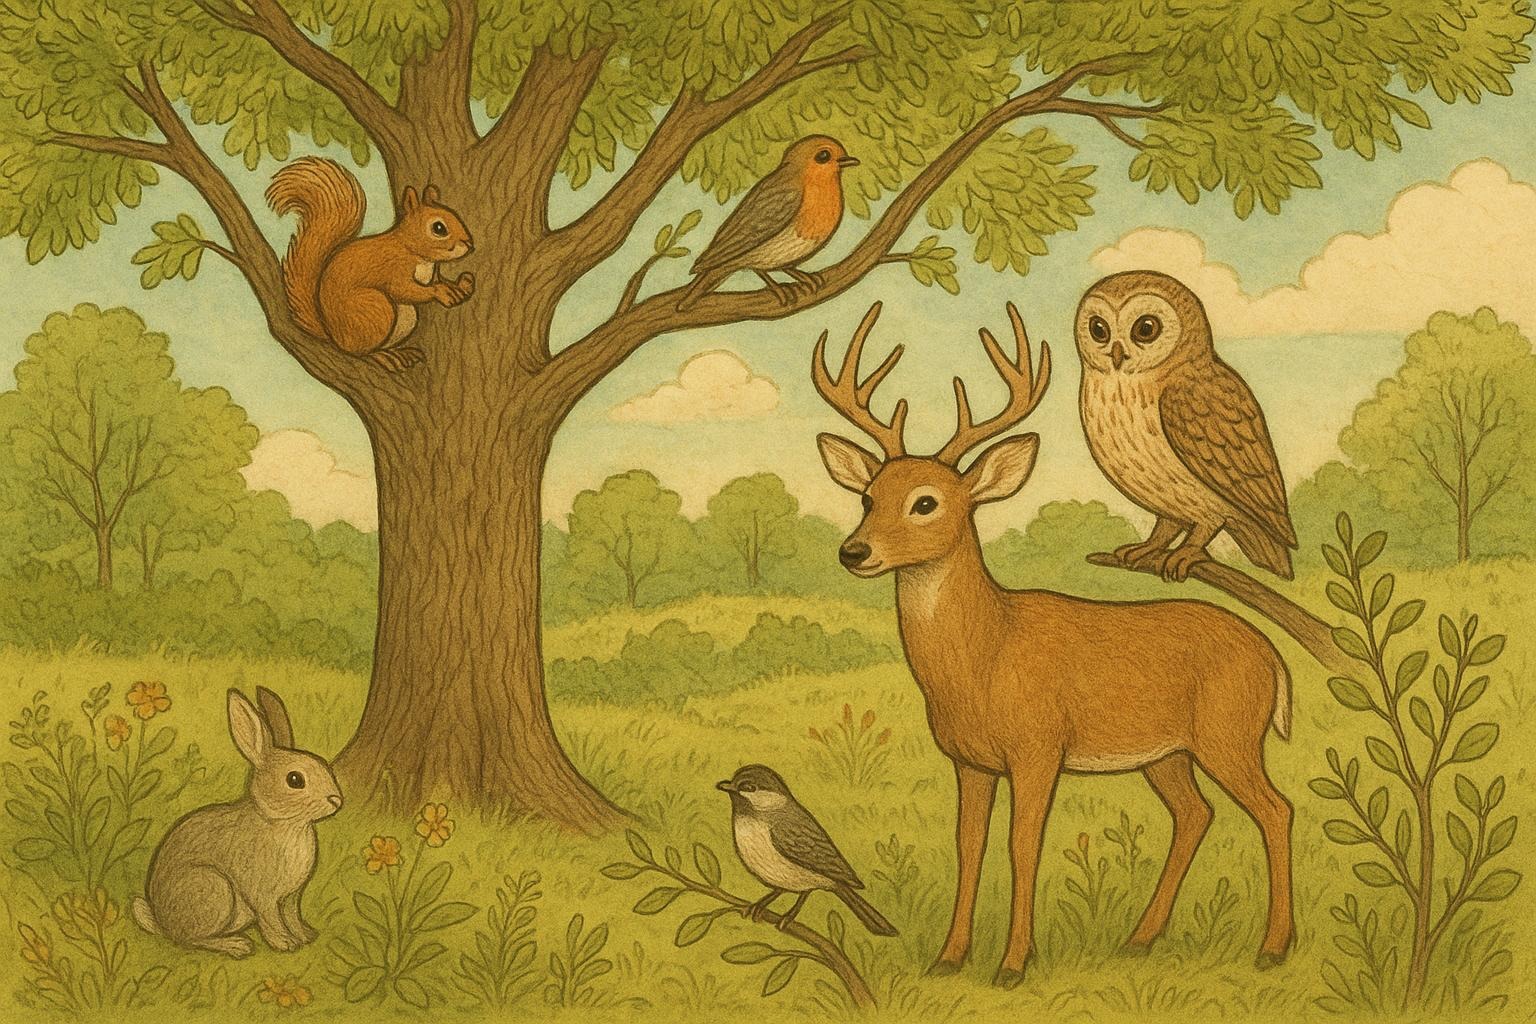
Expect a parade of hard workers: solitary bees nesting in bare soil, bumblebees trundling from bloom to bloom, migratory butterflies stopping over in fall, and songbirds foraging for seeds and insects. Even small mammals like shrews and voles benefit from the cover and insect abundance. Planting with wildlife in mind creates a mini-reserve that supports species through seasons and bad weather.
## Planning Your Native Wildflower Patch
Good planning makes the difference between a glorified weedy lot and a flourishing habitat. Start by observing sunlight patterns, soil type, and drainage. Note which parts of your yard see foot traffic, and think about how your patch might connect to nearby green spaces — corridors are helpful for wildlife movement. Choose a mix of early-, mid-, and late-season bloomers to keep pollinators fed across the whole growing season.
### 1. Planting A Native Wildflower Patch
This is a practical, step-by-step remedy to establish a productive native wildflower area. Follow the materials list and instructions carefully for best results; precision during installation greatly improves long-term success.
Materials/Ingredients:
1. Regionally appropriate native wildflower seed mix or a selection of plugs (native-only sources recommended)
2. Garden rake and hoe
3. Mulch (weed-free straw or pine needles) — optional for erosion control
4. Soil thermometer (optional) or local planting calendar
5. Watering can or hose with a gentle spray nozzle
6. Garden gloves and measuring tape
7. Optional: landscape fabric for selective areas (see notes)
Step-by-Step Creation and Application:
1. Site Selection: Choose an area with at least 4–6 hours of sunlight for a diverse wildflower mix. Shade-tolerant native wildflowers exist, but species selection must match the light conditions.
2. Timing: Plant seeds in the optimal season for your region (commonly fall or early spring). Use a soil thermometer if needed; many native seeds need cool, moist conditions to germinate.
3. Prepare the Soil: Remove existing turf to a depth of 2–4 inches by cutting or scraping. For small patches, smothering with cardboard is an alternative but takes longer. Lightly scarify the surface with a rake to create a firm seedbed.
4. Sowing Seed: Mix seed with clean, dry sand for even distribution. Broadcast evenly according to the seed supplier’s rate and gently press seeds into the soil with a board or roller; do not bury fine seeds deeply.
5. Watering Regime: Keep soil consistently moist (not waterlogged) until seedlings are established. Water daily or as needed for the first 2–3 weeks, then taper to deeper, less frequent watering as roots develop.
6. Mulch and Protection: Apply a thin layer of weed-free straw if erosion is a concern. Avoid heavy mulch that blocks light. Use temporary barriers to keep pets and foot traffic away until plants reach a couple of inches in height.
7. Monitoring and Spot Weeding: Remove aggressive annual weeds early by hand. Avoid broad herbicide use; it will harm your desired natives. If nonnative perennial invasives appear, dig them out when small.
8. Establishment Year Care: Expect a low-gain first year as roots develop; many species bloom more robustly in year two. Mow or brush-cut to 4–6 inches late winter if your climate requires a clean spring start.
Notes: Use a mix of forb and grass species to create structural diversity; grasses help establish soil and support insect life, while flowering forbs sustain pollinators.
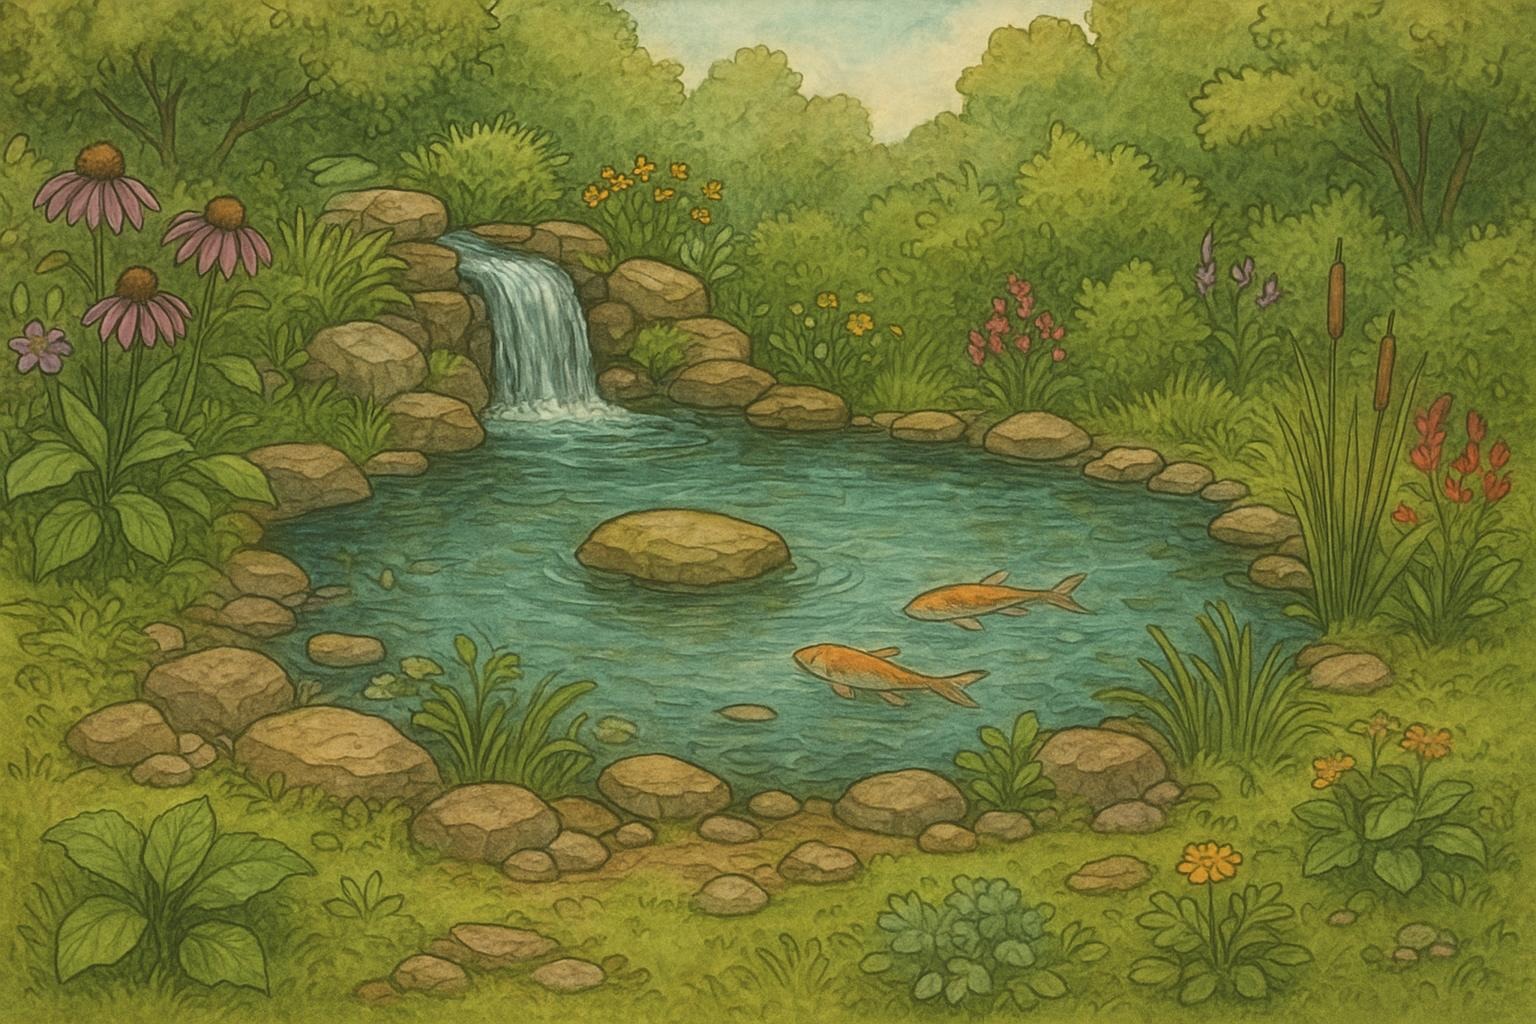
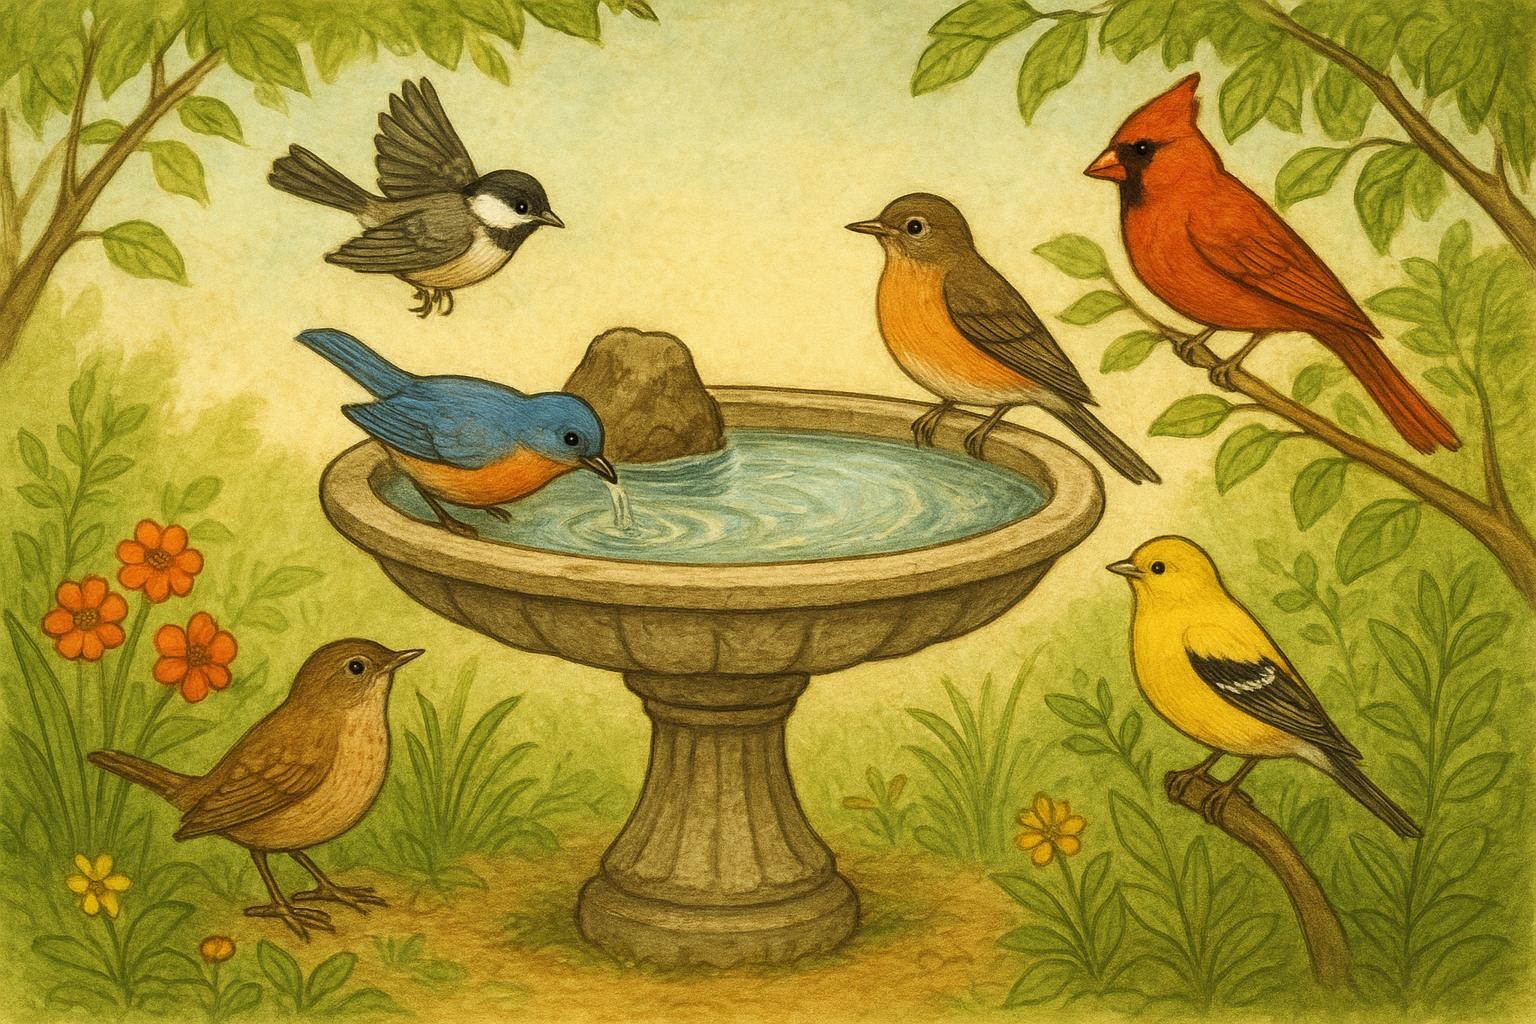
## Creating A Simple Pollinator Water Station
A second practical remedy: adding a shallow water source helps butterflies and bees, especially during hot spells. Follow the materials list and steps below for a safe, accessible water feature.
Materials/Ingredients:
1. Shallow dish, saucer, or tray (6–10 inches diameter, 1–2 inches deep)
2. Small stones, marbles, or gravel
3. Fresh water
4. Optional: sand or a shallow soil layer
5. Optional: shallow basin elevated slightly on bricks
Step-by-Step Creation and Application:
1. Select Location: Place the station in partial shade near flowering natives, where pollinators are already active. Avoid frost-prone low spots.
2. Prepare Base: Place stones or marbles in the dish to create landing and resting spots. If using sand, add a thin layer to the base for butterflies to sip salts.
3. Fill Carefully: Add water until it just laps the stones’ tops. Ensure there are always dry landing points so insects can perch without drowning.
4. Maintenance: Replace water every 2–3 days, more often in heat, to prevent mosquito larvae. Clean the dish weekly with a gentle scrub and refill. Keep the station free of chemical residues.
5. Winter Care: Empty or remove the station before freezing conditions to prevent breakage or ice hazards.
## Maintenance And Management
Once native wildflowers are established, management becomes a matter of timing and restraint. Let plants go to seed in late summer and fall unless they’re aggressively spreading nonnatives. Resist the impulse to tidy everything into mulch and neat rows; wildlife values structural diversity, seed heads, and leaf litter.
### When To Mow And When To Leave It Alone
Mowing timing matters for both habitat and plant health. In regions with cold winters, a late winter mow (or controlled burn where permitted) can remove dead biomass and stimulate vigorous spring growth. Keep mowing height at 4–6 inches to protect crowns and overwintering insects. For small patches, consider leaving designated no-mow refuges.
#### Dealing With Weeds
Weeds are part of gardening, but proactive strategies reduce their dominance. Early-season hand weeding is the most selective and least disruptive method. For stubborn invasive perennials, remove entire roots and consider repeating removal the following season. Chemical controls are a last resort and should be used selectively, directed only at targeted invasives and according to label instructions to protect surrounding native wildflowers and pollinators.
### Encouraging Year-Round Value
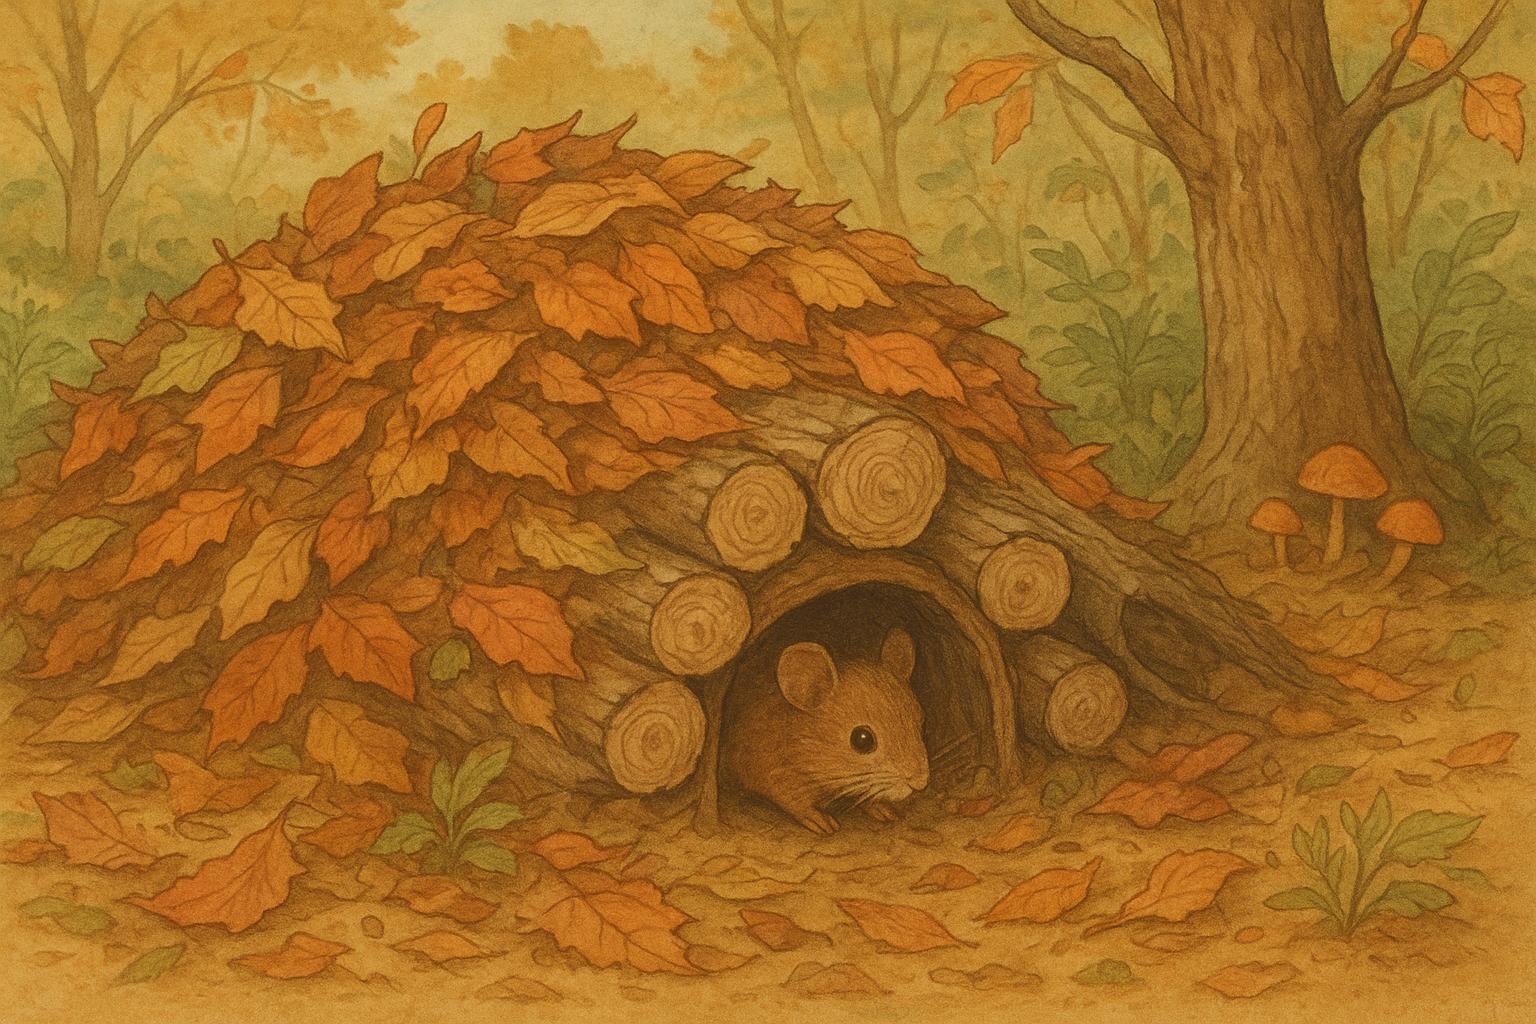
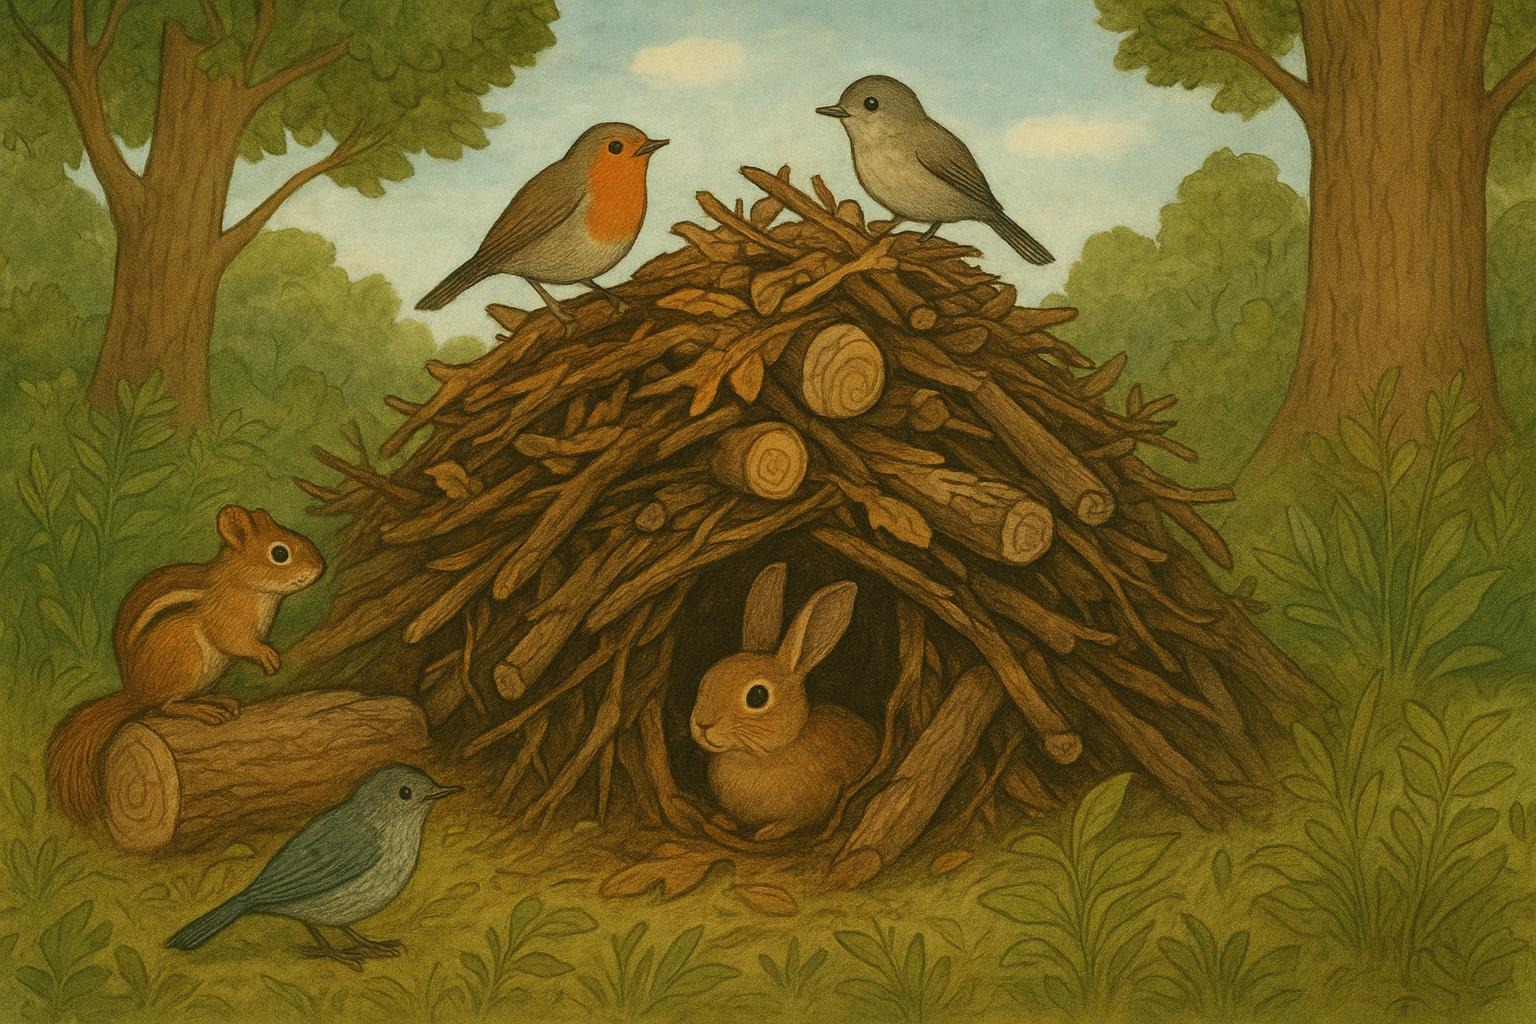
To sustain wildlife interest year-round, include species with staggered bloom times, plants that offer seeds for birds in fall, and structural elements like logs or brush piles for small mammals and overwintering insects. Plant diversity is resilience: the wider the palette of native wildflowers you include, the more likely your habitat will thrive through droughts, pests, and seasonal shifts.
Gardening with native wildflowers is as much about cultivating patience as petals. Give the patch a couple of seasons to settle, and you’ll be rewarded with a living tapestry that supports more life than a strip of perfectly trimmed grass ever could.


Leave a Reply