You step outside for your morning coffee, hear a muffled cheep from the ceiling, and suddenly your HVAC seems less like a climate system and more like a condo complex. Backyard wildlife has a knack for choosing the oddest spots, and the vent on your eave or dryer duct can look like prime real estate to a determined bird, squirrel, or raccoon. This guide will walk you through why creatures pick that spot, how to confirm a nest in vent, what risks are involved, and—most importantly—how to handle it humanely and effectively.
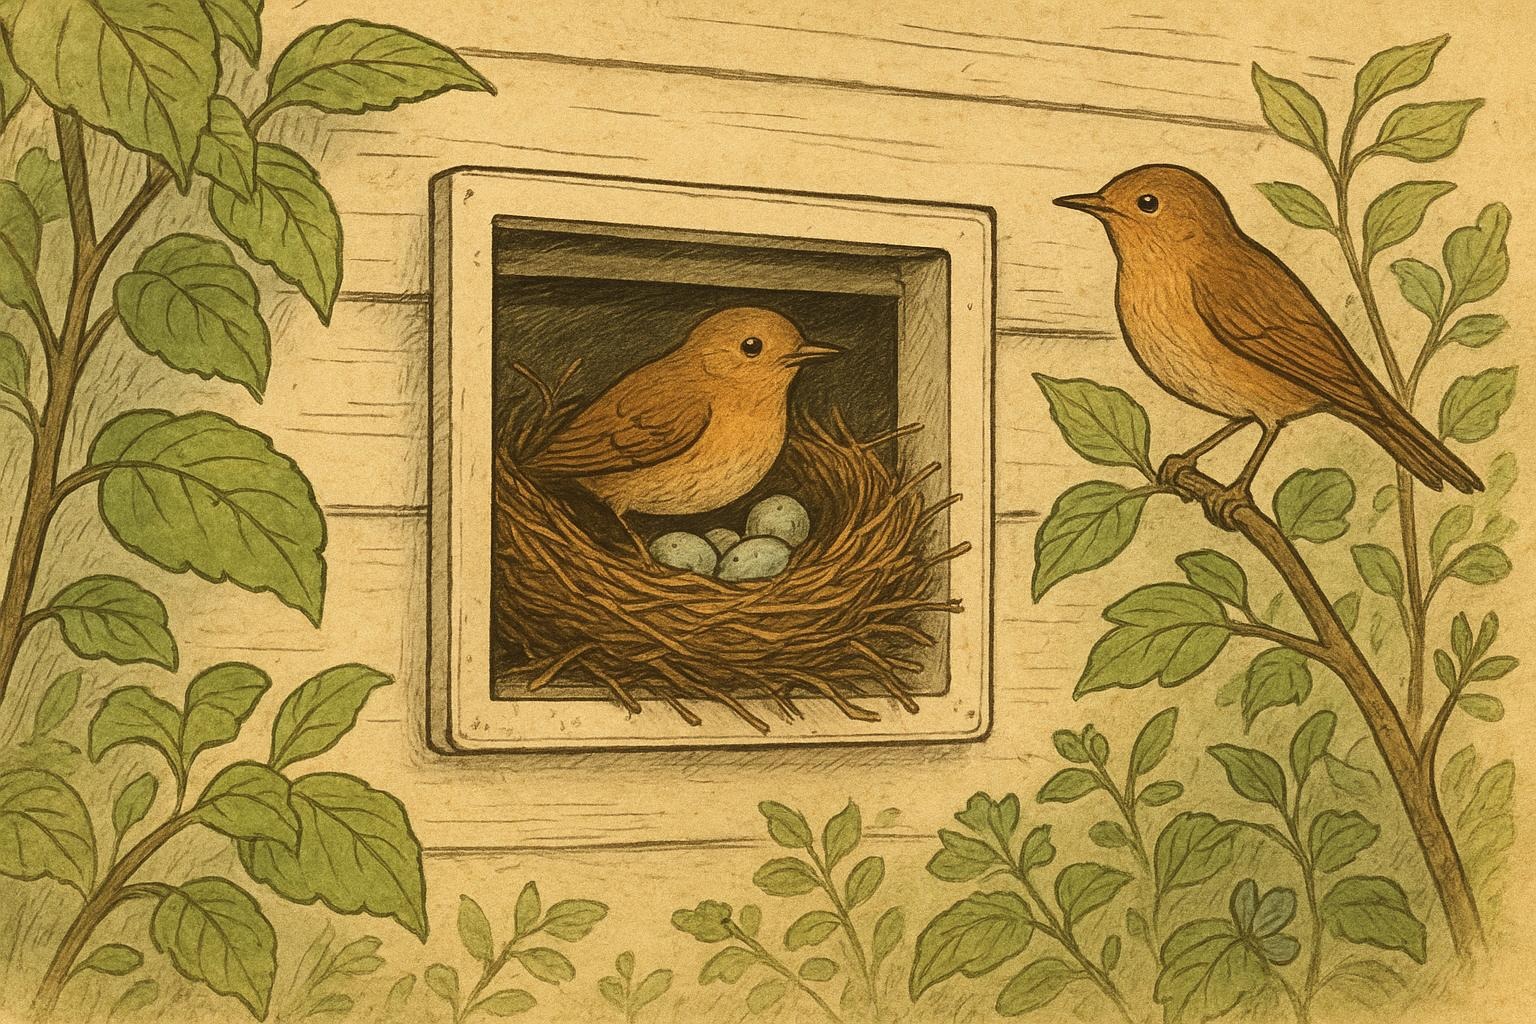
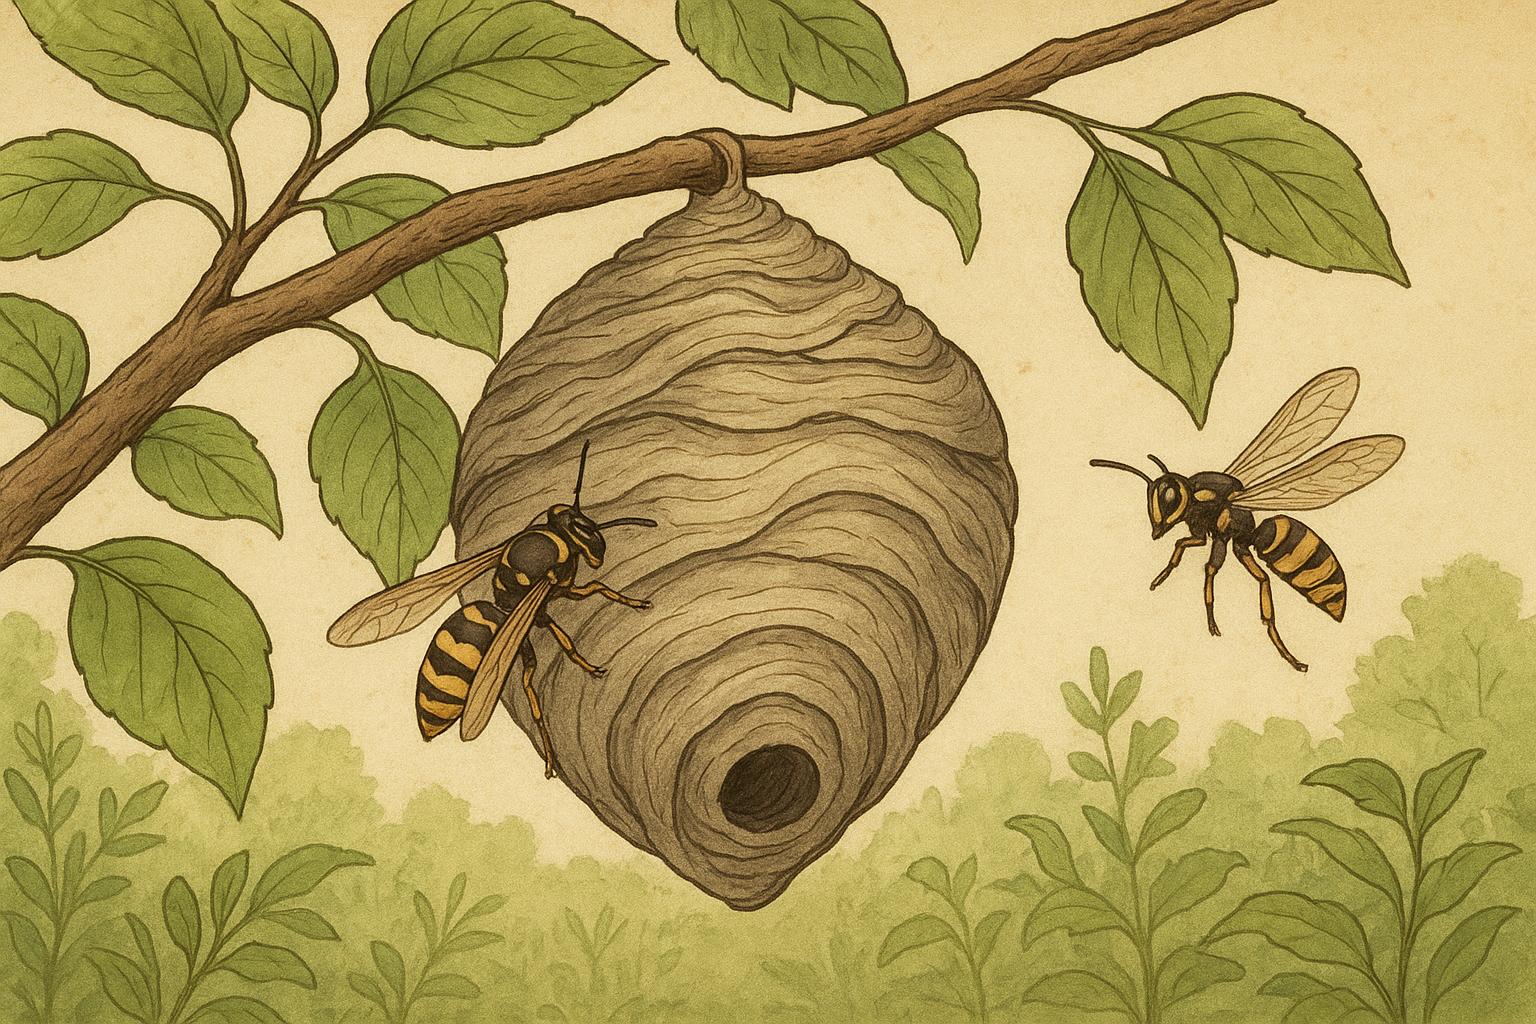
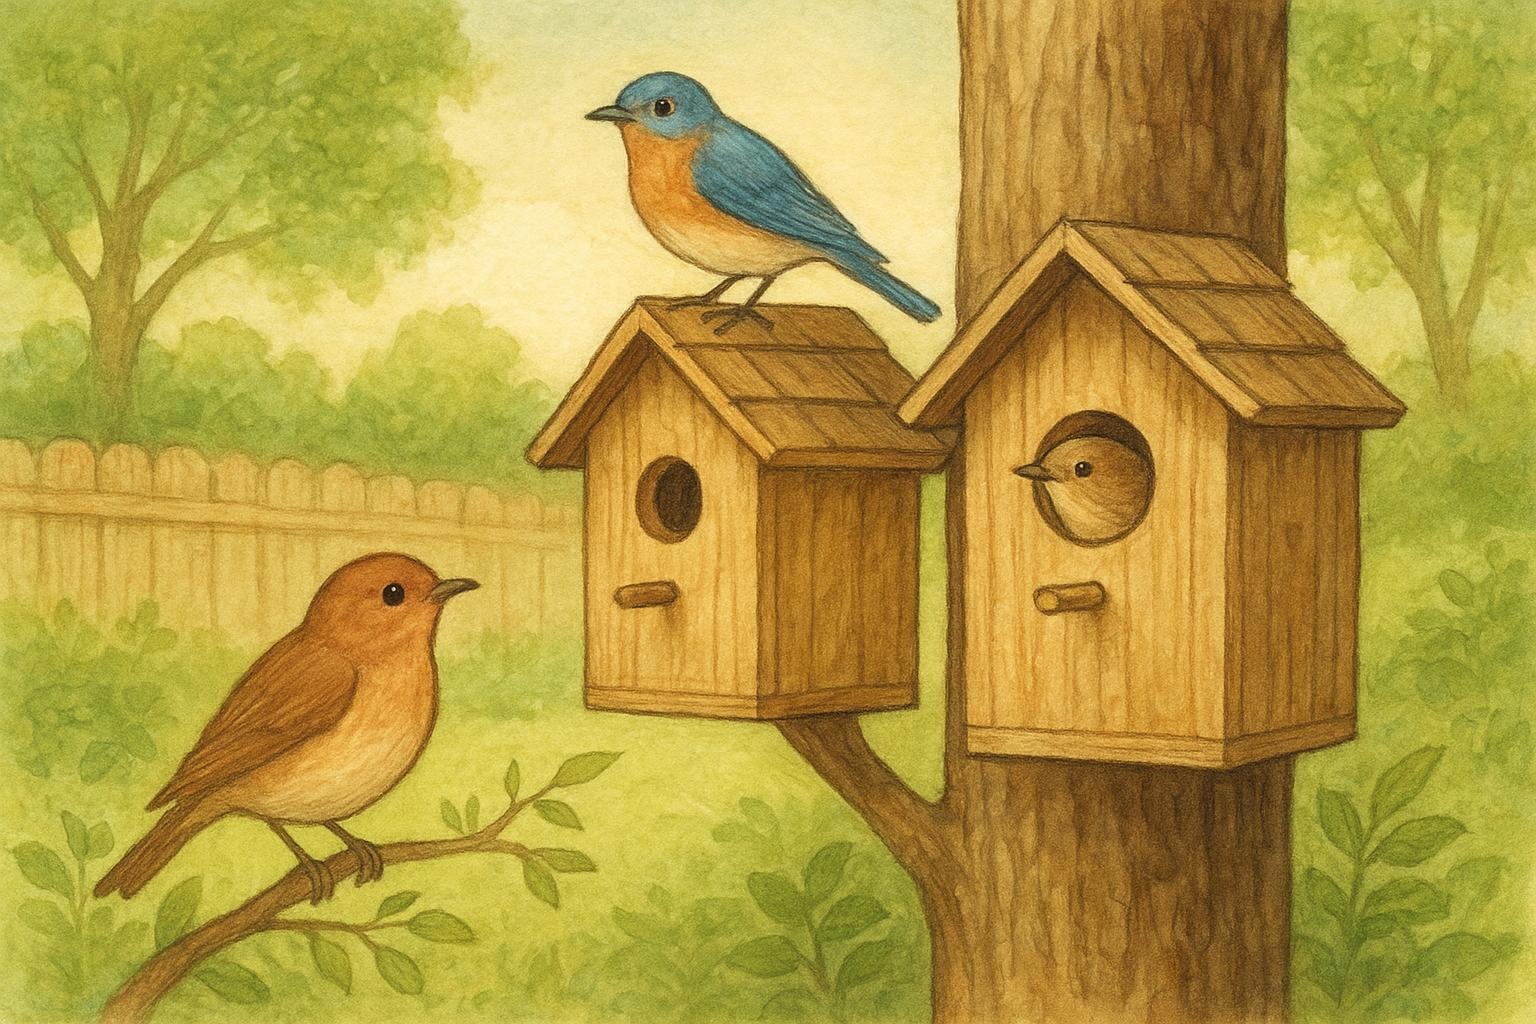
## Nest In Vent: Why Birds Love Your Ducts
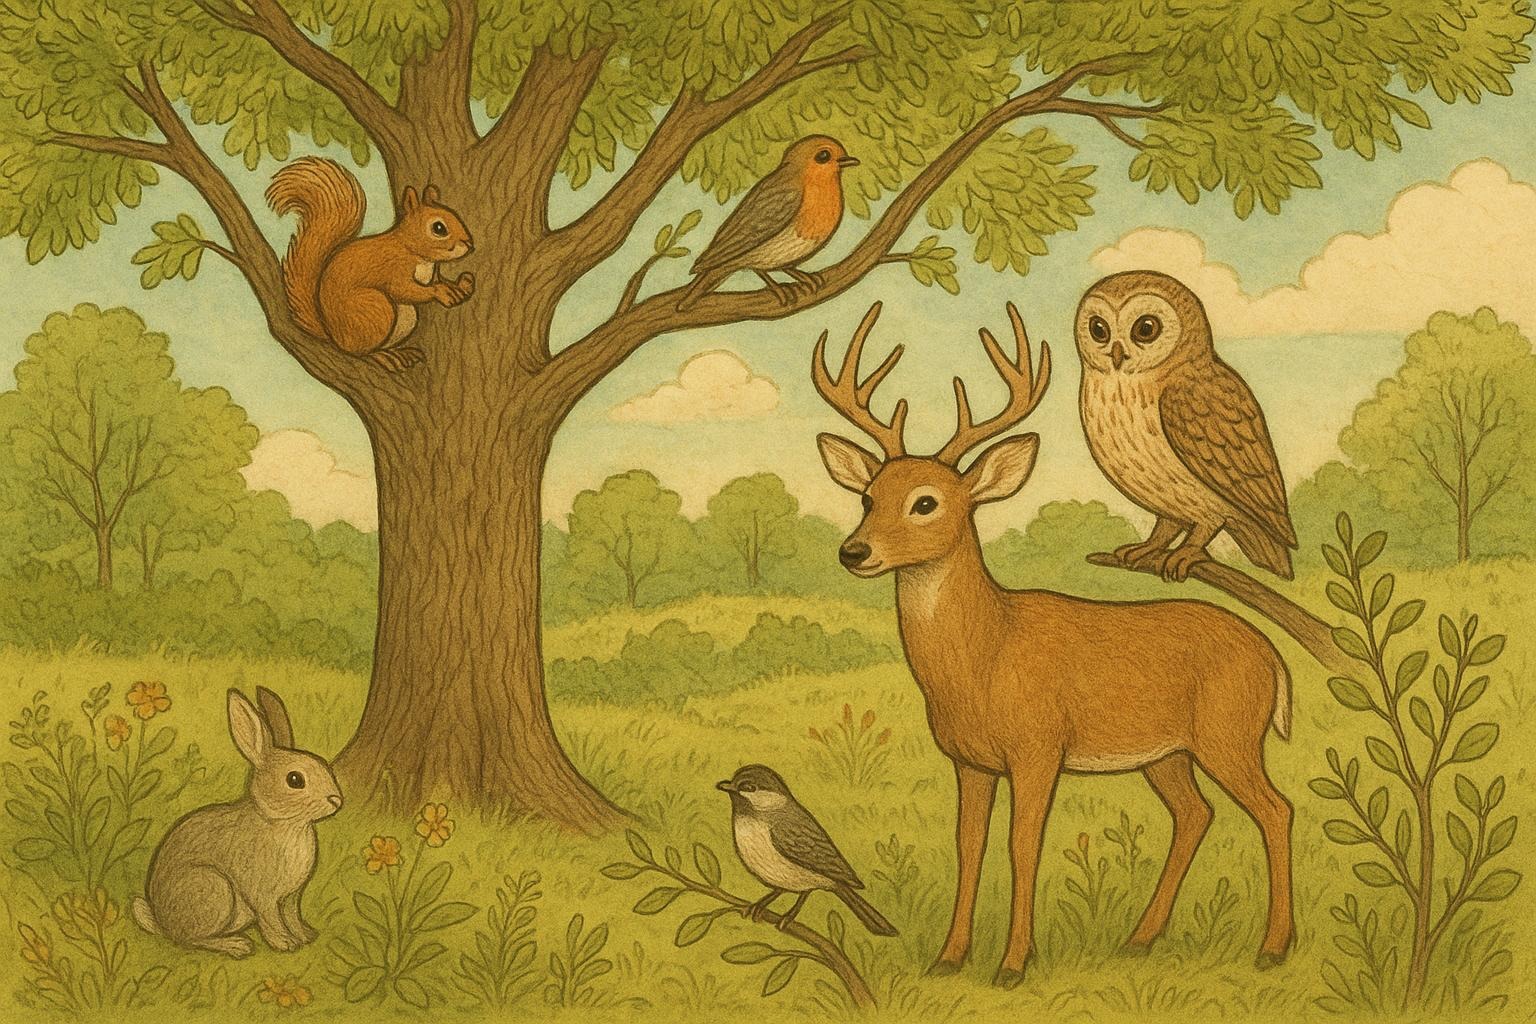
Birds and other critters see vents as sheltered cavities: dry, warm, and often predator-proof. When natural cavities are scarce, a vent offers a ready-made hollow. A nest in vent can be appealing because:
– It’s sheltered from rain and wind.
– It’s elevated and out of reach of many ground predators.
– Vent openings often have a rim and support that makes nest-building easier.
If you spot signs of a nest in vent around your house, don’t panic. Many species are protected by law during nesting season, and sudden removal can harm chicks or attract persistent parents. There are thoughtful, effective options to resolve the situation without drama (or feathers in the dryer).
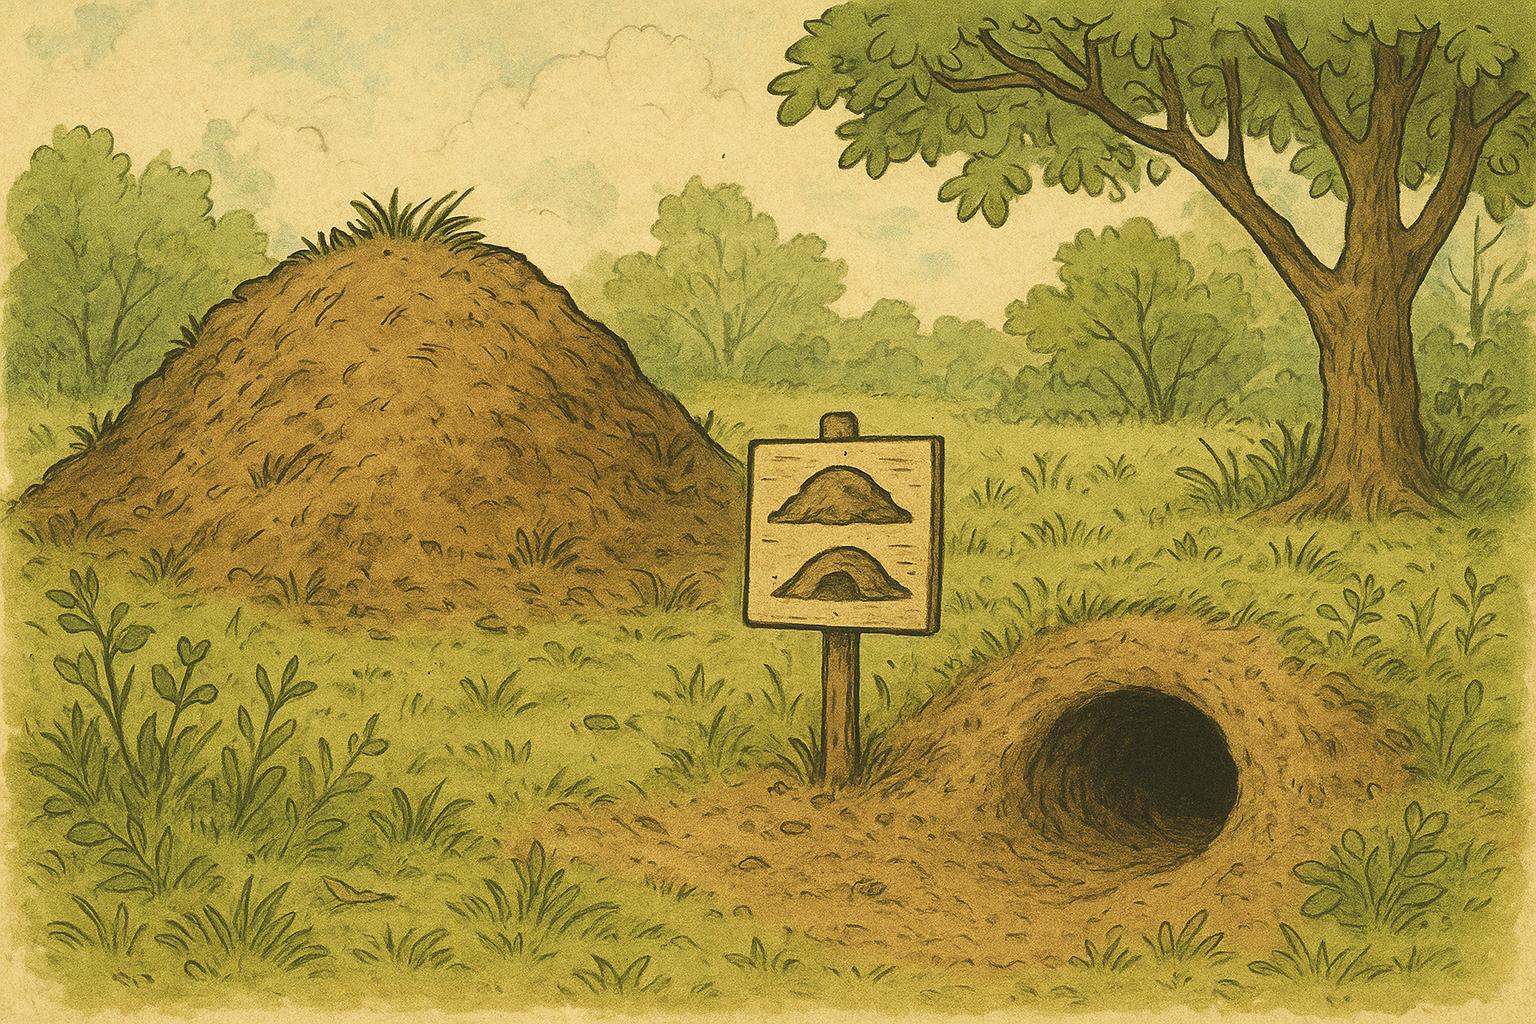
### Signs You Have A Nest In Vent
If you suspect a nest in vent, look for these telltale signs from a safe distance:
– Repeated chirping or scratching noises around the vent, especially at dawn and dusk.
– Birds repeatedly approaching and disappearing into the vent opening.
– Visible nesting materials or debris around the vent, soffit, or downspout.
– Reduced dryer performance or unusual odors when vents are obstructed.
#### Sounds Smells And Sighting Details
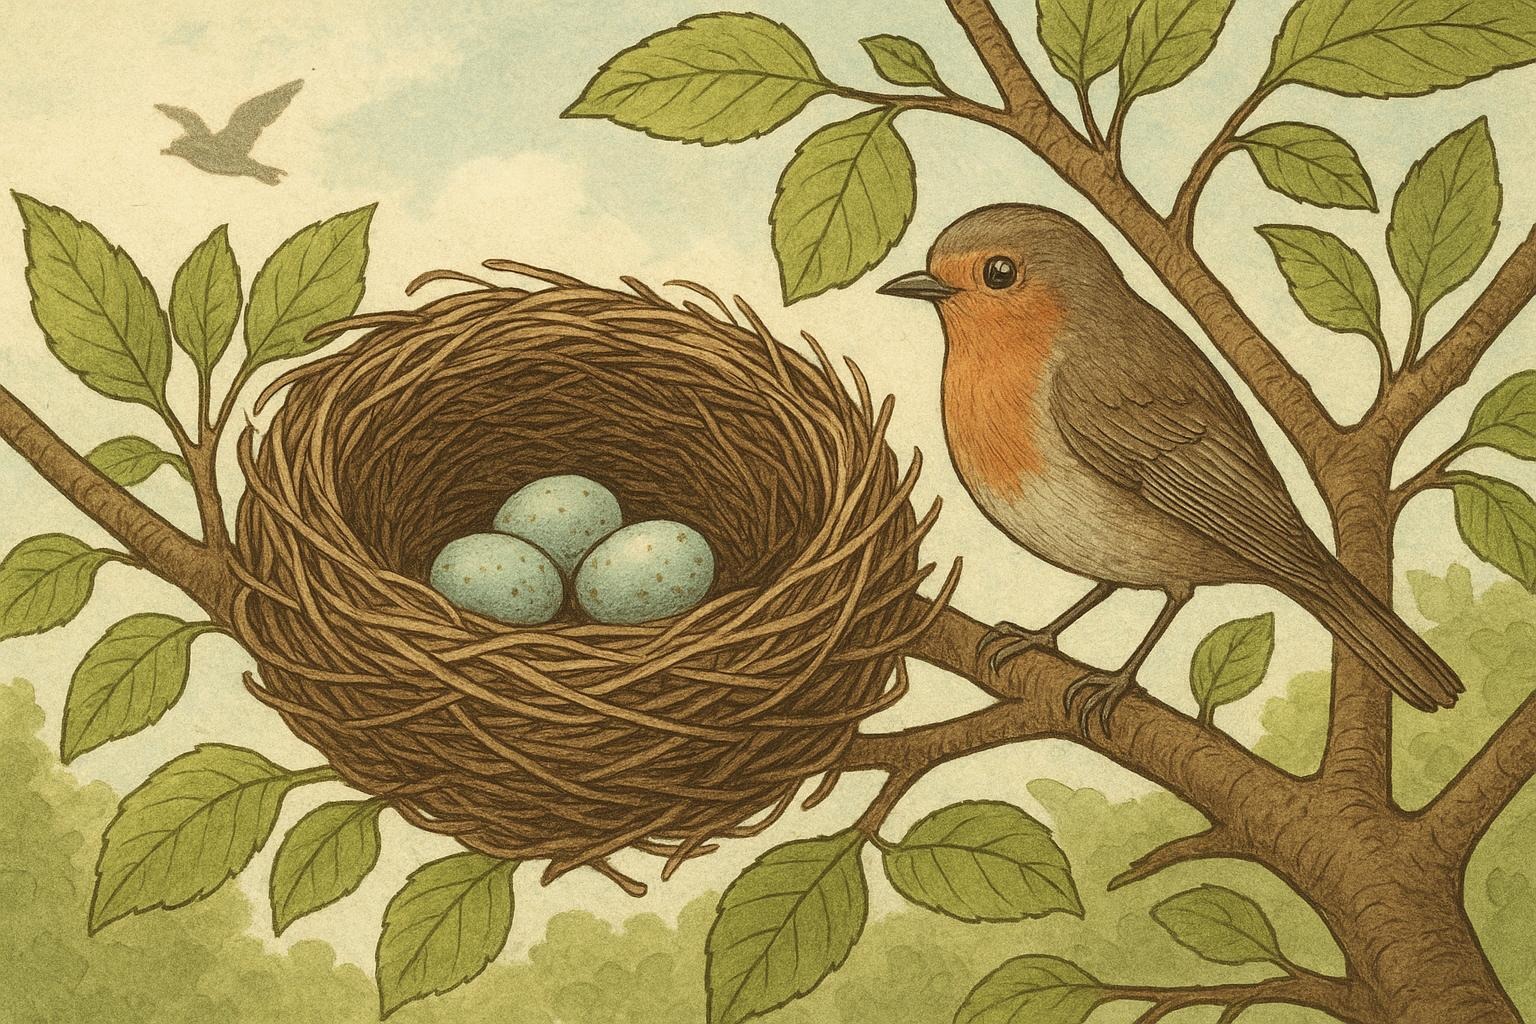
A single visit by a bird doesn’t always mean a nest in vent, but persistent behavior—multiple returns with twigs or grass, feeding motions at the opening, or parent birds bringing food—strongly suggests active nesting.
## 1. Humane Removal And Rehousing
When removal is necessary (for example, if the nest blocks dryer vents or involves invasive species), follow legal and ethical steps. The tone here is formal and procedural because lives—and legal rules—are involved.
Materials Required
– Sturdy ladder with spotter
– Thick work gloves
– Binoculars (to assess without disturbing)
– Large ventilated box or pet carrier with soft lining (if relocating birds where legal)
– Camera or phone to document condition
– Contacts for local wildlife rehabilitator or animal control
Step-By-Step Removal And Rehousing Procedure
1. Verify Species And Legal Status: Use photos and local resources to identify the animal. Many songbirds are protected under migratory bird laws; removal during nesting season is often illegal. If you are unsure, contact a wildlife rehabilitator or local conservation agency.
2. Assess Nest Stage: If eggs or nestlings are present, do not remove. If nest is empty and inactive for 48–72 hours, removal is usually permitted.
3. Prepare Safety Equipment: Secure the ladder with a spotter. Wear gloves to protect from mites and bacteria.
4. Document Current Condition: Take photos of the nest and surrounding area for records and potential permit needs.
5. Carefully Remove Nesting Material: Gently extract materials into the ventilated box. Avoid crushing eggs or chicks. If there are chicks, contact a rehabilitator—do not attempt to raise them yourself unless trained and authorized.
6. Clean And Sanitize Vent Opening: Remove debris, then disinfect the immediate area with a mild bleach solution (1 part bleach to 10 parts water), rinsing thoroughly and allowing to dry. Ensure the vent system interior isn’t contaminated by consulting an HVAC professional if dryer vents were involved.
7. Rehabilitator Transfer If Needed: If any animal requires care, transfer to the licensed rehabilitator quickly and in accordance with their instructions.
Legal And Ethical Notes: Always consult local wildlife laws before removal. Many birds are federally protected during nesting season. When in doubt, call professionals.
## 2. Install A Vent Guard And Screen
Prevention is the best cure. Properly sized vent guards keep wildlife out without blocking airflow.
Materials Required
– Vent guard or bird-proof vent cap sized for your vent
– Stainless steel mesh (1/2 inch or smaller squares) if custom-fitting
– Galvanized screws and washers
– Silicone or exterior-grade sealant
– Drill, tin snips (if cutting mesh), and screwdriver
– Gloves and ladder with spotter
Step-By-Step Installation Procedure
1. Choose The Right Guard: Match the guard to the vent type (dryer vent, soffit vent, gable vent) and material (metal or plastic). Ensure the guard does not obstruct necessary airflow or damper function.
2. Remove Any Remaining Debris: Before installation, clear the vent opening of old nesting material and clean the surface.
3. Cut Mesh To Fit (If Custom): Use tin snips to size the stainless mesh to cover the entire opening with 1–2 inches overlap.
4. Attach Mesh Or Guard: Position the guard or mesh over the opening and secure with galvanized screws and washers spaced evenly to prevent gaps.
5. Seal Edges: Apply exterior-grade sealant around the perimeter to prevent small animals or insects from slipping behind the guard.
6. Test Function: For dryer vents specifically, run a short cycle with the vent connected to confirm adequate airflow. For intake vents, check that nothing blocks the needed ventilation.
7. Inspect Annually: Check the guard each spring before nesting season to ensure it’s secure and unobstructed.
### When To Call A Pro
If a nest in vent has caused damage to ducting, introduced pests (mites, fleas), or if you’re unsure about proper vent sizing for exhaust, bring in an HVAC specialist or licensed wildlife removal service. Professionals can assess interior contamination risks (carbon monoxide in blocked dryer vents is a real hazard) and offer safe remediation.
#### Permits And Protected Species
If the occupant is a protected species, removal may require permits. Document your discovery and contact local wildlife authorities for guidance. Improvised or illegal removal can result in fines and harm to wildlife.
## Preventing Future Nest In Vent Scenarios
A few seasonal habits reduce the odds that your vents become wildlife resorts.
– Inspect vents every spring and fall.
– Install guards before nesting season begins.
– Keep trim trees and shrubs away from vent access points.
– Close off gaps in soffits and eaves during renovation projects.
– Clean up spilled seed or pet food that attracts scavengers.
#### Seasonal Maintenance Checklist
Before nesting season:
1. Inspect all exterior vents for gaps or damage.
2. Replace or repair worn vent covers.
3. Clean out accumulated debris.
4. Note any repeated wildlife activity and address with guards.
## Quick Safety Dos And Don’ts When You Spot A Nest In Vent
Do:
– Observe quietly and document with photos.
– Contact local wildlife rehabbers or animal control if unsure.
– Secure pets and children away from the area to avoid additional stress to wildlife.
Don’t:
– Yank the nest out immediately, especially during nesting season.
– Use toxic repellents or sprays that can harm wildlife and pets.
– Attempt to plug vents without ensuring proper ventilation for appliances.
If you do discover an active nest in vent, patience and a lawful, humane approach will get you farther than panic and a broom. Address structural vulnerabilities, communicate with local wildlife experts when needed, and you’ll reduce future surprises—while keeping both your family and local critters safe and sound.


Leave a Reply