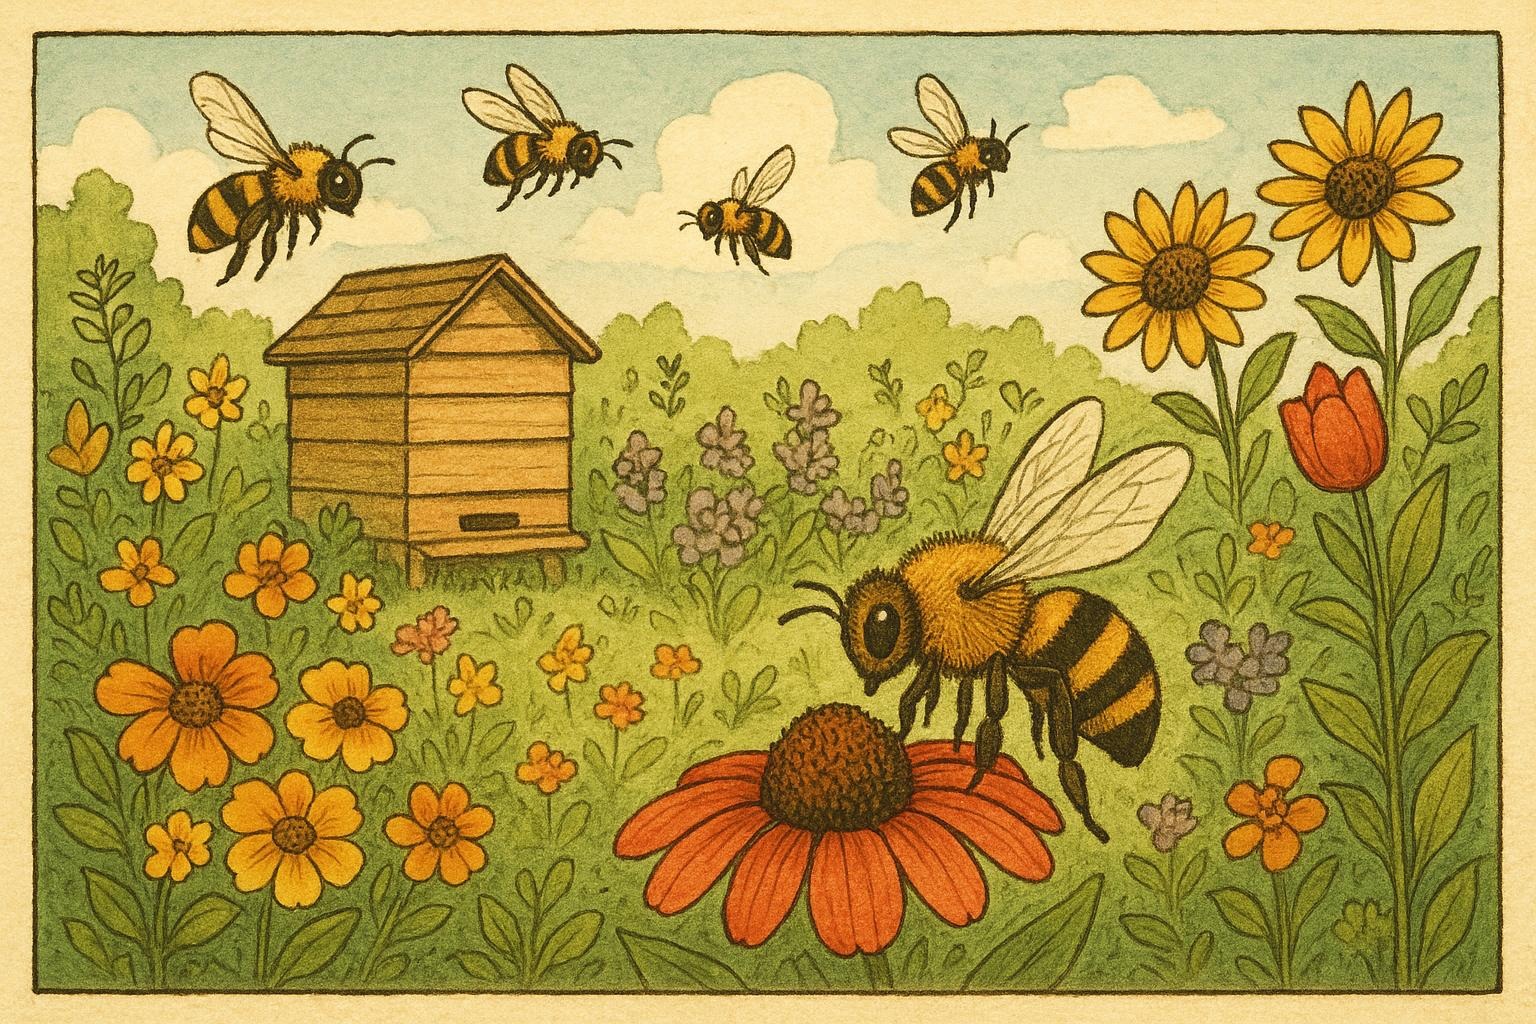
Welcome to your backyard adventure — where the coffee is for humans and the buffet is for pollinators. If you’ve ever wanted to turn a patch of lawn into a thriving little ecosystem, you’re in the right place. A bee garden is one of the most rewarding projects you can take on: it feeds pollinators, boosts your plant yields, and gives your outdoor space a delightful hum. Plus, you get the bragging rights of being officially responsible for local cuteness (and productivity).
## Bee Garden Basics
A bee garden is more than a collection of flowers. It’s a thoughtful patchwork of plants, shelter, and water that supports a wide variety of bees — bumble bees, solitary bees, mason bees, sweat bees, and yes, the occasional honey bee if you keep hives. The idea is to create continuous bloom throughout the seasons, provide nesting opportunities, and reduce chemical threats.
### Why Bees Matter
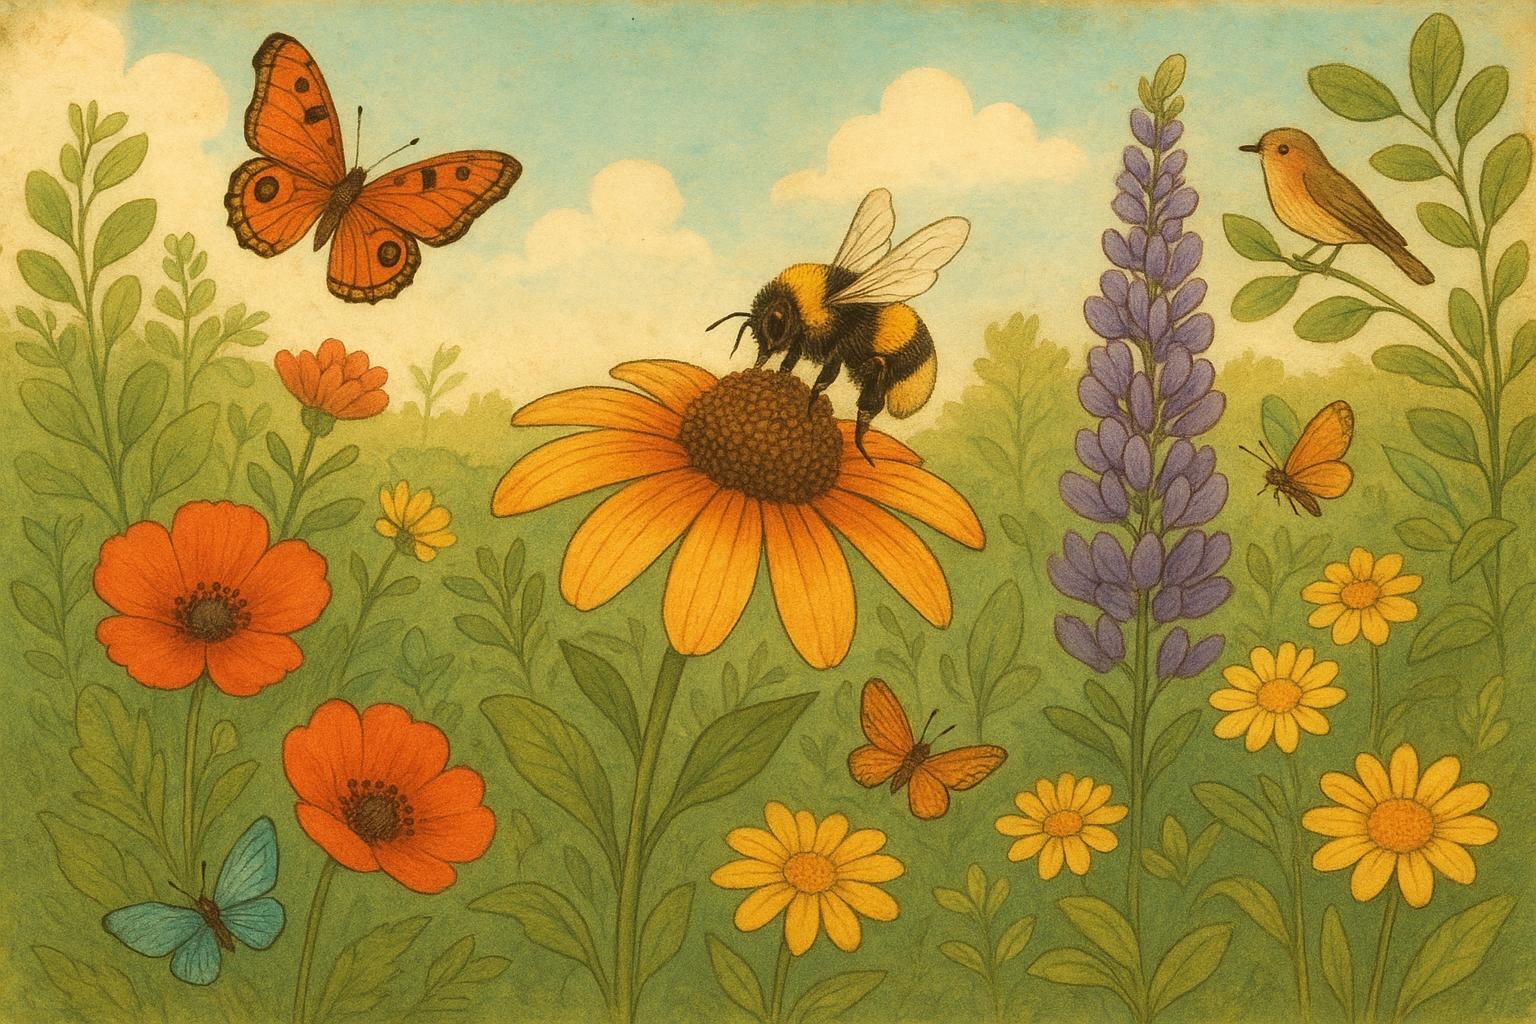
Bees pollinate about one-third of the food we eat and most of the wildflowers and fruits that color our landscapes. Their work is quiet but epic: one bee may travel miles and visit hundreds of flowers in a day. When we provide habitat, we not only help their populations but also boost garden yields and biodiversity. Think of a bee garden as a small investment with big ecological returns.
### What Bees Need
Bees have three basic needs: food, shelter, and water. Food means diverse nectar and pollen sources through the seasons. Shelter includes overwintering sites, hollow stems, bare ground patches for ground-nesters, and cavities for stem- and hole-nesting species. Water sources can be shallow dishes with stones, muddy patches, or low-flow fountains. Provide these reliably, and you’ll be the star host of many pollinator households.
#### Nectar And Pollen Sources
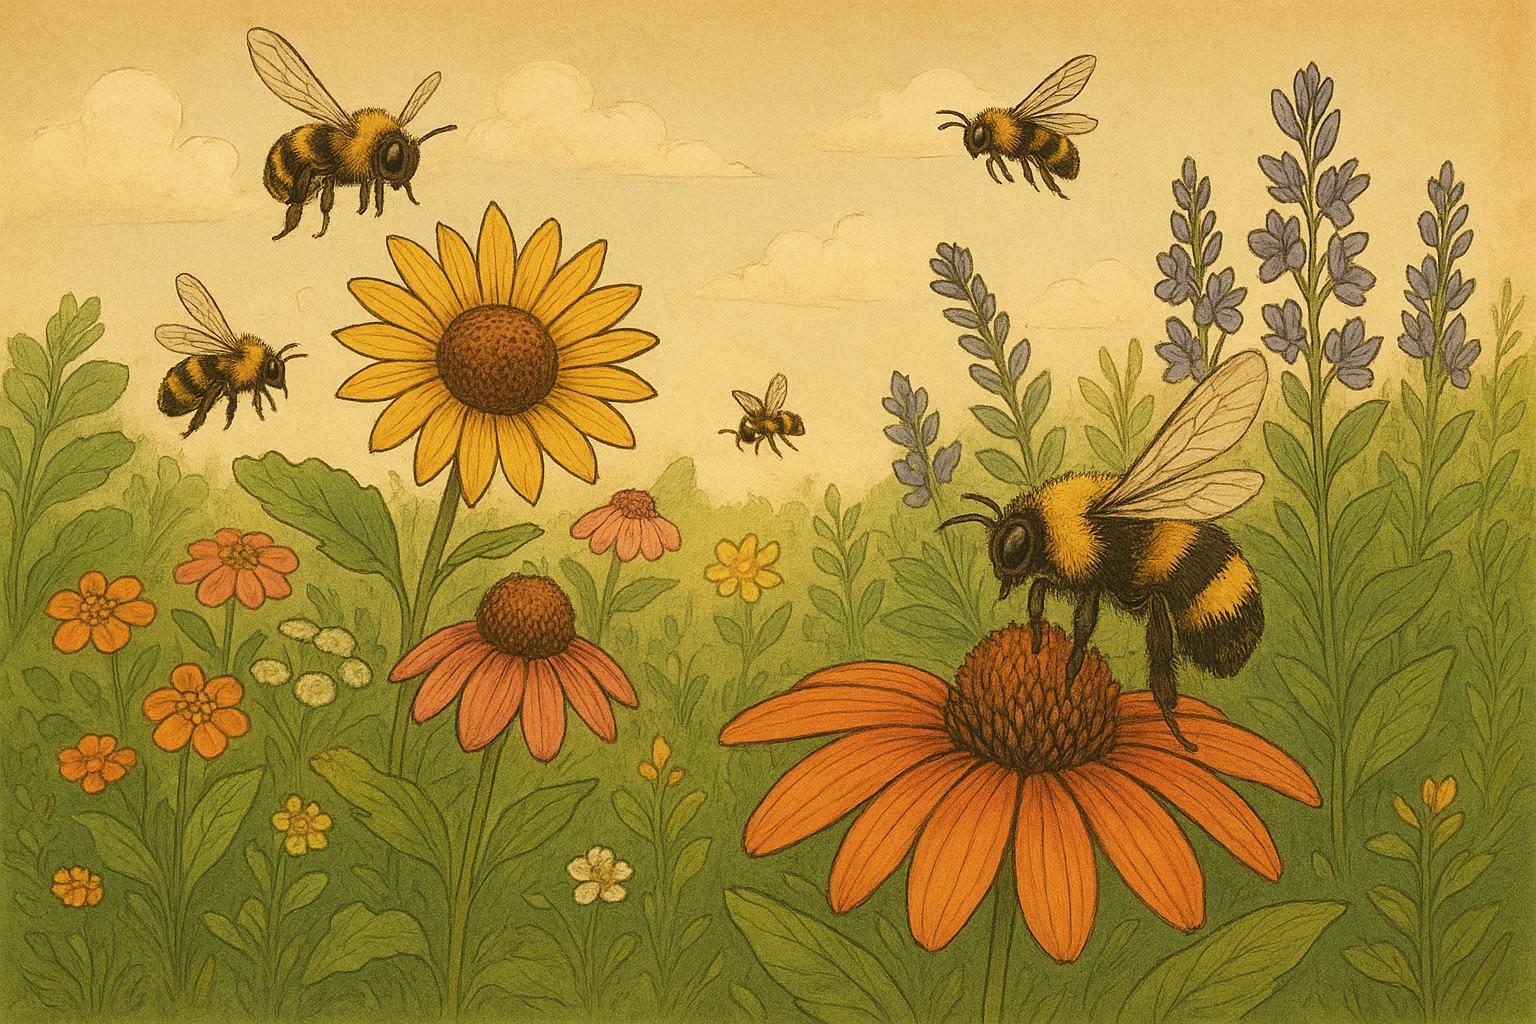
Choose native plants when possible — they’ve evolved with local bee species and tend to be more attractive and nutritious. Aim for layered planting: groundcovers, perennials, and small shrubs or trees. Examples: native coneflowers, goldenrods, salvias, asters, and clovers. Group plants in masses so bees can forage more efficiently.
#### Shelter And Nesting Sites
Not all bees live in hives. Many are solitary and nest in stems, holes, or the ground. Leave dead stems standing through winter, keep some bare soil patches, and avoid excessive spring clean-up. If you want to help particular species, adding a bee house is an effective choice.
## Remedy 1: Build A Native Wildflower Patch For Your Bee Garden
Materials (Ingredients)
– Native wildflower seed mix suited to your region (preferably local-provenance)
– Compost or well-rotted organic matter (up to 2 cubic feet per 50 sq ft bed)
– Mulch (light, such as straw, for initial weed suppression)
– Hand rake and garden rake
– Garden trowel or hoe
– Landscape fabric or cardboard (optional, for sheet mulching)
– Stakes and twine (to mark planting area)
Step-By-Step Creation And Application
1. Site Selection: Choose a sunny or partially sunny spot (many native wildflowers prefer at least 6 hours of sun). Avoid heavy shade and soggy areas unless your seed mix is for wet conditions.
2. Prepare The Soil: Remove turf and large weeds. For small areas, hand-dig or use a hoe to loosen the top 2–4 inches. For larger conversions, consider sheet mulching: lay cardboard, wet it, and cover with 4–6 inches of compost-rich soil mix. Formal note: ensuring good soil-to-seed contact increases germination rates.
3. Amend Lightly: Mix a modest amount of compost into the topsoil to improve structure and nutrients. Avoid over-fertilizing — native wildflowers usually thrive in leaner soils and excessive nitrogen favors grasses over forbs.
4. Sow Seed Correctly: Broadcast seed evenly according to the package rate. For tiny seeds, mix with sand to help distribution. Lightly rake to press seeds into contact with the soil; do not bury them deeply unless the species requires it.
5. Mulch Lightly: Apply a thin straw mulch layer (less than 0.25 inches) to reduce erosion and retain moisture during germination. Avoid thick mulch that blocks light needed by seedlings.
6. Water And Establishment: Keep the area consistently moist until seedlings are established, typically 2–8 weeks depending on species. After establishment, reduce watering to encourage deep rooting.
7. Maintenance: In year one, mow or cut back tall growth after seeds set if needed to prevent aggressive species from dominating. In subsequent years, maintain a rotation of cutting and selective weeding to promote diverse blooms.
Notes: Native mixes often need patience; many species establish best in the second year. Formal application: Monitor for invasive plants and remove promptly. Avoid broad-spectrum herbicides.
## Remedy 2: Create A Bee House For Your Bee Garden
Materials (Ingredients)
– Untreated wood block or small cedar box (roughly 6–8″ deep)
– Bamboo tubes or drilled wooden blocks (3/32″ to 3/8″ diameter range; 3–6″ length)
– Non-treated reeds or hollow stems (optional)
– Sandpaper
– Drill and bits (various small diameters)
– Mounting hardware (screws, brackets)
– Weatherproofing materials (shelter roof or small overhang) — optional, not sealant-on-holes
Step-By-Step Creation And Application
1. Select Materials: Use untreated, rot-resistant wood such as cedar. Do not use pressure-treated lumber. Holes must be cleanly drilled and smooth; jagged edges can harm bees.
2. Prepare Nesting Blocks: Drill holes into hardwood blocks or assemble bundles of bamboo tubes. Holes should be between 3/32″ and 3/8″ in diameter, spaced slightly apart, and 3–6″ deep. Drill straight and avoid drilling through the block.
3. Smooth And Finish: Sand the interior entrance edges lightly so the bees can enter without tearing wings. Do not coat the inside of the holes with paint or varnish. Exterior surfaces may be left natural or painted in light, non-toxic paints.
4. Mounting Location: Install the bee house facing southeast or south where it receives morning sun but some afternoon shade. Mount it 3–6 feet off the ground, sheltered from rain and prevailing winds, with a slight downward tilt to shed water.
5. Maintenance Protocol: Annually inspect houses in late fall. Replace or sterilize tubes with heat treatment or by replacing paper liners if using them. Formal note: maintaining dry, clean nesting material reduces parasitism and fungal buildup.
6. Monitor And Adjust: Observe occupancy and predator access. If you notice heavy parasitism or mold, adjust ventilation and replace materials as needed.
Formal Considerations: Bee houses primarily support solitary cavity-nesting species (e.g., mason and leafcutter bees). They are a management tool that requires periodic maintenance to be effective and safe.
## Designing Your Bee Garden Year-Round
### Seasonal Planting Guide
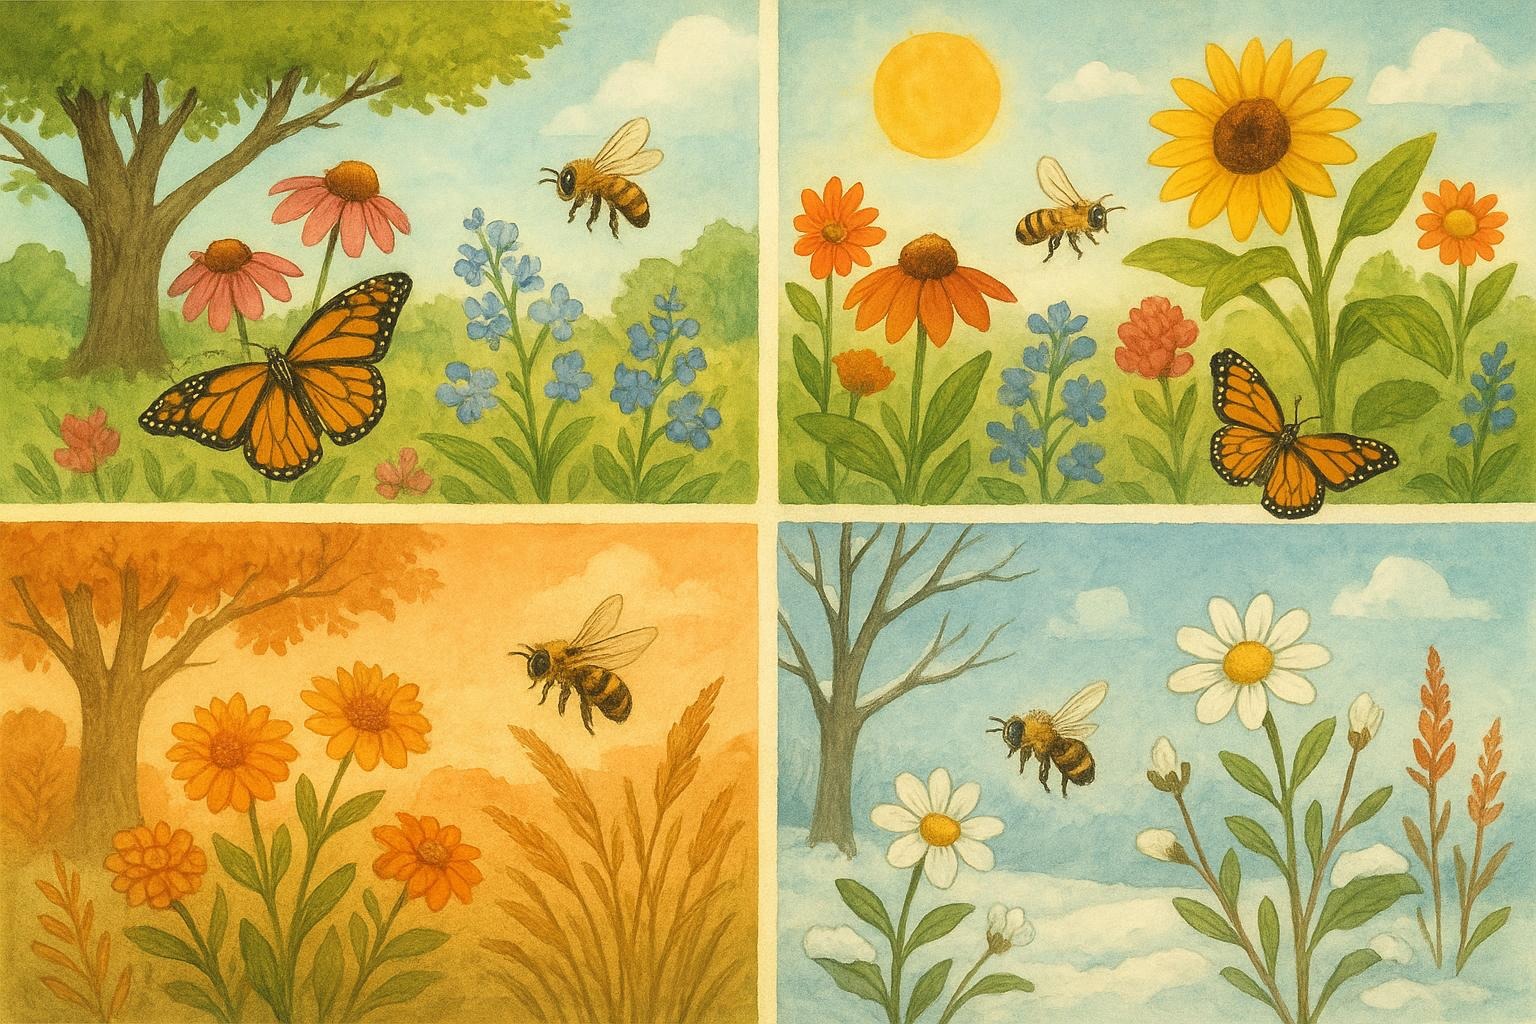
Plan for continuous bloom from early spring through late fall. Early bloomers (crocus, willow, native pussy willow alternatives) feed emerging queens and early solitary bees. Midseason perennials (bellflowers, salvias, coneflowers) support mass foraging, and late bloomers (asters, goldenrod) are crucial for preparing bees for winter. Intermix annuals for splash and to fill gaps in the first year.
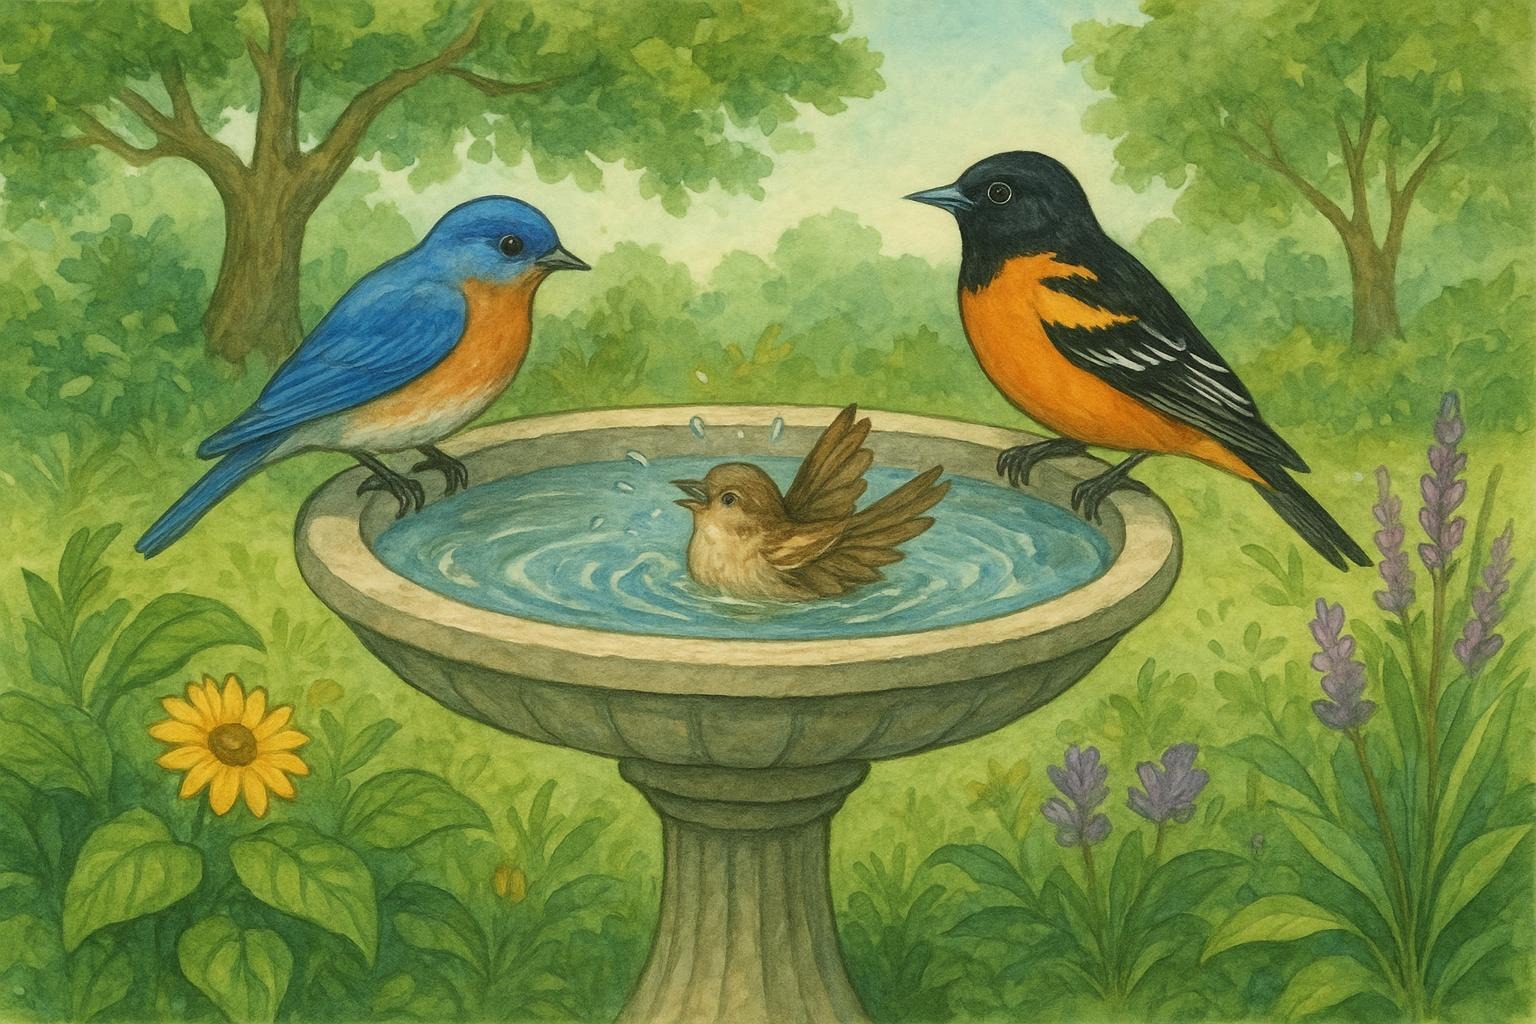
### Water And Feeding Stations
Create shallow water spots with pebbles or sticks for perching. A shallow dish with stones or a small birdbath edge works well. Maintain water cleanliness and avoid deep pools that drown pollinators.
### Avoiding Pesticides
Pesticides can be lethal or sub-lethal to bees, affecting navigation, reproduction, and immunity. Formal guidance: eliminate or drastically reduce chemical pesticide use. When management is necessary, choose targeted, least-toxic options and apply them at night when bees are inactive. Neem oil and insecticidal soaps are preferable for limited use; systemic neonicotinoids should be avoided entirely where pollinators are present.
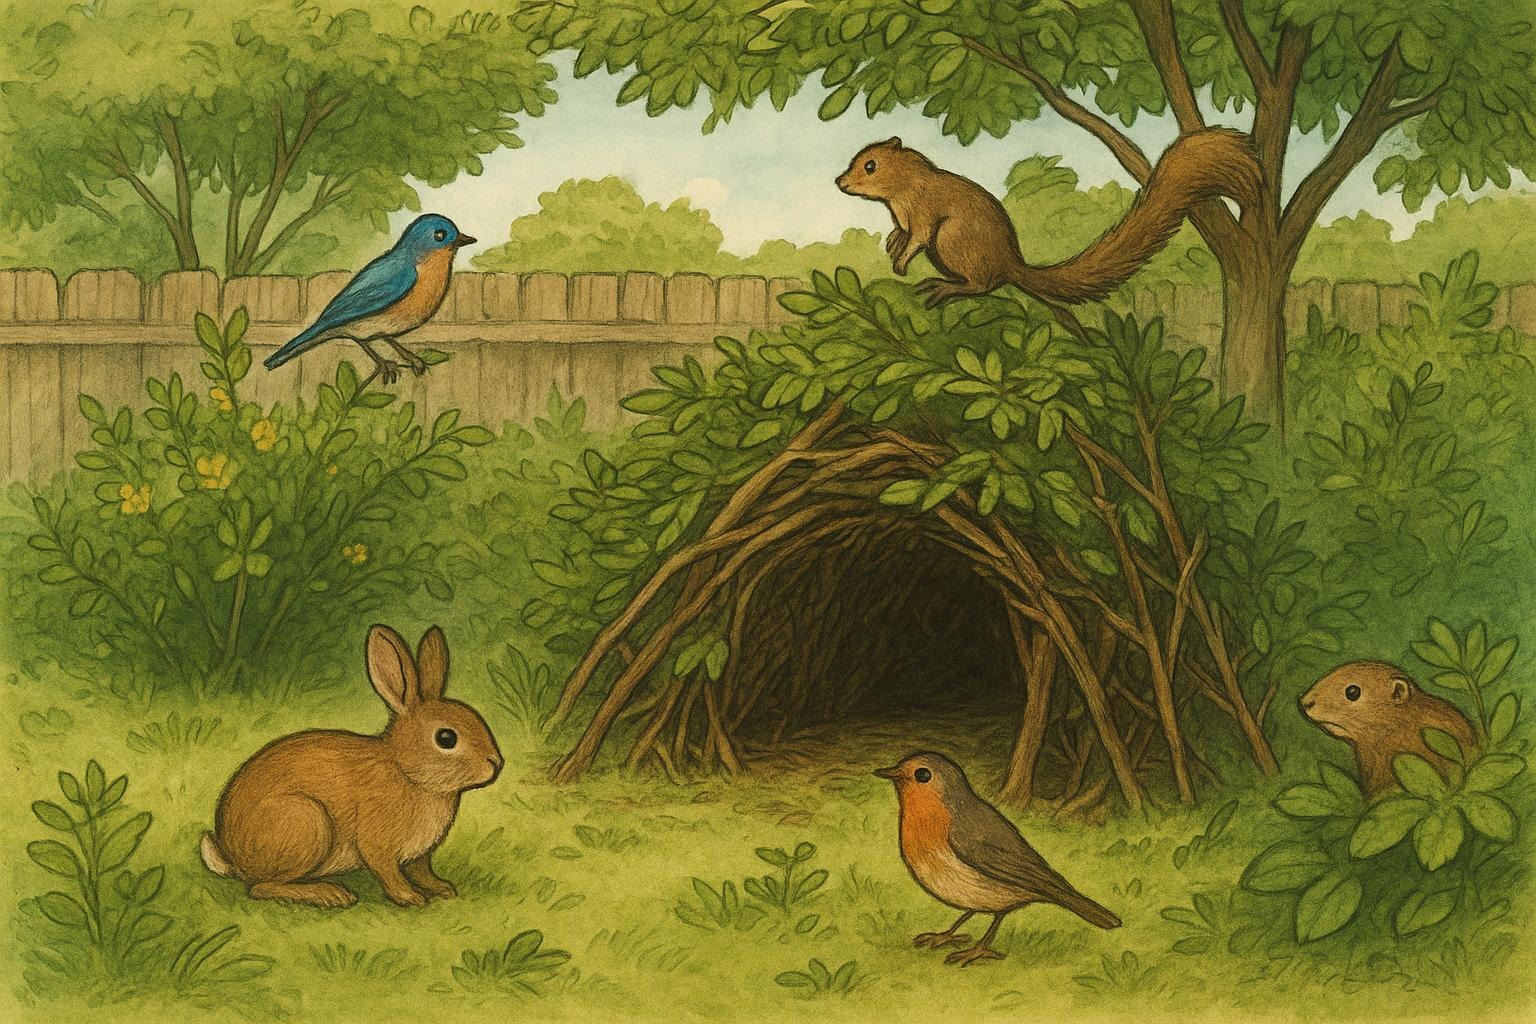
### Habitat Enhancements
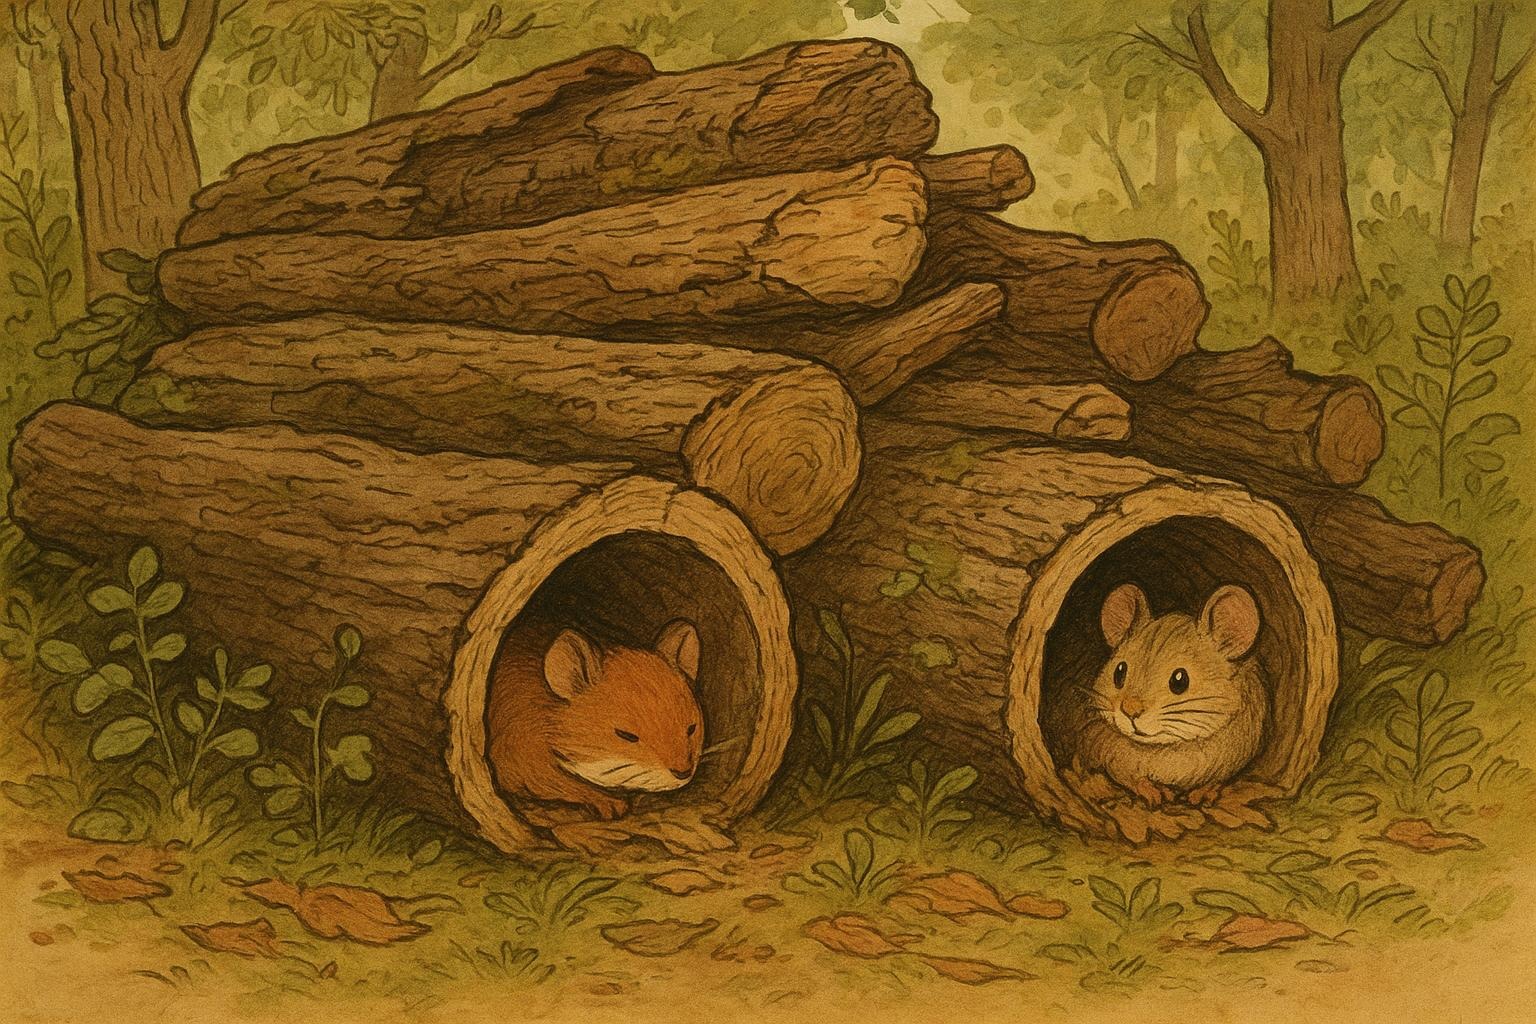
Add elements like hedgerows, small logs, rock piles, and mixed plant heights to mimic natural habitats. These increase nesting sites and microclimates that different bee species prefer.
## Community And Observation
Invite neighbors to participate and keep a gardening journal. Record bloom times, bee visitors, and nesting behavior. Citizen science platforms welcome observations and can help identify what species your bee garden attracts. A little observation goes a long way toward improving habitat design.
Now, grab a trowel, a packet of seeds, and maybe a cold drink — your new pollinator guests are ready for a warm welcome.


Leave a Reply