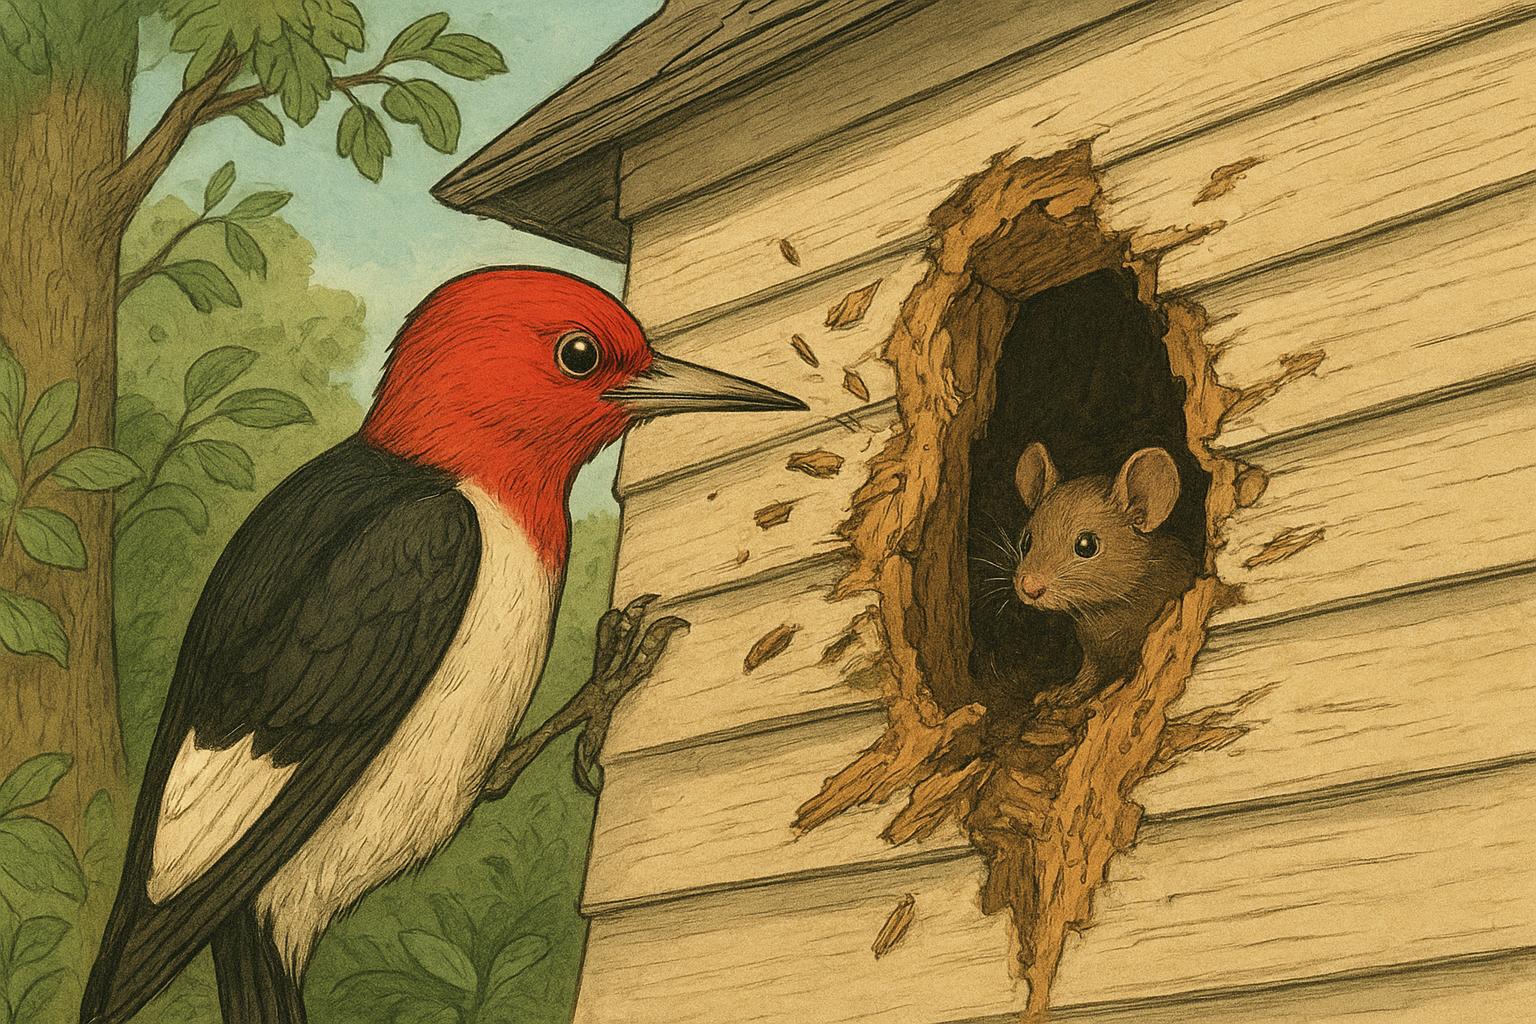
You wake up to an odd tapping on the roof, shrug it off as a construction truck down the street, and then notice a neat row of holes in your siding like someone turned your house into a giant percussive instrument. Spoiler: that drum solo probably wasn’t scheduled, and those tiny beaks are more dangerous to your home than you think.
## Shocking Woodpecker Damage Reveals Your Hidden Home Threat
Woodpeckers are charming yard actors: bright feathers, dramatic headbobs, and an uncanny sense of rhythm. But when those rhythms are performed against your soffit, fascia, shingles, or siding, the result is more than noisy—it’s costly. Woodpecker damage can start as cosmetic pockmarks and escalate into insulation problems, water intrusion, and structural rot. Left unchecked, small holes multiply, flashing gets torn, and repairs balloon into a bill nobody planned for.
### How Woodpecker Behavior Leads To Damage
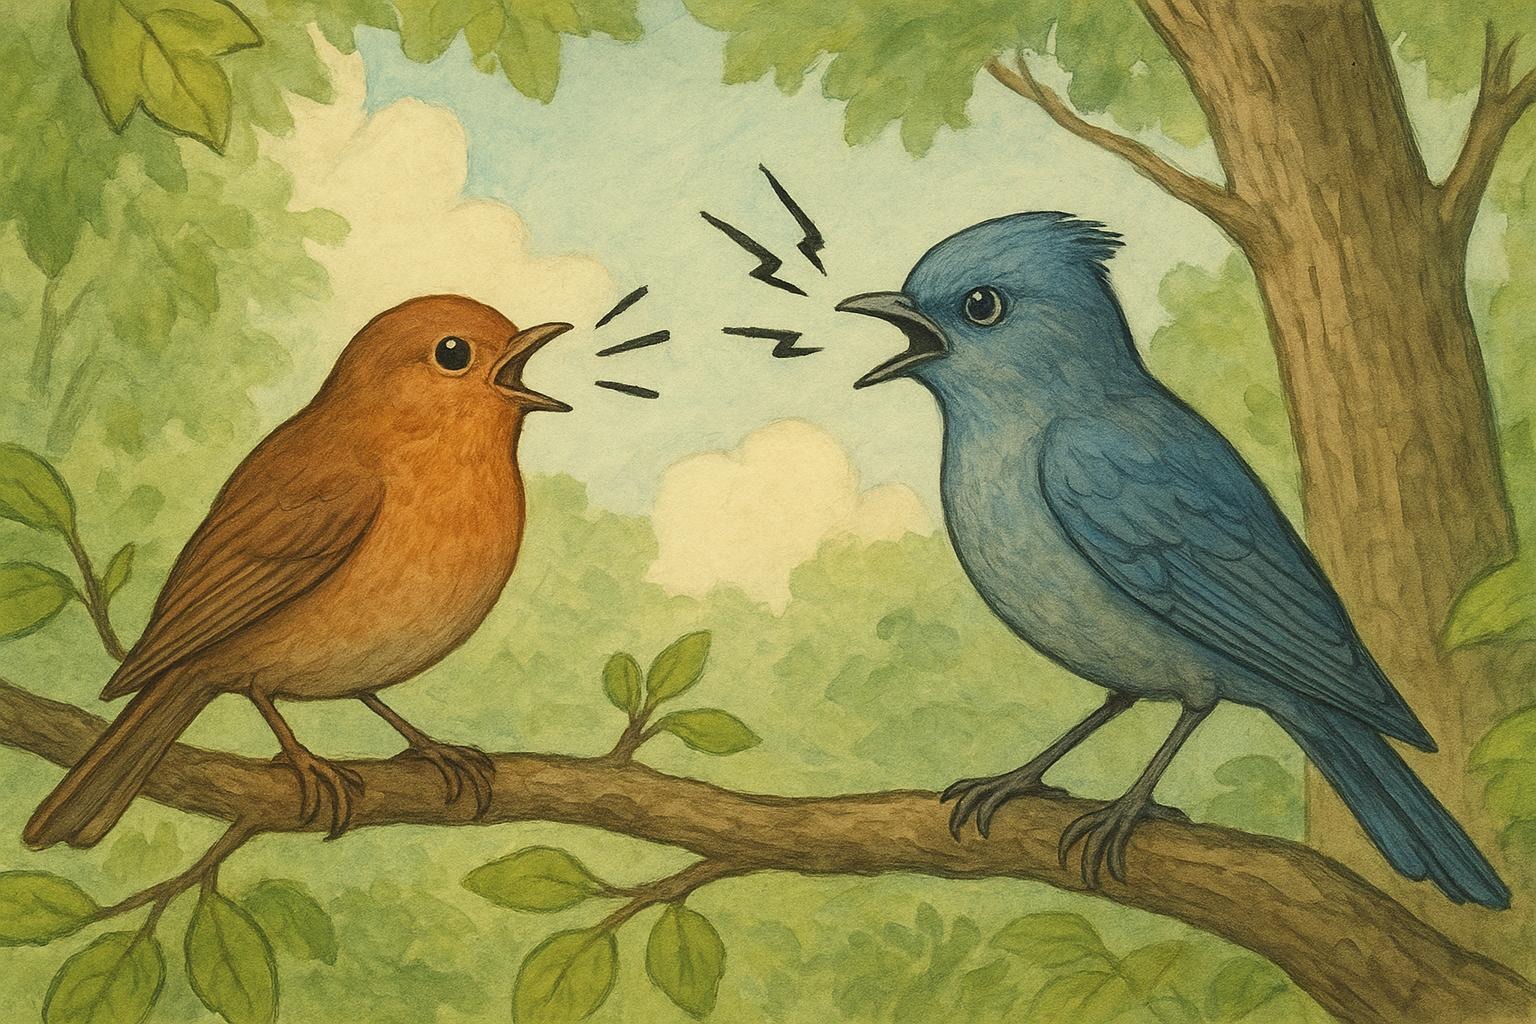
Woodpeckers drum and peck for three reasons: to find food (insects under bark), to excavate nesting cavities, and to communicate—think of it as avian Morse code. Modern homes, with exposed eaves, synthetic siding, or even HVAC units that hum, provide perfect amplifying platforms. The louder the echo, the more attractive to a woodpecker.
### Signs You Have A Woodpecker Problem
– Rows of uniform round holes (often 1/2 to 1 inch wide).
– Pecking concentrated on eaves, trim, chimneys, and shingles.
– Shavings or sawdust-like frass around the base of the house.
– Loud, repetitive drumming at specific times of day.
– Visible cavities or softer wood where moisture has set in.
If you spot any of these, act sooner rather than later—repair costs and collateral damage grow exponentially the longer those pecks continue.
## 1. Physical Barriers To Stop Woodpecker Damage
Physical exclusion is usually the most reliable long-term fix. These tactics prevent pecks from reaching vulnerable wood or create surfaces woodpeckers can’t cling to or penetrate easily.
### Materials Needed For Physical Barrier Method
– Galvanized hardware cloth (1/4″ to 1/2″ mesh) or stainless steel mesh
– Exterior-grade cedar or pressure-treated trim (for replacements)
– Galvanized nails or stainless screws
– Compatible exterior caulk (silicone or polyurethane)
– Flashing or metal edge trim (aluminum or galvanized steel)
– Wire cutters, tin snips, power drill, ladder, work gloves, safety glasses
### Step-By-Step Installation: Hardware Cloth Over Vulnerable Areas
1. Inspect and Identify: Walk your property, documenting exact spots of woodpecker damage and the material behind the siding/eaves.
2. Remove Loose Material: Carefully remove any rotted wood or loose siding pieces. Clean the area of frass and debris to ensure a solid fit for the mesh.
3. Measure And Cut Mesh: Cut hardware cloth to size, allowing an overlap of at least 2 inches on all sides for secure fastening.
4. Fasten Mesh Securely: Position the mesh over the damaged area and fasten it with galvanized nails or screws every 3–4 inches, ensuring it’s taut and flush to the surface.
5. Seal Edges: Apply exterior-grade caulk around the edges to prevent moisture intrusion and to deny insects or birds access behind the mesh.
6. Refinish Or Replace Trim As Needed: If trim was removed, replace with new exterior-rated wood or composite trim. Paint or stain to match the house.
7. Monitor: Check periodically, especially after storms, to ensure the mesh hasn’t been dislodged and that no new damage appears.
### When To Use Metal Flashing Or Trim
Use aluminum flashing across rooflines, along fascia, or under shingles where birds repeatedly peck at edges. Properly installed metal trim not only deters woodpeckers but also improves water shedding and protects vulnerable joints.
## 2. Behavioral And Sensory Deterrents To Prevent Woodpecker Damage
If exclusion is impractical for all problem areas, altering the site’s attractiveness and using sensory deterrents helps. These methods work by making the location less appealing for feeding, drumming, or nesting.
### Materials Needed For Sensory Deterrent Method
– Reflective tape or Mylar strips
– Predator decoys (owl or hawk models) with movable heads if possible
– Ultrasonic bird deterrent device (commercial grade)
– Bird netting or tensioned cable systems (for large eaves)
– Scent-based repellents (commercial, bird-safe formulations)
– Staple gun, zip ties, poles for mounting, and ladder
### Step-By-Step Application: A Multi-Layer Deterrent Approach
1. Assess Peak Activity Periods: Identify times of day and seasons when woodpeckers are most active on your house. Many species drum heavily in spring and early summer.
2. Install Visual Deterrents: Hang reflective tape or Mylar strips along the eaves and near pecking sites. Space strips about 6–12 inches apart. Use predator decoys placed on the roofline; change their position weekly to maintain effectiveness.
3. Apply Auditory/Ultrasonic Devices: Mount ultrasonic deterrents according to manufacturer specifications, aimed at the problem areas. Note: Effectiveness is species- and situation-dependent; combine with other methods.
4. Use Physical Netting For Large Zones: For extended eaves or chimneys, install tensioned bird netting or cable systems that keep birds from landing. Ensure proper anchoring and tension to prevent entanglement.
5. Test Scent Repellents: If feeding is the issue, apply bird-safe, commercial scent repellents to exposed wood according to label instructions. Do not use harmful chemicals or anything that risks pets.
6. Rotate Tactics: Change the arrangement of decoys and reflective materials every 7–10 days. Birds habituate to static deterrents; variation prolongs effectiveness.
7. Combine With Habitat Modification: Trim back trees that provide perches within 10–15 feet of the house, remove insect-attracting dead wood near the foundation, and cover exposed utility lines or boxes.
### Notes On Legal Protections And Humane Treatment
Many woodpecker species are protected under federal or local laws. Do not attempt to trap, relocate, or harm birds without consulting wildlife authorities. The methods above focus on exclusion and deterrence, which are legal and humane.
### When To Call A Professional
If you have repeated woodpecker damage, large structural exposure, or nests present in siding or eaves, contact a licensed wildlife control or pest professional. Professionals can safely remove active nests only when permitted, patch structural damage correctly, and install commercial-grade exclusion systems.
### Repair Tips After Woodpecker Activity
For small holes, use exterior-grade wood filler or epoxy; sand and repaint. For larger cavities, cut out damaged sections and replace with new exterior-grade materials. Ensure flashing and underlayment are intact to prevent moisture. When in doubt, have a contractor inspect for hidden rot and insulation compromise.
#### Insurance And Warranty Considerations
Homeowner insurance often excludes wildlife damage or may only cover secondary damage like water intrusion. Check your policy details. For newer homes, some siding warranties may address damage differently—document the damage with photos and dates to support any claim.
#### Preventative Maintenance Checklist
– Inspect eaves and trim every spring and fall.
– Maintain a perimeter free of rotting wood and standing dead trees.
– Paint or seal exposed wood to reduce appeal.
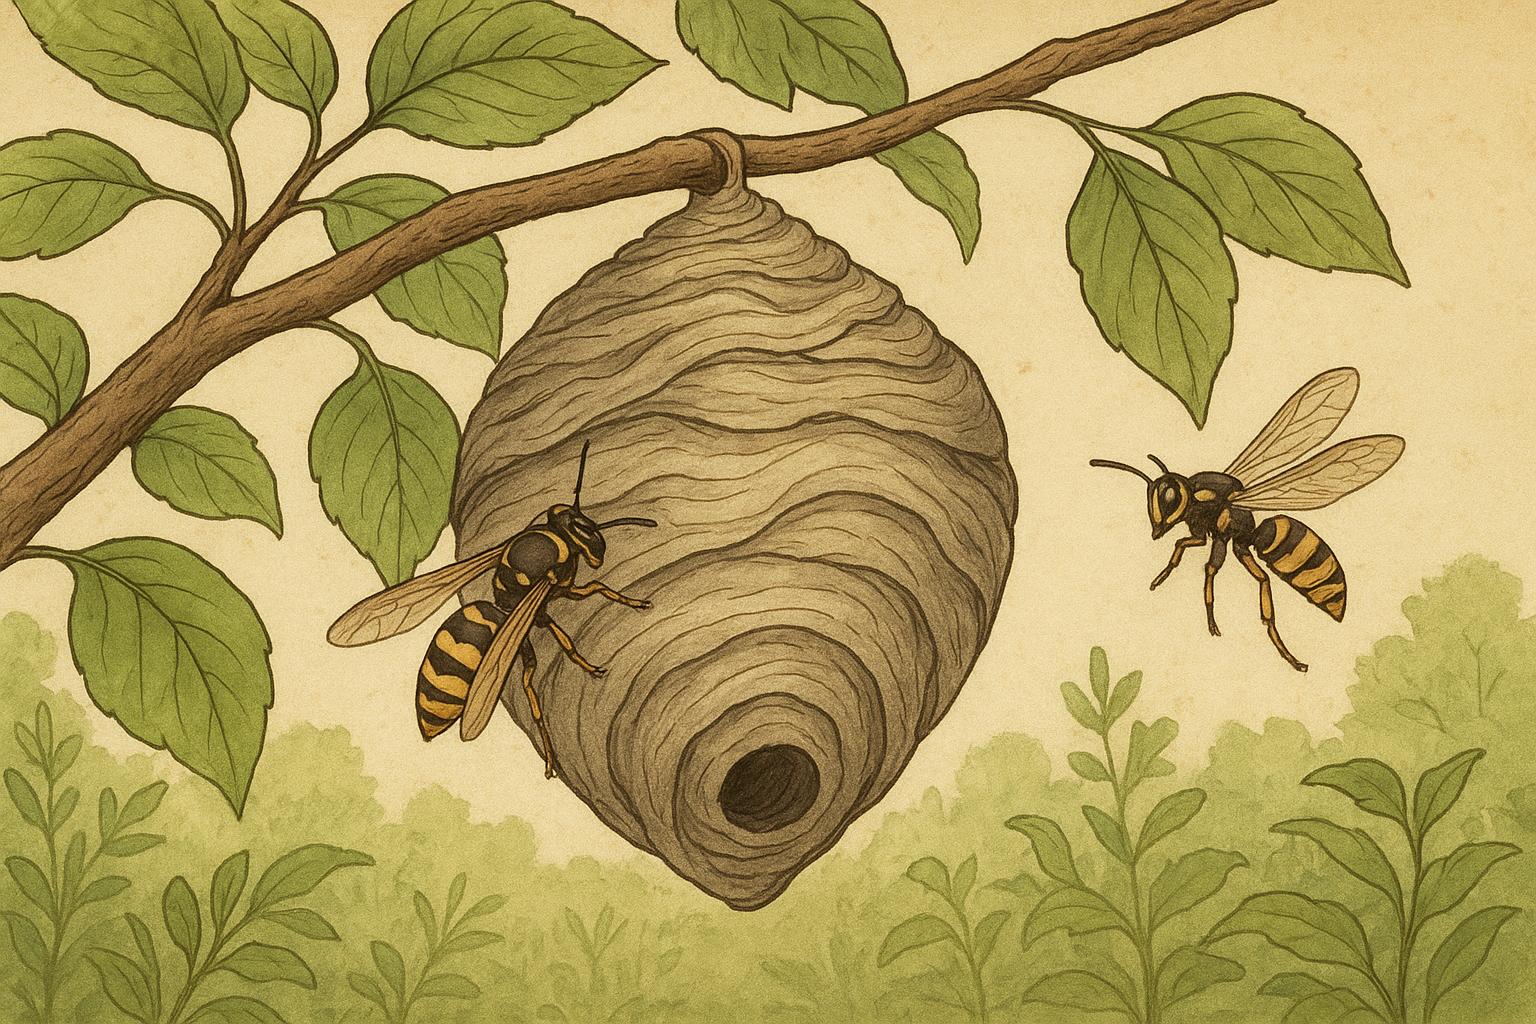
– Keep outdoor lights minimized; insects attracted to lights draw foraging woodpeckers.
If the tapping at dawn has you reaching for a bat or a very stern broom, take a deep breath. A mix of common-sense exclusion, timely repairs, and wildlife-friendly deterrents will stop the percussionist in short order. If you want, I can walk you through a tailored plan for your specific siding type or recommend licensed professionals in your area.


Leave a Reply