
The neighborhood had barely settled when the first yips and thumps started—like little raccoons rehearsing drum solos above the laundry room. Within minutes, backyard chatter turned into a full-blown neighborhood group chat: kids pressed faces to windows, dogs rehearsed high-decibel protests, and someone lit a porch lamp for what felt like a stakeout. If you’ve ever been the unlucky host to nocturnal acrobatics, you know the frantic, slightly comic energy of realizing you’re sharing a roof with wildlife. Tonight’s star? An audacious attic squirrel making itself at home where insulation meets indoor plumbing.
## Attic Squirrel Chaos: What’s Happening Tonight
So what exactly is going on up there? Commonly, that midnight thumping, scratching, and occasional metallic clatter is the hallmark of a nimble visitor: the attic squirrel. These critters are agile, curious, and persistent. What starts as one or two exploratory trips often becomes an established route—into soffits, through damaged shingles, or via unsealed vents. The initial comedy of squirrel antics (they’re pretty entertaining performers) quickly turns into a logistical headache: nests, chewed wires, insulation pushed aside, and noise that makes sleep optional.
### Nighttime Noises And Signs To Watch For
Not all attic noises are squirrels—raccoons have heavier steps, bats flutter, and rodents can be sneakier. But signs that point to an attic squirrel include:
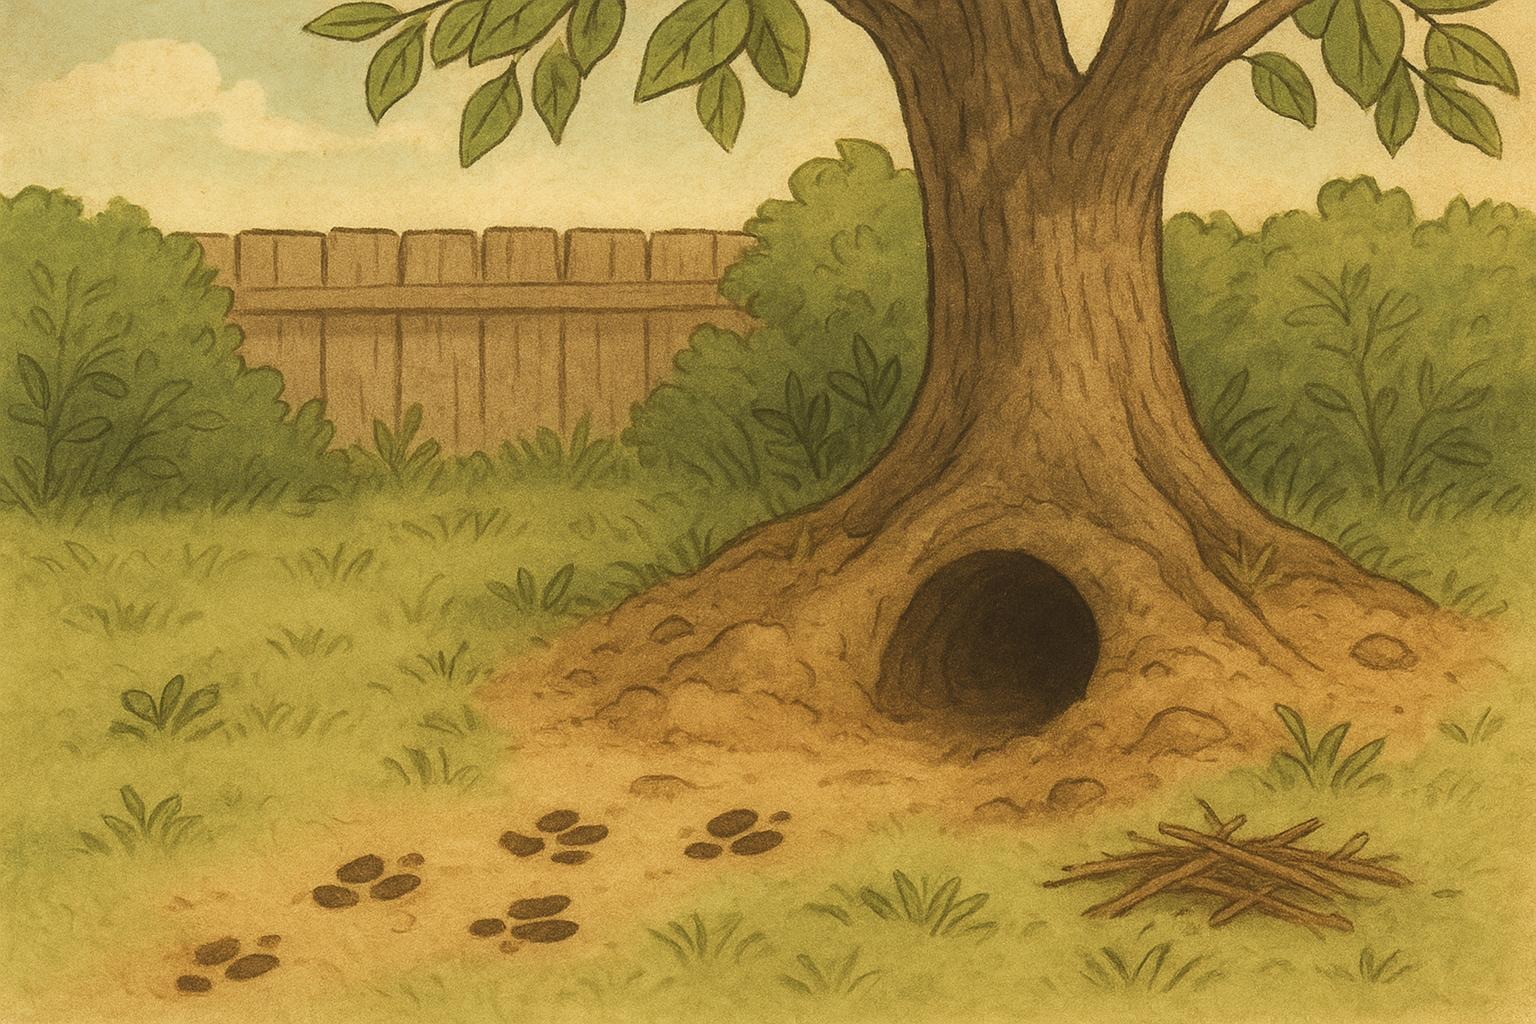
– Sharp, rapid scurrying that sounds like little paws racing across wood.
– A persistent path in insulation or shredded nesting material.
– Green stains or chewed shingles near eaves and vents where they gain entry.
– Occasional daytime sightings on gutters or rafters—squirrels aren’t strictly nocturnal.
If you notice these, it’s a good bet that an attic squirrel is on the premises. They often work in the quiet hours, which explains why you might suddenly feel like your house has a built-in percussion section.
### Why Squirrels Target Attics
Squirrels are looking for three things: safety, warmth, and a place to raise young. Attics are attractive because they’re dry, insulated, elevated from predators, and often have small entry points that mimic tree cavities. Seasonal behavior matters: in autumn and early winter, squirrels seek cozy dens; in spring, females search for secure nest sites for kits. An attic squirrel is likely just following instinct, not plotting to ruin your floor plans.
## When Playful Wildlife Turns Problem
A playful backyard visitor becomes a serious issue when structural damage or health risks enter the equation. Squirrels chew—on wood, plastics, and sometimes on electrical wiring. They nest, and nesting means tearing up insulation and leaving behind organic waste. They can also dislodge vents or soffits while squeezing through spaces barely larger than their heads. All of these outcomes lead to costly repairs if left unaddressed.
### Health And Safety Concerns
While squirrels themselves aren’t usually aggressive toward people, they carry ticks, fleas, and potentially diseases like leptospirosis or, in rare cases, rabies. More common is the risk of fire if a squirrel chews through electrical insulation. Also, accumulated droppings and urine in an attic increase ammonia levels and can introduce mold or bacteria. For those with allergies or respiratory concerns, this is a serious indoor air quality issue.
### Legal And Ethical Considerations
Some regions have protections for certain wildlife or specific methods of removal. Live trapping followed by release may be restricted; relocation can stress animals and cause ecological ripple effects. Ethically, the best approach balances humane treatment with human safety and property protection. Review local wildlife regulations before acting, and prefer exclusion over lethal methods when possible.
## Remedy 1: Humane Eviction And Exclusion
This remedy outlines a humane, methodical approach to evicting an attic squirrel and preventing re-entry. The tone here is practical and factual—follow each step carefully for safety and effectiveness.
Required Materials
– Sturdy work gloves and eye protection
– One-way exclusion door(s) or temporary exclusion funnels (commercially available)
– Heavy-duty galvanized flashing or hardware cloth (1/4″ to 1/2″ mesh)
– Exterior-grade caulk and silicone sealant
– Roofing screws and metal repair plates
– Flashlight and binocul ar tools
– Ladder and assistant for safety
– Optional: motion-activated light or ultrasonic deterrent (as supplemental)
Step-By-Step Exclusion Procedure
1. Inspection: At dawn or daylight, perform a thorough exterior inspection. Look for entry points—gaps under eaves, damaged vents, torn soffits, broken fascia, and gaps around chimneys. Inside, check for nesting material, chew marks, and preferred rafters.
2. Confirm Vacancy: Before sealing any hole, confirm the squirrel is not actively nesting with dependent young. Observe activity for a few mornings. If kits are present, do not evict—legal and ethical issues arise. Consult wildlife control.
3. Install One-Way Exclusion: Fit a one-way exclusion door over primary entry points. These devices let animals exit but prevent re-entry. It’s an effective, humane first step. Ensure the device is secure and won’t collapse.
4. Monitor: Keep the exclusion in place for 3–7 days to allow stragglers to leave. Observe from a distance; do not provoke the animal.
5. Seal Permanently: After monitoring confirms no re-entry and no animals remain, remove the exclusion and permanently seal openings using galvanized flashing, hardware cloth, and exterior caulk. Seal gaps larger than a quarter-inch; squirrels can chew into smaller spaces.
6. Structural Repairs: Replace damaged vents or shingles and reinforce soffits. Use metal flashing where squirrels previously chewed. Reattach loose components with roofing screws and plates.
7. Prevention: Trim tree branches and limbs at least 6–8 feet from the roofline to reduce access routes. Install chimney caps and secure attic vents with hardware cloth.
#### Sealing Entry Points
Use hardware cloth with 1/4″ mesh for vents and soffit repairs; it resists gnawing and allows ventilation. Fasten it with corrosion-resistant screws and washers. For roofline gaps, galvanized flashing provides a durable barrier that also blends with roofing materials.
## Remedy 2: Cleanup, Repair, And Prevention Of Recurrence
This second remedy addresses what to do after eviction: cleaning, disinfecting, repairing insulation, and implementing long-term prevention. Formal, clear, and methodical instructions follow.
Required Materials
– N95 or N100 respirator mask
– Disposable coveralls and boot covers
– Heavy-duty rubber gloves
– Plastic bags (heavy gauge) and bins
– Enzyme-based cleaner and disinfectant labeled for animal waste
– Replacement insulation (batts or blown-in) and insulation supports
– Protective eyewear and ventilation fan
Step-By-Step Cleanup And Repair
1. Personal Protection Setup: Before entering the attic, don protective clothing, respirator, gloves, and eye protection. Contaminated insulation and droppings can aerosolize hazardous particles.
2. Ventilation: Open access points and use a fan at low speed to ventilate the space for 15–30 minutes prior to working. Maintain cross-ventilation to reduce airborne contaminants.
3. Remove Contaminated Materials: Carefully remove soiled insulation, nesting materials, and droppings. Place debris directly into heavy-duty bags or bins. Double-bag and seal before transporting to a disposal site per local regulations.
4. Decontaminate Surfaces: Apply an enzyme cleaner to disinfect areas where urine and feces accumulated. Follow product dwell times. Use a damp mop or cloth rather than sweeping to avoid stirring up particles.
5. Inspect Wiring And Structures: Examine electrical wiring for chew damage. If you find compromised wiring, shut off power to that circuit and engage a licensed electrician for repairs—do not attempt complex electrical fixes yourself.
6. Install New Insulation: Replace removed insulation with appropriate R-value batts or blown-in insulation. Ensure even coverage and proper support to prevent sagging. Maintain clearances around fixtures and chimneys.
7. Final Inspection And Documentation: Once repairs are complete, document repairs with photos and keep receipts. This helps with future inspections and may assist with insurance claims if structural damage was significant.
### When To Call A Professional
If you detect signs of extensive damage—chewed wiring, structural compromise, a large number of animals, or presence of young—engage a licensed wildlife removal and restoration professional. Professionals can:
– Perform humane eviction under local laws,
– Evaluate and remediate biohazards,
– Coordinate electrical and structural repairs,
– Provide warranty-backed exclusion work.
If you or a household member has been bitten or scratched, seek medical attention immediately and contact local health authorities about rabies protocols. Also consult professionals when attic access is unsafe or when the infestation recurs despite DIY measures.
#### Soundproofing Tips For Sleep-Deprived Homeowners
While not a remedy for entry, improving attic insulation and adding sound-dampening layers can reduce noise transmission. Dense attic floor insulation and sealed access panels will muffle small animal movements and restore peaceful nights more quickly than you might expect.
Tonight’s backyard alarm will probably be tomorrow’s cautionary tale, once the attic squirrel has been gently shown the door and repairs are under way. For now, keep flashlights handy, resist giving it a nickname if you plan to evict it, and follow the steps above if you want to restore quiet without unnecessary harm.


Leave a Reply