
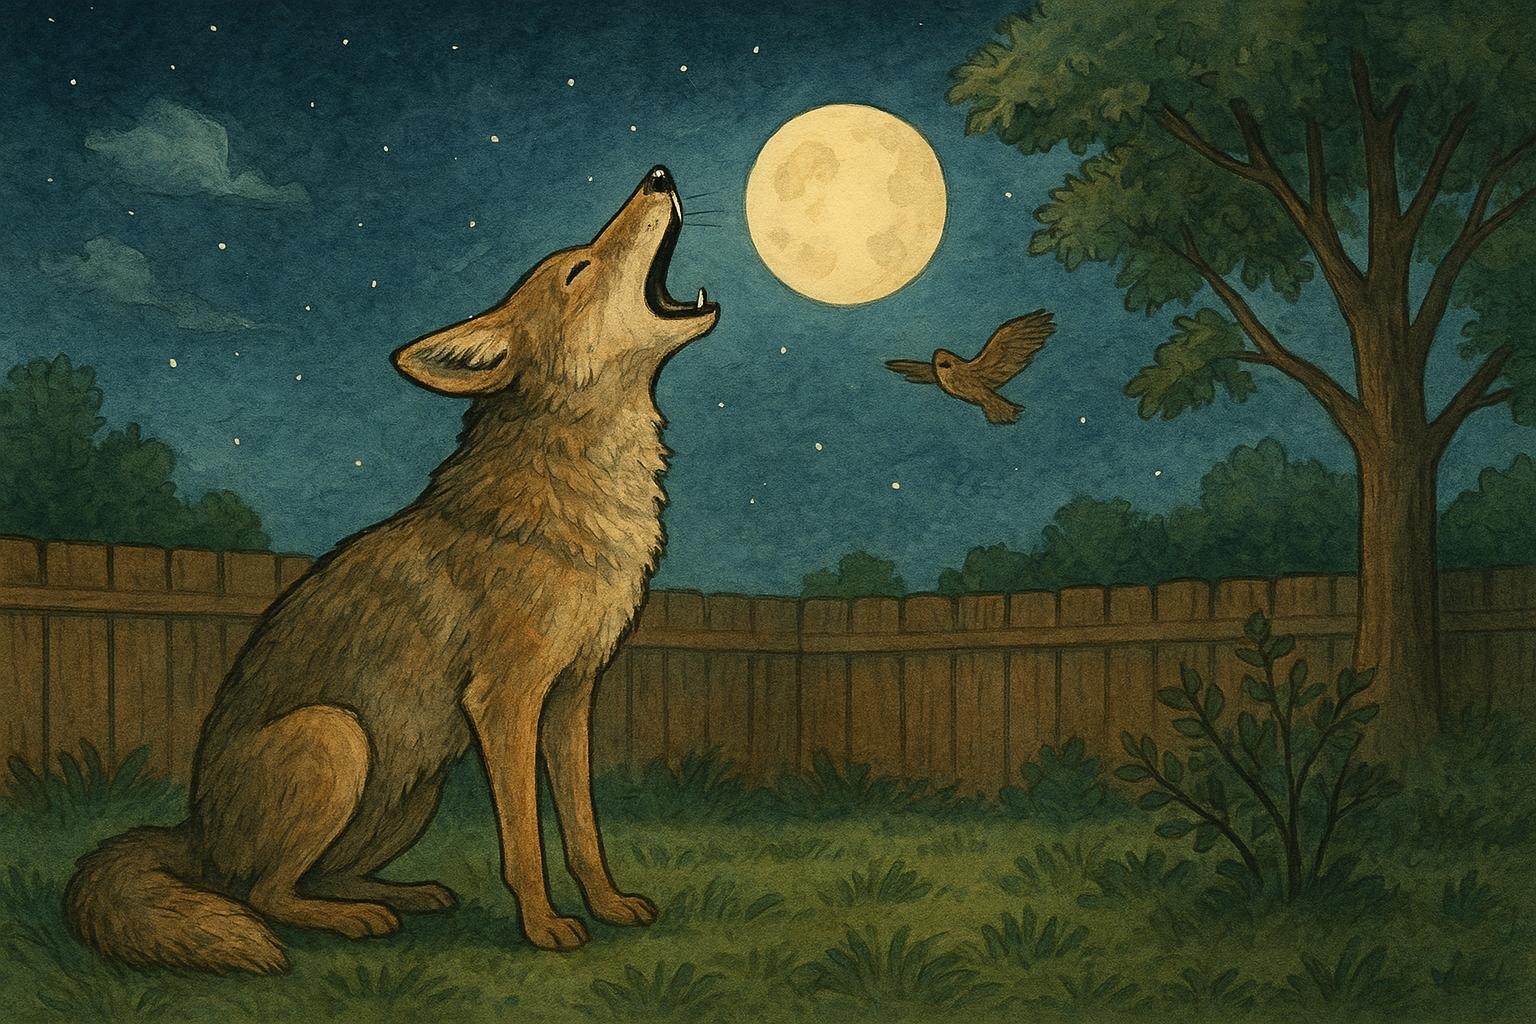
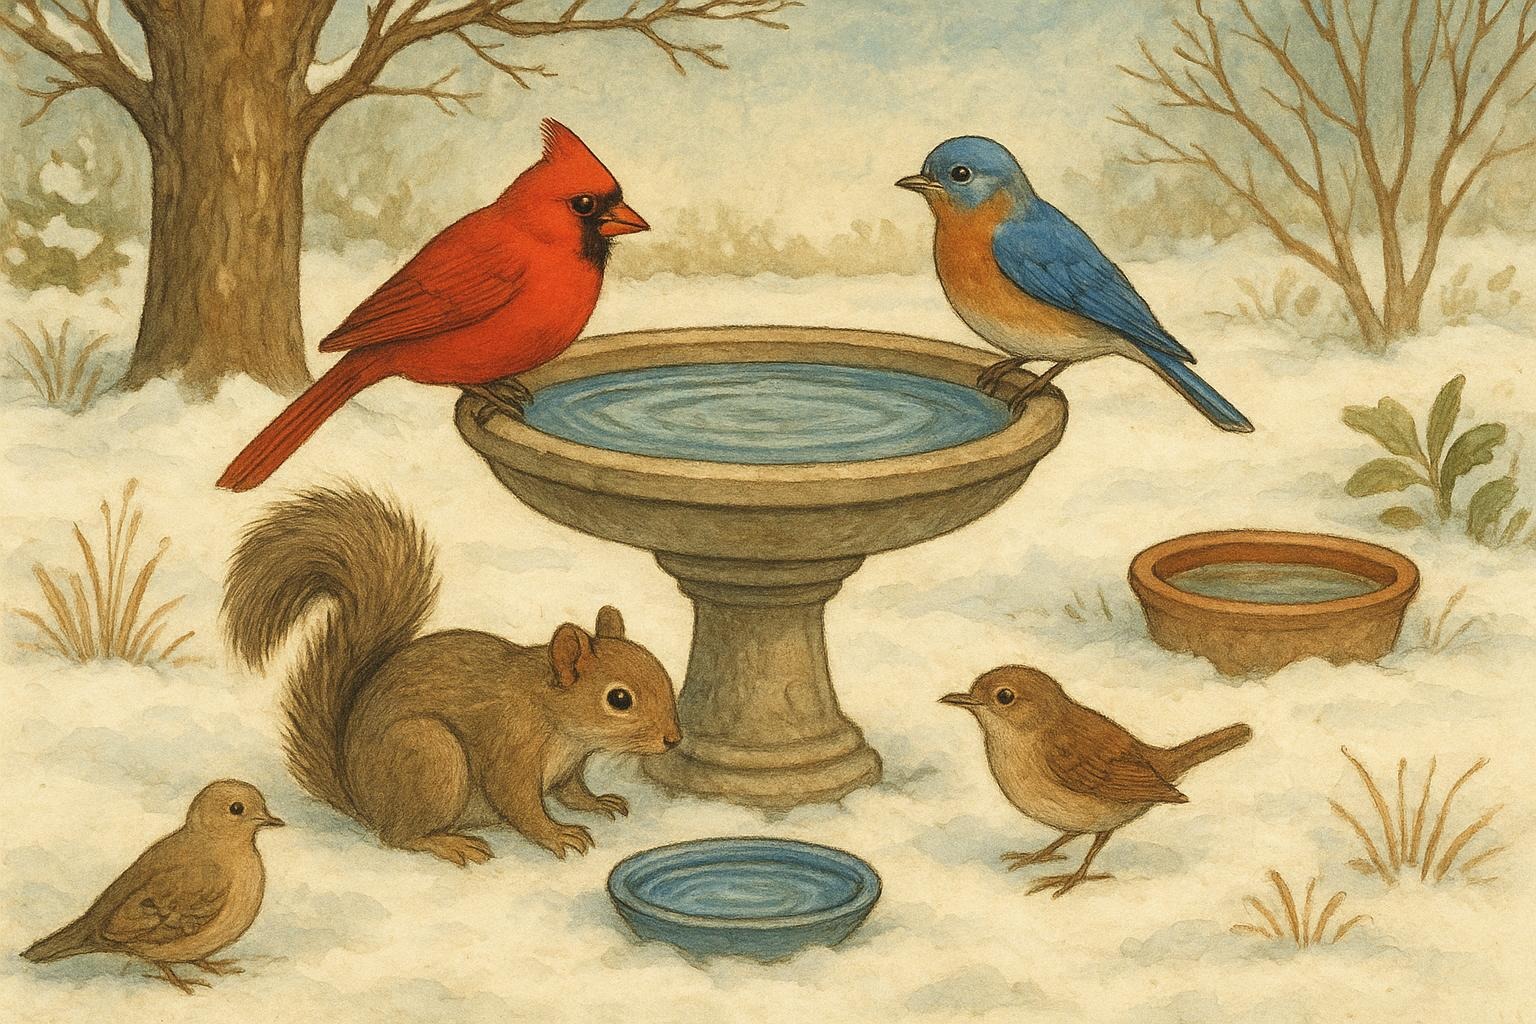
Autumn arrives with a slow sigh: leaves crunching underfoot, warm drinks making a comeback, and our backyard neighbors starting to think about where they’ll sleep when the thermostat drops. Watching animals tuck away and tiptoe into den-building mode is one of the small joys of the season. Whether you’re a casual observer or a backyard wildlife ally, there’s something quietly thrilling about seeing a squirrel test a hollow, a hedgehog nose through leaf piles, or a fox circle a preferred spot. This article will walk you through the delights of autumn denning and offer a practical, thoughtfully designed remedy for creating a sheltered winter den that supports small wildlife through the cold months.
## Autumn Denning Delights
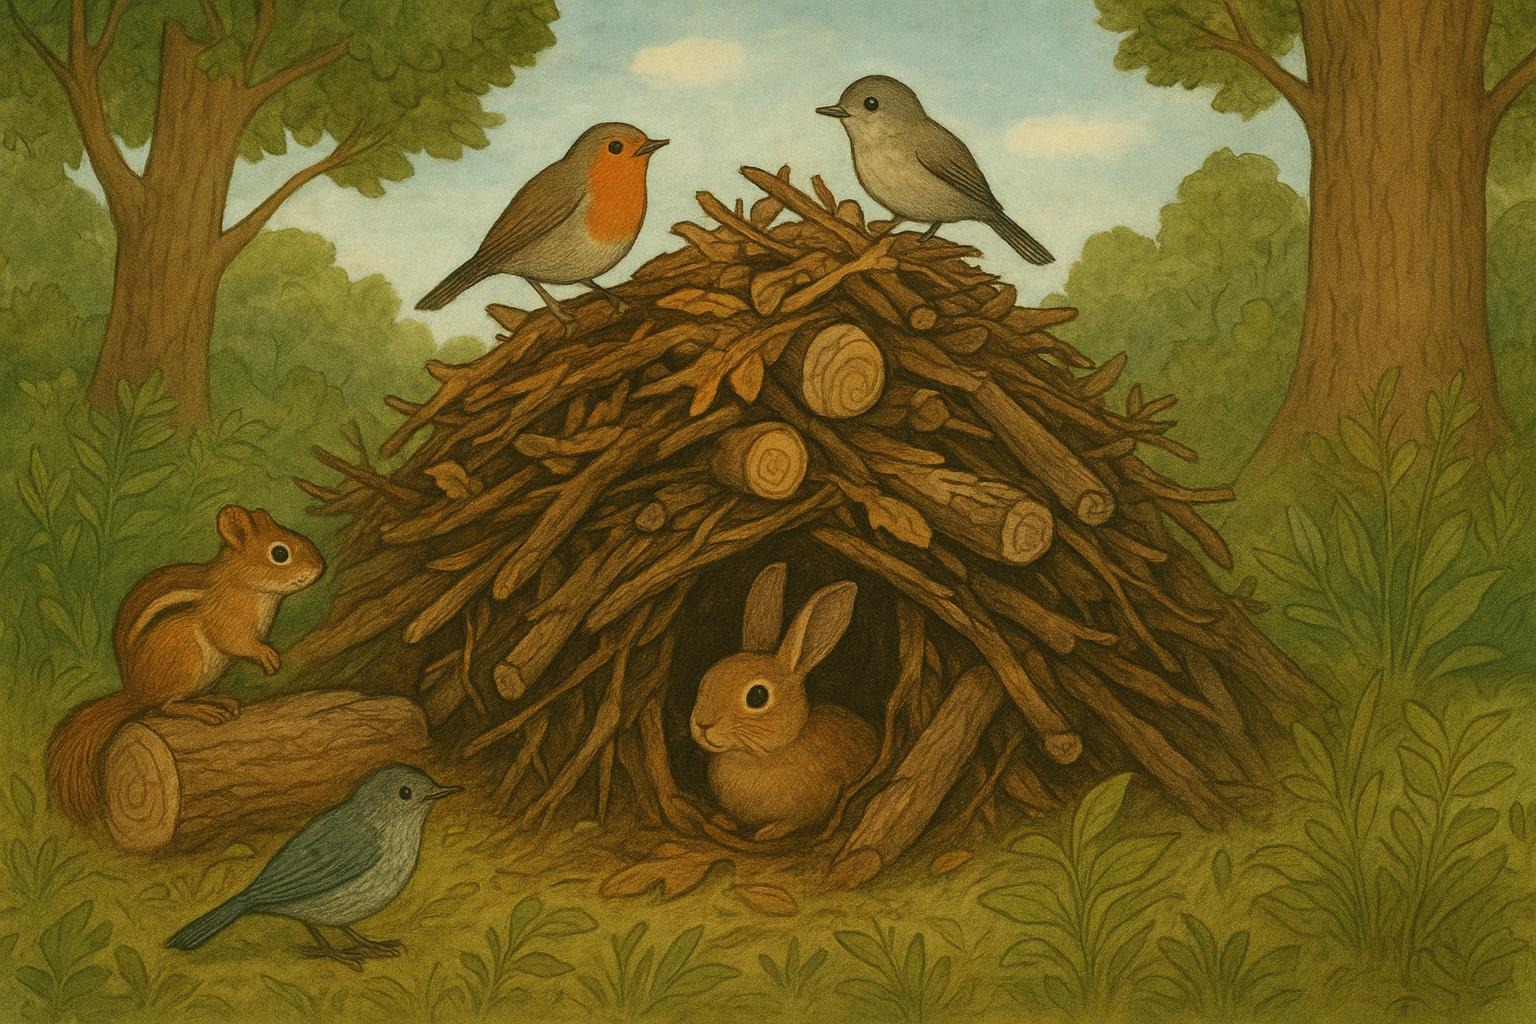
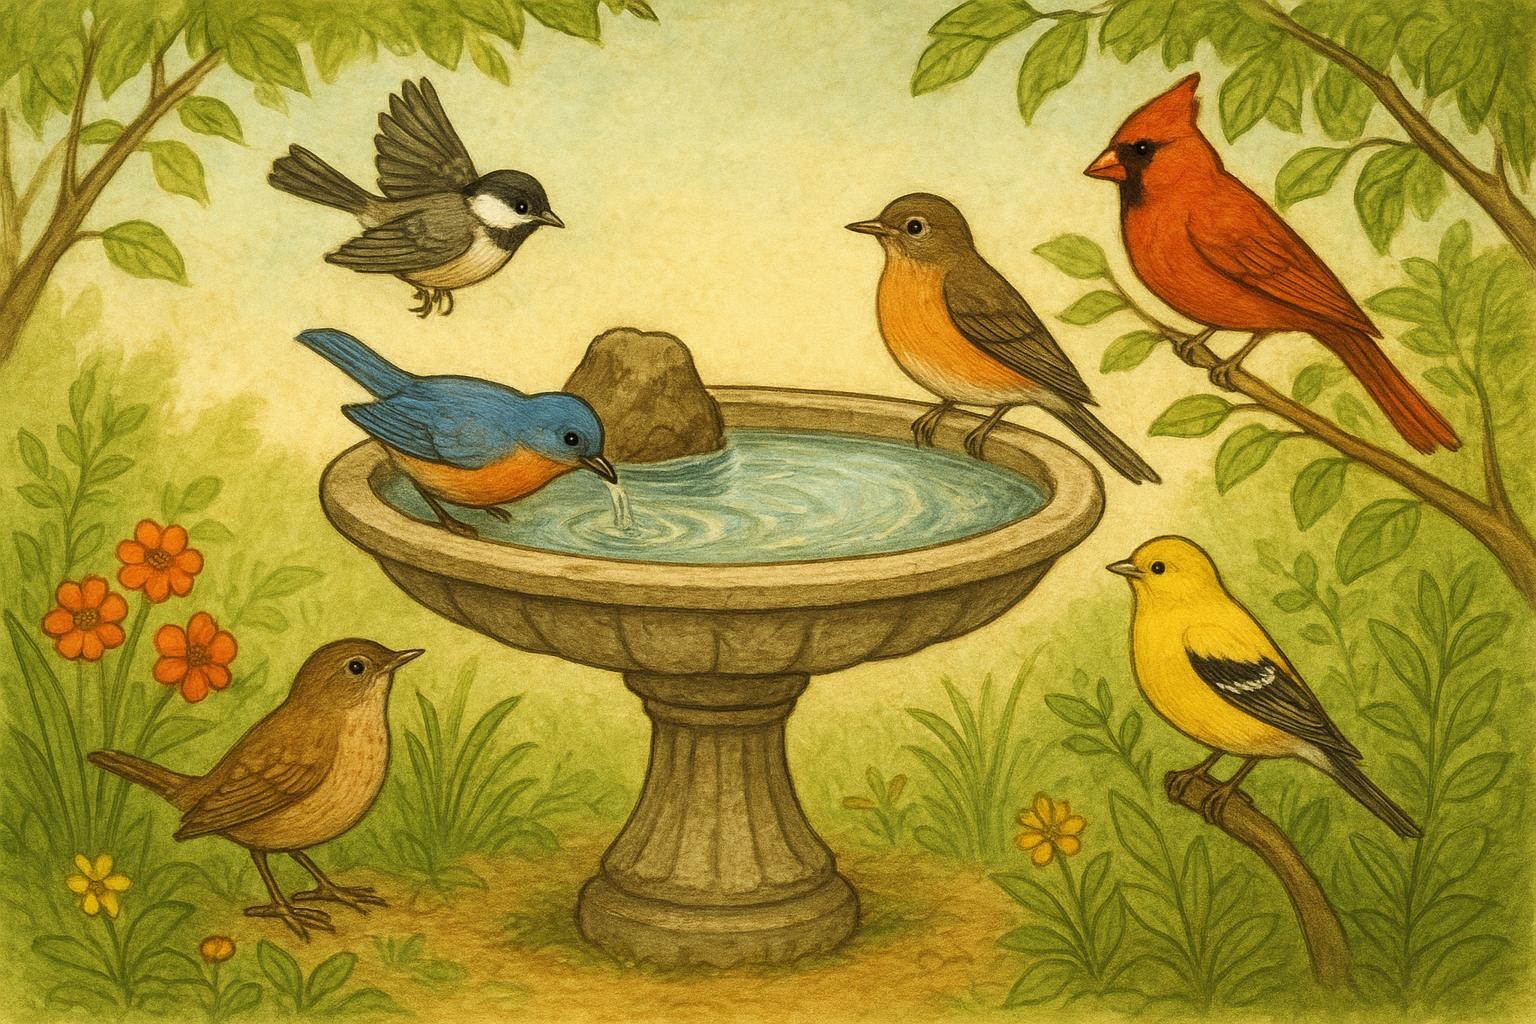
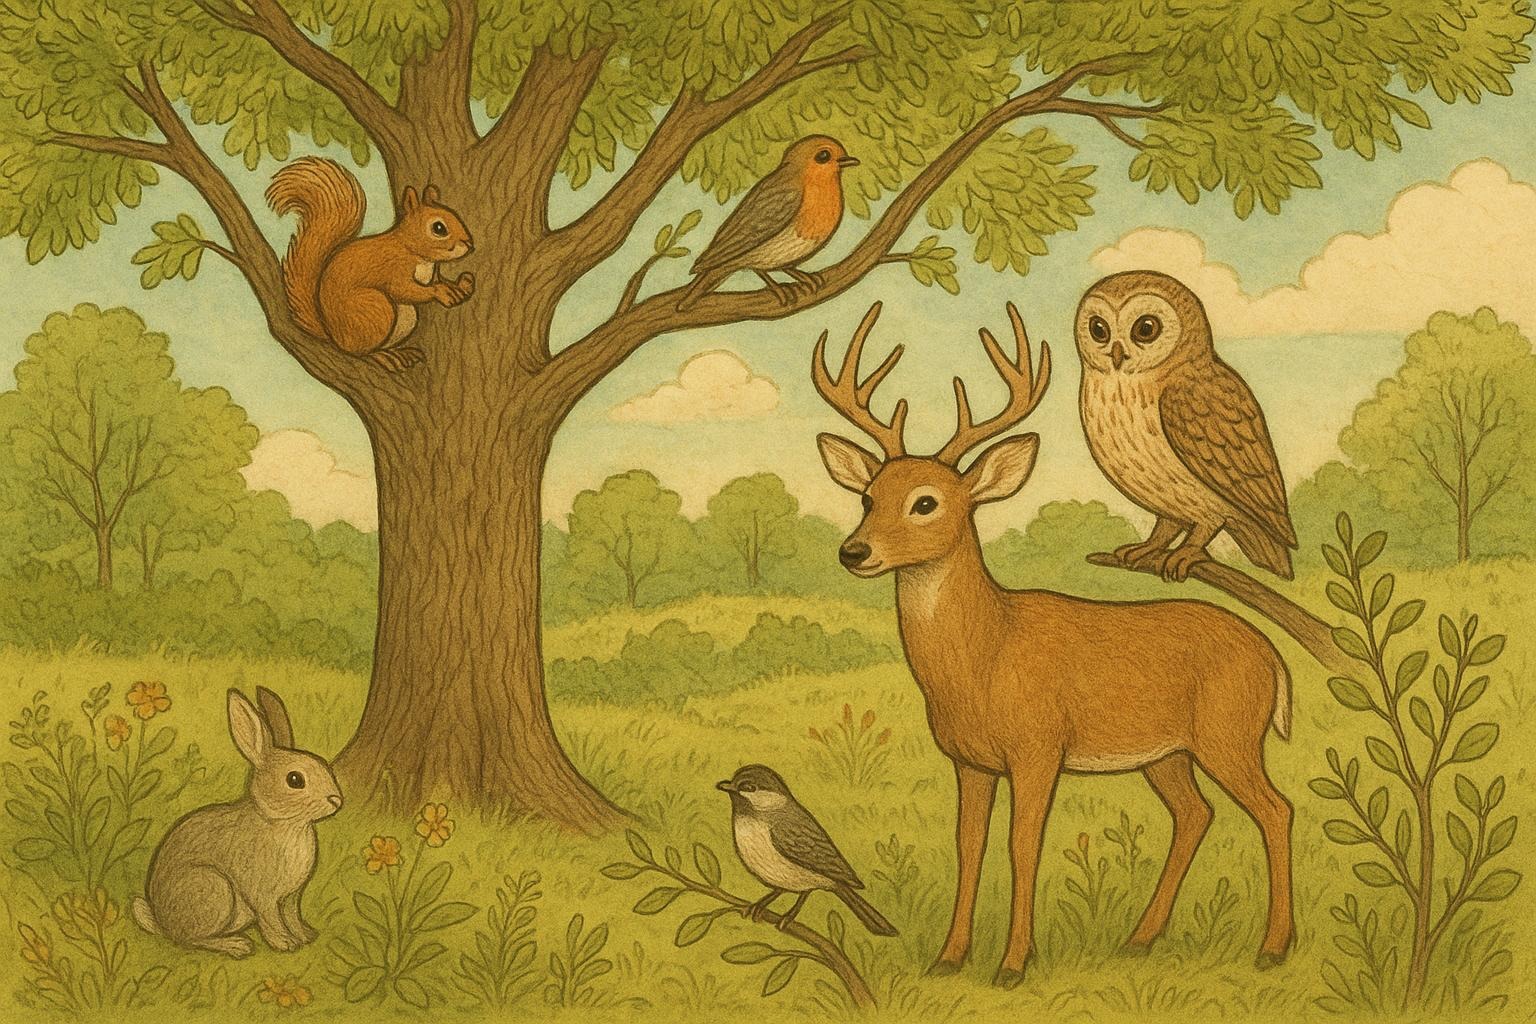
Autumn is like a home-redecorating season for critters. Birds bulk up on seeds and suet; tiny mammals gather materials; larger animals pick out or reinforce cavities. Some species migrate, but many of the ones you see in your garden will be staying put and preparing shelters—maybe in a fallen log, under a porch, or within a brush pile. The choreography is gentle and deliberate: a leaf dragged here, a tuft of grass tucked there, careful testing of entrances.
### Why Denning Matters
Dens are more than cozy sleeping spots. They offer protection from predators, insulation against fluctuating temperatures, and a dry place for raising young. A well-placed den reduces stress on an animal’s energy reserves so it can survive lean times. Plus, dens contribute to the overall ecological health of your yard: nesting sites attract more insects, seeds, and other small animals, which in turn support predators and scavengers.
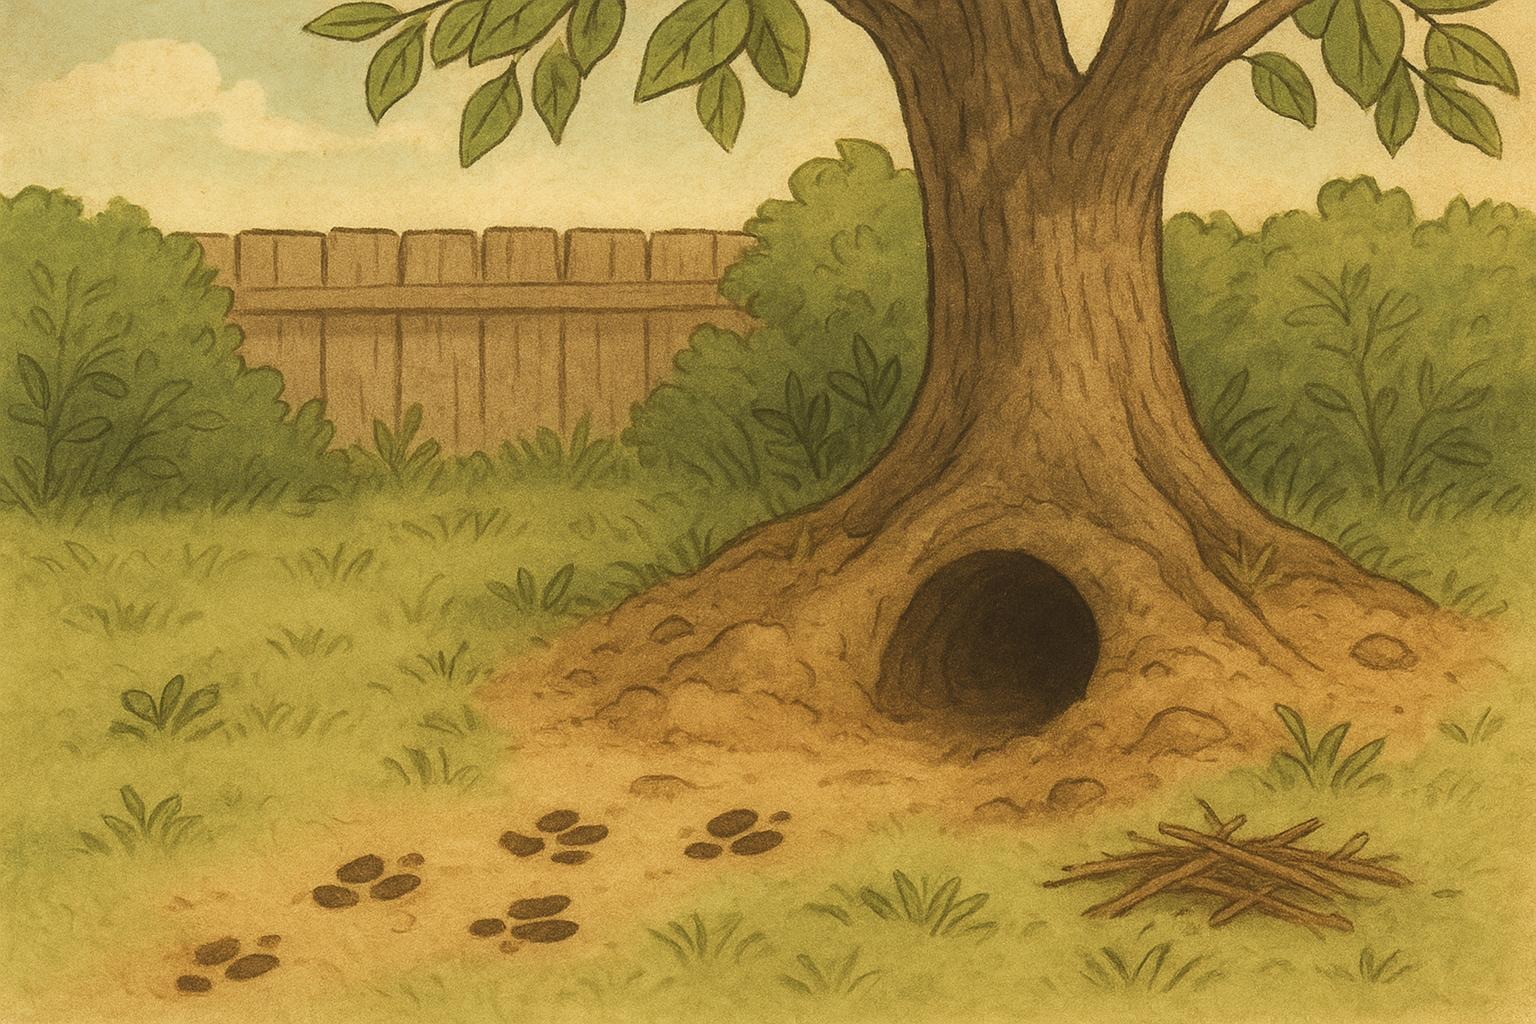
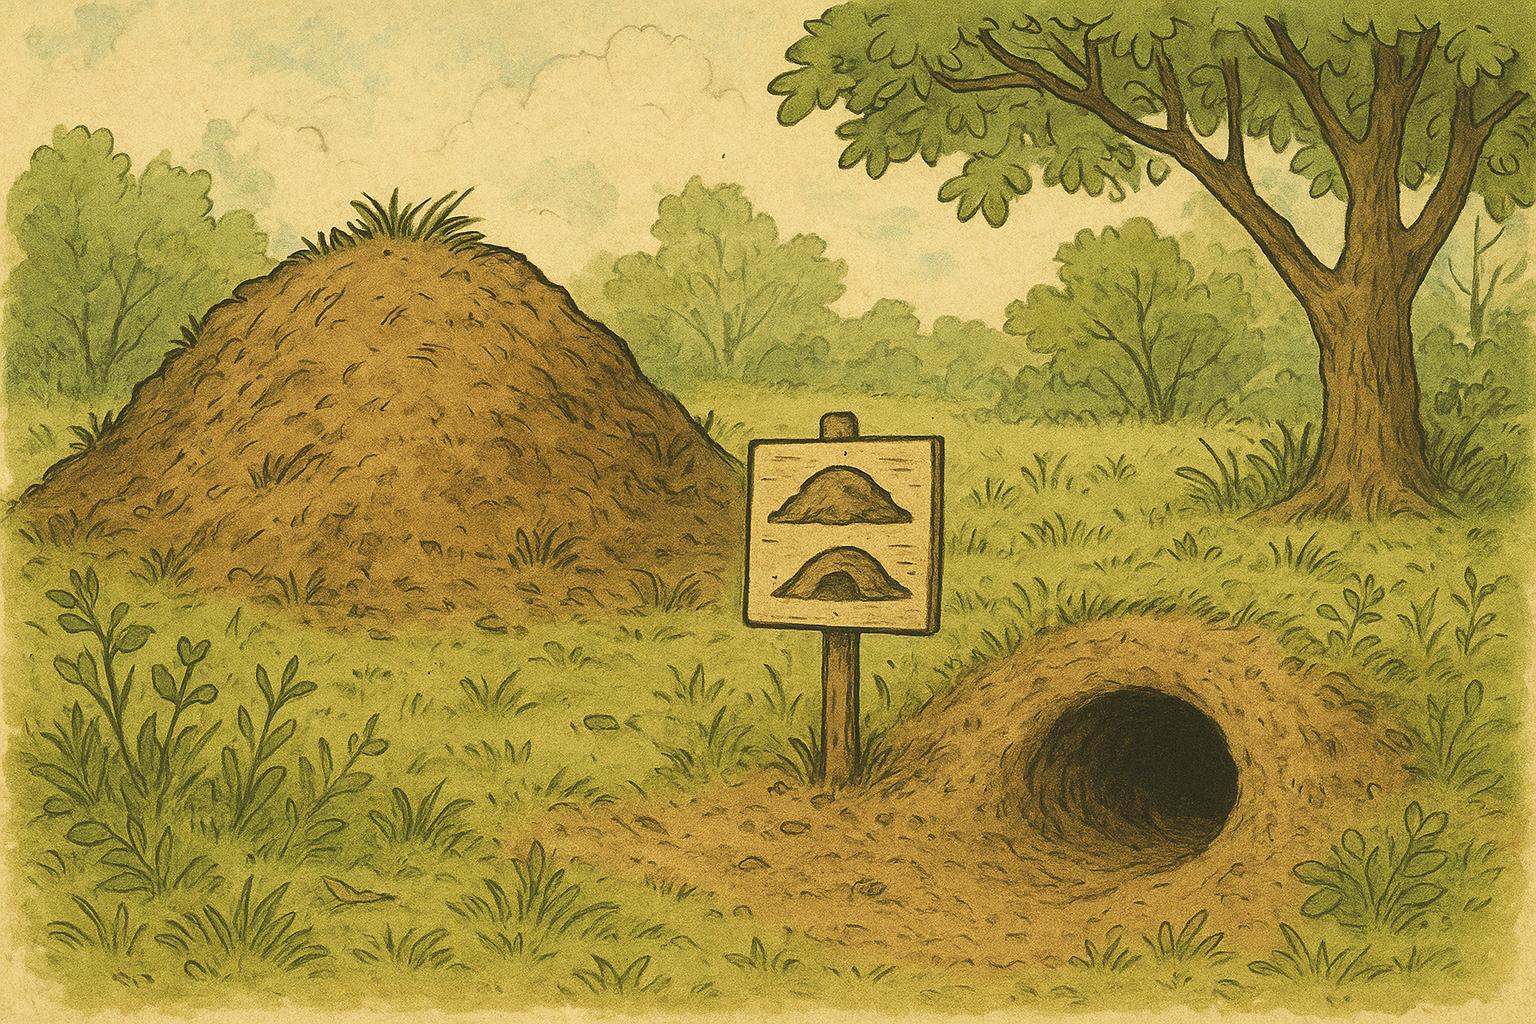
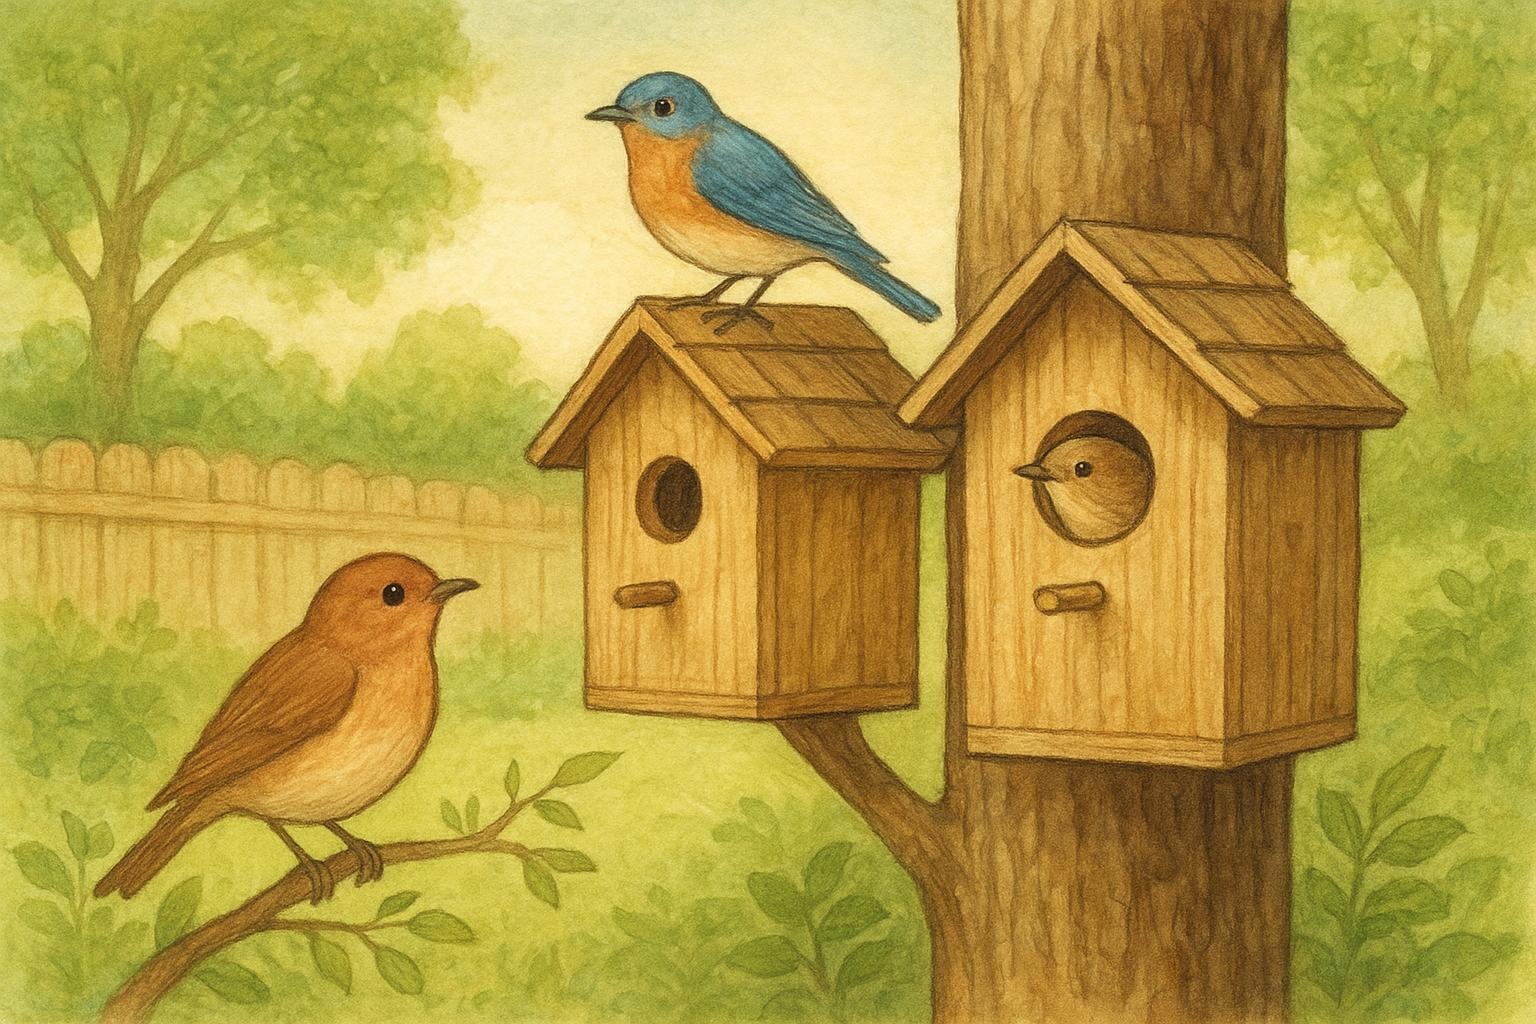
### Typical Den Sites You Might See
– Hollow trees and cavities.
– Brush piles and rock crevices.
– Burrows under shed foundations or stone walls.
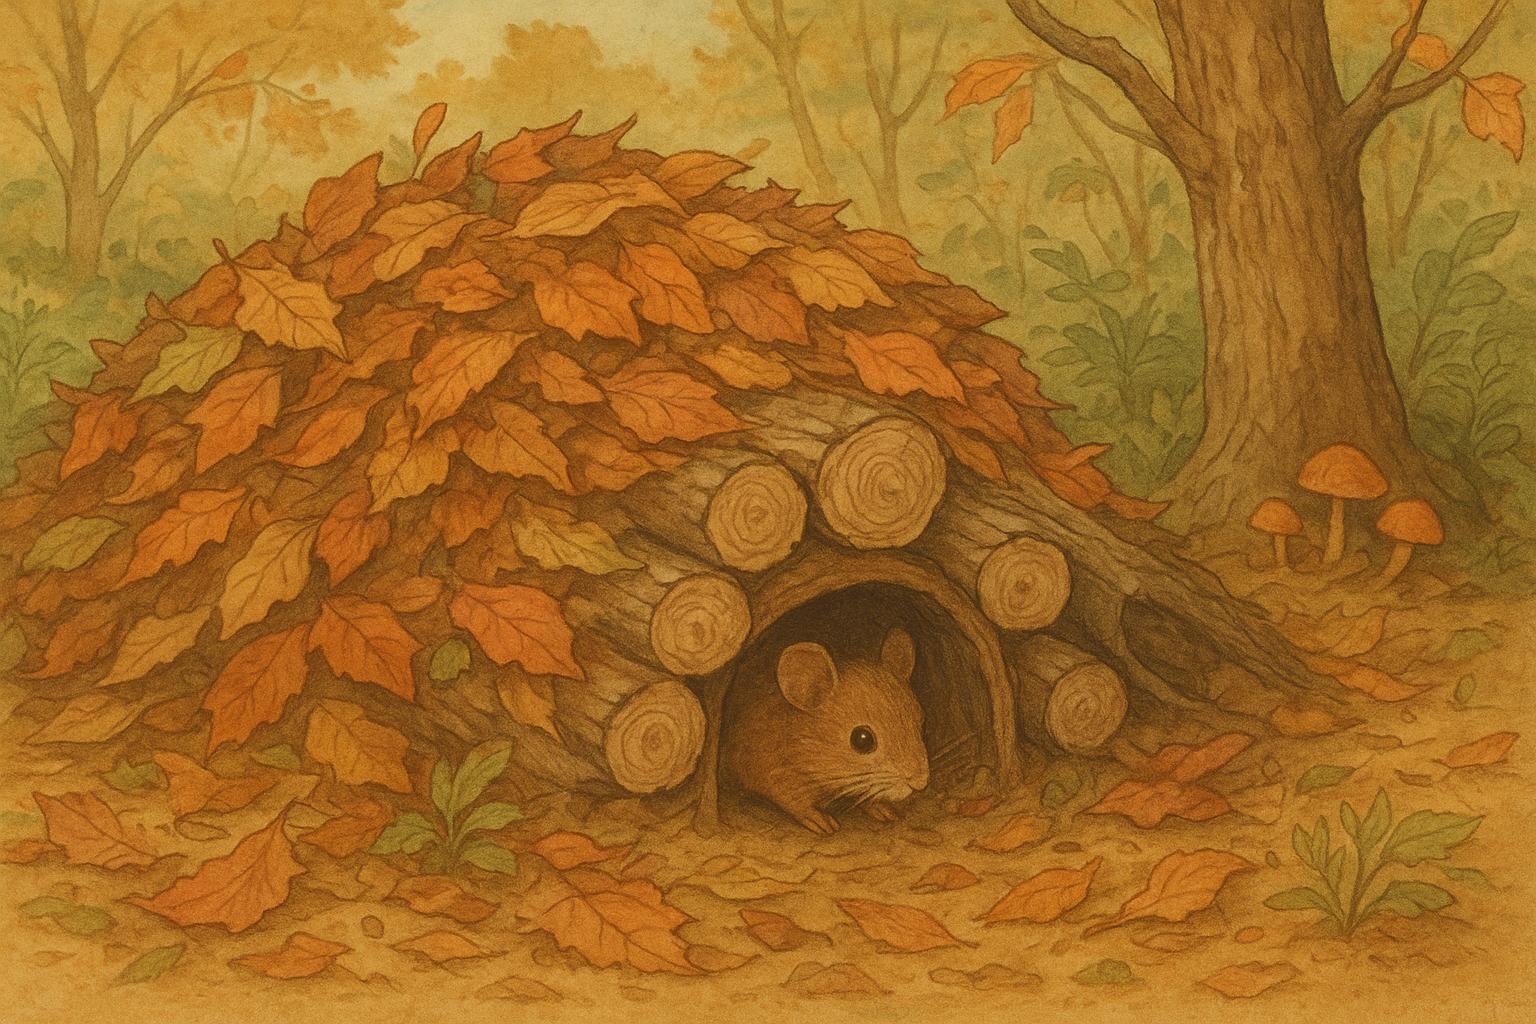
– Leaf litter and thick vegetation mats.
## Preparing The Winter Den Shelter
Creating or enhancing a winter den in your yard can be a rewarding hands-on conservation act. Be mindful: the aim is to assist, not to domesticate. Provide materials, shelter, and safety, and let wildlife choose if and when to use your offering. A properly considered winter den supports thermal regulation, reduces exposure to the elements, and gives animals a safe refuge from predators.
### What Makes A Good Winter Den
A functional winter den should meet these basic criteria: dry interior, adequate insulation, predator-resistant entrance, and some ventilation to prevent dampness. Size matters: too big, and it won’t retain heat; too small, and occupants may be cramped or unable to fit. Placement also matters—near natural cover but not in high-traffic human zones.
#### Insulation And Bedding
Natural bedding like dry leaves, straw (not hay), and shredded cardboard are excellent choices. Avoid synthetic insulation that can trap moisture or pose ingestion hazards. Make sure bedding is dry before placing it in the den; wet materials will cool an animal instead of warming it.
#### Entrance Design And Predator Considerations
A single, appropriately sized entrance reduces drafts and limits access for larger predators. Position the entrance facing away from prevailing winds, and add a small tunnel or angled entry to reduce direct exposure. Make sure the entrance height and width match the target species—the goal is to allow access while discouraging larger animals.
### Timing And Respectful Practices
Install or augment dens in late autumn, giving animals time to assess them before harsher weather arrives. Never disturb an occupied den—this can lead to abandonment at a critical time. If you discover eggs or dependent young, contact a licensed wildlife rehabilitator for guidance rather than attempting to move them yourself.
## Building A Backyard Winter Den (A Practical Remedy)
Below is a step-by-step guide for constructing a simple, wildlife-friendly winter den suitable for small mammals like hedgehogs, chipmunks, rabbits, and small rabbits. This remedy follows best practices in wildlife support: it is non-invasive, uses natural materials when possible, and focuses on shelter and insulation rather than food provisioning.
### Materials Required
– Untreated wooden box or repurposed wooden crate (approx. 18″ x 12″ x 12″, adjust to species size)
– 1 small sheet of plywood for an angled roof (larger than box)
– Straw (not hay) or dry leaves — 3 to 6 cubic feet
– Natural nesting material (dried grass clippings, shredded cardboard)
– Hardware cloth (wire mesh) for predator guard (1 ft x 2 ft)
– Screws and waterproof wood glue
– Drill and saw (or ask a friendly neighbor to cut wood)
– Waterproof but breathable fabric or roofing felt (optional)
– Soil, leaf litter, and brush for camouflage
### Construction Steps (Creation)
1. Prepare the Box: Ensure the wooden box is dry and clean. If using a crate, reinforce bottom with extra plywood to close gaps. For longevity, use untreated wood only—chemically treated wood can off-gas and is harmful to animals.
2. Cut an Entrance: On one short side, cut a 3–5 inch diameter entrance depending on target species. Round the edges to prevent splinters. The entrance should be just big enough for the animal to pass comfortably.
3. Add Floor Ventilation: Drill a few small holes (¼” diameter) near the top of the back wall to allow slight airflow; too much ventilation will leech heat, so keep holes small and high.
4. Roof and Waterproofing: Attach angled plywood to create a sloped roof that sheds water away from the entrance. Secure roofing felt or breathable fabric over the roof to increase weather resistance while allowing moisture escape.
5. Predator Guard: Affix hardware cloth over the interior of the entrance or create a short, enclosed tunnel of the mesh (covered in natural materials) to make it harder for predators to reach inside. Ensure no sharp edges are exposed.
6. Bedding Preparation: Fluff the straw and mix with shredded cardboard or dried grass. Do not use sheep’s wool or synthetic fibers that can mat when wet. Fill the den with 3–4 inches of bedding initially; more can be added by animals over time.
7. Camouflage And Anchoring: Partially bury the base of the box and pile leaf litter, soil, and brush around it, leaving the entrance clear. This anchors the den and helps regulate temperature. Avoid sealing it—animals need to get in and out.
### Application And Placement
1. Choose A Location: Place den near natural cover (hedges, brush piles) and away from garden traffic, ponds, or areas prone to flooding. Orient the entrance away from prevailing winds.
2. Monitor From Afar: Check den for signs of use—gently lift the roof only if unoccupied and on a mild day. Look for nesting material pulled inside or droppings nearby. Do not probe or prod.
3. Maintenance: Replace wet bedding promptly. Each late winter or early spring, clean out degraded bedding and replace with fresh dry material. If the den is damaged, repair it using the same untreated materials.
4. Legal And Ethical Notes: Check local regulations regarding wildlife assistance. Never attempt to rehabilitate injured animals without proper permits and training.
## Little Extra Touches That Help (But Don’t Harm)
Small additions can increase the attractiveness of your den without creating dependency. Plant native shrubs nearby to supply natural cover and foraging opportunities. Leave leaf piles in a quiet corner of the yard and avoid raking everything away—these piles are gold to nesting animals. A shallow, clean water source that does not freeze (if feasible) can be beneficial, but avoid leaving seeds or food that may attract rodents or create unnatural concentrations of wildlife.
### What To Avoid
Do not place den boxes directly on concrete or completely exposed turf—cold surfaces wick heat away. Avoid using synthetic insulation or plastic fillers that can retain moisture or be ingested. Also, be cautious with motion-activated lights or loud landscaping equipment near den sites.
## Observing Denning Behavior With Respect
Watching from a respectful distance is part of the charm. Use binoculars for closer observation and keep pets away from areas where dens are likely. If you suspect an animal is in distress, contact a local wildlife rehabilitator rather than intervening yourself. Your role as a backyard steward is to provide shelter and to protect natural behaviors, not to neuter wild instincts.
## Simple Seasonal Calendar For Den-Related Actions
– Early Autumn: Set up or augment potential den sites; ensure dry bedding is available.
– Late Autumn: Finalize placements and camouflage; reduce human disturbance in those areas.
– Winter: Minimal interference; only check for hazards during mild days.
– Early Spring: Replace bedding and prepare for potential litters or resident shifts.
A cozy winter den can be a literal lifesaver for small backyard wildlife, and building one is a small, gratifying way to help local ecosystems. With a bit of planning, some dry straw, and a respect for nature’s timetable, your yard can offer a safe haven when the nights grow long and cold.


Leave a Reply