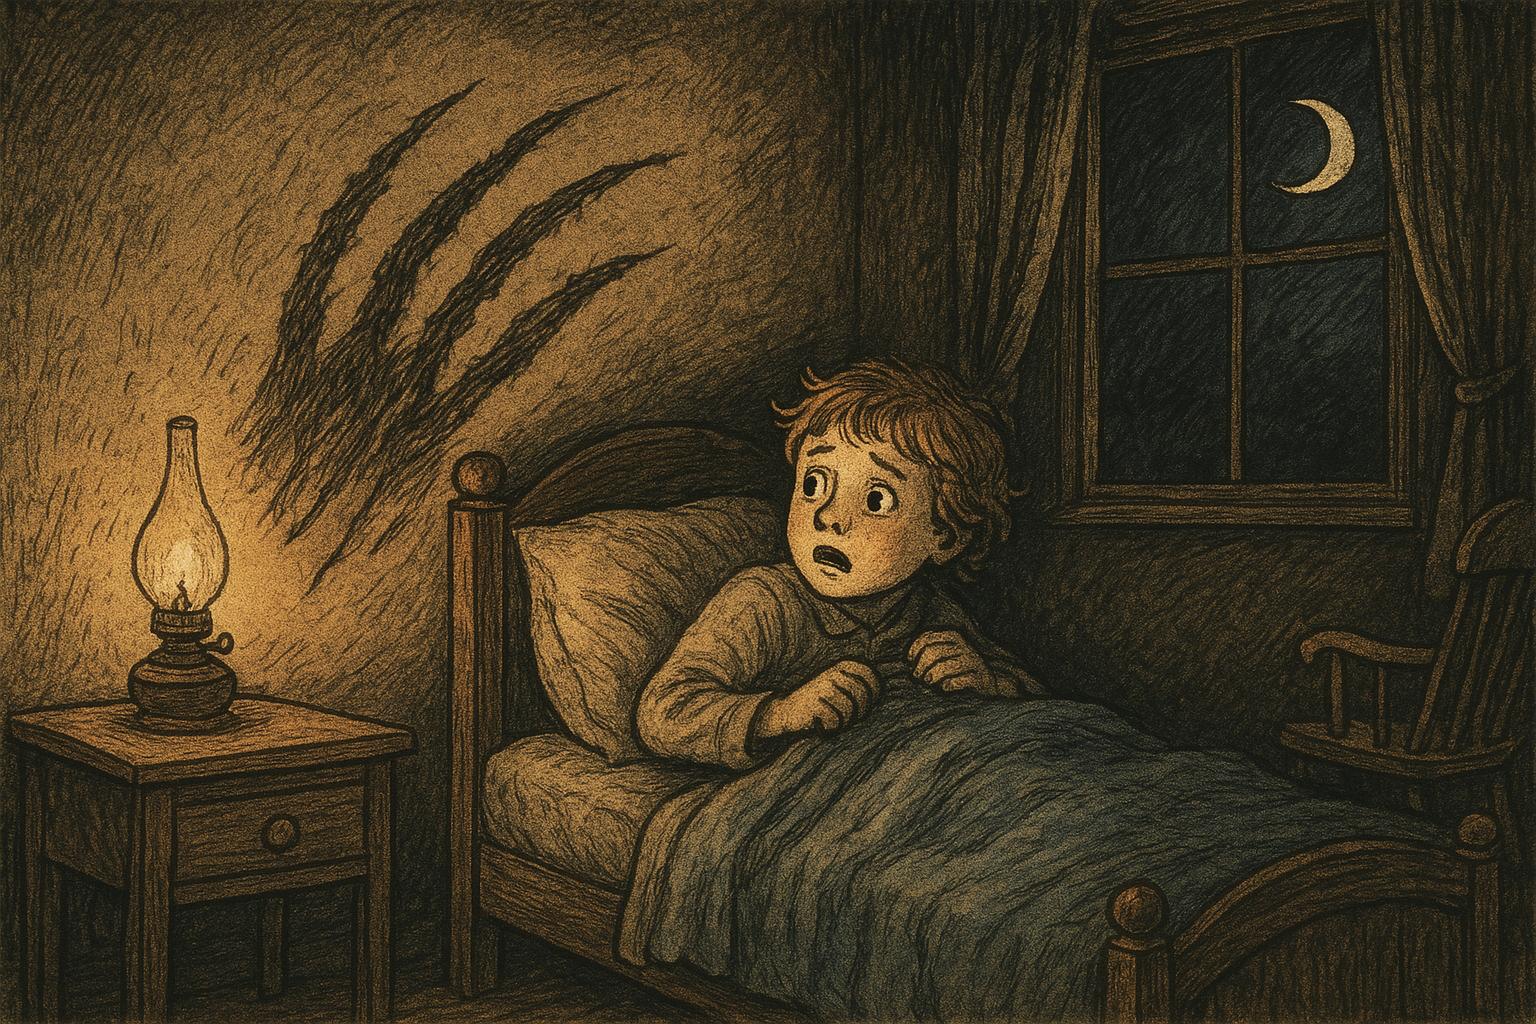
You know that moment: it’s after midnight, the house has finally surrendered to quiet, and then—scratch, scratch—something is using your wall as a drum. Before you start imagining a poltergeist with a nesting instinct, let’s walk through what those noises probably are, why they happen, and what you can do about them without calling in a ghost hunter or sacrificing a midnight snack to the underfloor spirits.
## Why You Hear Scratching Sounds At Night
Houses make noises. Old houses whisper, creak, and sigh. But when the sounds are rhythmic, localized, and unmistakably like claws or mandibles on drywall or wood, it’s reasonable to be unsettled. The simple reason is that many animals are nocturnal or crepuscular (active at dawn/dusk), and your walls, attic, soffits, and crawlspaces make excellent highways and hideouts.
At night, ambient human noise drops drastically, so even faint activity becomes audible. Also, animals move more at night to avoid predators and daytime heat. If you’re hearing scratching sounds coming from inside walls or the attic, the likely culprits are seeking food, shelter, or a place to raise young.
## Common Culprits Behind The Noise
There’s a clear shortlist of critters that typically produce scratching noises in homes. Identifying the likely culprit helps determine the right response.
### Rodents: Mice And Rats
#### Typical Sounds And Behavior
Mice and rats produce a rapid, shuffling scratch. It’s often accompanied by scampering, gnawing, and occasional thumps as they move through voids. They chew wiring and insulation, so these noises are not just annoying—they’re a fire risk.
#### Signs To Look For
– Droppings near entry points or along baseboards
– Grease marks or rub marks along wall edges
– Gnawed insulation, paper, or food packaging
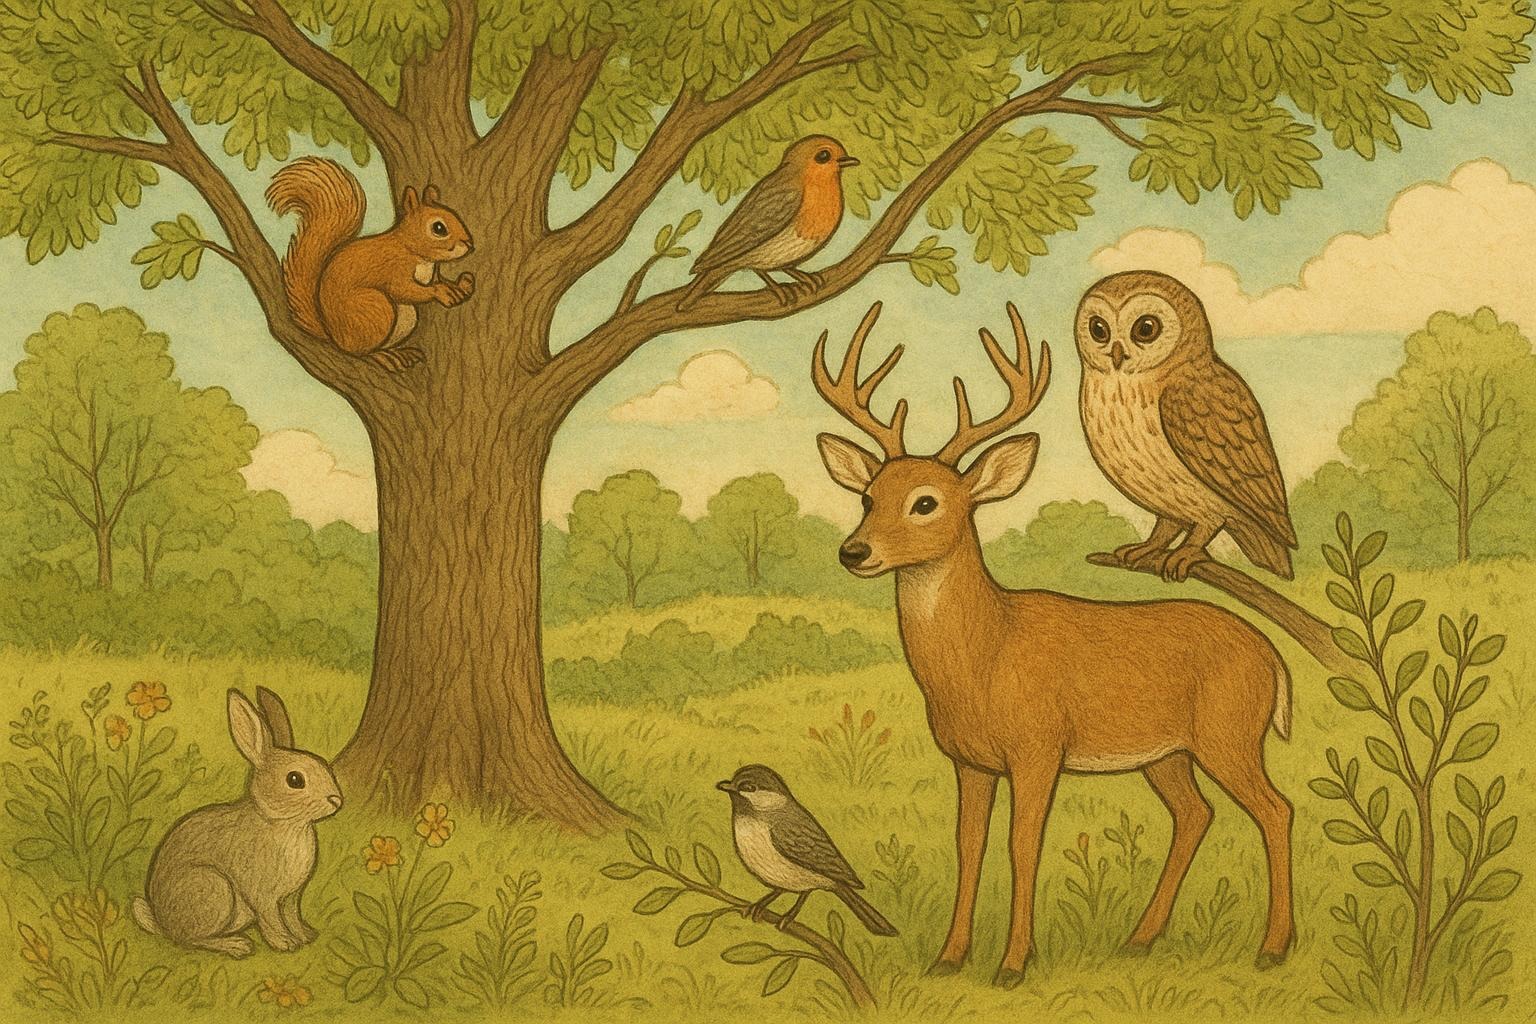
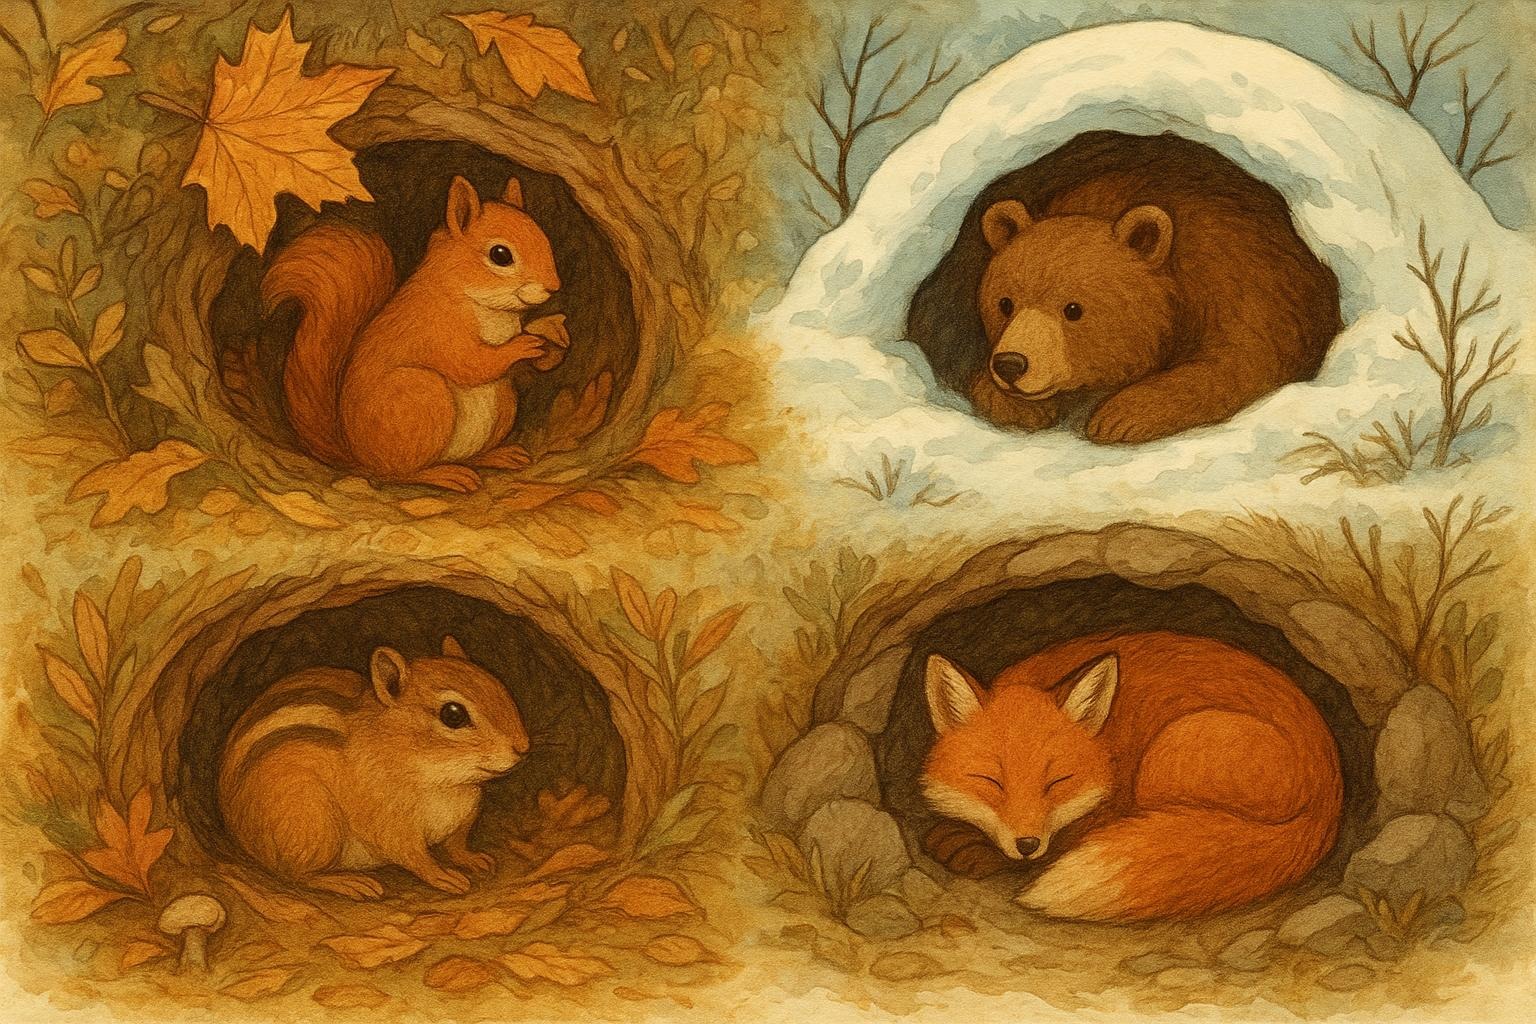
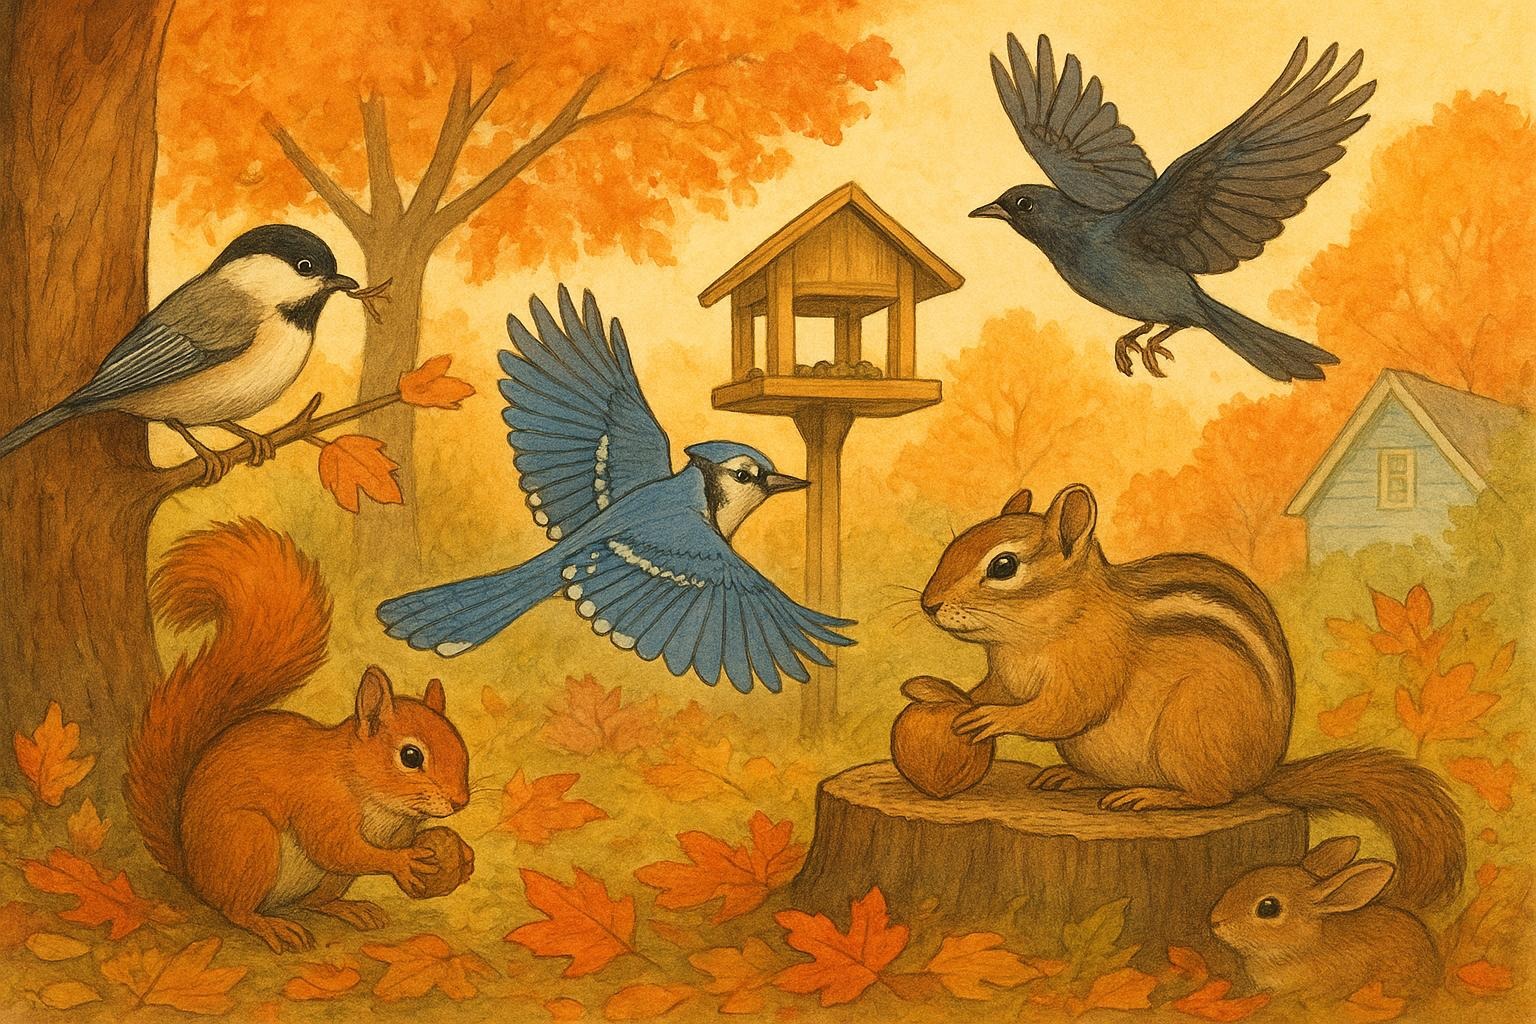
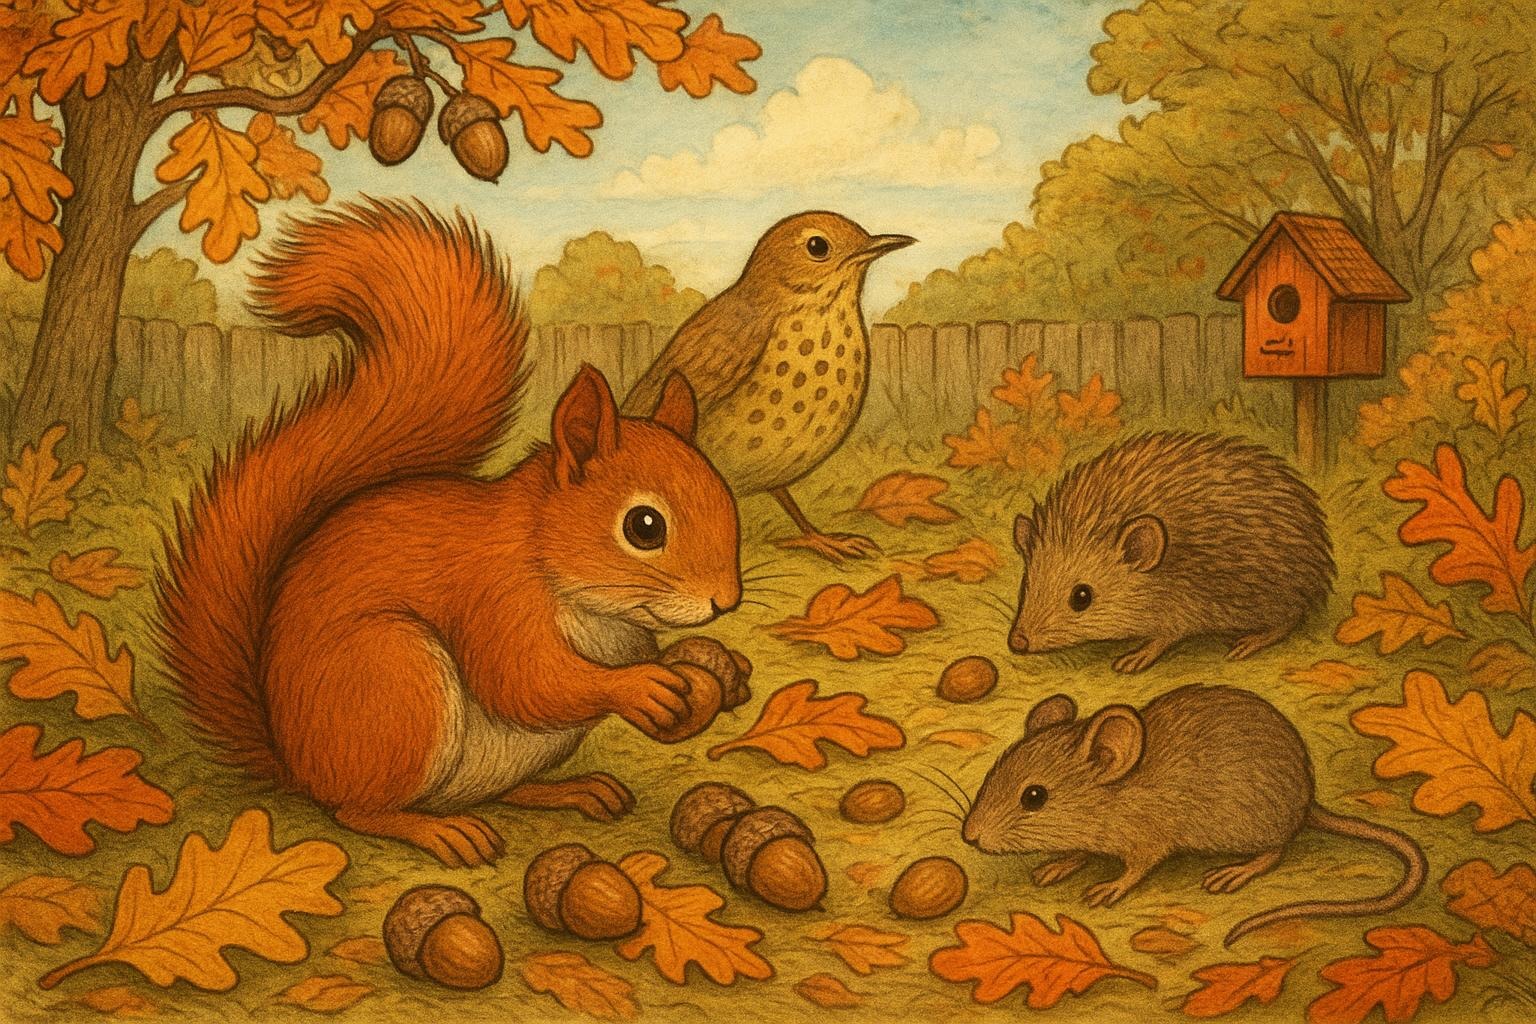
### Squirrels
#### Typical Sounds And Behavior
Squirrels are loud, active, and persistent. Their scratching sounds tend to be larger and sometimes more intermittent than rodents, reflecting their size and the way they leap and dig.
#### Signs To Look For
– Thumping in the attic, especially at dawn/dusk
– Disturbed roof shingles or chewed soffits
– Nests made from twigs or insulation
### Bats
#### Typical Sounds And Behavior
Bats make very slight scratching and fluttering noises as they maneuver in attics or chimneys. Their activity is mostly at dusk and night as they rest during the day and return at night.
#### Signs To Look For
– Guano piles near roosting spots
– Staining around small entry gaps
– Distinctive musty odor
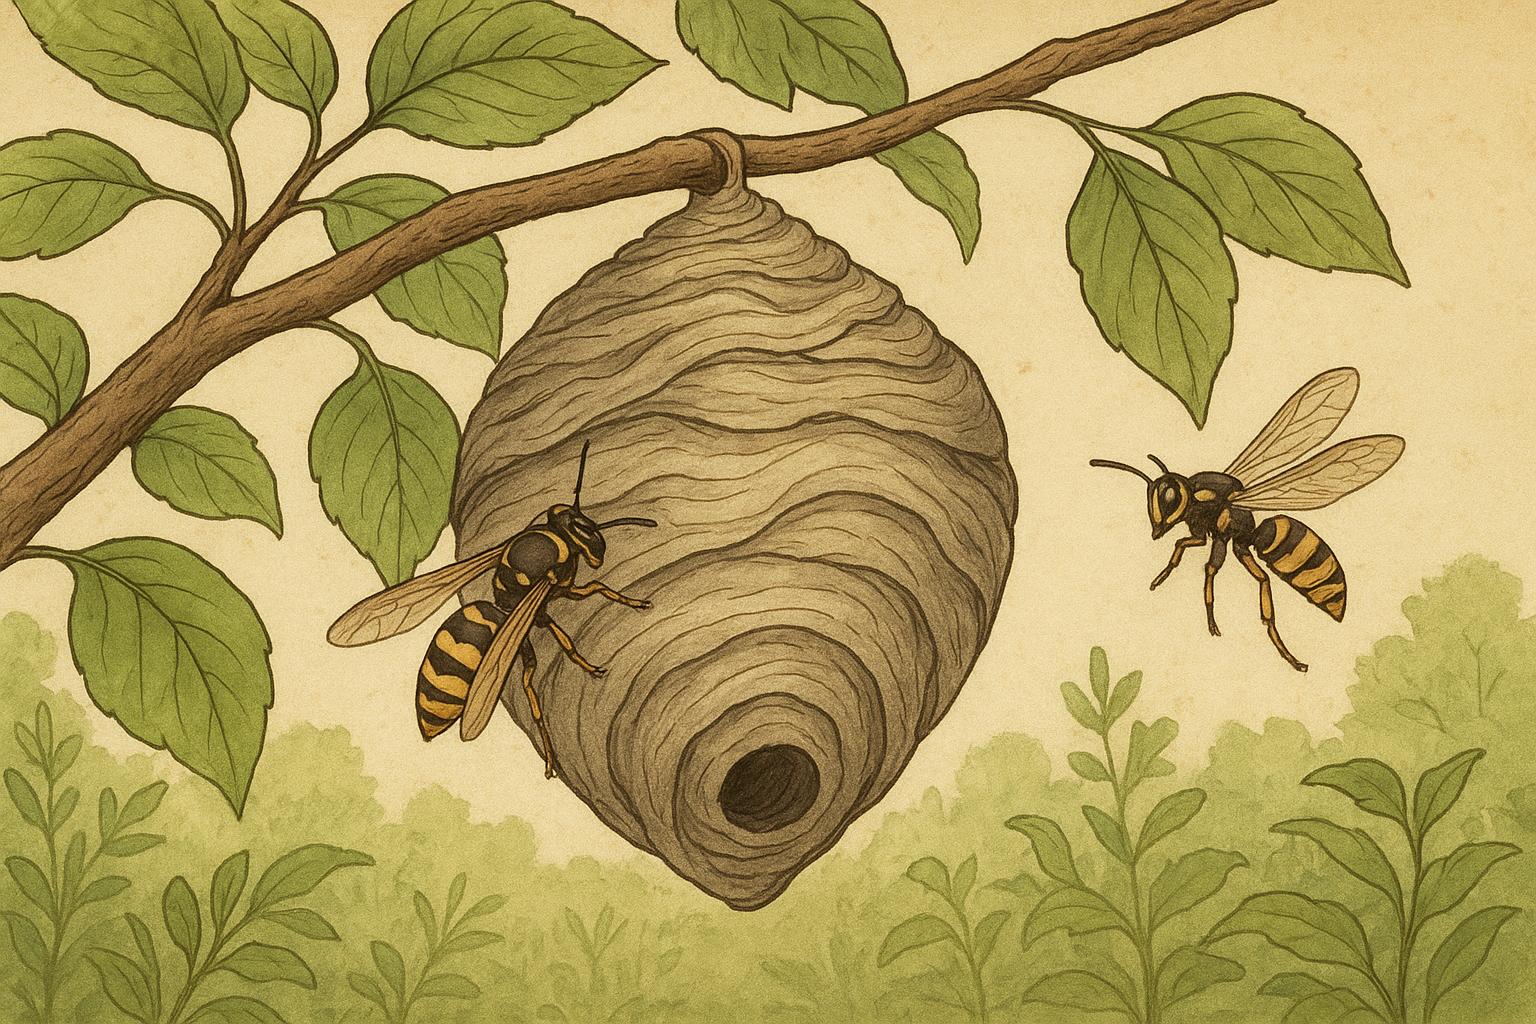
### Insects And Wood-Boring Pests
#### Typical Sounds And Behavior
Carpenter ants, termites, and beetle larvae can create a faint, persistent scratching or tapping sound within wood structures. These tend to be more subtle and often mistaken for plumbing or settling noises.
#### Signs To Look For
– Tiny holes or sawdust-like frass
– Swollen or damaged wood
– Ant trails or discarded wings
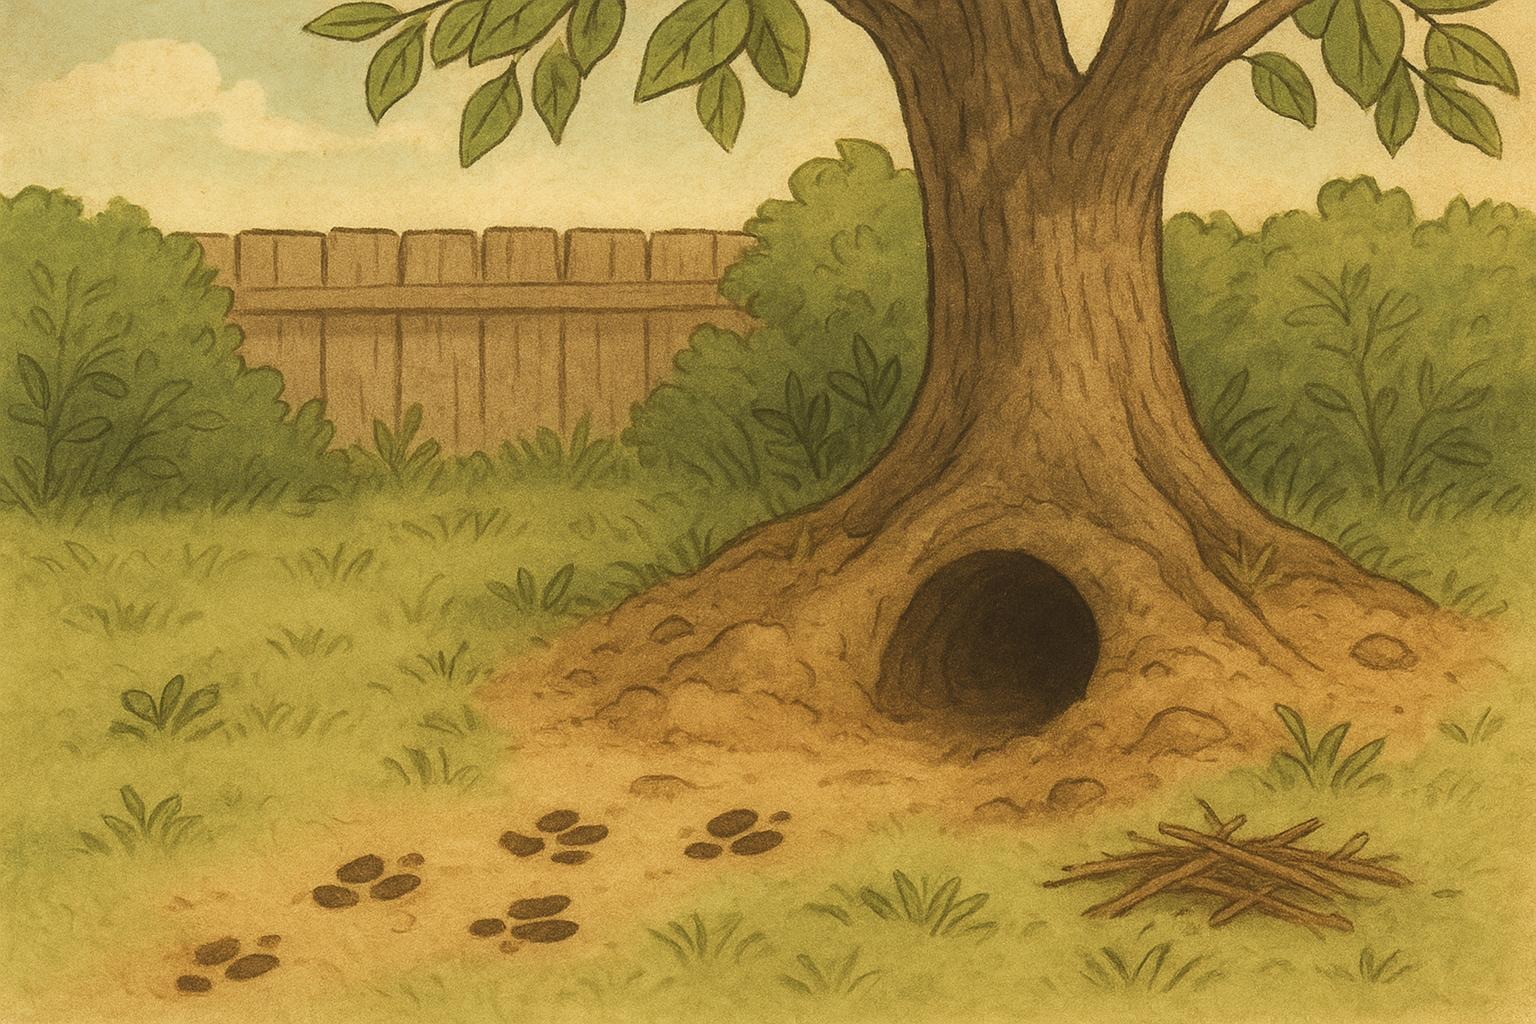
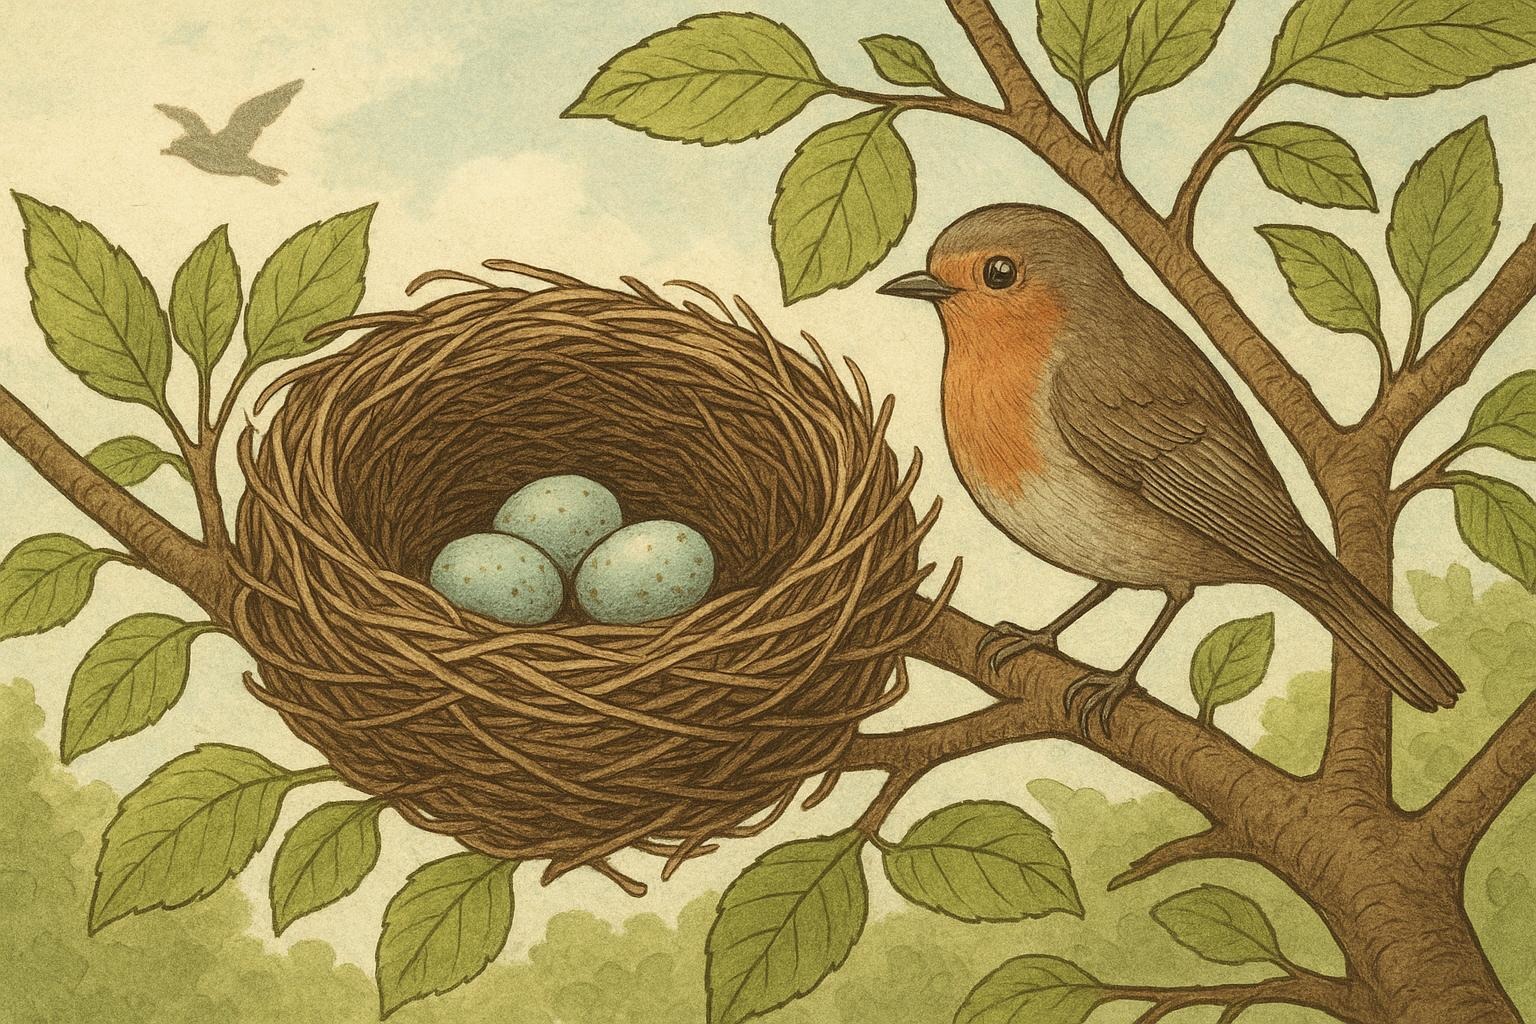
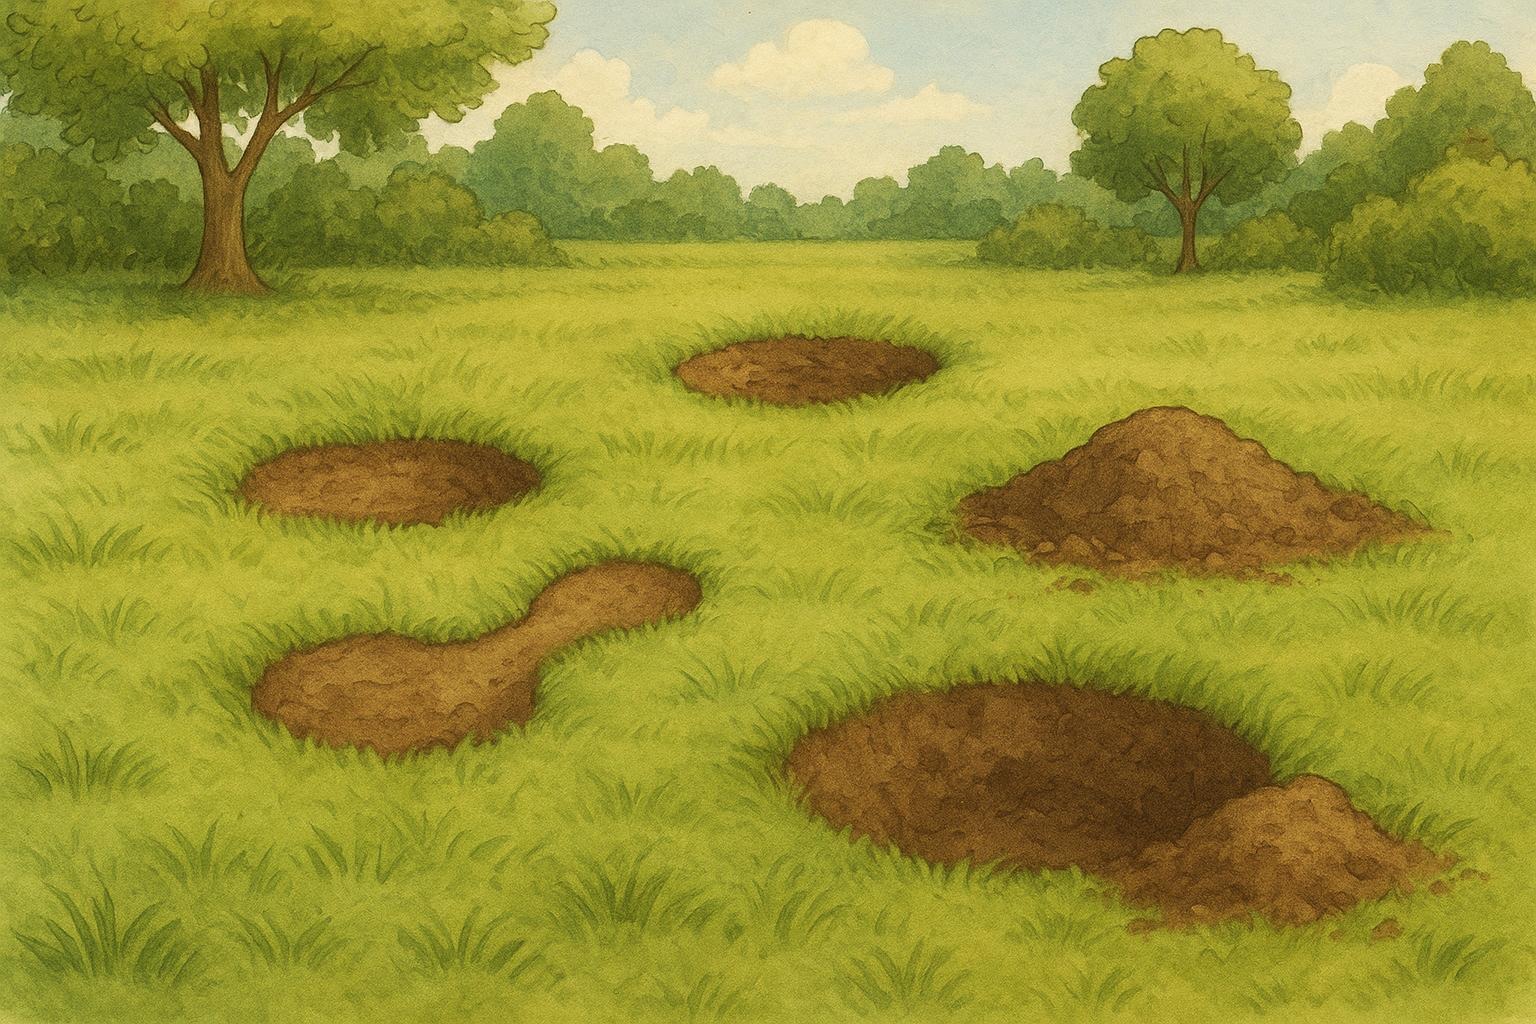
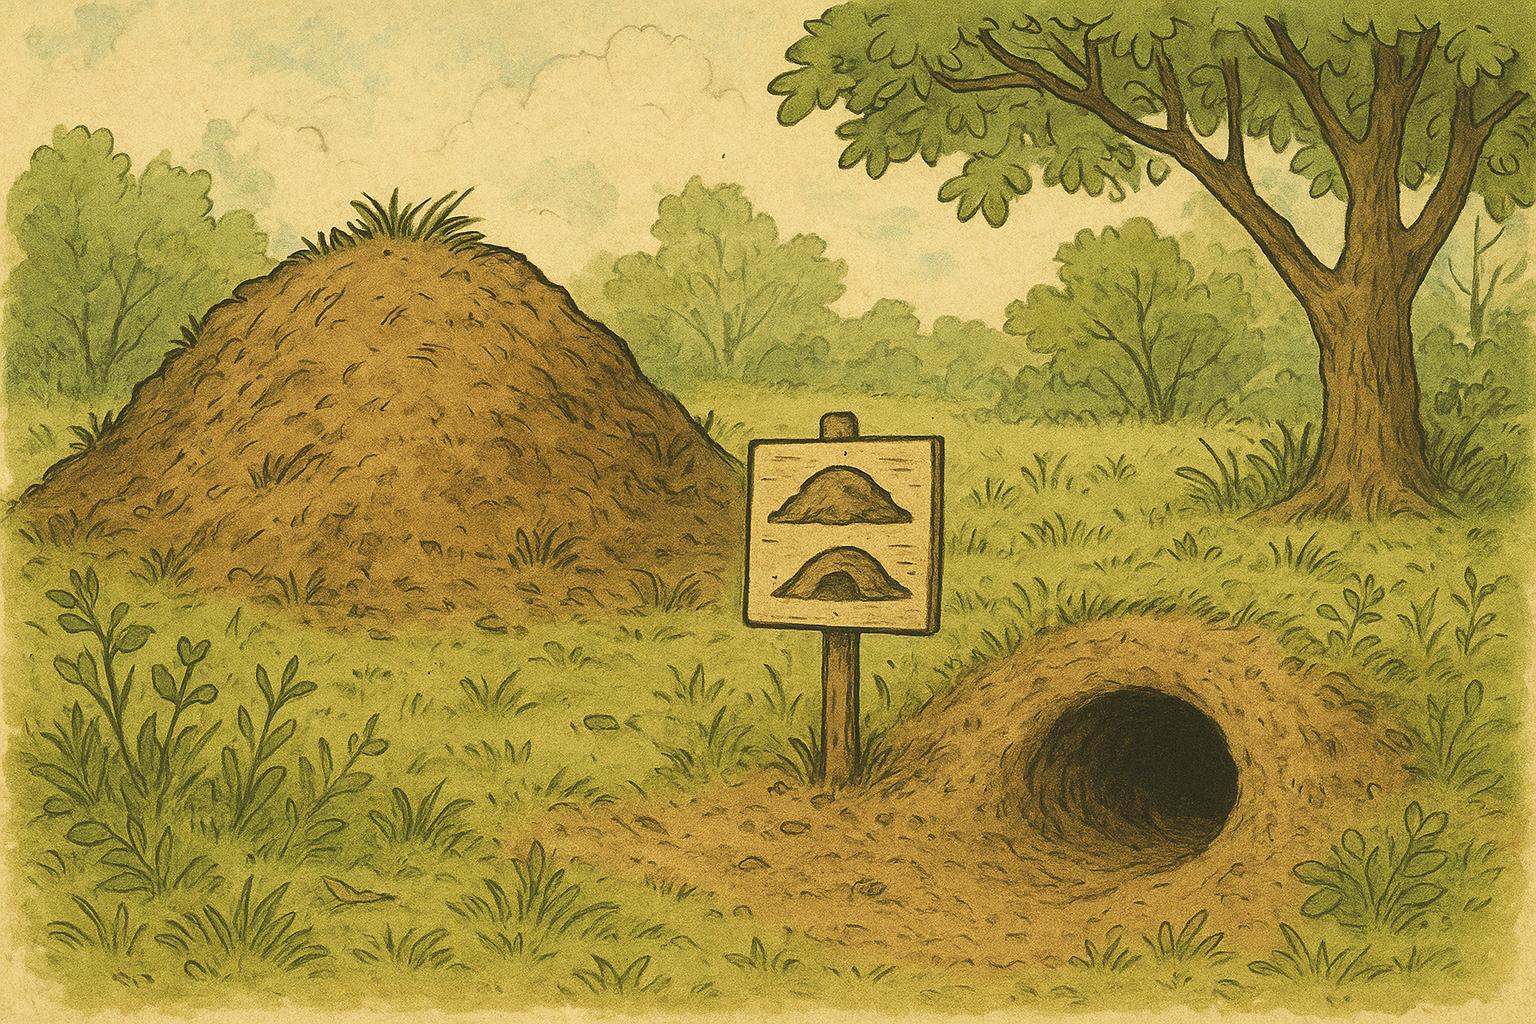
### Other Wildlife (Raccoons, Opossums)
These animals make heavier thumping and are often noisier and messier. If the scratching sounds are accompanied by large thuds or vocalizations, consider these larger mammals.
## How To Investigate Without Making Things Worse
Before you start ripping drywall or setting out DIY traps, do a careful audit. This saves time, reduces risk, and prevents accidental injury to you or the animal.
– Note when the noise is loudest (time of night, relation to weather).
– Locate the source roughly by listening in multiple rooms or using a simple cardboard tube as a directional aid.
– Look for entry points around eaves, vents, chimneys, and utility penetrations.
– Take photos of droppings or damage (for identification and possible pest control consultation).
## Remedy 1: Humane Exclusion And Sealing (DIY)
This remedy focuses on exclusion and proofing to remove access and prevent re-entry. The following section is formal and prescriptive.
Materials Required:
– Heavy-duty silicone or exterior-grade caulk
– Steel wool and/or copper mesh
– Expanding foam (for larger gaps)
– Sheet metal flashing or vent covers
– Protective gloves and eye protection
– Flashlight and ladder
– Insulation repair materials (if needed)
– Humane one-way exclusion doors (for specific species, optional)
Step-By-Step Creation And Application:
1. Inspection: Conduct a thorough exterior and interior inspection during daylight to identify holes, gnaw marks, and possible entries. Use a flashlight and camera to document locations.
2. Temporary Blocking (If Animals Are Inside): If you are certain animals are currently inside and you plan to use one-way exclusion devices, avoid sealing every exit at once. Install a one-way exclusion device over the main entry point. These devices allow animals to leave but not re-enter.
3. Sealing Small Gaps: For holes under 1/4 inch, use exterior-grade caulk. For slightly larger gaps, pack steel wool or copper mesh into the opening and seal over it with caulk to prevent gnawing through.
4. Sealing Larger Openings: For openings up to a few inches, use expanding foam to fill voids, then cover exposed foam with sheet metal flashing or a durable material. Squirrels and rats can chew through many materials, so metal is preferred for long-term proofing.
5. Vent and Chimney Protection: Install metal vent covers or mesh screens on attic vents. Chimneys should be capped; professional bat gates or custom caps are recommended if bats are involved (see legal considerations below).
6. Insulation Repair: If insulation has been disturbed, replace soiled or damaged sections with new insulation batts or blown insulation as appropriate.
7. Final Check: After sealing and exclusion, monitor for activity for several nights. If using one-way devices, remove them after 3–5 nights to ensure animals are out and cannot return.
Legal And Ethical Notes: Some species (bats, certain birds) are protected by law; exclusion timing and techniques may be regulated. Verify local wildlife regulations before excluding or relocating protected species.
## Remedy 2: Professional Removal And Long-Term Prevention
When DIY is not enough, or the infestation is extensive, professional intervention is safer and more effective. This section should be formal and prescriptive.
Materials/Services Typically Required:
– Professional inspection (incl. attic and roof)
– Trapping and removal equipment (humane traps, live-capture cages)
– Structural repair services (carpentry, roof flashing)
– Pest control treatments (baiting, targeted insecticidal treatments) where necessary
– Wildlife damage restoration and insulation replacement
Step-By-Step Professional Process:
1. Comprehensive Assessment: A licensed wildlife control professional conducts an on-site evaluation to identify species, entry points, population size, and damage extent.
2. Removal Plan Development: The professional develops a plan that complies with local laws (especially for bats and migratory birds) and prioritizes humane practices. This plan may include live trapping, one-way exclusion, or relocation.
3. Implementation Of Removal: Trained technicians carry out capture or exclusion using appropriate gear and safety protocols. They will avoid spreading disease and mitigate risks like bites or scratches.
4. Sanitation And Restoration: After removal, professionals clean guano and nesting materials, sanitize affected areas, and replace compromised insulation. This reduces odor and health hazards.
5. Proofing And Repair: The team performs durable repairs—replacing vents, installing metal flashing, repairing soffits—and secures potential future entry points.
6. Monitoring And Follow-Up: Many companies offer follow-up inspections to ensure that the problem is resolved and that no re-entry has occurred.
When To Call A Professional:
– Evidence of many animals or extensive damage
– Signs of bats (do not attempt DIY exclusion without guidance)
– Damage to electrical wiring
– Health concerns such as extensive droppings or bat guano
– If DIY measures fail after a reasonable trial
## Preventive Habits To Dull The Noise Permanently
Prevention is the best long-term policy. Routine maintenance and a few adjustments to your property can greatly reduce the chance of hearing scratching sounds again.
– Trim tree branches at least 6–8 feet from the roofline.
– Keep attic vents in good repair and ensure screens are intact.
– Store firewood and bird seed away from the house foundation.
– Regularly inspect the exterior for new holes after storms or freeze-thaw cycles.
– Maintain gutters and soffits so they don’t become easy access points.
If scratching sounds return despite proofing, document the timing and nature of the noise and consult a professional wildlife removal service for a targeted assessment.


Leave a Reply