You step out to the patio, reach for a cold drink, and freeze: a papery pouch clings to the eave, or a neat row of tiny dirt towers dots a flowerpot. Before you swear off gardening forever, take a breath. Backyard life is noisy and busy, and many of those little architects are mostly harmless — or even helpful. This guide will help you decode what’s going on with insect nests in your yard, how to identify common types, and what you can realistically do about them without turning your weekends into pest-control boot camp.
## Insect Nests: What You’re Seeing In Your Yard
Not all clusters of critters are created equal. The phrase “insect nests” covers a wide range of structures: paper wasp combs under eaves, mud dauber cylinders on porch beams, ant colonies in lawn mounds, or solitary bee burrows in sandy banks. Each has a different architecture, life cycle, and risk level. Recognizing the builder is half the battle.
### Why Insect Nests Form Near Homes
Insect nests are usually placed for three simple reasons: shelter, food access, and suitable microclimate. Eaves and overhangs provide dry protection for wasps; bare soil and sunny slopes attract ground-nesting bees; decaying wood lures carpenter ants and wood-boring beetles. Human modifications — loose siding, stacked firewood, clogged gutters — inadvertently create prime nesting sites. Most species are simply taking advantage of what’s already on offer.
### How To Identify Common Insect Nests
Identifying a nest helps determine whether the occupants are pollinators, predators, nuisances, or hazards.
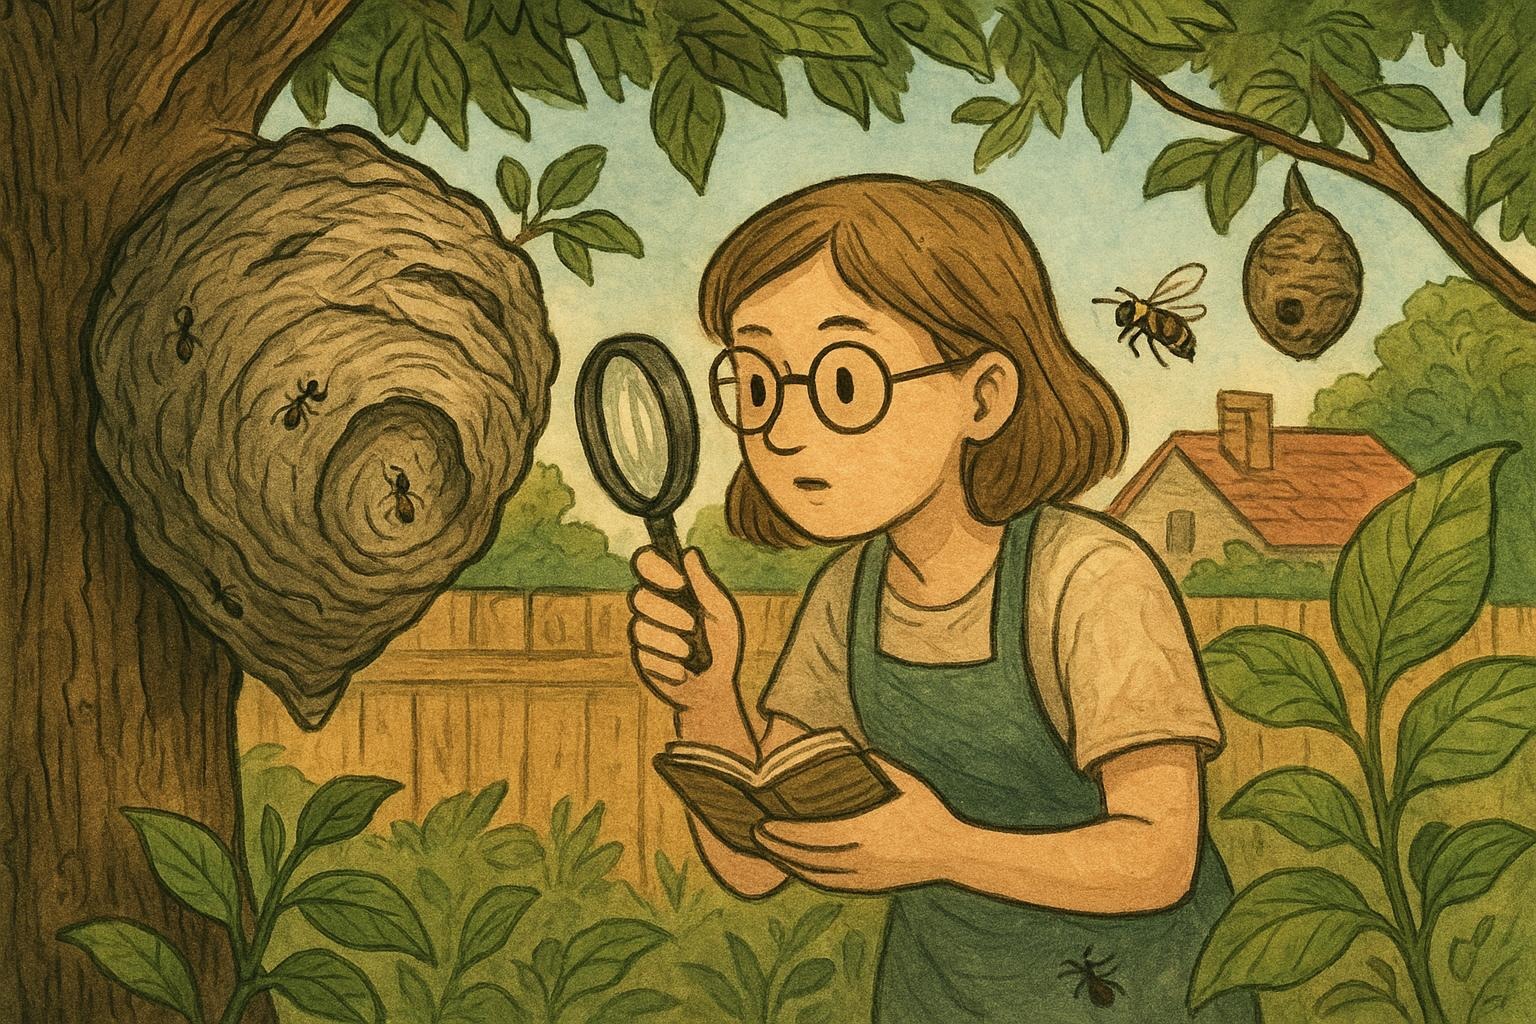
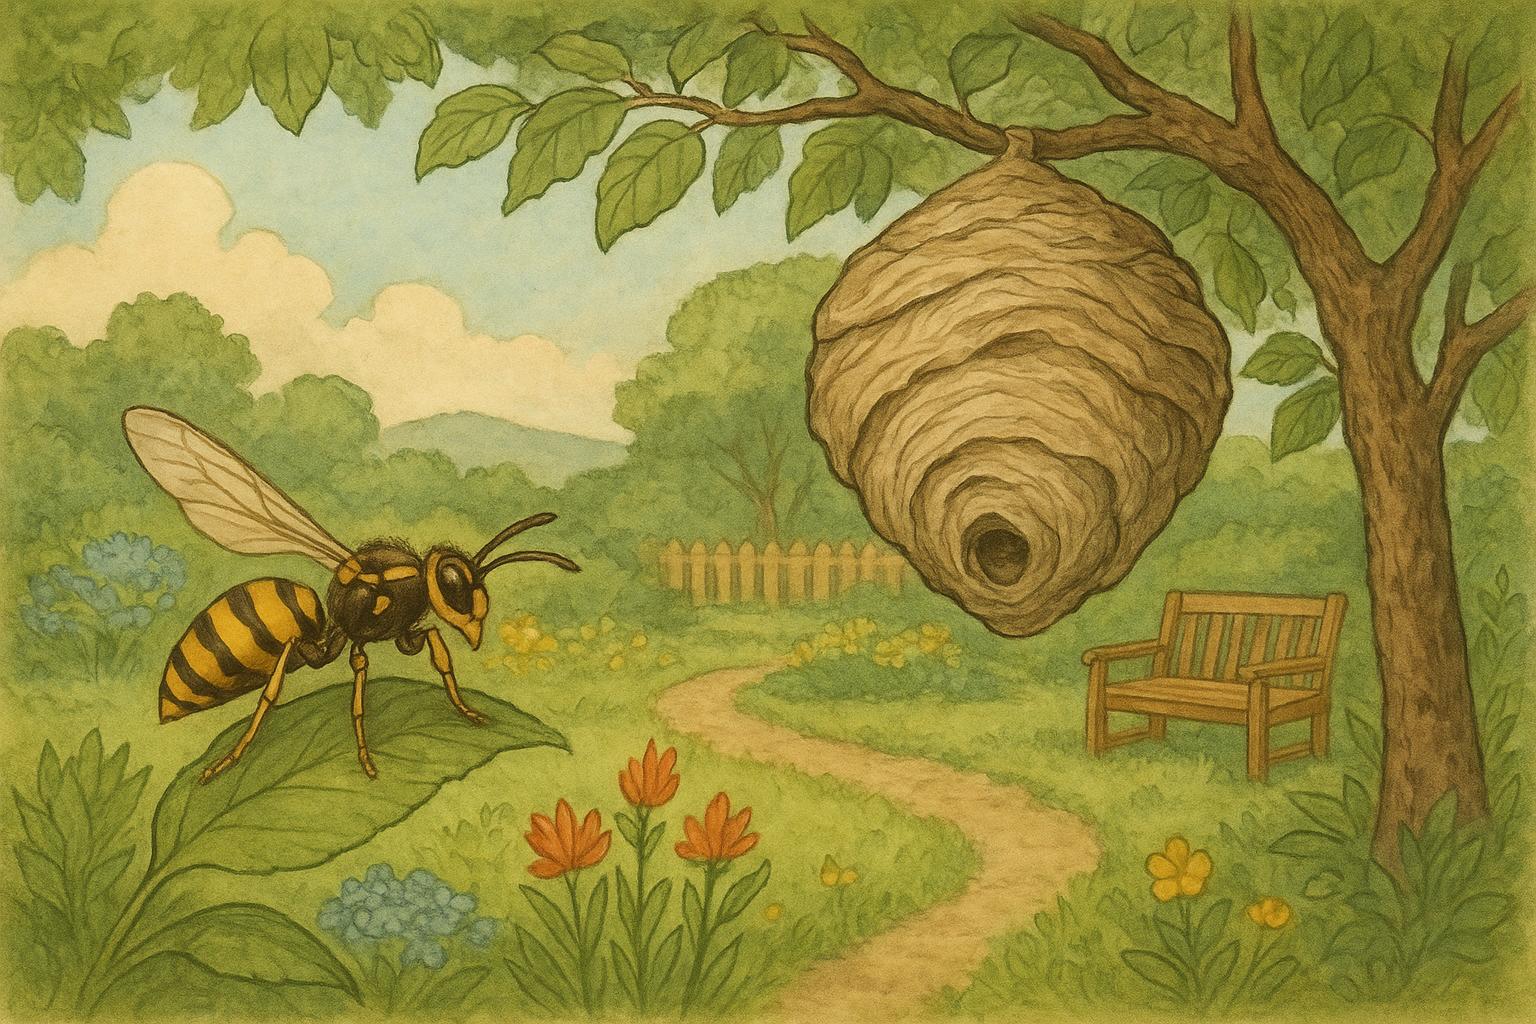
#### Wasps And Hornets
Paper wasps build open combs of chewed plant fibers mixed with saliva; they hang like small umbrella ribs beneath eaves. Hornets create enclosed spherical paper nests, often high in trees. Wasps defend their nests and can sting repeatedly, so distance and caution are wise.
#### Mud Daubers And Potter Wasps
Mud daubers make smooth, columnar mud tubes or pot-like cells, often on sheltered vertical surfaces. They’re solitary and non-aggressive, provisioning larvae with paralyzed spiders or insects. Unless you have an aversion to spider delivery, they’re not usually a household threat.
#### Carpenter Ants
Carpenter ants excavate galleries in wood (no sawdust piles like termites, but sometimes frass accumulates). Look for small piles of shredded wood and ant trails. Structural damage is their main concern, not stings.
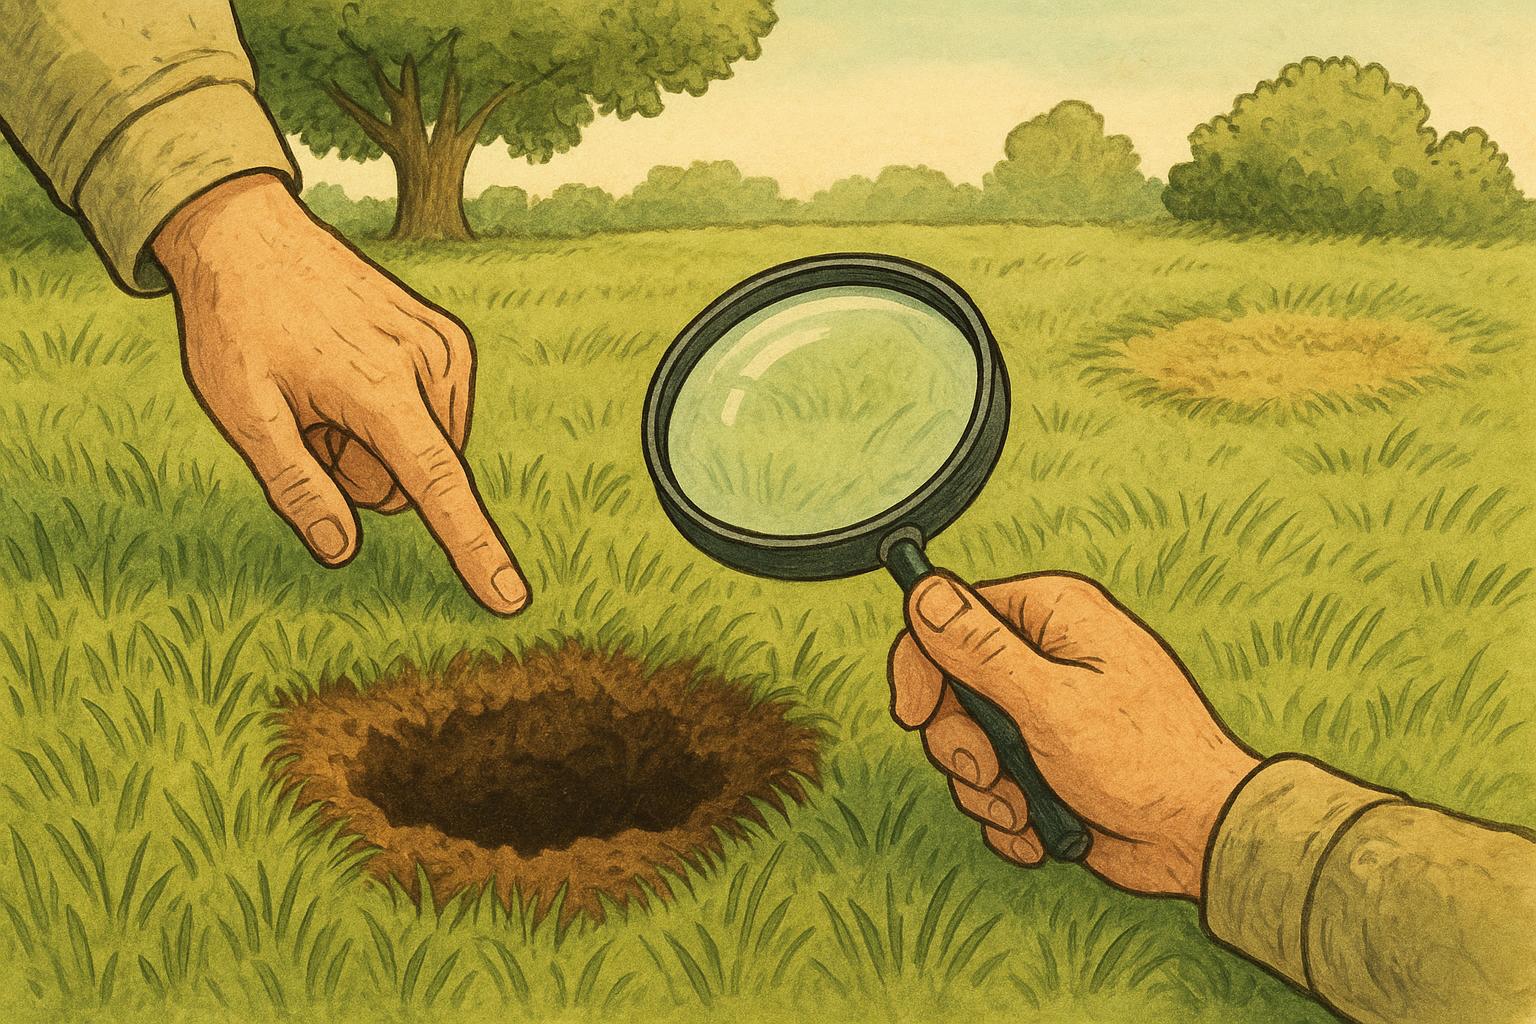
#### Ground-Nesting Bees And Solitary Wasps
These insects make tundra-like patches of little holes in compacted soil, sand, or clay. Solitary species are often gentle pollinators. A few holes in a sunny, bare patch typically indicate a non-aggressive colony.
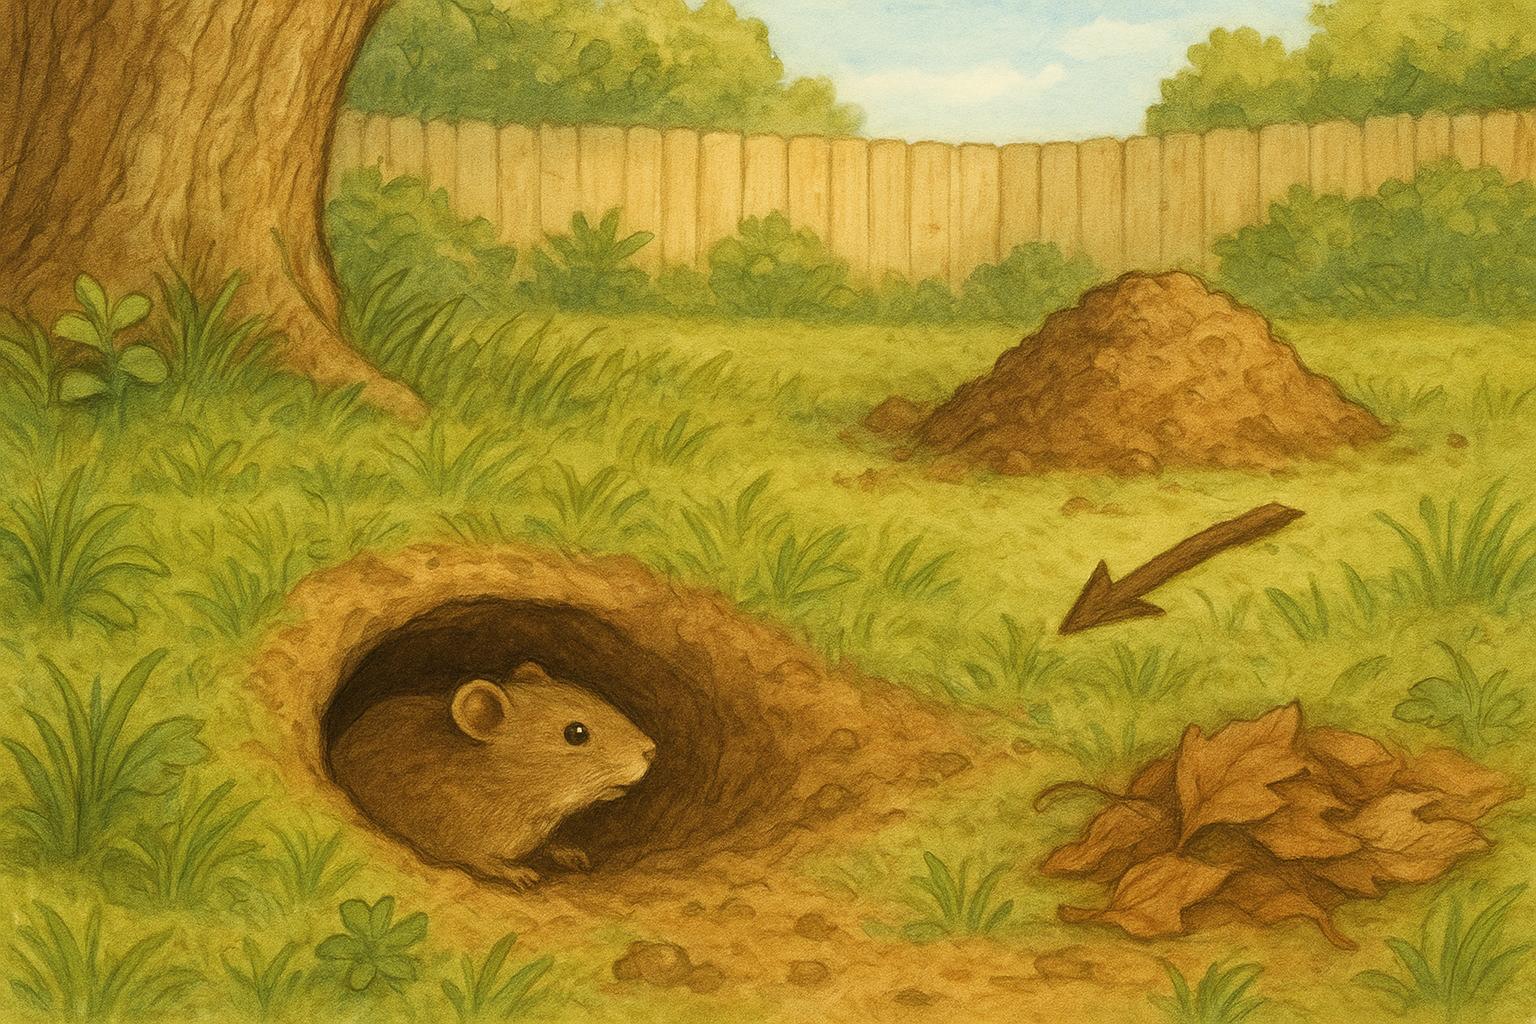
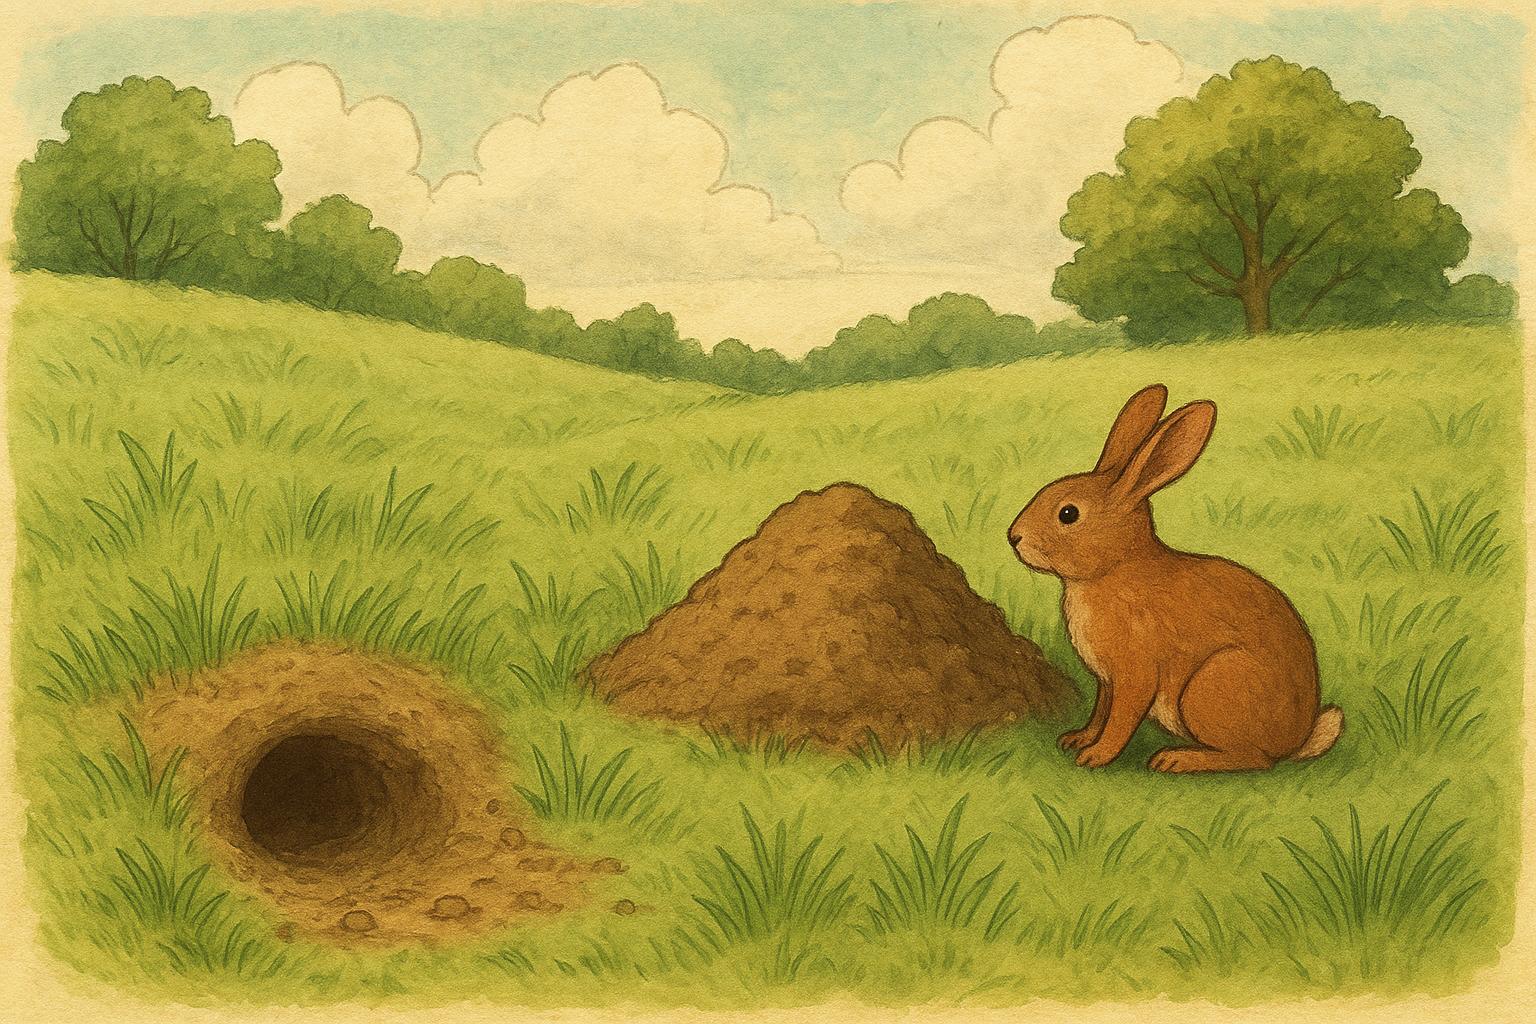
#### Ant Hills
Piles of soil, especially with satellites and visible worker ants, usually indicate an ant colony. Some species aggressively defend nests; others are mostly a nuisance indoors when food is available.
## Reading Behavior: When To Worry And When To Watch
A small, isolated nest of solitary bees or mud daubers is usually no reason for alarm and can be tolerated — they’re performing useful ecological chores. Multiple large wasp nesters, fast-growing ant activity inside structures, or nests in high-traffic zones merit intervention. Consider human safety (children, pets, allergic individuals), structural risk, and whether the insects are beneficial.
### Timing Matters
Many wasp species are most aggressive late summer into fall when workers are abundant and nearby food is scarce. Carpenter ant colonies may reveal themselves as they expand through the warm months. Nest timing affects your response options and success rates.
## Remedy 1: Homemade Non-Toxic Deterrent For Insect Nests
This remedy is intended for non-aggressive species or early-stage nest sites where removal is feasible without risk. It’s most effective as a preventative and for displacing small groups like mud daubers, solitary bees, and initial wasp scouting.
Ingredients / Materials
– 1 gallon warm water
– 1/2 cup white vinegar
– 1/4 cup liquid dish soap (biodegradable preferred)
– 10–15 drops essential oil (peppermint, eucalyptus, or citronella)
– Spray bottle (1 quart) or pump sprayer for larger areas
– Garden gloves, safety glasses, and long sleeves
Step-By-Step Creation And Application
1. Combine Ingredients: In a clean bucket, pour warm water, then add white vinegar and liquid dish soap. Stir gently to avoid excessive foaming. Add essential oil and mix.
2. Transfer To Sprayer: Fill the spray bottle or pump sprayer with the mixture, leaving some headspace for pressure if using a pump sprayer.
3. Test A Small Area: Choose an inconspicuous spot and spray lightly. Wait 24 hours to ensure the solution won’t discolor wood, paint, or plants.
4. Apply In The Evening: Target underside of eaves, fence posts, sunny bare patches of soil, and other suspected nest locations. Spray around — not necessarily directly into occupied nests. Evening application reduces disturbance when most insects are less active.
5. Repeat Weekly For Prevention: Reapply after rain and weekly during peak nesting season for best results.
6. Monitor: If insects ignore the deterrent and activity increases, cease DIY treatment and escalate to Remedy 2 for safety.
Notes: This mix deters many species through scent and mild irritation, without poisoning beneficial insects that forage. Do not use on active honeybee colonies.
## Remedy 2: Professional-Grade Removal And Safe Mechanical Options For Insect Nests
Use this approach for hazardous, large, or structurally compromising nests (aggressive wasps, large hornet nests, carpenter ant infestations, or nests inside wall voids). Follow these steps for a safer, more permanent resolution. When in doubt, consult a licensed pest control professional.
Materials / Equipment
– PPE: full-face respirator or mask suitable for spray particulates, protective clothing, gloves, and eye protection
– Wasp/hornet-specific aerosol insecticide (pressurized) rated for use on aerial nests OR dust insecticide for enclosed spaces (follow label)
– Long-reach applicator or extension spray wand
– Flashlight or inspection camera for void checks
– Plastic sheeting and trash bags for containment
– Caulk and sealant materials for exclusion work
– Tools for wood repair (if addressing carpenter ant damage)
Step-By-Step Mechanical Removal And Treatment
1. Assess The Risk: Observe the nest from a safe distance to determine species and activity. If workers are numerous and entry points are within human reach, consider professional help.
2. Choose Nighttime Hours: Nest occupants are less active after dusk. Only perform mechanical or chemical treatment during low activity periods.
3. Equip PPE: Wear full protective clothing, gloves, and a respirator. Even with proper chemicals, unexpected resistance can occur.
4. Select The Correct Product: Use an aerosol labeled for wasp/hornet drone nests for aerial treatment. For carpenter ants, use foam or dust insecticides placed in galleries per label instructions.
5. Apply Per Label: Maintain a safe distance and use the extension wand. For aerial nests, fully saturate the nest entrance and the outer surface as directed. For enclosed nests (wall voids), inject dust insecticide into entry points.
6. Remove The Nest Carefully: After chemical treatment and appropriate waiting time (as label instructs), remove and bag the nest to prevent reoccupation. For large aerial nests, professional removal is recommended.
7. Repair And Exclusion: Seal gaps, repair damaged wood, replace rotten trim, and remove cellulose debris. Caulk seams, replace missing screens, and store firewood at least 20 feet from the house.
8. Follow-Up Inspection: Recheck the site in 7–14 days for surviving activity and retreat per label if necessary.
When To Call A Professional
– Nests within walls, attics, or chimneys
– Large hornet or wasp nests in high-traffic areas
– Carpenter ant infestations with structural damage
– If anyone is allergic to stings
– If you’re uncomfortable performing nighttime treatments
Professional services have access to targeted treatments, thermal imaging or borescopes for inspection, and safe removal gear for complicated situations.
### Preventing Future Insect Nests
Prevention is a more relaxed and cost-effective strategy than reactive removal. Keep gutters clean, seal cracks and gaps in siding, and eliminate standing water. Reduce bare soil patches by mulching or planting low groundcover, and store firewood off the ground. Encourage beneficial predators like birds and bats by installing houses or perches. If you respect the local pollinators and only address problem nests, your yard can remain a wildlife-friendly space without sacrificing safety.
### A Little Backyard Diplomacy
Coexisting with insect nests often means picking your battles. That patch of ground-nesting bees may be your garden’s ace pollinators, while a wasp nest on a kid’s play structure deserves a more diplomatic removal plan. Look, listen, and then act: most insect nests can be tolerated or managed with minimal fuss, provided you use the right method, tools, and timing. And when in doubt, a calm call to a professional spares both you and the insects a lot of unnecessary drama.


Leave a Reply