Spring has a way of waking everything up—soil, songbirds, and that one corner of the yard you keep meaning to fix. If you want your garden to be a thriving, low-drama neighborhood for wildlife (and a pleasant place for you to sip coffee), a little intentional spring yard prep goes a long way. Think of it as prepping a cozy B&B for the local fauna: leave out the right amenities, cut back the clutter, and avoid serving anything with pesticides on the side.
## Spring Yard Prep For Wildlife: Why It’s Worth Doing
Getting your yard ready for wildlife in spring isn’t just feel-good gardening. It improves pollination, helps pest control naturally, and creates better soil and plant health. Birds and beneficial insects will move in if you provide three basic things: food, water, and shelter. When those elements are in balance, your garden thrives with less effort, and you get more blooms, veggies, and quiet Sunday mornings. A targeted spring yard prep plan reduces stress for migrating species, helps resident pollinators start the season strong, and prevents common lawn-and-garden crises later in summer.
### How Wildlife-Friendly Gardens Help Your Plants
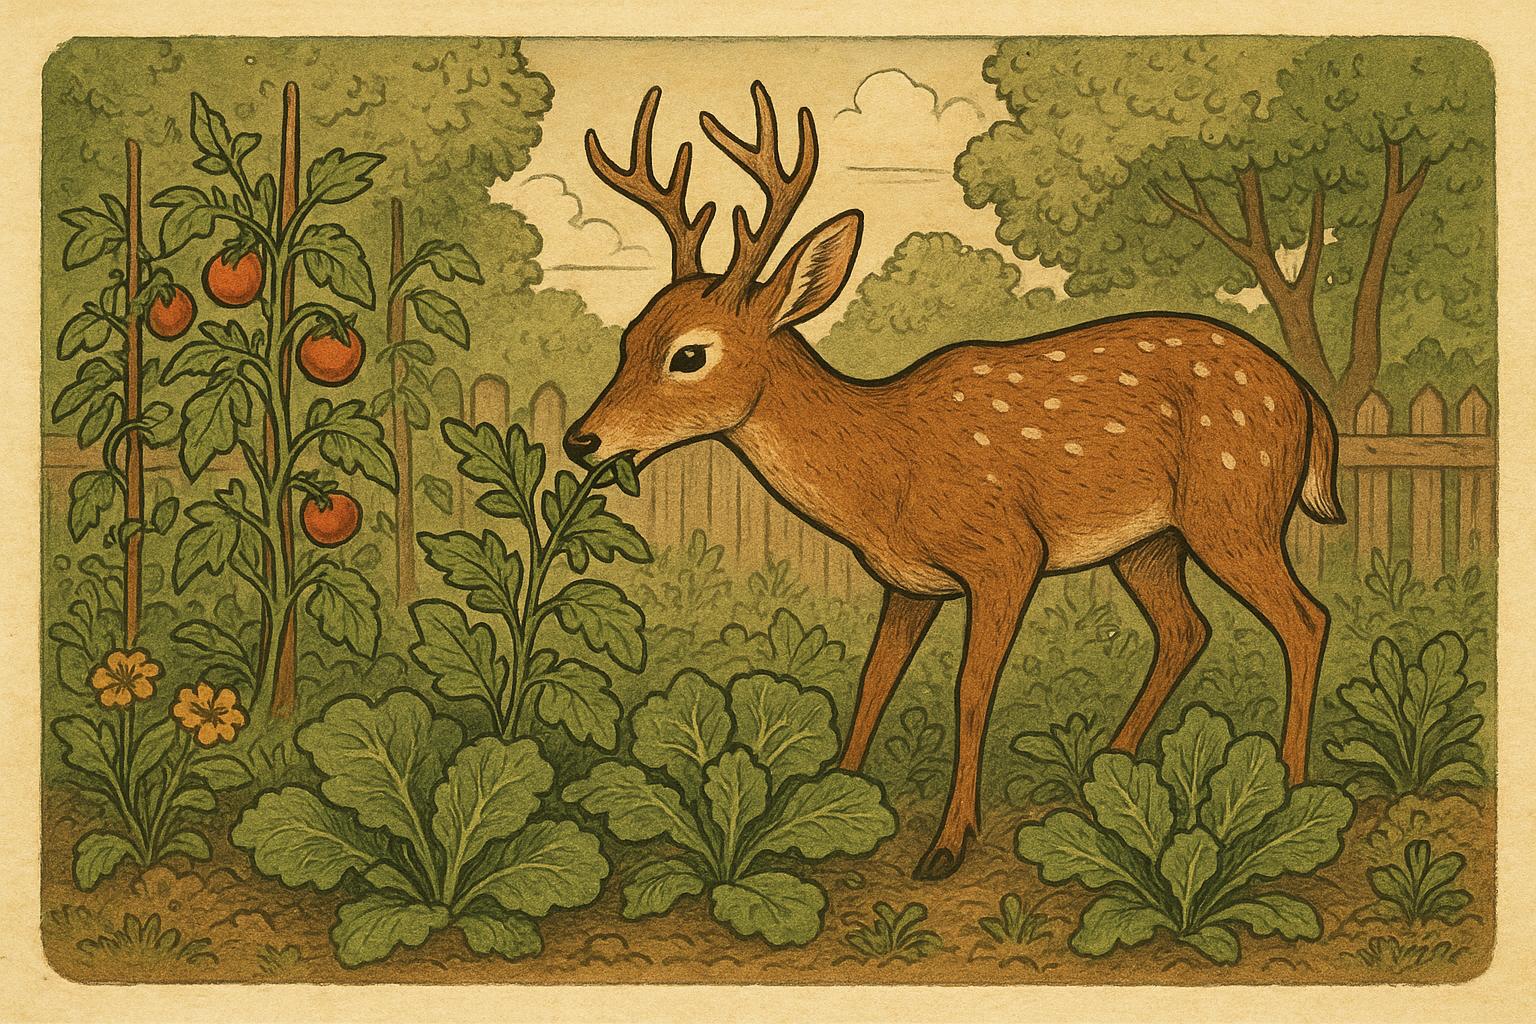
Wildlife and healthy plants are mutualists: pollinators increase fruit set; predatory insects and birds eat pests; soil fauna improve structure and nutrient cycling. By designing with wildlife in mind, you create a resilient system where you spend less time fixing problems and more time enjoying the results. This is not about turning your yard into a jungle—it’s about thoughtful edits so both your roses and the local hummingbirds are happy.
### When To Start Your Spring Yard Prep
Begin early: as soon as the ground thaws and before plants leaf out fully. Early action ensures nesting birds find safe cover and pollinators have continuous blooms. If you wait until things are fully green, you miss the critical window when wildlife is deciding whether your property will be a safe place this season.
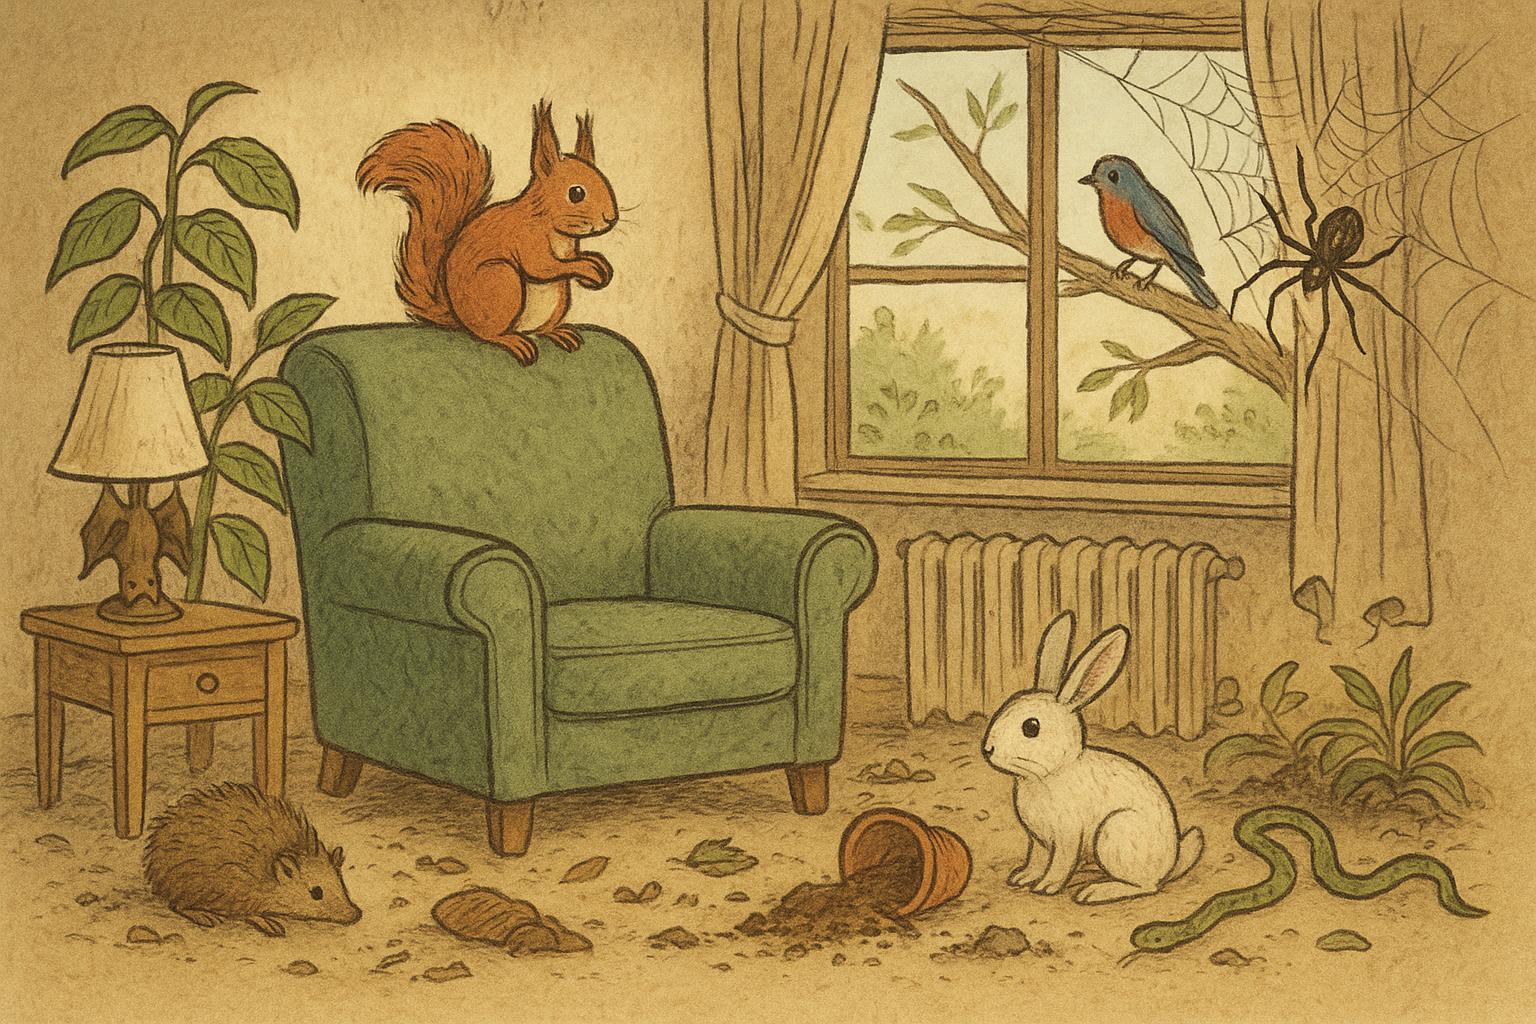
## Practical Habitat Remedies (Numbered)
Below are three practical, tested remedies you can implement during spring yard prep. Each includes required materials and clear steps for creation and application. When following these steps, be precise—correct placement and timing make all the difference for wildlife success.
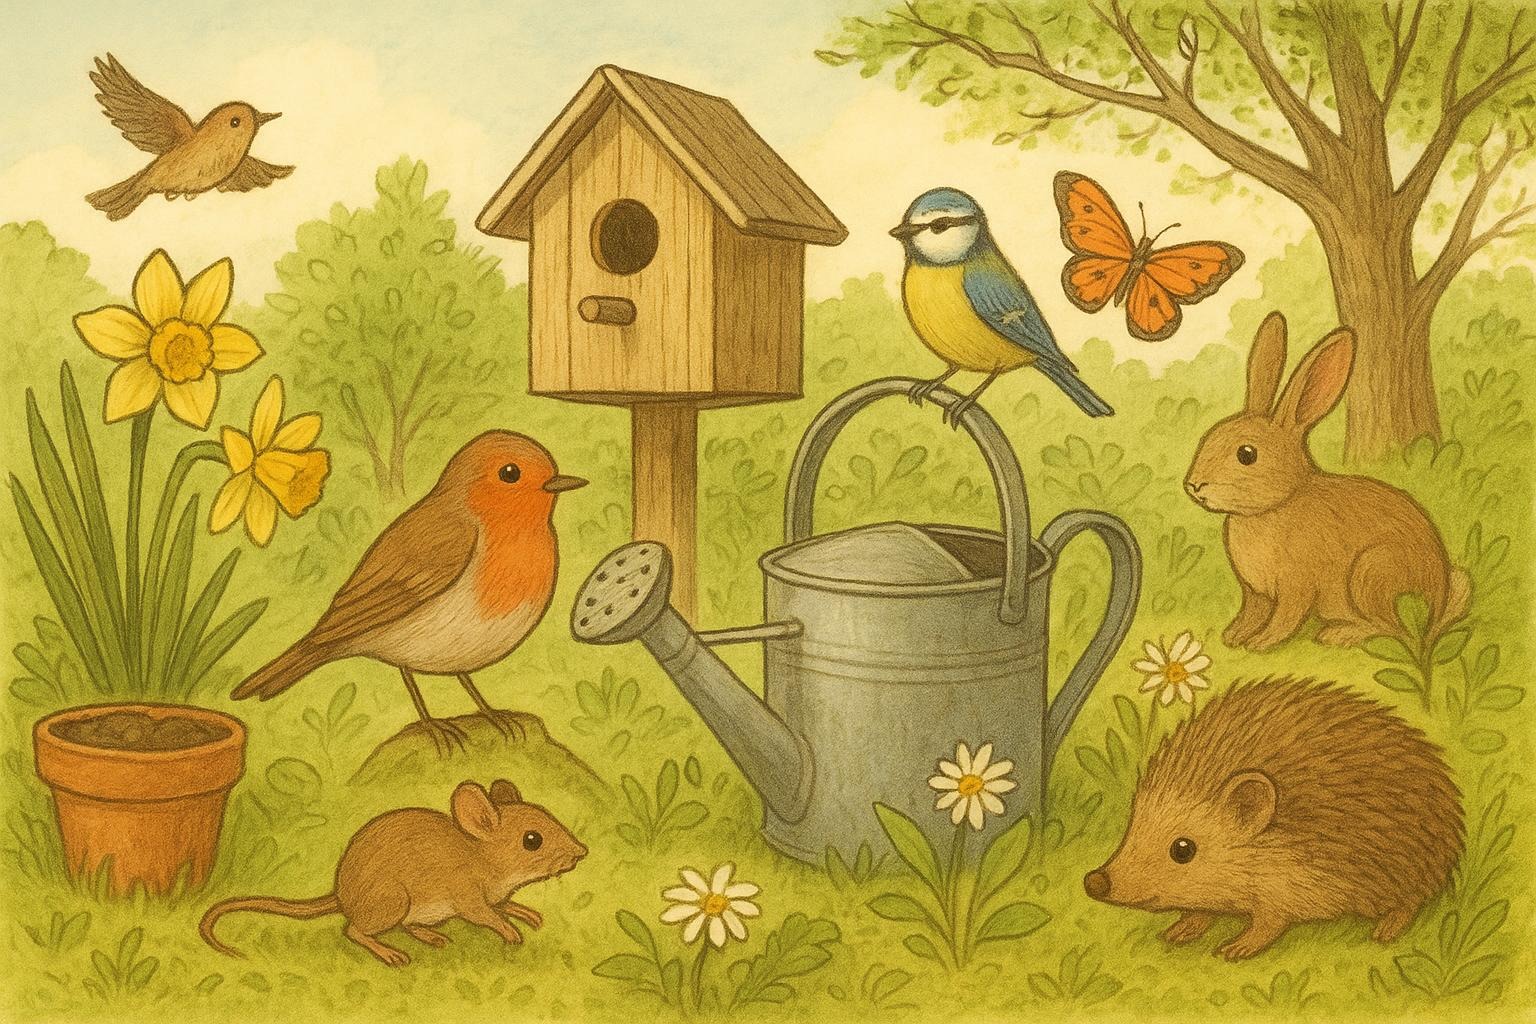
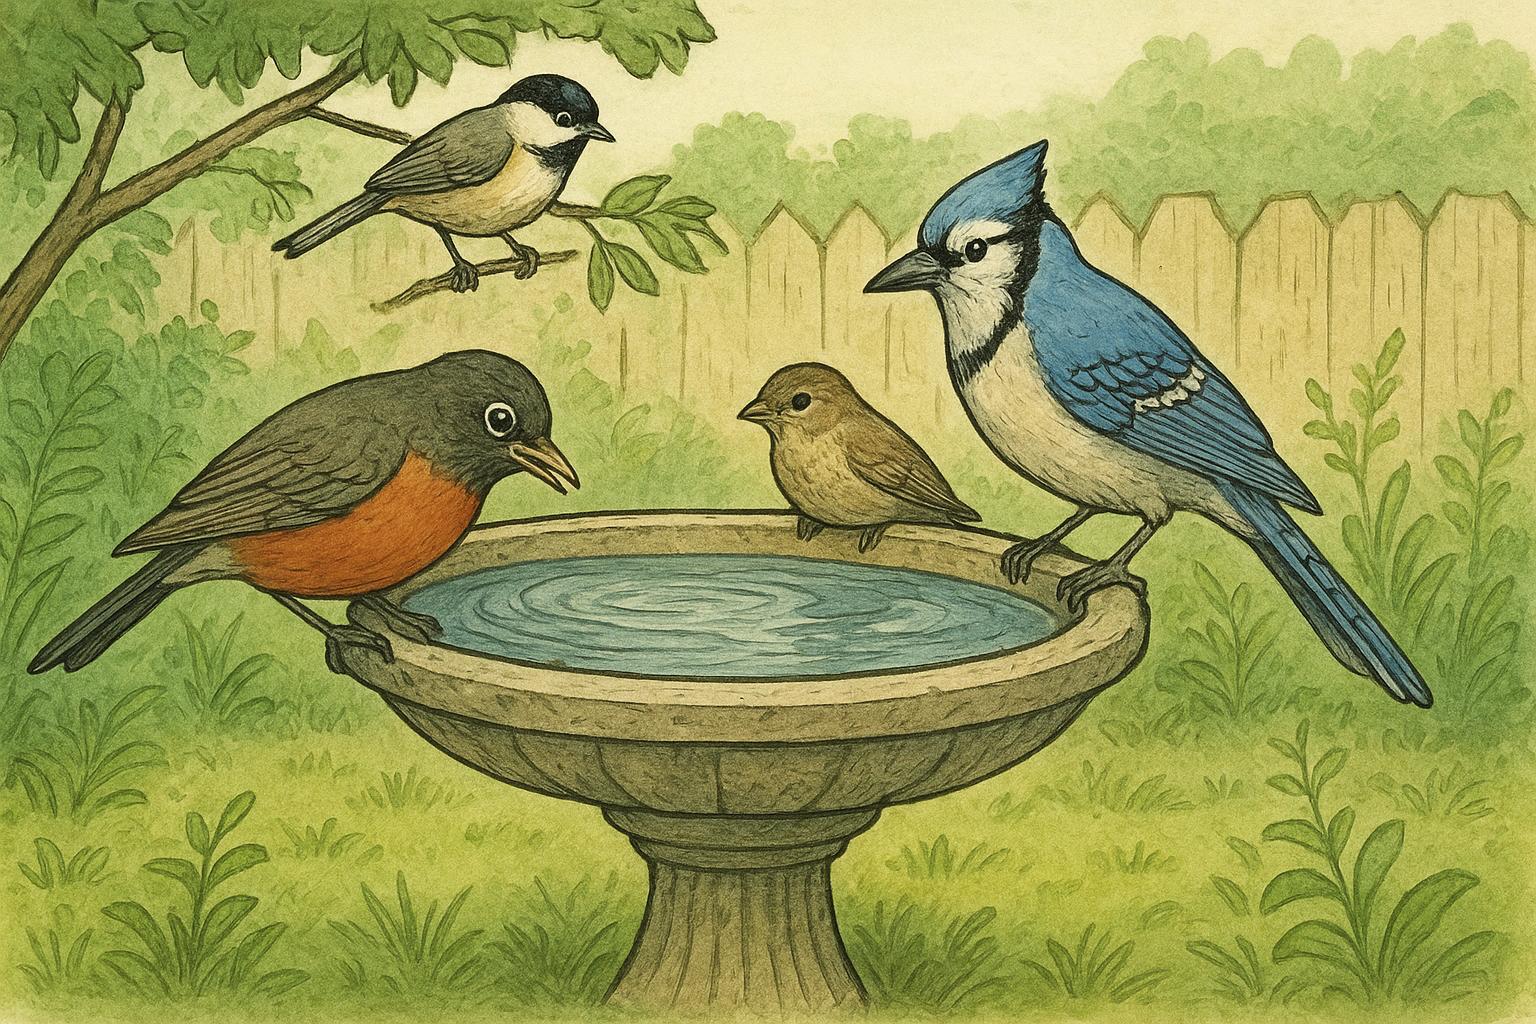
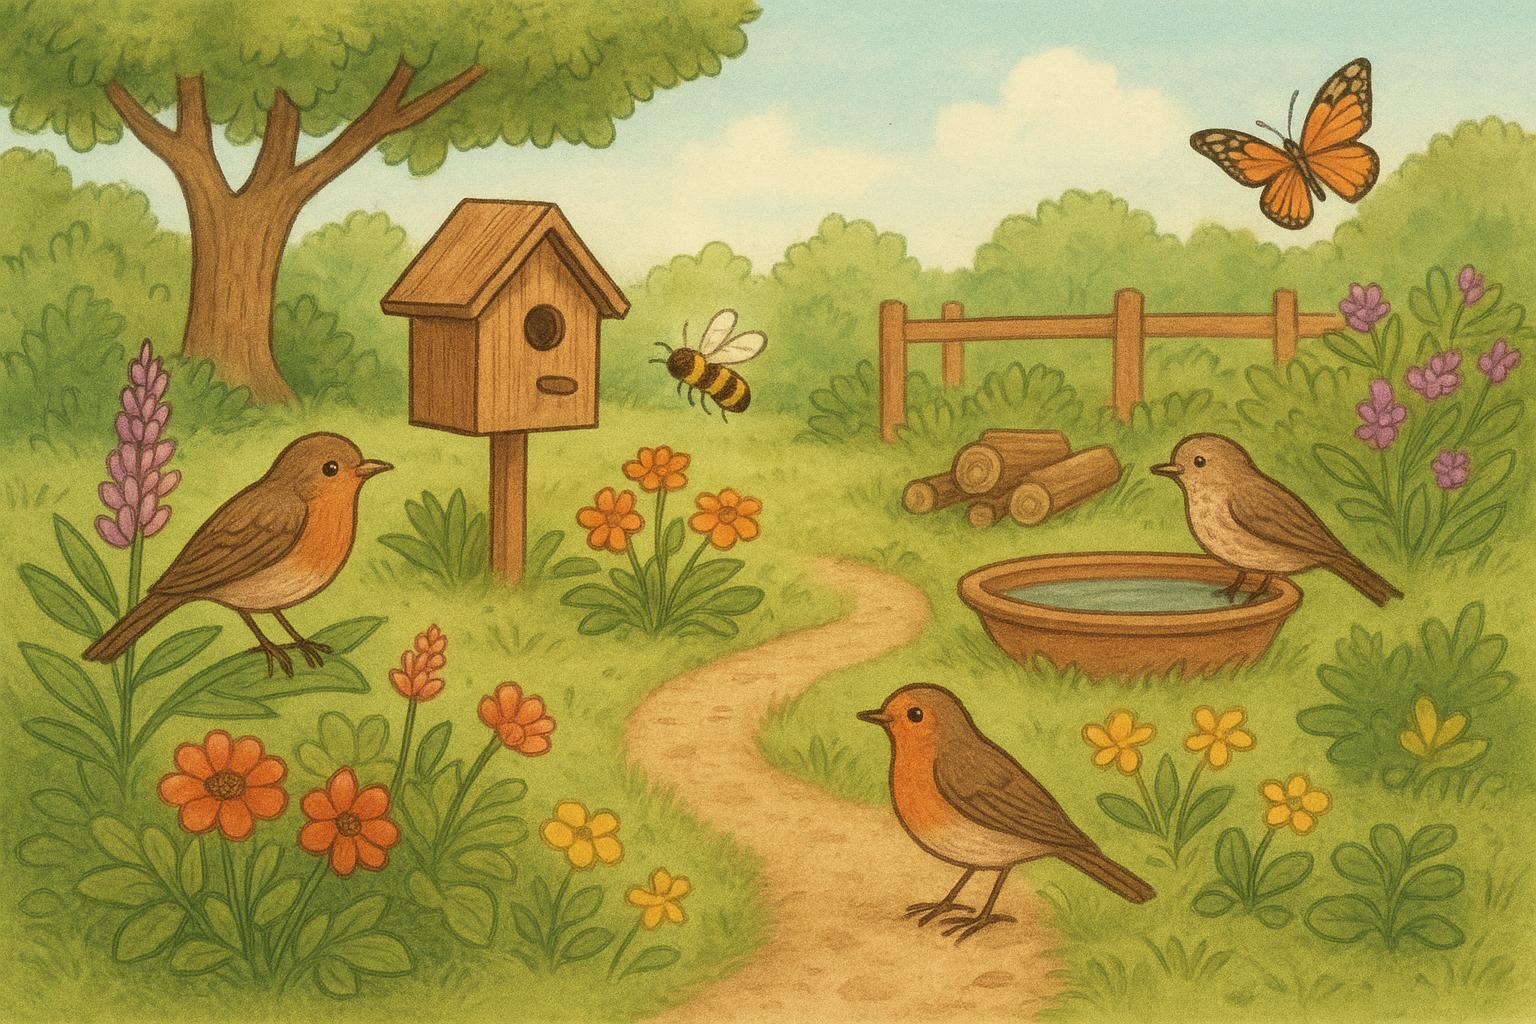
### 1. Build A Simple Wildlife Water Station
#### Materials
– Shallow basin or birdbath (8–12 inches diameter, 1–2 inches deep is ideal)
– Flat stones or small pebbles
– Clean water source (hose or pitcher)
– Optional: small pump for recirculation
– Shade or partial-sun location (near shrubs or perches)
#### Steps
1. Select a Location: Place the basin where birds can see approaching predators—ideally near shrubs or low trees but not so close that cats can easily ambush. For safety, keep at least 3–4 feet from dense ground cover.
2. Prepare the Basin: Set the basin level on a stable surface. Arrange flat stones inside for perches and traction; these let small birds and insects safely drink without drowning.
3. Fill and Maintain: Fill with clean water and replenish daily during warm weather. If you use a pump or recirculating feature, clean filters weekly and scrub algae monthly.
4. Winter Consideration: Install a timer-controlled heater or bring the water station indoors in freezing weather. In spring yard prep, ensure it’s clean and functional before migrants return.
Purpose and Notes: A shallow, clean water source supports birds, bees, and butterflies. Avoid deep containers and maintain water quality—stagnant water breeds mosquitoes and deters wildlife.
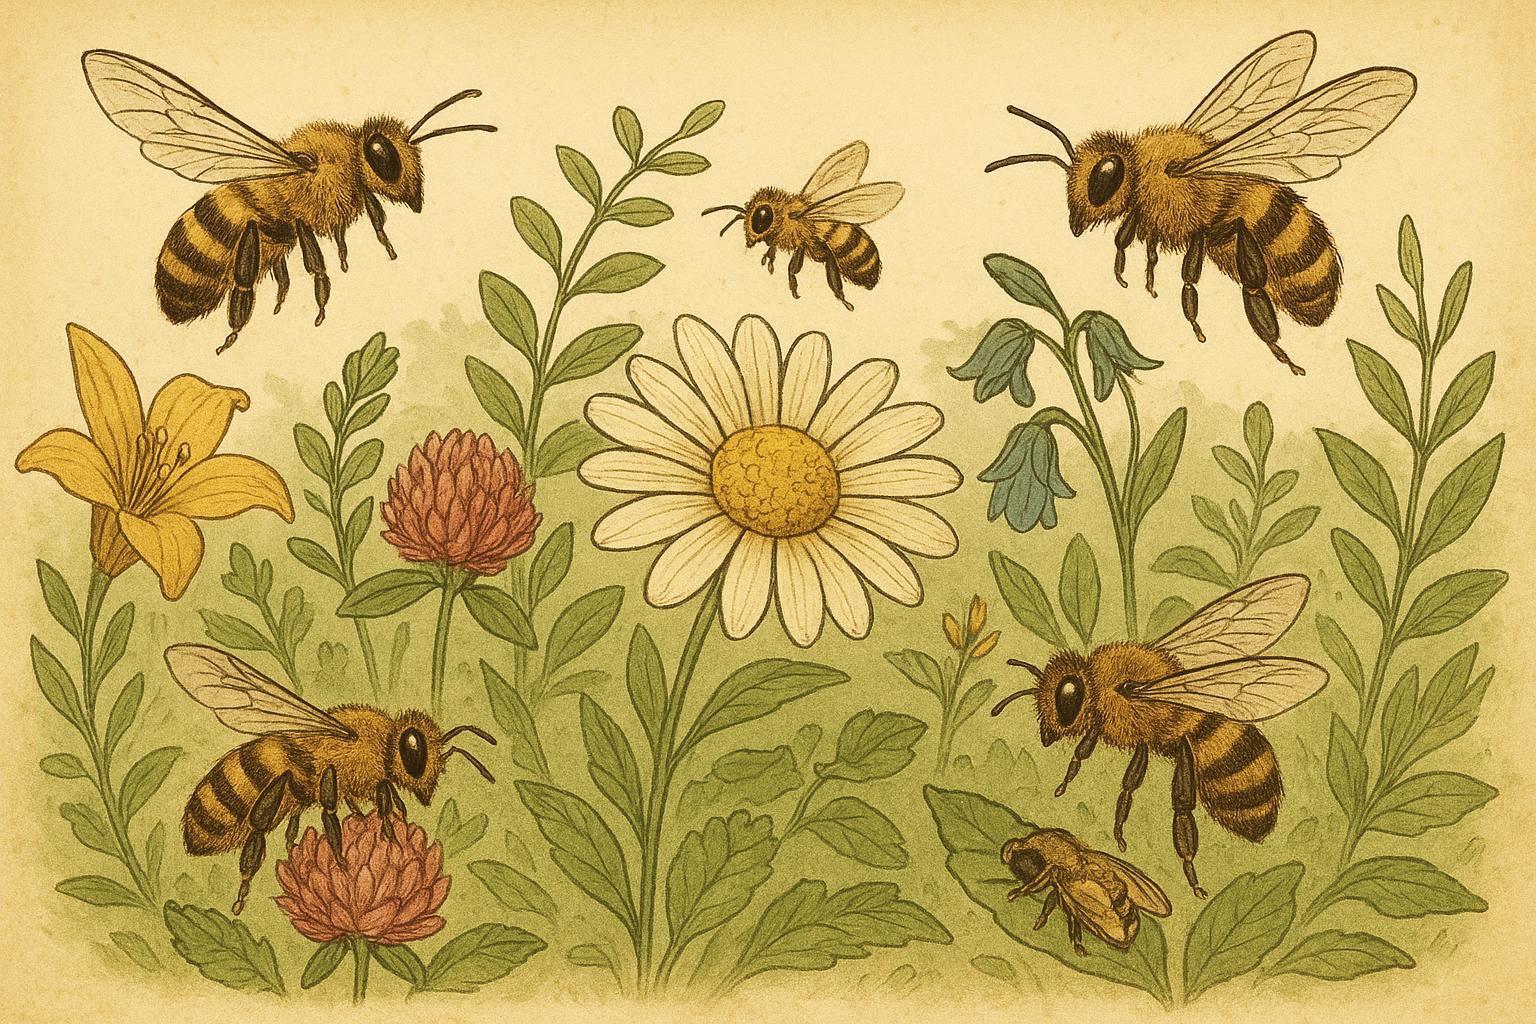
### 2. Plant A Native Wildflower Patch For Pollinators
#### Materials
– Native wildflower seed mix appropriate for your region (pollinator-friendly, no sterile hybrids)
– Compost or well-rotted manure
– Mulch (light straw or fine wood mulch)
– Soil thermometer (optional)
– Simple hand rake and watering can or hose with fine spray
#### Steps
1. Site Selection: Choose a sunny to part-sun spot with good drainage. Many pollinators prefer south- or west-facing sites for warmth.
2. Soil Preparation: Loosen the top 2–3 inches of soil and incorporate a thin layer (¼–½ inch) of compost to boost organic matter without over-fertilizing. Avoid high-nitrogen fertilizers; they favor grasses and weeds over wildflowers.
3. Seeding: Broadcast seeds evenly according to the package rate. Press seeds lightly into the soil with a rake or by walking over the area—do not bury small seeds deeply.
4. Mulching and Watering: Apply a light cover of straw or fine mulch to retain moisture and reduce erosion. Keep soil consistently moist until seedlings establish, usually 2–4 weeks.
5. First-Year Management: Mow or trim in late fall after seeds mature, leaving some stems for overwintering pollinators if possible. In subsequent years, reduce mulch and allow natural reseeding.
Purpose and Notes: Native species support native pollinators more effectively than exotics. Proper seed-to-soil contact and moisture during germination are the keys to success.
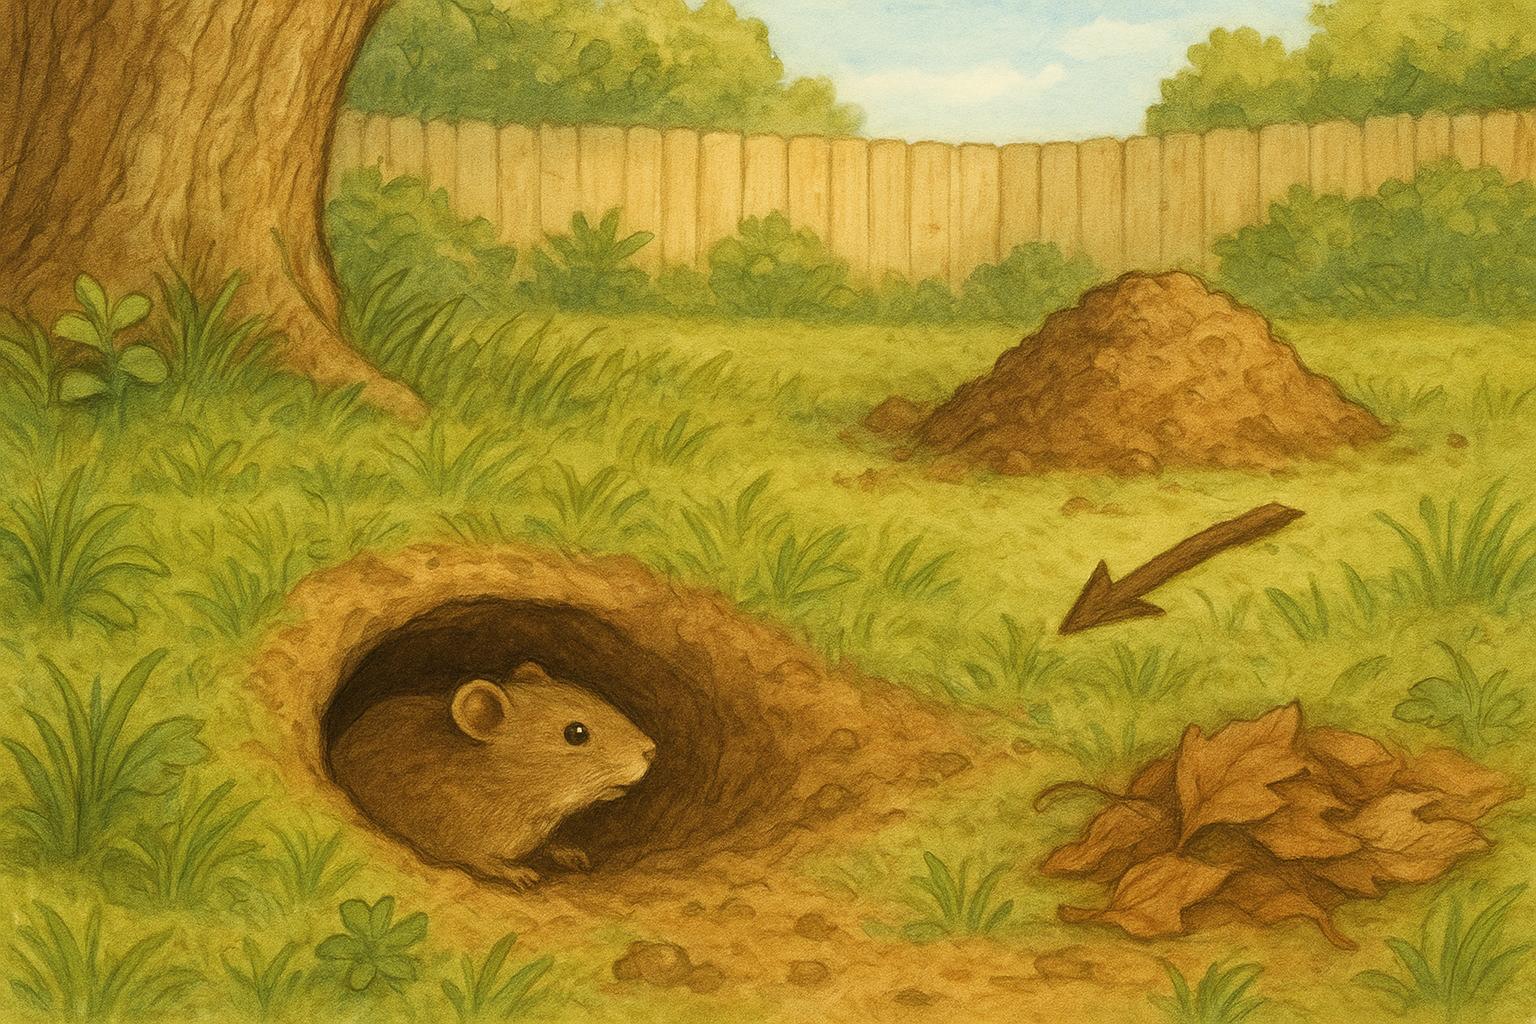
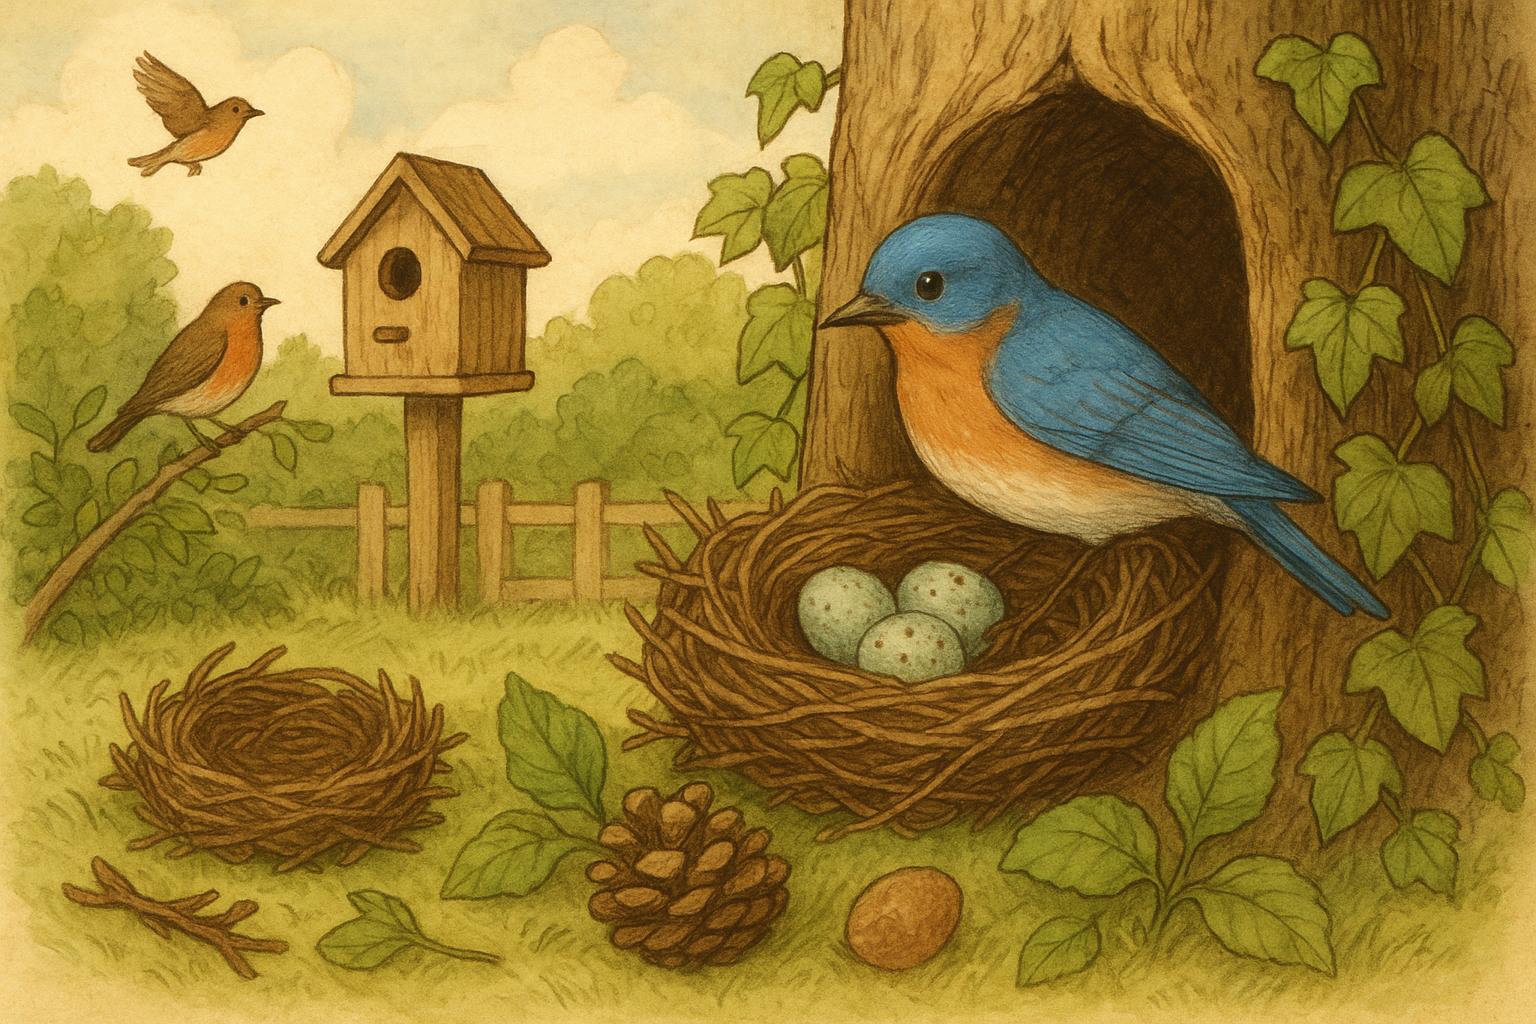
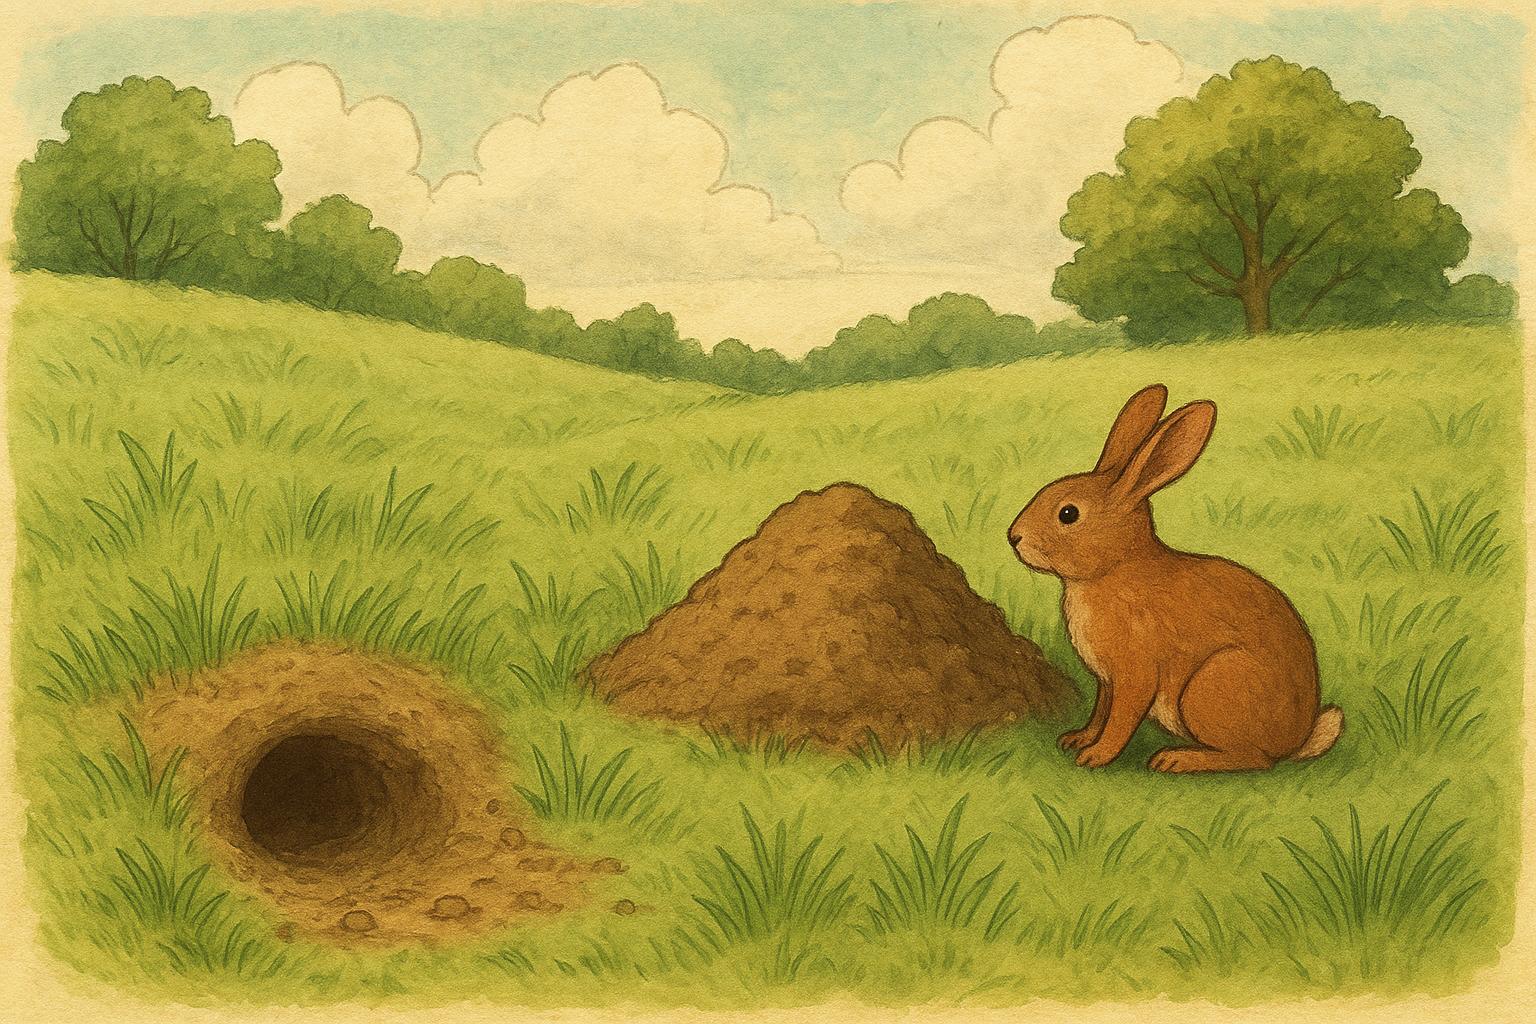
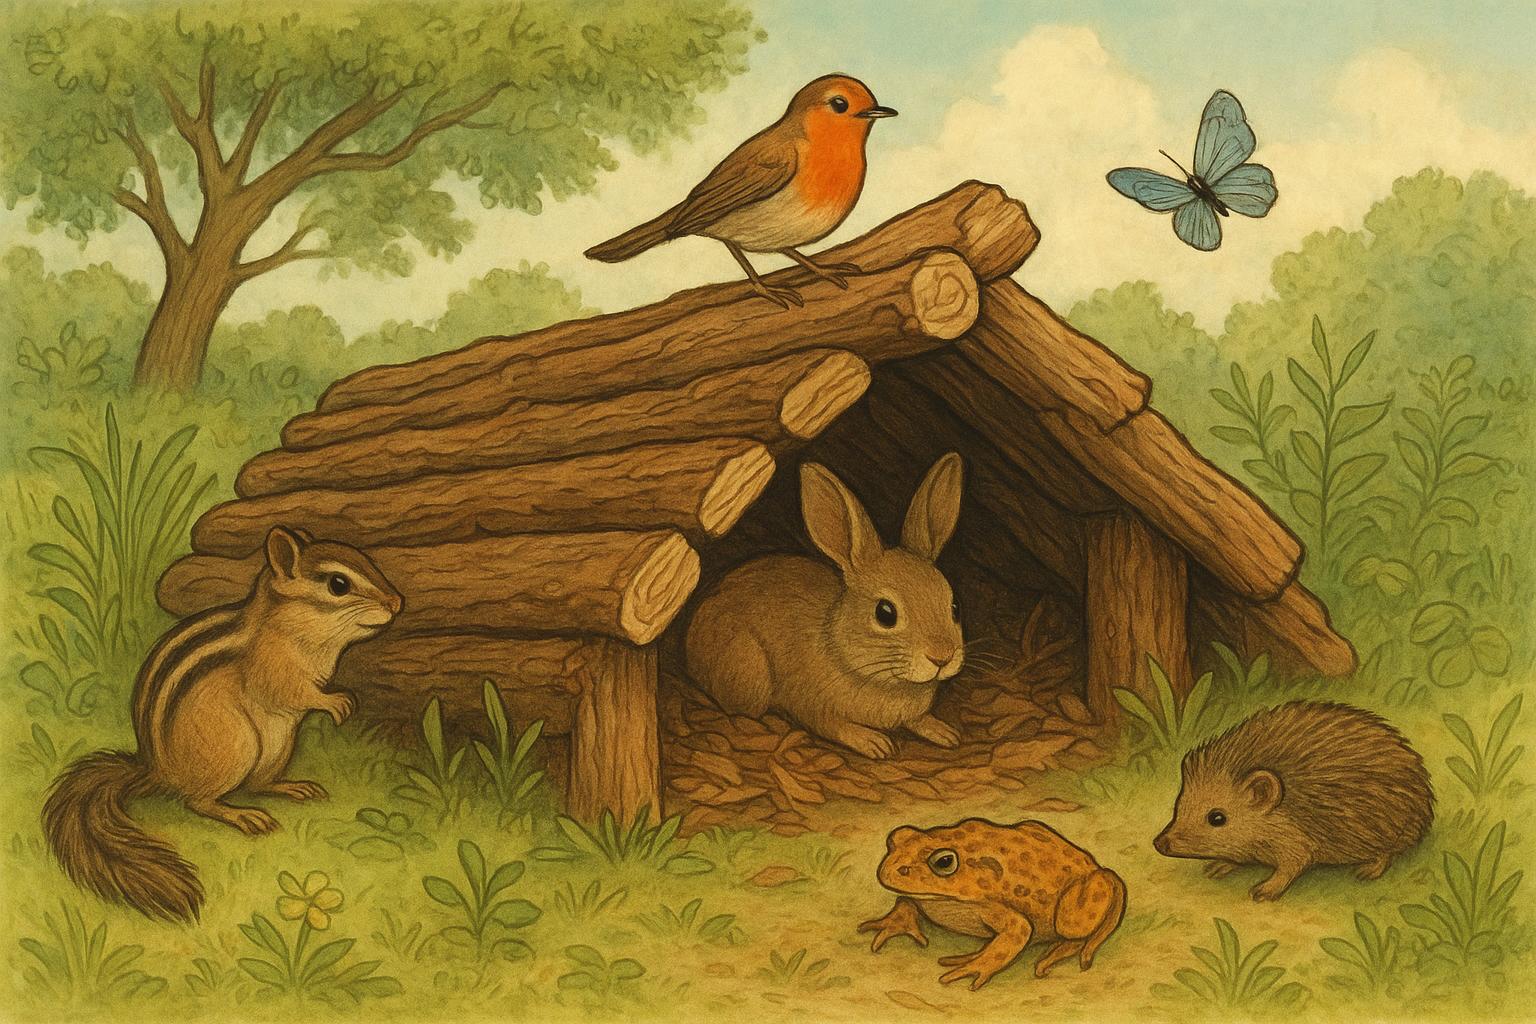
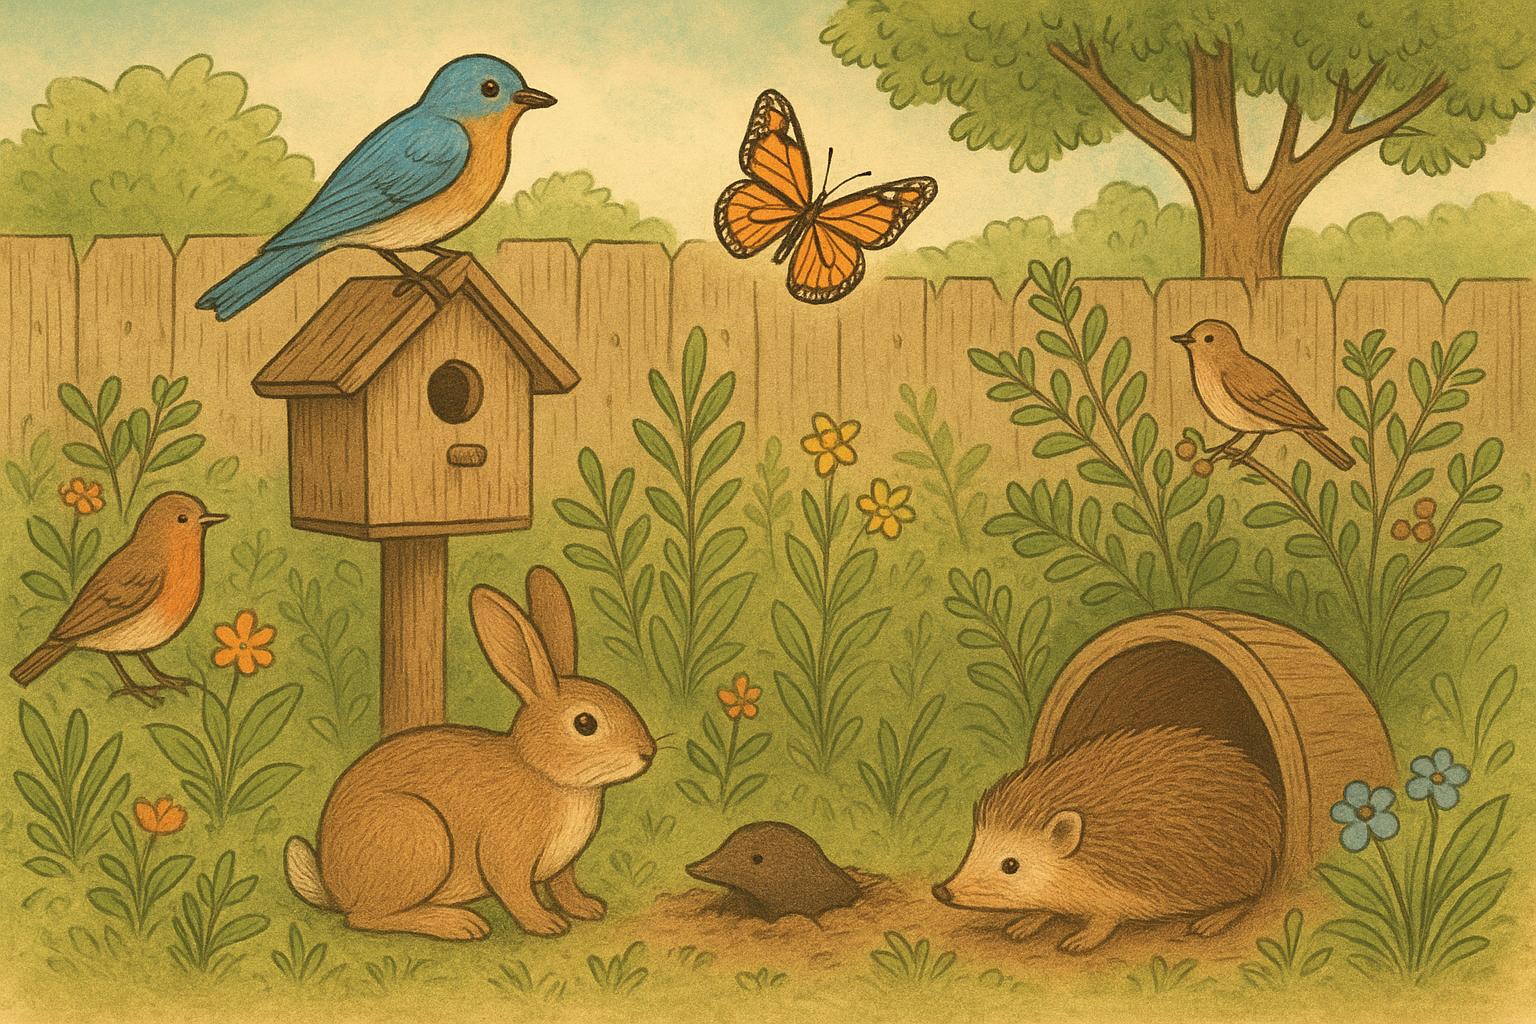
### 3. Install A Brush Pile And Provide Nesting Shelters
#### Materials
– Branches and sticks (pruned wood rather than chemically treated lumber)
– Leaf litter and dead stems
– Optional: basic nest boxes suitable for local bird species (cedar preferred)
– Hammer and screws (for nest box mounting)
– Location marker and basic garden glove set
#### Steps
1. Choose A Safe Spot: Locate the brush pile away from heavy foot-traffic and property lines where it won’t be a fire hazard. Near a shrub edge or tree line is ideal.
2. Build The Pile: Layer larger branches at the base, adding smaller branches, twigs, and leaf litter on top to create cavities and interstitial spaces. The structure should be loosely stacked to allow small mammals, reptiles, and insects to move through.
3. Add Nesting Boxes: For cavity-nesters lacking natural holes, mount appropriate-sized nest boxes on trees or poles at recommended heights for the target species. Face boxes away from prevailing winds and provide predator guards if necessary.
4. Monitor And Leave Alone: Once established, avoid regular disturbance. Check boxes annually outside nesting season for cleaning and repairs. Document usage to refine placement next season.
Purpose and Notes: Brush piles provide shelter, foraging habitat, and brood-rearing cover for a variety of wildlife. Proper placement minimizes human-wildlife conflict while maximizing ecological benefit.
## Yard Management Tips To Complement Your Prep
### Tidy Smart, Not Sterile
Wildlife appreciates structure—clumps of native grasses, standing dead stems, and small shrubs. Rather than raking everything bare, keep patches of leaf litter and overwinter stems for insects and ground-nesters. During spring yard prep, remove only what threatens plant health or safety; preserve the rest.
### Reduce Chemicals, Increase Results
Pesticides and synthetic herbicides disrupt food webs. Opt for integrated pest management: encourage predator insects (lady beetles, lacewings), use mechanical controls, and tolerate some leaf-chewing to feed birds. If control is necessary, choose the least toxic options and apply when non-target species are least active (evening or night for bees).
### Lawn Alternatives And Edging
Replace small patches of turf with native groundcovers or clover to reduce mowing and provide nectar. During spring yard prep, edge beds to create defined habitat borders that are easy to maintain and less likely to harbor invasive plants.
### Mind The Watering Schedule
Water deeply but infrequently to encourage deep roots in native plants. Early morning watering reduces fungal issues and matches pollinator activity rhythms. When setting up irrigation in spring yard prep, use drip lines for beds and hand water new plantings until established.
## How To Monitor Success Without Becoming A Bore
Keep a simple journal or phone folder of what arrives: first bee sightings, nesting activity, and which plants get the most visitors. A little observation helps you iterate—move the water station, change plant mix, or add another nesting box next season. Celebrate small wins (a pair of wrens showing interest) and remember that nature takes time; your efforts compound year over year.
Spring yard prep doesn’t have to be a weekend of backbreaking soldiering under a sun hat. With thoughtfully placed water, native plants, and a few cozy shelters, your garden will reward you with more life, less work, and the occasional amusing bird-raid on your seed tray. Take your time, follow the steps above, and enjoy the show.


Leave a Reply