
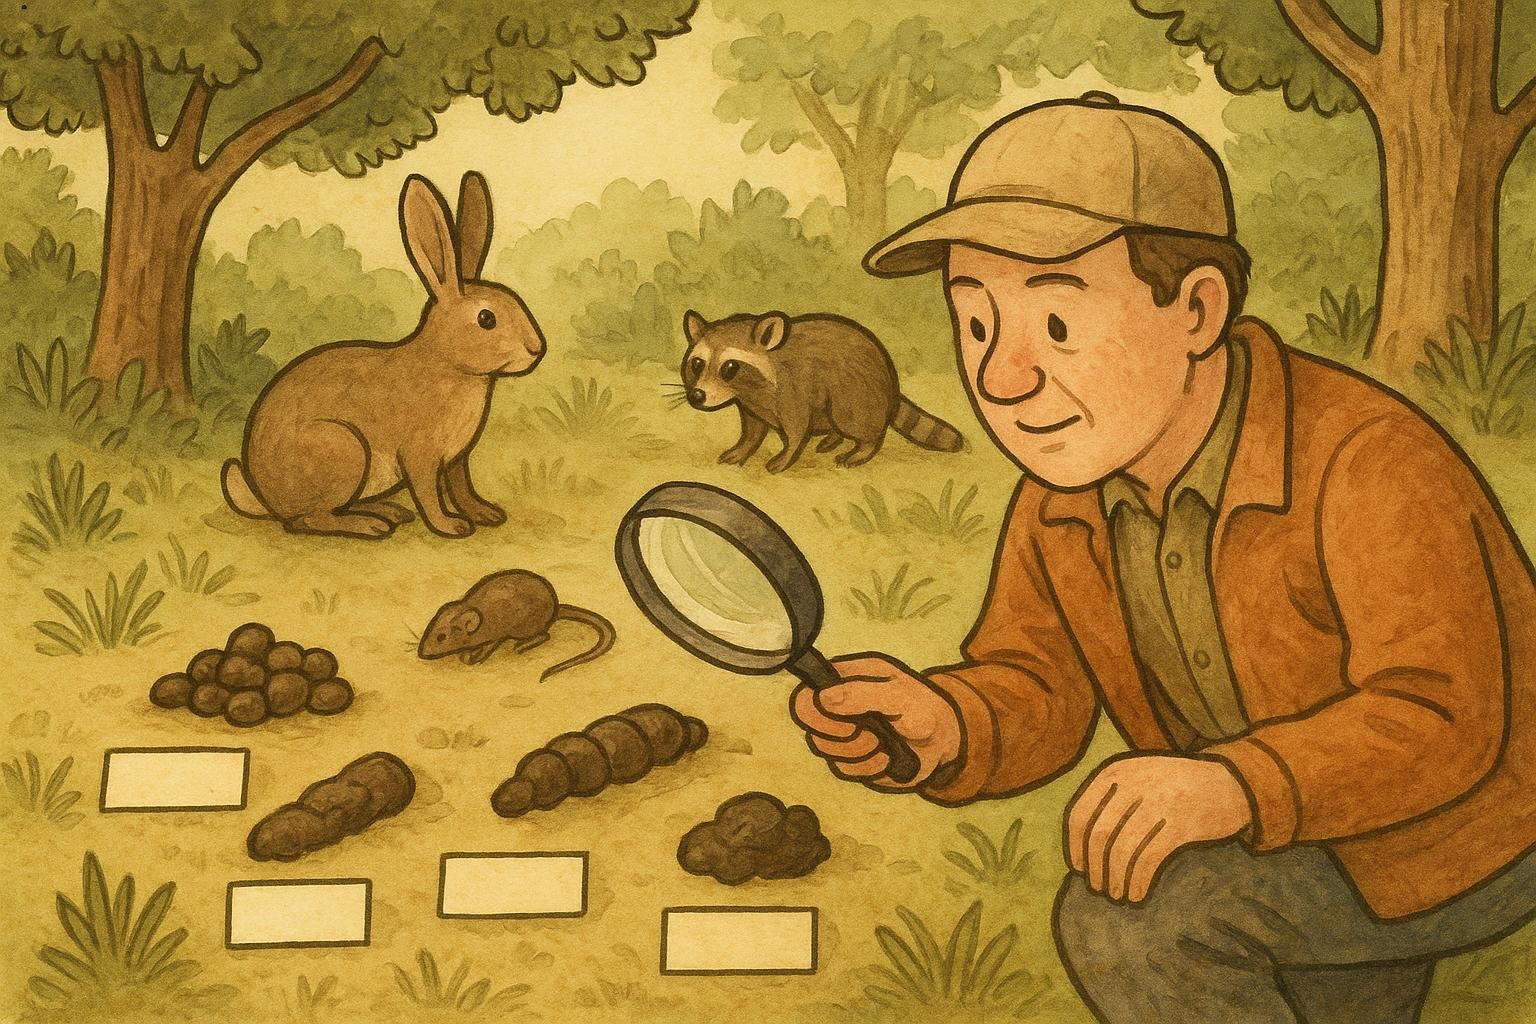
If a rainy morning left your yard dotted with little impressions, congratulations — you’ve got a mystery to solve and a free lesson in local wildlife. This guide will help you interpret those telltale depressions, figure out who visited last night, and decide whether you want to preserve a perfect print or politely encourage guests to go elsewhere. Along the way we’ll talk technique, common species, and a couple of practical remedies.
## Why Tracks In Mud Tell Great Stories
Tracks in mud are nature’s shorthand. A single print can tell you size, foot structure, and how fast the animal was moving. A trail of prints reveals gait and behavior: hopping, bounding, pacing. Because mud conforms to foot shape, it preserves details like toe pads, claw marks, and even subtle weight shifts from a hesitant feeder or a sprinting escapee.
### What To Look For First
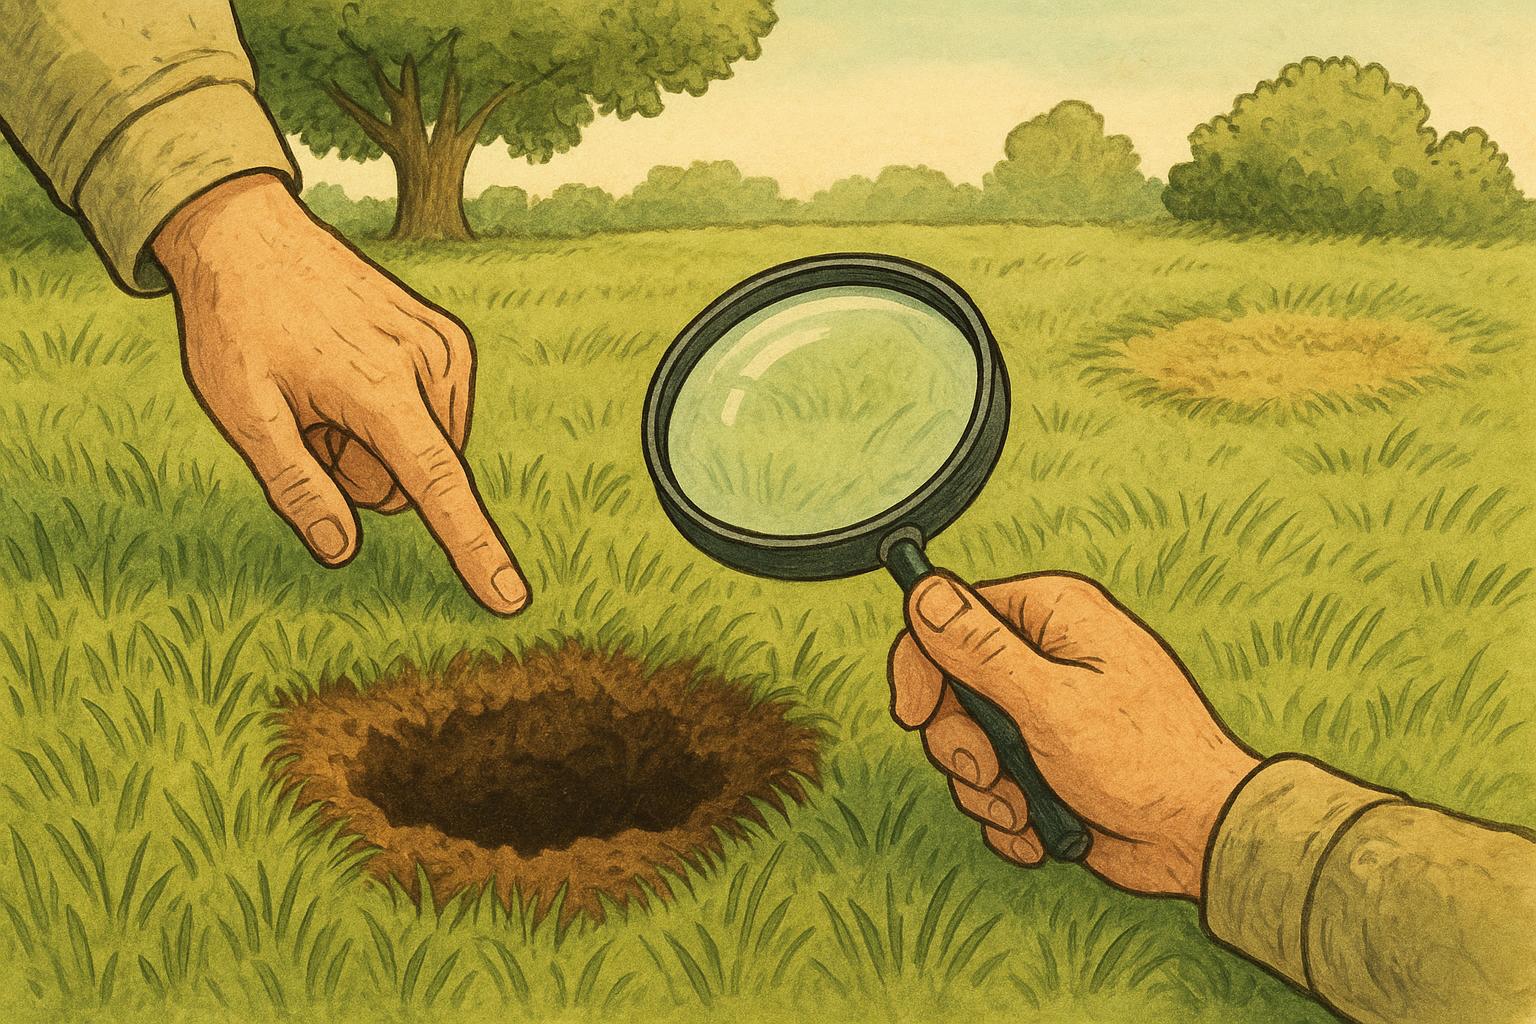
When you approach a track, take a moment. Avoid stomping through the print. Note the size (measure with a ruler or anything with known length), count the toes, check for claws, and observe the spacing between prints. Photographing tracks with a coin or ruler in-frame helps later comparison.
### Reading Toe Marks And Claw Impressions
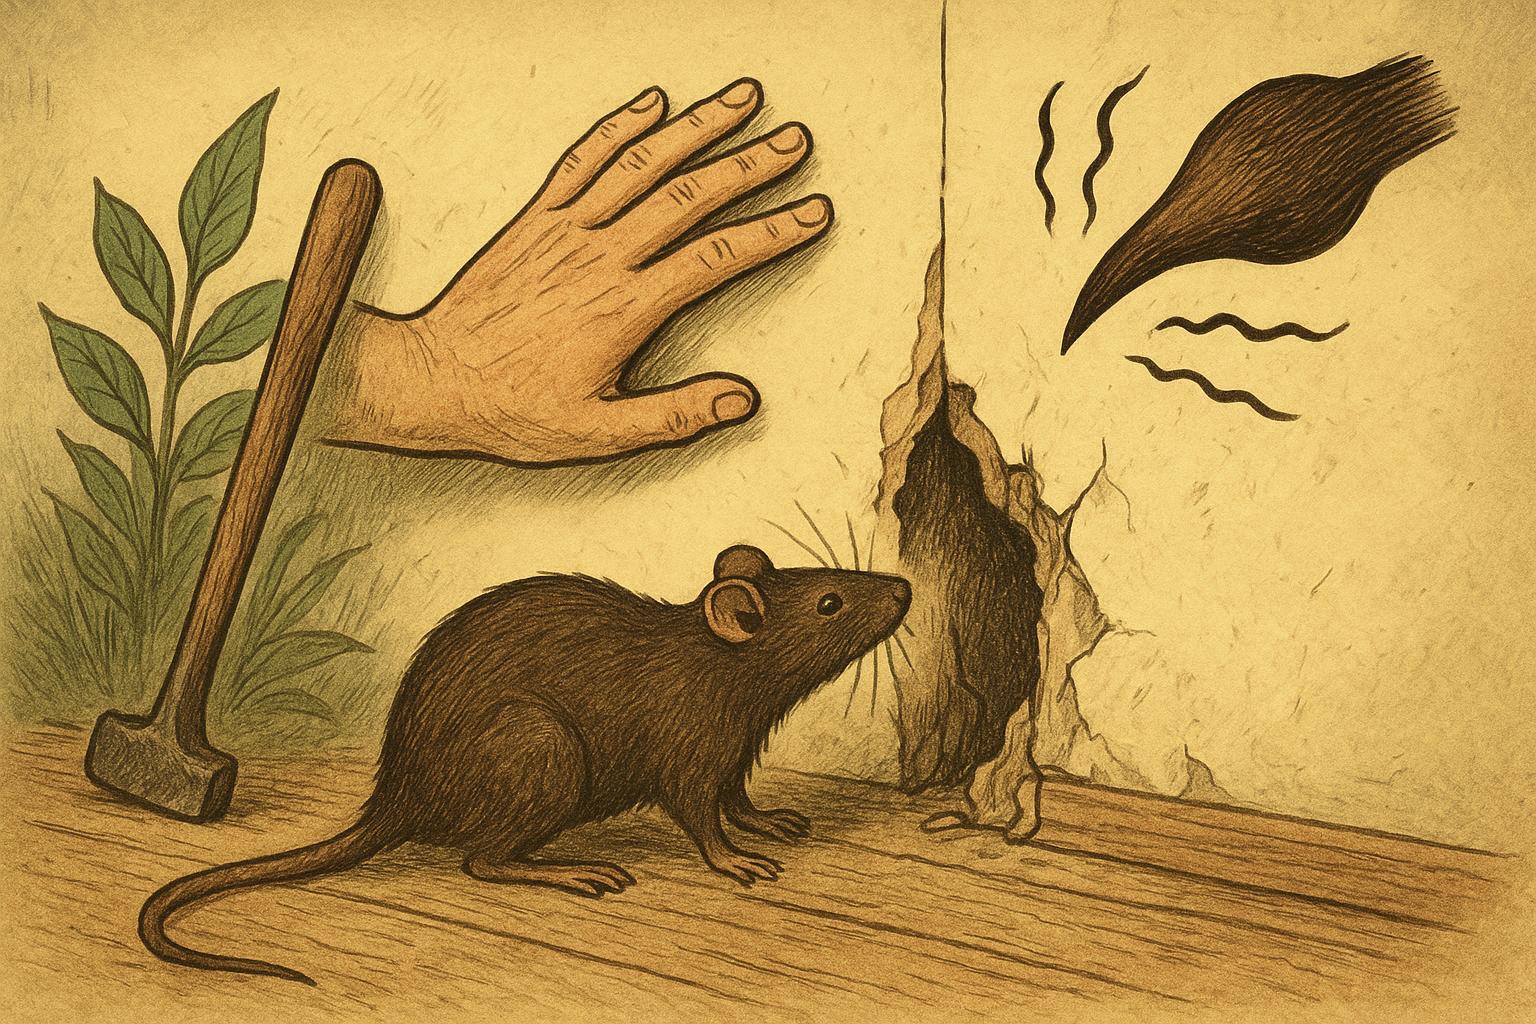
Tracks in mud often display clear claw marks. Dogs and coyotes show claws; cats usually don’t leave claw imprints because they retract them. Rodents and birds display distinctive patterns: small paired marks for rabbits, four-toed patterns for many rodents, and three-toed prints for common birds. The angle and depth of claw impressions can help you tell whether a critter was running, digging, or cautiously exploring.
## Common Backyard Track Makers
Backyards host a surprising diversity of track makers. Many are regulars; a few are seasonal visitors. Knowing the common suspects makes detective work faster and more fun.
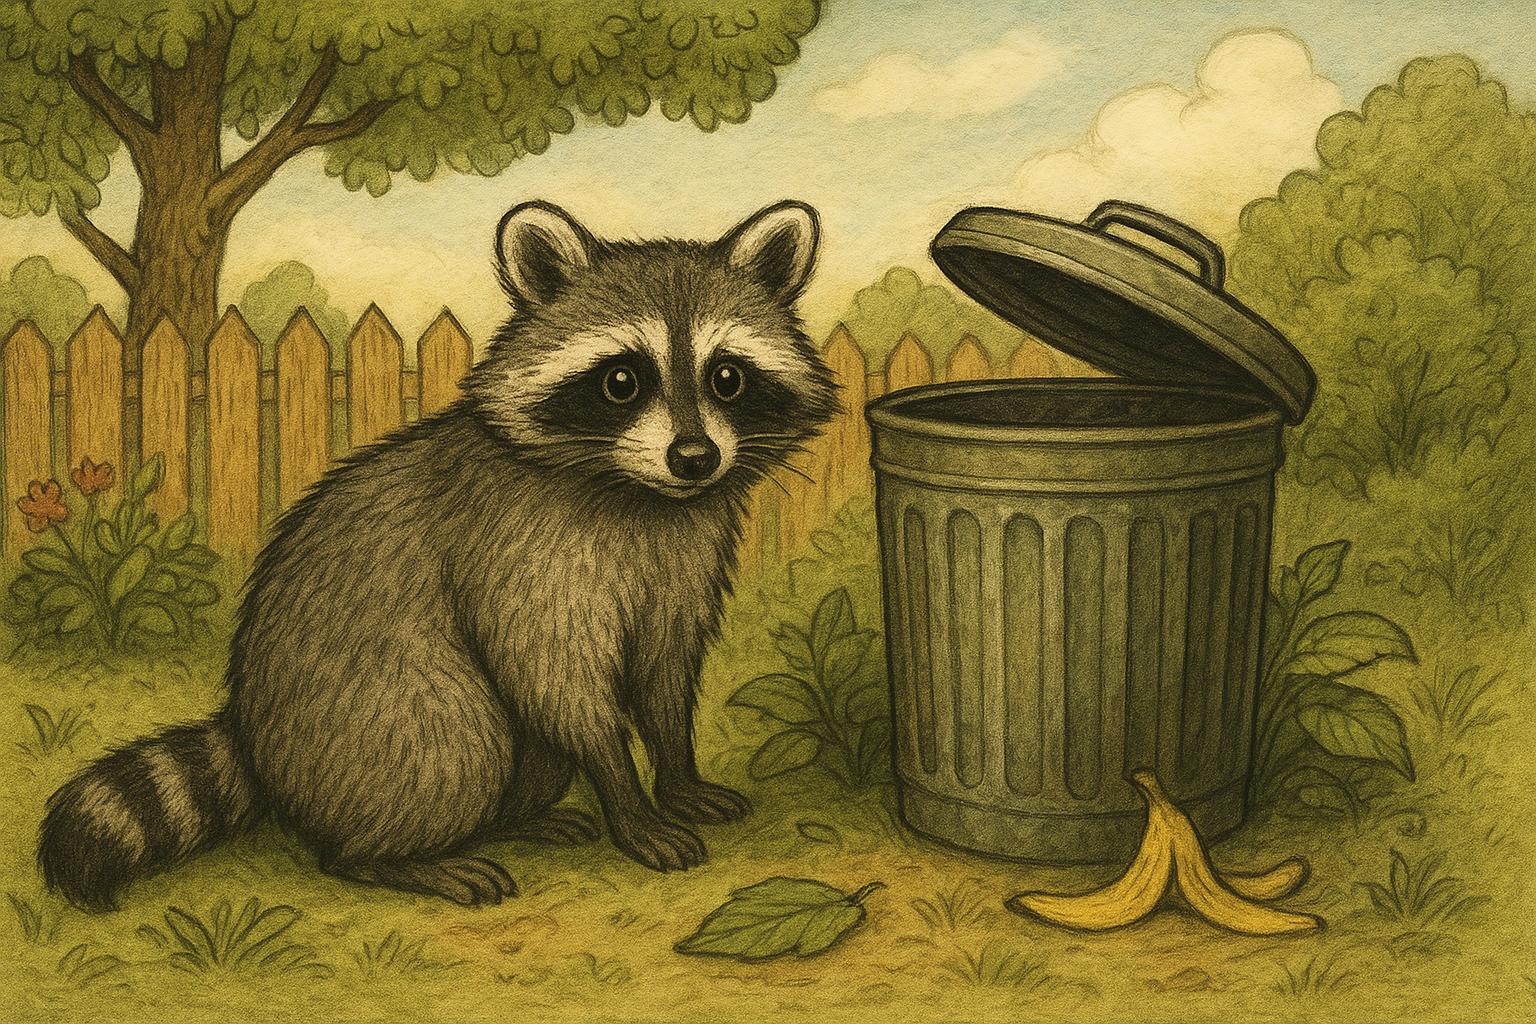
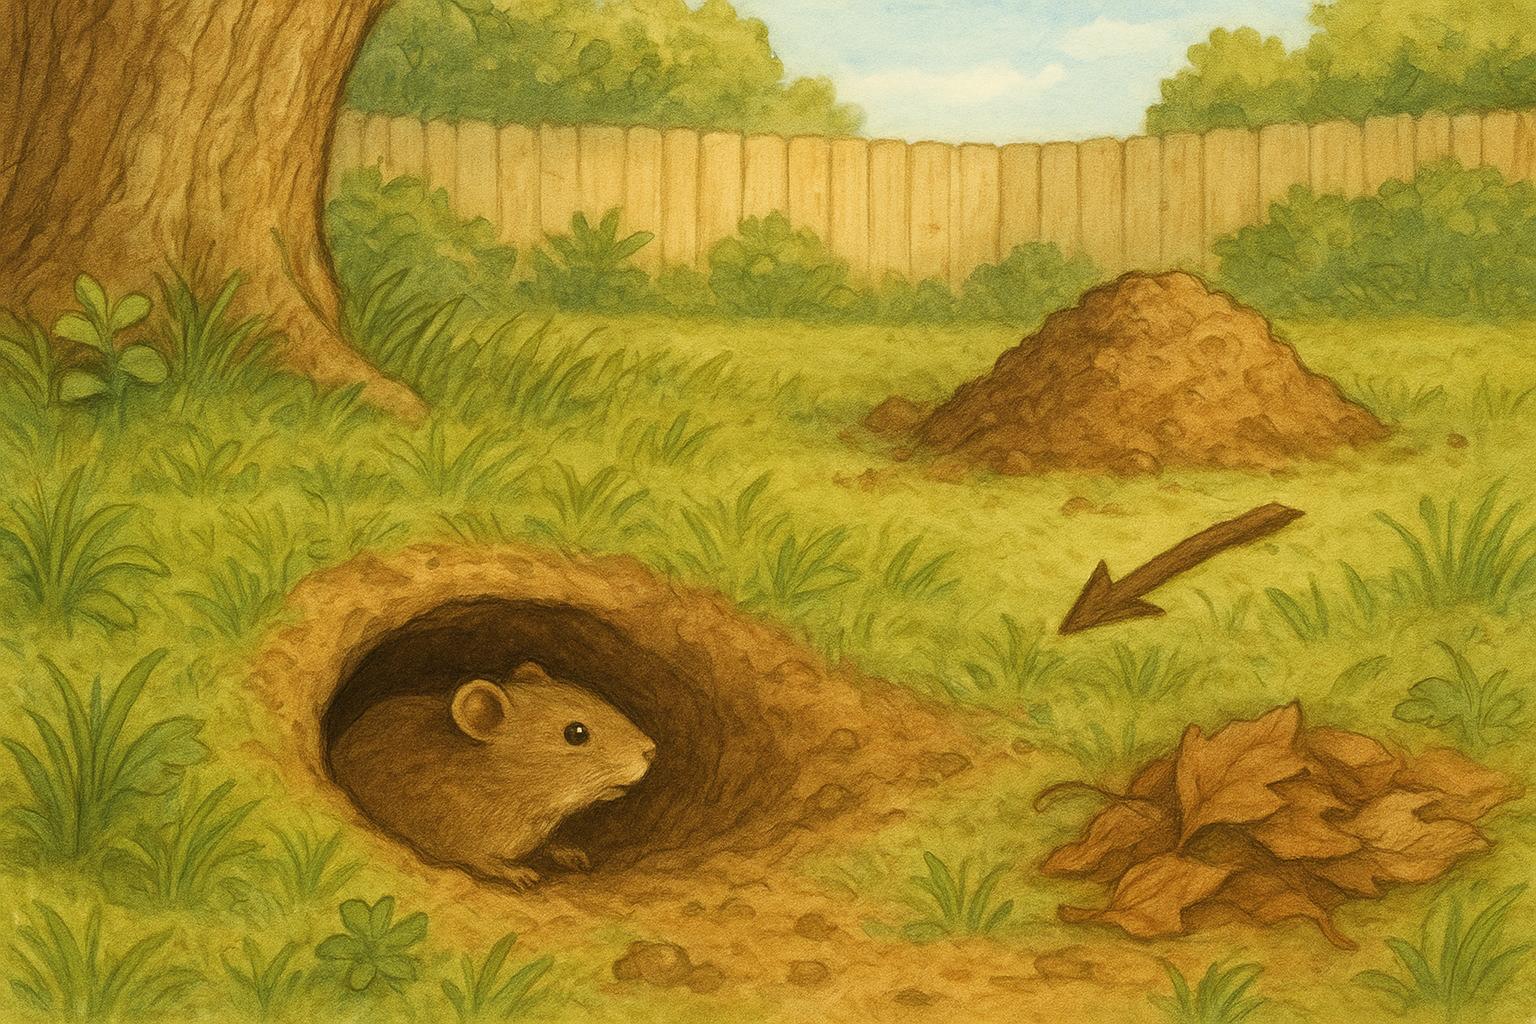
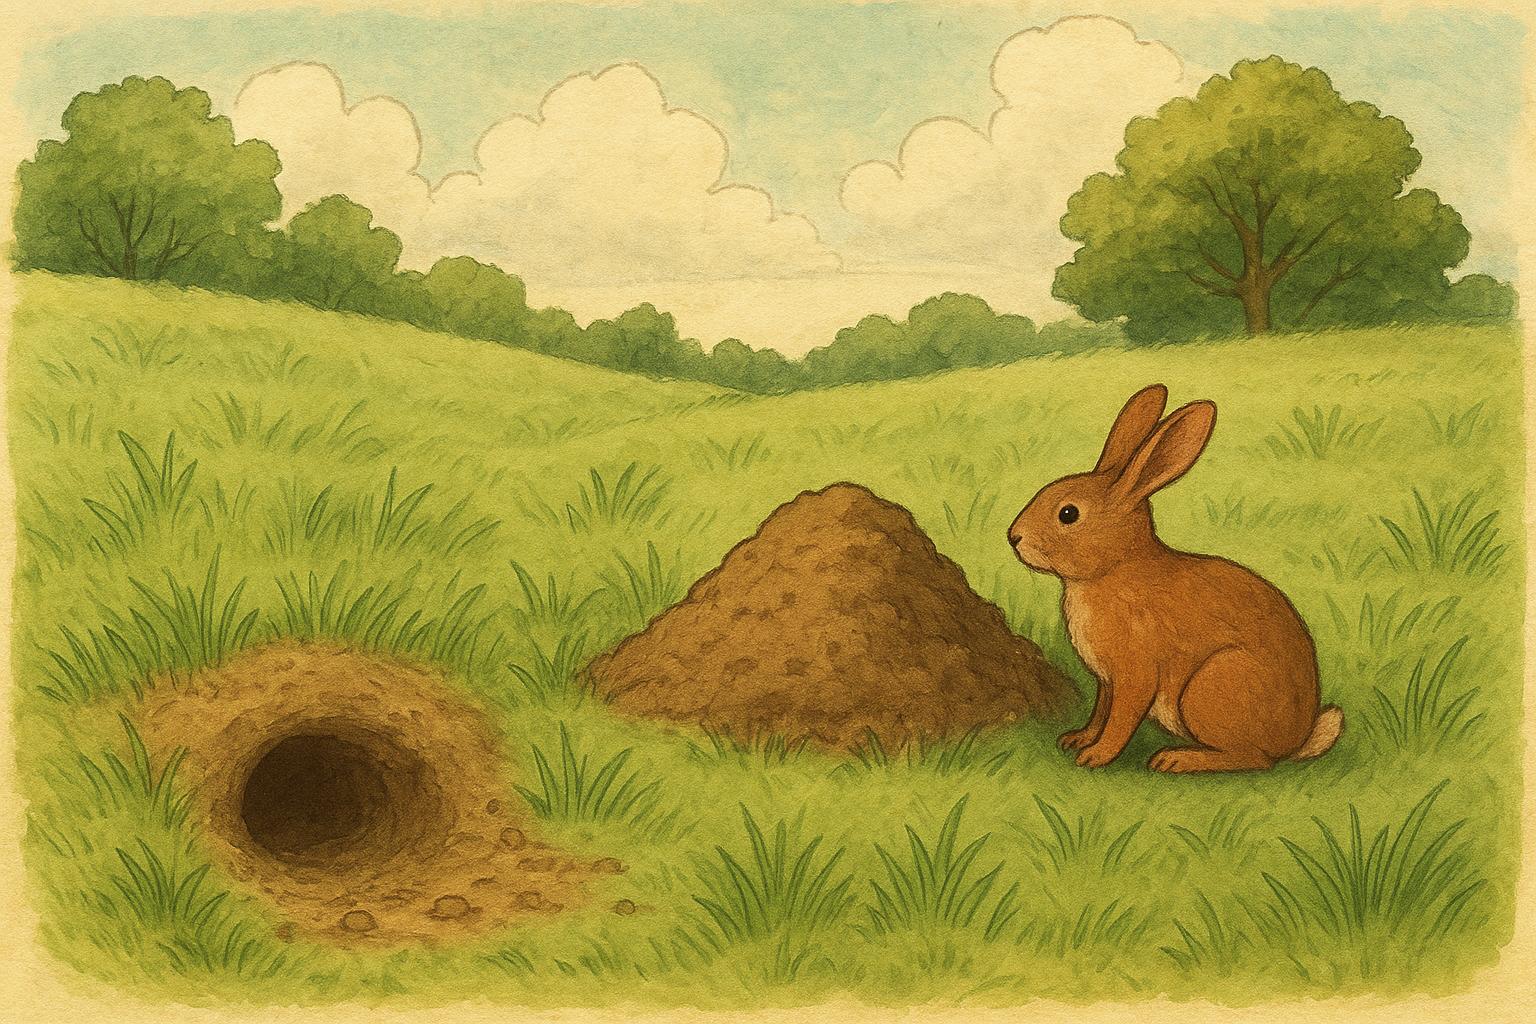
### Small Mammals: Squirrels, Rabbits, And Raccoons
Squirrels leave compact prints with a pair of long hind prints and smaller front prints, often in a pattern of two rabbit-like hops. Rabbits create elongated, H-shaped trails: two large hind prints followed by two small front prints. Raccoons show hand-like prints with five long toes and often a drag mark from their tail.
#### Squirrels
Expect asymmetrical hind prints and a zigzagging trail.
#### Rabbits
Tracks are typically soft-edged with well-separated hind prints.
#### Raccoons
Look for dexterous front prints and occasionally tiny fingerlike impressions where they explored food.
### Medium And Large Mammals: Deer, Dogs, And Coyotes
Deer tracks are heart-shaped cloven hooves, usually appearing in pairs. Domestic dogs leave roundish prints with noticeable claw marks and variable gait depending on whether they’re walking or trotting. Coyotes resemble small dog prints but are more elongated and often aligned in a straight line.
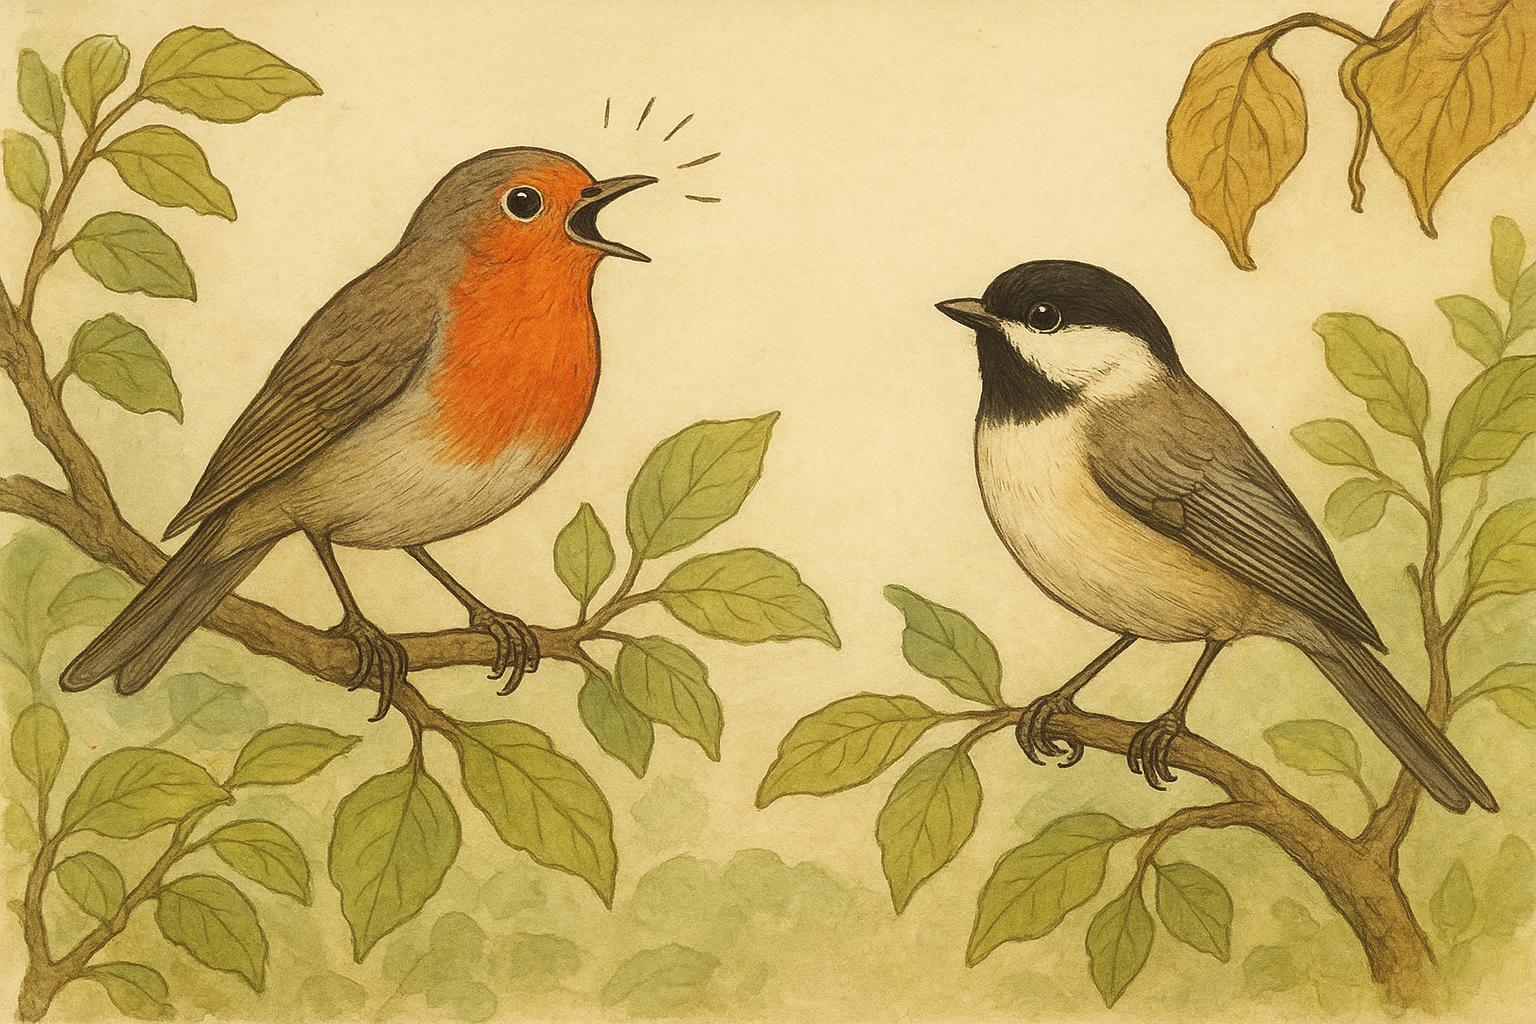
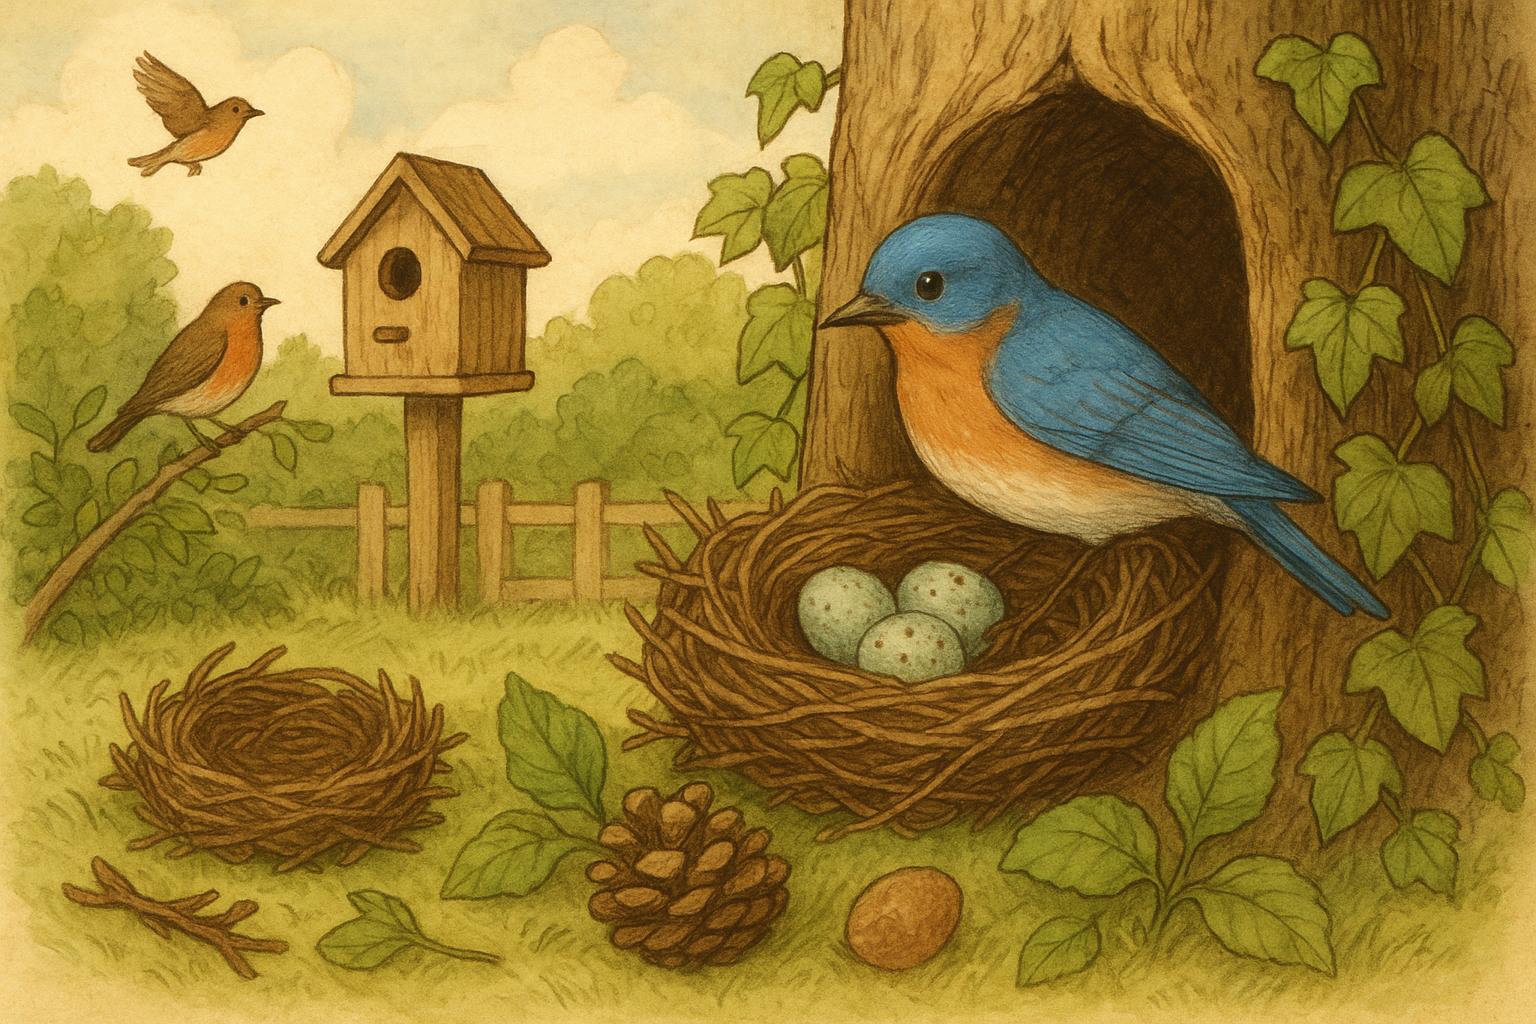
### Birds, Amphibians, And Reptiles
Bird tracks can be tiny three-toed prints or larger, webbed impressions for waterfowl. Amphibians like frogs leave small toe-tip impressions with occasional belly drag marks. Snakes don’t leave distinct toe prints, but their lateral body undulations can create a characteristic serpentine groove.
## How To Read A Track: Size, Shape, And Gait
Interpreting an individual print is only half the job; the spacing and arrangement tell a deeper story. Ground speed, direction changes, and behavior—feeding versus fleeing—all show up in the trail.
### Measure Like a Pro
Measure length and width of the print, spacing between steps (stride), and the offset between left and right prints (gait width). Note substrate: fresh mud will capture finer detail than crumbly or drying mud.
### Consider Context
Are tracks near a feeder, garbage bin, or water source? Are there overlapping tracks from multiple species? Context narrows identification possibilities quickly.
## Remedy 1: How To Cast Tracks (Preserve Them)
If you find an especially crisp trail and want a permanent record, plaster casting is the standard method. The following instructions are formal and technical to ensure the best possible preservation.
Materials:
– Plaster of Paris (about 1–2 pounds per cast, depending on size)
– Water
– Measuring container
– Stiff stick or spatula for mixing
– Shallow frame (cardboard or wood) to contain the mixture around the track
– Small brush (soft) to remove loose debris
– Petroleum jelly or cooking spray (optional, to protect edges)
– Gloves
– Notebook and camera for documentation
Procedure:
1. Document the Track: Photograph the print with a scale (ruler or coin) and note location, date, and any observations in your notebook.
2. Prepare the Site: Clear loose debris carefully with the small brush. Do not alter the print itself. Place the shallow frame around the track to contain the plaster; for multiple prints, use a larger frame.
3. Mix Plaster: Follow manufacturer ratios precisely. Typically, mix one part water to two parts plaster by volume. Stir slowly to avoid air bubbles until you achieve a smooth, pancake-batter consistency.
4. Apply Plaster: Pour gently into the framed area, starting at a low point and allowing the plaster to flow over the print. Pour from a small height to reduce air entrainment.
5. Allow to Set: Let the plaster set undisturbed for at least 30–45 minutes (setting time varies by product and temperature). Avoid removing the frame prematurely.
6. Remove and Clean: Once fully set, lift the cast by supporting its entire base. If soil adheres, gently rinse with water after the cast has hardened completely. Label the cast bottom with site and date.
Safety Notes:
– Use gloves and avoid inhaling plaster dust.
– Work quickly; plaster sets relatively fast. Prepare materials and frame before mixing.
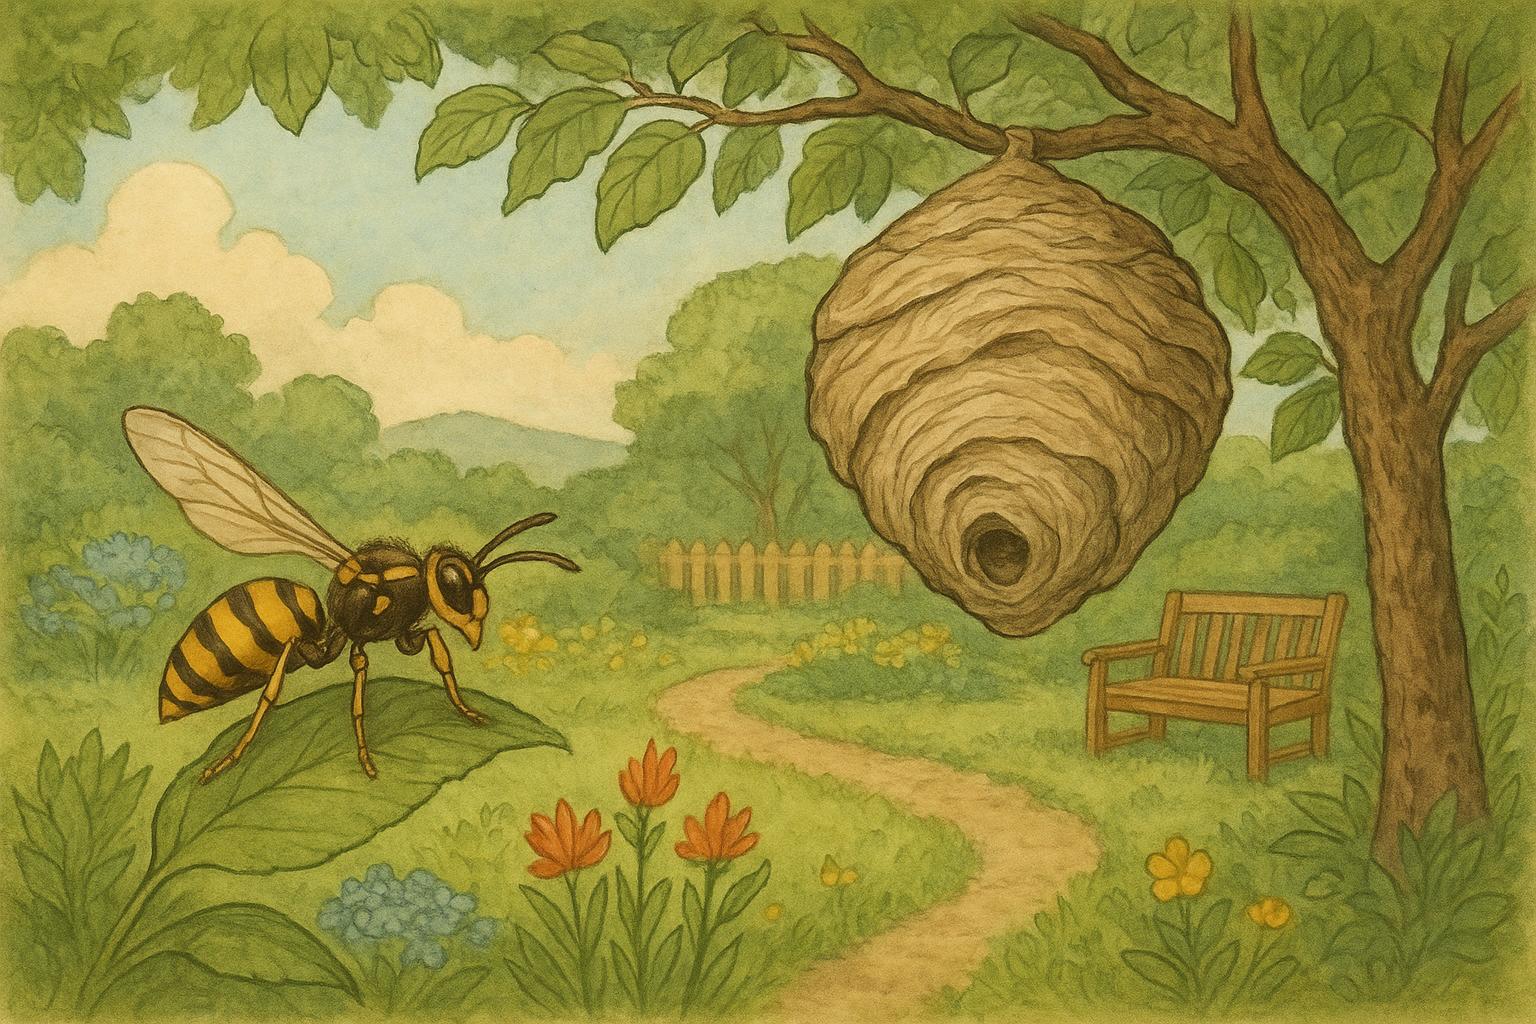
## Remedy 2: Humane Deterrents For Garden Traffic
If the tracks in mud tell you that unwanted guests are frequenting vegetable beds or raising hell around your trash, humane deterrents can reduce visitation without harm. This section provides a structured, formal plan for a simple, effective repellent barrier.
Materials:
– Hardware cloth or 1/4–1/2 inch welded wire (for fencing)
– Wooden stakes or metal T-posts
– Zip ties or U-nails
– Motion-activated sprinkler (optional)
– Mulch or sharp-edged gravel (optional)
– Garden gloves and basic tools (shovel, wire cutters, hammer)
Procedure:
1. Assess Vulnerable Areas: Identify places that tracks in mud indicate repeated use—compost piles, raised beds, low-hanging eaves.
2. Install Physical Barrier: Cut hardware cloth to the required length. Dig a shallow trench perimeter (4–6 inches) and sink the bottom of the wire into the trench, bending outwards at the base to deter burrowing. Secure wire to stakes every 2–3 feet with zip ties or U-nails. Ensure the fence is tall enough for the target species (2–3 feet for rabbits, higher for coyotes).
3. Add Surface Deterrents: Apply a layer of coarse mulch or small, sharp-edged gravel along the perimeter to make footing uncomfortable for small mammals.
4. Integrate Motion Deterrents (Optional): Install motion-activated sprinklers in high-traffic zones. These devices are effective for a wide range of mammals and are non-lethal.
5. Maintain and Monitor: Regularly check for breaches, dig-outs, or new tracks. Adjust fence depth and repair as needed.
Performance Notes:
– Physical barriers provide consistent, passive protection. Combine methods for best results.
– Avoid poisons or lethal traps; they present risks to pets, children, and non-target wildlife.
### Tracking Etiquette And Safety
When studying tracks in mud, respect the animals and your neighbors. Do not disrupt dens or active nests, and avoid handling young wildlife. If you suspect injured wildlife, contact local wildlife rehabilitators rather than attempting rescue yourself. Keep pets supervised to avoid confrontations, and wash hands after fieldwork.
If you preserve a cast, consider sharing photos and measurements with local naturalist groups — they love a good backyard mystery solved. And remember: mud is temporary, prints are fleeting, but the small thrill of discovery lasts much longer.


Leave a Reply