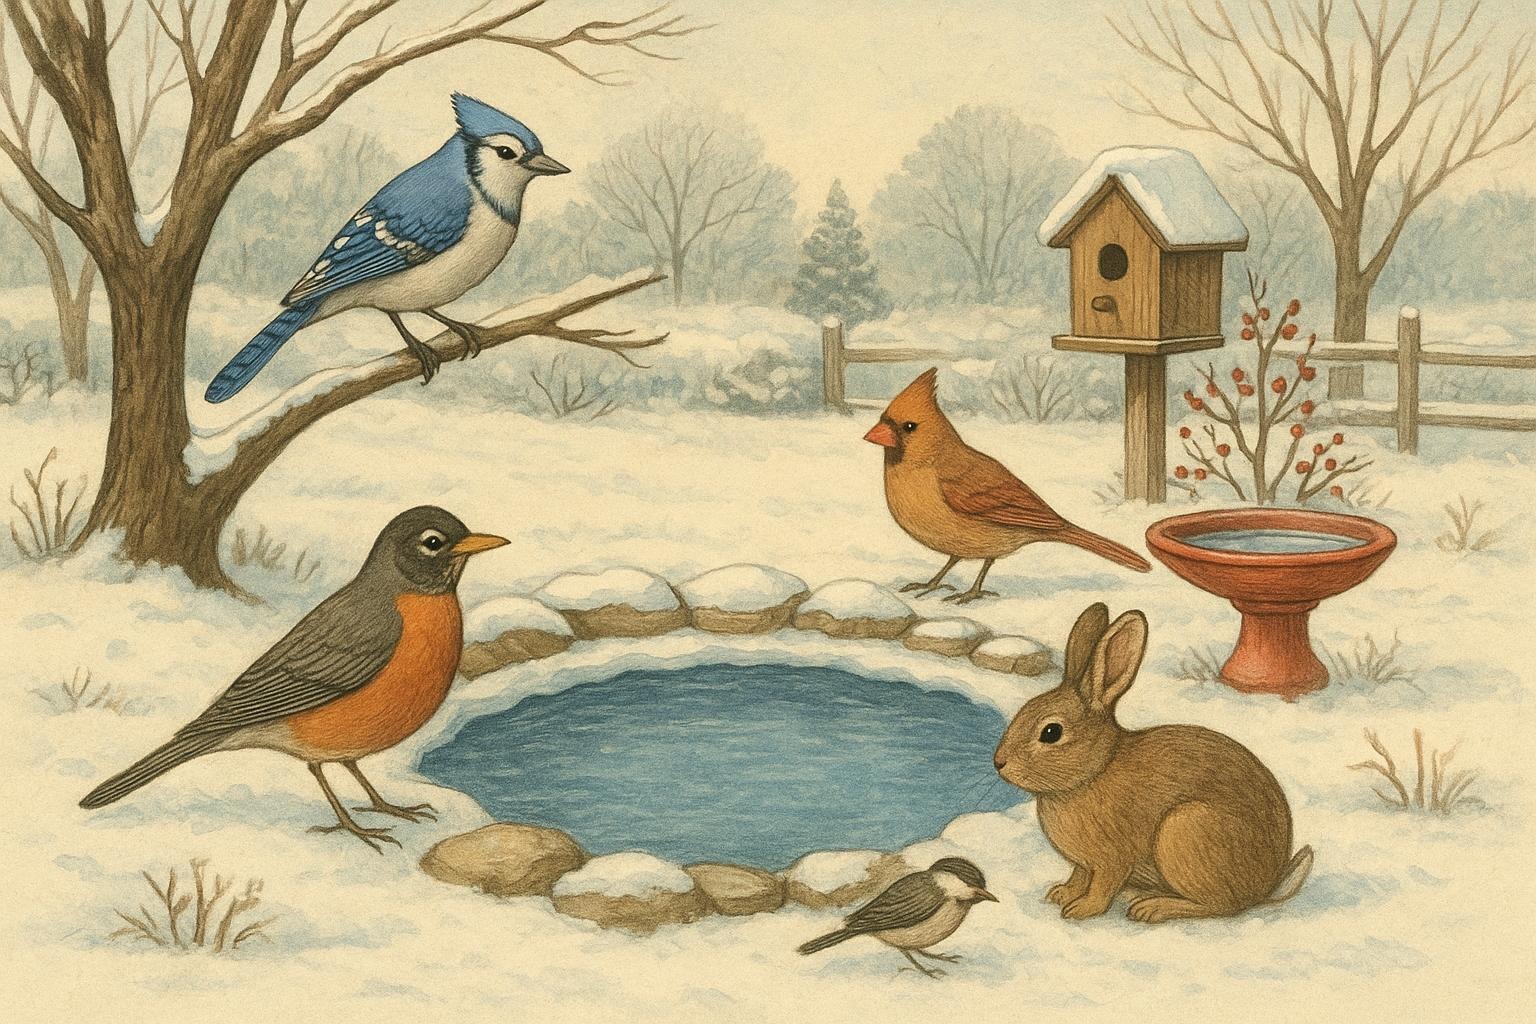
Cold season doesn’t mean your backyard has to turn into a dessert for thirsty birds and mammals. Providing reliable, accessible winter water can make your yard a lifeline for local wildlife — and give you plenty of delightful visitors to watch from a warm window. Below are practical ideas, background on why animals need liquid water in freezing months, and three numbered remedies with clear materials lists and step-by-step instructions so you can set up dependable sources without guessing or gadget panic.
## Why Winter Water Matters
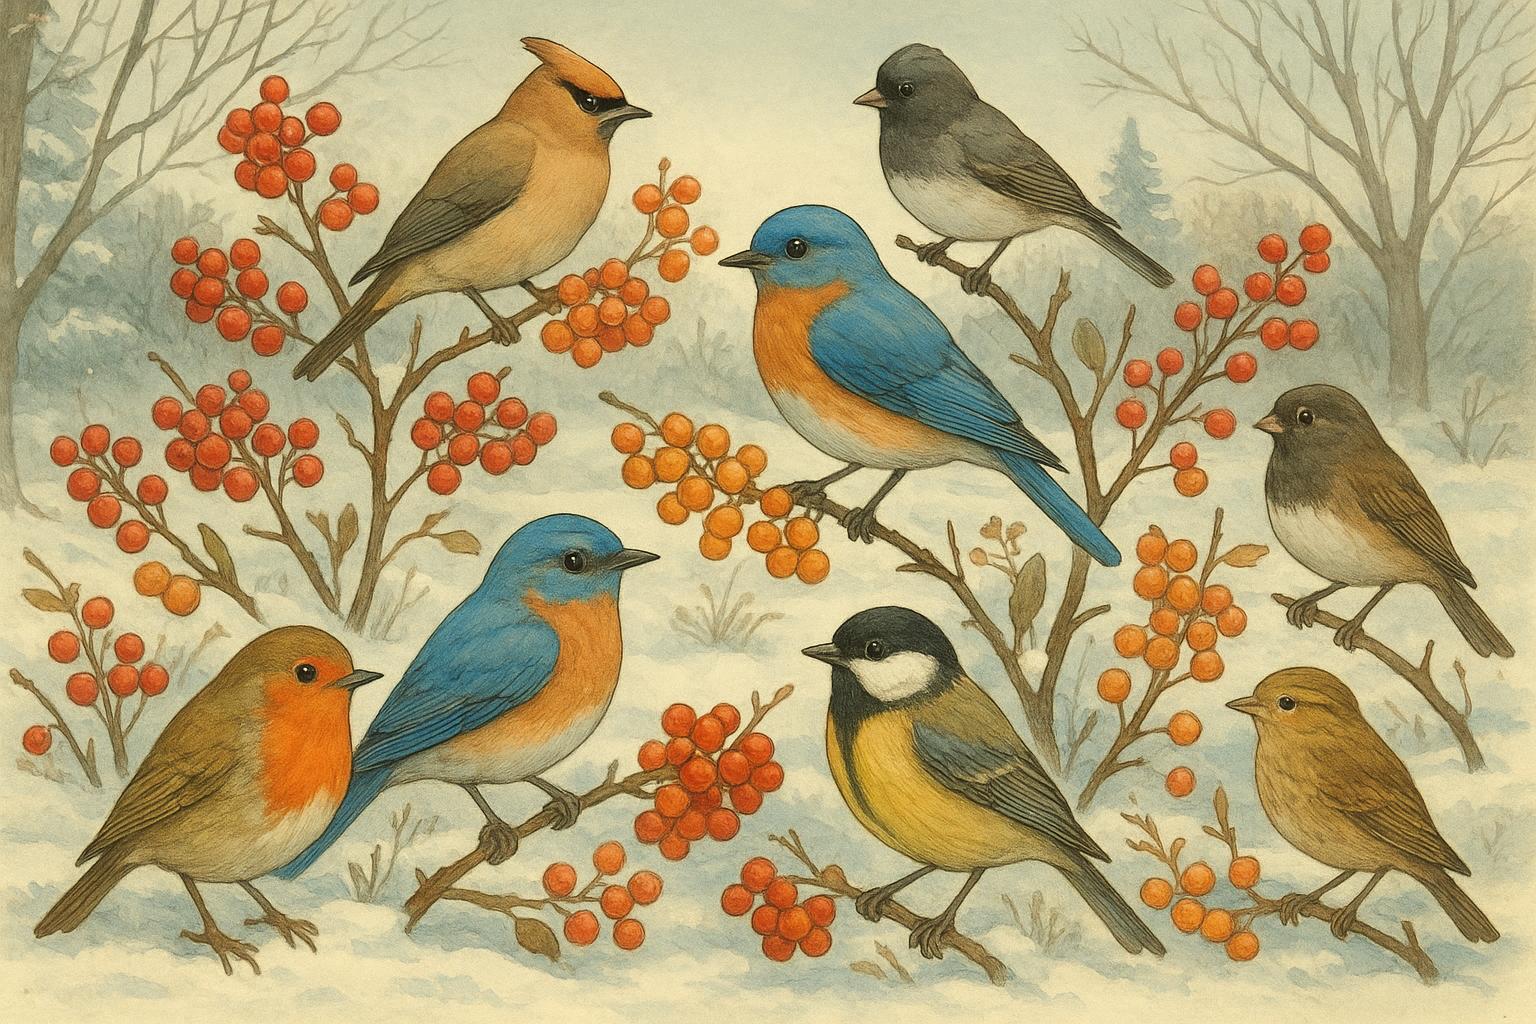
Many people assume snow is an adequate water supply for birds and mammals. It’s not. Melting snow costs energy and can lower an animal’s core temperature; liquid water reduces metabolic strain and helps with digestion, feather and fur maintenance, and salt balance. For migrating or overwintering species, dependable winter water can affect survival rates for individuals and local population health.
### Who Uses It And Why
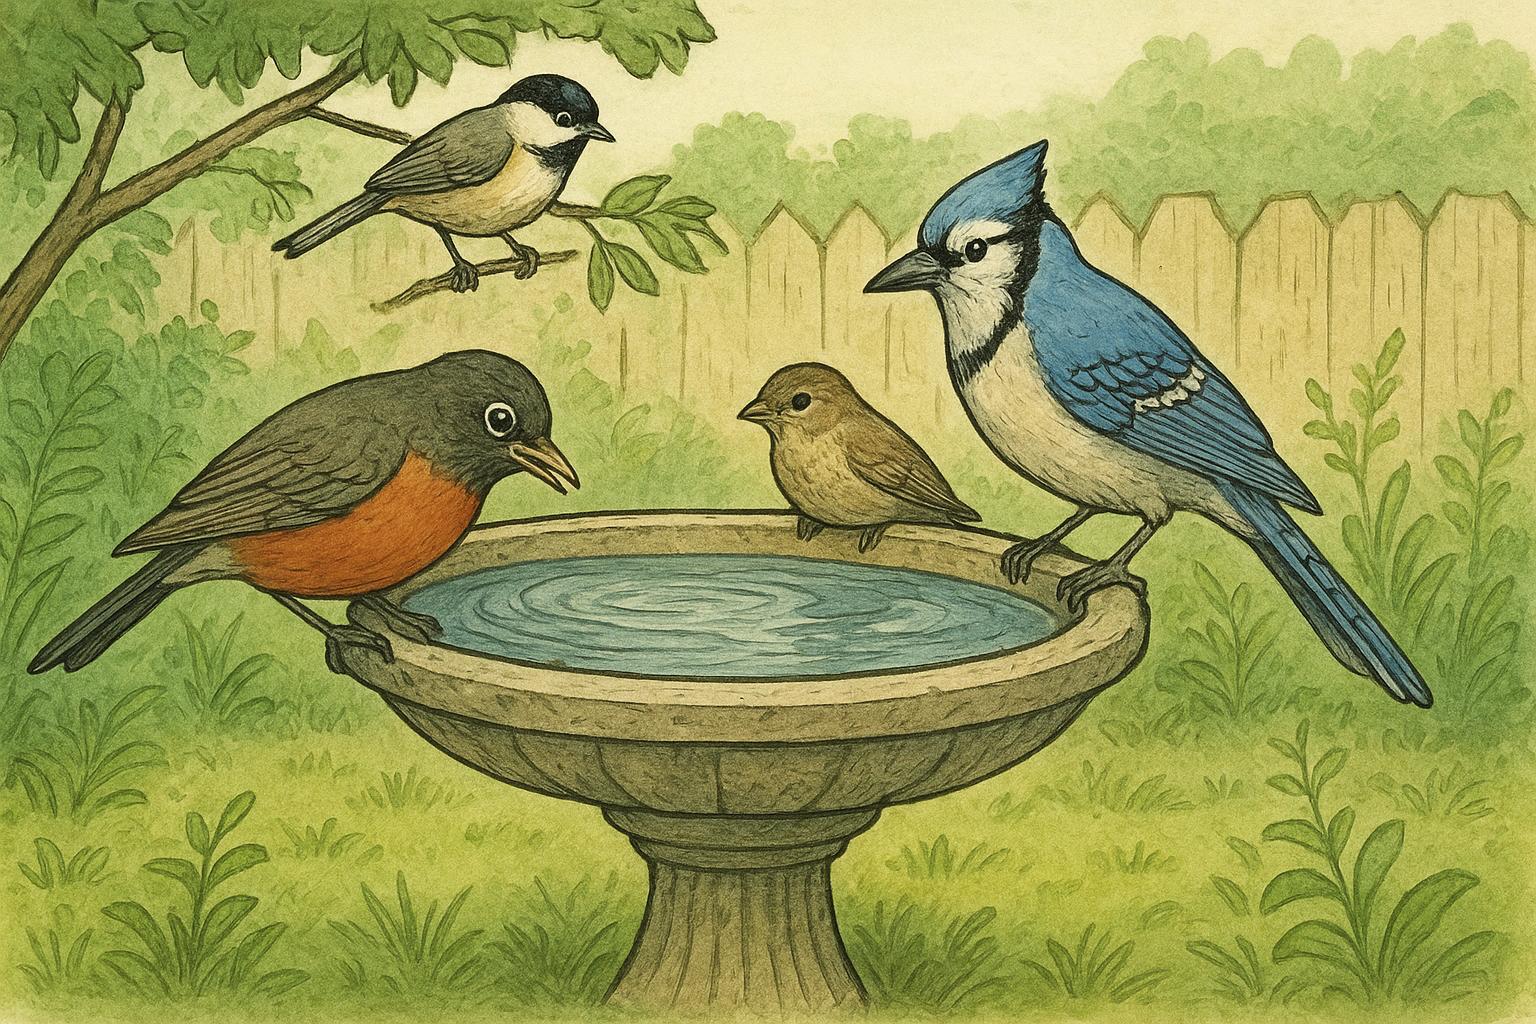
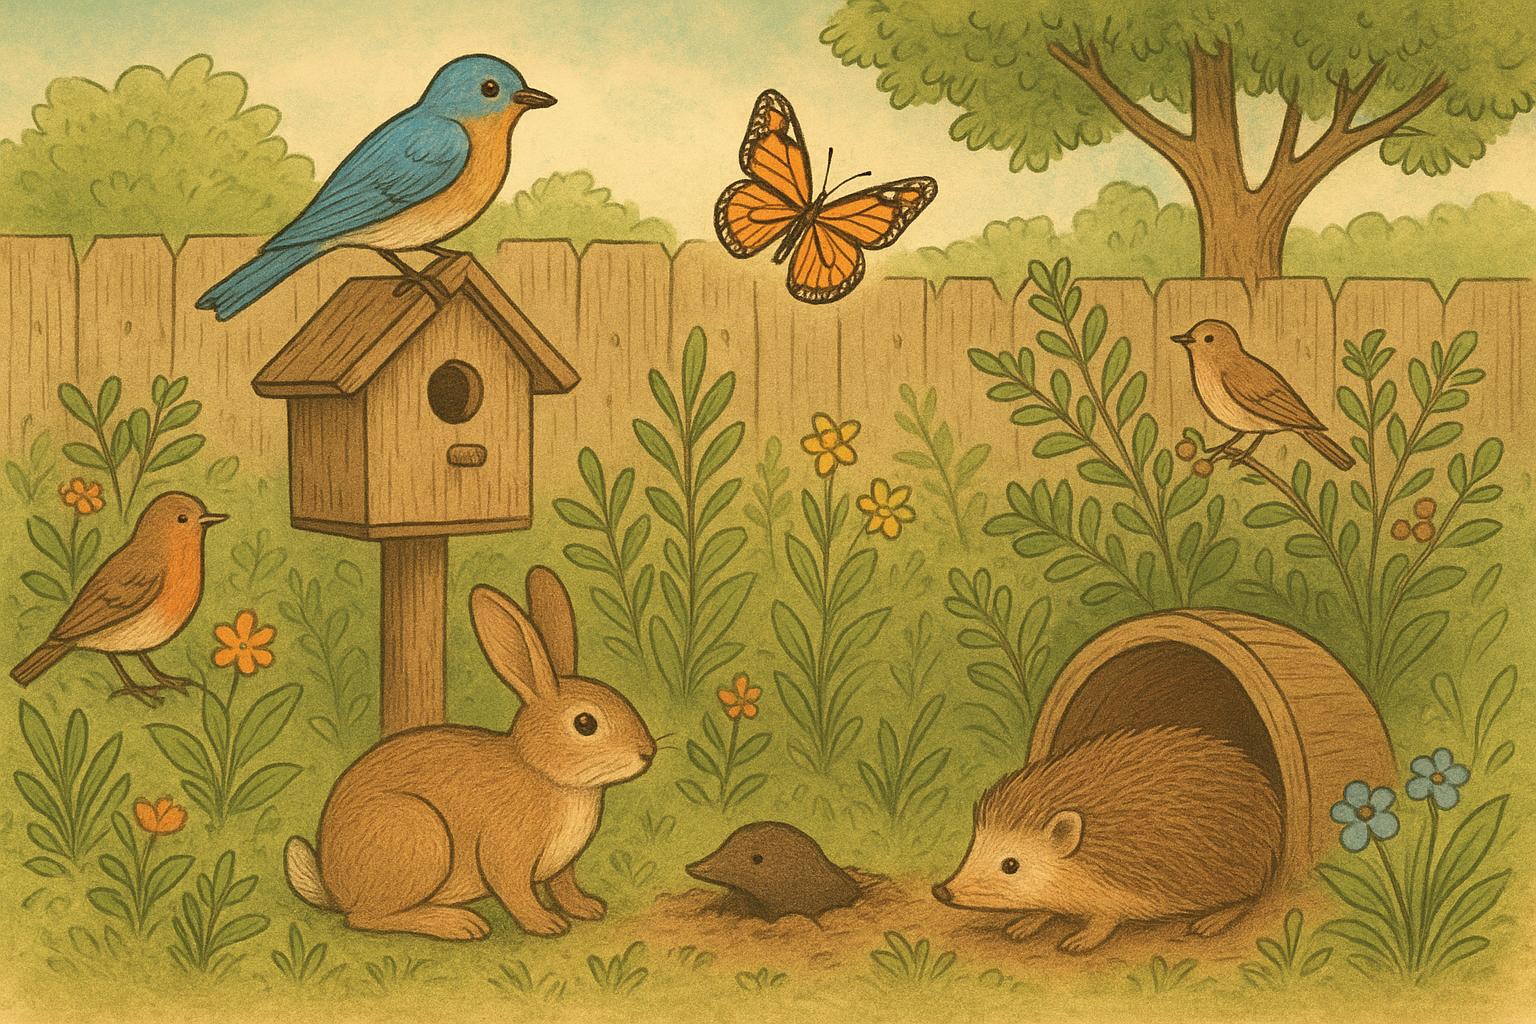
Songbirds, woodpeckers, jays, and thrushes rely heavily on open water to drink and to bathe, which helps remove parasites and maintain feather insulation. Small mammals like squirrels, rabbits, and raccoons use shallow basins. Even amphibians and bats will take advantage of openings when temperatures allow. The landscape context matters: yards near frozen rivers or high-elevation areas will see greater demand for supplemental winter water than those near open ponds.
### Common Challenges
Freezing temperatures, wind chill, and low sunlight can conspire to ice up or dehydrate a water source. Predators may exploit certain placements, and salt or de-icing chemicals on nearby surfaces can contaminate water. Also, some heated devices can be hazardous if placed where curious pets or children can reach them.
## 1 Heated Birdbath System (Remedy)
This is a reliable, low-maintenance approach for providing open water for birds and small mammals through cold spells.
### Materials
– Electric, thermostatically controlled birdbath heater rated for outdoor use (UL-listed)
– Sturdy, frost-resistant birdbath or shallow basin (12–18 inches diameter recommended)
– GFCI-protected outdoor outlet (or outdoor-rated extension cord to one)
– Flat stones or a small platform to create a shallow drinking shelf
– Optional: small fountain pump (12V) rated for cold weather
### Creation And Application (Step-By-Step)
1. Site Selection: Choose a location with some overhead cover to reduce evaporative cooling and predator visibility. Keep it within sight from a window for enjoyment and monitoring.
2. Prepare Birdbath: Place flat stones or a shallow platform in the bath to create a graded depth (1/2 inch to 1 inch at the edge). This provides safe footing for small birds and reduces drowning risk for fledglings.
3. Install Heater: Follow manufacturer instructions exactly. Position the thermostatic heater so it keeps the central area ice-free but does not overheat edges. Confirm the heater’s thermostat will maintain water above freezing (typically 40–45°F / 4–7°C).
4. Power Safety: Use a GFCI outlet or a GFCI-protected extension cord. Secure cords out of animal travel paths and cover them where possible. Test the circuit before leaving it unattended for long periods.
5. Optional Water Movement: If you add a small pump to keep water moving, ensure the pump is rated for near-freezing conditions. A gentle ripple greatly reduces ice formation and attracts more users, but requires slightly higher maintenance checks.
6. Maintenance: Check water level and heater function daily during severe cold. Replace water when it appears dirty. Clean basin every 1–2 weeks to avoid algae or disease buildup.
Follow the heater manufacturer’s safety and warranty guidelines. Regular, documented checks minimize failure risk during prolonged freezes.
## 2 Insulated Bowls And Passive Warmers (Remedy)
When electricity isn’t available or you prefer a low-tech approach, insulated solutions and passive warming techniques can keep water liquid for longer periods.
### Materials
– Heavy ceramic or insulated stainless-steel bowl (wide, shallow preferred)
– Insulating base material such as Styrofoam or rigid foam board
– Dark-colored stones for heat absorption
– Clear plastic cover or transparent cloche (optional)
– Boiling water for initial fill
### Creation And Application (Step-By-Step)
1. Insulate Base: Place a square of rigid foam board where the bowl will sit to prevent heat loss into the cold ground. This insulation reduces conductive cooling at night.
2. Prepare Bowl: Choose a wide, shallow vessel (reduces chances of birds falling in). Pre-warm the bowl by rinsing with hot — not boiling — water to reduce thermal shock to ceramic.
3. Heat Absorption Layer: Add a few dark stones to the bottom. During the day, these will absorb solar radiation and slowly re-release heat.
4. Fill With Hot Water: Fill the bowl with the hottest safe water to create an initial temperature margin above freezing. Do not use scalding water that could crack bowls.
5. Optional Cover: If you have a transparent cloche, place it to trap daytime solar warmth while still giving birds access at one side. Remove snow accumulation promptly.
6. Daily Checks: Refill with hot water each morning if nighttime temperatures are expected to freeze. Replace stones and clean as needed.
This method is lower-cost and lower-risk than electrical systems, though it requires more frequent attention during extended cold snaps.
## 3 Insulated Dripper And Heated Reservoir Combo (Remedy)
Combining a larger heated reservoir with a slow dripper reduces ice formation while providing continuous fresh water — excellent for areas with many visitors.
### Materials
– 5–10 gallon insulated container (plastic bin with foam wrap also works)
– Submersible low-wattage heater or external tank heater rated for outdoor use
– Drip tubing and adjustable valve or gravity-fed dripper kit
– Elevated stand to create gravity flow (bench or platform)
– GFCI outdoor power source and cable protection
### Creation And Application (Step-By-Step)
1. Reservoir Placement: Position the insulated container on an elevated, stable platform to allow gravity flow. Ensure platform is sturdy and level.
2. Install Heater: Mount the submersible or tank heater per manufacturer instructions. Set thermostat to keep reservoir slightly above freezing but not hot (around 40–50°F / 4–10°C).
3. Attach Drip System: Connect tubing to the reservoir outlet with a secure fitting and add an adjustable valve to regulate flow. Position the drip outlet over a shallow basin where animals can access droplets or a slow stream.
4. Safety And Insulation: Insulate exposed tubing with foam pipe wrap and secure all electrical connections in weatherproof junction boxes with GFCI protection.
5. Flow Adjustment: Tune the drip rate so that water trickles steadily; moving water is less likely to freeze in the basin. Check flow daily and clear any ice buildup at the outlet.
6. Maintenance: Sanitize reservoir and tubing monthly, or more frequently in warm spells when algae grow. Monitor heater function and replace worn tubing per manufacturer recommendations.
This hybrid system offers steady supply with minimized standing water exposure, reducing disease risk while keeping water accessible during prolonged freezes.
### Placement, Predators, And Legal Notes
Place water sources where users have quick access to cover (shrubs, trees) but with enough open space for birds to approach safely. Avoid placing water next to roads treated with salt; runoff can contaminate supplies. Check local wildlife ordinances if you’re in a protected area — some municipalities regulate feeding and watering to prevent human-wildlife conflicts.
### Monitoring And Seasonal Care
Regular checks are essential. Whether you use heaters, insulation, or drippers, inspect devices after storms, clear snow from perches, and remove floating debris. Record-keeping helps: note species visits, ice-up times, and maintenance so you can refine placement and equipment choices next season.
Providing winter water is one of the most effective, immediately helpful things a backyard steward can do. With a bit of planning and the right setup, your yard becomes a dependable oasis during the cold months — and you get a front-row seat to some lively winter visitors.


Leave a Reply