Your backyard should be where you sip tea, read a book, and maybe pretend you’re an amateur botanist who knows what they’re doing. But if you spot busy aviators with an attitude, it’s time to pay attention. A single wasp nest in the right (or wrong) spot can turn your oasis into a no-go zone. Below are friendly, practical ways to spot trouble early and proven methods for dealing with it safely.
## Wasp Nest Signs To Watch For
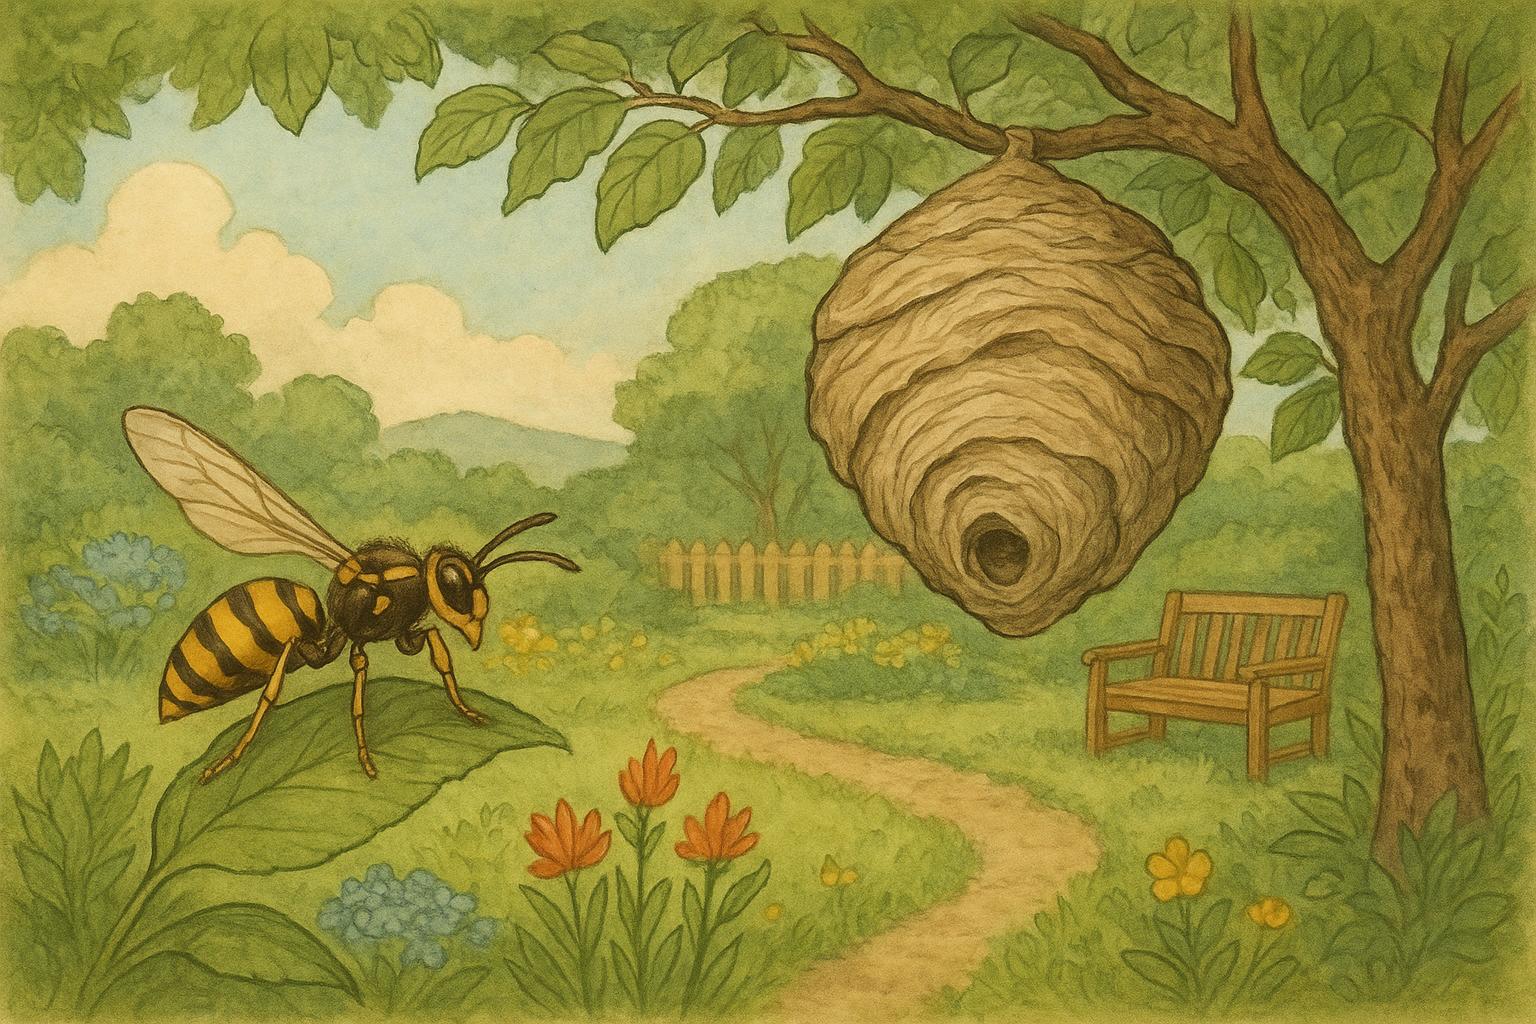
Wasps are industrious critters, and their nests can be small and well-hidden or obvious and impressive. Spotting a wasp nest early reduces the risk of painful encounters and helps you choose the right response.
### Common Visual Clues
Look for:
– Paper-like, grayish combs under eaves, deck overhangs, or inside wall voids.
– Bulky, layered nests hanging from tree branches, rafters, or shrubs.
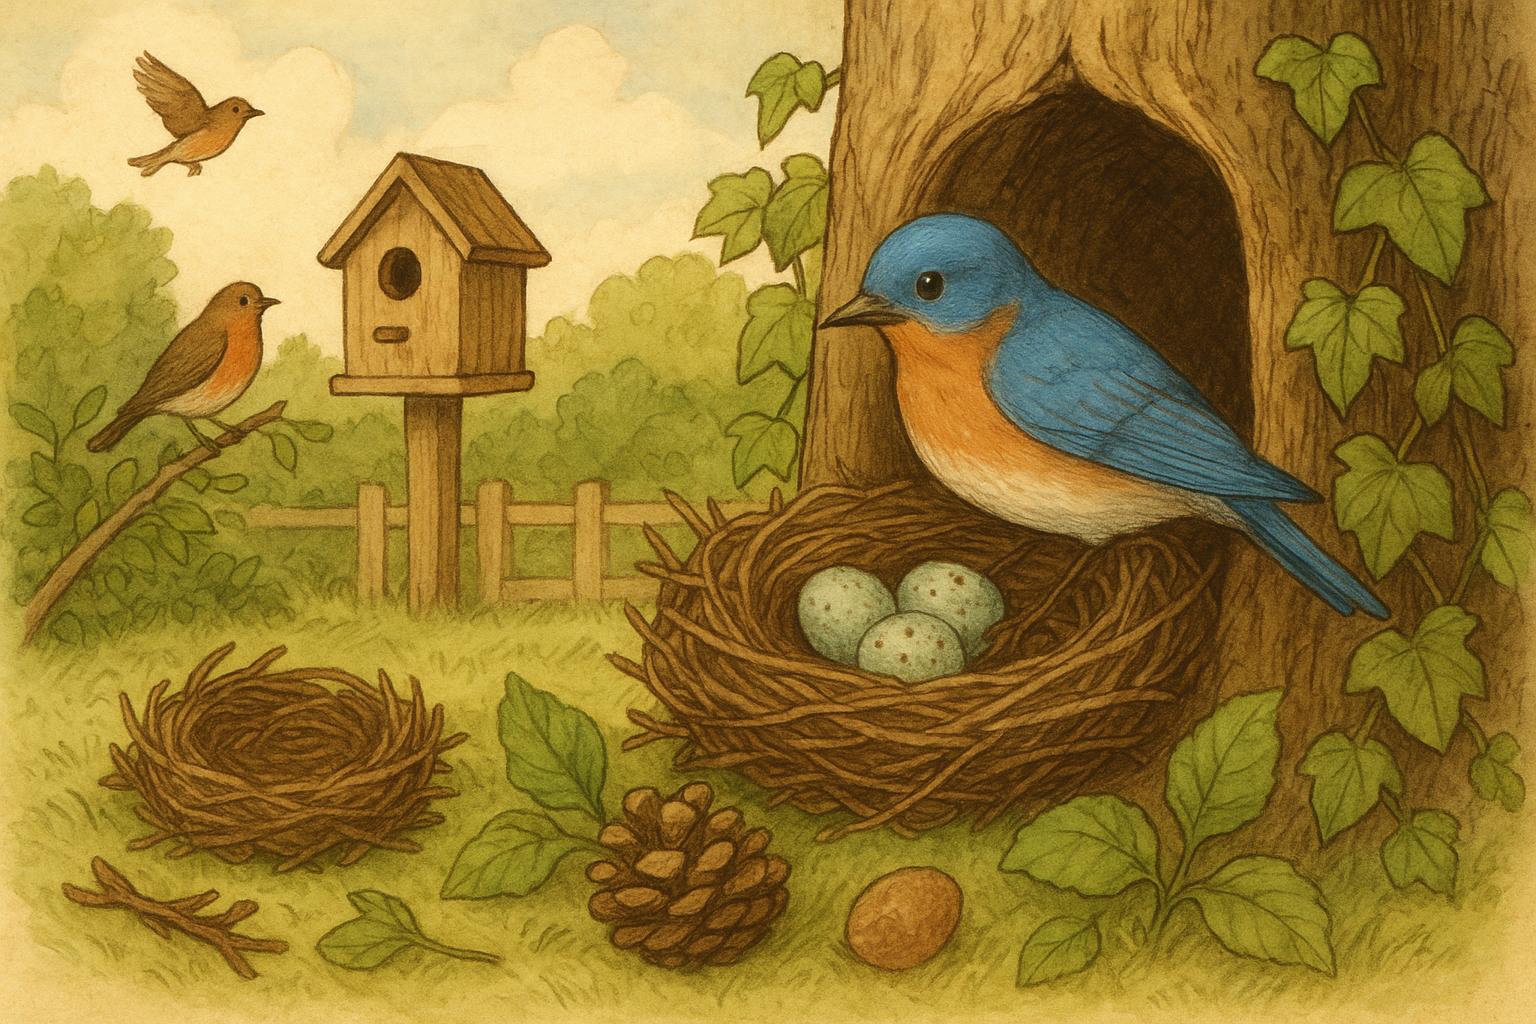
– Smaller, inconspicuous nests tucked in mailboxes, birdhouses, or the undersides of patio furniture.
You don’t always have to see the nest itself to know it’s there. Often you’ll notice architectural signs—holes gnawed for entry, scattered wasp paper fragments, or tiny pellets of chewed wood pulp nearby.
### Behavior And Seasonal Patterns
Wasps are most active from late spring through early fall. Early in the season, solitary queens build small nests; by mid-summer those nests may swell into multi-cell complexes as workers arrive. Watch for:
– Frequent traffic to a single access point—wasps flying in and out repeatedly.
– Aggressive defense when you get too close; alarm behavior often increases as the colony grows.
– Foraging activity around garbage bins, fruit trees, or sodden wood—where they hunt for protein and sweet liquids.
Understanding the season helps: in spring and early summer, nests are easiest to remove because they’re smaller. Late summer and early fall brings larger colonies and more risk.
## Where Wasps Like To Build
Wasps are picky about shelter and convenience. Knowing their preferred locations helps you inspect the right places regularly.
### Hidden Spots Around The Yard
Check:
– Under eaves, in attic vents, and between rooflines.
– Inside sheds, garages, and unused outdoor furniture.
– Hollow plant stems, barbecue storage cabinets, and compost piles.
– Low-hanging tree branches or thick shrubs where a nest can be suspended and protected.
Keep an eye on birdhouses and mailboxes—they’re small but popular real estate for some wasp species.
### Signs In And Around Structures
Indications you might have a wasp nest in a wall or void include loud buzzing behind drywall, wasps entering small vents or weep holes, and concentrated activity near a crack or seam. If you hear constant activity behind a wall, assume there’s a nest you can’t see directly.
## 1. Homemade Non-Chemical Remedy For Light Infestations
This remedy is for small, accessible nests early in the season and is designed to be as low-impact as possible. If you’re allergic, uncomfortable, or if the nest is large/high, skip this and contact a professional.
#### Materials Needed
– Thick protective clothing (long sleeves, pants, gloves, hat, and eye protection)
– A large garbage bag or tightly sealable container
– Long-handled broom or pole
– Flashlight with red cellophane wrap (to minimize disturbance at night)
– Duct tape or zip ties
– A ladder (if needed) and a helper to steady it
Procedure: This method focuses on removing the nest physically at night when wasps are less active and many are inside.
1. Plan your approach: Wait until late evening—wasps are slower and most will be in the nest. Have a helper hold the ladder and call emergency services if anyone in the household is highly allergic.
2. Dress in protective clothing: Seal cuffs, collar, and pant hems to prevent entry.
3. Prepare the containment: Open a large garbage bag near the nest and secure its opening around the nest’s attachment point with duct tape or zip ties if possible. If the nest is hanging, you’ll need to work quickly.
4. Detach the nest: Using a long-handled broom or pole, gently dislodge the nest into the bag. If the nest is inside a hollow area, access it carefully and be ready to seal the container immediately.
5. Seal immediately: Close the bag tightly, double-bag it, and place it in a secure container before relocating it away from your home or disposing of it according to local regulations.
6. Clean the area: Remove any fragments and spray a mild soap solution where the nest was to remove pheromone trails that attract other wasps.
7. Monitor for returning wasps: Watch the area for several days. If activity resumes, the colony may have been larger than expected or you disturbed it before all members were inside.
Note: This method can provoke defensive behavior. If you notice high activity or extreme wasp aggression, discontinue the attempt and use a professional method.
## 2. Professional-Grade Removal Method For Large Or Aggressive Nests
For mid- to late-season nests, high locations, nests inside structures, or situations involving stinging allergies, professional-grade techniques are required. These steps adhere to pest-control best practices and safety protocols.
#### Required Materials
– Certified insecticidal dust labeled for wasp control (for wall/void treatments)
– Residual liquid insecticide spray (for exterior nest treatments)
– Respirator with appropriate cartridges
– Heavy-duty protective suit with veil
– Long telescoping extension poles
– Flashlight with red filter for night operations
– Two-way radio or communication device
– Approved disposal bags and labeling materials
Formal Procedure: This is a general overview of professional standards—only trained applicators should perform these actions.
1. Assessment: Evaluate nest species, size, location, and risk factors. Determine whether dust injection or external residual spray is appropriate. Document site conditions and inform occupants of the treatment plan.
2. PPE Preparation: Don full PPE, including respirator and veil. Ensure all team members are briefed and communication devices are functioning.
3. Timing: Schedule treatment at night for maximum efficacy and minimal non-target exposure. Secure the area and have an evacuation plan in case the colony becomes defensive.
4. Application For Wall Or Void Nests (Dust): Drill a small weep hole if necessary into the void near activity. Inject the labeled amount of insecticidal dust deep into the void, creating a dust cloud that adheres to foragers. Exit and seal entry points where practical.
5. Application For External Nests (Residual Spray): Approach the nest carefully. Apply a direct, high-volume burst of residual insecticide to the outer surface and internal entrance points as directed by the product label. Allow for sufficient contact time per label instructions.
6. Post-Treatment Monitoring: Reassess within 24–72 hours. If live activity remains, reapply following the product label and safety protocols. Maintain records of product use, amounts, and locations for compliance.
7. Removal And Cleanup: Once activity has ceased, remove the nest material using PPE. Dispose of it according to local hazardous waste and pesticide regulations. Seal entry points to prevent re-infestation.
8. Customer Education: Advise property owners on habitat modifications to deter future nests (e.g., sealing gaps, reducing exposed food, trimming overgrown shrubs).
Professional treatment is the safest and most reliable option for anything beyond small, easily accessed nests. It minimizes risk and typically provides residual control to prevent rapid re-colonization.
### Preventive Measures You Can Do Today
Even if you don’t have the courage for ladder work, there’s plenty you can do to make your yard less attractive to nest builders. Seal cracks and gaps in siding, keep garbage tightly covered, clean up fallen fruit, and limit standing water. Plant strongly scented herbs like mint or eucalyptus along key perimeters to add a mild deterrent—think of them as a polite “no vacancy” sign.
### When To Call A Professional
If you see an obvious large, papery nest, notice aggressive behavior, discover a nest inside walls or high rafters, or anyone on the property has a known allergy, reach out to a licensed pest professional. It’s not a matter of bravery; it’s a matter of safety.
Keep your backyard a place of relaxation and collectible sunshine, not a dramatic stinger convention. With a bit of vigilance and the right approach—whether you handle a small wasp nest yourself or call in the pros—you’ll be back to barbecues and garden naps in no time.


Leave a Reply