Ever woken to a faint, repetitive scratching and thought, “Is there a tiny drummer practicing in my plaster?” You’re in good company. Houses make noises. Some are benign settling groans, some are pipes, and some are critters auditioning for a suspense movie. This field guide will walk you through the most likely suspects, how to interpret what you hear, and practical remedies so you can reclaim your peace — with a bit of wit where appropriate and solid, professional steps where it counts.
## Understanding Wall Sounds: Common Culprits
When you google late-night mysteries, the phrase wall sounds tends to steer people straight toward mice. That’s not wrong, but it’s not the whole story. Let’s unpack the usual suspects, what their noises typically sound like, and where they usually hide.
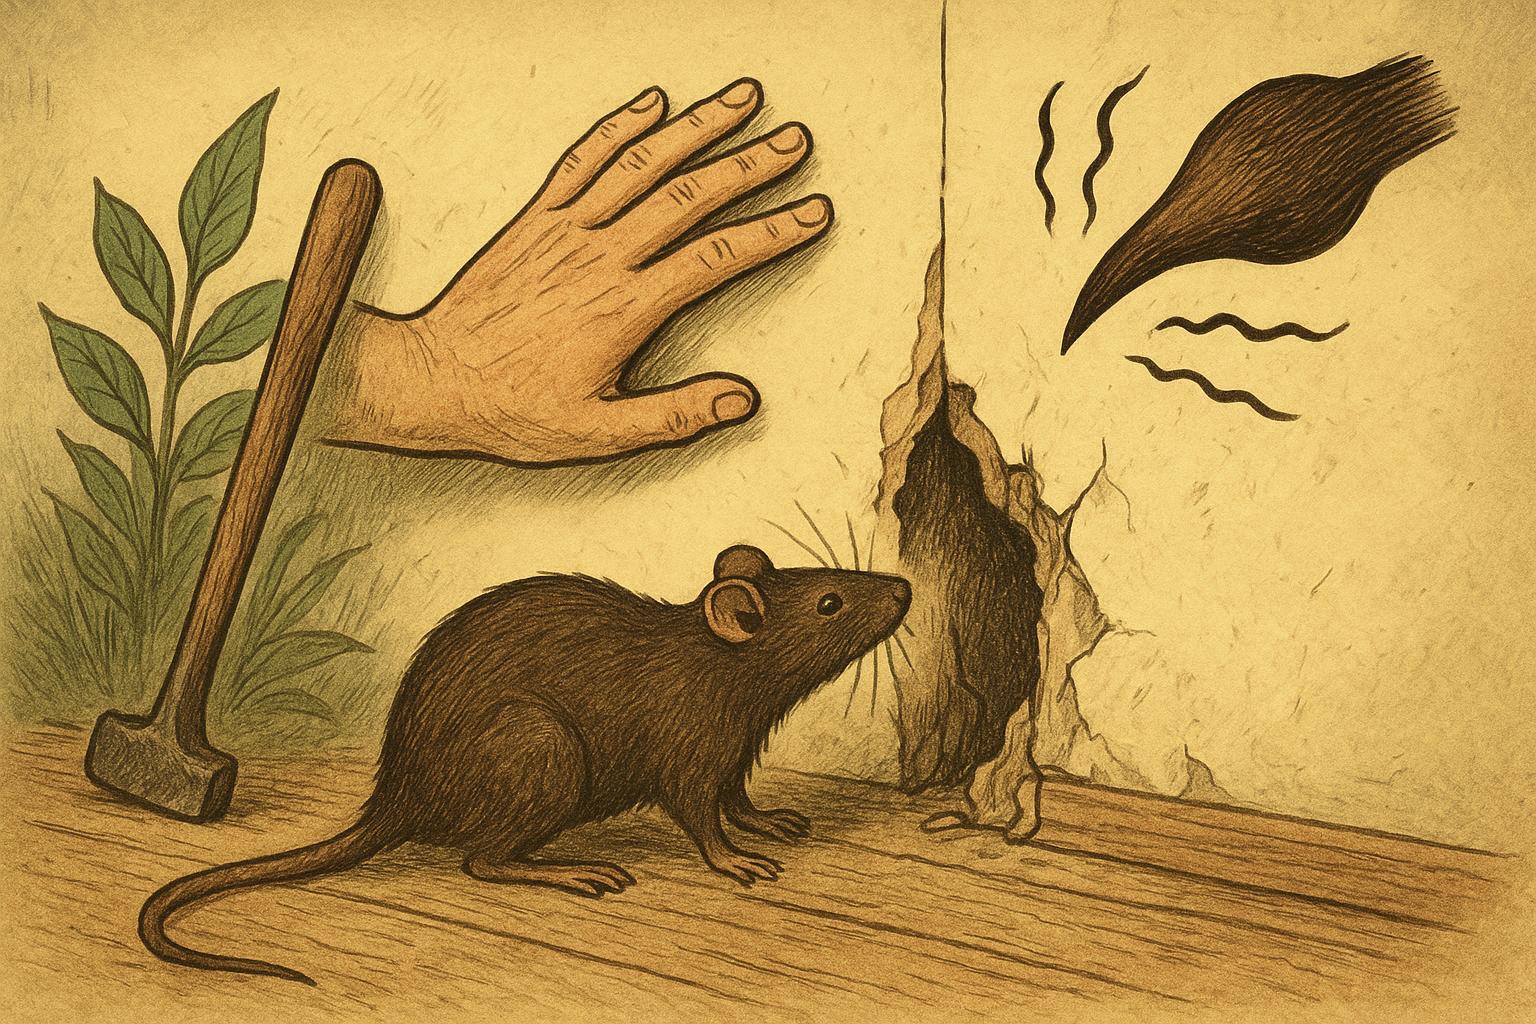
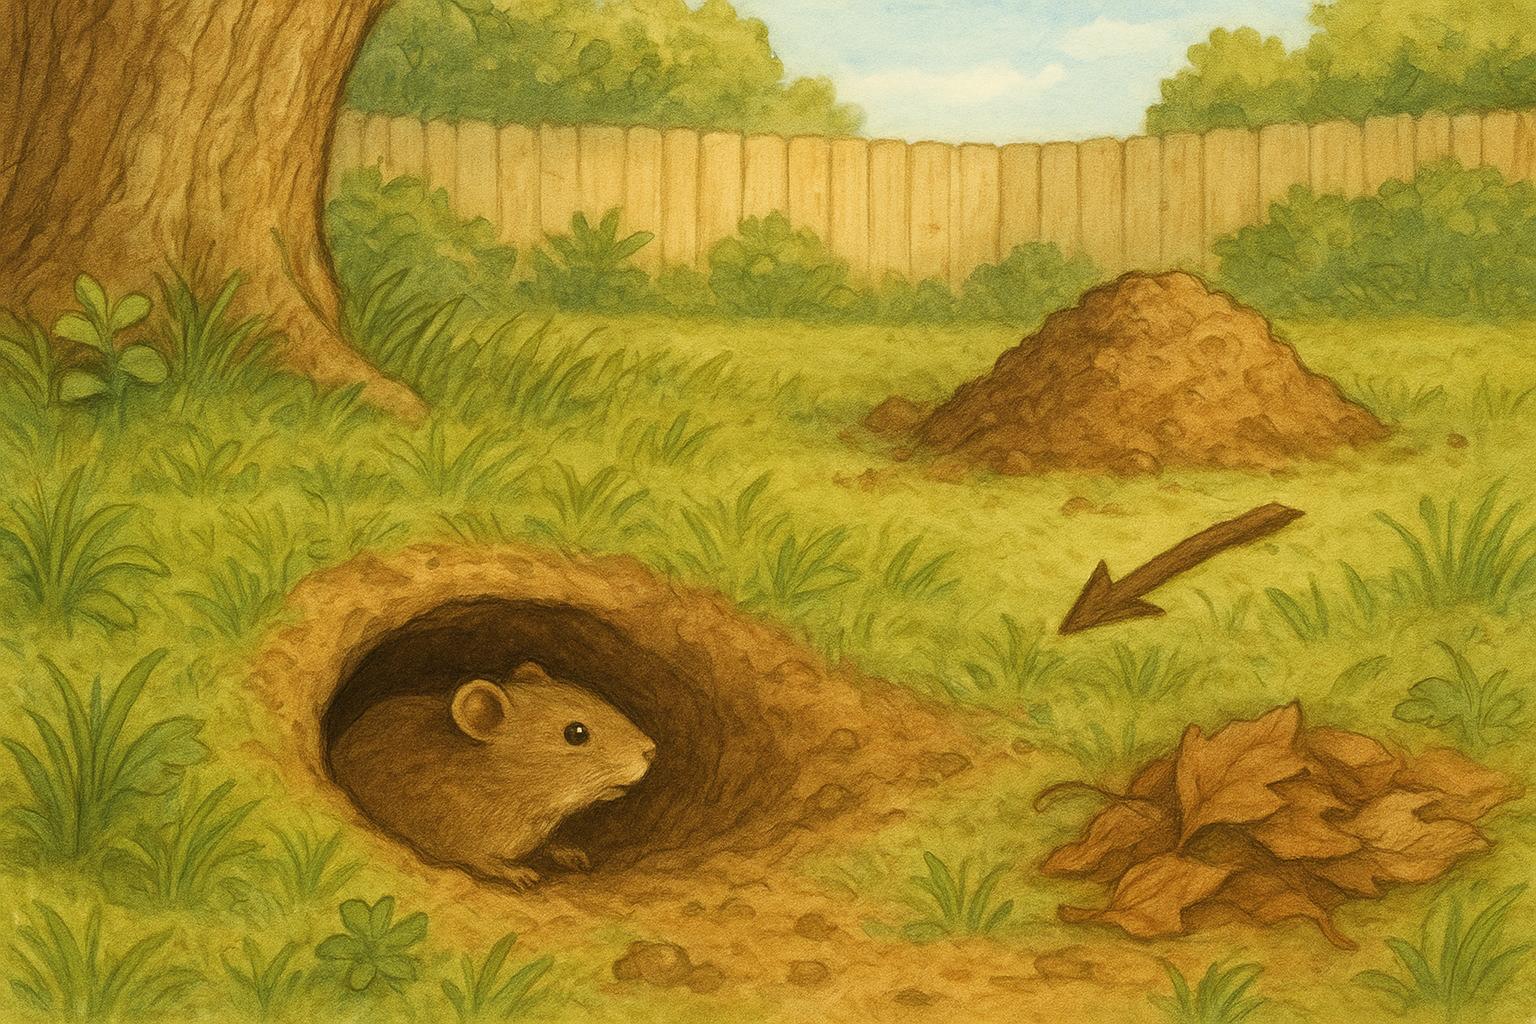
### Rodents: Mice And Rats
Small rodents are the canonical scratchers. Mice produce light, rapid scurrying and tiny gnawing sounds; rats are heavier and make deeper thumps. Activity peaks at dusk and during the night.
#### Signs To Look For
– Tiny droppings along baseboards
– Gnaw marks on cardboard, wires, or insulation
– Gnawed entry points around vents or utility penetrations
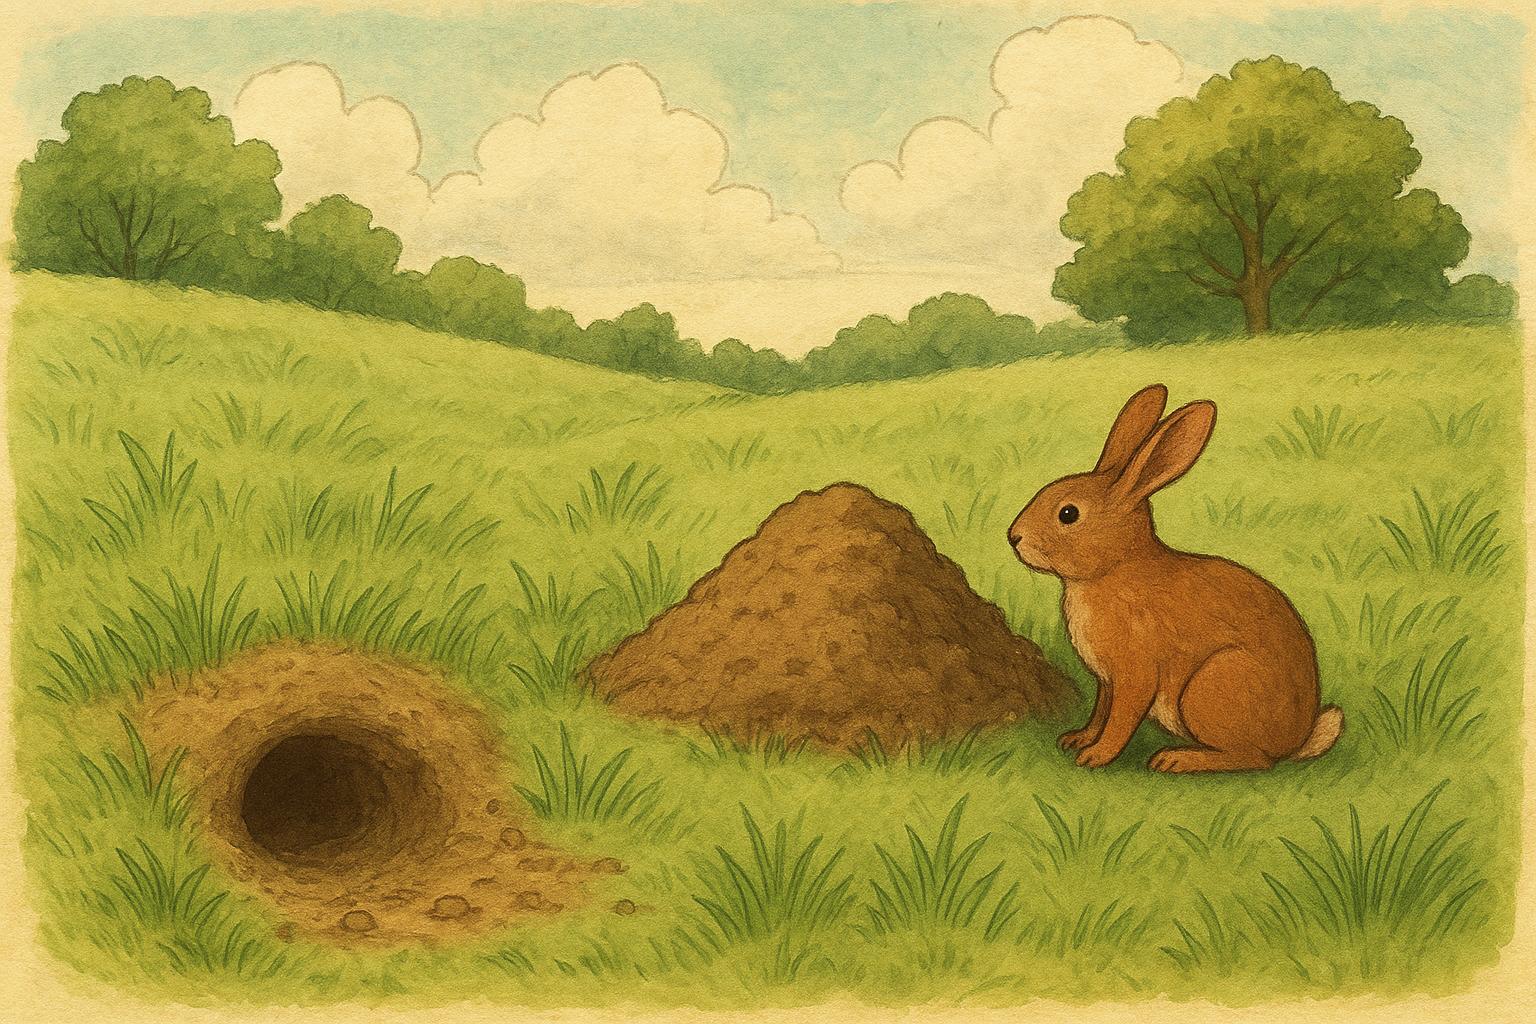
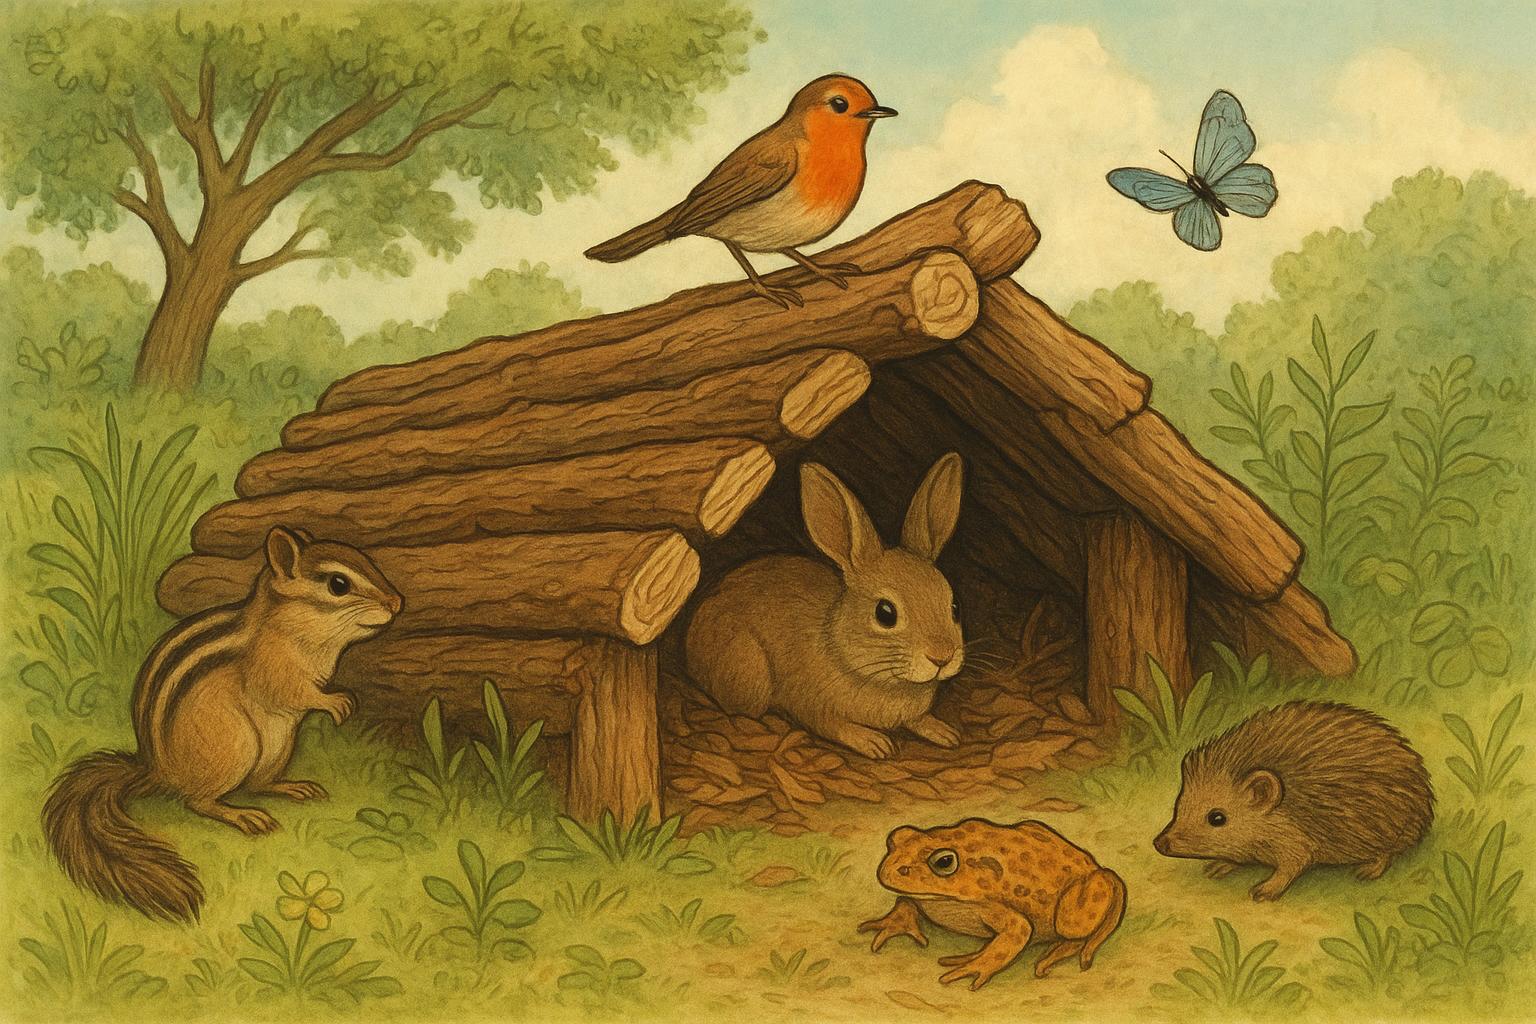
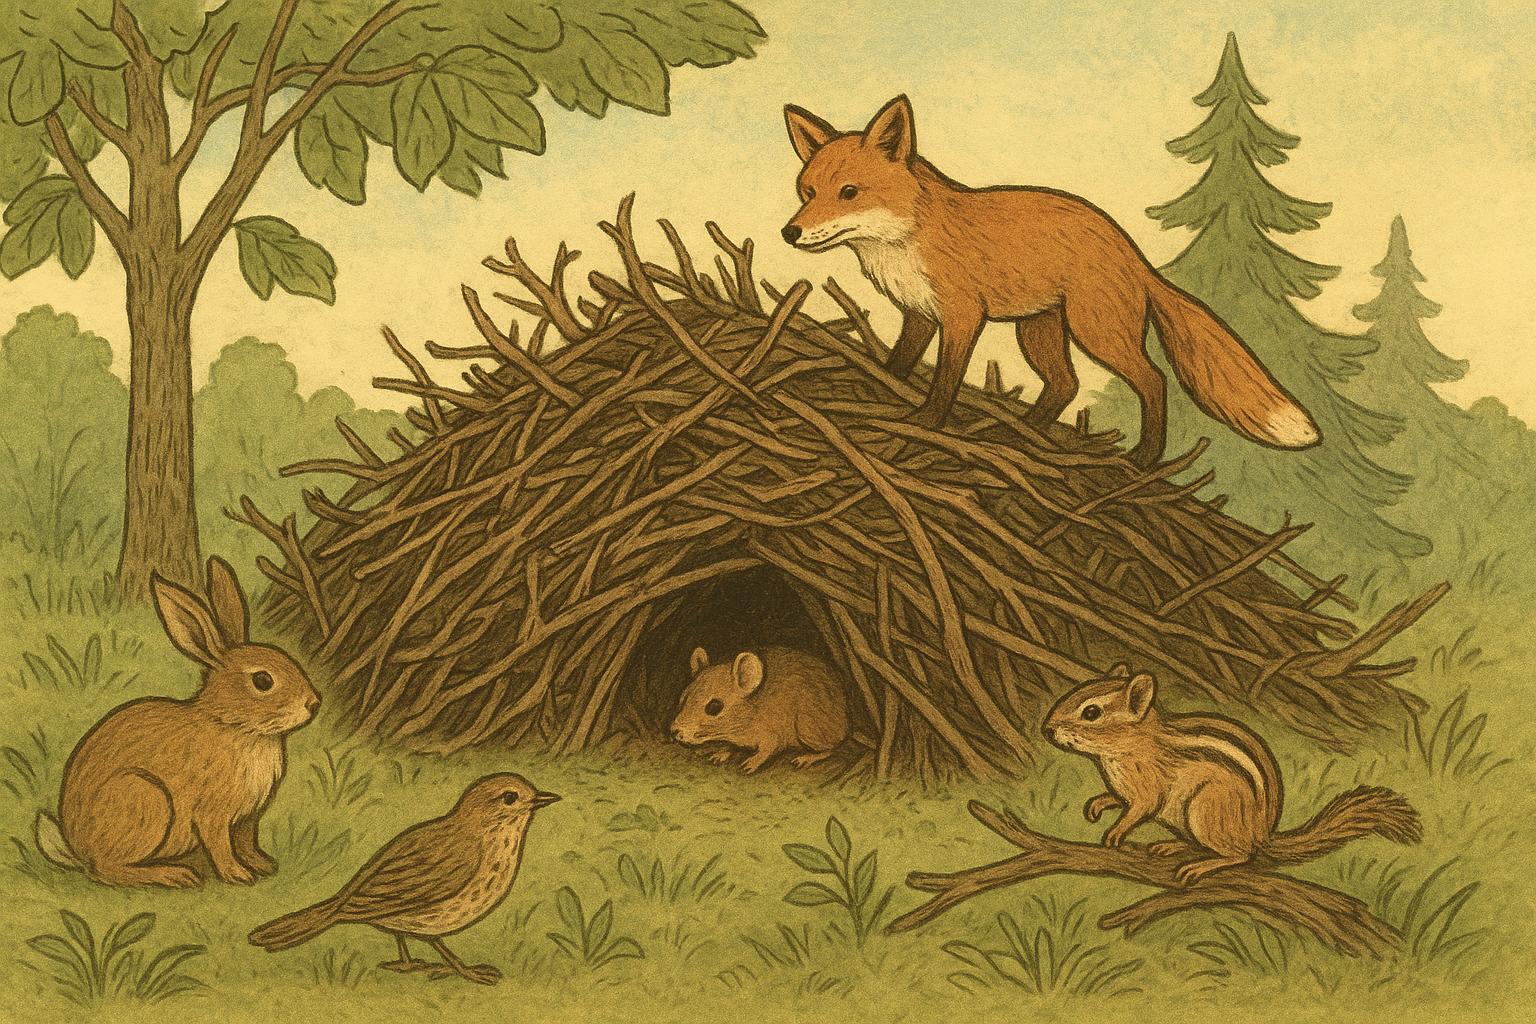
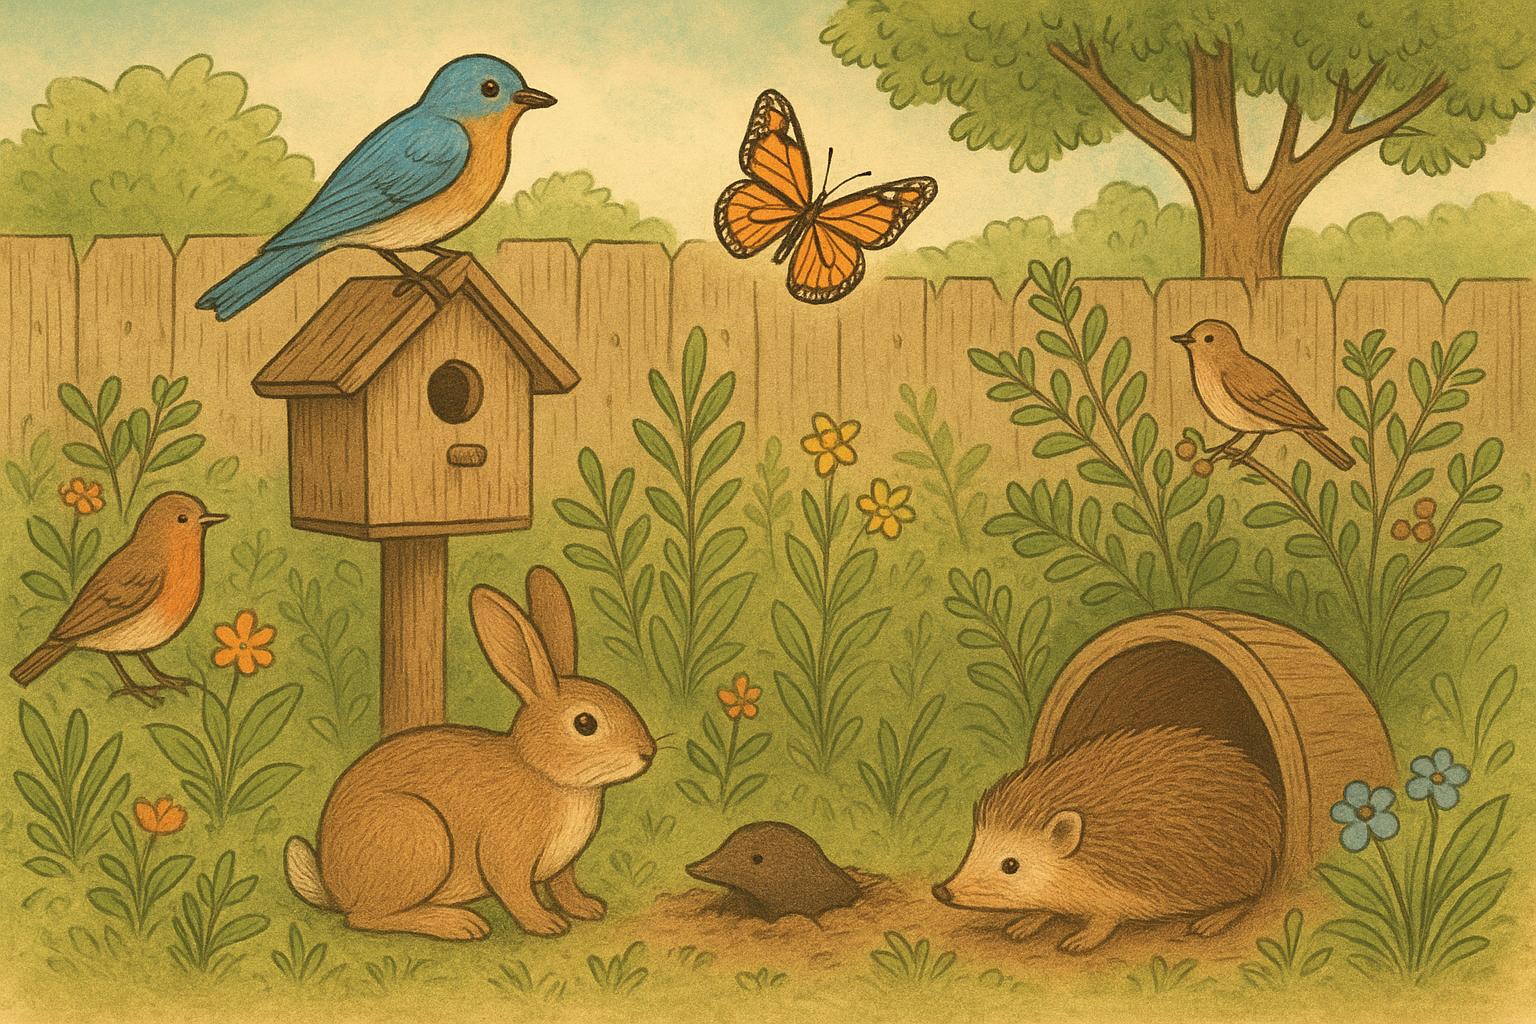
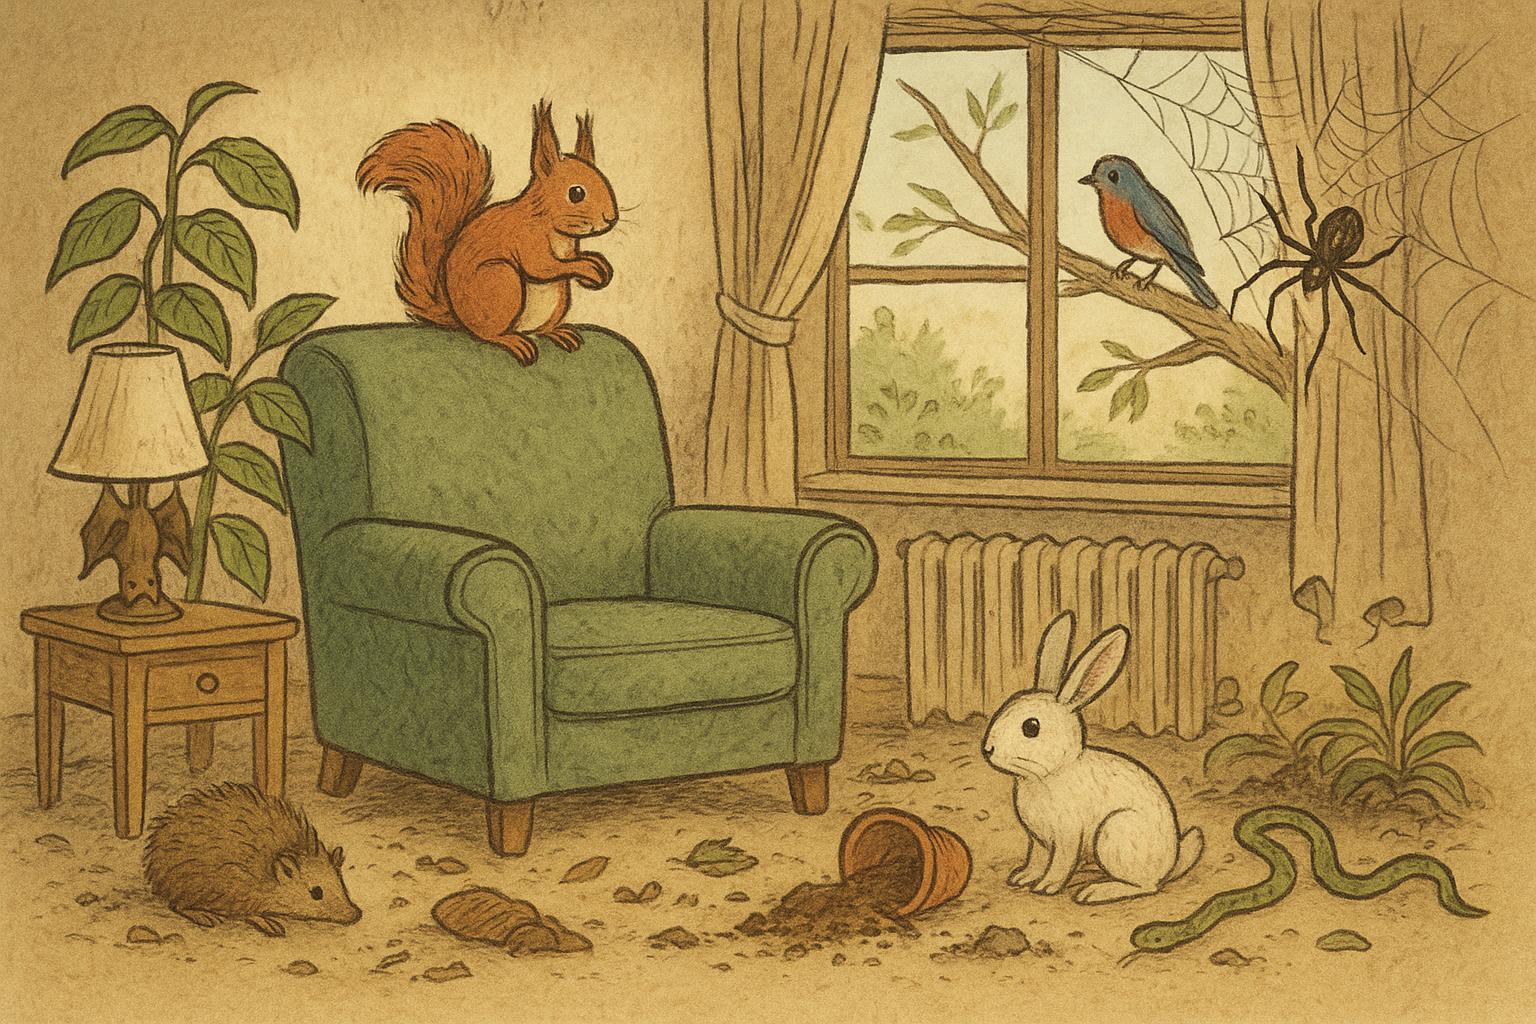
### Squirrels, Raccoons, And Bats
Larger mammals like squirrels and raccoons make louder, more irregular thuds and claws-on-wood sounds in attics or between walls. Bats create soft, fluttering noises and may be accompanied by staining near eaves.
#### Signs To Look For
– Grease marks at exterior entry points
– Nesting material in chimneys or attic corners
– Strange odors or staining from urine
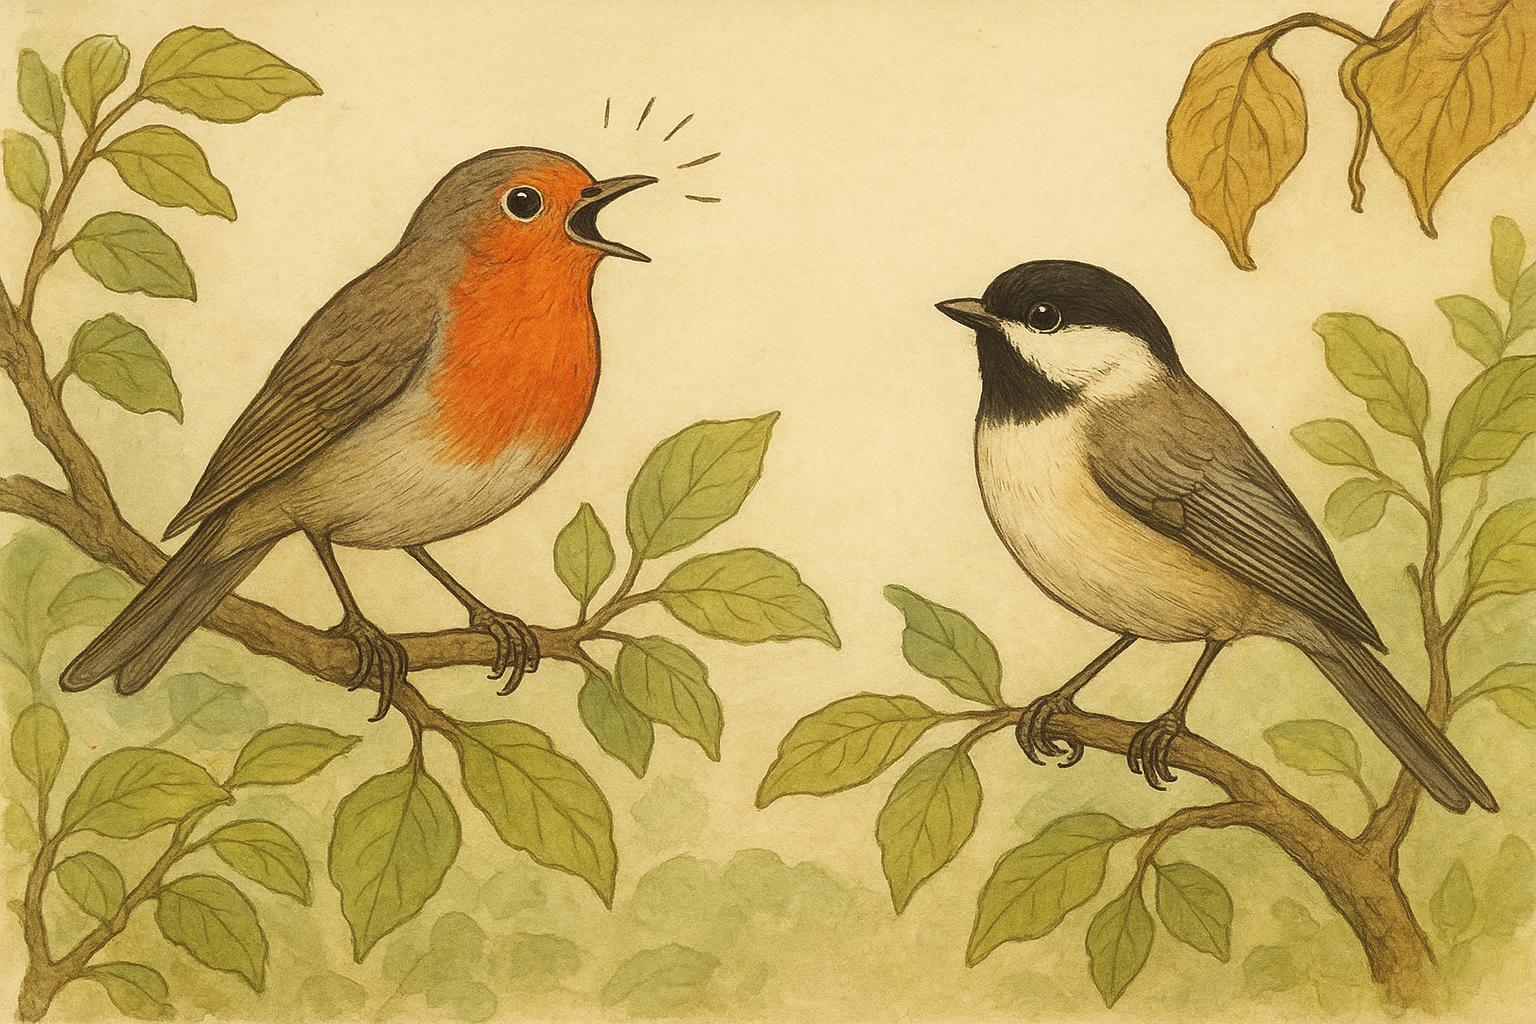
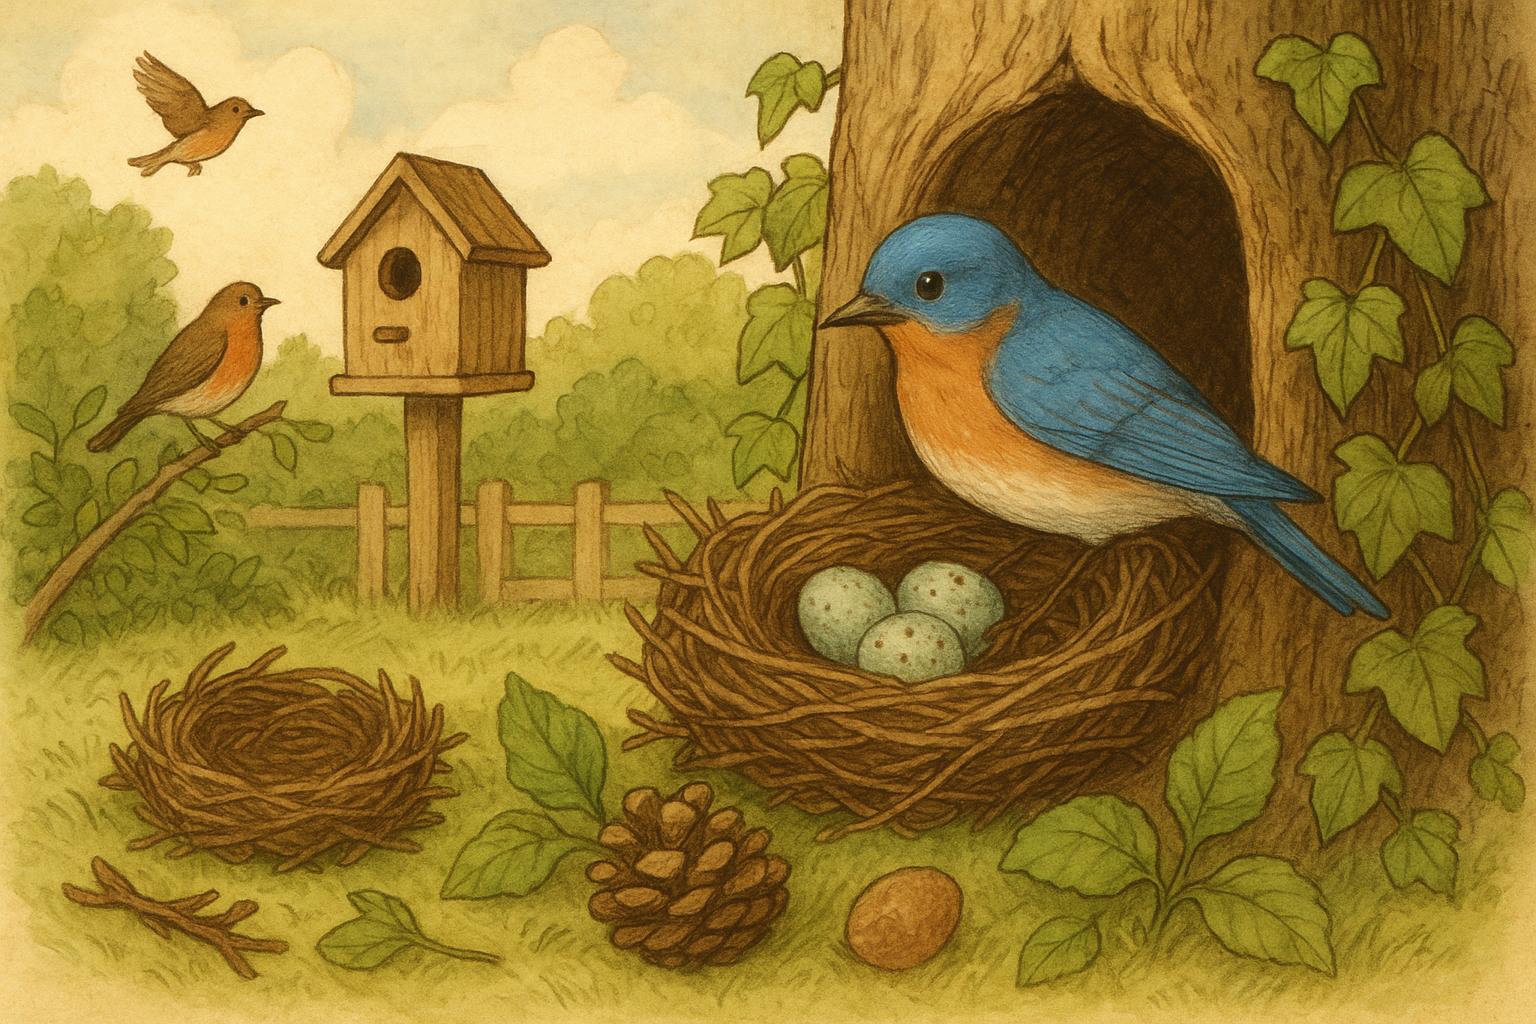
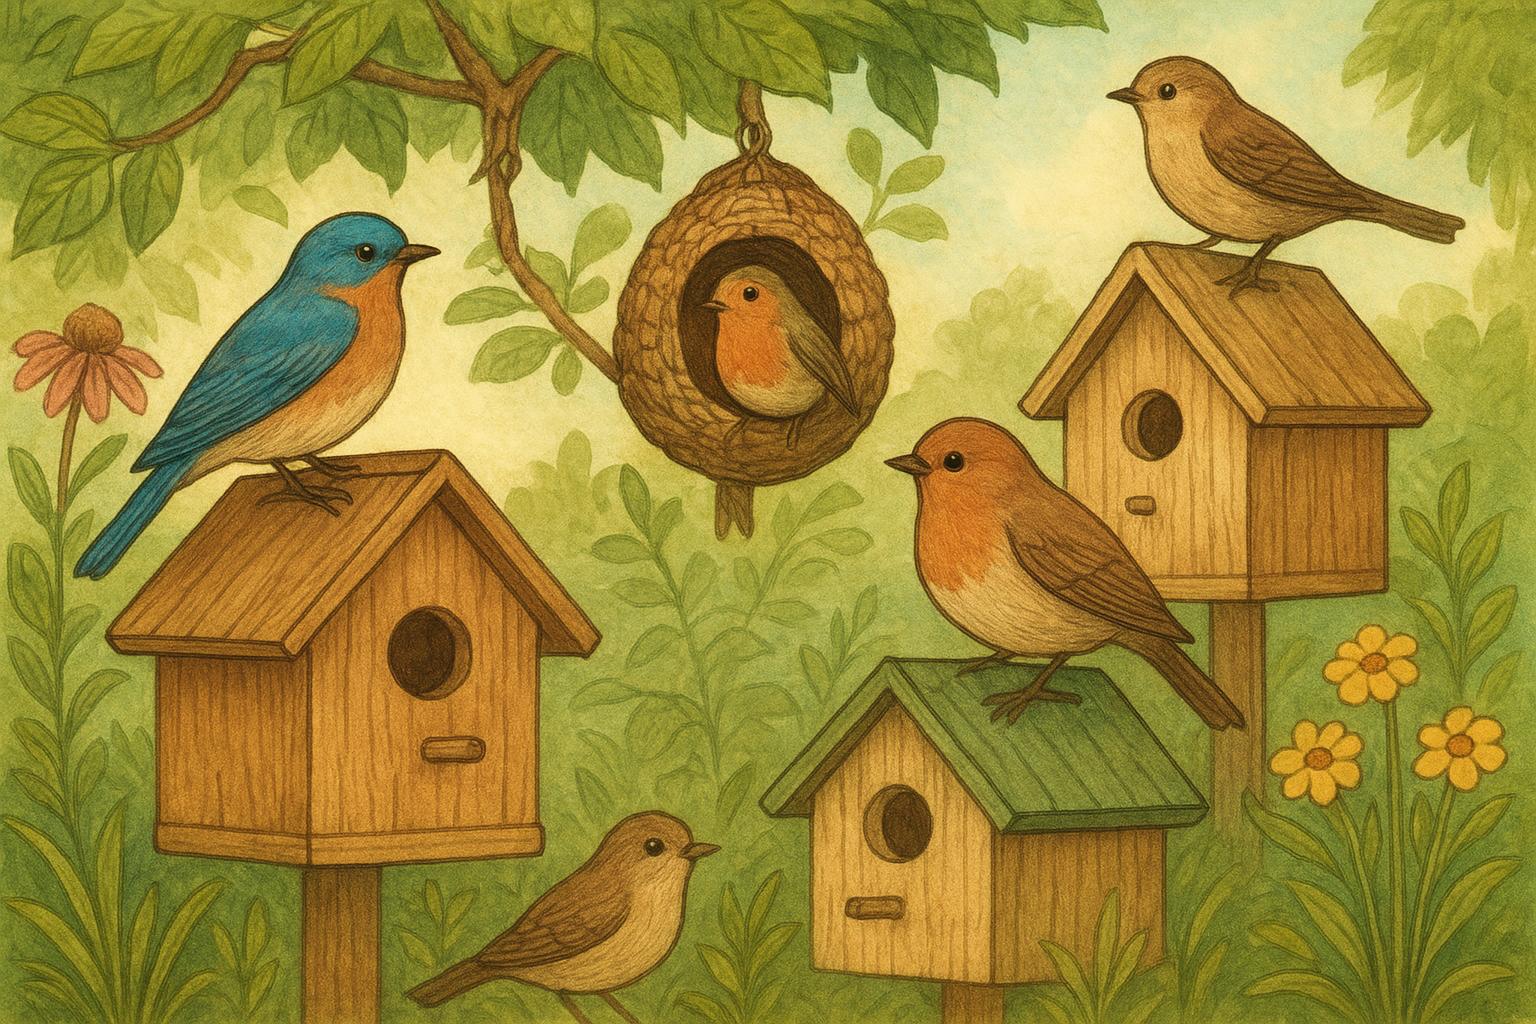
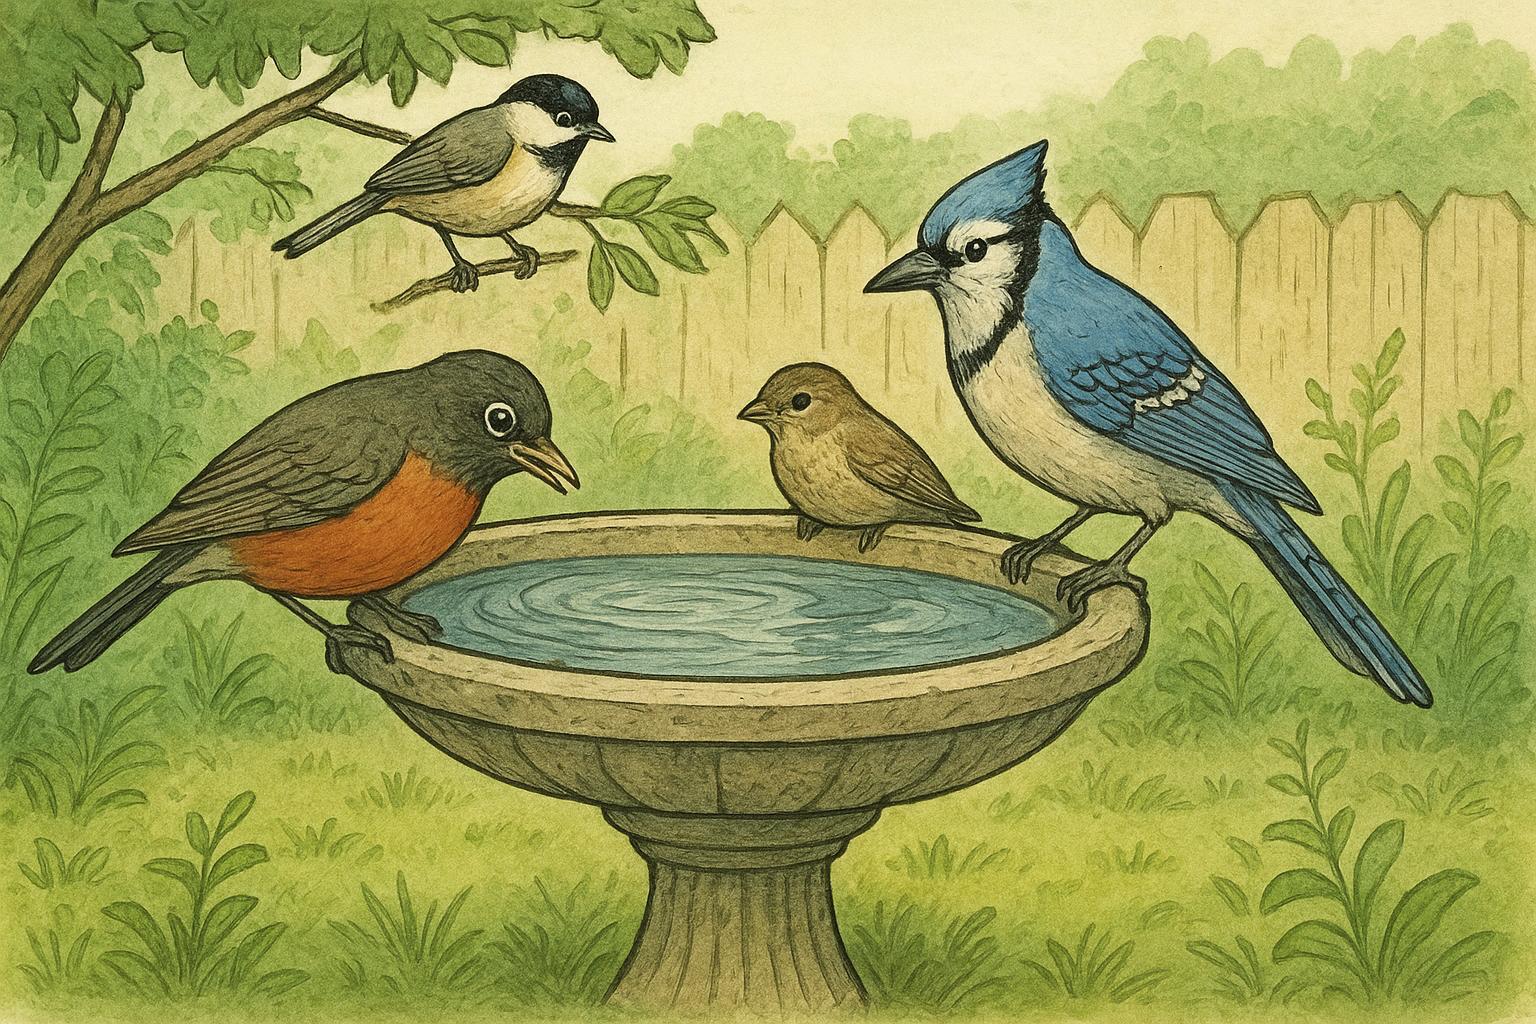
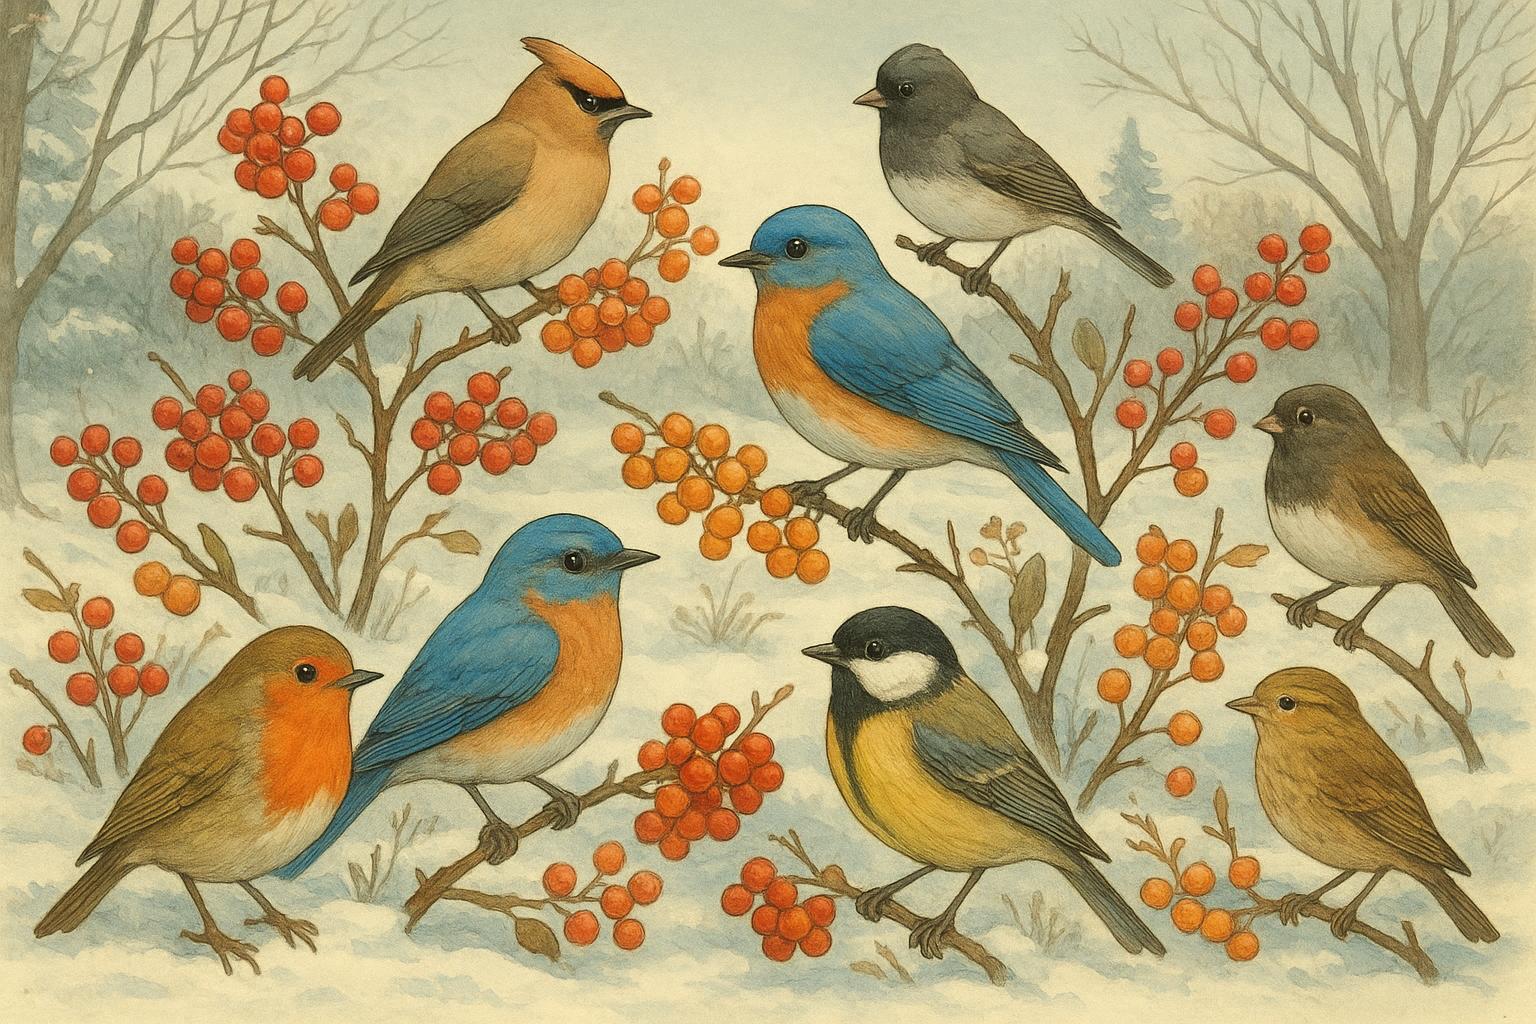
### Birds And Other Avian Nesters
Birds will chirp loudly during the day and may create rustling sounds. Pigeons, starlings, and sparrows sometimes get into eaves or gaps and make surprising amounts of noise.
### Insects: Termites, Carpenter Ants, And Beetles
Insect activity can be subtle. Termites don’t usually make audible noise, but carpenter ants create soft rustles as they hollow wood. If you hear a faint, almost paper-like crinkling, consider wood-boring insects.
### Plumbing, HVAC, And Structural Sounds
Not all odd noises are biological. Pipes expanding or contracting, HVAC ducts shifting, and wood contracting as humidity changes can all be misinterpreted as critters. These noises often correlate with system use or temperature swings.
## How To Diagnose The Noise Without Losing Your Mind
You don’t need high-tech gear to start. A systematic approach saves time, money, and jittery nights.
### Listen And Log
Keep a simple notebook. Note the time, duration, location, and nature of the noise. Is it at night? Only on windy days? Intermittent or constant?
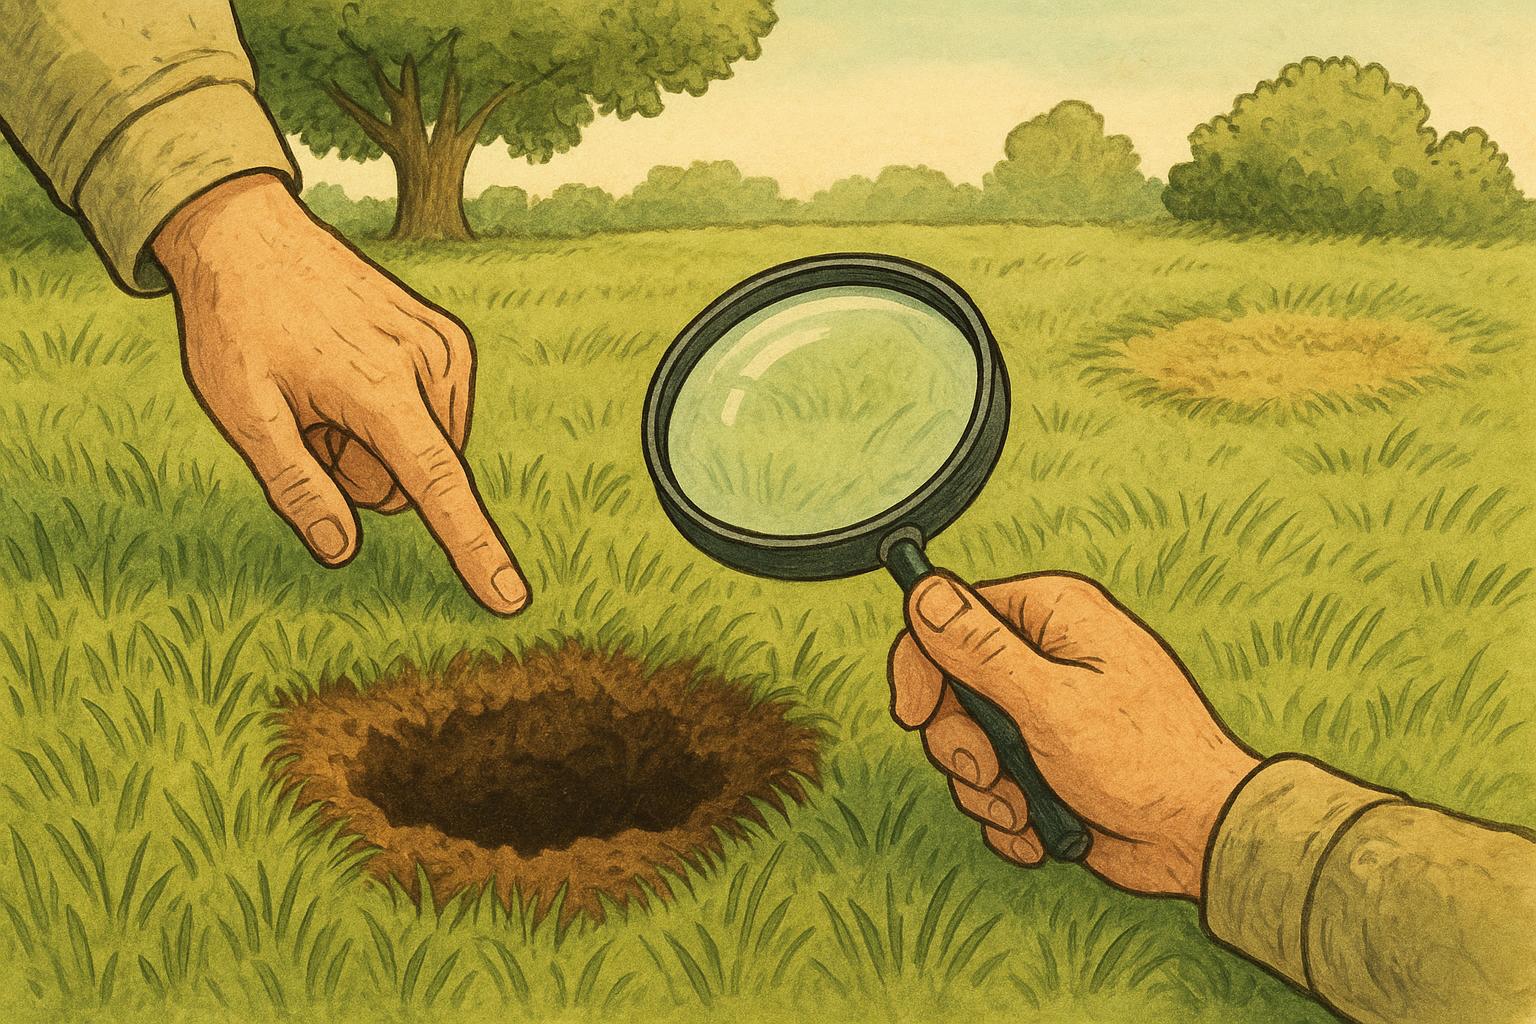
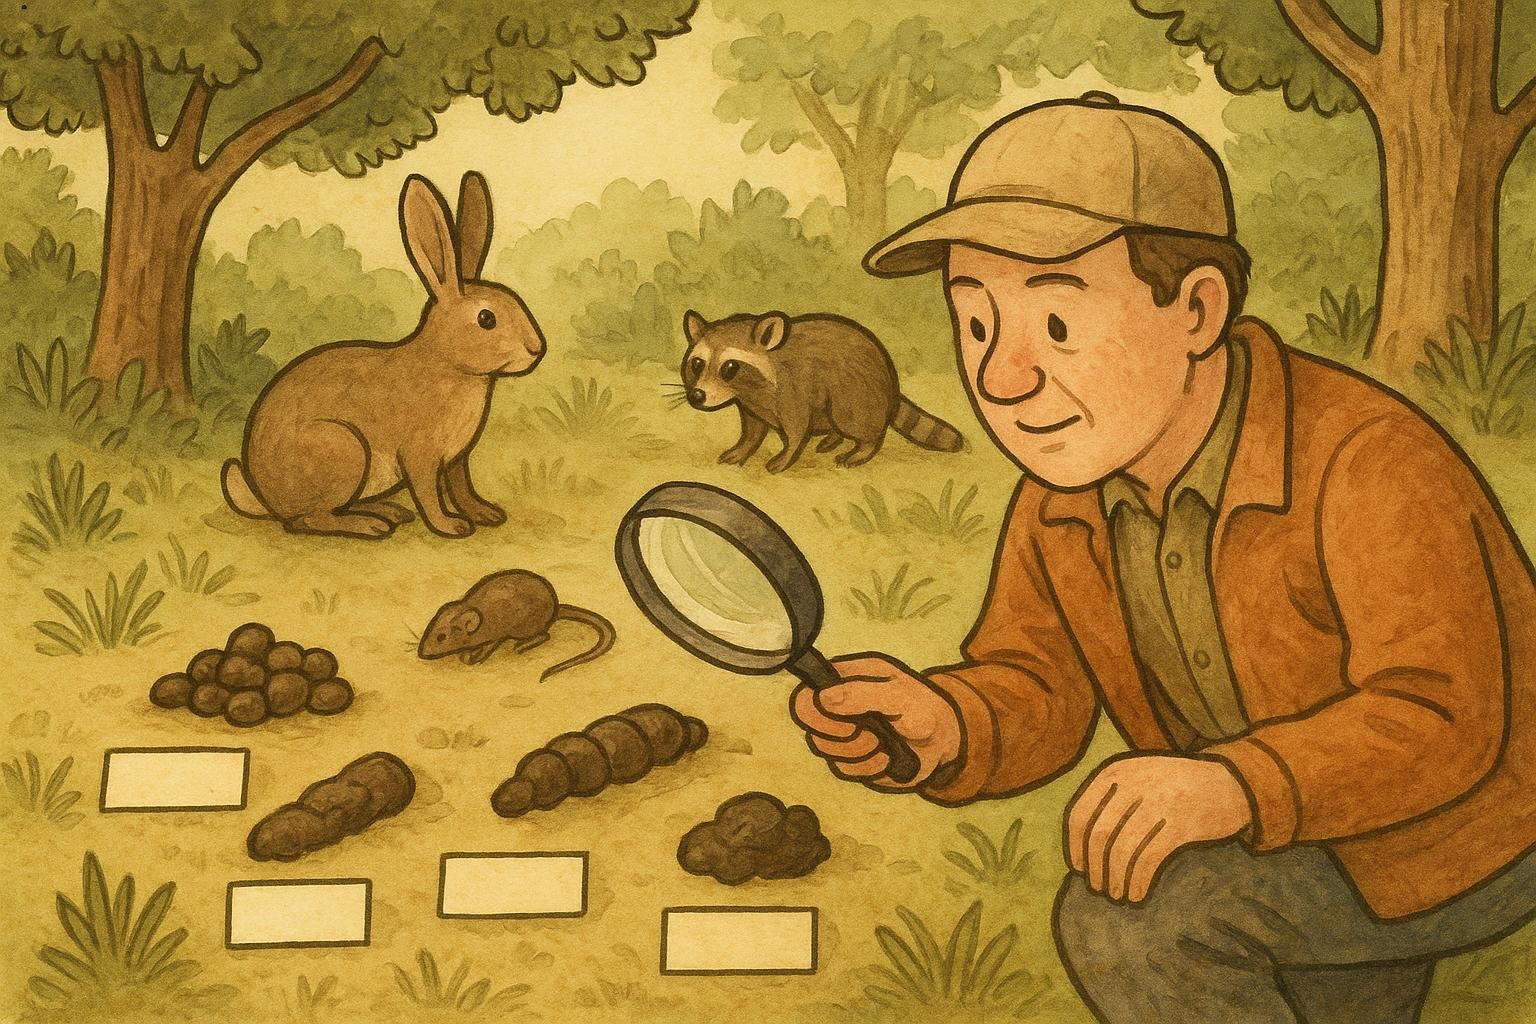
### Inspect Safely
Use a flashlight. Check attics, basements, crawl spaces, and around vents. Smell for musky odors. Look for droppings, nesting materials, or fresh gnaw marks.
### Use Simple Tools
A stick-and-smack test (gently tapping a wall to evoke a response) or a lightweight inspection camera can help identify movement. A humane trap with a camera is handy if you suspect rodents.
## Remedy 1: Seal And Exclude Rodents (Primary Prevention)
When it comes to persistent wall sounds caused by rodents, exclusion is the most reliable long-term solution. Below are the materials and a formal, step-by-step method for sealing common entry points.
### Materials Required
– Exterior-grade caulk (silicone or polyurethane)
– Steel wool or copper mesh
– Metal flashing or hardware cloth (1/4″ mesh)
– Exterior spray foam
– Ladder, gloves, safety glasses, flashlight, and pry bar
– Wire brush and exterior-grade paint (optional)
### Step-By-Step Procedure
1. Conduct An Exterior Survey: Inspect the building perimeter for gaps around windows, vents, eaves, foundation joints, utility penetrations, and rooflines.
2. Remove Debris And Vegetation: Trim branches and remove vines that provide access to rooflines. Clear clutter from around foundation.
3. Clean The Surfaces: Use a wire brush to remove loose material from gaps so caulk or foam adheres properly.
4. Plug Small Holes: For holes under 1/4″, pack steel wool or copper mesh into the opening. The mesh should be pushed deep so rodents cannot pull or chew through it.
5. Seal With Caulk Or Foam: Apply exterior-grade caulk for narrow cracks. Use spray foam for larger gaps, then cover foam with hardware cloth or metal flashing where appropriate to prevent chewing.
6. Install Hardware Cloth Over Larger Openings: For vents and larger gaps, secure 1/4″ hardware cloth with screws and washers, ensuring ventilation is not compromised.
7. Inspect Regularly: Recheck seals seasonally and after storms to maintain integrity.
## Remedy 2: Trapping And Removal (When Necessary)
If exclusion alone won’t solve active infestation and immediate removal is necessary, humane trapping should be executed professionally or by informed homeowners. The following is a formal method for live-capture of small rodents; follow local regulations and prioritise safety.
### Materials Required
– Humane live traps (multiple sizes)
– Gloves and disinfectant
– Bait (peanut butter, oats, or nesting materials)
– Catch-and-release containers (secure lids)
– Sealable trash bags for waste
– Camera or monitoring device (optional)
### Step-By-Step Procedure
1. Identify High-Activity Areas: Place traps along baseboards, near droppings, or along travel paths. Align traps perpendicular to walls.
2. Bait Strategically: Use a small amount of bait placed at the far end of the trap to encourage full entry.
3. Monitor Frequently: Check traps at least twice daily. Captured animals left in traps too long can suffer or attract predators.
4. Release According To Law: Some jurisdictions prohibit relocation of wildlife; check local regulations. If relocation is permitted, release at least 1–2 miles from your home in suitable habitat.
5. Sanitize After Handling: Wear gloves and use disinfectant on traps and any surfaces contaminated by droppings or urine. Dispose of waste in sealed bags.
6. Follow Up With Exclusion: Immediately repair entry points to prevent recolonization.
## Remedy 3: Soundproofing And Insulation For Persistent Wall Sounds
For non-biological noises or residual sounds after removal, soundproofing can dramatically reduce perceived noise. This remedy is more construction-focused and should be approached methodically.
### Materials Required
– Acoustic insulation batts (mineral wool or fiberglass)
– Acoustic sealant
– Mass-loaded vinyl (MLV) or sound-dampening drywall
– Drywall screws, adhesive, and tape
– Utility knife, drill, safety gear, and measuring tape
### Step-By-Step Procedure
1. Assess Wall Construction: Determine if you have an existing cavity or need to add a decoupling layer. Identify studs, wiring, and plumbing.
2. Remove Interior Covering If Needed: Carefully remove drywall or paneling in affected areas to expose cavities.
3. Install Acoustic Insulation: Fit mineral wool batts snugly between studs without compressing them; compression reduces effectiveness.
4. Seal Gaps With Acoustic Sealant: Seal seams, electrical boxes, and perimeter joints to prevent sound leaks.
5. Add Mass: Apply mass-loaded vinyl over studs or install an extra layer of sound-dampening drywall using adhesive and screws.
6. Refinish: Tape, mud, and finish drywall per local building standards. Paint as desired.
7. Test And Adjust: Monitor for noise reduction and adjust insulation or add more mass if necessary.
## When To Call A Professional
If noises are accompanied by droppings in large amounts, foul odors, visible damage to structural components, or if you suspect venomous wildlife, contact a licensed pest control or wildlife removal professional. For bat colonies or protected species, specialized handling and legal permits may be required. For structural or HVAC noises, consult a licensed contractor or plumber.
### Hiring Checklist
– Ask for licensing, insurance, and references.
– Request a written assessment and scope of work.
– Confirm humane and legal treatment of animals.
– Get guarantees in writing for exclusion work.
If your house still feels like the setting for a mystery despite your best efforts, it’s not a moral failure — buildings and wildlife both have wills of their own. But armed with careful listening, informed diagnosis, and the practical remedies above, you stand a good chance of turning that midnight symphony into the comforting silence you deserve. If wall sounds persist after exclusion and remediation, prioritize professional inspection to rule out concealed damage or protected wildlife.


Leave a Reply