
Hey neighbor—pull up a folding chair and a cup of something warm. If you’ve been circling that odd little hill in the middle of your lawn, you’re not alone.
Mound Clues Revealed The Lawn Burrow Mystery Tonight
## Mound Clues: What Those Little Hills Tell You
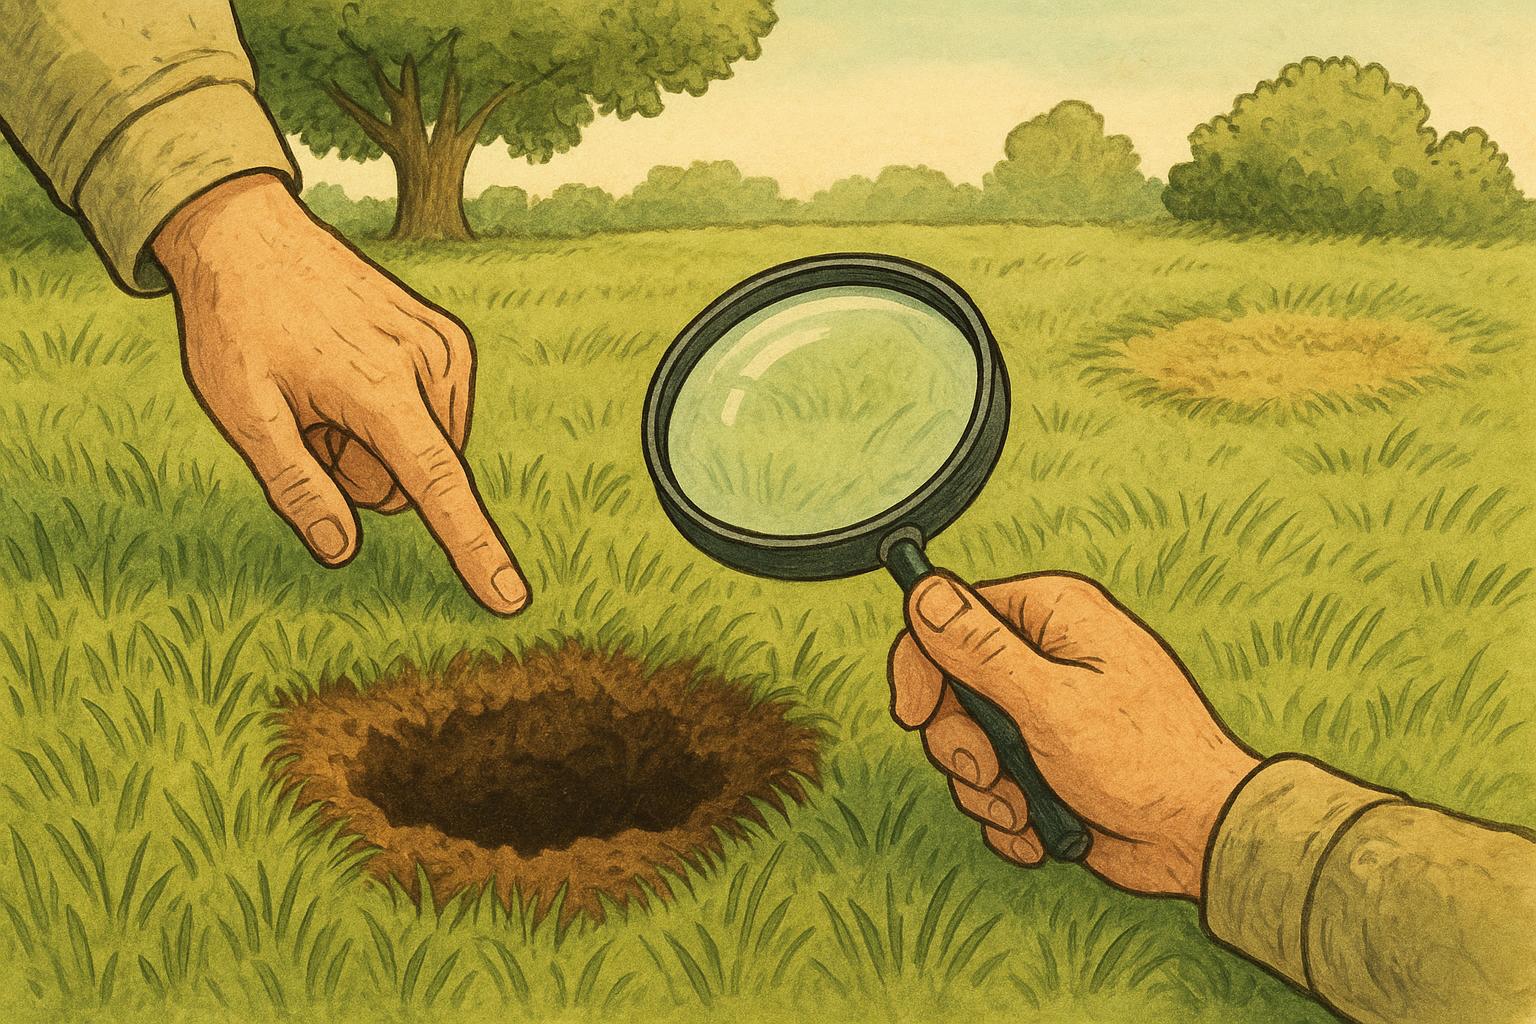
Those neat, suspicious hills of soil that pop up overnight feel almost conspiratorial. Before you imagine a family of mole-sized architects with blueprints, take a breath—there are reliable ways to read the scene. Mound clues can tell you which critter is at work, how long the problem’s been brewing, and the best next steps for repair or removal. Think of the mounds as a sentence written in dirt; we’ll translate it together.
### Signs To Look For Before You Probe
Don’t go jabbing the mound like a detective in a bad movie. Observe first. Check the following signs—each one is a mound clue helping to narrow the suspect list:
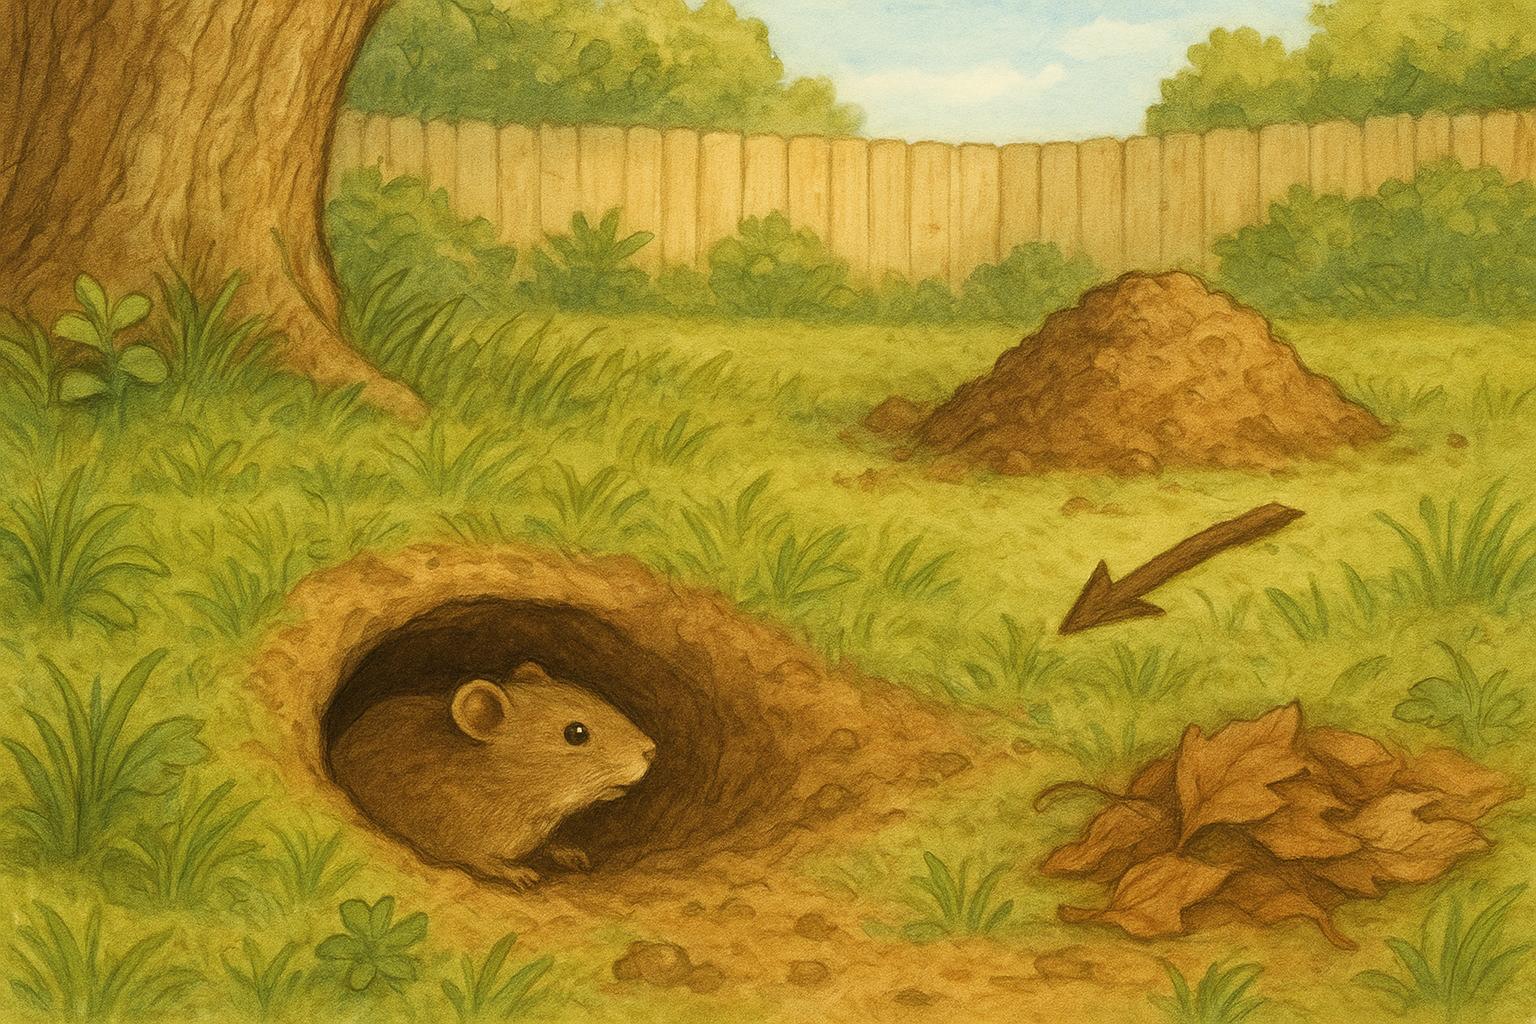
– Hole Shape: Is there a clean, round entry like a keyhole, or a collapsed volcano with a central plug?
– Mound Form: Is the dirt in a fan-shaped push or a neat conical volcano? Is it loose and crumbly or packed and heavy?
– Pattern: Are mounds lined up in a straight tunnel ridge, or scattered in isolated spots?
– Location & Timing: Near flower beds, under trees, or across open turf? Are fresh mounds appearing after rains?
– Plant And Surface Damage: Are plants uprooted, roots gnawed, surface runways present, or is it mostly soil displacement?
Each of these mound clues narrows down who’s living under your lawn.
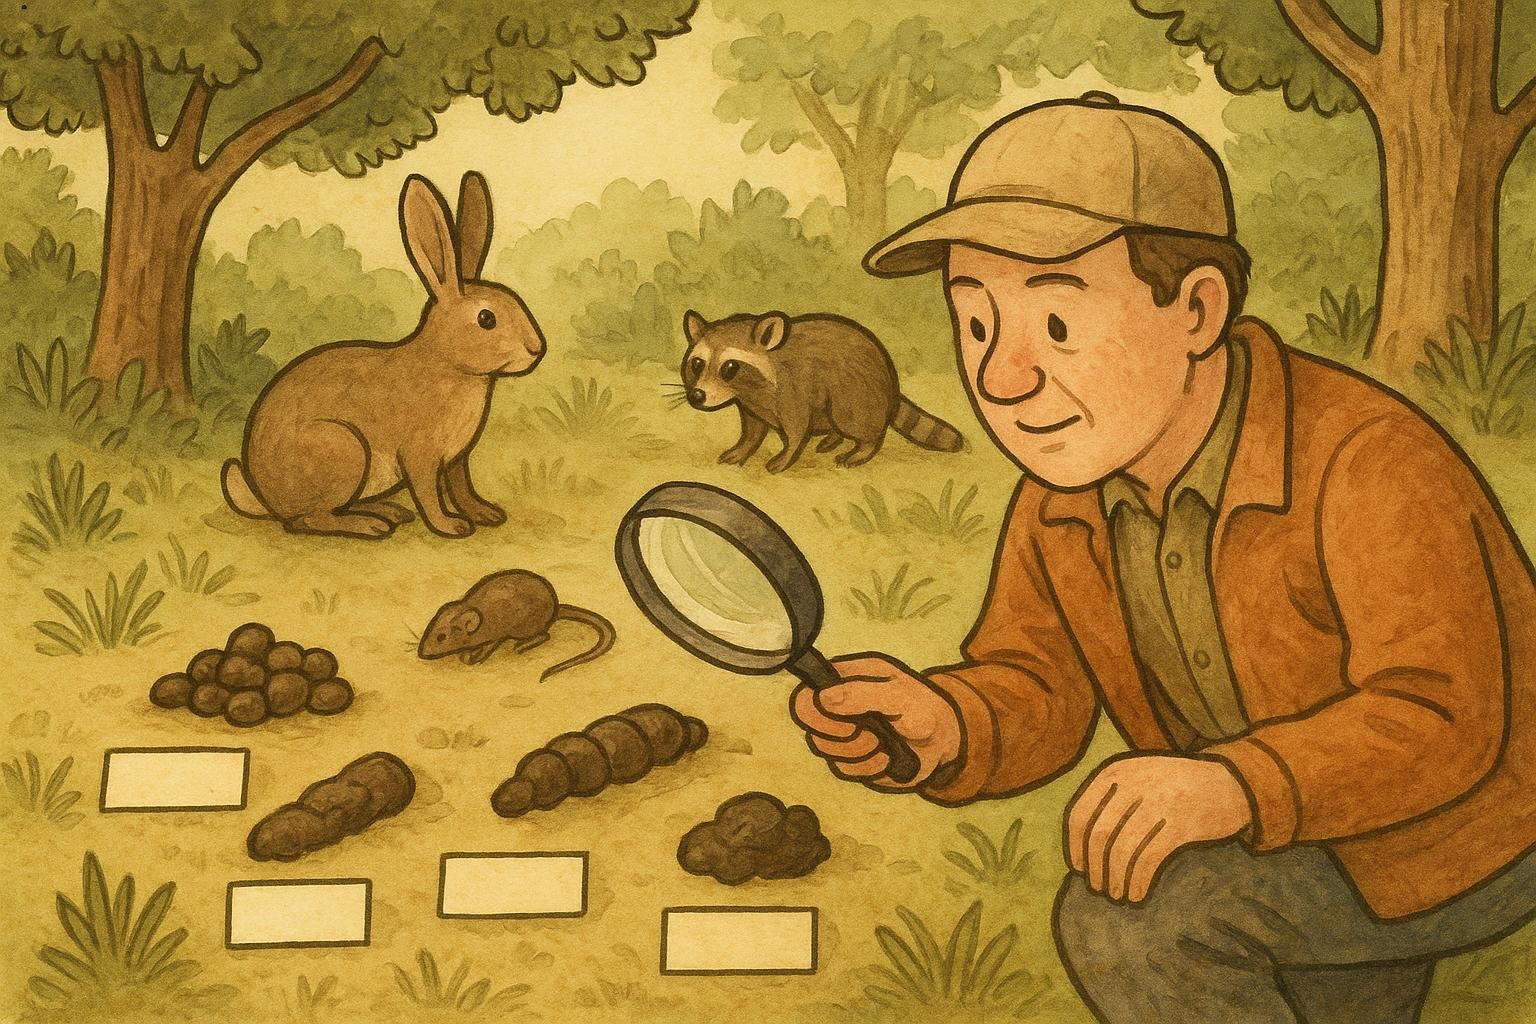
### Common Burrowers And Their Signature Mounds
Here are the usual suspects and the signatures they leave behind. Keep an eye on the mound clues to identify the culprit.
#### How Mole Mounds Differ
Moles create volcano-shaped mounds with soft, fine soil pushed up from below. You’ll often see raised ridges across the lawn where they’ve tunneled just under the surface. Moles don’t eat plants; they eat grubs and earthworms, so you might notice healthy grass disrupted by tunnels rather than chewed roots. If a mound sits like a little crater with no discernible entrance, that’s often a mole’s work—a classic mound clue.
#### How Gopher Mounds Differ
Pocket gophers leave fan-shaped mounds with a plugged hole off to the side. The soil is typically coarser and includes larger aggregates because it’s clawed up from the tunnel. You may find root damage near their mounds and thick, pushed-up soil that looks like someone scooped and flung dirt to one side. That asymmetrical pile is a prime mound clue pointing to a gopher.
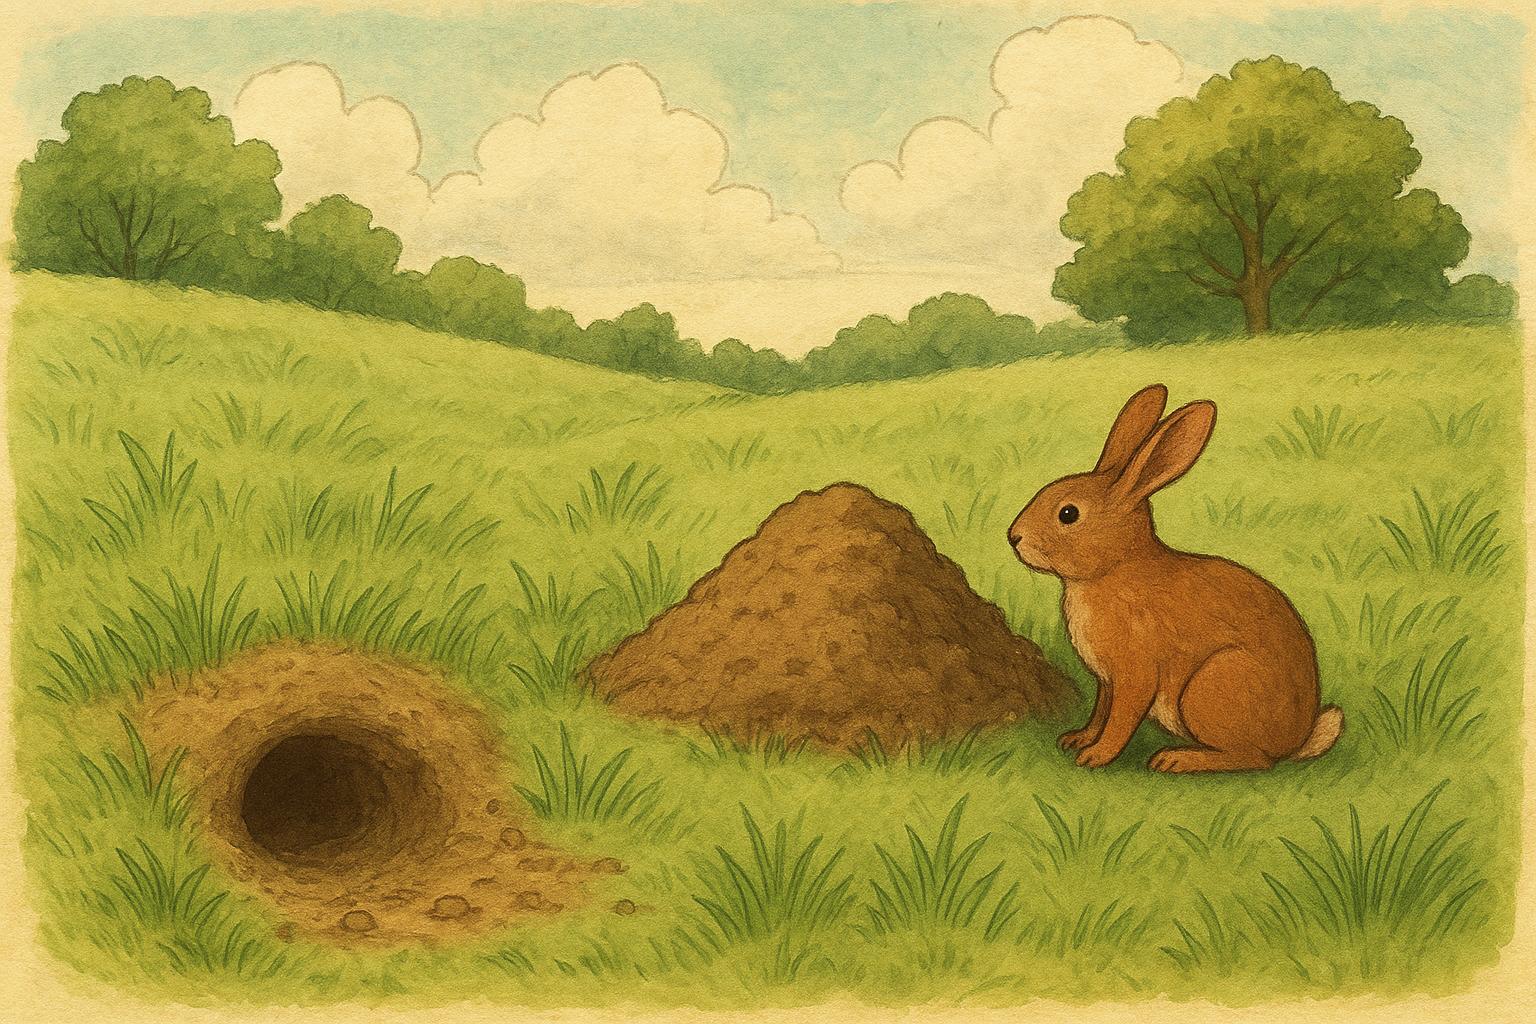
#### Voles, Ground Squirrels, And Groundhogs
Voles rarely create big mounds; they leave surface runways and small holes. Ground squirrels and groundhogs have larger, cleaner entrance holes with less soil piled visibly, often near garden beds or fence lines. The absence of a volcano or fan-shaped pile is itself a helpful mound clue.
### When To Call A Pro And When You Can DIY
If you’re seeing small, intermittent mounds and limited plant damage, a DIY approach may be reasonable. If the mounds are numerous, damaging irrigation lines, killing mature plants, or if you’re unsure which animal you’re dealing with, call a professional. Trapping laws and humane handling vary by region, and misapplied DIY methods can injure wildlife or worsen the problem. Use mound clues first; call help when identification or risk is beyond your comfort zone.
## Remedy 1: Natural Deterrent And Repair
This remedy is intended for gardeners who prefer non-lethal, environmentally considerate methods and for minor to moderate infestations. Below are the materials and a formal, step-by-step protocol for creating and applying a castor oil-based repellent and for repairing lawn damage.
Materials Required
– Pure castor oil (liquid)
– Mild biodegradable dish soap
– Water (hose or watering can)
– Measuring cup and container for mixing (at least 1-gallon capacity)
– Gloves and eye protection
– Garden rake and shovel
– Topsoil or screened compost
– Grass seed or sod plugs (match existing turf)
– Hand tamper or flat board
Preparation And Application Steps
1. Safety First: Put on gloves and eye protection. Castor oil is not toxic to plants in small amounts but can be a skin irritant.
2. Mix Repellent: In a 1-gallon container, stir together 1 cup of castor oil and 1/4 cup of mild dish soap with warm water until emulsified. Fill the remainder with water and shake or stir thoroughly. This creates a 1:8 castor oil solution that spreads well on soil.
3. Test Spot: Apply the mixture to a 1-square-yard test area and wait 48 hours to ensure no adverse effects to your turf variety.
4. Apply to Affected Area: Evenly spray or pour the mixture across the active mounds and surrounding soil (about a 3-foot radius around each mound). The goal is to reach tunnels and root zones where the burrower feeds.
5. Repeat Schedule: Reapply every 2 weeks for 2 months and after heavy rain. Persistent animals may require ongoing maintenance.
6. Repair Mounds: Remove the top of each volcano or fan-shaped mound with a shovel. Backfill the hole with screened topsoil or compost, tamp lightly to avoid air pockets, and re-seed or place sod plugs.
7. Watering And Care: Keep repaired spots moist until seed germinates. Avoid heavy foot traffic for two weeks.
8. Monitor Mound Clues: Continue to observe for fresh mounds. If new mounds appear despite treatment, consider moving to more targeted controls.
Notes: Castor oil repellent is humane but not guaranteed. It makes the soil less appealing to feeding, encouraging animals to move on. Effectiveness varies with species and soil conditions.
## Remedy 2: Trapping And Exclusion (Numbered Approach)
For homeowners facing persistent or destructive burrowing, trapping and exclusion are more definitive solutions. This section outlines materials, step-by-step trapping best practices, and exclusion strategies. Follow local laws and humane guidelines. This portion is formal and prescriptive.
Materials Required
– Species-appropriate traps (gopher box traps, mole traps, or live-capture traps as applicable)
– Professional-grade hand probes or long screwdriver (to locate tunnels)
– Work gloves and safety goggles
– Shovel and pry bar
– Hardware cloth (1/4″ or 1/2″ mesh) or gopher wire
– Heavy-duty zip ties or galvanized staples
– Soil tamping tool
Trapping And Exclusion Steps
1. Confirm Species By Mound Clues: Before trapping, confirm whether the culprit is a mole, gopher, or rodent by reviewing the mound clues. Traps must match the species’ behavior.
2. Locate Active Tunnels: Probe the ground gently around fresh mounds to find active, soft tunnels. Only set traps in tunnels that are currently used; inactive tunnels will not capture animals.
3. Follow Manufacturer’s Directions: Carefully read and prepare traps. For kill traps, follow safety protocols. For live-capture, check local release regulations.
4. Set Traps Correctly: For gophers, place box traps into the main runway, ensuring trap alignment is snug with the tunnel. For moles, use scissor or harpoon traps at tunnel collapses or tunnels exposed by probing.
5. Check Traps Daily: Monitor and check traps daily to minimize animal suffering. Dispose or relocate animals per local statutes and humane practices.
6. Seal Captured Tunnel Openings: Once capture is complete and activity has ceased, collapse or fill tunnels securely with soil.
7. Install Exclusion Barriers: For gardens and beds, dig a trench around the perimeter (12-30 inches deep for gophers, shallower for voles) and line with hardware cloth. Bend the bottom outward in an L-shape to deter digging under.
8. Repair And Restore Surface: After tunnels are sealed and barriers installed, backfill and tamp soil, then re-seed or lay sod as needed to restore aesthetics and function.
Legal And Ethical Considerations
– Verify local wildlife laws; some species are protected or require permits.
– Favor quick, humane methods and consider professional trappers for large infestations.
– Keep pets and children away from set traps.
### Post-Remedy Lawn Healing And Prevention
Once you’ve applied a control method and repaired visible damage, focus on prevention. Improve drainage, reduce excessive thatch, and maintain a healthy lawn—top-performing turf discourages burrowing mammals by limiting their food (for moles) and making the surface less hospitable. Re-check those mound clues monthly during active seasons; early detection makes future control easier and less disruptive to your yard and local wildlife.
Keep the tone of your observations light—humor helps with the frustration of a disrupted lawn—but follow the formal steps when applying remedies. Armed with the right knowledge and tools, those mysterious mounds can go from oddities to solved cases, one careful observation and methodical step at a time.


Leave a Reply