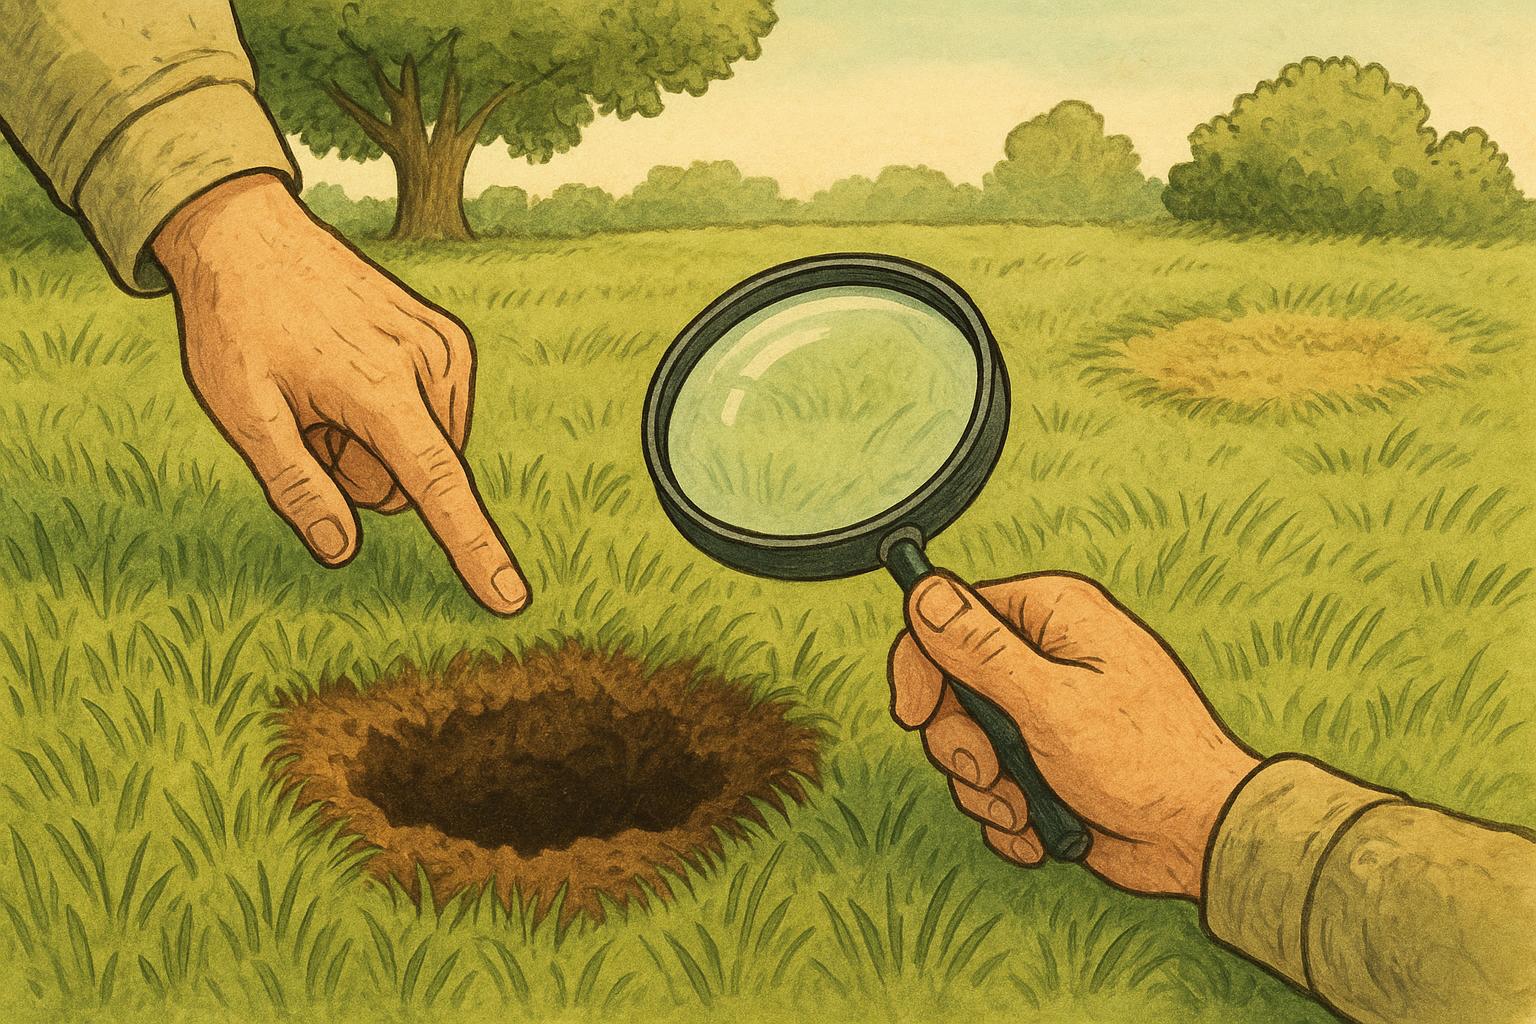
I love a good mystery, especially the kind that unfolds in my backyard at sunrise: a scattering of holes, a chewed-up edge of turf, and me squinting at the grass like it’s about to confess. Those little telltales—what I call the hole clues—are the most useful evidence you have when diagnosing who’s been shaking up your lawn and how badly.
## Hole Clues Surface Damage Patterns In Lawns For Assessments
### How To Read A Yard Like A Detective
Start by slowing down and looking. Lawns don’t lie, but they do speak in patterns. A solitary, neat, round hole? That’s different from a ragged tunnel collapse. A line of small entrances suggests a burrow system. Spotting these patterns and noting their context—time of year, soil moisture, and nearby cover—turns random holes into reliable hole clues.
### Common Hole Shapes And Their Usual Suspects
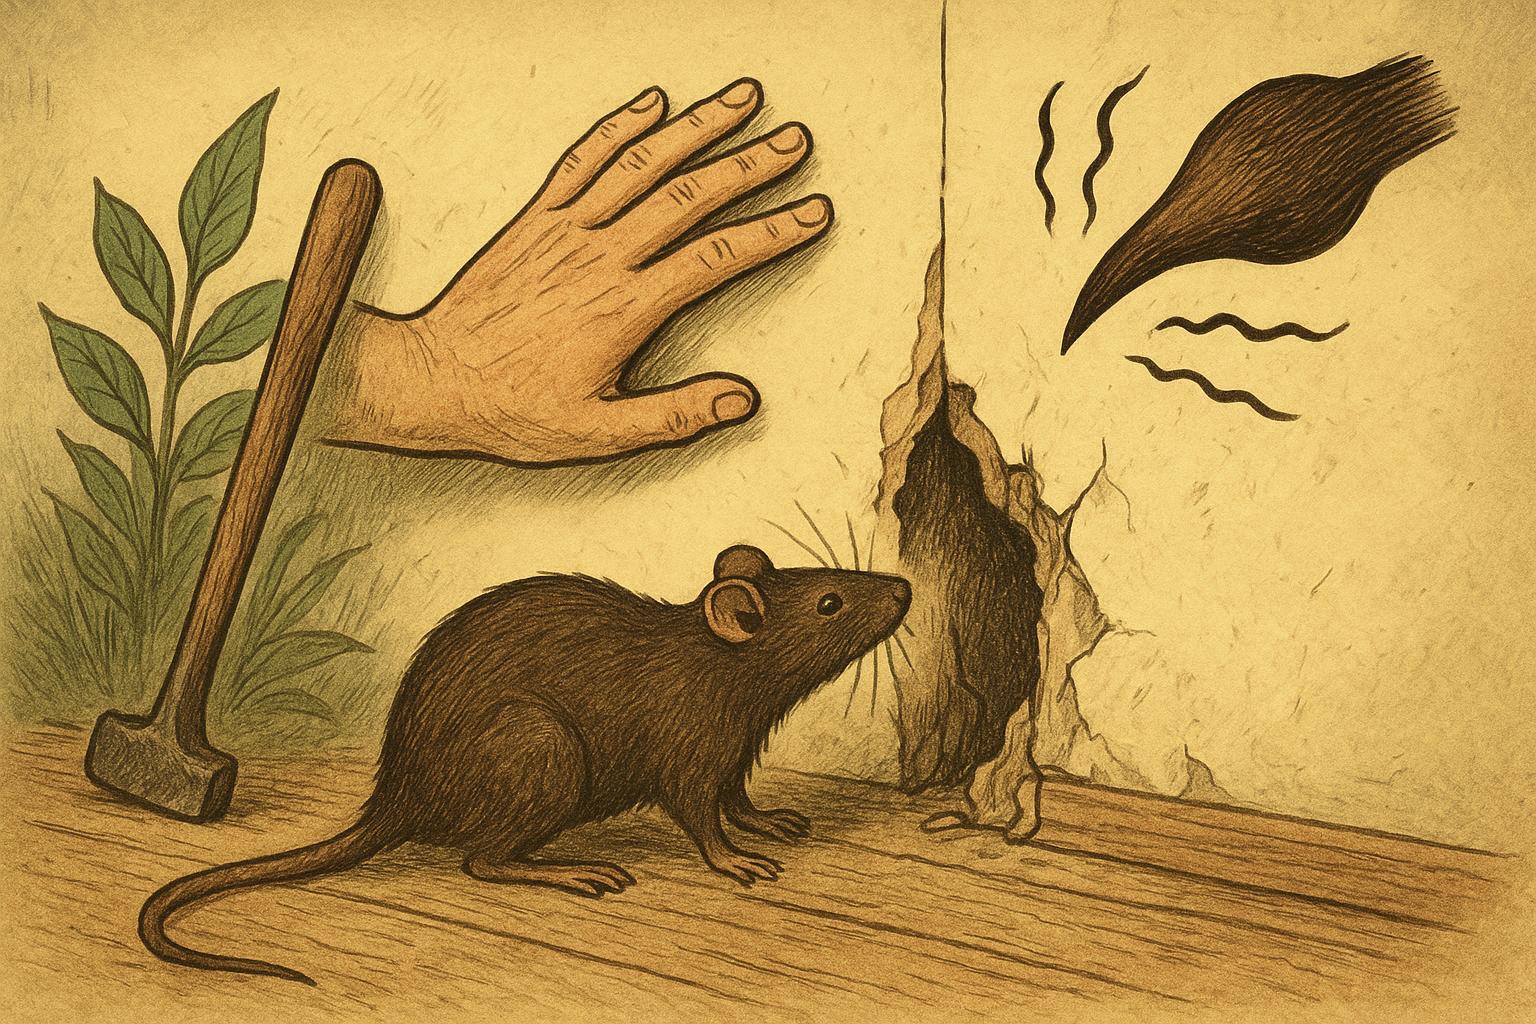
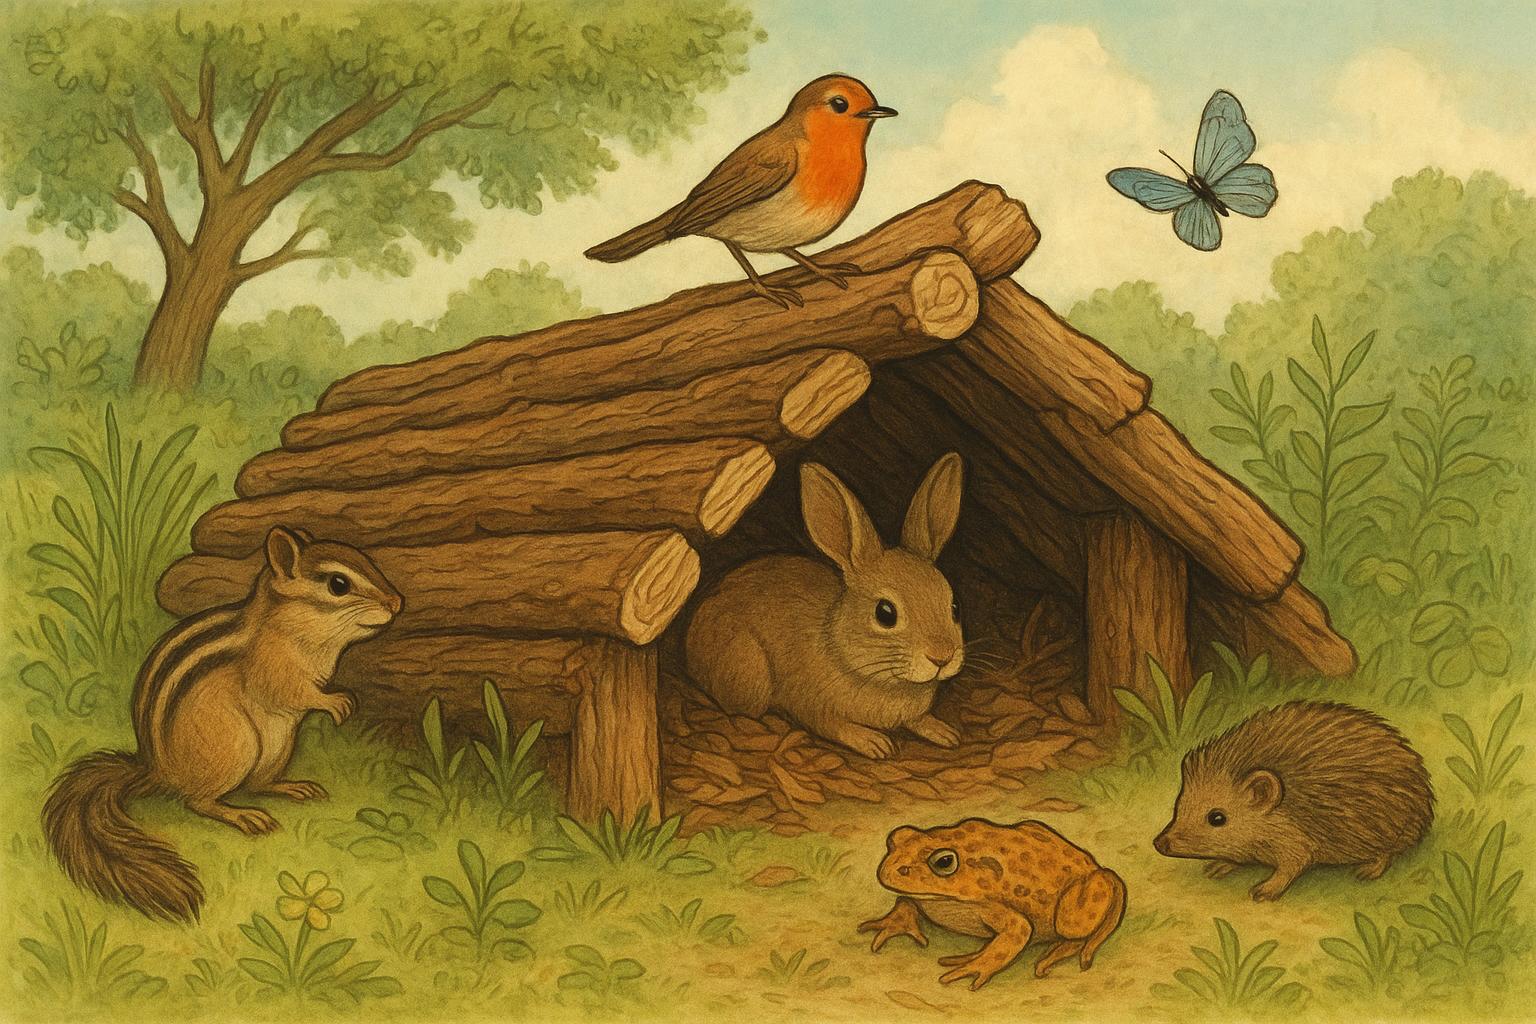
– Small, round, shallow holes (1–2 inches across), often in clusters: look for chipmunks or voles. Voles leave shallow runways and may gnaw plant stems.
– Deeper, conical shafts (several inches deep) with loose soil piled beside them: typical of moles or shrews that push soil up while tunneling.
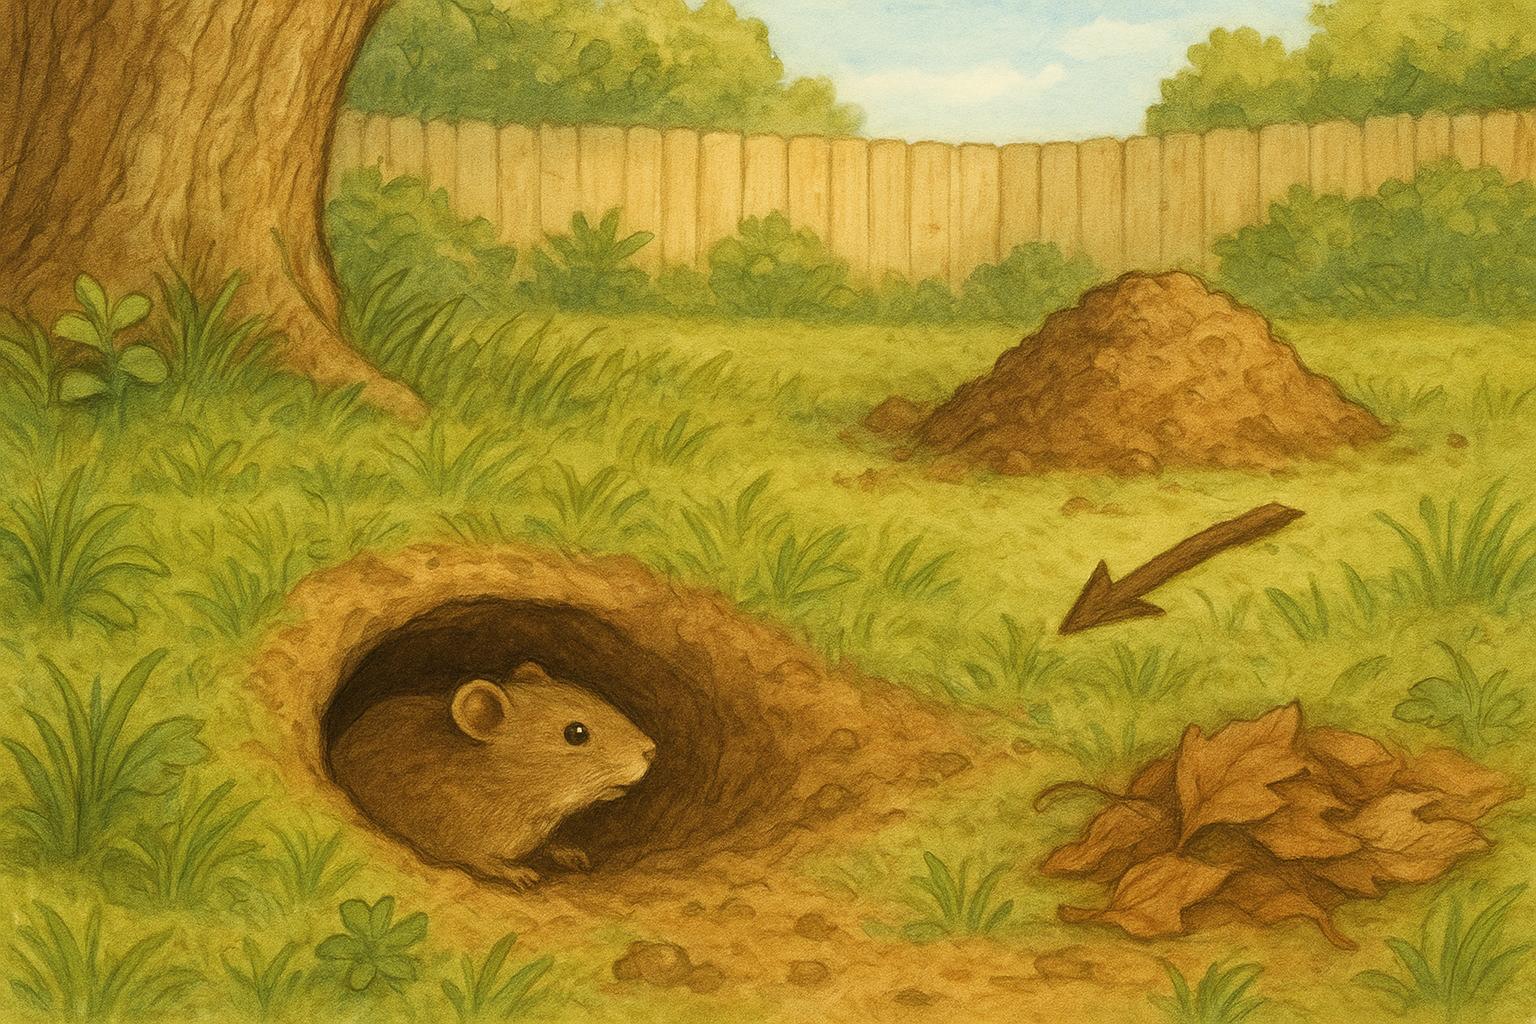
– Round holes with a plug or fan-shaped spoil pile: gophers. They often leave crescent-shaped dirt mounds near the entrance.
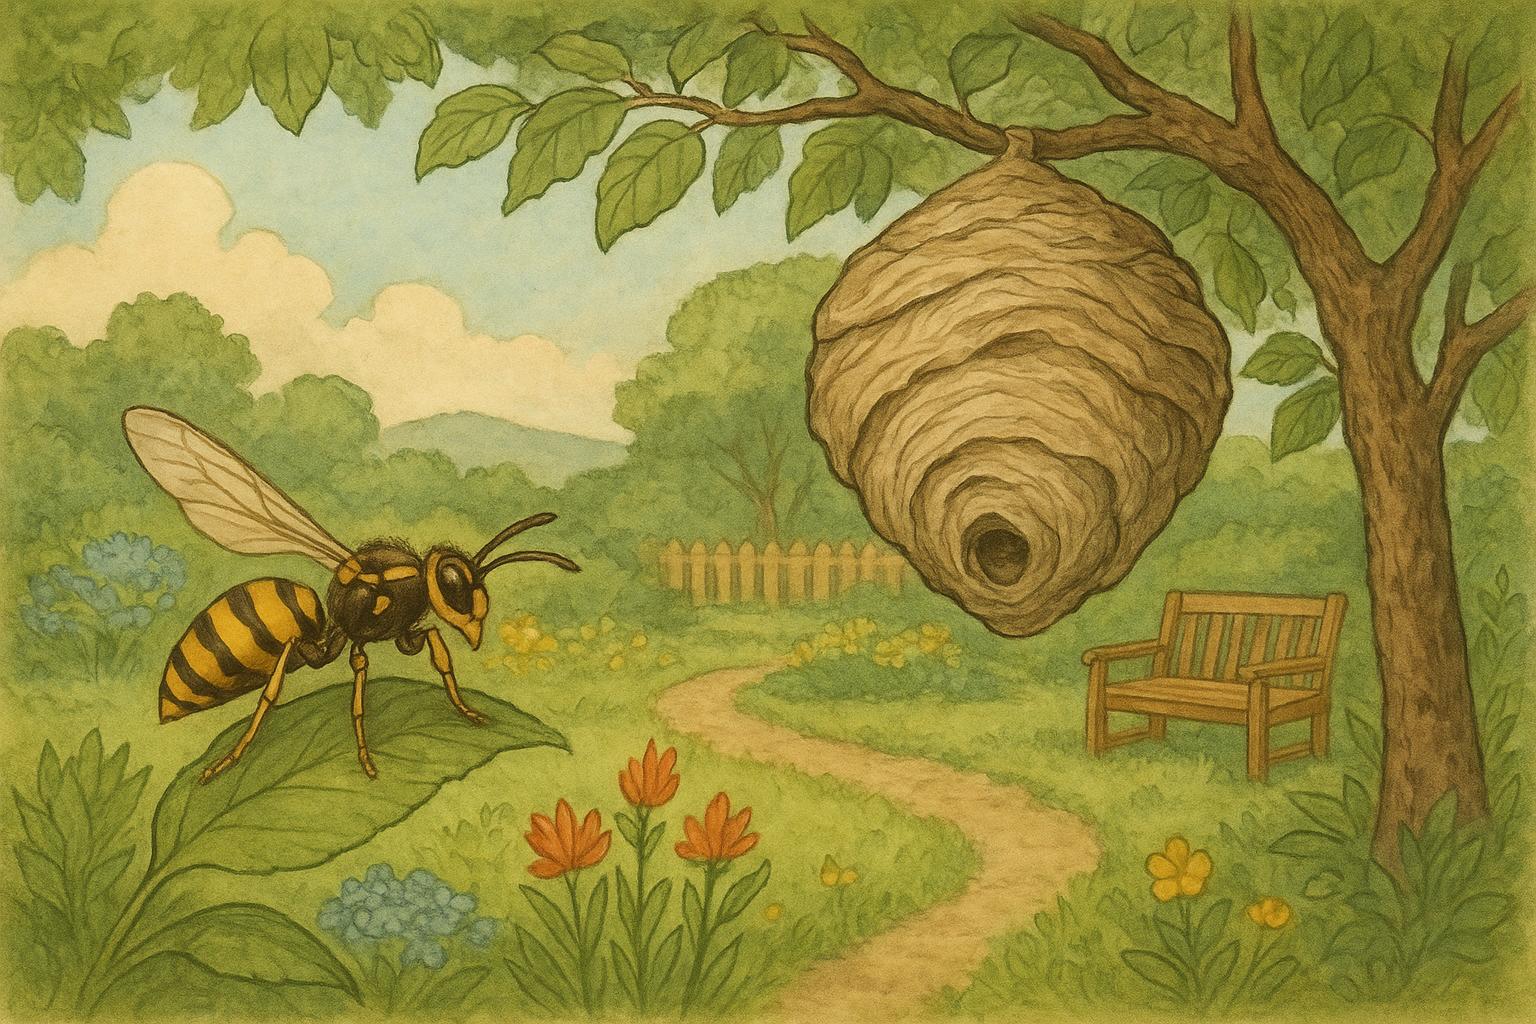
– Paired small holes or neat vertical burrows: ground-nesting bees or solitary wasps may be responsible.
– Multiple shallow depressions with little spoil: earthworms or crickets (or sometimes a hungry skunk digging for grubs).
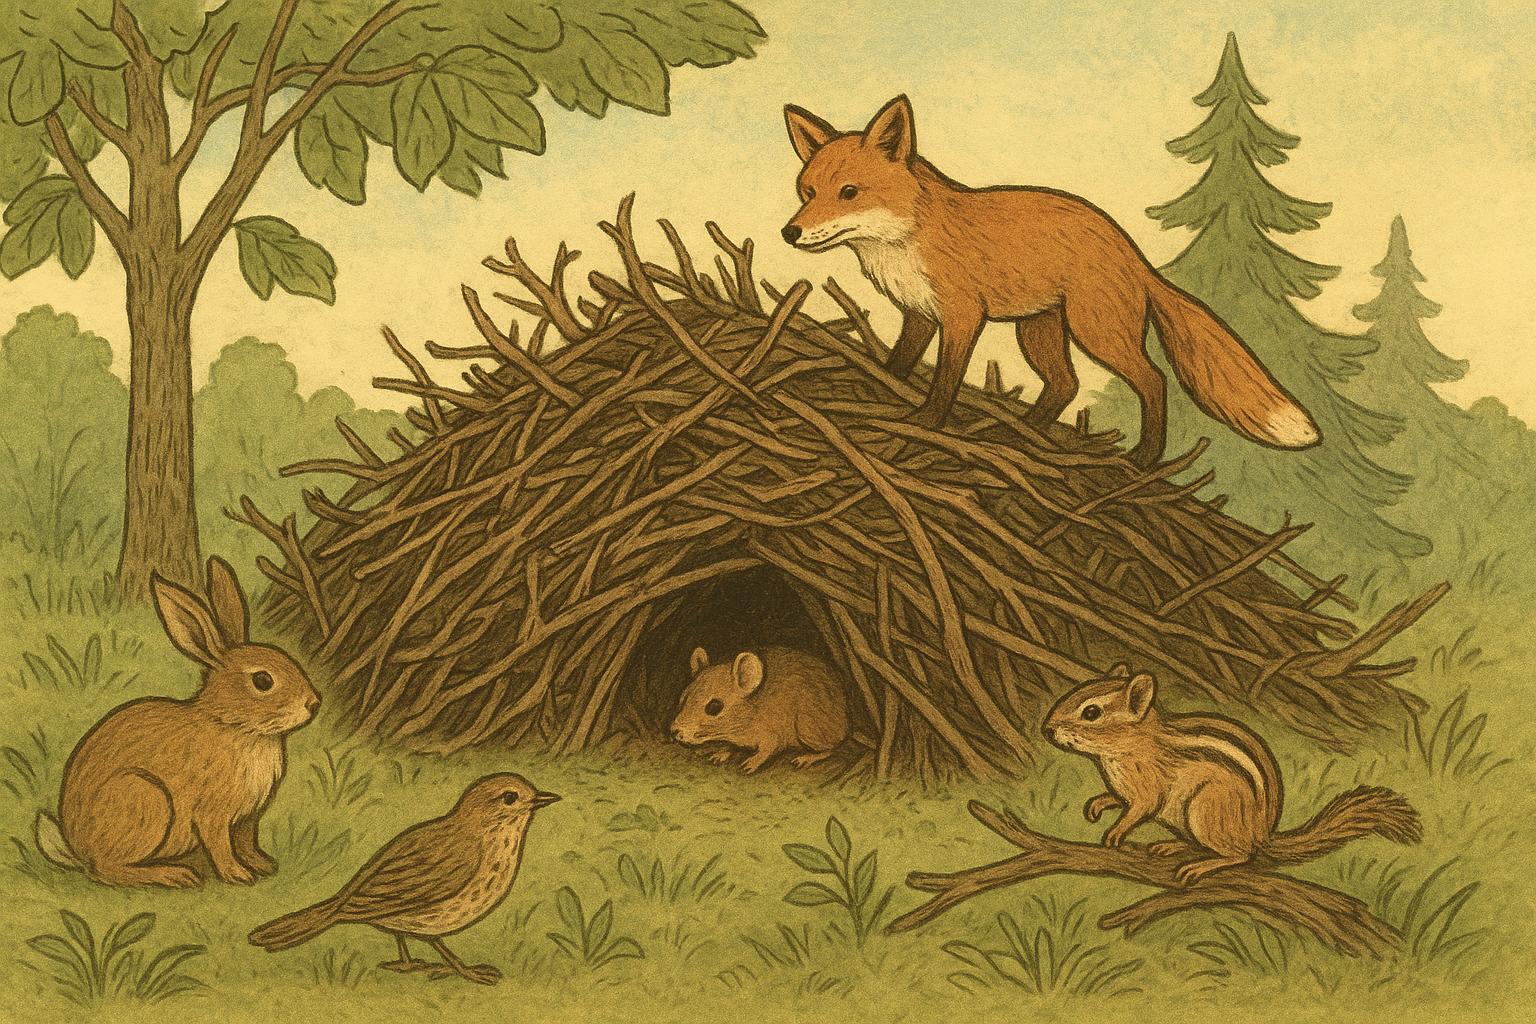
– Large, irregular cavities under turf with turf collapse around them: raccoons or foxes digging for grubs and creating more destruction.
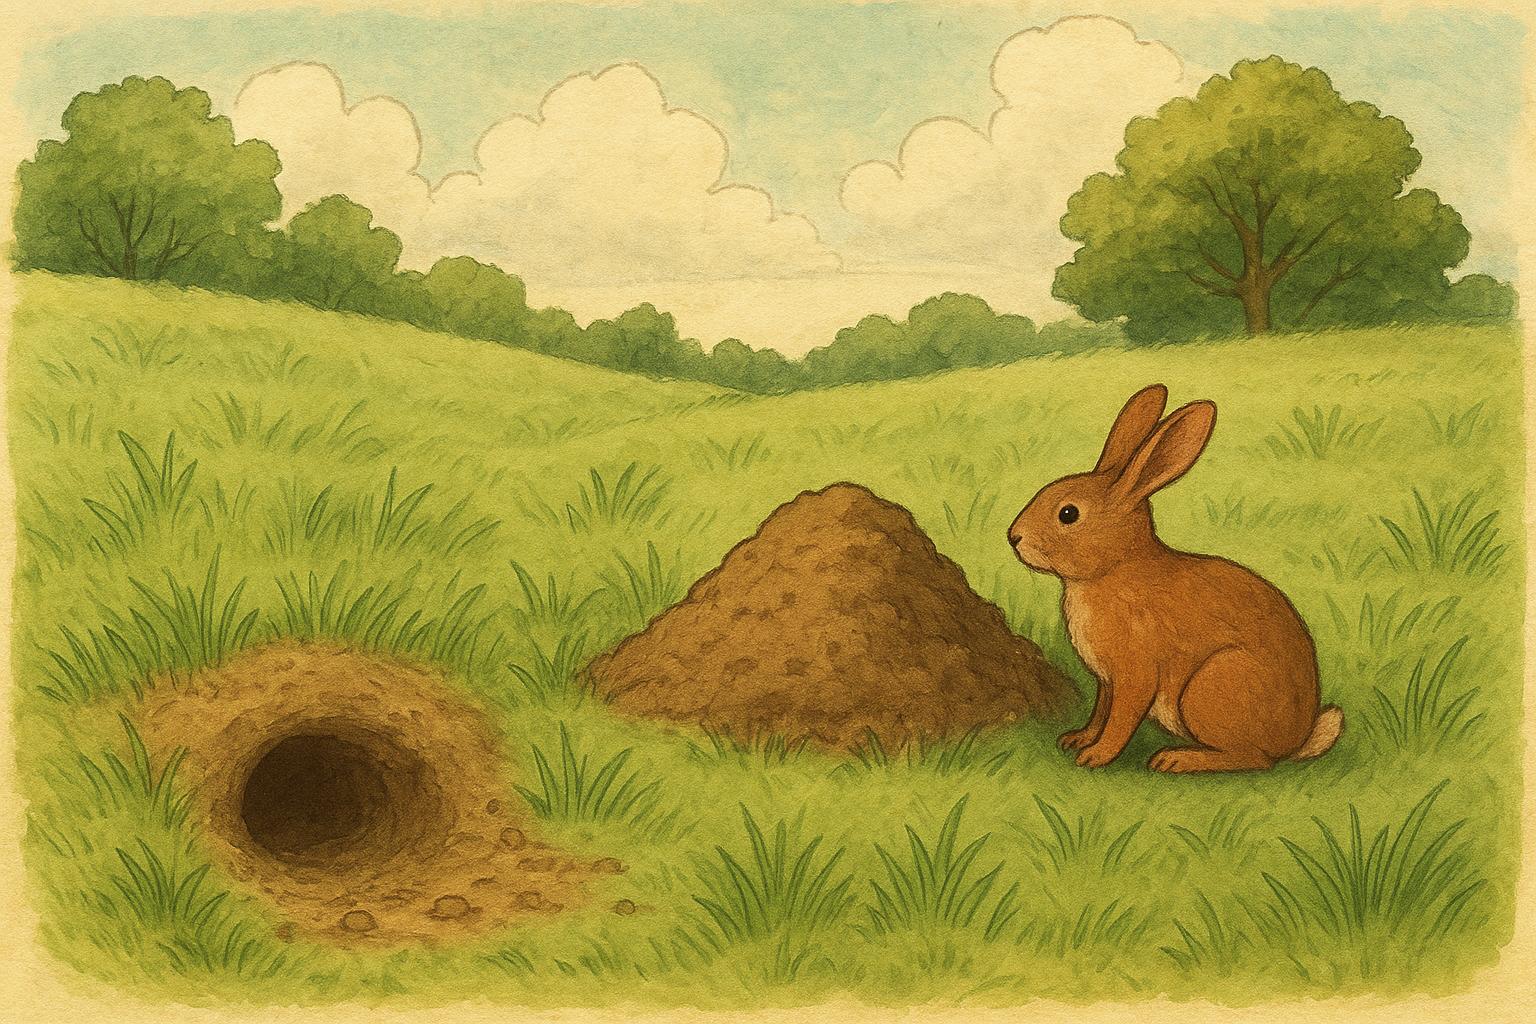
– Burrow systems with clear runways and visible entrance/exit holes: rabbits or ground squirrels.
Each of these is one more hole clue in your assessment toolbox. Take photos, mark locations, and note the size and contents of the spoil pile (if present). The soil texture—loose versus compact—also helps differentiate between an animal that excavates with claws versus one that pushes soil with its body.
### Timing, Distribution, And Environmental Context
Hole clues aren’t just about shape. Timing matters. Spring and fall often mean more activity as animals breed or forage before winter. Wet soil is easier to excavate, so more holes after heavy rain might simply be opportunistic digging. Distribution matters too: holes concentrated near a compost pile or shrub bed usually point to animals seeking food or cover; holes in the middle of an open lawn suggest foraging for invertebrates like grubs.
### Assessing Damage Severity With Hole Clues
Not all holes are equally damaging. A few small vole entrances might be largely cosmetic, while gopher tunnels can sever root systems and lift turf. Use these indicators to grade severity:
– Cosmetic: isolated, small depressions with minimal turf disturbance.
– Moderate: repeated holes across a zone, some turf heaving or yellowing.
– Severe: widespread burrowing undermining turf, visible root damage, or safety hazards from deep voids.
Documenting these hole clues lets you prioritize responses: a few earthworm holes don’t need a full-scale intervention, while continuous gopher activity warrants immediate action to prevent permanent turf loss.
## Remedy 1: Humane Exclusion And Habitat Modification
When you prefer non-lethal methods, use exclusion and habitat modification. These strategies are sustainable and reduce attractants. The following materials and steps are standard and should be followed precisely to be effective.
Materials Required
1. Hardware cloth or galvanized wire mesh (1/4–1/2 inch mesh for small rodents; 1 inch for larger pests), enough to cover affected beds or to underlay turf.
2. Shovel, spade, and trenching tool.
3. Garden gloves and eye protection.
4. Heavy-duty landscape fabric and landscape staples.
5. Native, low-attraction plant species or groundcover (optional).
6. Mulch and compost management tools (pitchfork, compost bin lid).
7. Motion-activated lights or sprinklers (optional).
Step-by-Step Installation And Application
1. Inspect Area: Map the holes and identify likely entrance zones. Remove surface debris and trim groundcover that provides shelter.
2. Trench Barrier: Dig a 12–18 inch deep trench around garden beds or lawn edges you wish to protect. For gophers, a deeper barrier (18–24 inches) is recommended.
3. Install Mesh: Cut hardware cloth to the length needed. Insert the mesh vertically into the trench with the mesh extending underground and the top folded outward slightly to impede digging. Backfill and compact soil.
4. Secure Edges: Staple landscape fabric over the top of beds where necessary to deter animals from entering through surface cover. Use landscape staples every 12 inches.
5. Modify Habitat: Remove brush piles, stack wood away from the lawn, and maintain a tidy compost bin with a secure lid. Replace high-attraction plants with less palatable species if consistent foraging is an issue.
6. Maintain: Check barriers seasonally for breaches. Recompact soil where tunneling has caused collapse to prevent re-entry points.
Legal And Safety Considerations
– Always ensure exclusion measures comply with local wildlife regulations.
– Use sturdy gloves and eye protection when cutting mesh to prevent injury.
This approach is most effective against burrowing rodents and avoids lethal control. However, it requires persistence and proper installation to create an effective physical deterrent.
## Remedy 2: Targeted Trapping And Control
When exclusion alone is insufficient and damage is severe, targeted trapping—implemented responsibly and in accordance with local laws—can be effective. This section presents recommended materials and a formal, stepwise protocol.
Materials Required
1. Species-appropriate traps (e.g., live-capture traps for squirrels, tunnel traps for gophers).
2. Bait appropriate to the species (peanut butter for rodents, apple slices for tree squirrels; consult local guidance).
3. Measuring tape, rodent-safe bait stations if using lethal methods allowed by law.
4. Personal protective equipment: gloves, eye protection, disinfectant.
5. Permits or professional assistance if required by local regulations.
Step-by-Step Trapping Protocol
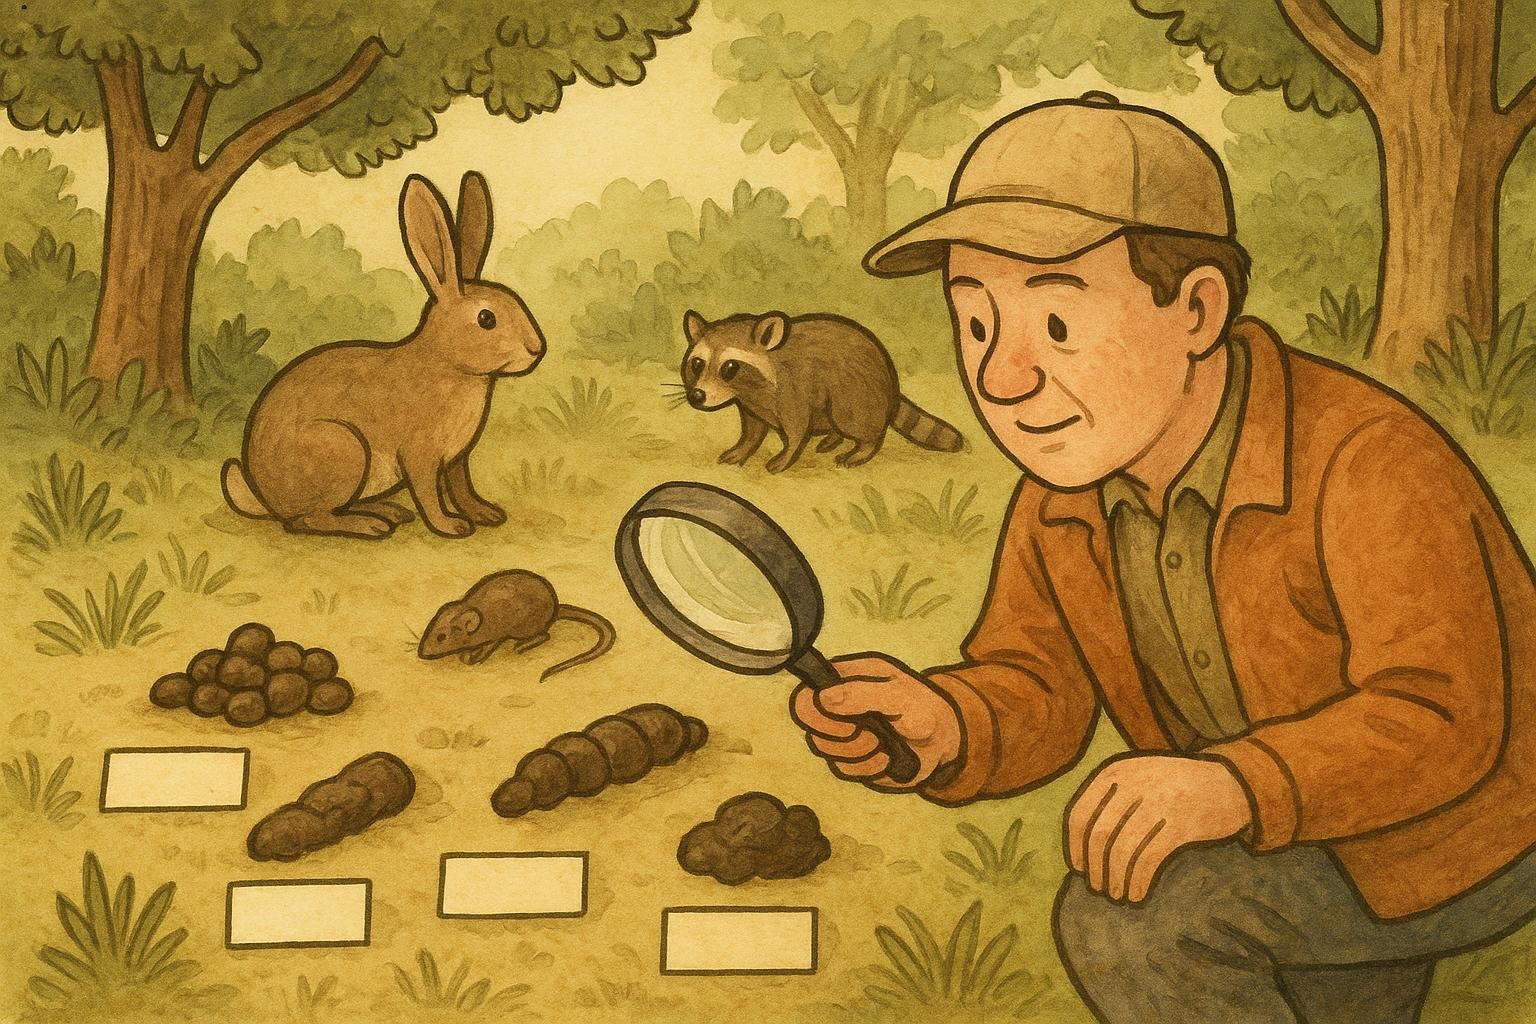
1. Confirm Species: Use hole clues (shape, spoil pile, runways) and, if necessary, trail cameras to confirm the species before selecting a trap.
2. Select Trap Type: Choose traps designed for the confirmed species and tailored to humane handling and capture. Avoid indiscriminate devices that could harm non-target wildlife.
3. Site Preparation: Clear debris around the hole and flatten loose spoil to encourage normal animal movement patterns. Position traps along runways or directly over entry holes where applicable.
4. Baiting: Apply a small amount of bait. For live traps, place bait at the far end to ensure full entry. Avoid over-baiting which can make traps suspicious to cautious animals.
5. Monitor Frequently: Check traps at least twice daily. Remove captured animals promptly. For live traps, relocate only if local laws permit and relocation is humane and ecologically responsible.
6. Follow Disposal Laws: If lethal methods are used where legal, follow humane dispatch protocols and local regulations for disposal.
7. Reassessment: After removal, continue to monitor hole clues for at least two weeks to confirm cessation of activity. Repair damaged turf and consider installing exclusion measures to prevent re-invasion.
Safety And Ethics
– Always consult local wildlife authorities for species-specific regulations and humane methods.
– Use trapping as part of an integrated pest management plan, not as a standalone long-term solution.
#### When To Call A Professional
If hole clues indicate a large-scale infestation, protected species involvement, persistent reinvasion, or safety risk (deep voids near play areas), contact licensed wildlife control or a certified arborist. Professionals can perform humane removals, install large-scale barriers, and advise on restoration that preserves soil health and native biodiversity.
### Preventive Maintenance Based On Hole Clues
Regular yard care reduces the attractions that create recurring hole problems. Aerate and overseed in appropriate seasons, maintain balanced irrigation to avoid overly soft soil, and inspect your property monthly for fresh hole clues after weather events. A healthy lawn with robust root systems resists damage better and recovers more quickly from excavations.
Take photos of new holes, keep a simple log of dates and weather, and watch how patterns change through the seasons—this observational data turns casual curiosity into effective management. And when you find yourself peering into a tiny hole with the seriousness of a CSI tech, remember: those hole clues are working with you, not against you.


Leave a Reply