## Wildlife Shelter From Brush Piles: Why It Works
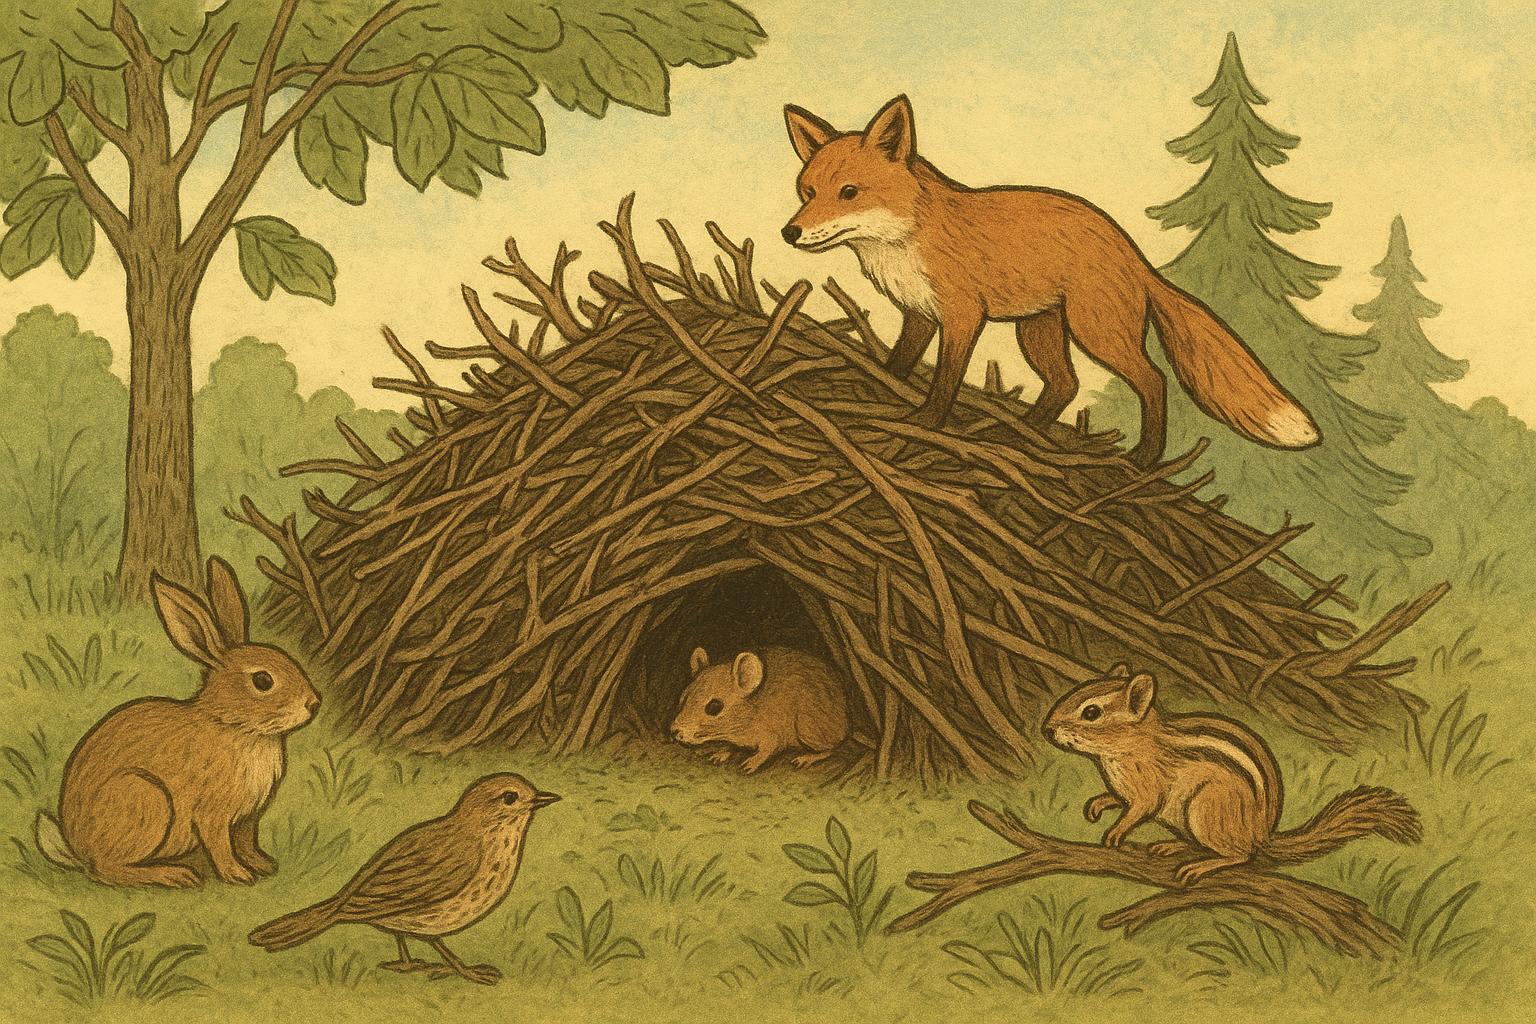
If you’ve ever walked past a jumble of twigs and shrubs and wondered whether it’s just yard clutter or some sort of suburban secret garden, good news: that mess is often doing double duty as a wildlife shelter. Brush piles provide cover, nesting sites, and hunting grounds for small mammals, birds, amphibians, reptiles, and beneficial insects. They mimic natural fallen-wood and understory habitats that many species rely on but are increasingly scarce in developed landscapes.
A well-placed, well-built brush pile offers microclimates—cool, damp pockets beneath the pile and warmer, sunlit edges—that broaden the variety of creatures that can use it. That diversity is useful: predators, pollinators, seed spreaders, and decomposers all contribute to a healthier backyard. And yes, your backyard can be their B&B.
### Wildlife Shelter Benefits For Backyard Ecosystems
Brush piles act like a tiny ecosystem engine. They:
– Offer immediate refuge from predators and bad weather.
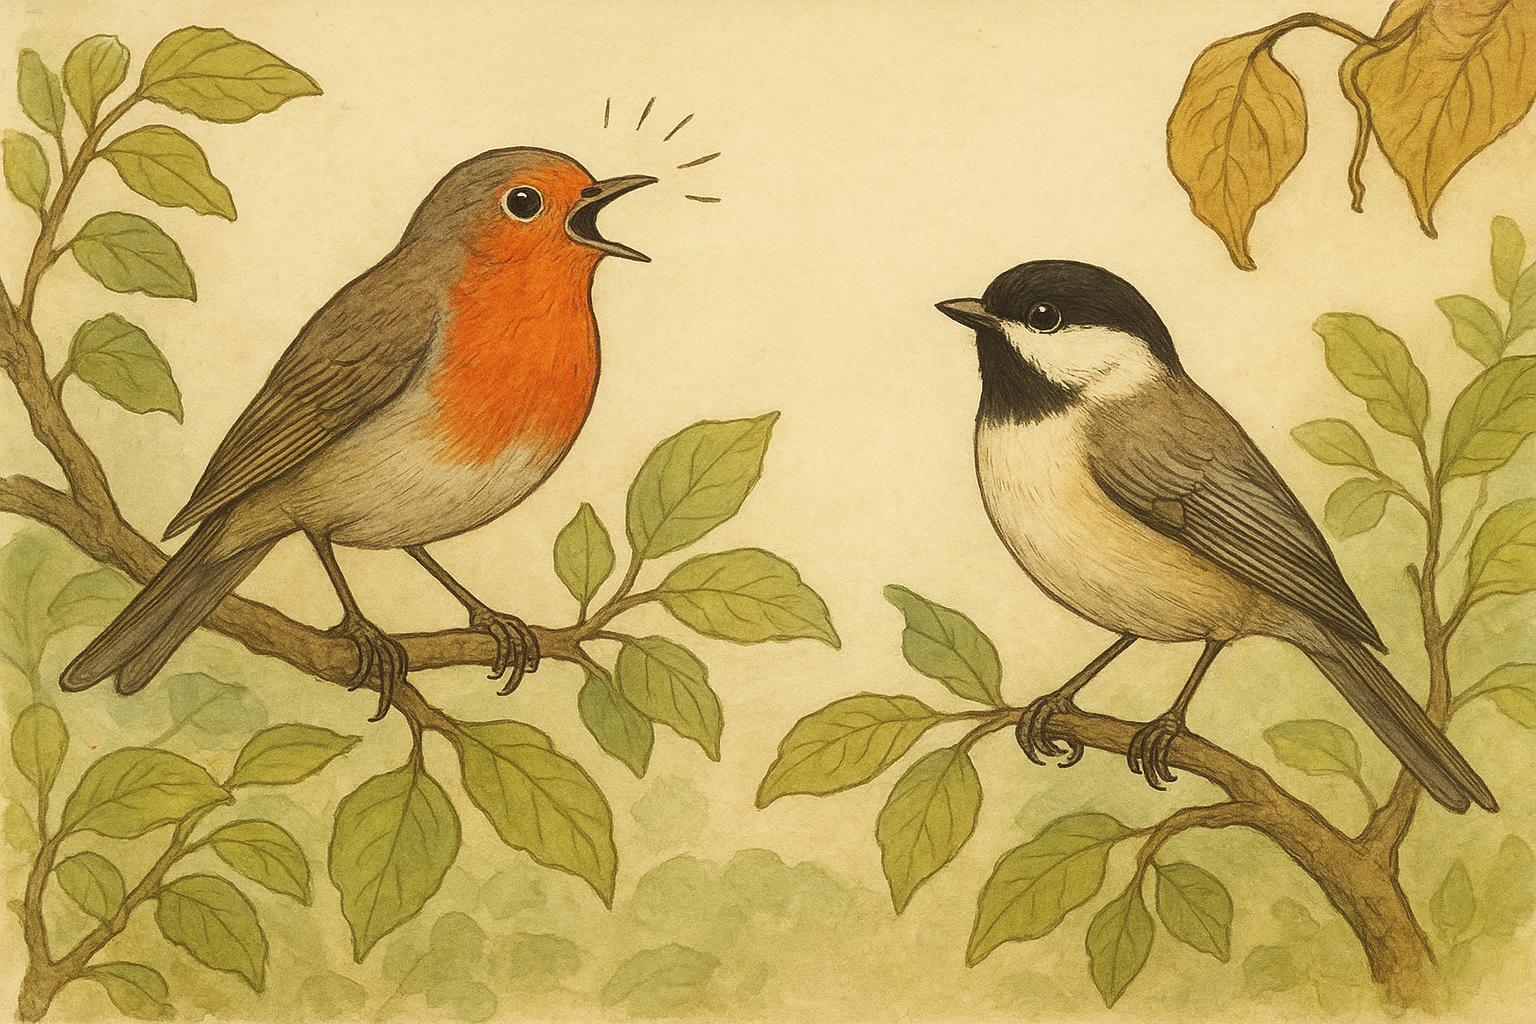
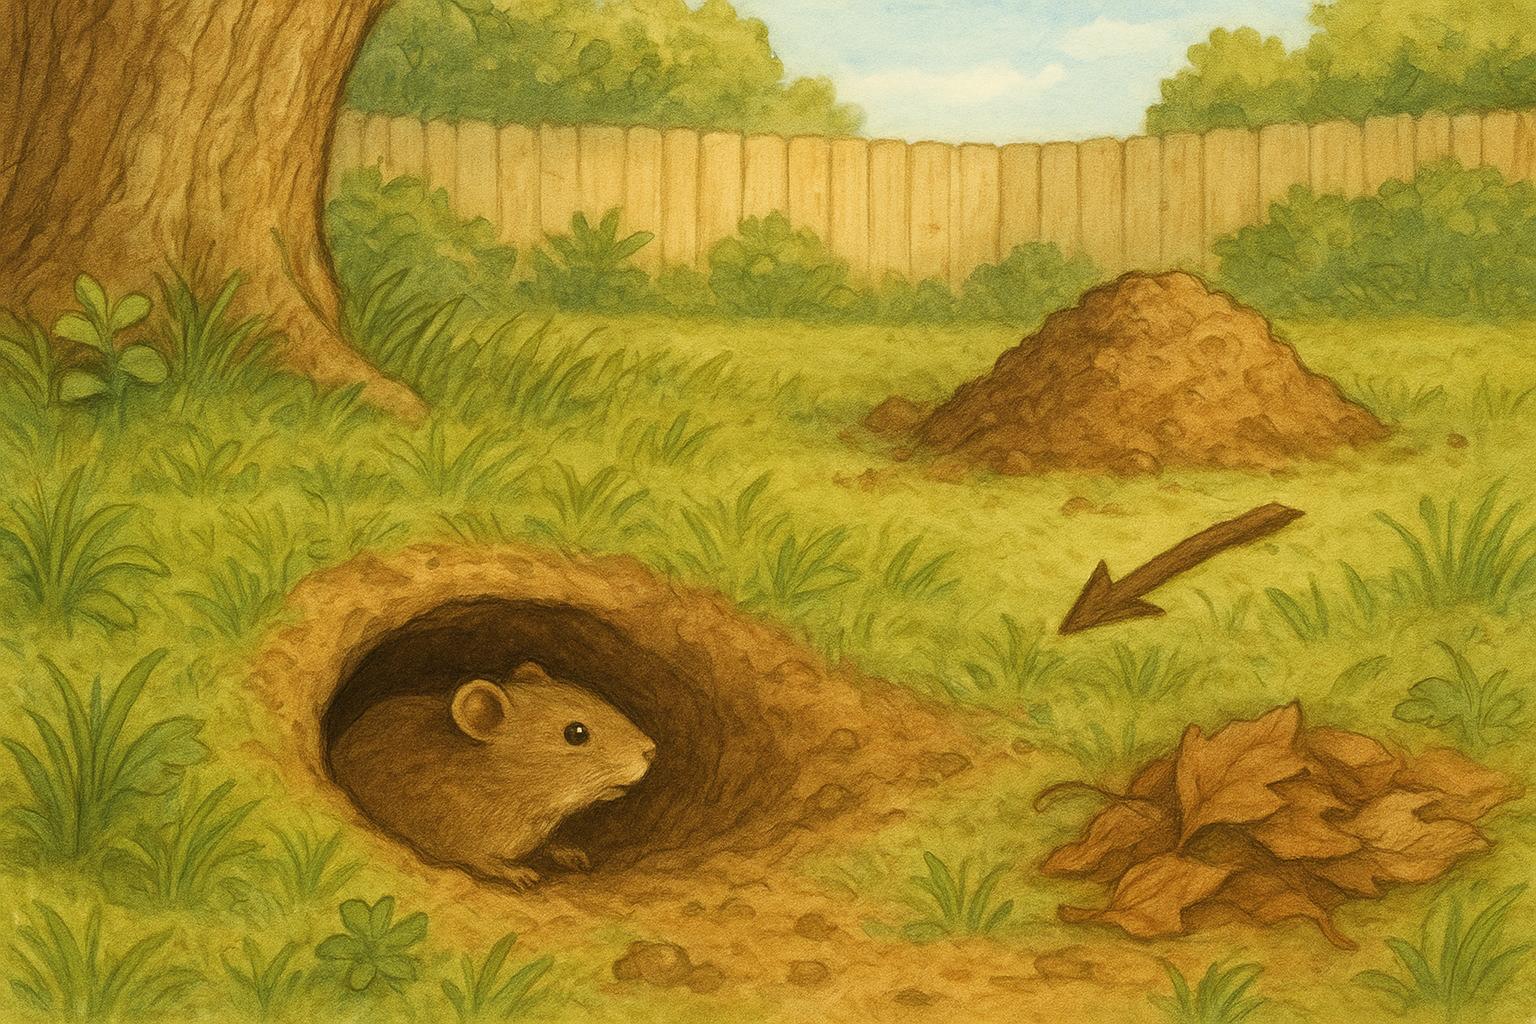
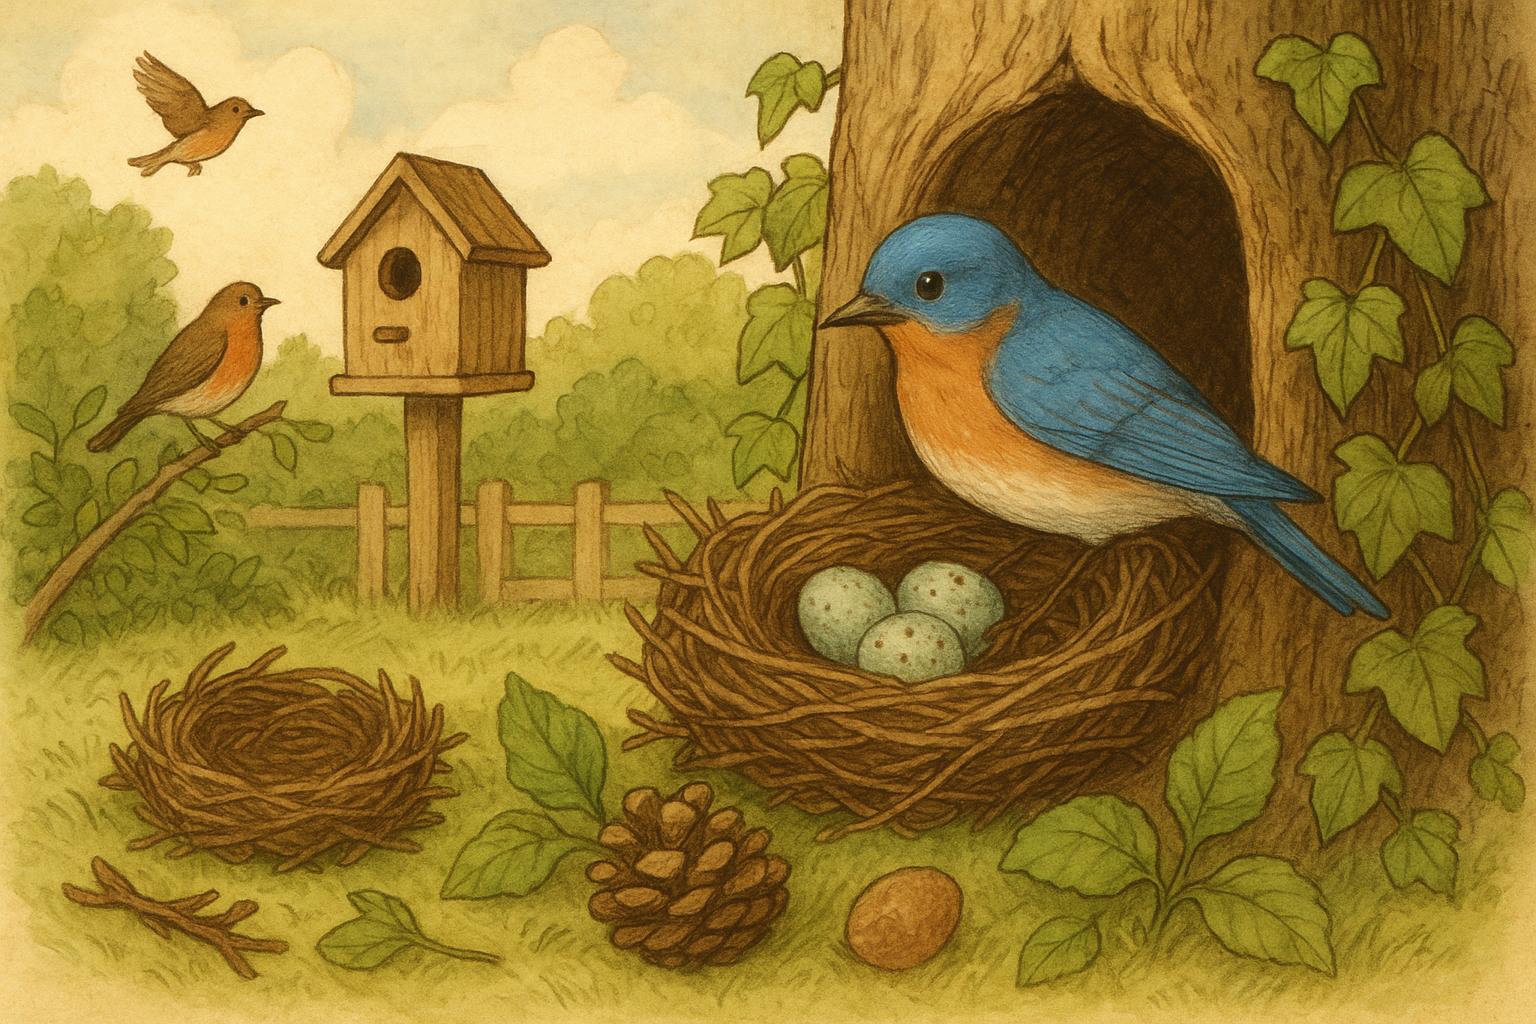
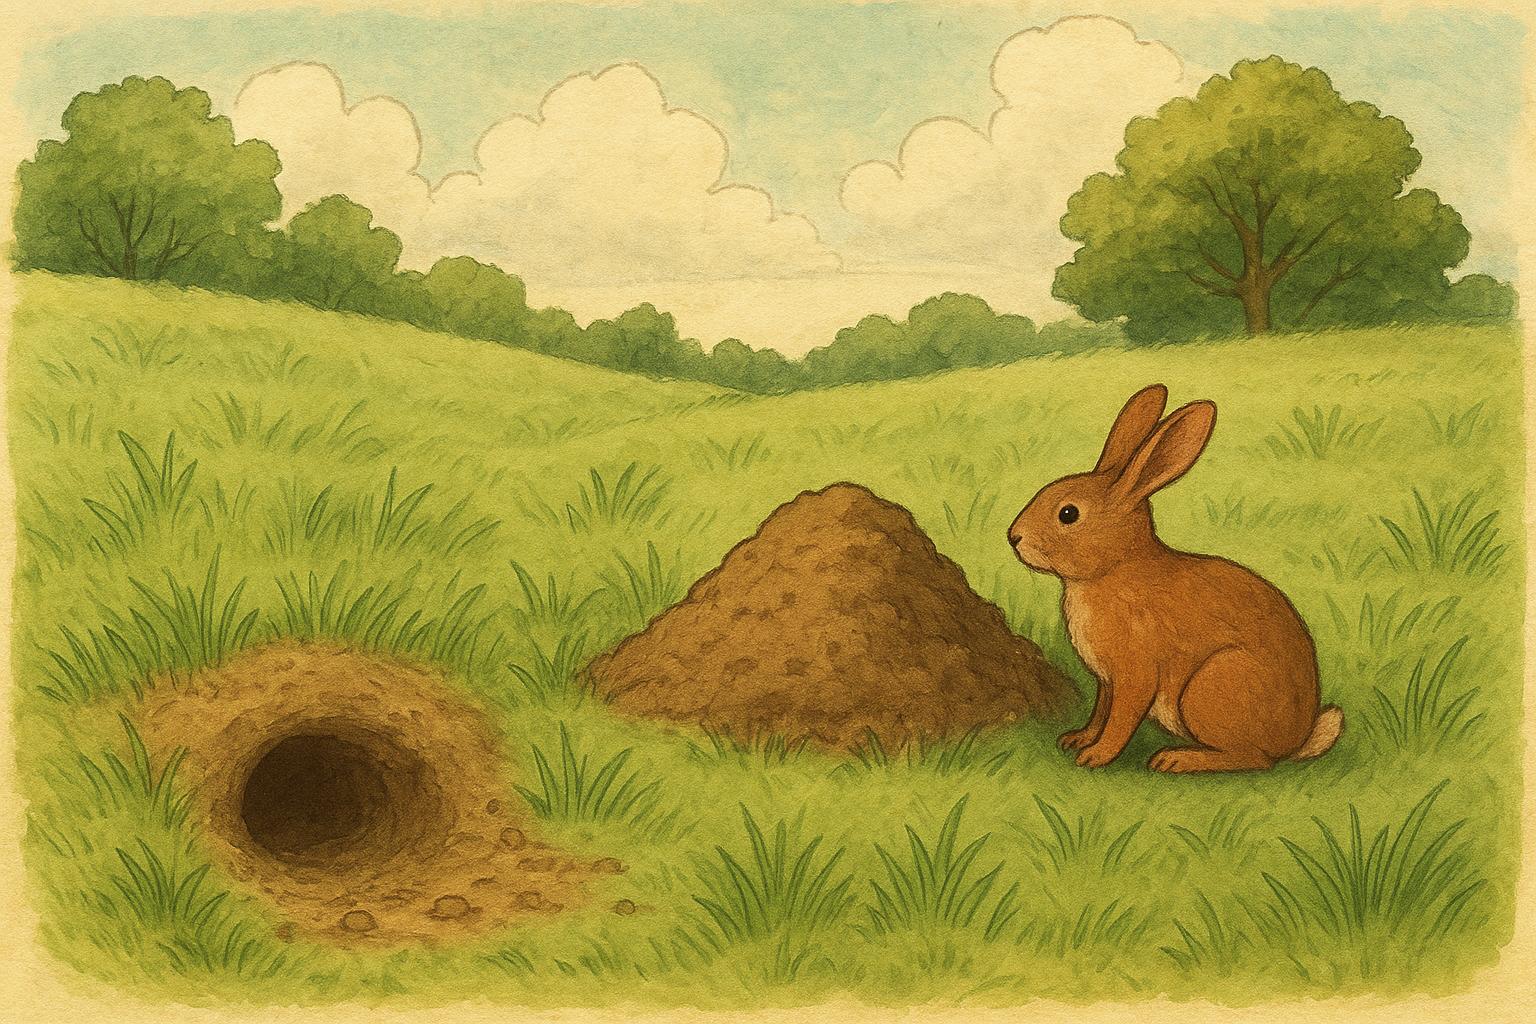
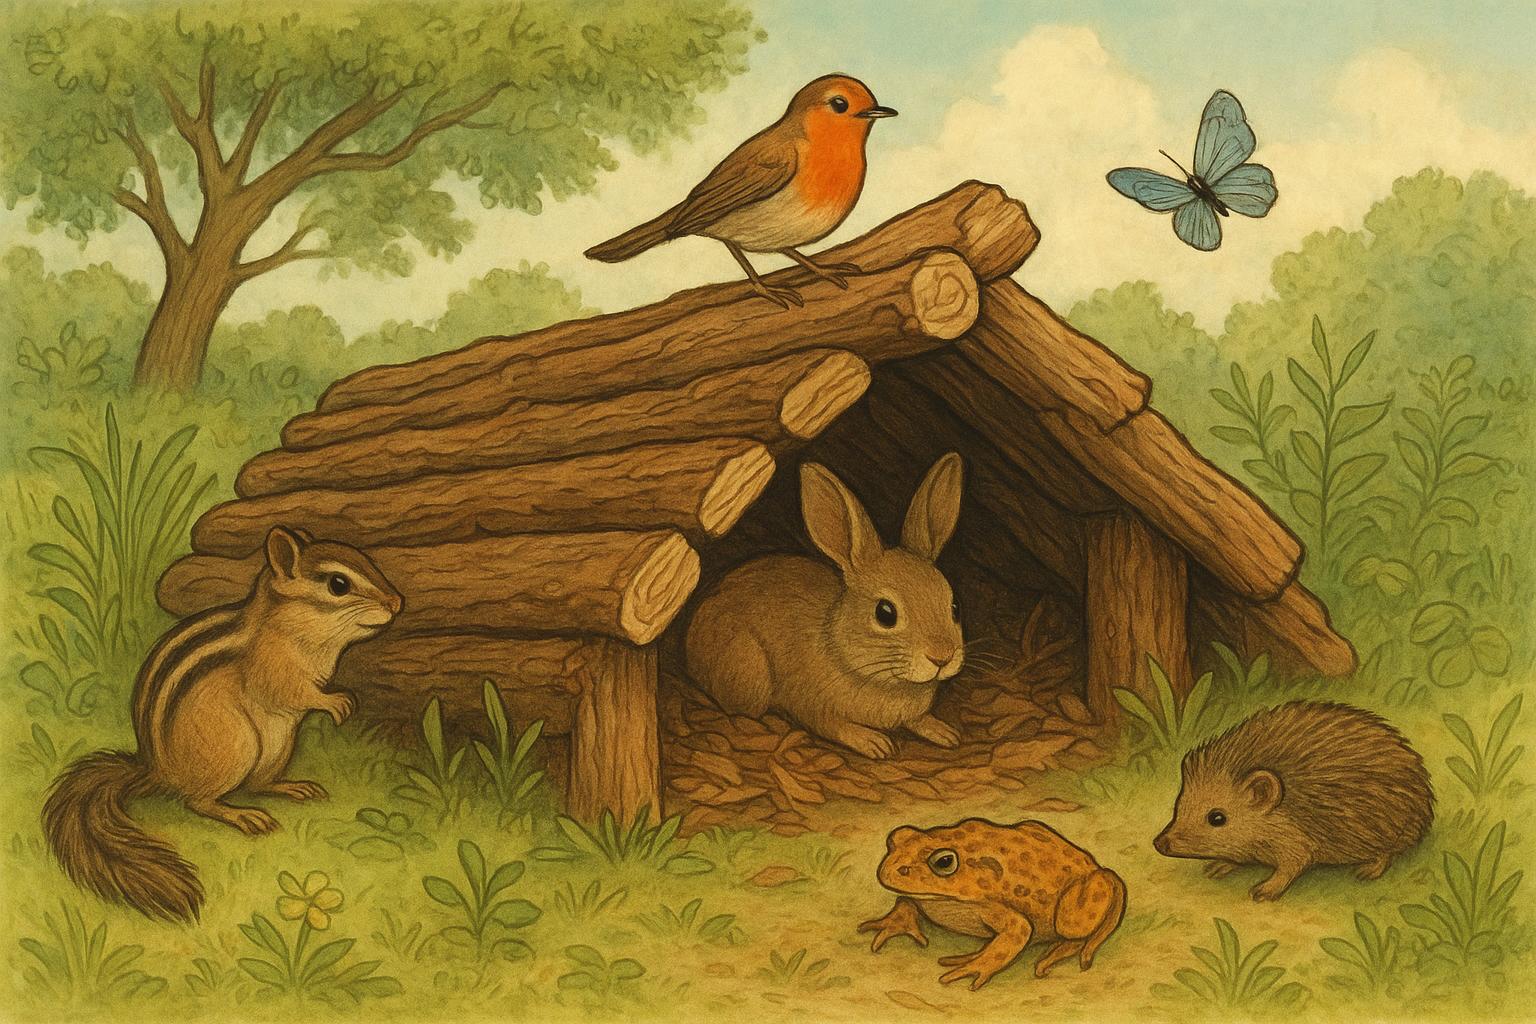
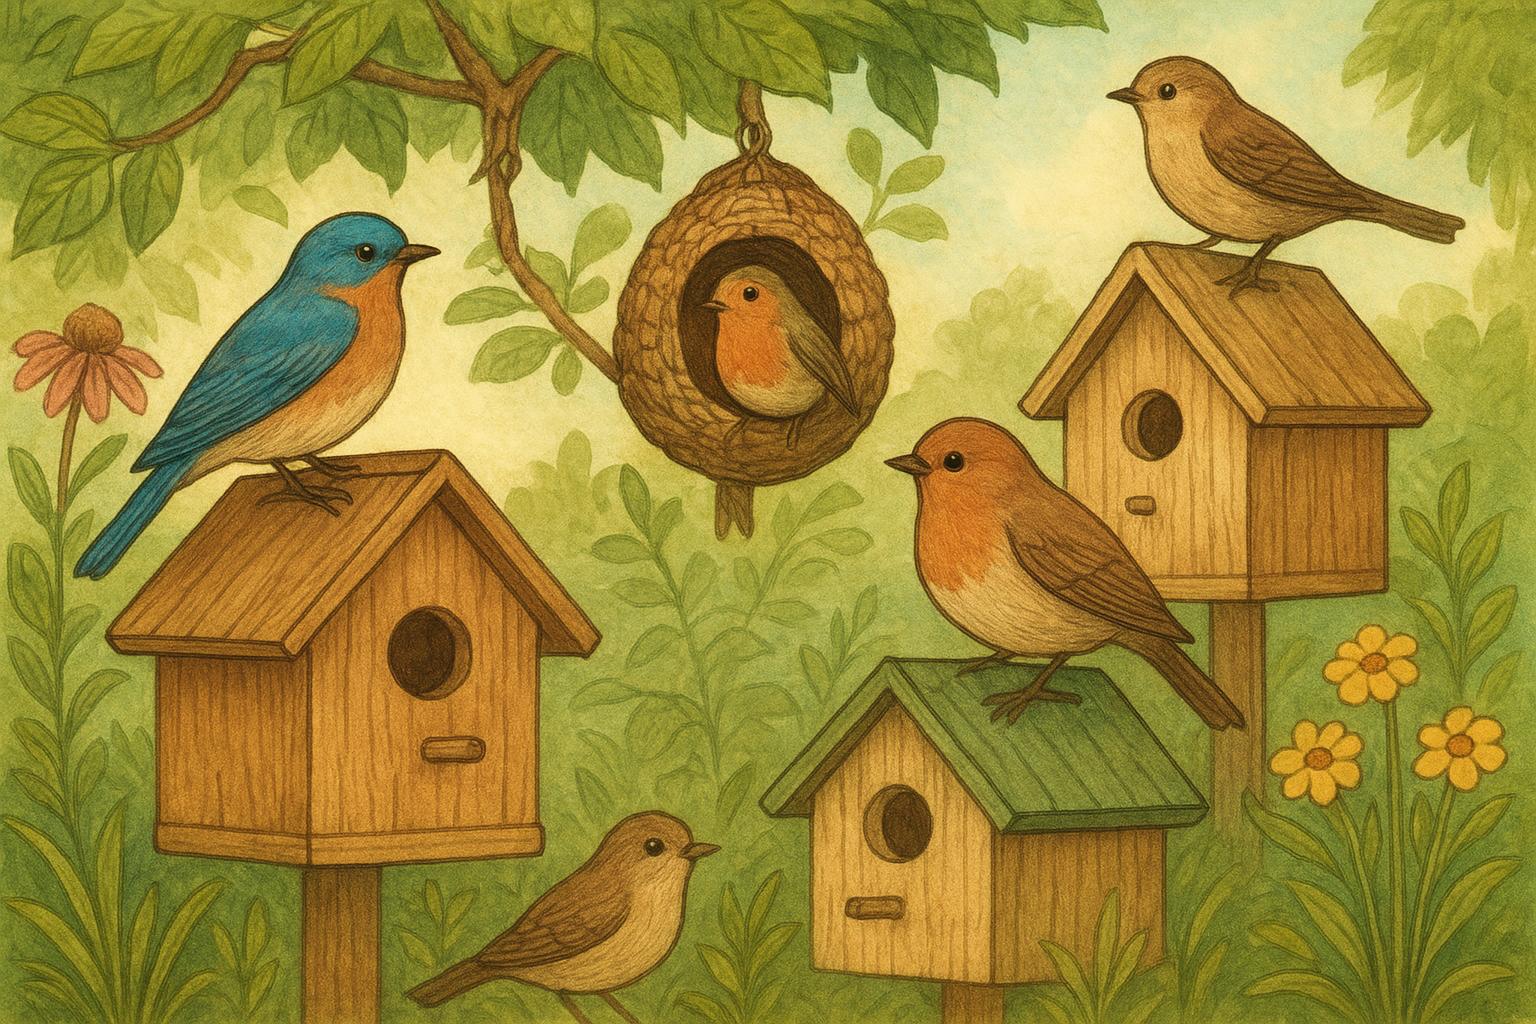
– Provide nesting sites for species such as towhees, wrens, and rabbits.
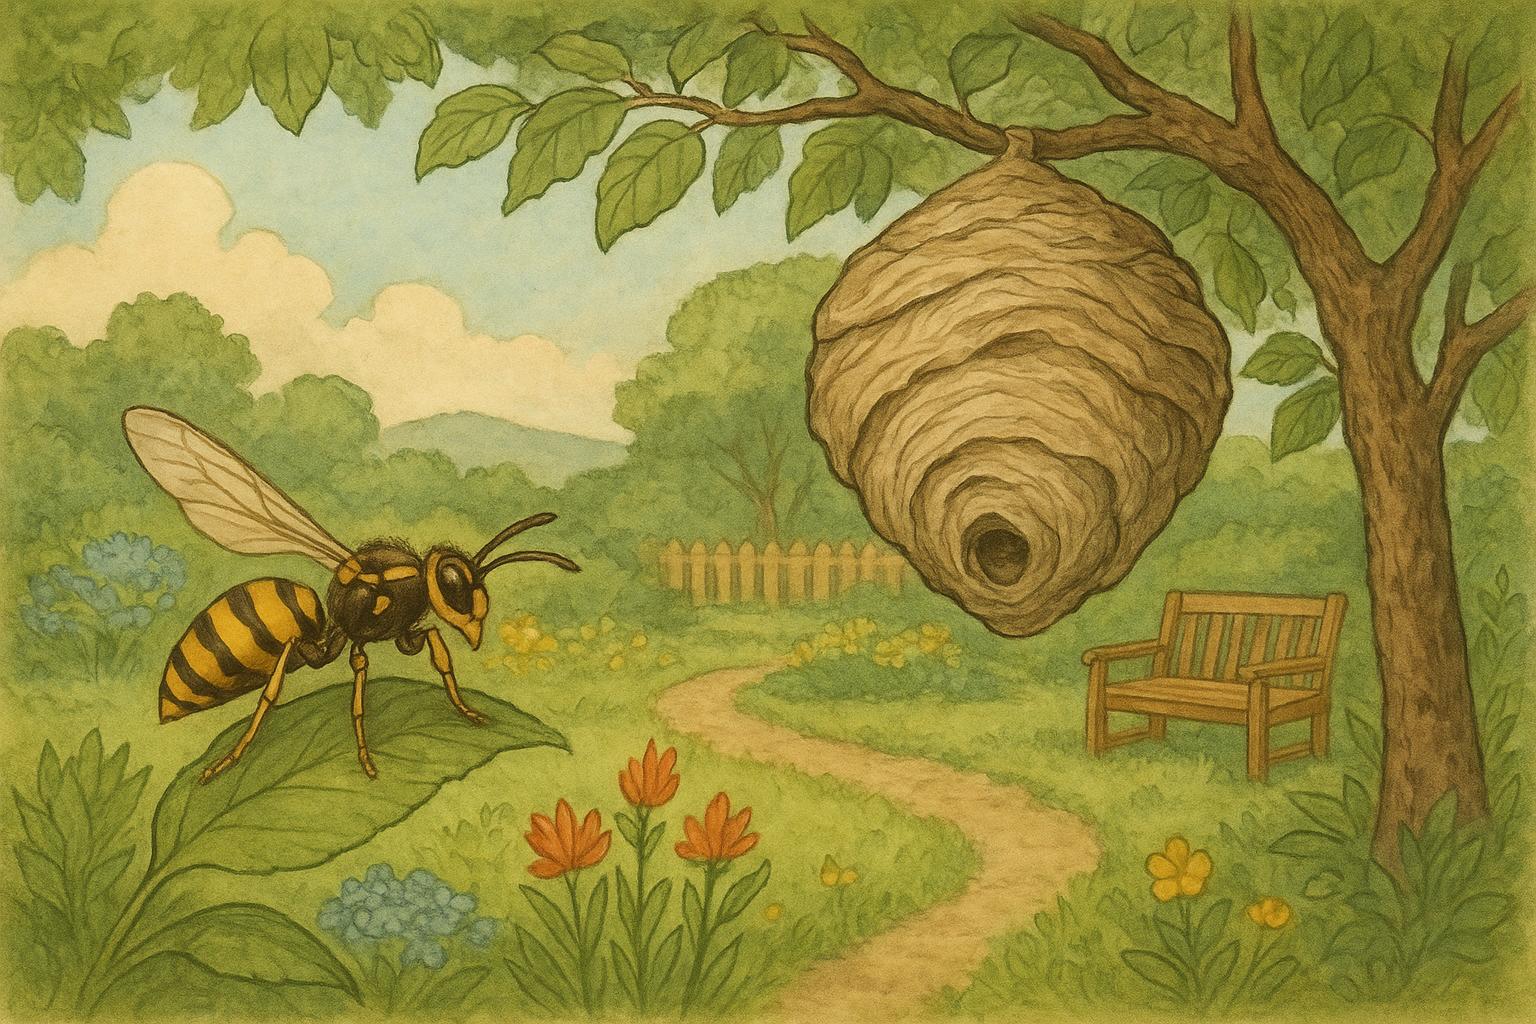
– Serve as overwintering sites for beneficial insects and amphibians.
– Help with decomposition and nutrient cycling through fungal and invertebrate activity.
Think of a brush pile as a multi-room habitat rental with a very low vacancy rate.
### Placement And Size Considerations
Proper placement is the difference between a thriving wildlife shelter and a nuisance. Aim for:
– Edges: near woodlots, hedgerows, or the border of a lawn and wild area.
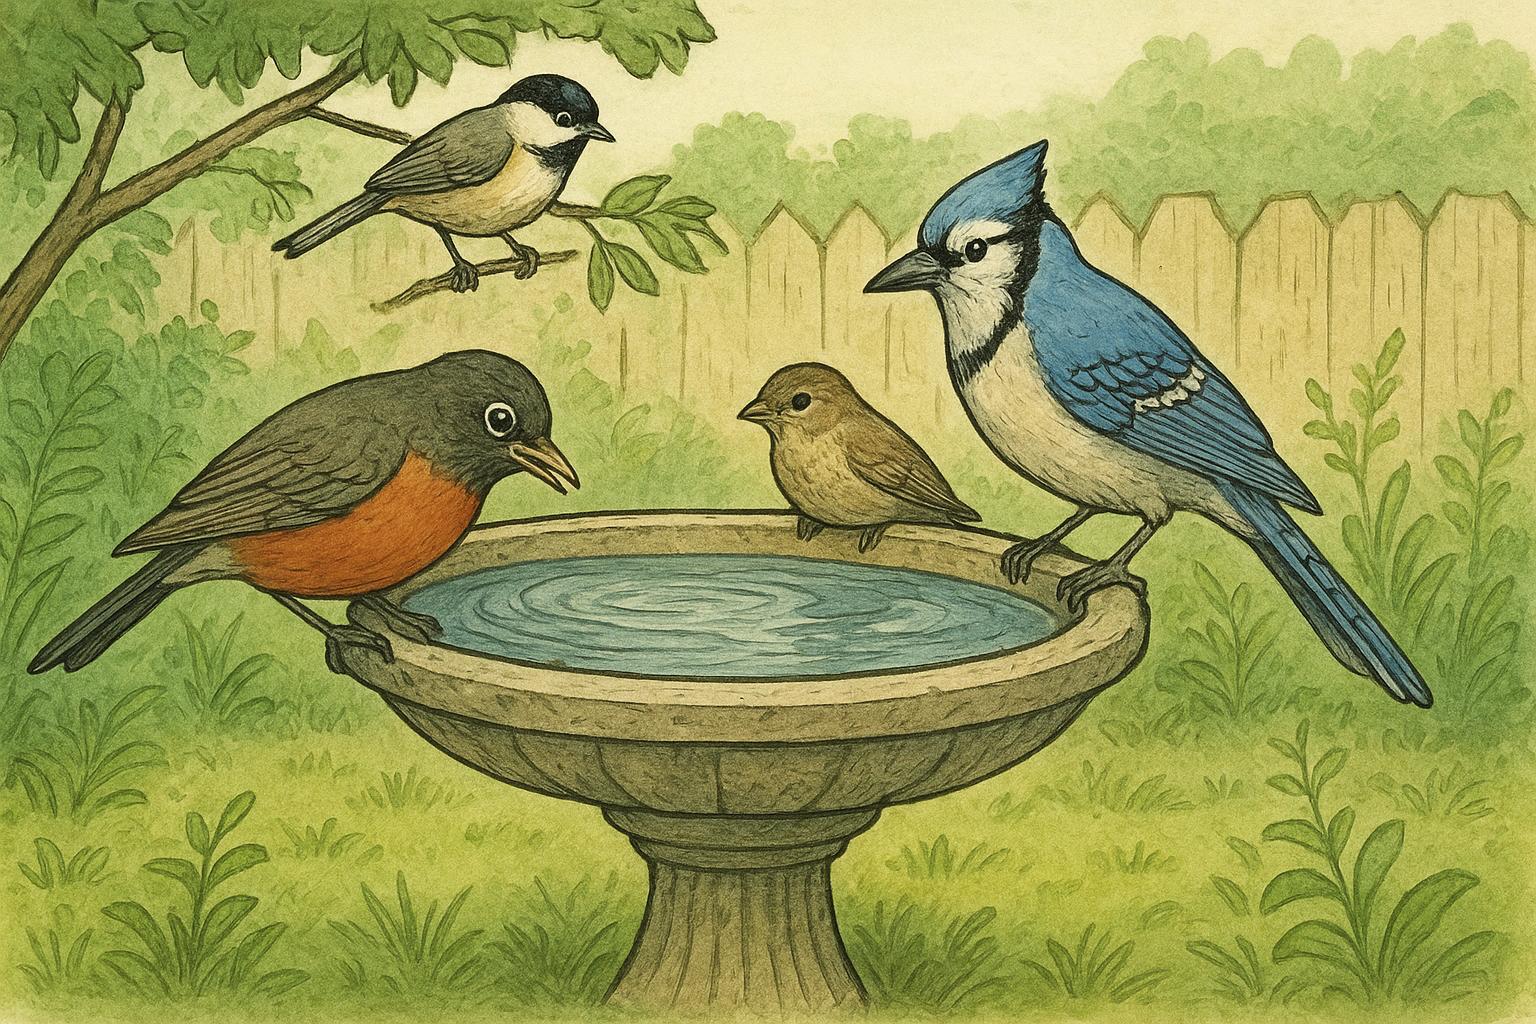
– Shelter adjacency: within 50–100 feet of water or native plantings if possible.
– Size: small piles (3–5 feet across) suit birds and small mammals; larger piles (6–10+ feet across, 3–5 feet tall) support more species and maintain internal humidity better.
#### Fire Safety And Legal Considerations
Brush piles are not bonfires. Keep piles away from structures, outbuildings, and wooden fences. Check local ordinances about yard debris and wildlife habitat — some municipalities have restrictions or require permits for larger accumulations. When in doubt, contact your local extension office.
## When To Keep, Move, Or Remove Brush Piles
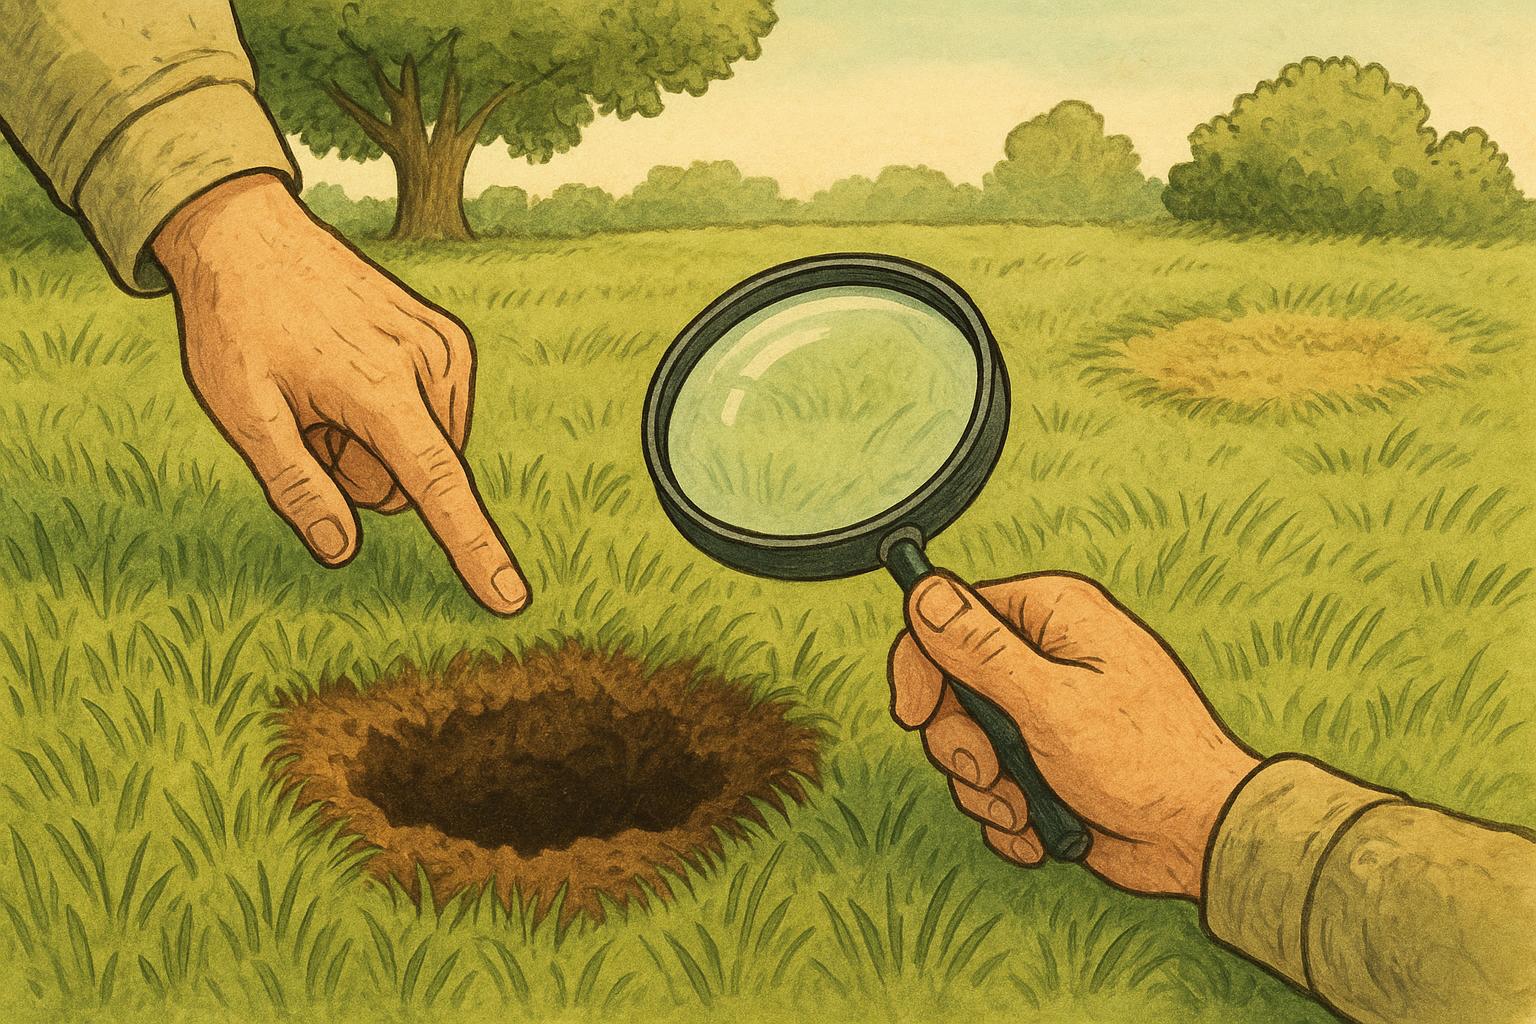
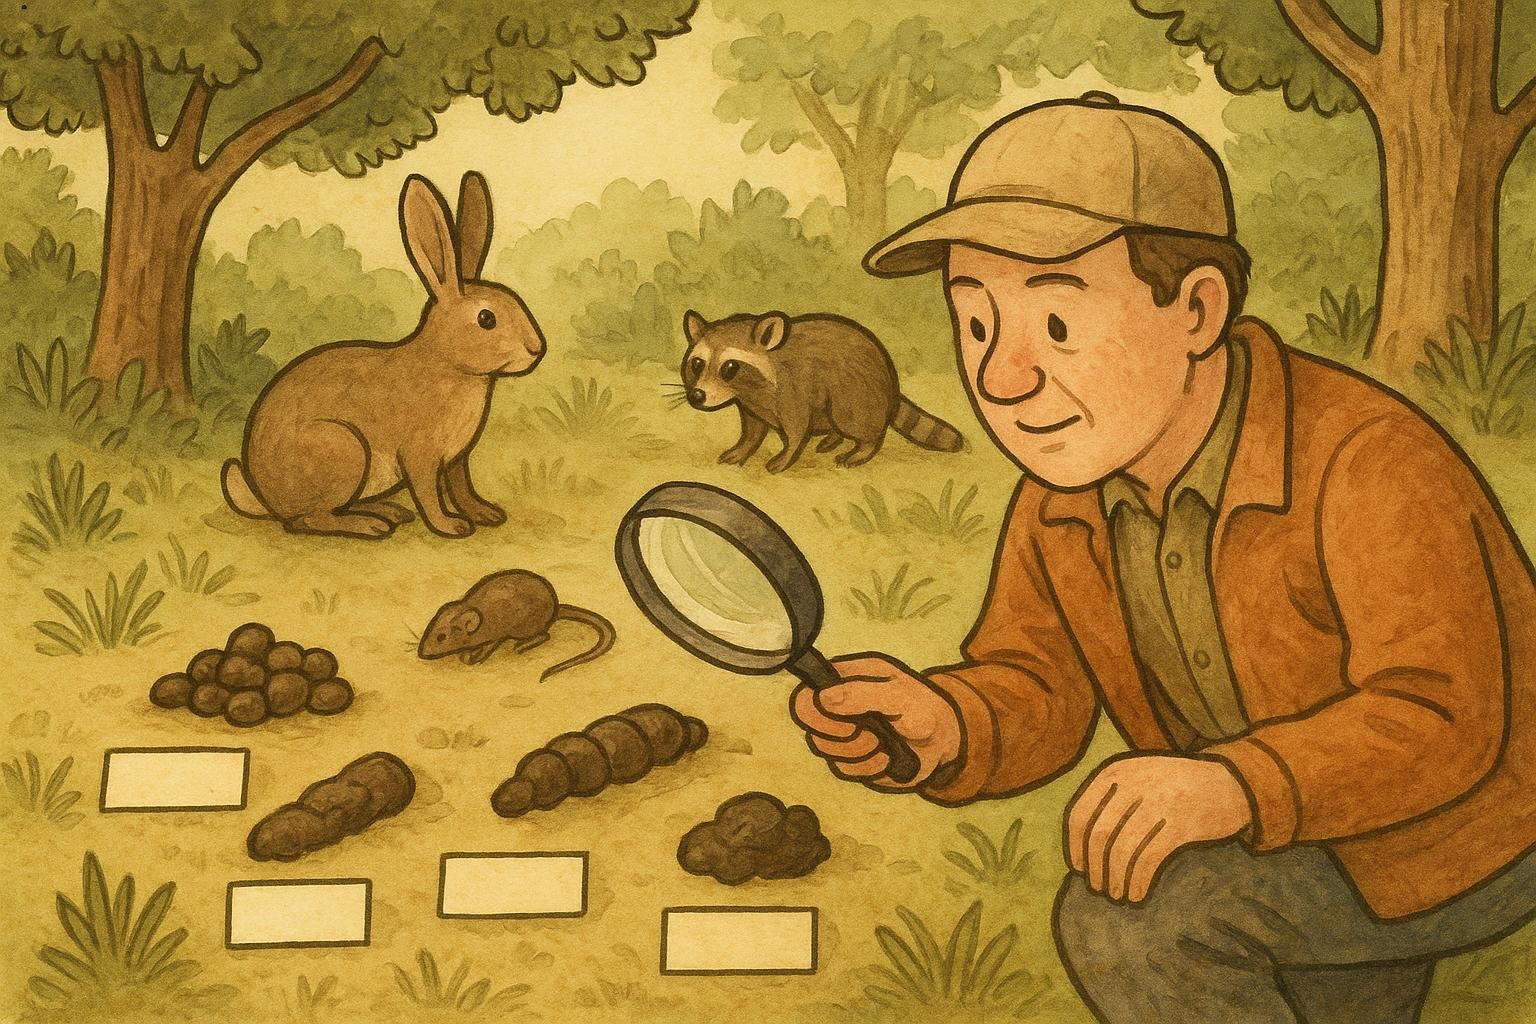
Not every brush pile should stay. Keep piles that are composed of dead woody material, are well-placed, and show signs of wildlife use (eggshell bits, feathers, routes in/out). Consider removal or relocation if the pile:
– Is directly against the house or a fence.
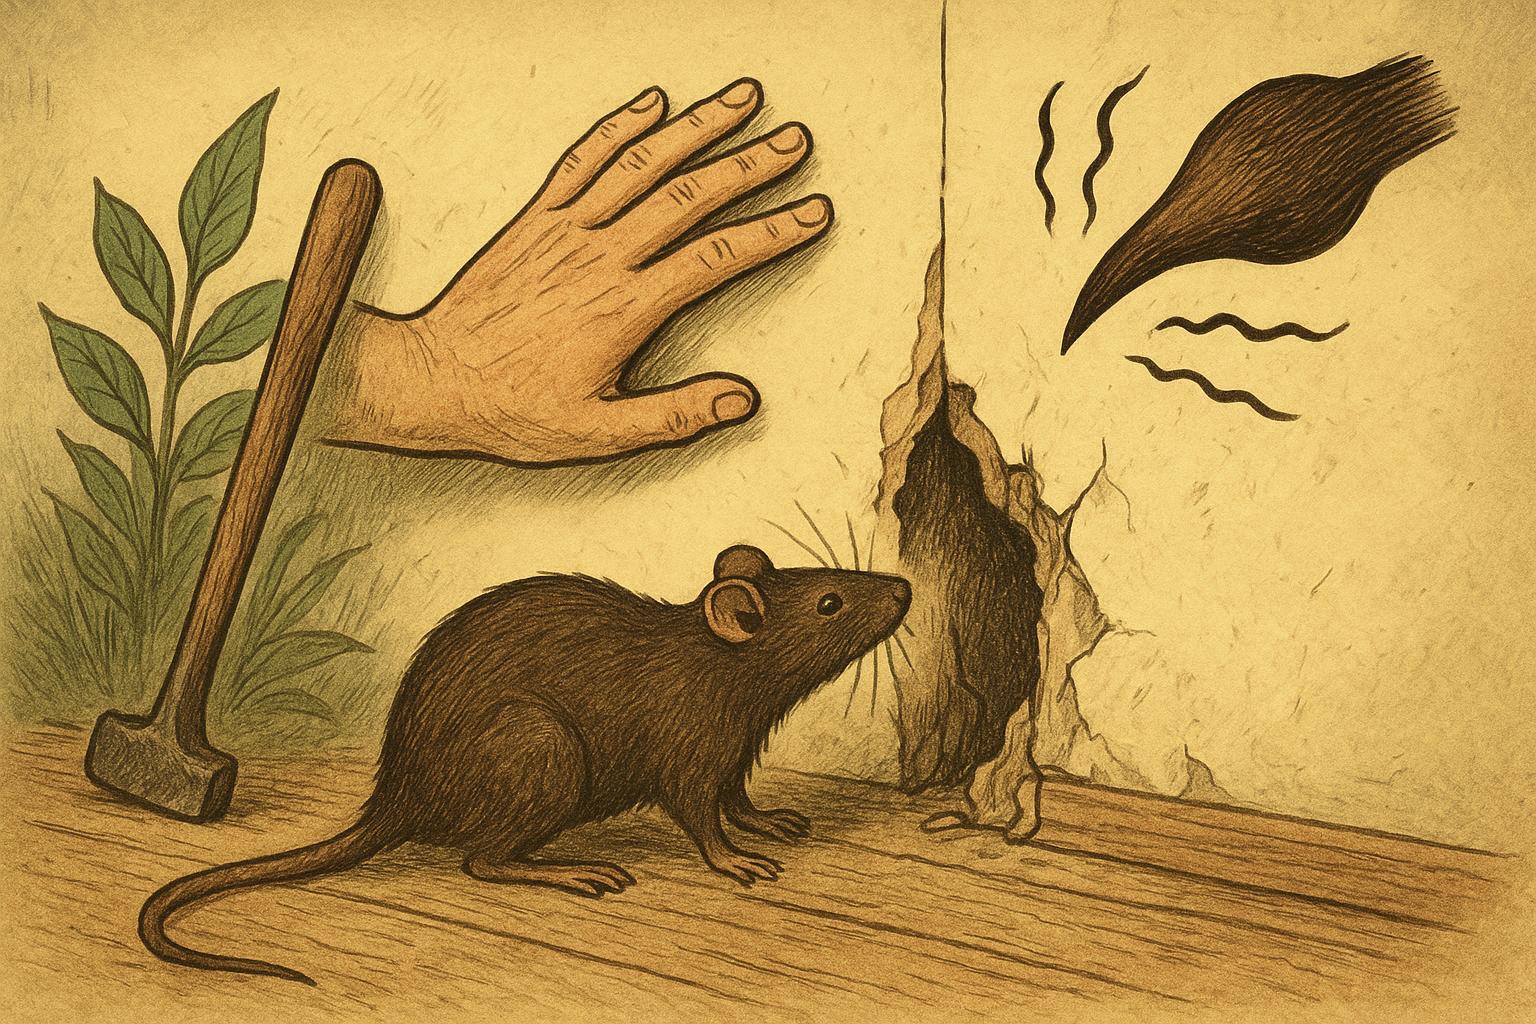
– Creates a rodent problem in the built environment (check for burrows into foundations).
– Is full of treated lumber, trash, or invasive plant material.
If a pile must be removed, do so outside of nesting season when possible (typically late fall through winter), and dismantle slowly to allow any resident animals to escape. You might be temporarily inconvenienced by a few surprised critters, but that’s part of being an ethical habitat host.
### How To Encourage Use Without Causing Problems
Keep piles tidy: avoid including pet bedding, food waste, or contaminated materials. Incorporate native shrubs and leave some leaf litter nearby. Create several smaller piles rather than one massive pile if your property line is small—this disperses attractants and reduces the chance of concentrated pest populations.
## Remedy 1: Build A Classic Brush Pile (Step-By-Step)
When you want to intentionally create a legal, wildlife-friendly brush pile, follow this formal, practical method. This remedy is designed for safety, longevity, and maximum wildlife utility.
Materials / Ingredients:
– Prunings and branches (1–4 inches diameter preferable)
– Larger logs or rootwads (optional for base)
– Native leaf litter or dead grasses
– Hand pruners, loppers, or a small saw
– Work gloves and eye protection
– Optional: burlap or wire mesh to protect against erosion (do not fully enclose)
Step-by-Step Creation:
1. Select Location: Choose a spot at least 15–20 feet from structures and clear of overhead hazards. Prefer a site with partial shade and proximity to shrubs or native plants.
2. Prepare Base: Lay a layer of larger logs or rootwads lengthwise to form an elevated base. This allows air circulation and prevents waterlogging. If drainage is poor, place the base on slight grade.
3. Add Bulk: Pile medium-sized branches in a crisscross fashion over the base. Aim for a dome shape approximately 3–6 feet tall and 4–8 feet across for a typical backyard pile. Create internal cavities by leaving pockets between branches.
4. Insulate With Finer Material: Add a layer of smaller twigs, leaf litter, and dead grasses on top and inside cavities to create softer nesting material and retain moisture.
5. Anchor As Needed: If weather is a concern, intersperse larger logs or use partially buried stones to prevent pile collapse in wind. Do not fully wrap the pile; animals must have access.
6. Monitor and Maintain: Check seasonal use. Every 2–5 years, refresh the pile by adding new prunings and replacing decomposed material. Avoid disturbing during nesting season.
Application Notes (How It Functions):
– The layered structure provides varying microhabitats: dry upper layers for nesting, humid interior for amphibians and invertebrates, and sheltered sunlit edges for basking reptiles.
– Avoid treated lumber or invasive species in the pile as these can leach chemicals or spread problematic plants.
This method produces a dependable wildlife shelter that balances accessibility for animals with safety and homeowner peace of mind.
## Remedy 2: Layered Habitat Brush Pile With Logs And Native Plantings (Step-By-Step)
For greater biodiversity and longer-term structure, use a layered approach that integrates logs, brush, and native plantings. This remedy is recommended when you want a more permanent, garden-integrated wildlife shelter.
Materials / Ingredients:
– Logs (6–12 inches in diameter) and larger deadwood
– Branches and twigs of varying diameters
– Native shrubs or small bushes (e.g., serviceberry, dogwood, hazel depending on your region)
– Native grasses or flowering perennials for edge planting
– Leaf litter, shredded bark, or compost
– Shovel, hand tools, gloves, and optional landscape fabric (for initial soil stabilization)
Step-By-Step Creation:
1. Site Planning: Choose a downslope edge or transition zone between lawn and a natural area. Map out a footprint roughly 8–12 feet across for a significant habitat feature.
2. Install Structural Logs: Place larger logs in a semi-submerged or stacked arrangement to create cavities and long-lasting structure. Position them to allow drainage and air movement.
3. Layer Brush: Build up brush around and over logs in alternating layers—logs, branches, twigs—forming a tapered mound. Ensure openings and caverns remain accessible to animals.
4. Introduce Native Plants: Plant native shrubs at strategic points around the pile’s perimeter and intersperse small forbs and grasses at the sunlit edges. These plants provide food (berries, seeds) and additional shelter.
5. Mulch And Insulate: Add leaf litter and shredded bark to inside cavities and around plantings to retain moisture and promote soil health.
6. Long-Term Management: Leave some deadwood intact for several years. Replenish with fresh prunings annually or biennially. Monitor plant health and remove invasive species promptly.
Application Notes:
– This layered design increases food availability and structural complexity, attracting a wider range of species, including nesting birds and small mammals.
– Native plantings enhance the pile’s integration into your property, providing year-round resources and stabilizing the soil around the habitat.
– This is a higher-commitment option but yields superior ecological returns when properly managed.
### Dealing With Specific Concerns
If ticks or rodents are a concern, select sites away from human traffic areas and create smaller, dispersed piles rather than conspicuous singular mounds. For fire risk reduction, maintain a defensible space around structures and limit pile size near buildings. If neighbors object, try siting piles at property corners or establishing educational signage about the environmental benefits of a wildlife shelter.
#### Seasonal Management Tips
– Late Fall/Winter: Best time to create or rearrange piles; wildlife use is lower and animals can find refuge as materials settle.
– Spring: Avoid disturbing during active nesting season. Observe at a distance.
– Summer: Check for overheating in hot climates; provide shade or increase pile ventilation.
### Small Touches That Make A Big Difference
Scatter small rocks or a shallow dish for amphibians to access moisture. Install a brush pile near a pollinator garden to link nesting and foraging resources. And if you enjoy a little theater, leave a log strategically so you can spot hop-and-bop bird visitors from your kitchen window—binoculars optional, coffee highly recommended.
Remember: a thoughtfully built brush pile is not untidiness; it’s curated habitat. With modest effort and sensible placement, your yard can become a conscientious host to local wildlife, offering a simple, cost-effective wildlife shelter that benefits the entire neighborhood.


Leave a Reply