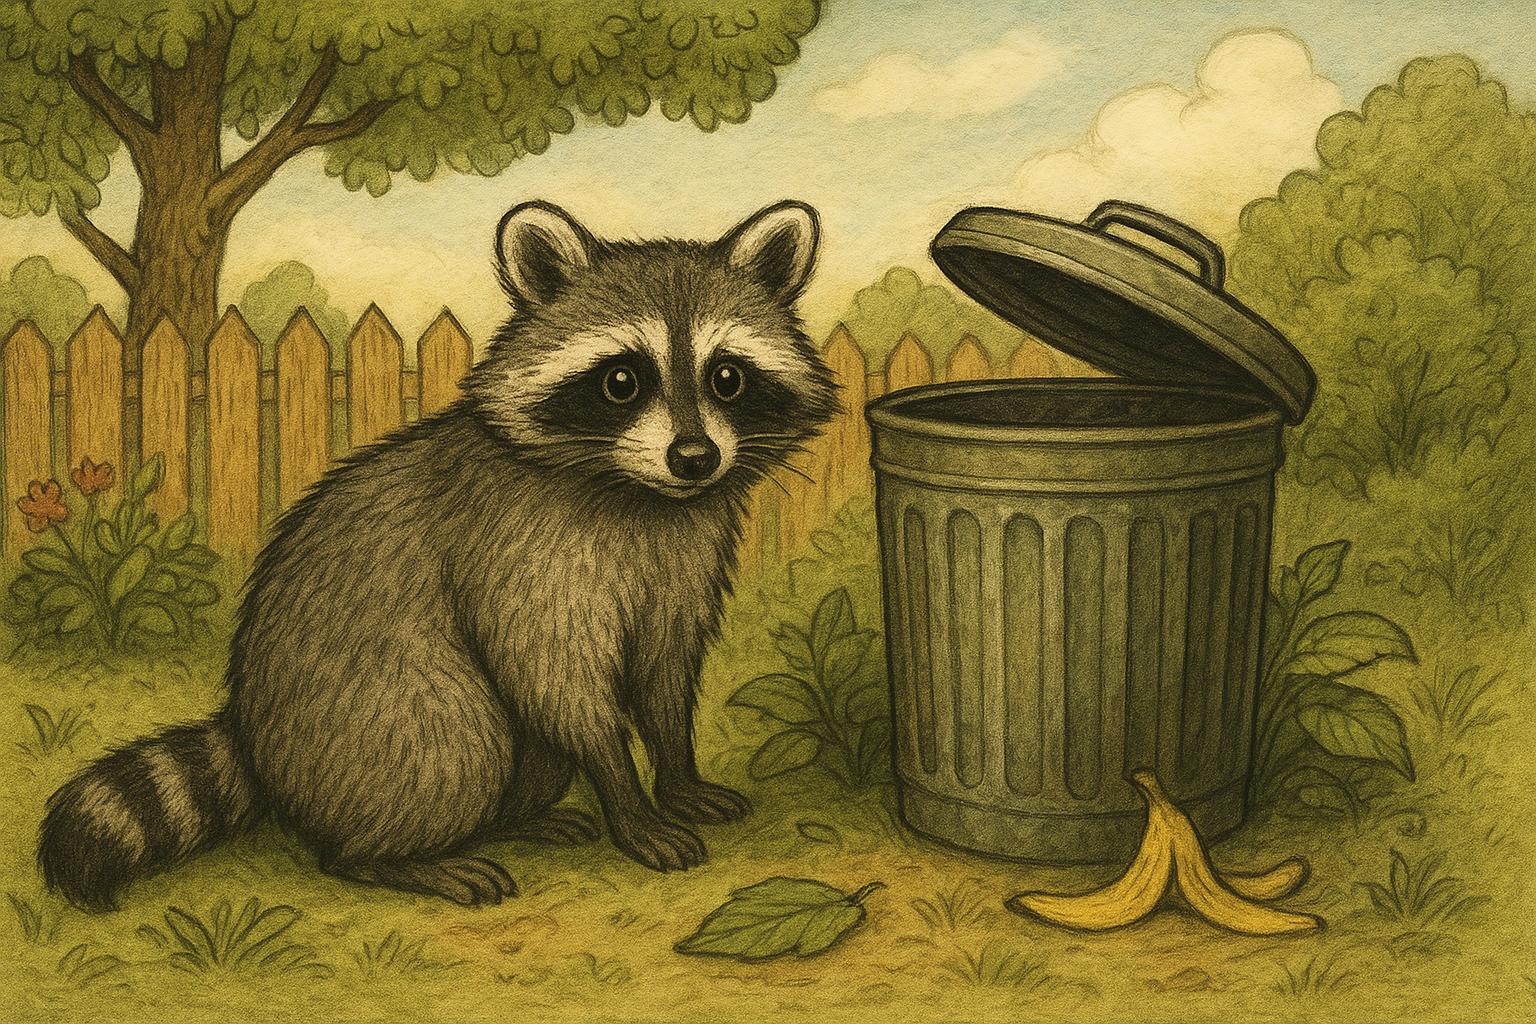
If you’ve ever wanted to turn your garden into a tiny nature reserve without needing a PhD in ecology (or permission from the local raccoon union), you’re in the right place. This guide walks beginners through simple, practical, and slightly delightful steps to begin inviting birds, bees, butterflies, and more into your backyard.
## Steps To Create Wildlife Yard For Beginners In Your Garden
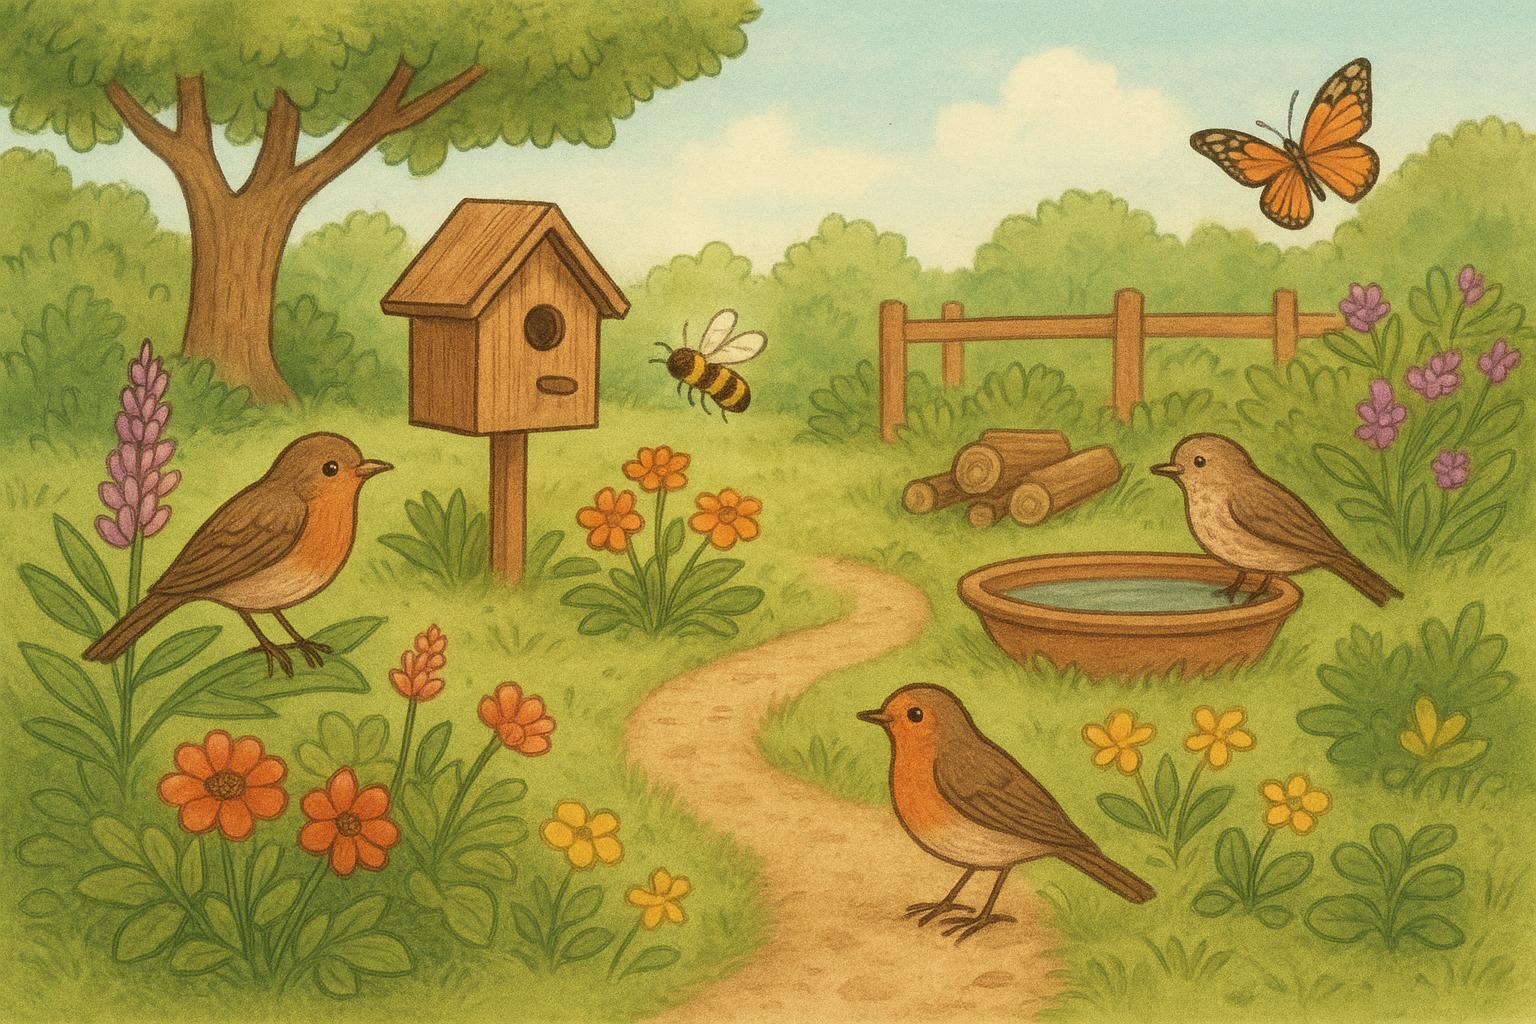
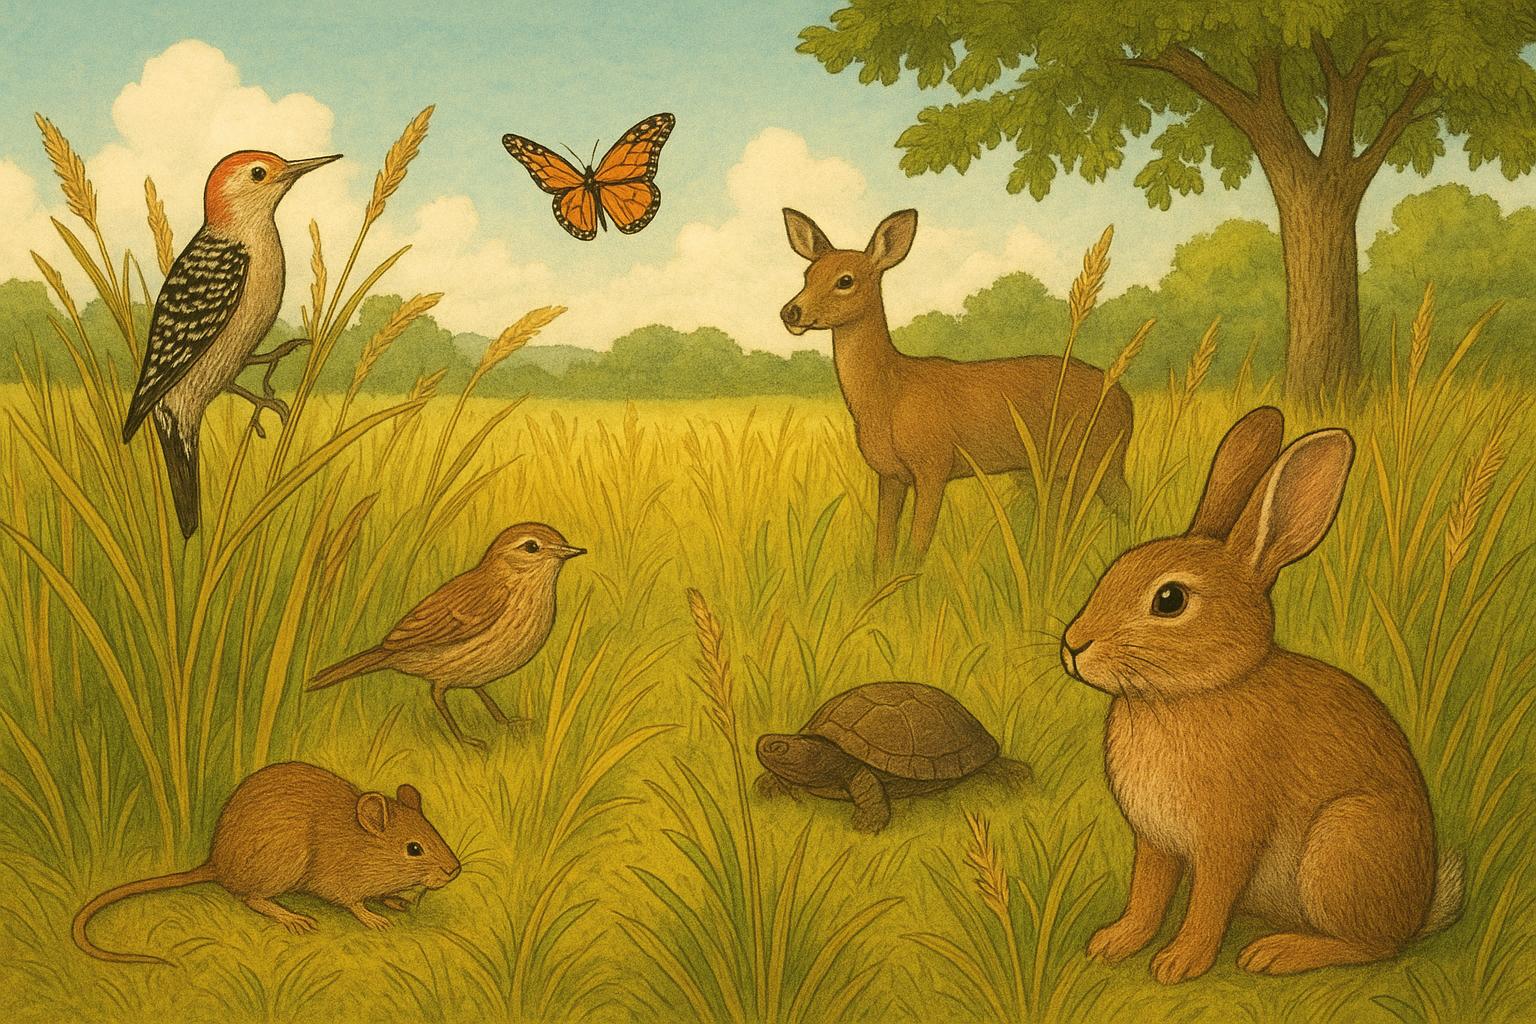
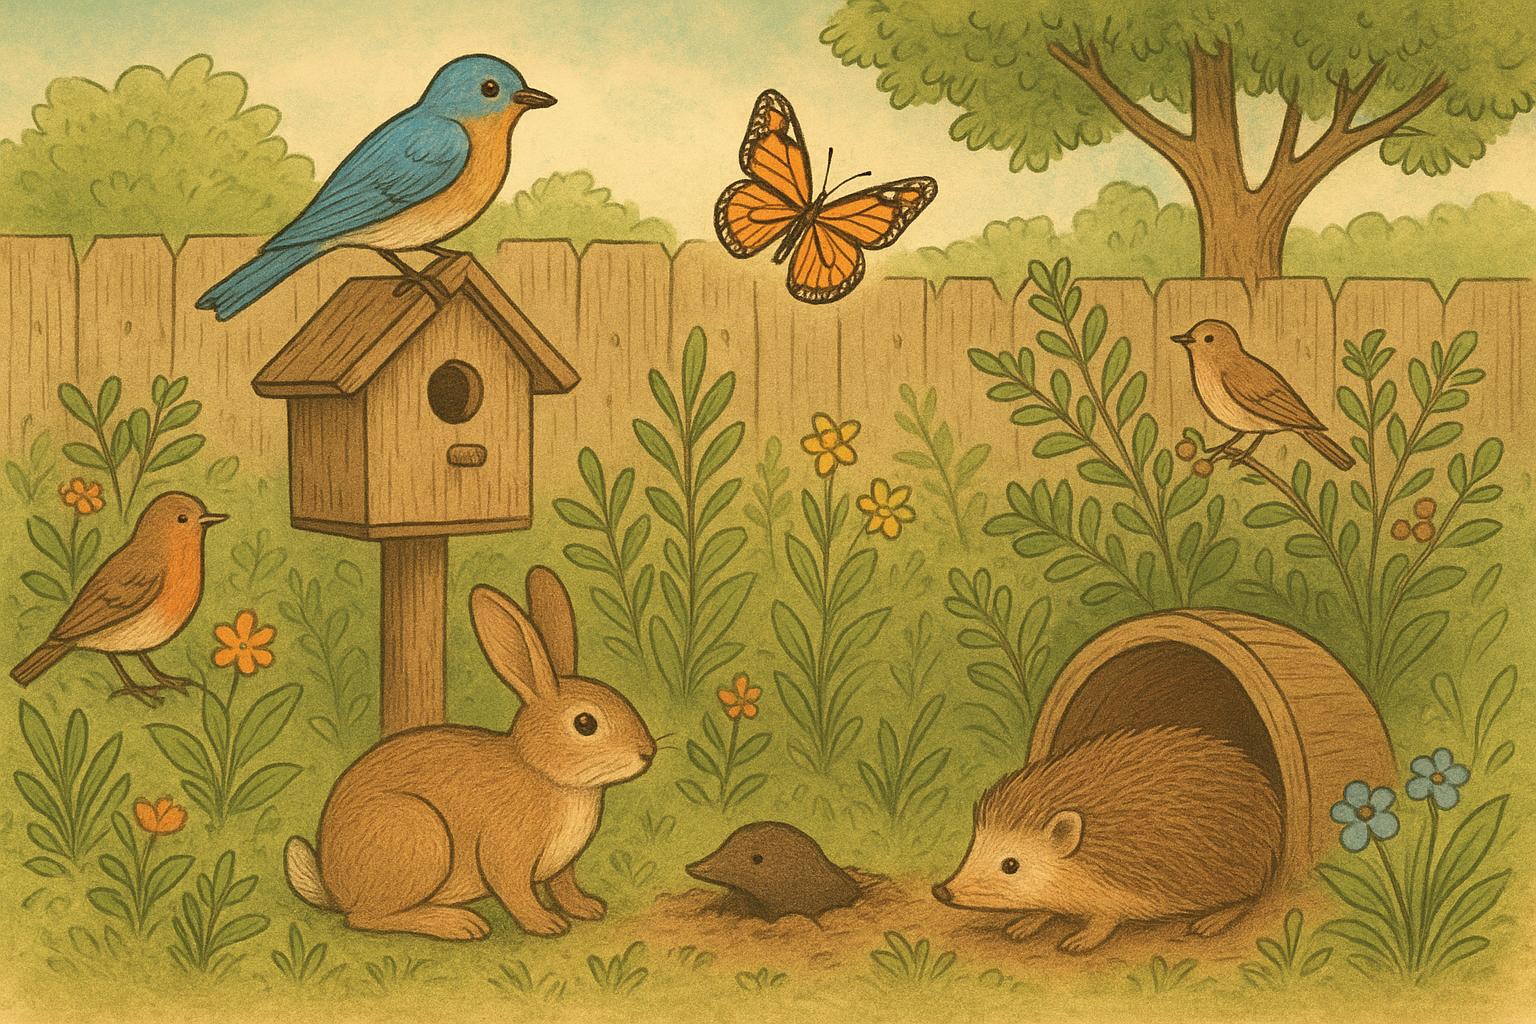
Creating welcoming habitat doesn’t have to be complicated. To create wildlife yard successfully, think about four basics: food, water, shelter, and safe passage. These elements work together like a tiny ecosystem orchestra—each playing its part so the critters you want to see actually stick around.
### Plan First, Tinker Later
Start by observing. Spend a week noting sunlight, shady spots, wind patterns, and what already visits. Sketch a rough map of your yard with these layers. Decide if you have space for a small pond, a pollinator patch, or a shrub thicket. Planning prevents misplaced effort (and avoids planting sun-loving natives in the gloomy corner where the gnome has been sulking).
#### Choose Native Plants
Native plants support local insects and birds best. Visit a native plant nursery or your local extension office to find species suited to your soil, rainfall, and climate zone. A mix of trees, shrubs, perennials, and groundcovers provides food and structure across seasons.
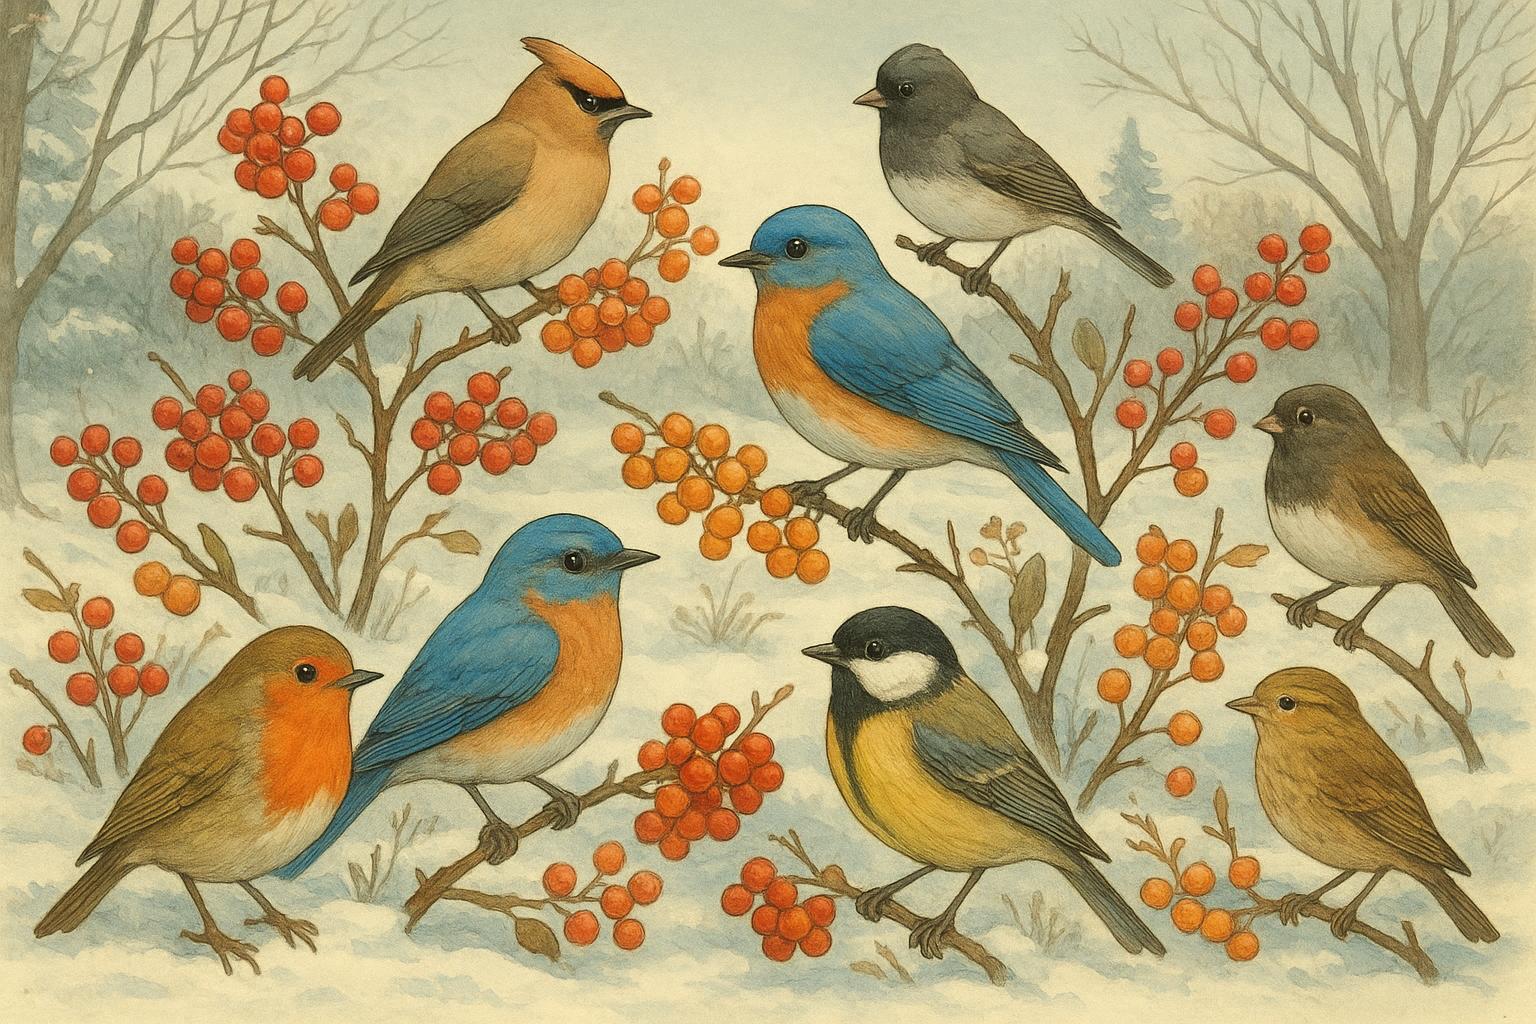
### Provide Food Year-Round
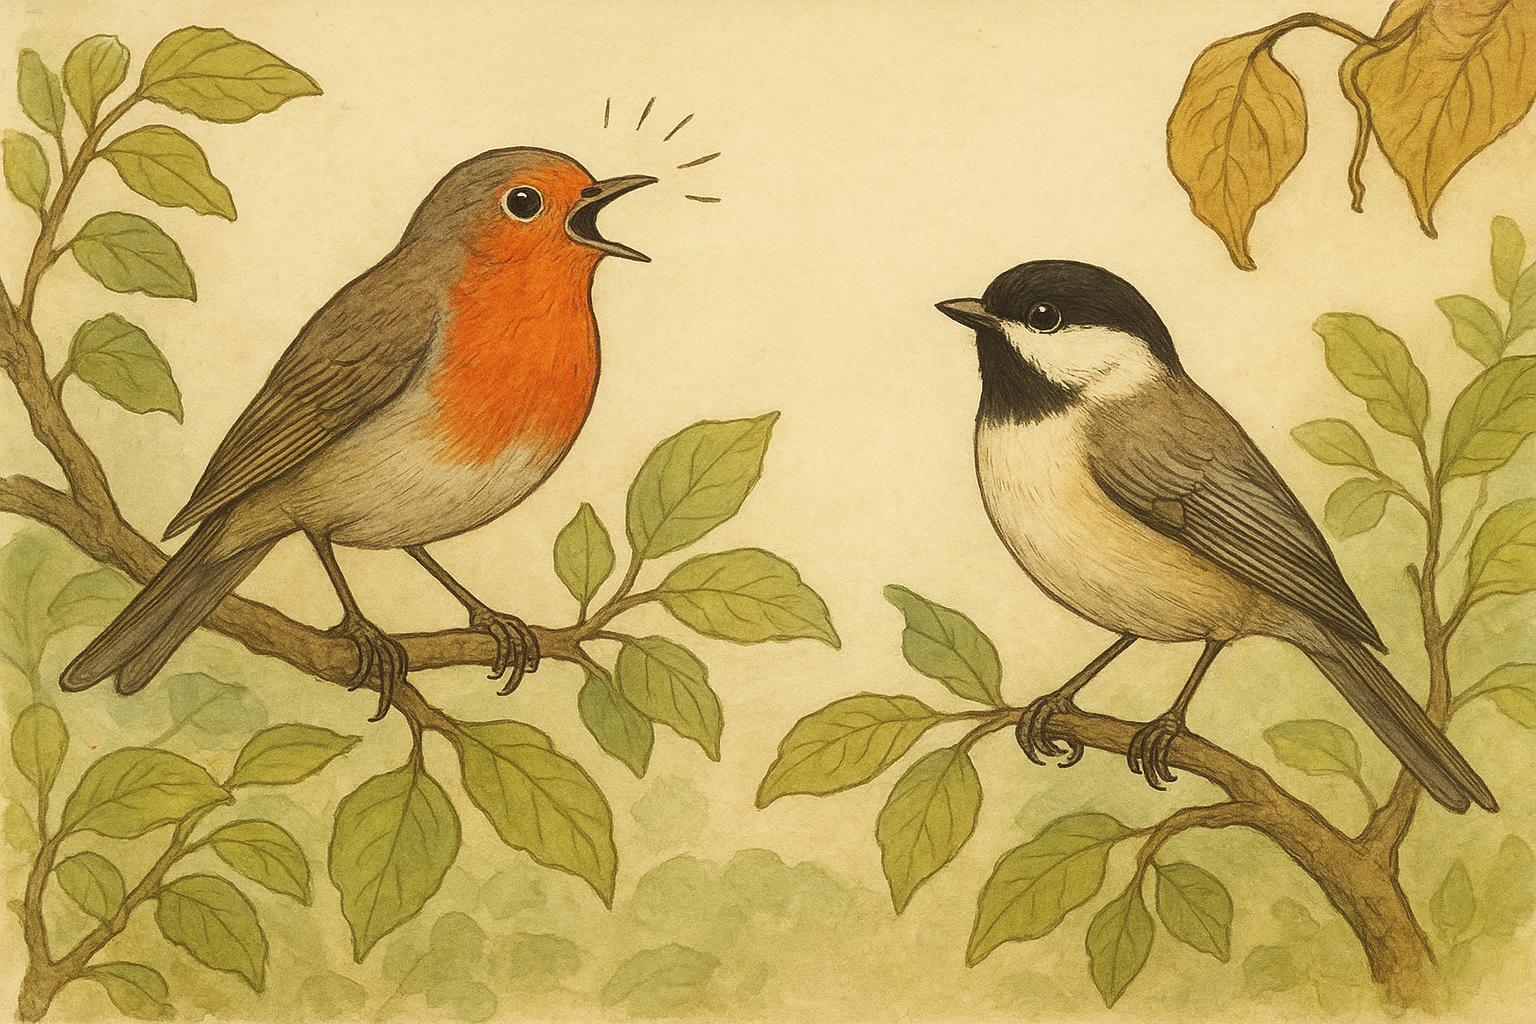
Think beyond a feeder. Seed, nectar, fruit, nectar-rich flowers, and host plants for caterpillars are all important. Diversity is key because different species have different menus.
#### Host Plants Matter
Caterpillars are picky eaters—many need specific plants. Planting milkweed for monarchs or native oaks for moth caterpillars makes your yard a supermarket for larvae, which in turn feeds birds.
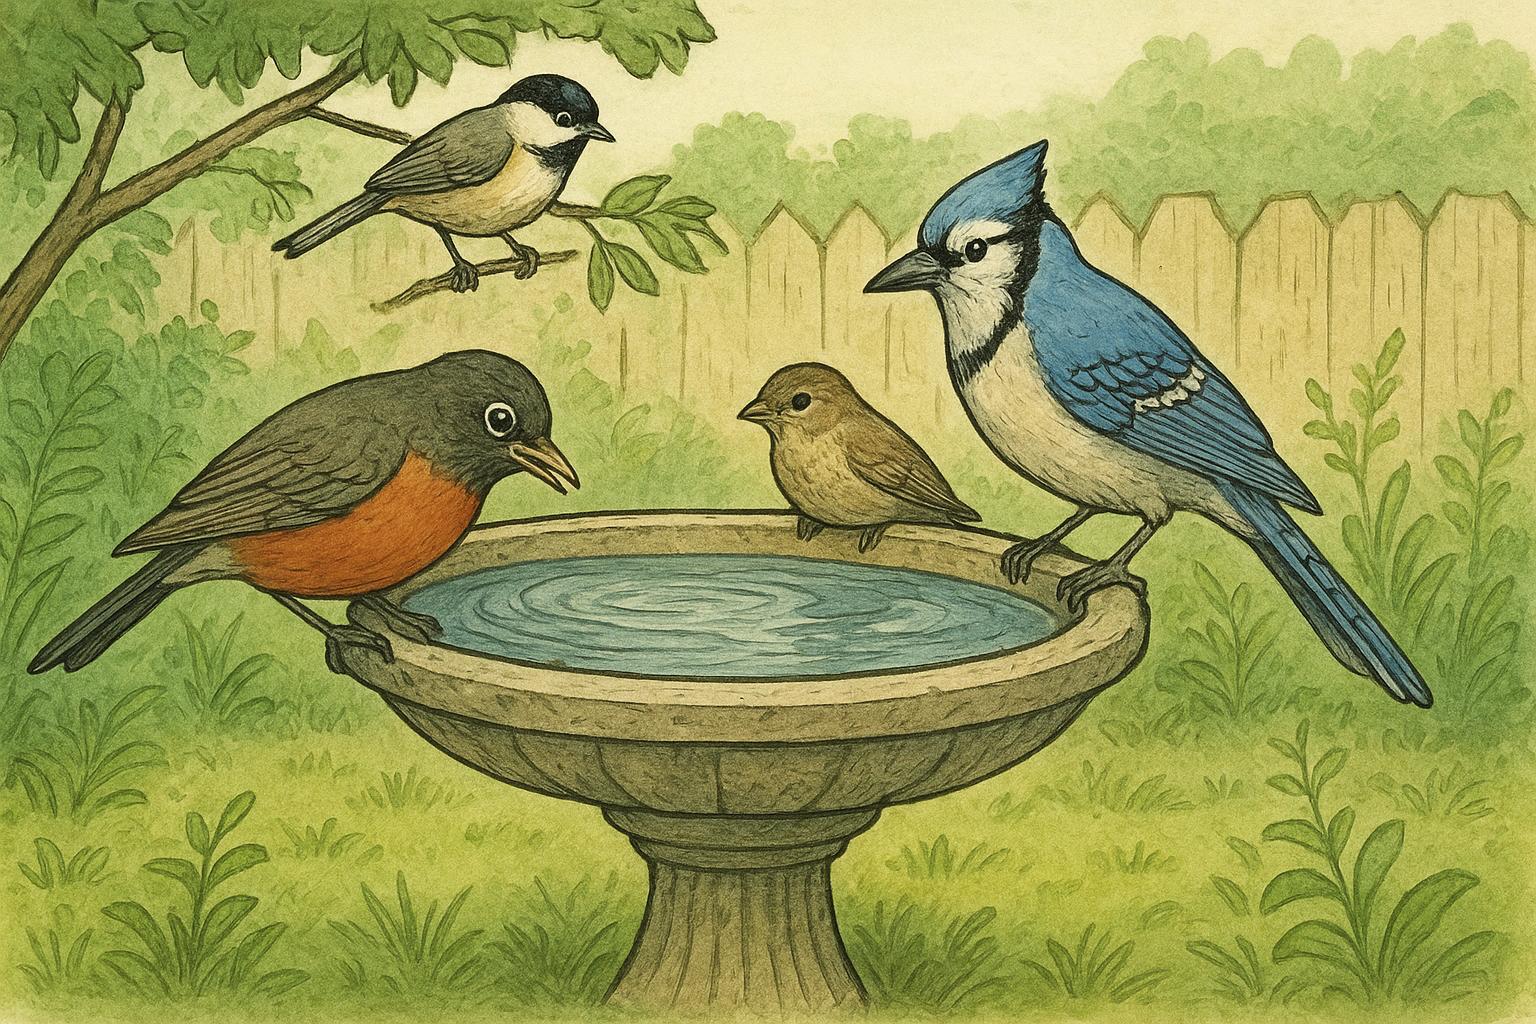
### Offer Reliable Water Sources
Birdbaths, dripping water features, or a small pond transform a yard into a wildlife magnet. Even a shallow dish with rocks will do. Position water in a spot that offers cover nearby so animals feel safe drinking.
#### Keep Water Clean
Change water frequently and scrub containers monthly to prevent mosquito larvae build-up and algae overgrowth.
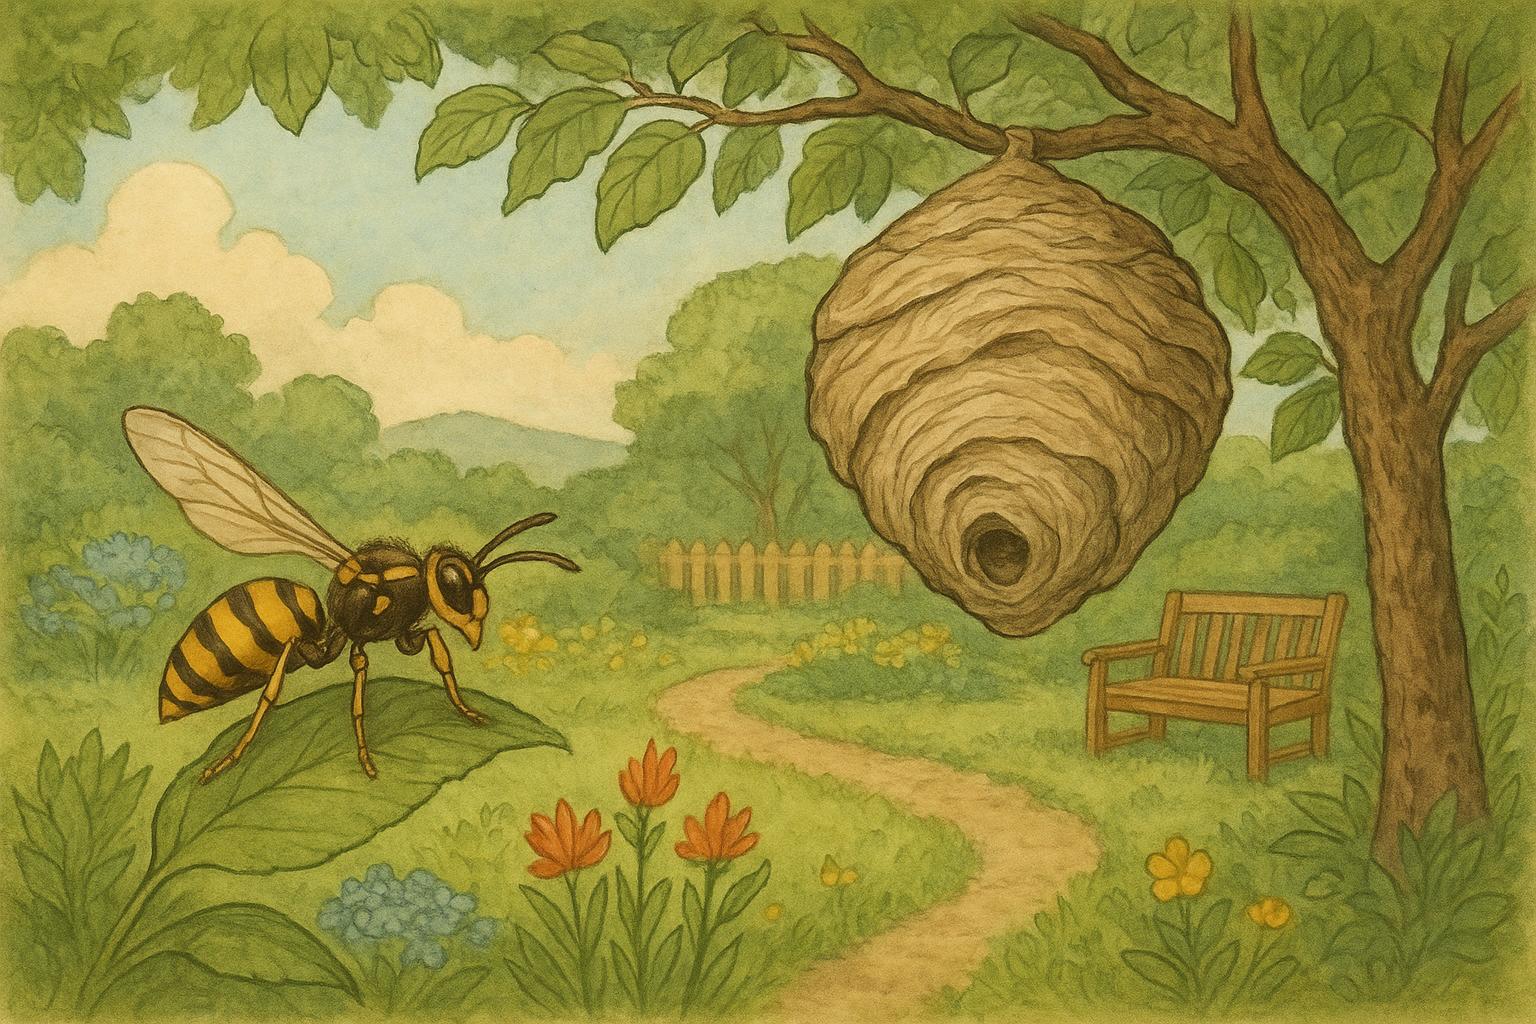
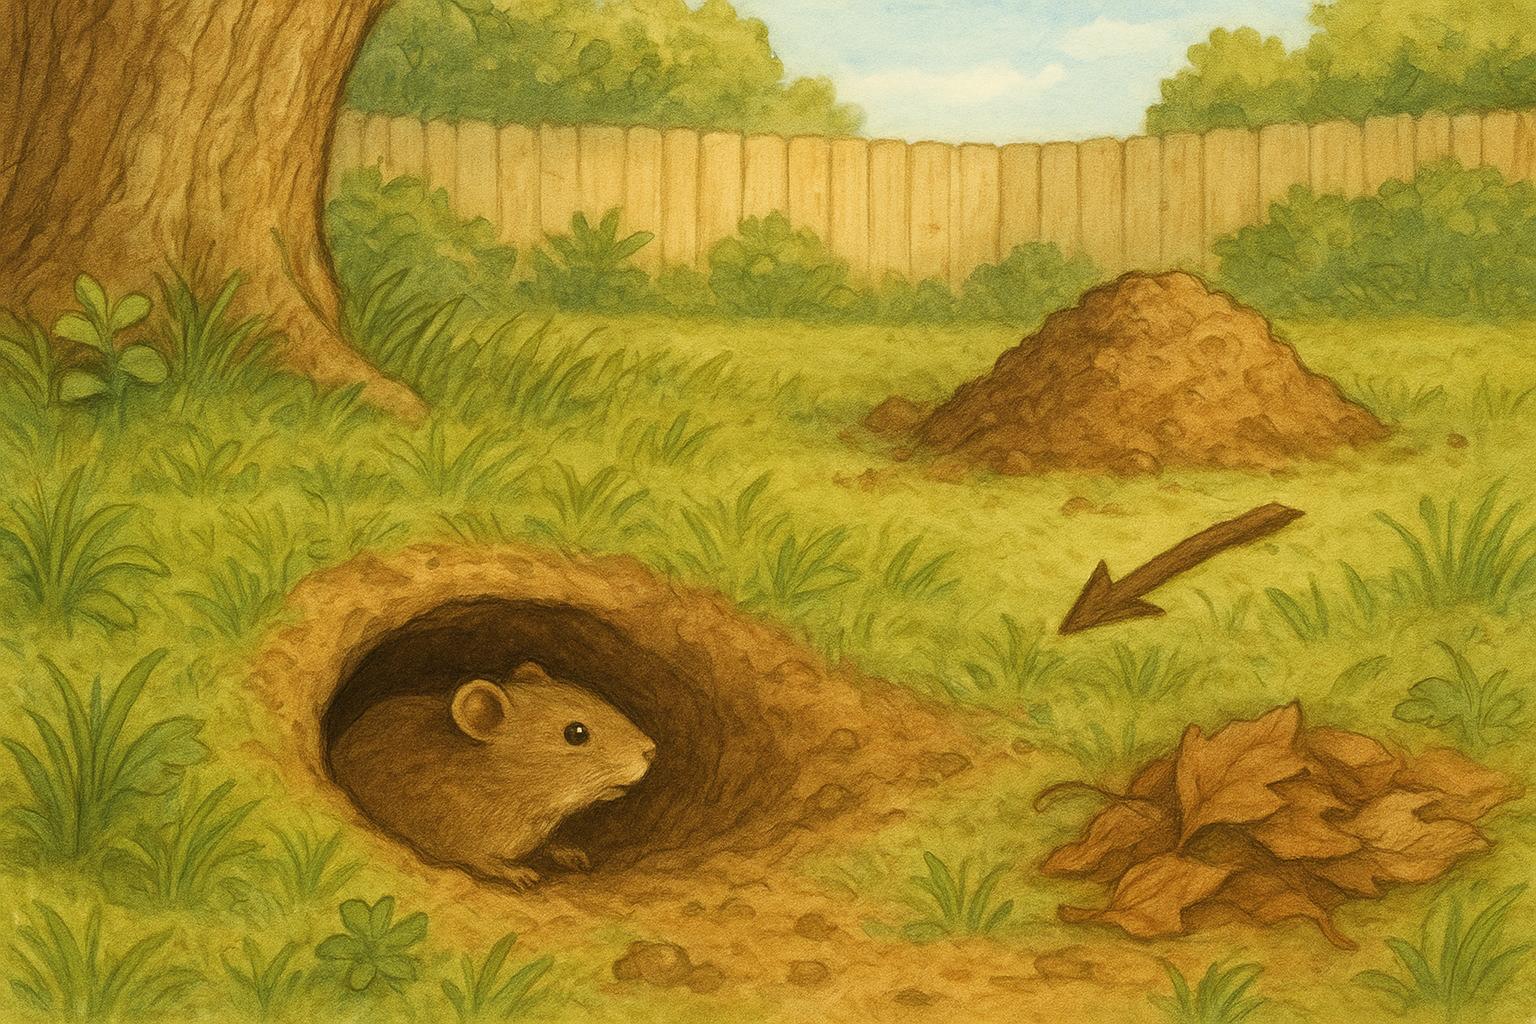
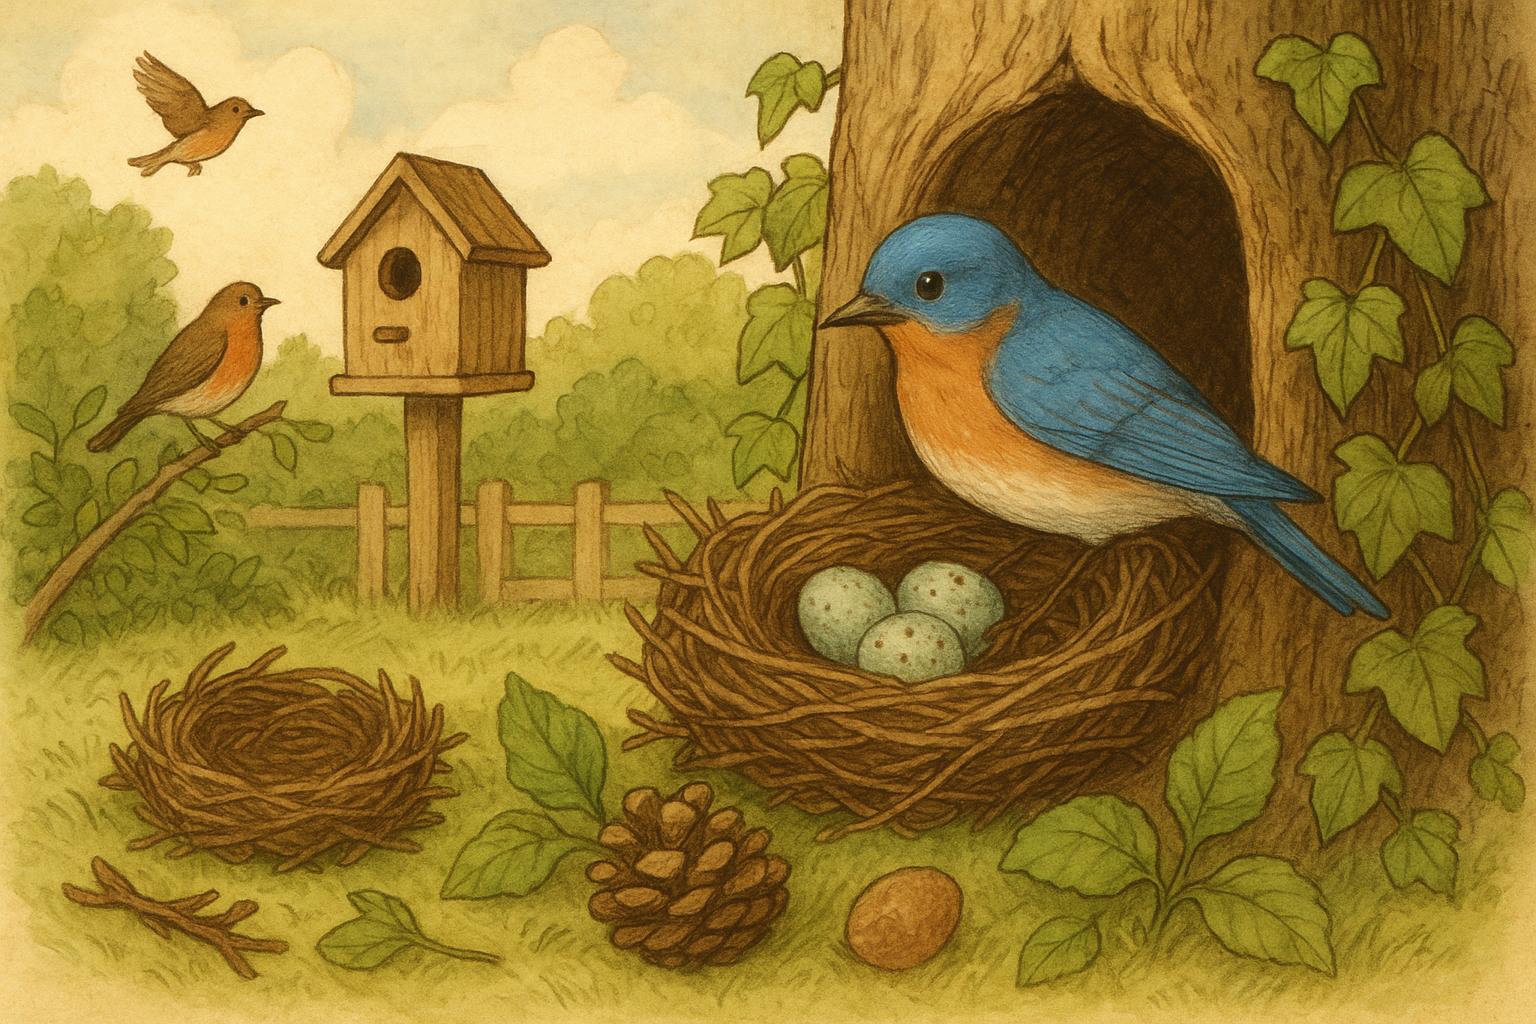
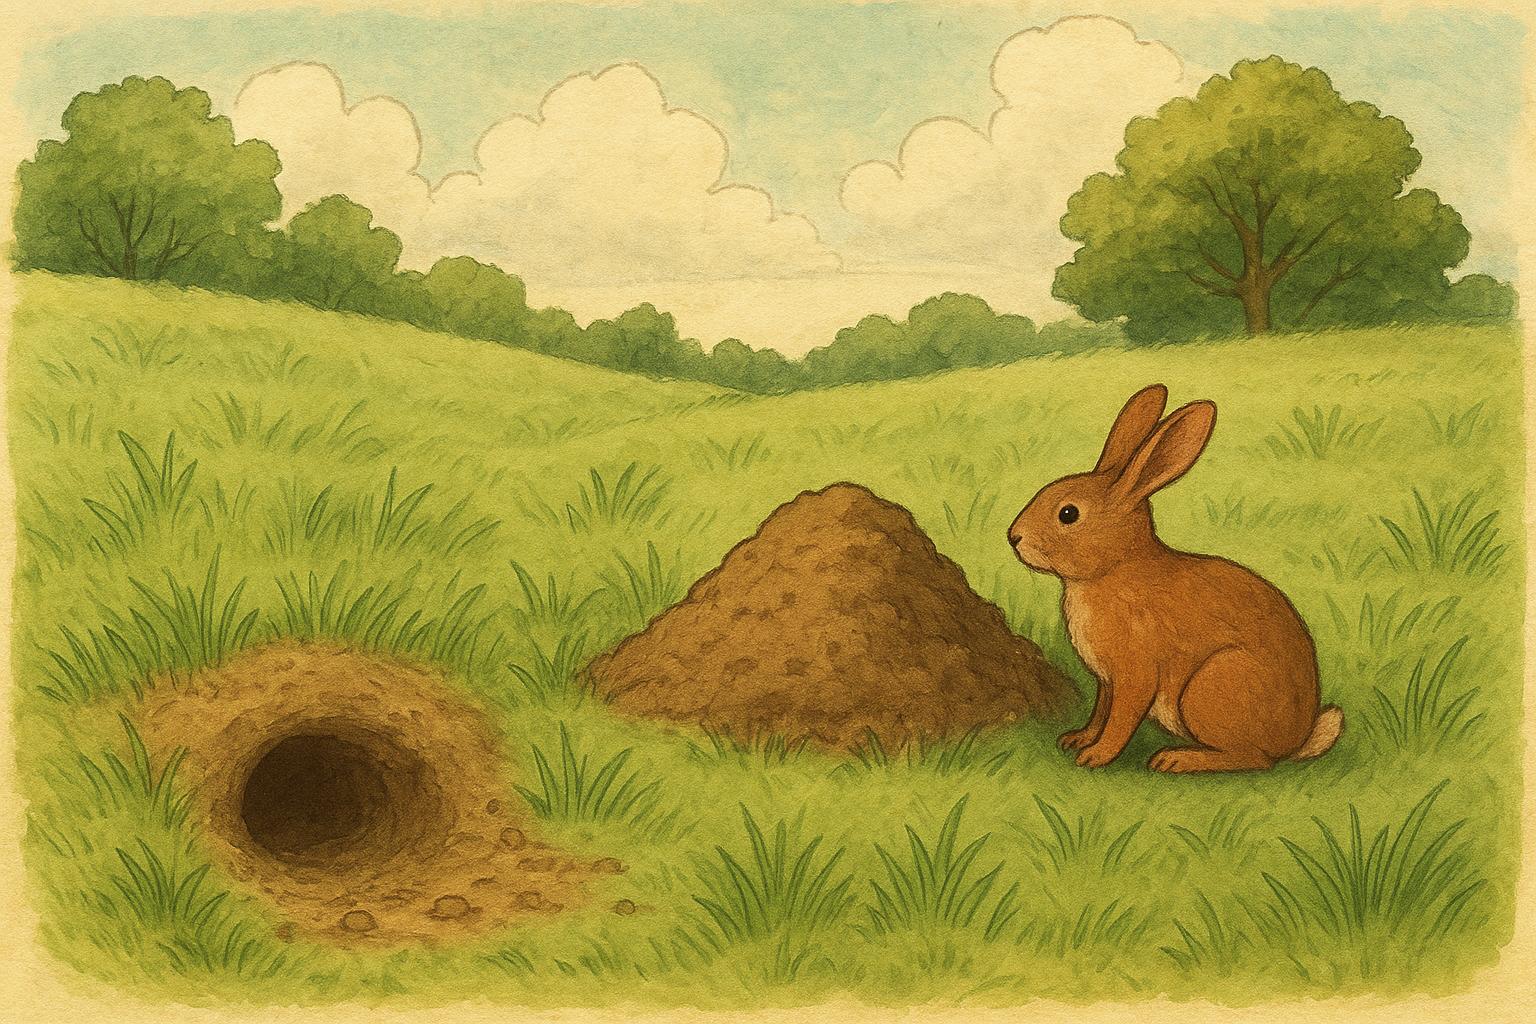
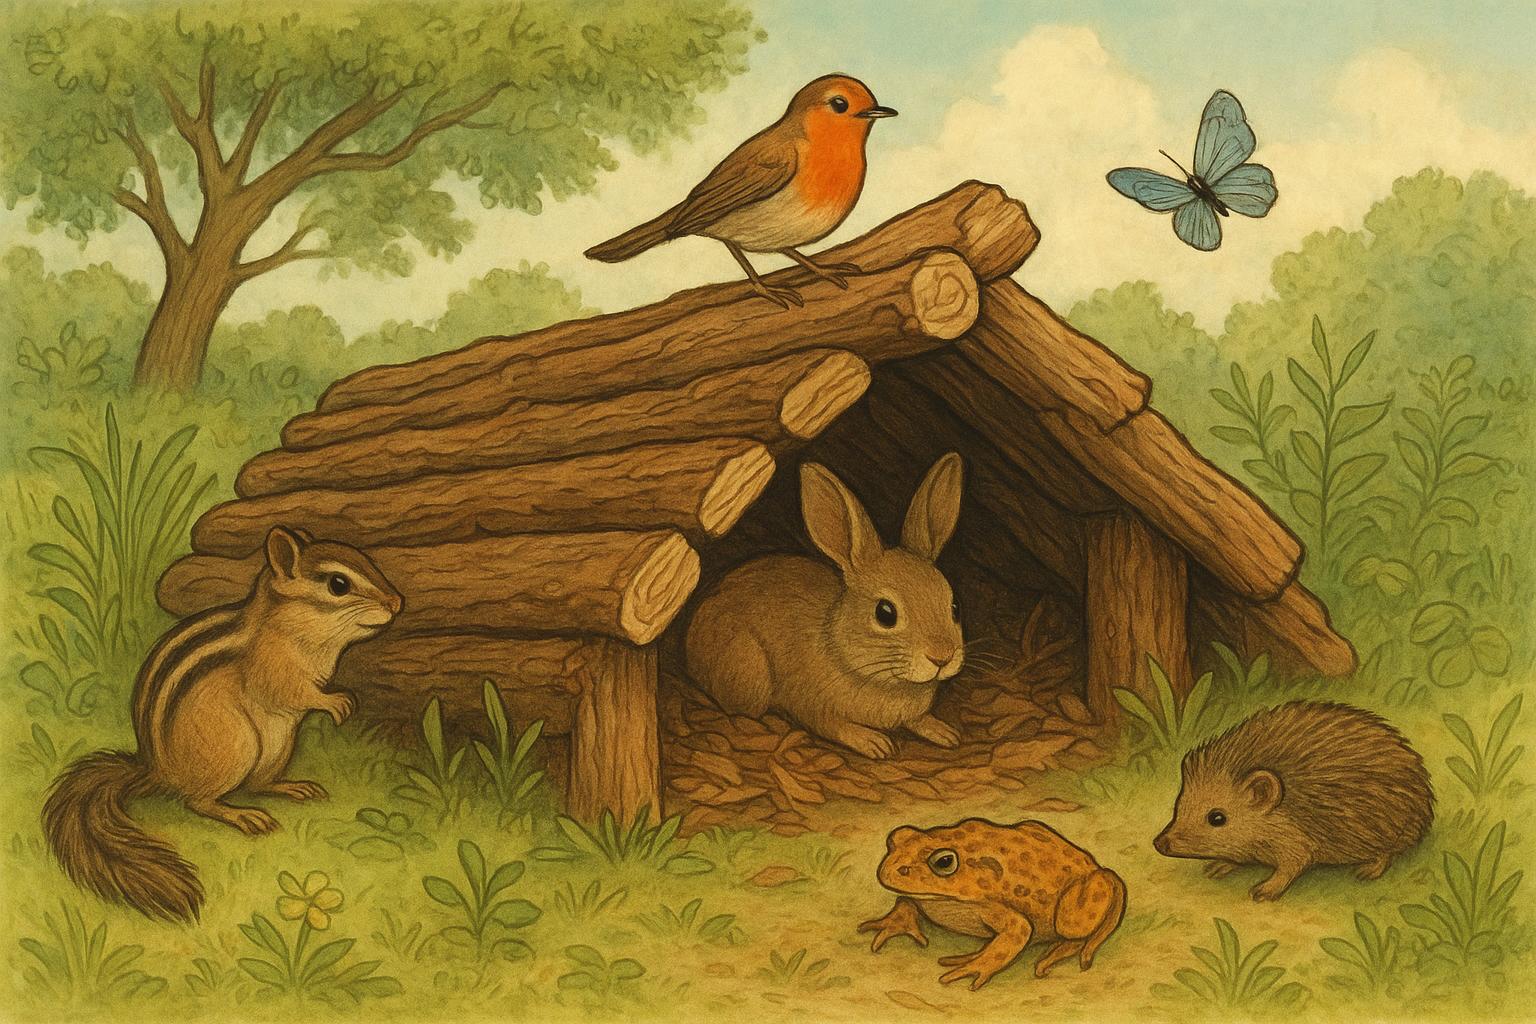
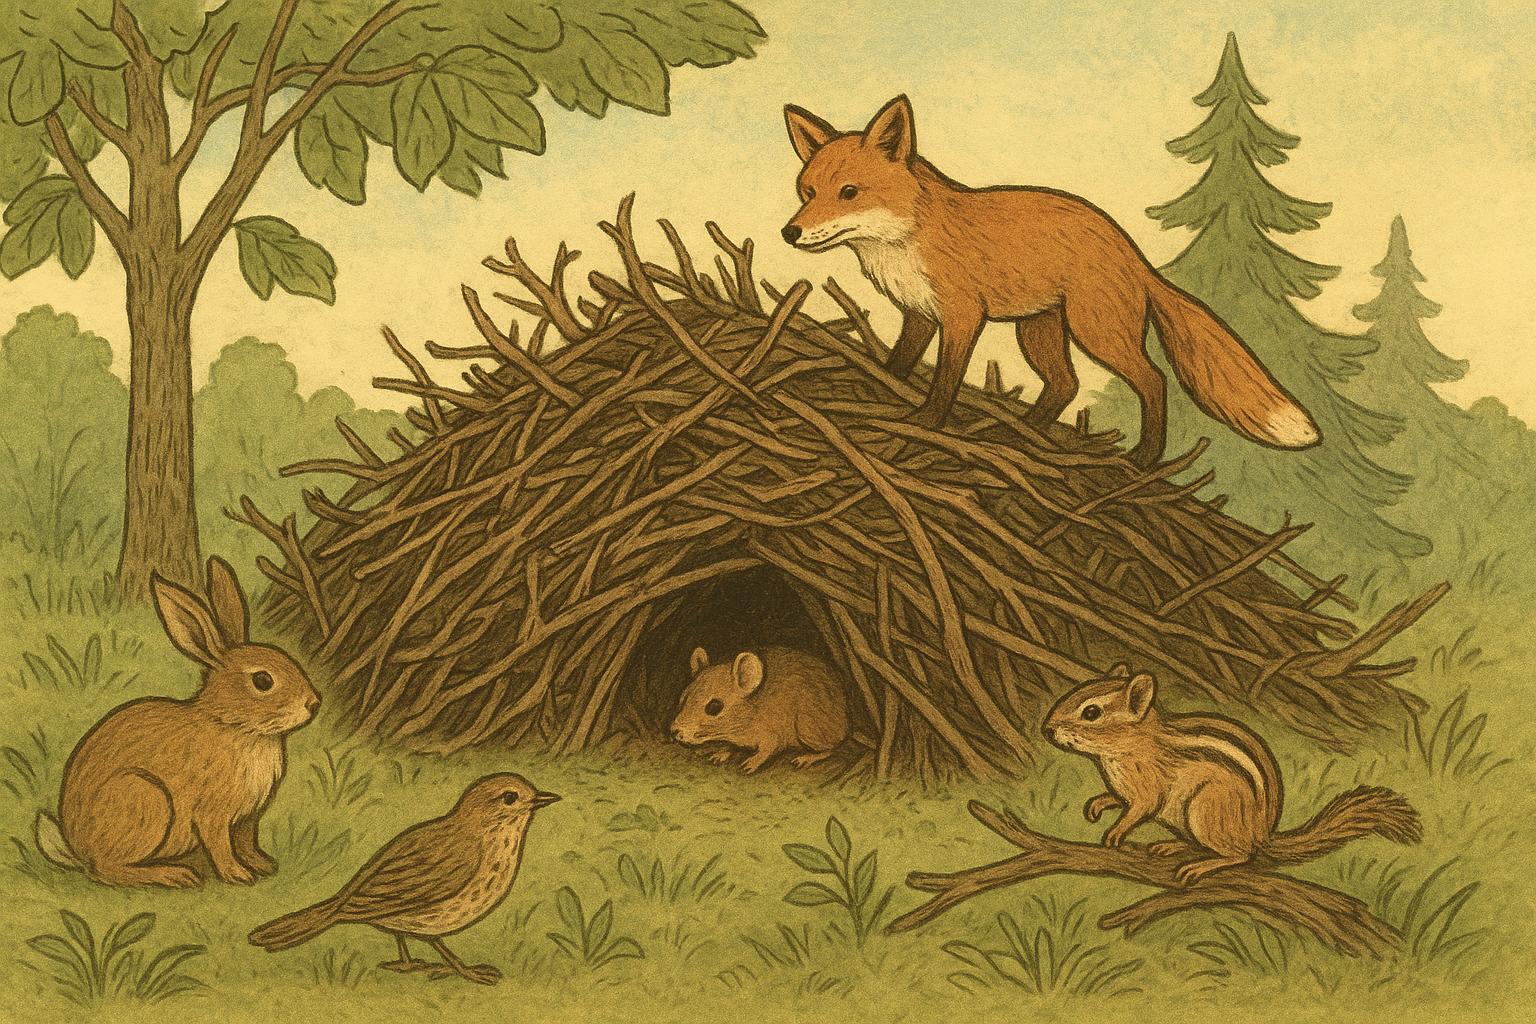
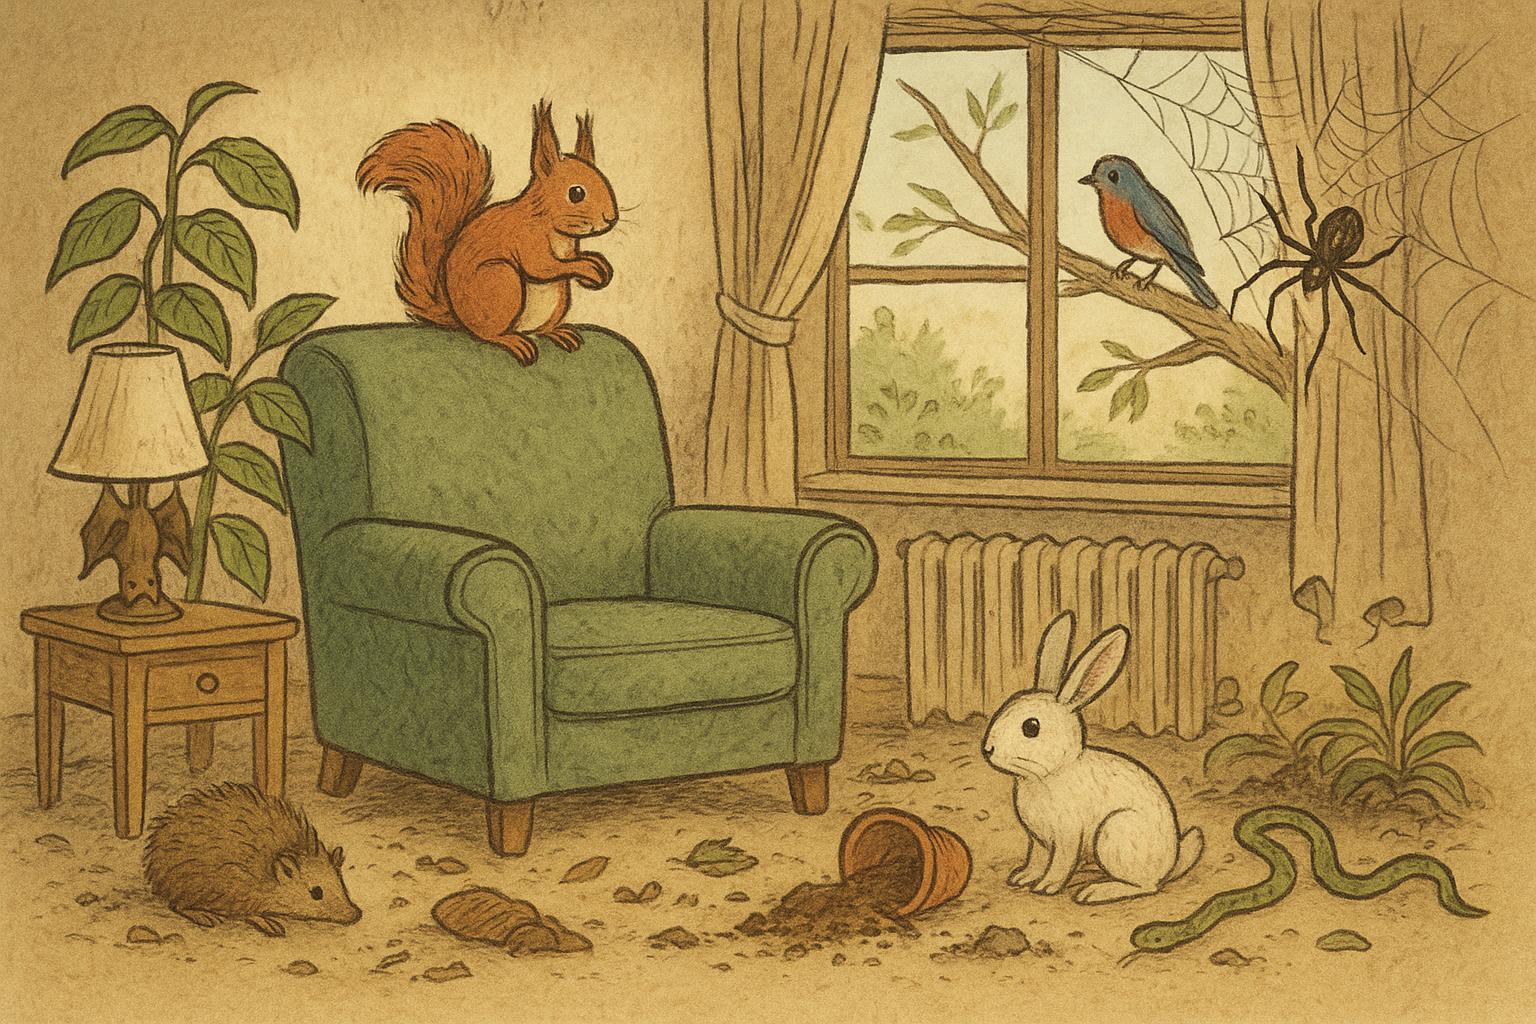
### Create Shelter And Nesting Spots
Stacked logs, brush piles, and dense shrubs give creatures places to hide, nest, and overwinter. Dead wood is surprisingly valuable—leave some logs or a snag if safe and allowed.
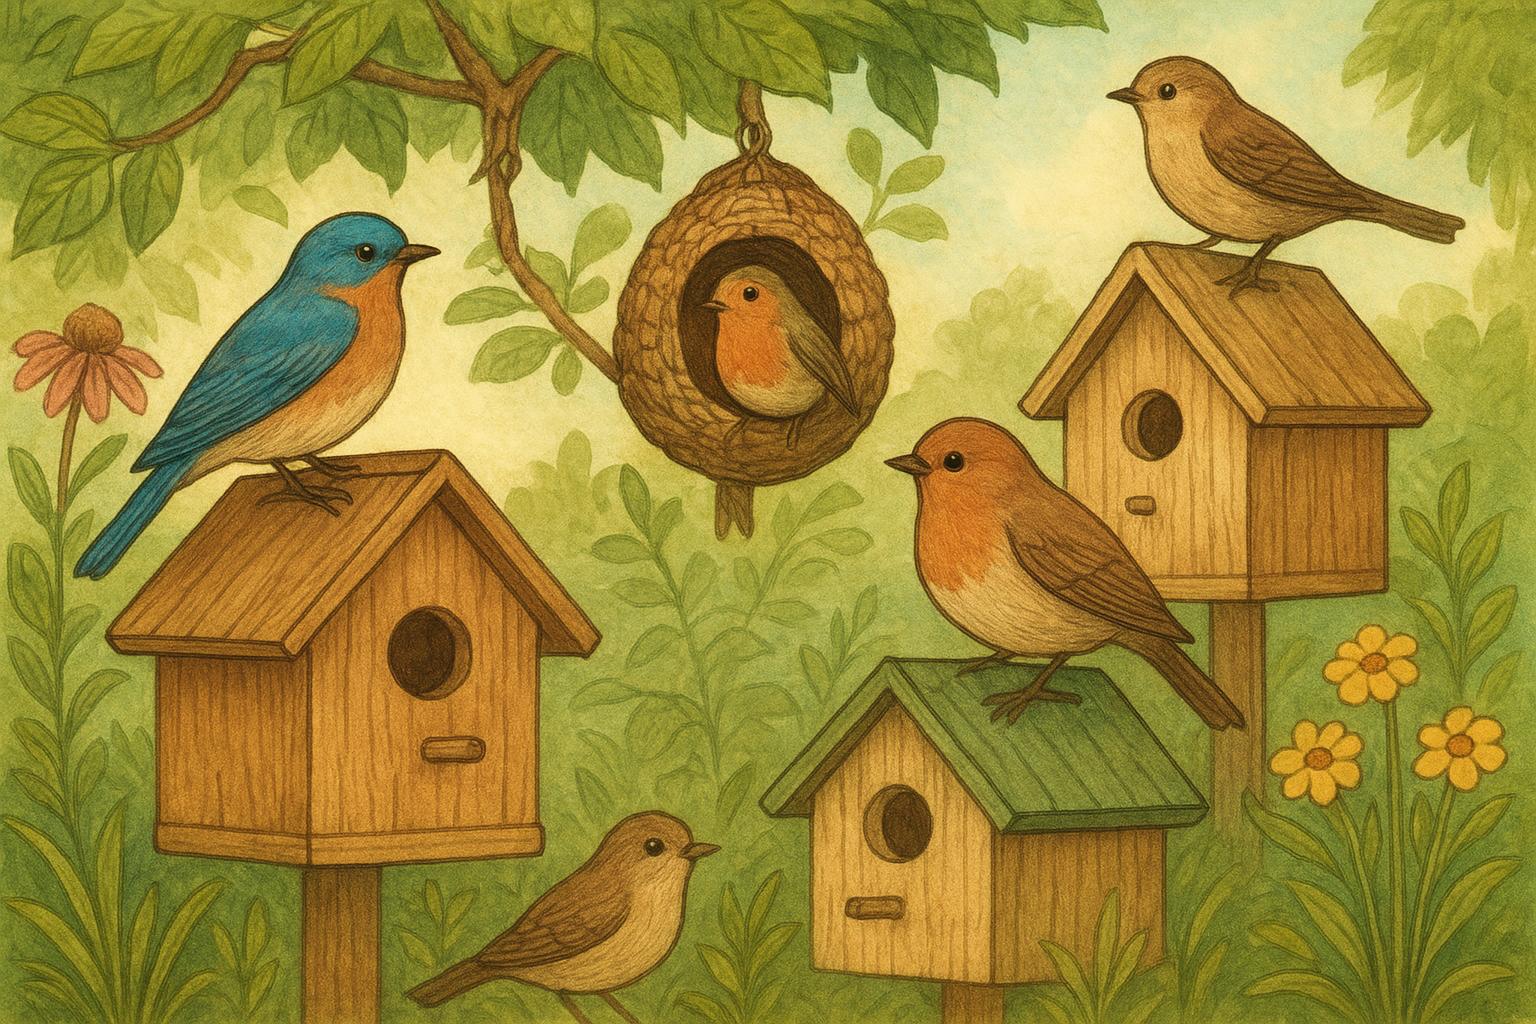
#### Add Nest Boxes Thoughtfully
If you include birdhouses or bat boxes, mount them at appropriate heights and orientations and follow species-specific guidelines for entrance size and placement.
### Avoid Chemicals
Pesticides and herbicides harm the very insects and food chains you want to support. Use mechanical or cultural controls instead—hand-picking pests, encouraging predators, and planting resistant varieties.
## Remedy 1: Build A Native Pollinator Patch
Materials Required:
– Soil test kit (optional but recommended)
– Native flowering perennial seeds or plugs (choose species for early, mid, and late season bloom)
– Compost or well-rotted manure
– Mulch (preferably shredded hardwood or leaf mulch)
– Hand trowel, rake, and garden gloves
– Optional: low fence or temporary cage for initial protection from browsing animals
Step-By-Step Creation And Application:
1. Site Selection: Choose a sunny spot (at least six hours of direct sun daily) with good drainage. Clear the area of turf or invasive plants.
2. Soil Preparation: Test soil pH and amend if needed. Loosen the top 6–8 inches of soil. Incorporate a 1–2 inch layer of compost to improve structure and fertility.
3. Plant Selection: Select a mix of native perennials that bloom at different times to ensure nectar and pollen availability throughout the growing season. Include some native grasses for structure.
4. Planting: Place plugs or sow seeds following label depth and spacing instructions. Gently firm soil around plants and water thoroughly.
5. Mulching: Apply a 1–2 inch layer of mulch, keeping it away from crowns to prevent rot.
6. Initial Care: Water regularly until plants are established (generally the first season). Monitor for competition from weeds and remove by hand when small.
7. Long-Term Management: Reduce mowing and allow patches to overwinter; cut back in late winter or early spring to encourage new growth. Avoid broad-spectrum pesticides.
This formalized approach ensures a sustainable, resource-rich patch that helps you create wildlife yard habitat specifically for pollinators.
## Remedy 2: Install A Small Wildlife Pond
Materials Required:
– Preformed pond basin or pond liner (size to suit available space)
– Underlay fabric and pond pump (if a fountain or circulation is desired)
– Stones and gravel for edging and shallow access zones
– Native aquatic plants (marginal and oxygenating species)
– Shovel, level, and garden hose
– Optional: a small pump, solar fountain, or bubbler
Step-By-Step Creation And Application:
1. Location And Size: Choose a partially shaded spot to reduce algae growth while still providing sun for plants. Mark the outline of the pond.
2. Digging: Excavate to the desired depth in tiers to create shallow edges for wildlife access. Remove roots and sharp stones.
3. Leveling: Place the underlay and pond liner or preformed basin and level it. Trim the liner, leaving some overlap.
4. Edging And Anchoring: Secure liner edges with stones and backfill with soil. Create gentle slopes and shallow shelves using gravel for emergent plants and safe entry points for small mammals and amphibians.
5. Filling And Planting: Fill the pond with water, ideally collected rainwater to avoid chlorine. Add marginal plants in pots placed on shelves and introduce submerged oxygenating plants.
6. Circulation And Maintenance: If using a pump, install per manufacturer instructions to maintain water movement. Monitor water clarity, remove excessive algae mechanically, and avoid chemical treatments.
7. Ecological Care: Allow natural colonization by invertebrates and amphibians. Introduce plants gradually to avoid nutrient shocks. Netting may be required temporarily to prevent leaf litter accumulation in autumn.
This methodical installation creates a stable aquatic habitat and is a high-impact way to create wildlife yard amenities that support amphibians, birds, and insects.
### Connect Patches And Provide Corridors
Small, disconnected features are helpful, but connectivity multiplies value. Native hedgerows, stepping-stone gardens, and reduced mowing corridors let wildlife move safely between resources. Think of your yard as part of a neighborhood network—wildlife travels, and connectivity reduces isolation.
#### Seasonal Considerations
Plan for winter too. Leave seed heads, hollow stems, and leaf litter as overwintering habitat. In spring, delay aggressive tidying until nesting season passes. A tiny sacrifice of tidiness buys a lot of biodiversity.
### Safe Practices And Common Pitfalls
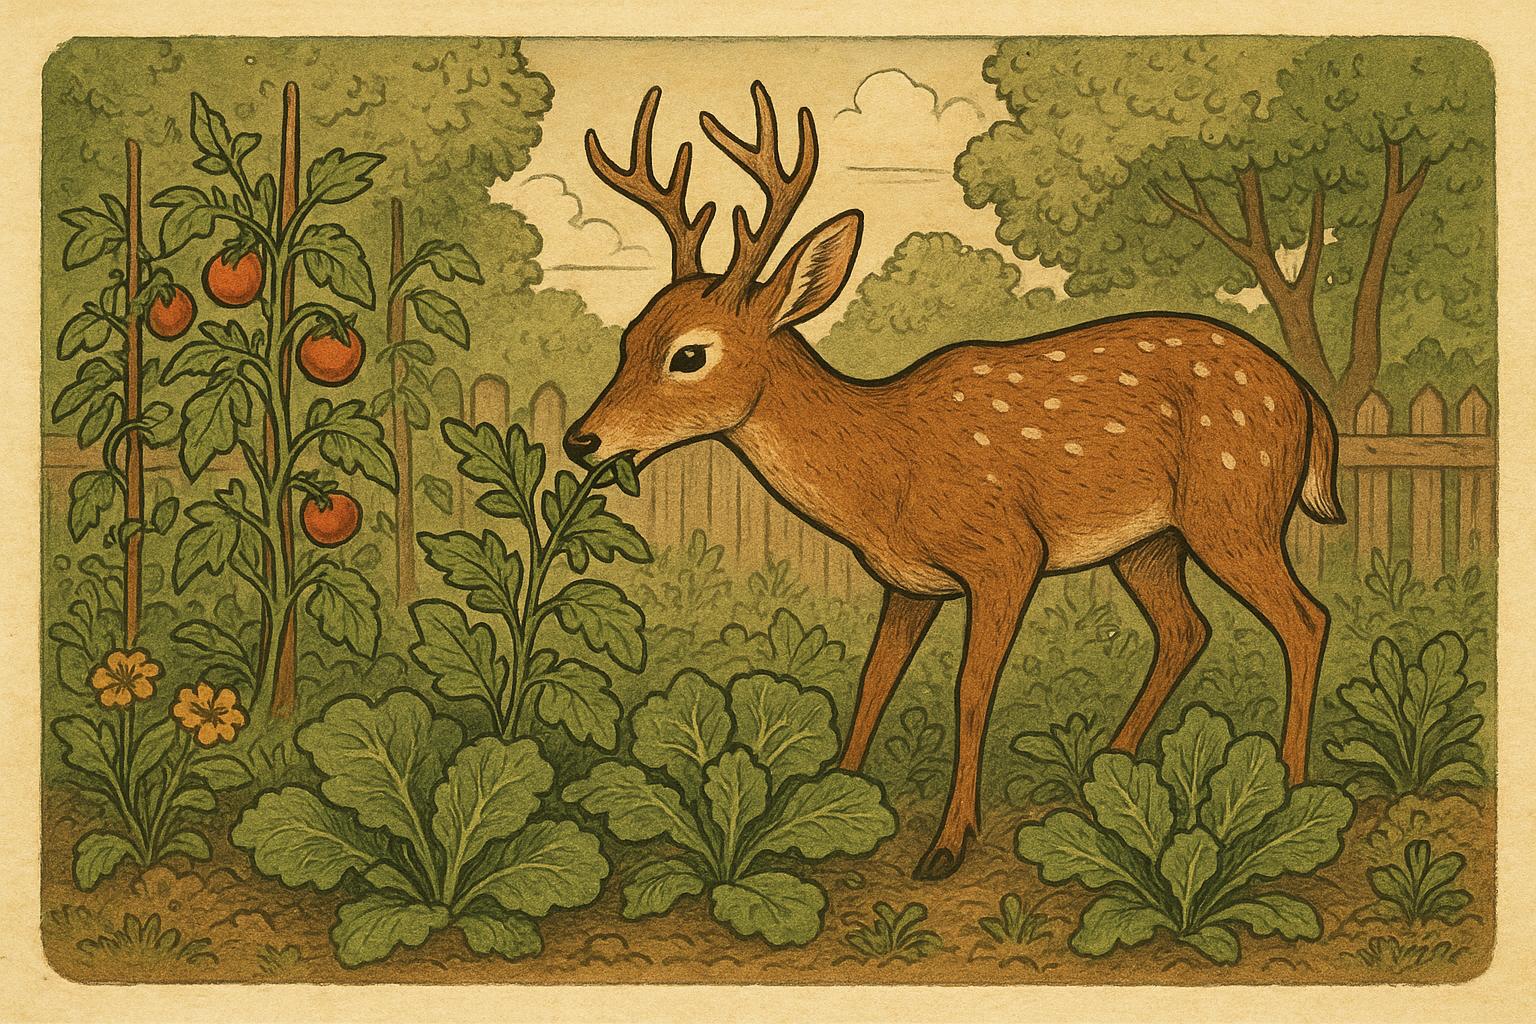
Keep cats indoors or provide supervised outdoor time—domestic cats are a major threat to small wildlife. Be cautious with netting and mesh which can trap animals; use wildlife-safe alternatives. Avoid well-intentioned but harmful introductions, such as non-native fish in small ponds that can decimate insect larvae.
### Maintainance Tips Without Drama
Routine maintenance keeps habitats healthy. Check water features weekly in summer, replenish native plantings as needed, and remove invasive species promptly. Keep records of what visits—photographs or a simple notebook help you track seasonal changes and success over time. A little persistence goes a long way when you create wildlife yard features.
### Invite Others And Learn
Share your efforts with neighbors and local wildlife groups. A neighborhood full of small wild corners is more effective than a lone heroic garden. Attend a workshop or ask your local extension service for species lists and planting tips. Wildlife-friendly gardening is social, oddly satisfying, and community-friendly.
Enjoy the process—watching a thriving yard is its own reward. And when a bumblebee finally finds your mint patch and performs its victory wobble, you’ll know you did it right: you helped nature move back in, one plant and one puddle at a time.


Leave a Reply