There’s something quietly magical about a small wooden box hanging from a branch: it’s a promise of spring, a backstage pass to hatchling chaos, and an excellent excuse to avoid mowing the lawn for a few extra minutes. If you’ve ever felt the urge to act as landlord to feathered tenants, you’re in the right place. Let’s make your backyard a comfy neighborhood for birds with thoughtful design, proper placement, and a little homeowner pride.
## Why Tiny Homes Matter: The Case For A Birdhouse
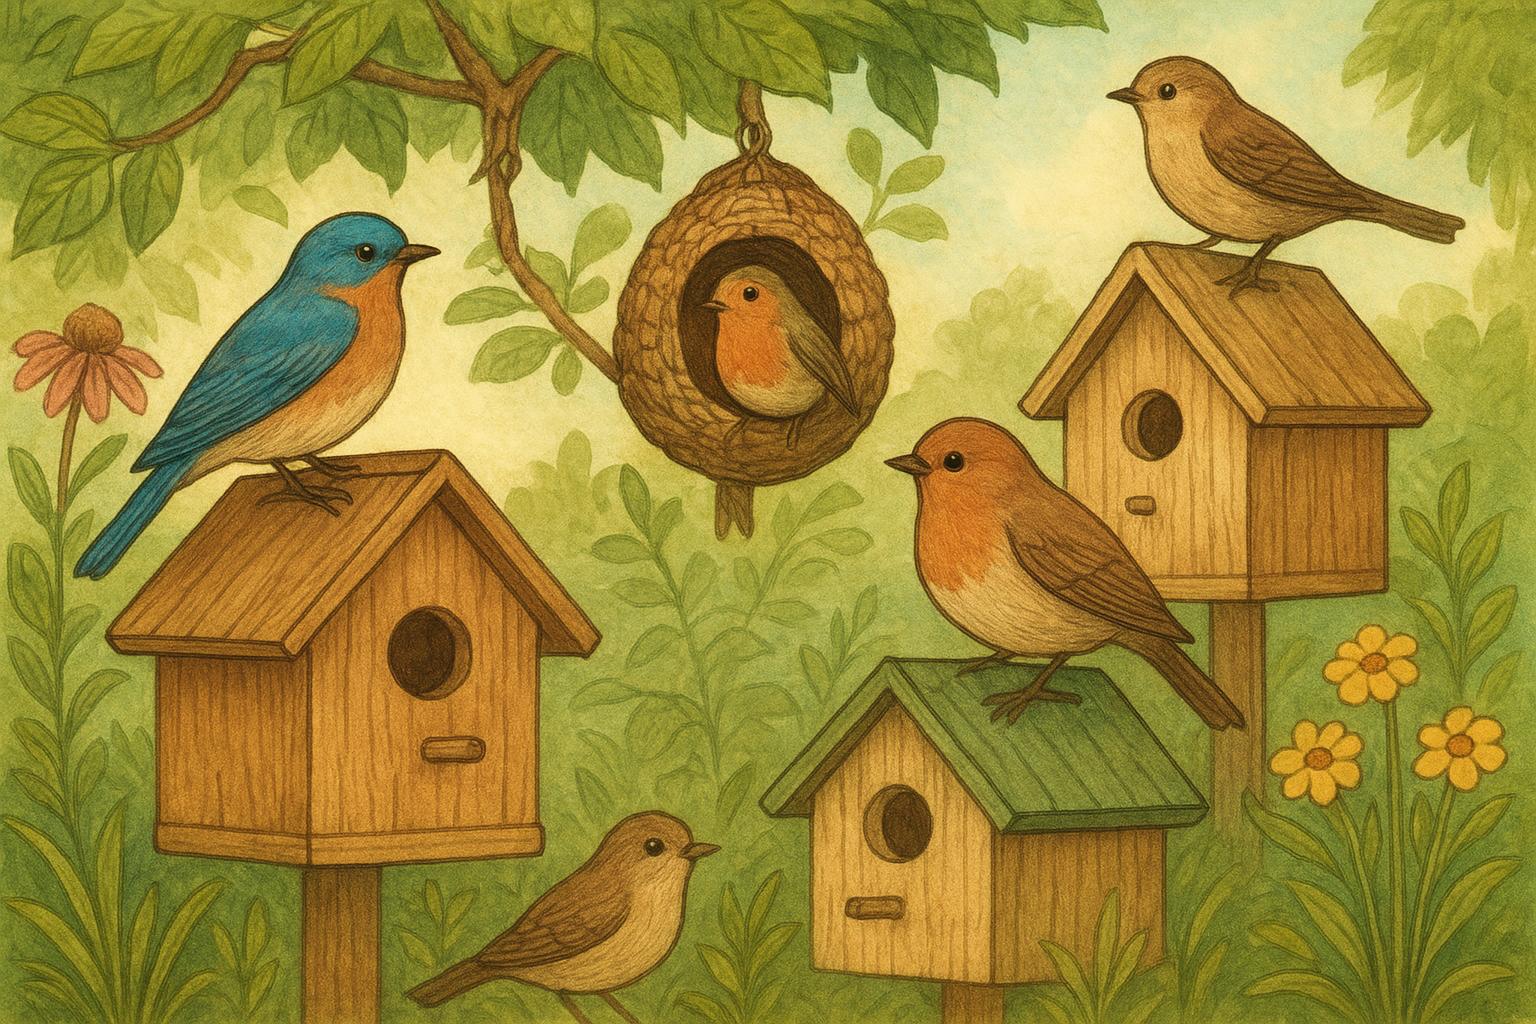
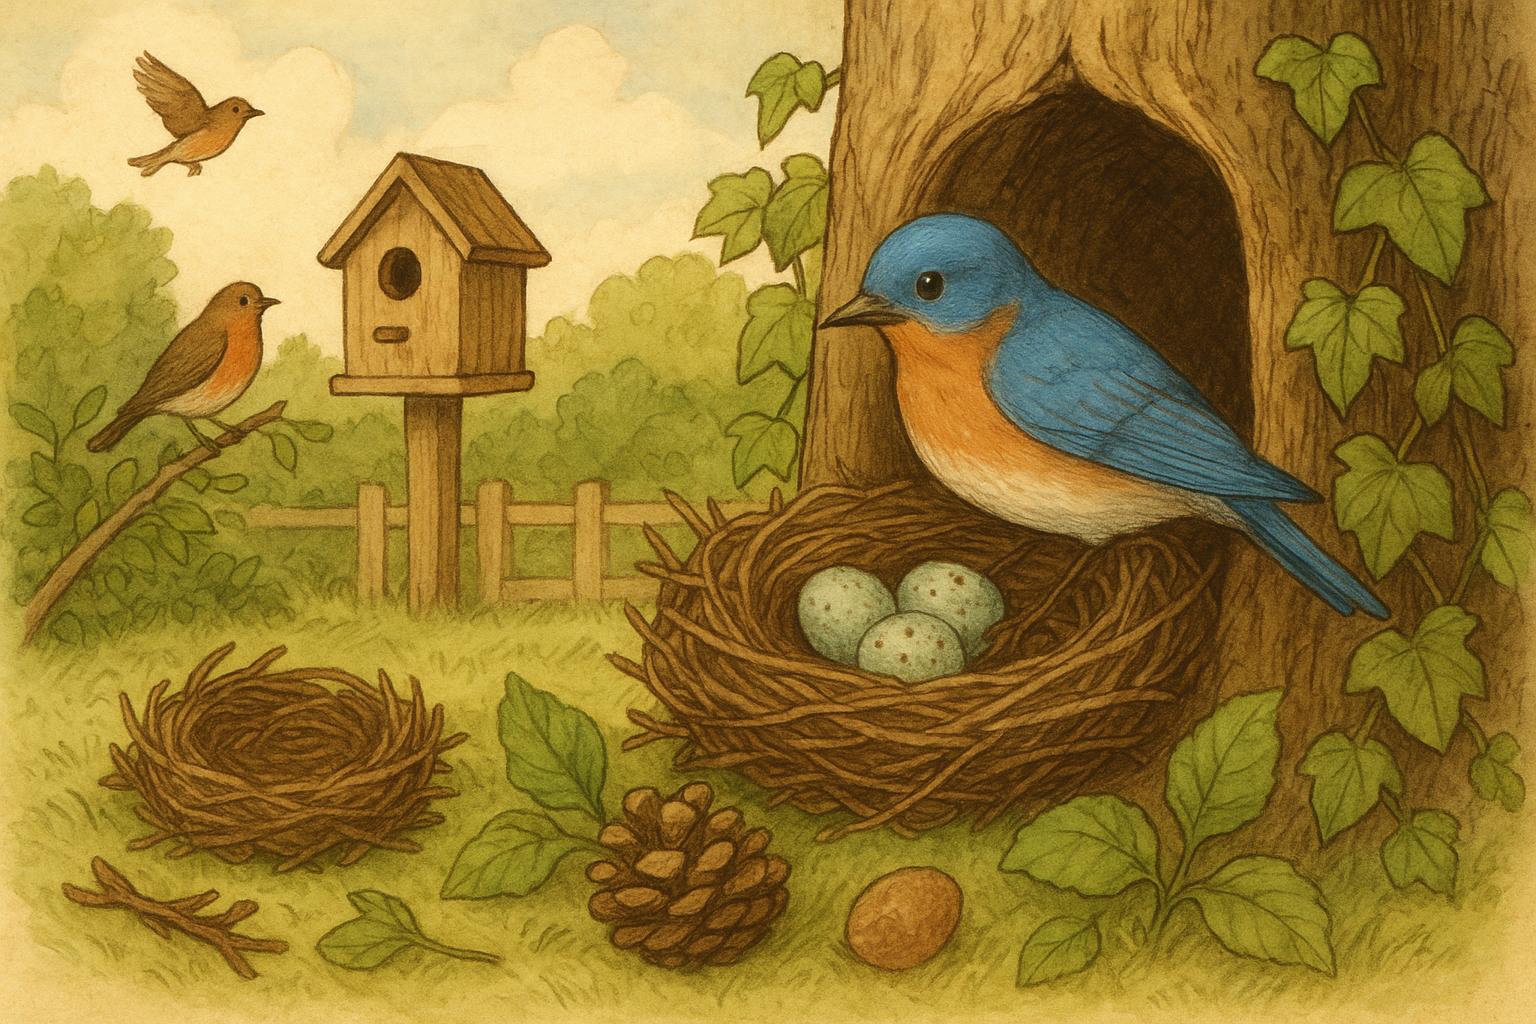
Creating a welcoming patch for birds is more than aesthetic charm. As suburban development trims natural cavities and predators adapt to human environments, a birdhouse can restore critical nesting habitat for cavity-nesting species like chickadees, bluebirds, wrens, and titmice. A well-designed box increases breeding success, reduces exposure to elements, and gives you delightful birdwatching opportunities from the patio.
### Which Birds Will Use Your Nest Box
Different species prefer different entrance sizes, dimensions, and mounting heights. Eastern bluebirds favor an entrance hole around 1.5 inches and open areas near short grass. Chickadees and titmice like a ~1.125-inch hole and wooded surroundings. Wrens are flexible but prefer smaller holes and dense cover. Match the design to your local species to increase occupancy rates.
### Placement And Timing
Placement is half the battle. Mount boxes:
– Facing away from prevailing winds and intense afternoon sun.
– At species-appropriate heights (4–6 feet for wrens/chickadees, 4–6 feet for bluebirds in open areas, sometimes up to 10–12 feet for some tit species).
– On poles rather than trees when predator control is needed.
Timing matters too: have boxes up by late winter or early spring before birds are actively scouting. Clean and inspect boxes in fall after breeding season to discourage overwintering pests.
### Materials And Design Basics
Natural, untreated wood like cedar or pine is best because it breathes and provides insulation. Avoid pressure-treated lumber or metals that can overheat. Ensure good ventilation (small holes under the eaves), drainage (holes in the floor), and a secure, sloped roof to shed rain. Rough interior walls or small grooves beneath the entrance help nestlings climb out when they fledge.
## Remedy 1: Build A Simple Cozy Birdhouse
If you’re thinking, “I can buy one,” sure — but building a birdhouse is inexpensive, satisfying, and lets you tailor dimensions to the birds you want to help. The following is a straightforward, formal plan for a general-purpose, cavity-nester box.
#### Materials Required
– One 1×6 cedar board, 6–8 feet long (or equivalent scrap cedar/pine)
– Galvanized or stainless steel screws (1¼” and 2″)
– Exterior-grade wood glue (optional)
– Hinges (for an access panel) or removable side
– 1¼” Forstner or hole saw bit (for entrance hole)
– Sandpaper
– Non-toxic exterior paint or stain (optional; use sparingly and avoid painting interior)
– Metal predator guard (optional)
– Tools: saw, drill, measuring tape, pencil, screwdriver, clamps
#### Step-By-Step Construction And Application
1. Plan and Cut Panels:
– Cut pieces to create front, back, two sides, floor, and roof. Typical dimensions: front/back 10″ tall x 6″ wide; sides tapering from 10″ to 7.5″ to create a sloped roof; floor 5½” x 5½”; roof 7″ x 7″.
2. Drill Entrance And Ventilation:
– Drill a 1¼” hole centered about 6–7″ from the floor on the front panel for chickadees and similar birds; increase to 1½” for bluebirds. Add two ¼” ventilation holes near the top of the side panels.
3. Assemble Walls:
– Attach sides to the back panel with screws and glue for a tight seal. Attach the floor with screws through the sides into the floor, and pre-drill to prevent splitting.
4. Attach Front Panel:
– Fasten the front panel to the sides and floor. For ease of cleaning, make the front or one side removable via hinges or a simple sliding mechanism; otherwise unscrew for cleaning.
5. Roof:
– Secure the roof; ensure it overhangs the entrance to protect from rain. Use a single sloped roof piece or a hinged top for access.
6. Sand And Finish:
– Lightly sand edges. Apply a thin coat of non-toxic exterior stain to outside surfaces only; avoid painting interior. Let dry fully.
7. Mount And Monitor:
– Mount the box on a pole or tree, using screws through the back panel into a post, or use a sturdy baffle for predator control. Place at recommended height and orientation. Monitor occupancy from a distance to avoid disturbance.
When installed, check monthly during the breeding season without opening the box; resist the urge to peek often. After breeding, clean out old nesting materials in late fall to reduce parasites.
## Remedy 2: Predator-Proofing Your Birdhouse
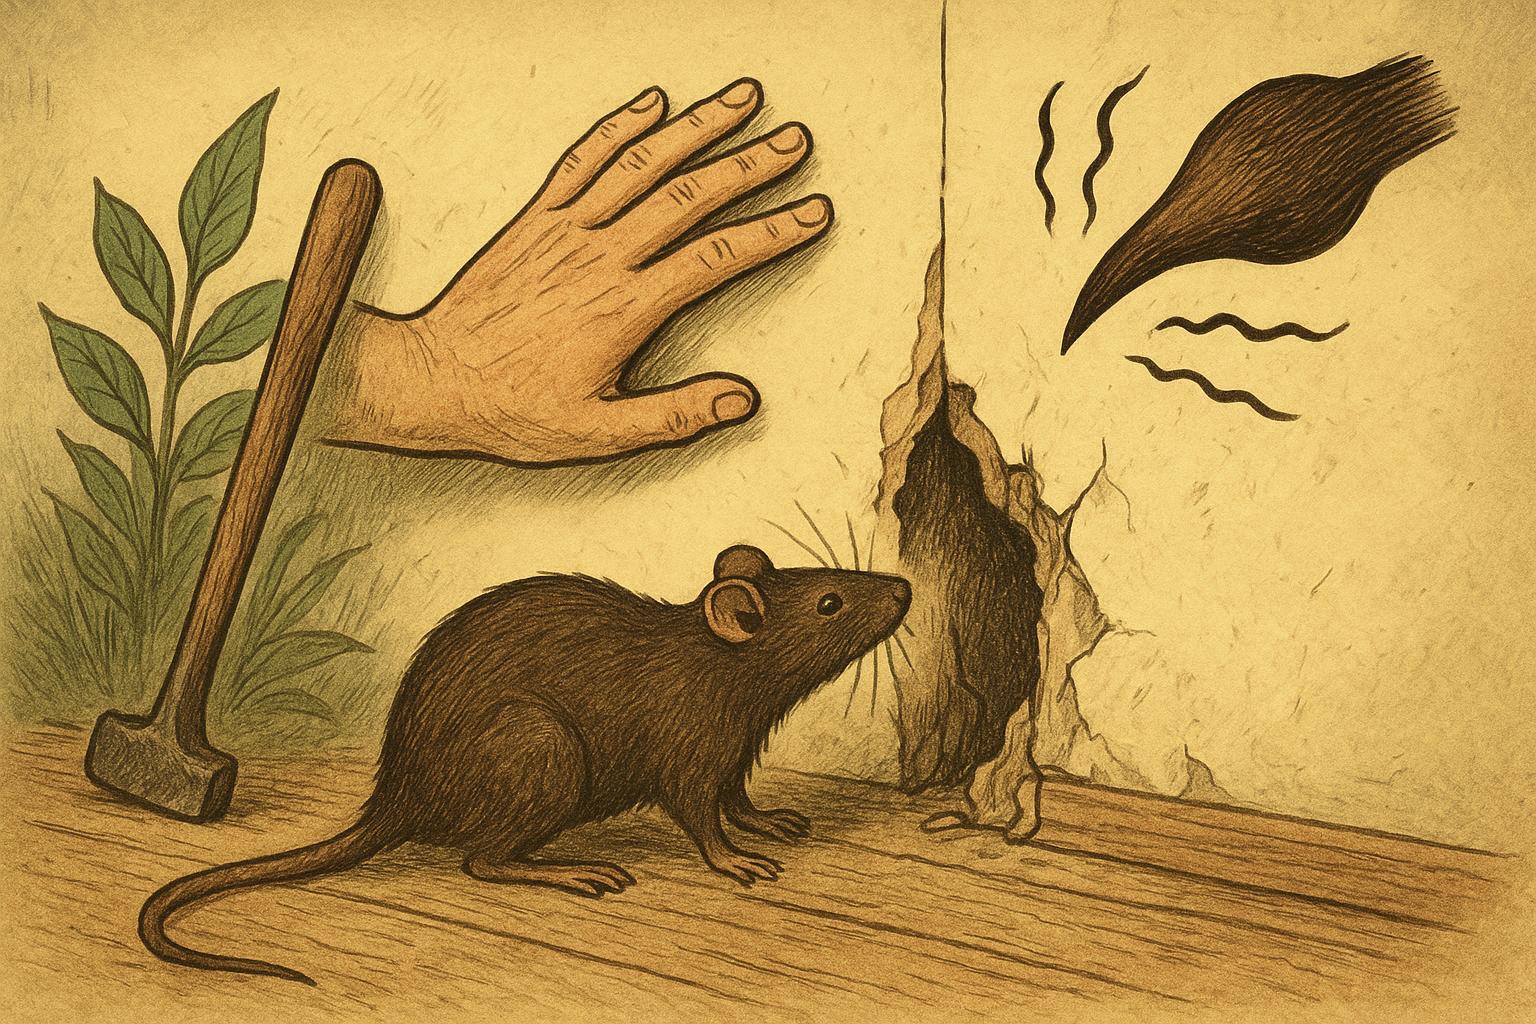
Predation by raccoons, snakes, cats, and squirrels is a major cause of nest failure. Formal, evidence-based predator-proofing reduces losses and is essential for successful urban and suburban nest box programs.
#### Materials Required
– Metal predator guard (cone or collar) sized for your box
– Sturdy mounting pole (metal or treated wood) with smooth surface
– Pole baffle or commercial flanged baffle
– Hardware cloth (¼” mesh) for entrance reinforcement if necessary
– Galvanized screws and washers
– Drill and cutting tools
#### Step-By-Step Creation And Application
1. Select Mounting Method:
– Prefer poles over trees. Poles reduce access routes and allow for baffle installation. Use a smooth, metal pole or wrap wooden poles with sheet metal for slipperiness.
2. Install Pole And Baffle:
– Securely set the pole to recommended depth for stability. Slide a cone-shaped or cylindrical baffle up the pole so it sits several feet below the birdhouse; the baffle should be at least 18 inches wide on the cone.
3. Attach Predator Guard To Entrance:
– Fit a metal entrance guard around the hole to prevent squirrels and larger birds from enlarging the entrance. Ensure edges are smooth and secured flush to the front.
4. Keep Perimeter Clear:
– Trim branches within 10–12 feet of the box to deny launch platforms for cats and raccoons. Avoid placing birdhouses near bird feeders that attract predators.
5. Monitor And Adjust:
– Observe for signs of attempted predation (scratch marks, disturbed nests). Reposition or add additional baffles if problems persist.
These measures, when implemented rigorously, have been shown to significantly improve nesting success by minimizing predator access while keeping the box accessible to intended species.
### Maintenance And Cleaning
Maintain boxes annually. In late fall or early winter, open and remove old nest material, scrub the interior with a diluted bleach solution (one part bleach to nine parts water), rinse thoroughly, and dry. Replace or repair any loose hardware or damaged wood. Clean only when nests are not in use to avoid harming birds.
### Decorating Without Hurting Birds
It’s tempting to paint whimsical patterns, but heavy paint on interiors or dark colors that absorb heat can harm nestlings. If you decorate, do so sparingly and only on exterior surfaces with light, natural tones. Avoid glitter, lead-based paints, or small decorative parts that could be ingested.
#### Encouraging Neighborly Birds
To coax birds to your new sanctuary, pair the birdhouse with native plants, a shallow water source, and insect-friendly gardening practices. Avoid pesticides—many nesting birds rely on insects to feed their young. Place a birdbath within sight but not so close that predators can easily hide.
### Watching With Care
Enjoy observing from a distance; use binoculars or set up a camera if you want close-up action without stress. Birds may take time to discover a new house—patience is part of the charm. If a species seems to prefer a slightly different entrance size or placement, consider building another box with adjusted dimensions.
There you go: practical plans, humane protections, and a little encouragement to get your project rolling. Your backyard can become a small, bustling community of winged tenants—with a tasteful birdhouse or two as cozy focal points.


Leave a Reply