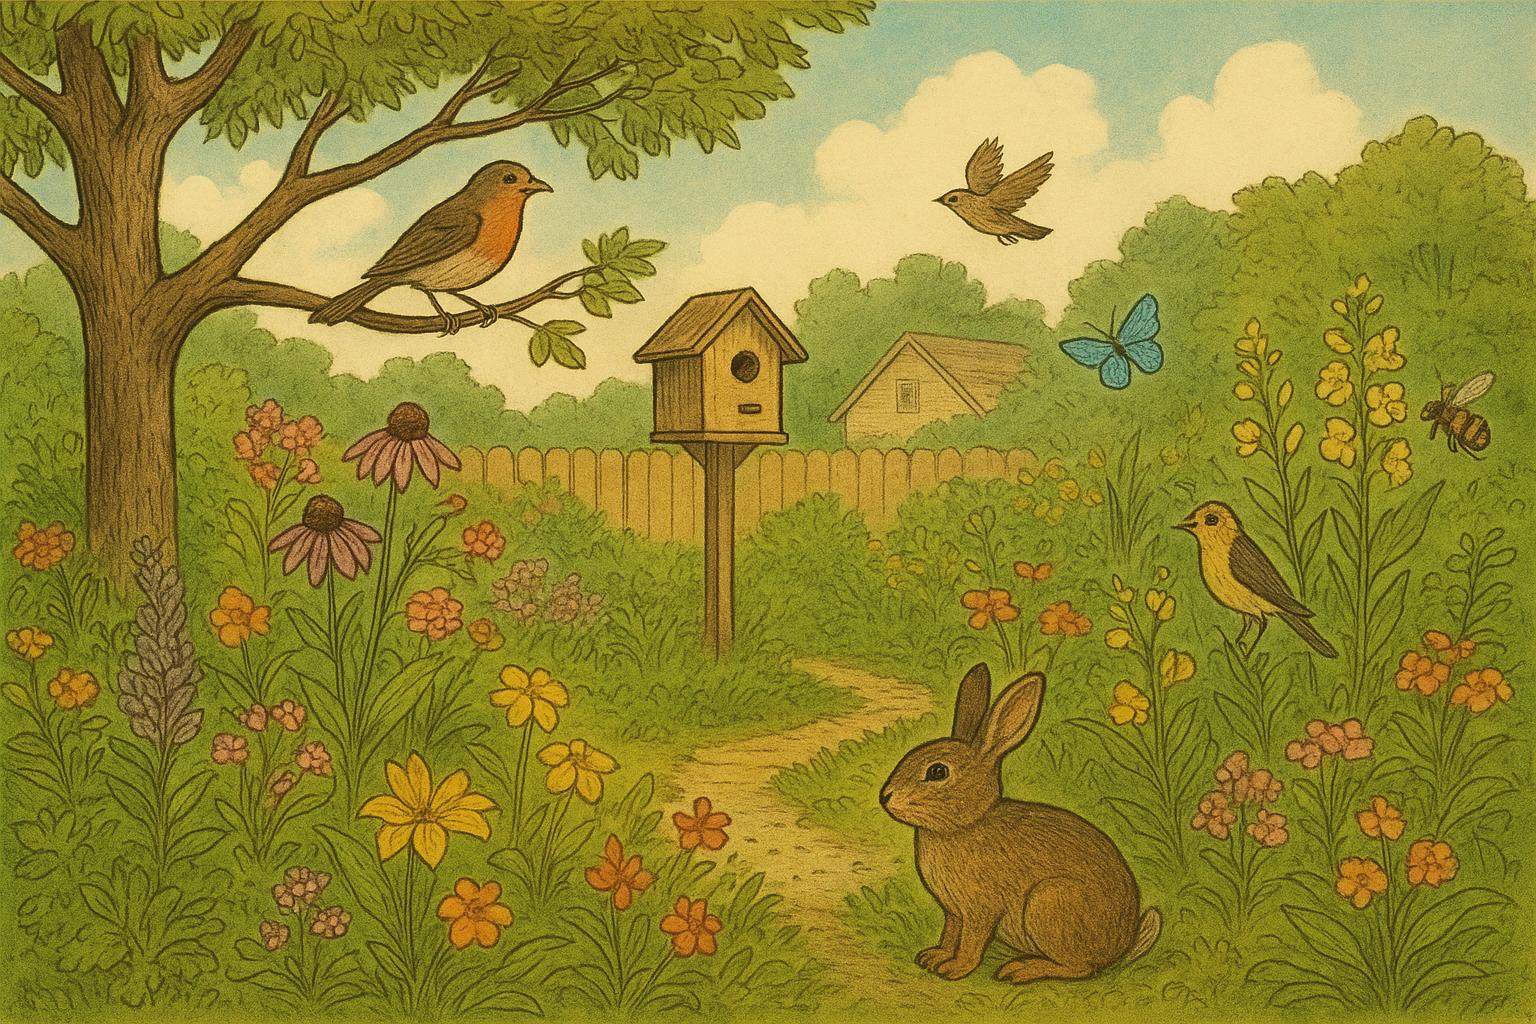
If you’ve ever wanted your yard to feel less like a mown carpet and more like a small, organized wilderness where birds gossip and pollinators clock in for overtime, you’re in the right place. This guide walks you through how to turn ordinary turf into a practical, beautiful wildlife garden without needing a degree in ecology or a small tractor.
## Creating A Wildlife Garden: The Basics
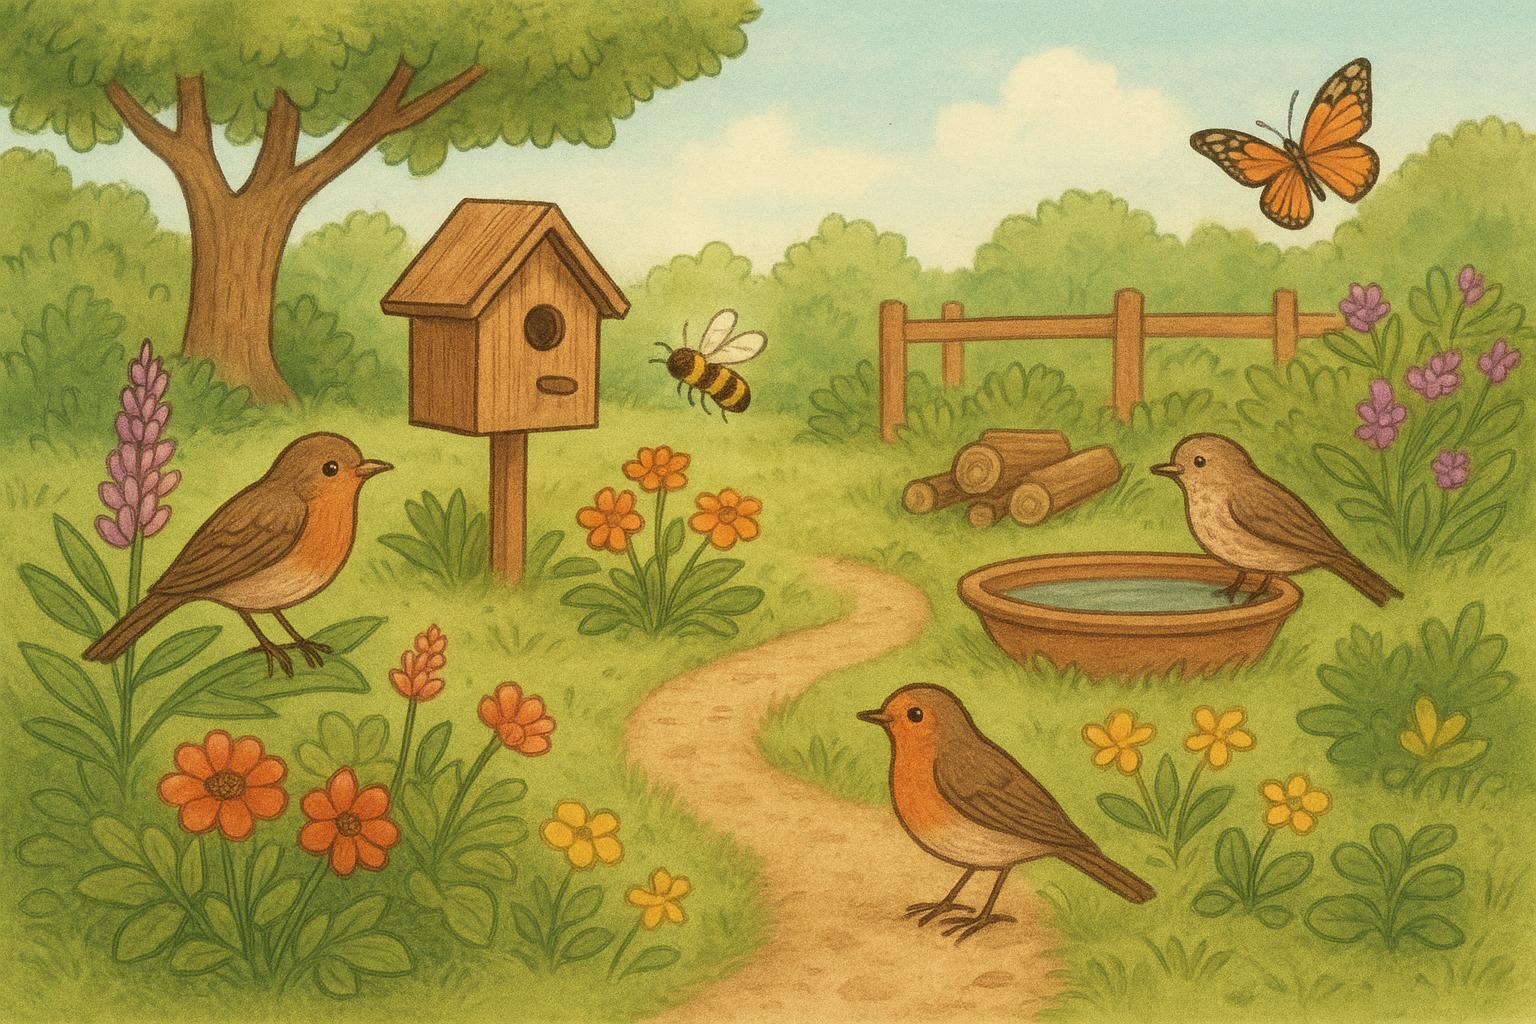
A successful wildlife garden is intentionally messy—at least from a gardener’s perspective—and structured in ways that provide food, water, shelter, and breeding habitat. Start by observing your yard for a week: where does sun hit, where puddles form, which corners are wind-swept? A map sketched on a napkin will do. The goal is to place features where they’ll be most effective and least likely to conflict with human use.
Why a wildlife garden? Besides the joy of seeing life up close, you’ll be supporting declining pollinator populations, reducing the need for chemical controls, and enhancing ecosystem services like pest control and soil health. Plus, it’s a great excuse to leave that pile of fallen leaves alone.
### Plan Zones And Priorities
Think in zones: active-use areas (patio, play space) and wildlife zones (native plantings, refuge patches). Set realistic goals—do you want more birds, more butterflies, better soil? Prioritize native plants above exotics; they generally support more local insects, which in turn feed birds and small mammals.
### Soil, Water, And Sunlight Considerations
Test your soil loosely: dig a hole and observe drainage. Document sunny and shady hours. Water sources don’t need to be elaborate—just consistent and clean. Even a shallow dish or small pond will draw in life.
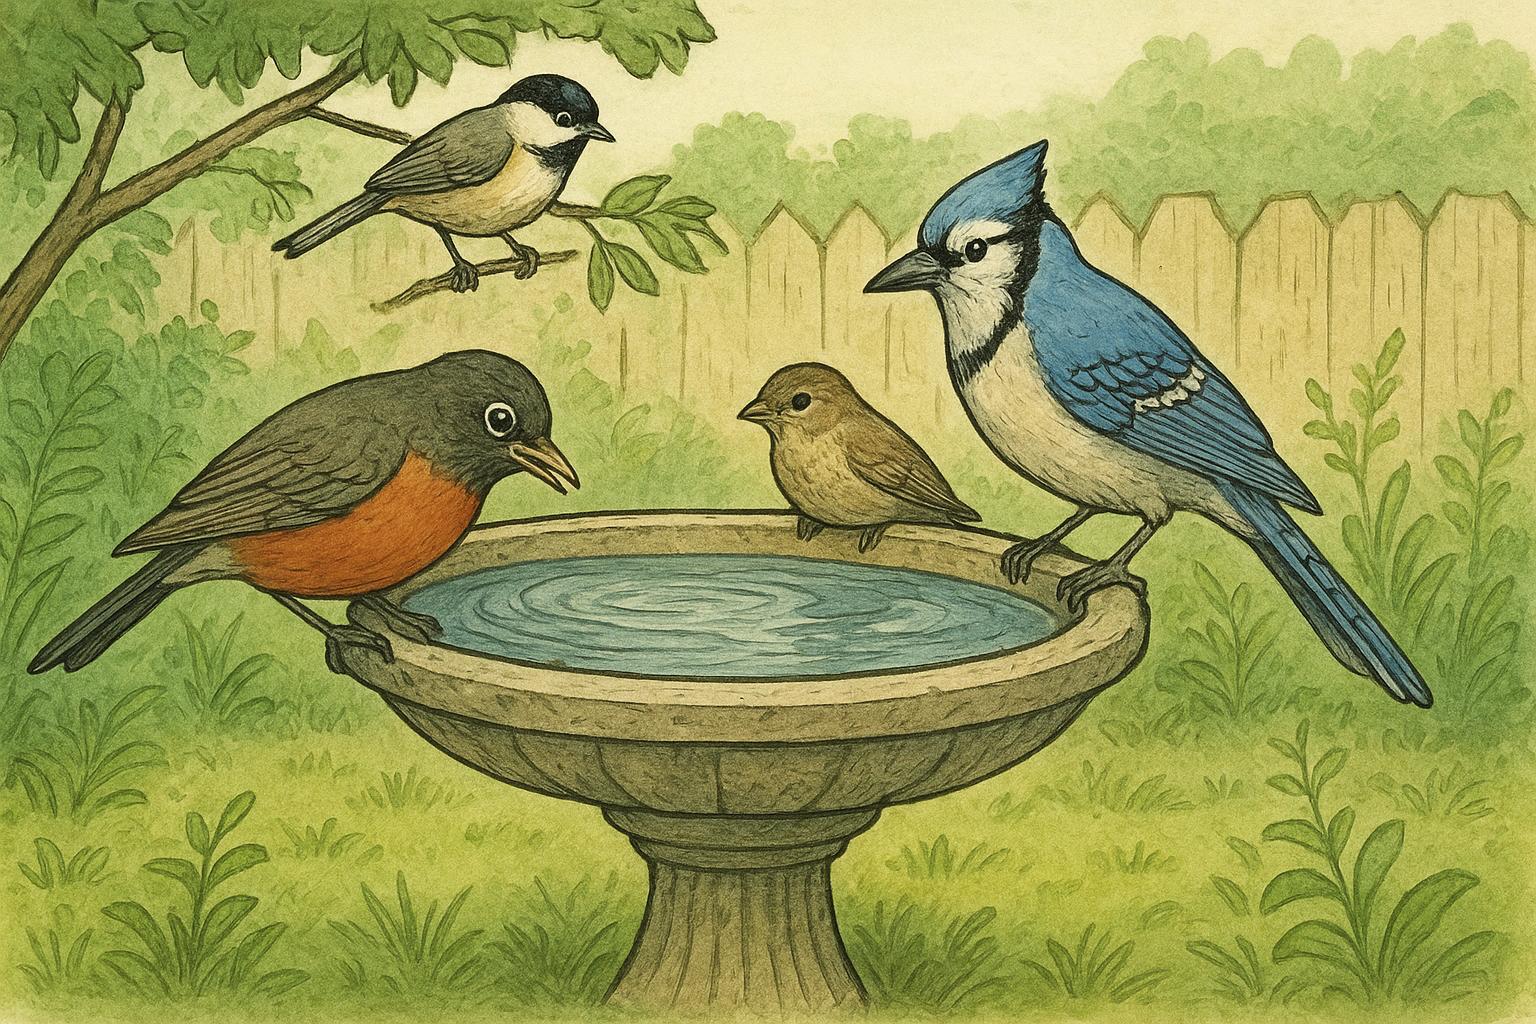
## Remedy 1: Build A Simple Water Feature
Use this formal, step-by-step remedy to establish a reliable water source that attracts a wide range of species.
Materials Required
– Rubber or rigid pond liner (sized to your intended feature)
– Shovel
– Leveling tools (stakes and string)
– A few flat stones and gravel
– Submersible pump (optional, for circulating water)
– Native marginal plants (pickerelweed, water mint)
Step-By-Step Creation And Application
1. Site Selection: Choose a low spot with partial sun and easy access for maintenance. Avoid placing the feature directly under trees to minimize leaf litter buildup.
2. Excavation: Mark the outline and excavate to the liner’s recommended depth, creating gradual shelves for plants.
3. Leveling: Ensure the bottom is level to prevent uneven water depth. Compact soil gently with the back of the shovel.
4. Liner Installation: Lay the pond liner, smoothing folds inward; trim excess but leave a margin for anchoring with stones.
5. Edge Treatment: Place flat stones along the edge to secure the liner and create natural perches for wildlife.
6. Planting: Add marginal, oxygenating, and floating native plants to provide cover and breeding sites for insects and amphibians.
7. Water Filling & Conditioning: Fill with rainwater when possible. If using tap water, let it sit 48 hours to off-gas chlorine, or use a dechlorinator per label instructions.
8. Optional Circulation: Install a small pump and fountain to prevent stagnation while maintaining shallow gently-sloped edges for wildlife access.
9. Maintenance: Remove excess algae manually and top up water during dry spells; avoid chemical algaecides that harm wildlife.
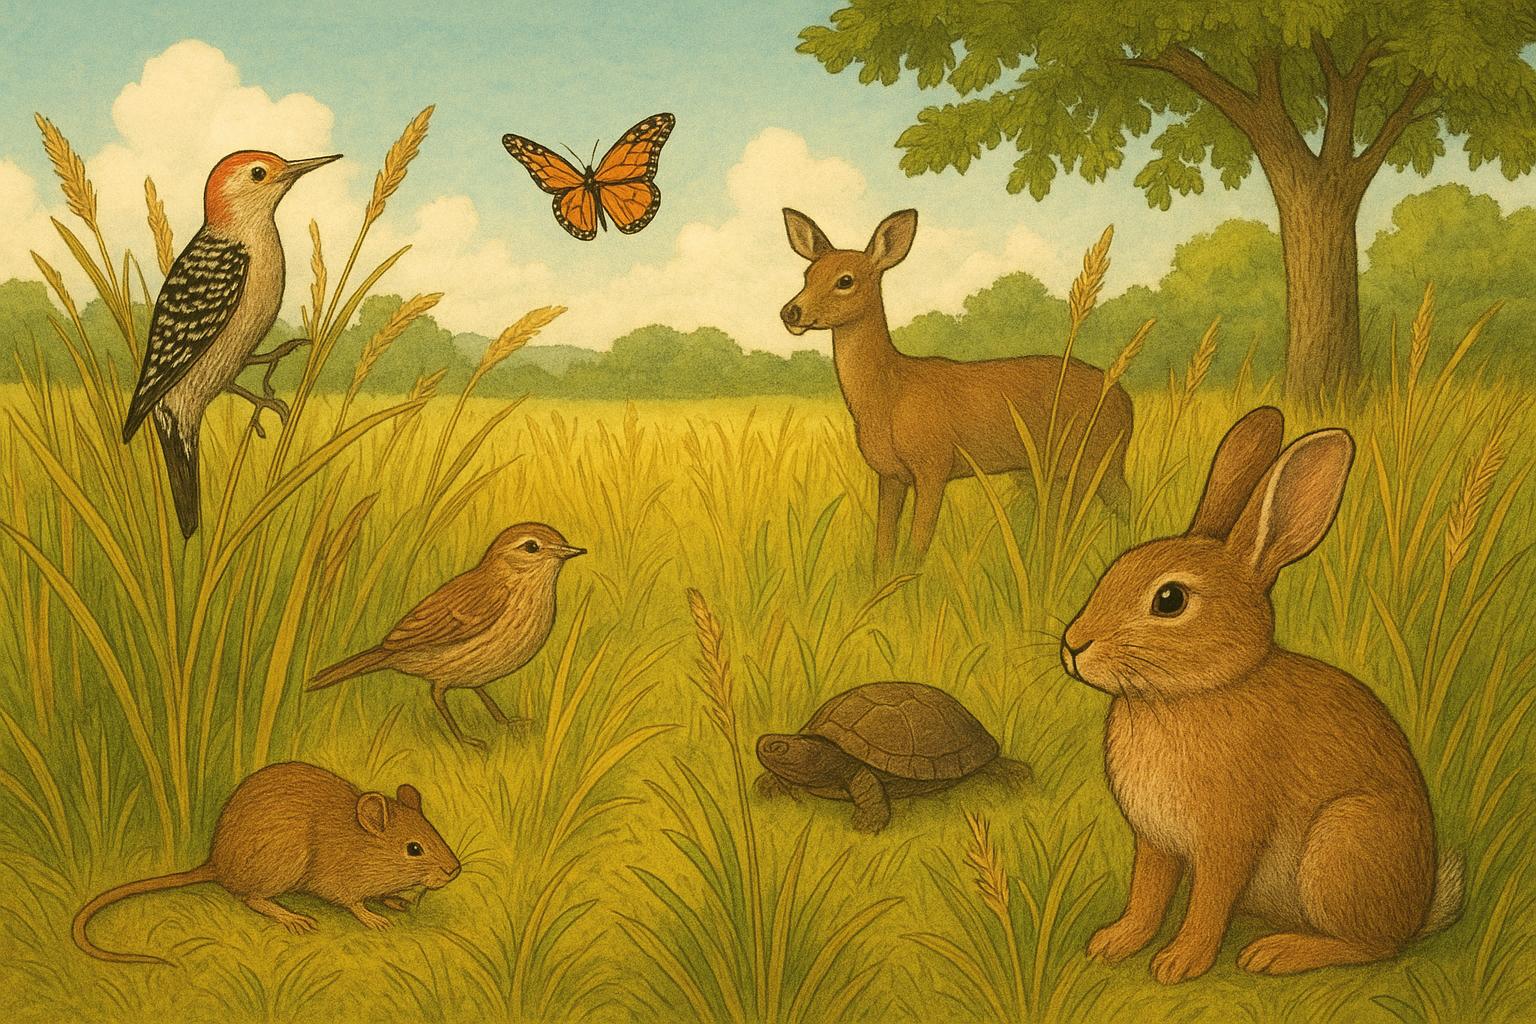
## Remedy 2: Create A Native Plant Meadow Patch
A meadow patch is a high-impact change that can be sized to fit a postage-stamp yard or a quarter-acre lot. Formal instructions follow.
Materials Required
– Native wildflower and grass seed mix suited to your region
– Rake and garden fork
– Wheelbarrow and compost (if improving poor soil)
– Temporary native plant plugs (optional)
– Mulch straw (weed-free)
Step-By-Step Creation And Application
1. Site Preparation: Mow or sod-cut the area to a low height. If turf is thick, remove the top layer to reduce competition.
2. Soil Preparation: Loosen the top 2–3 inches with a fork; incorporate a thin layer (¼–½ inch) of compost if soil is sandy or depleted.
3. Seed Selection: Choose a locally sourced seed mix emphasizing perennial native species and a diversity of bloom times.
4. Seeding: Broadcast seed evenly; use a seed spreader for larger areas. Lightly rake or press seeds into the soil—do not bury deeply.
5. Mulching: Apply a thin layer of weed-free straw to retain moisture and protect seeds from birds.
6. Initial Watering: Keep the seeded area moist until seedlings establish—daily light watering if weather is hot and dry.
7. First Year Management: Expect a weedy first year; mow to 4–6 inches in mid-summer if weeds dominate, then allow natives to bloom in subsequent years.
8. Long-Term Care: Mow or cut back in late winter/early spring to simulate natural disturbance and promote healthy regrowth.
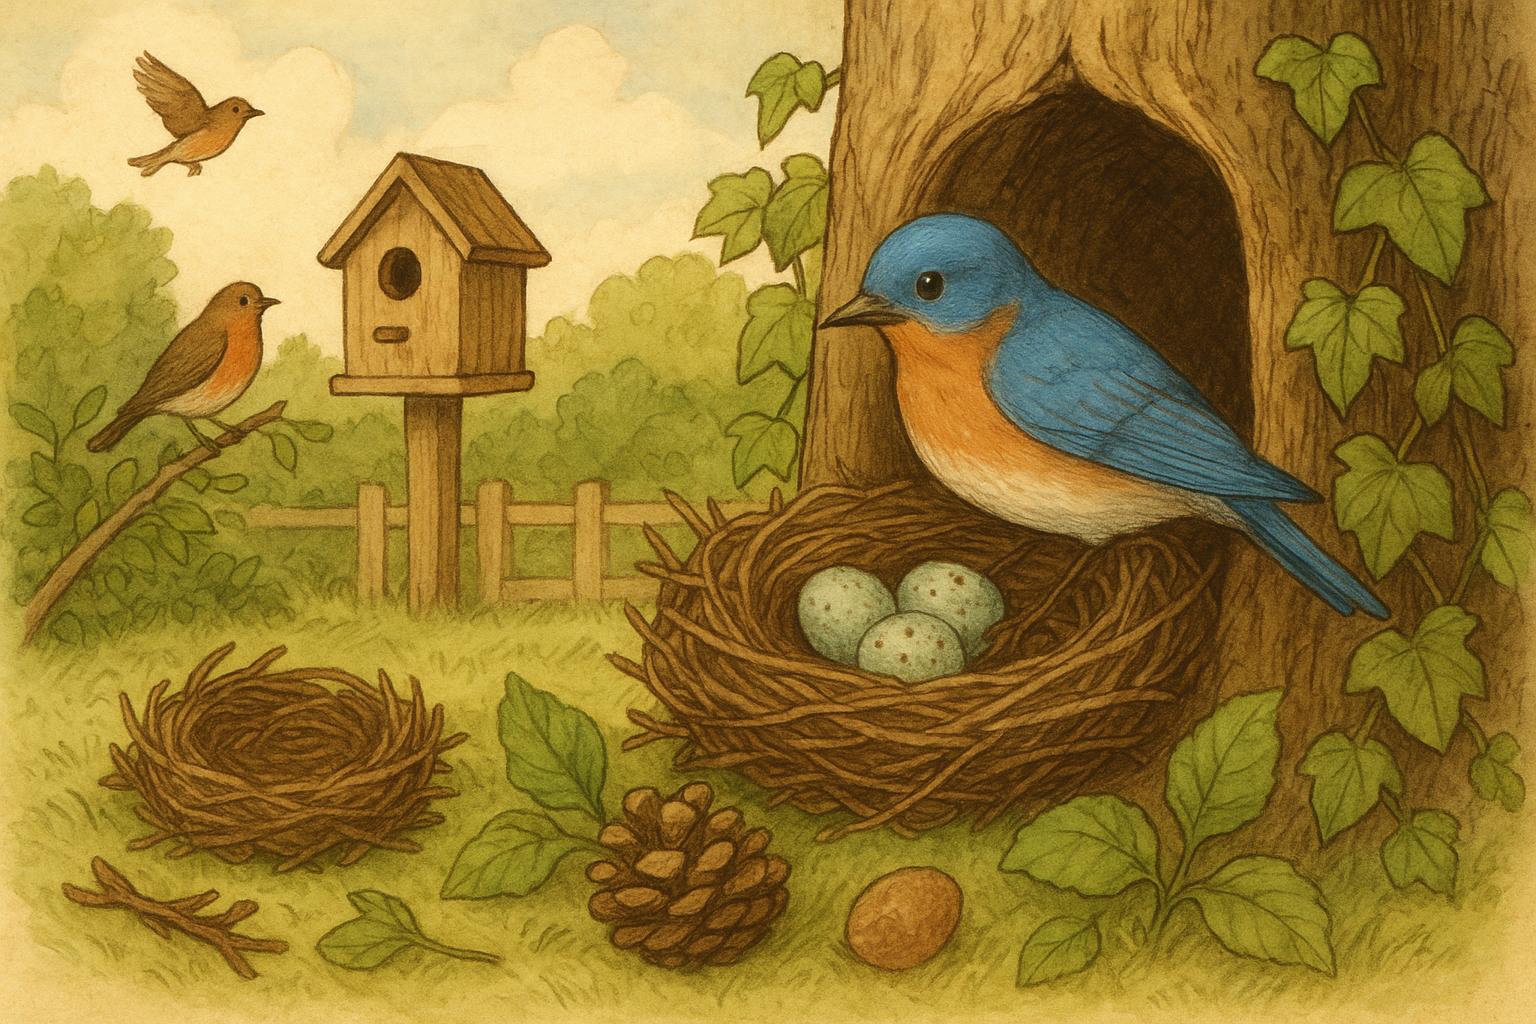
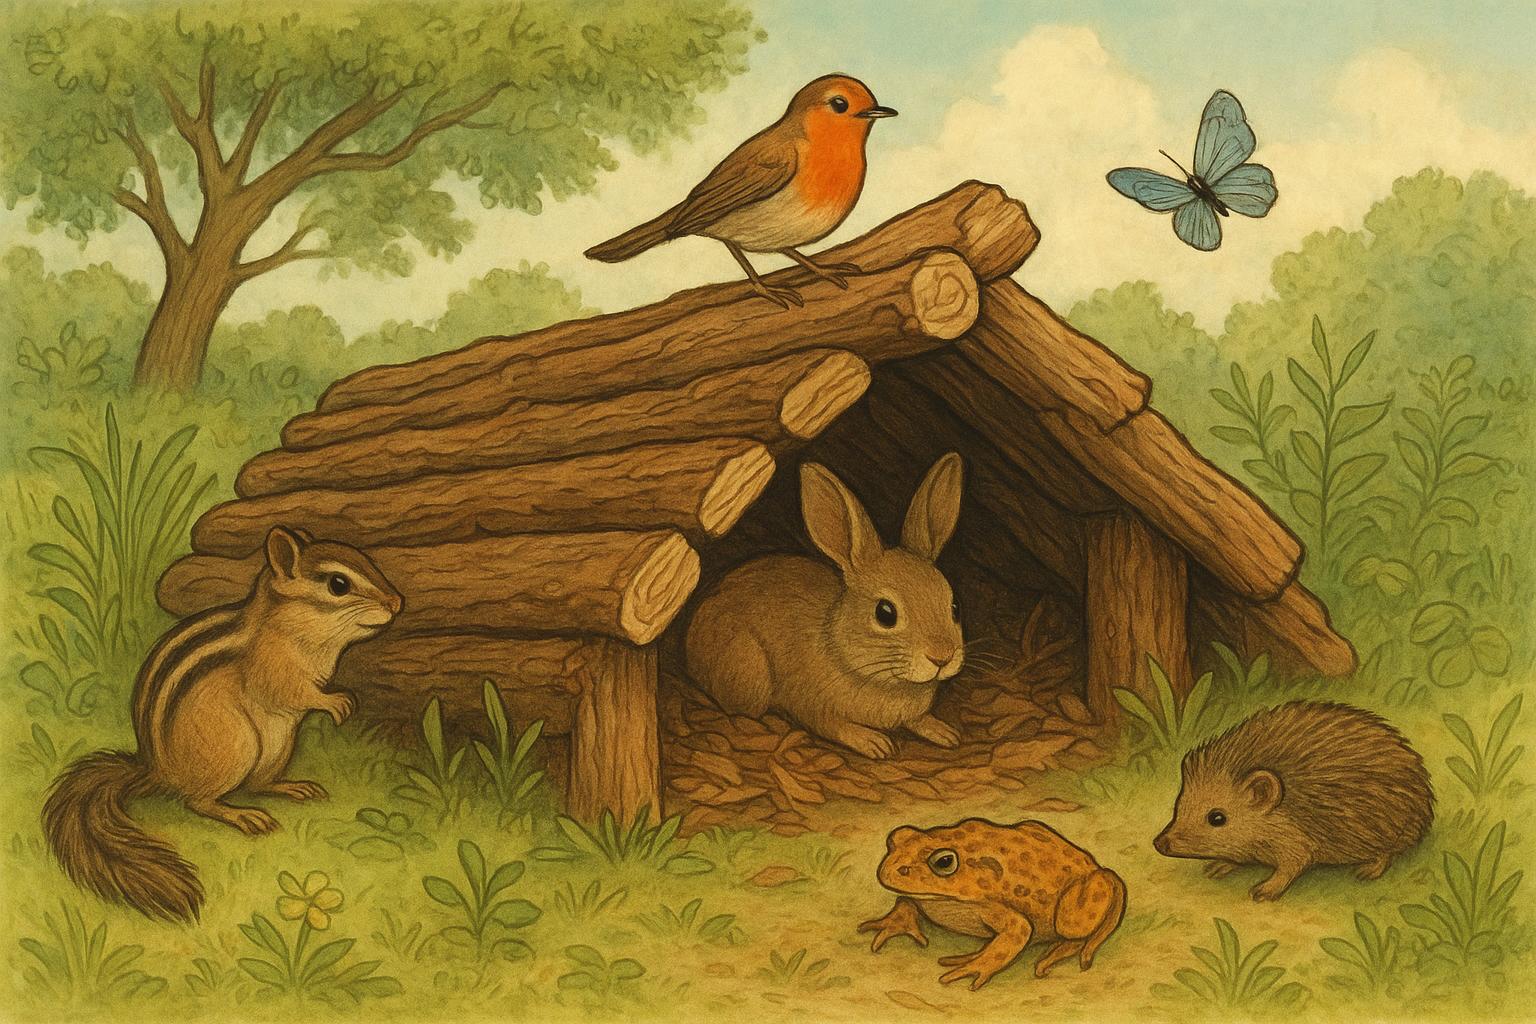
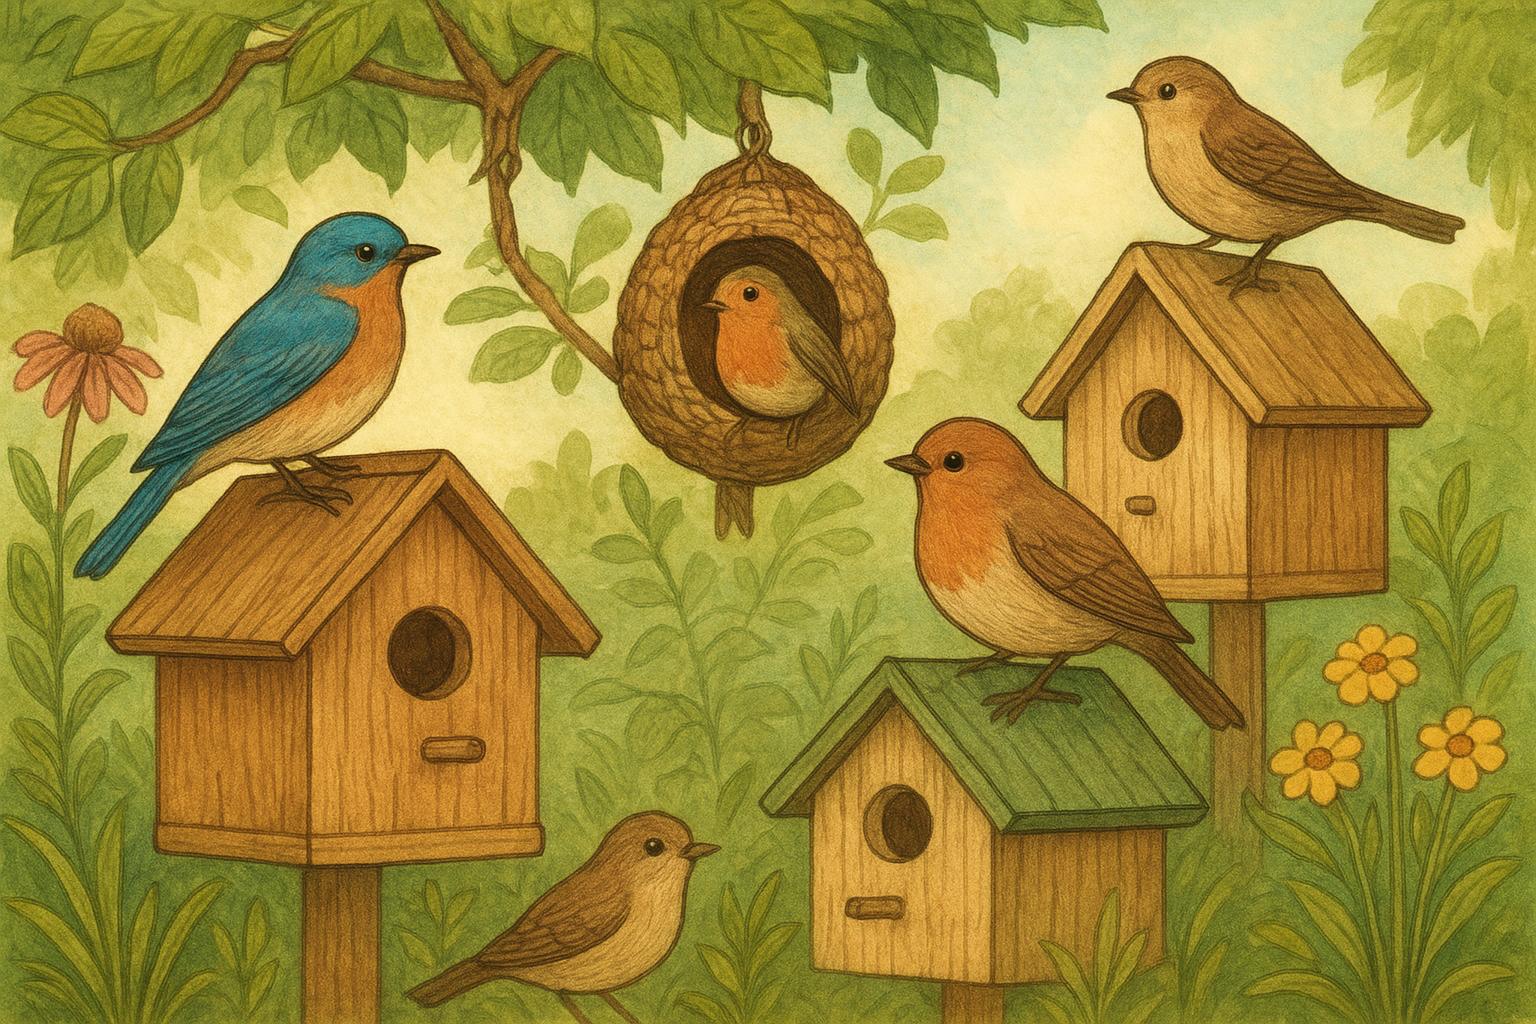
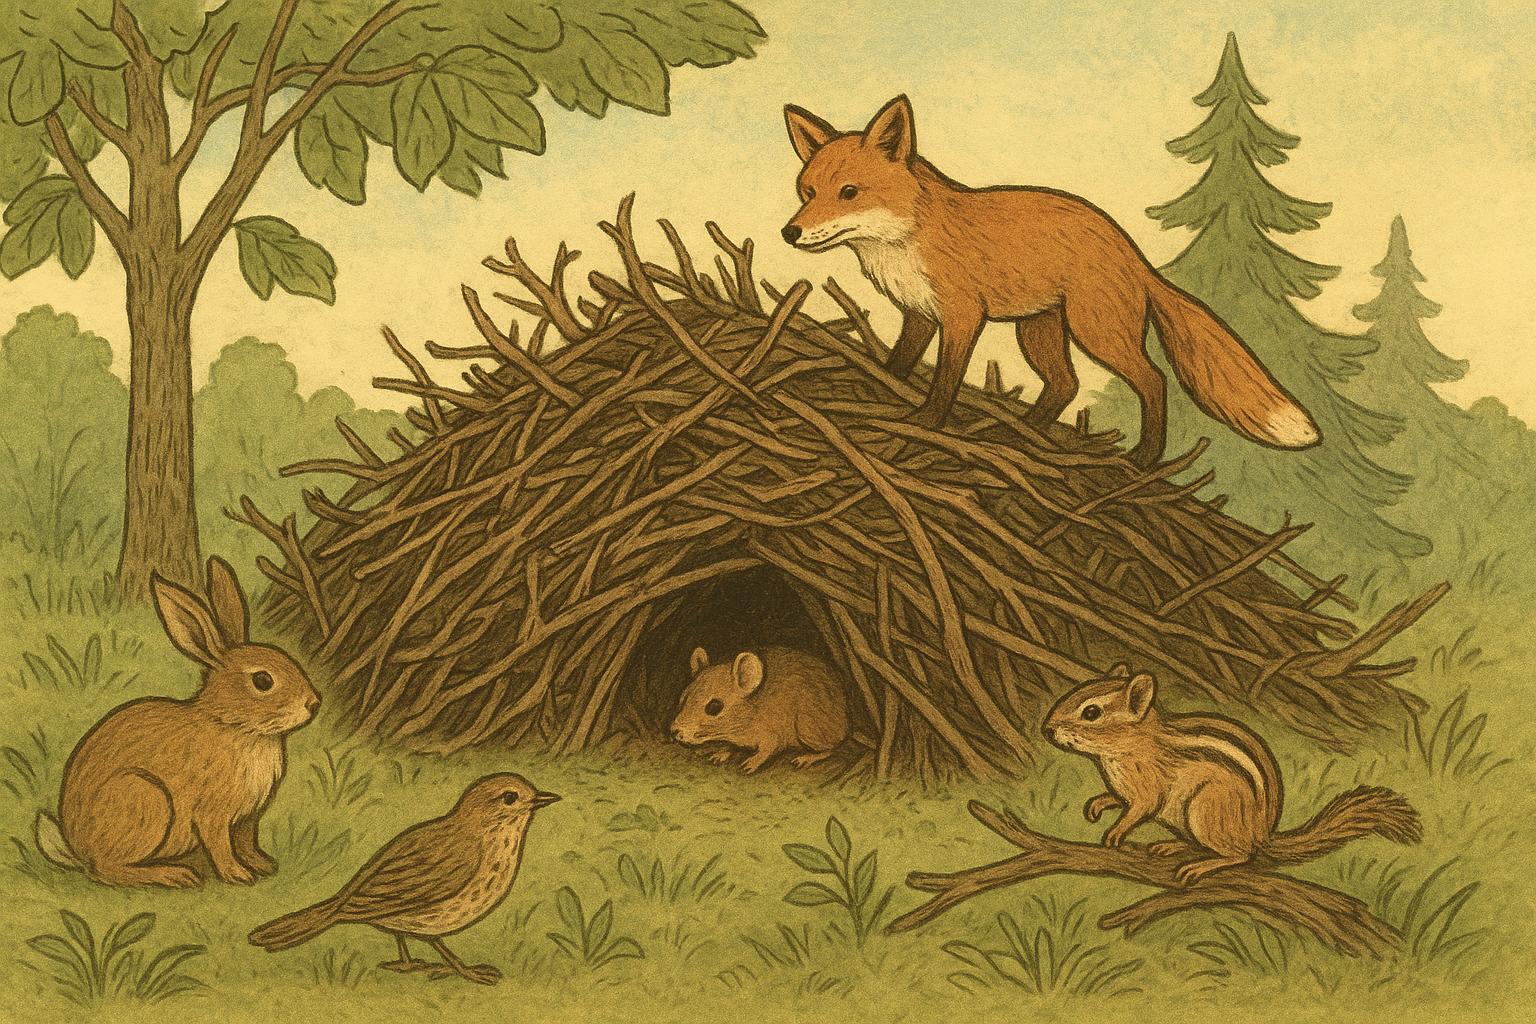
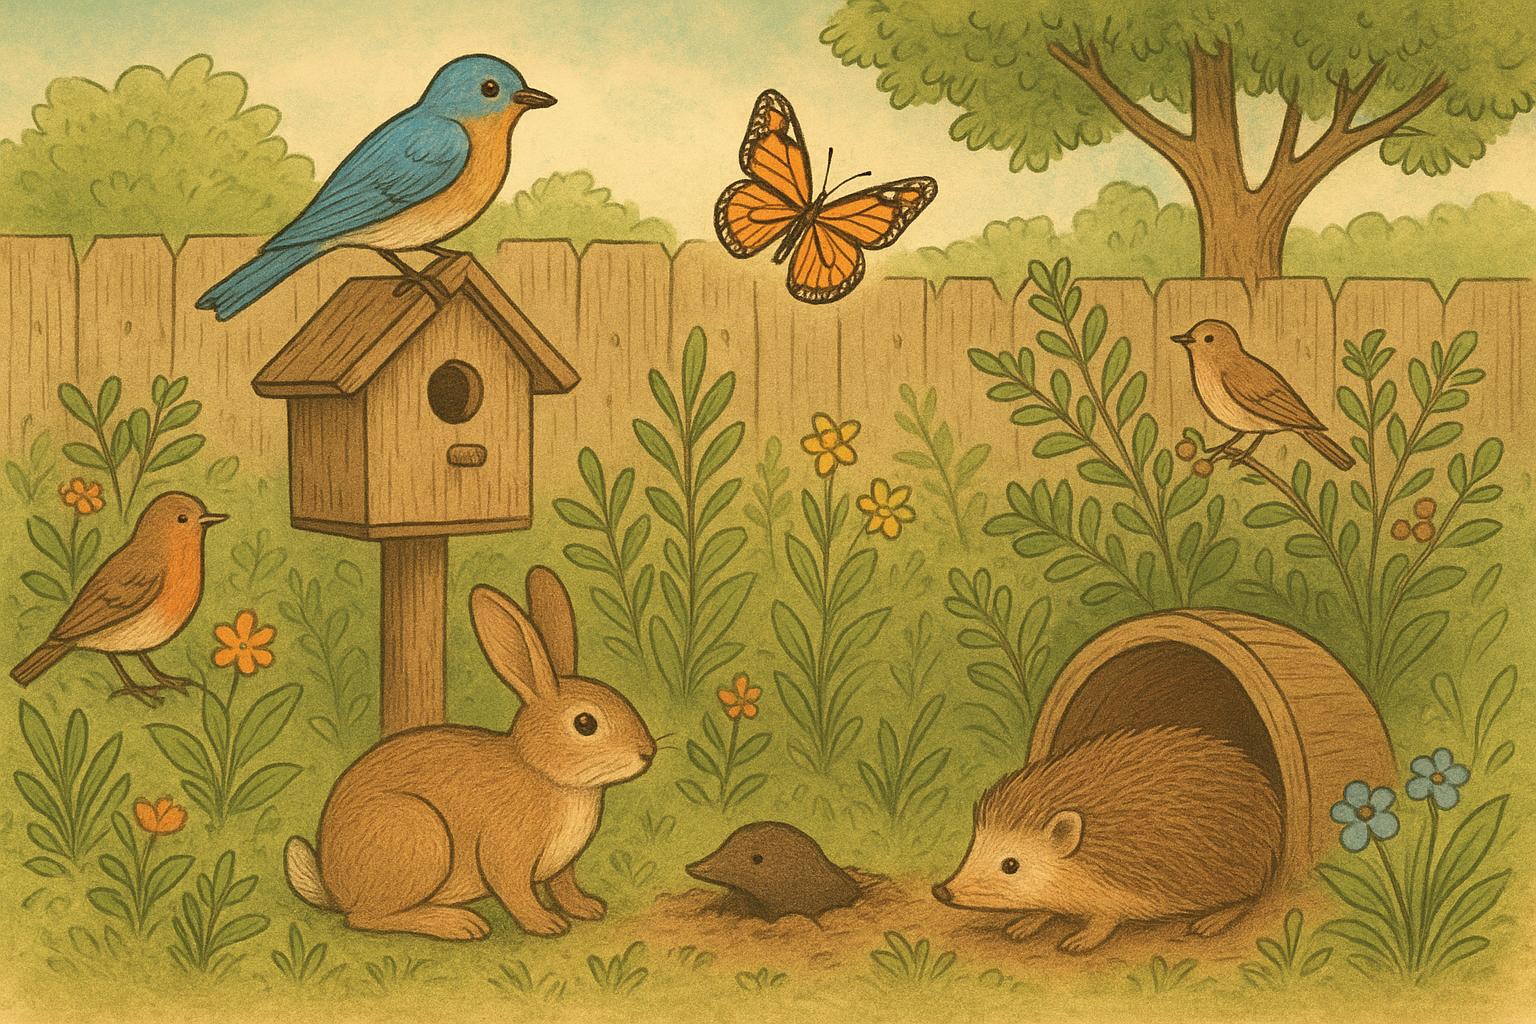
## Remedy 3: Install Shelter And Nesting Sites
Wildlife needs refuge. This formal remedy details creating structural diversity for nesting and hibernation.
Materials Required
– Deadwood logs or untreated lumber for bee blocks
– Native shrub and small-tree saplings (holly, dogwood, serviceberry)
– Brush pile materials (brush, branches)
– Nest boxes appropriate to target species (dimensions per species guide)
– Hardware cloth and screws (for mounting and predator guards)
Step-By-Step Creation And Application
1. Structural Planning: Identify locations that are sheltered, near food sources, and minimally disturbed by human activity.
2. Brush Piles: Stack branches in a dedicated corner, mixing fine twigs and thicker logs to create microhabitats; stabilize with larger logs as a base.
3. Deadwood Placement: Incorporate logs at ground level or partially buried to harbor insects and fungi essential to the food web.
4. Bee Blocks: Drill nesting holes (3–8mm diameter) into untreated hardwood blocks, spacing holes at least 1⁄2 inch apart and drilling 3–4 inches deep. Mount blocks 3–6 feet high facing morning sun.
5. Nest Boxes: Choose species-specific designs and position boxes at recommended heights and orientations; add predator guards where necessary.
6. Shrub Planting: Install native shrubs in clusters to provide secure cover and berry crops; use mulch and water to establish.
7. Monitoring And Maintenance: Check nest boxes annually, clean out debris in late winter, and avoid pruning or disturbing core shelter areas during breeding season.
### Microhabitat Tips
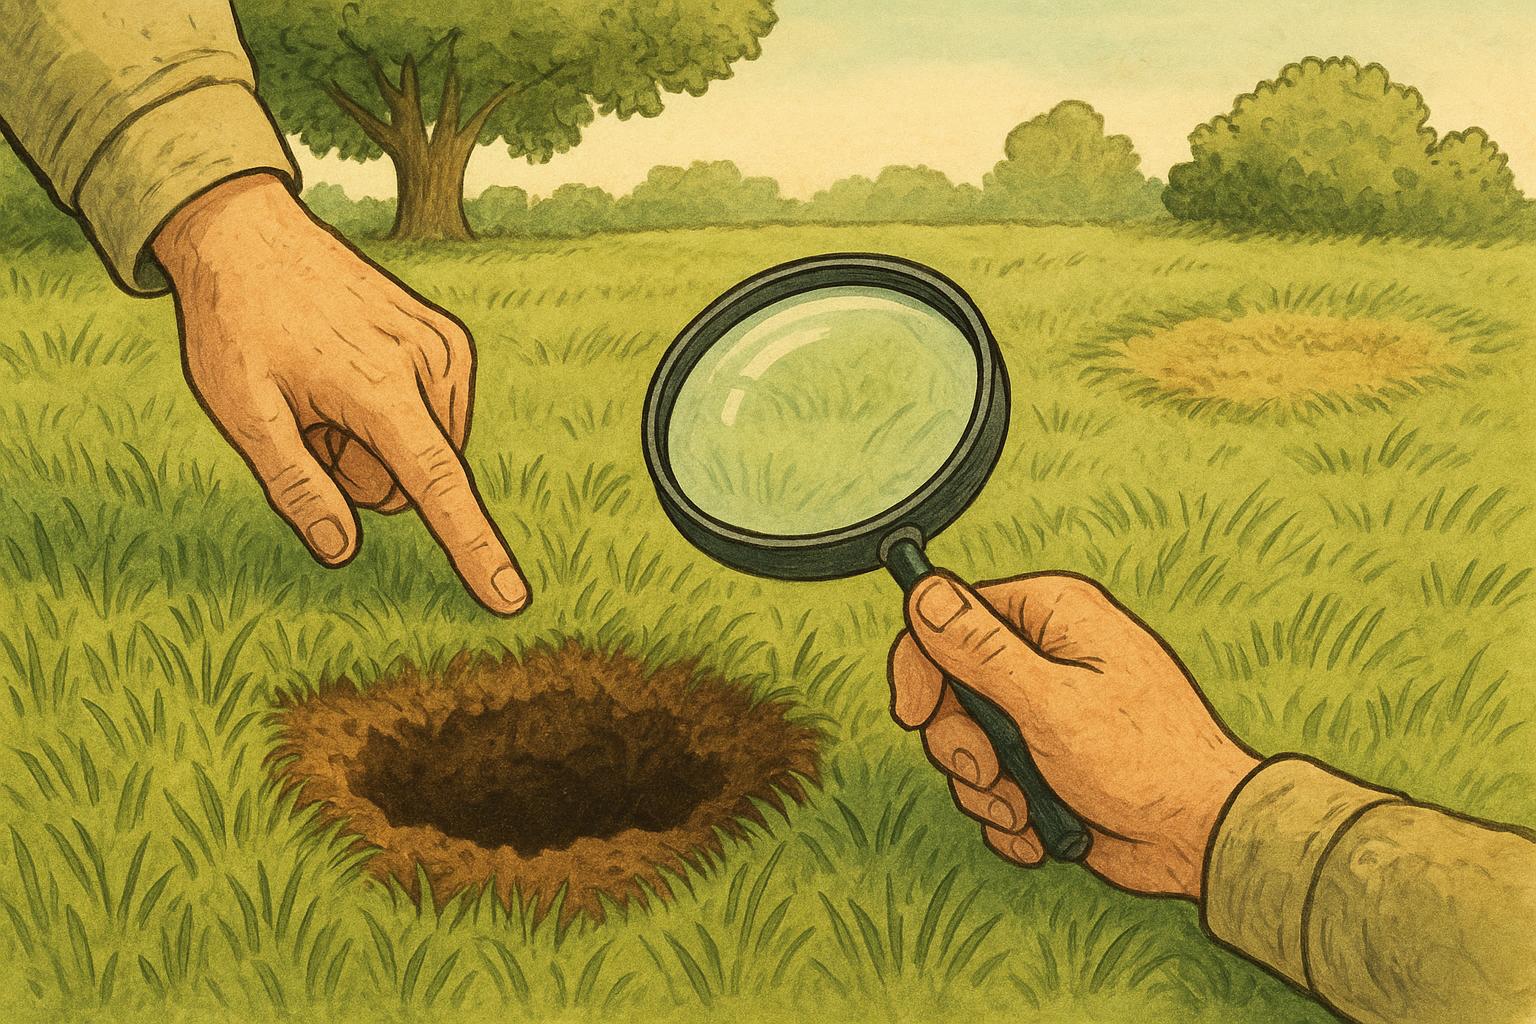
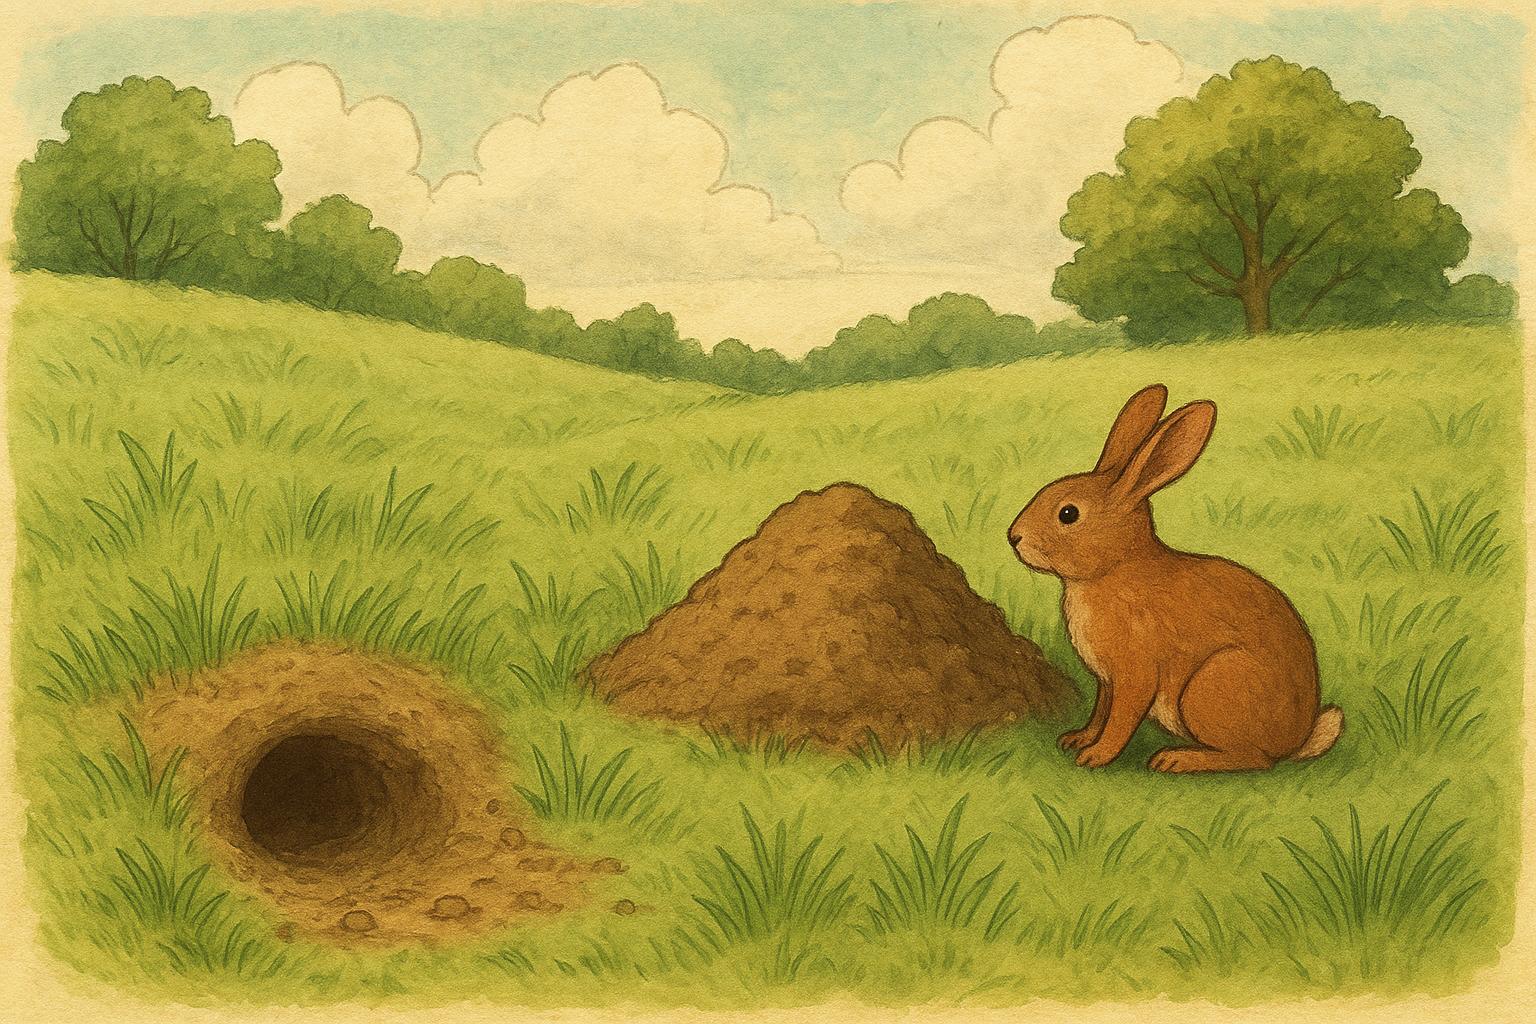
Incorporate rock piles for reptiles, log salamander refuges for amphibians, and leaf piles for overwintering insects. These small elements multiply habitat value beyond their footprint.
### Plant Palette And Seasonal Planning
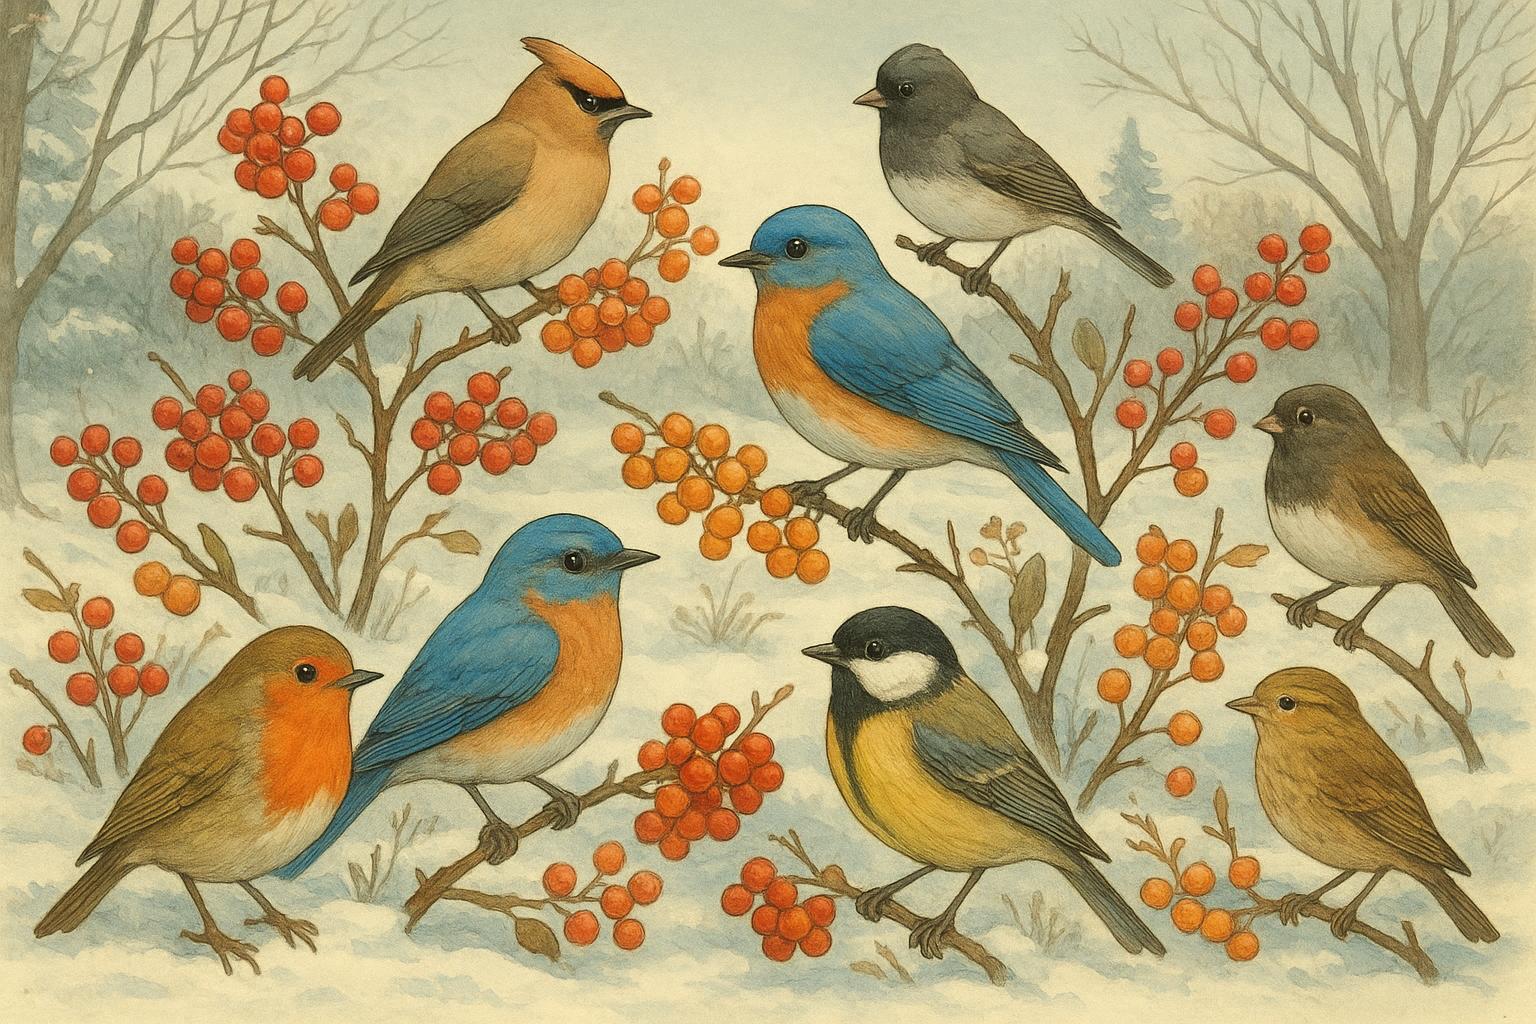
Select a mix of early-, mid-, and late-season bloomers so your wildlife garden offers nectar and pollen as the seasons progress. Include host plants for caterpillars (milkweeds for monarchs, native parsley family members for swallowtails) and berry-producers for fall and winter birds.
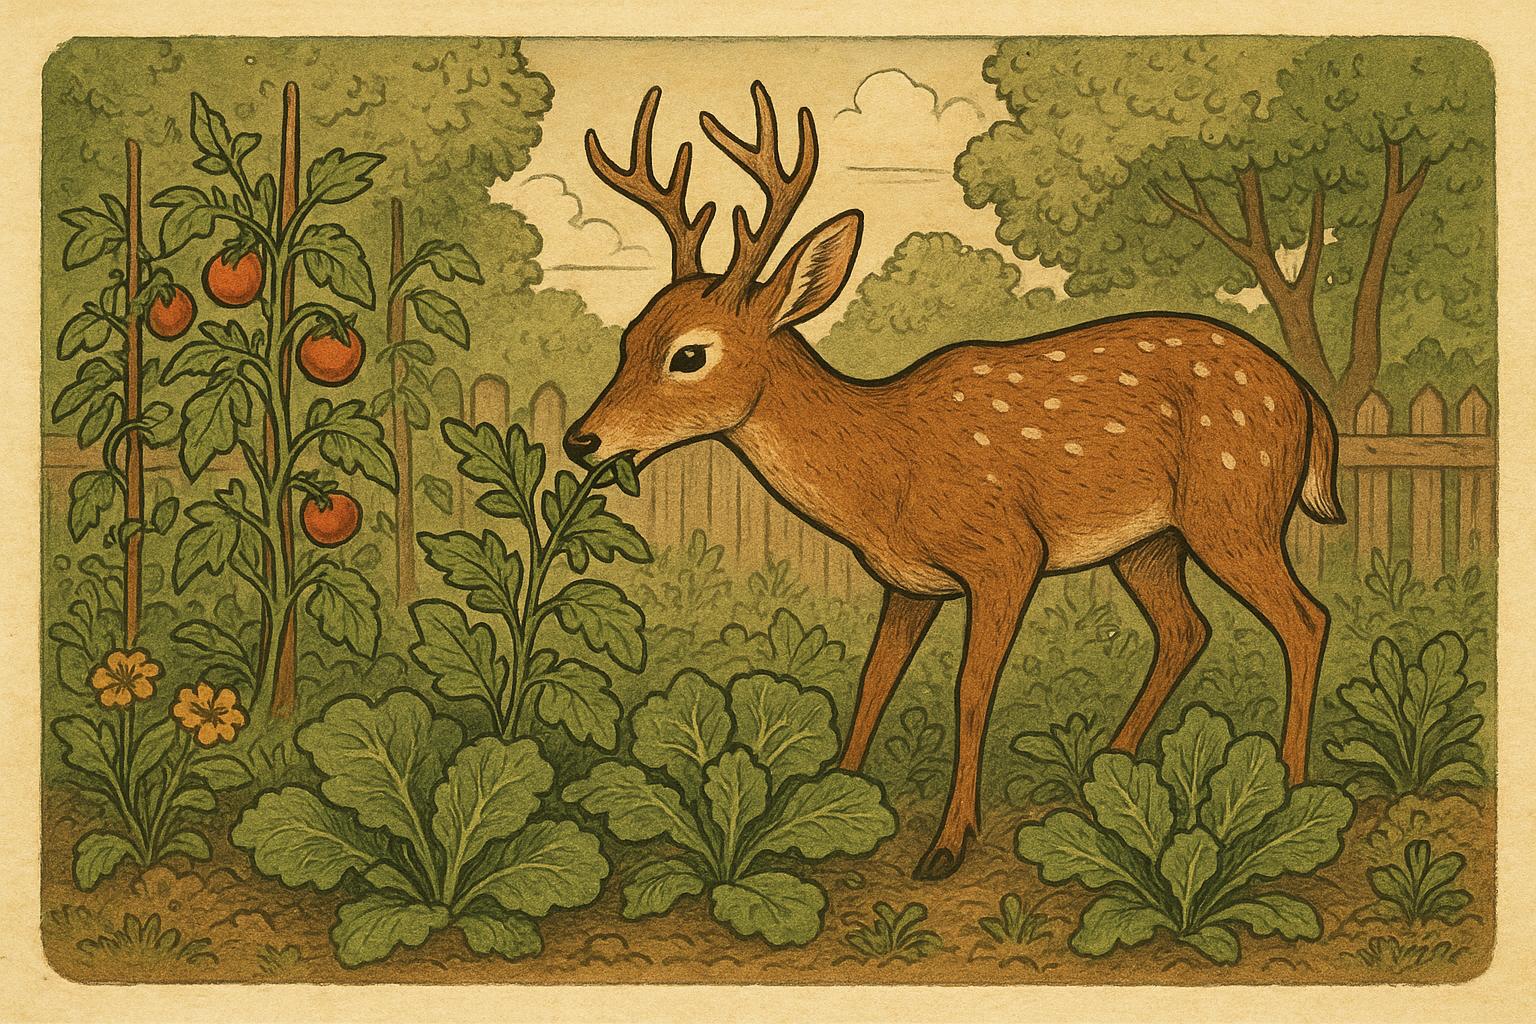
## Managing Pests Without Chemicals
If pests appear, favor mechanical and biological controls first. Hand-pick large pests, use row covers for young plants, and encourage predator populations (ladybugs, lacewings, birds). When intervention is necessary, choose targeted, least-toxic options and apply them in the evening to minimize non-target impacts.
### Nighttime Lights And Predation
Reduce outdoor lighting or use motion-activated fixtures. Artificial light disorients nocturnal insects and decreases the efficiency of nocturnal predators like bats.
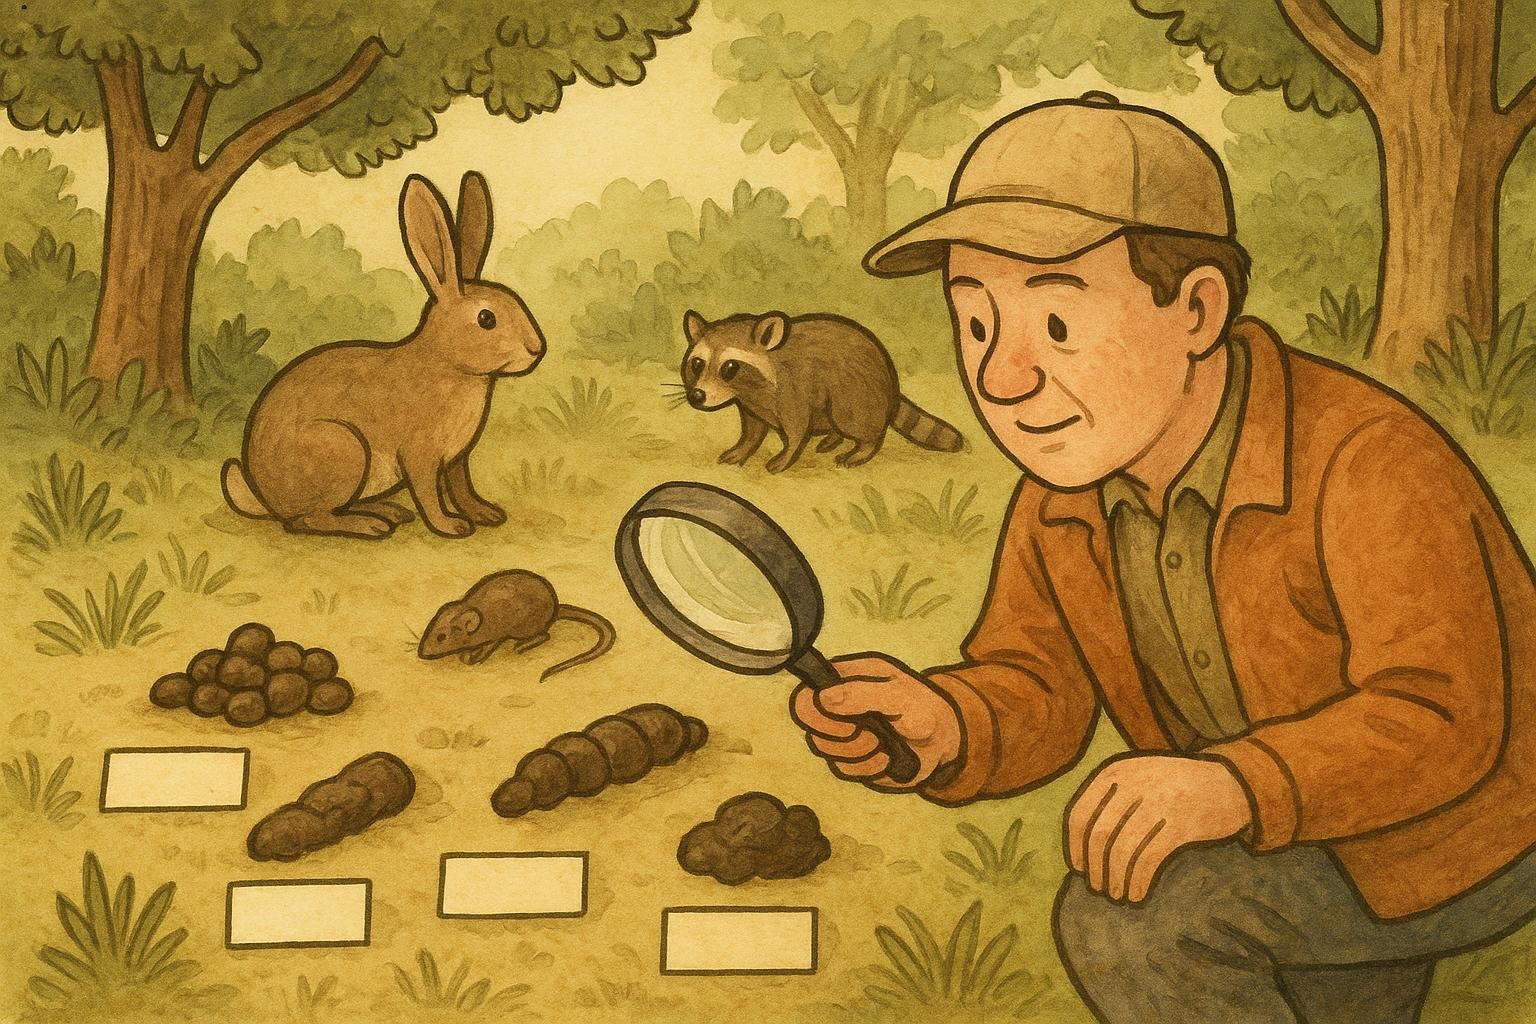
#### Monitoring And Adaptive Management
Keep a simple log: date, observed species, issues, actions taken. Wildlife gardens are dynamic; tweak plant choices and structures if certain species are absent or if problems persist.
### Community And Legal Considerations
Check local ordinances regarding water features and structures. Engage neighbors—sharing intentions often converts curiosity into community support. Native plant swaps are a great way to source material and spread the practice.
## Maintenance Calendar
– Spring: Clean nest boxes, cut back last season’s meadow stems if you didn’t in winter.
– Summer: Monitor water sources, provide shallow water dishes, and watch for drought stress.
– Autumn: Leave seedheads and dead stems for winter food; resist cleaning up too well.
– Winter: Perform major pruning only when plants are dormant; plan new installations.
### Final Practical Notes
Patience is key. A newly established wildlife garden takes a few seasons to reach ecological maturity. Expect initial surprises—good and bad—and adjust using observation and modest trial-and-error. Soon enough your yard will host a lively, functional network of species that repay your effort with visits, songs, and pollination.
(Delightfully nerdy satisfaction guaranteed; hedgehogs not included, depending on your country and local policies.)


Leave a Reply