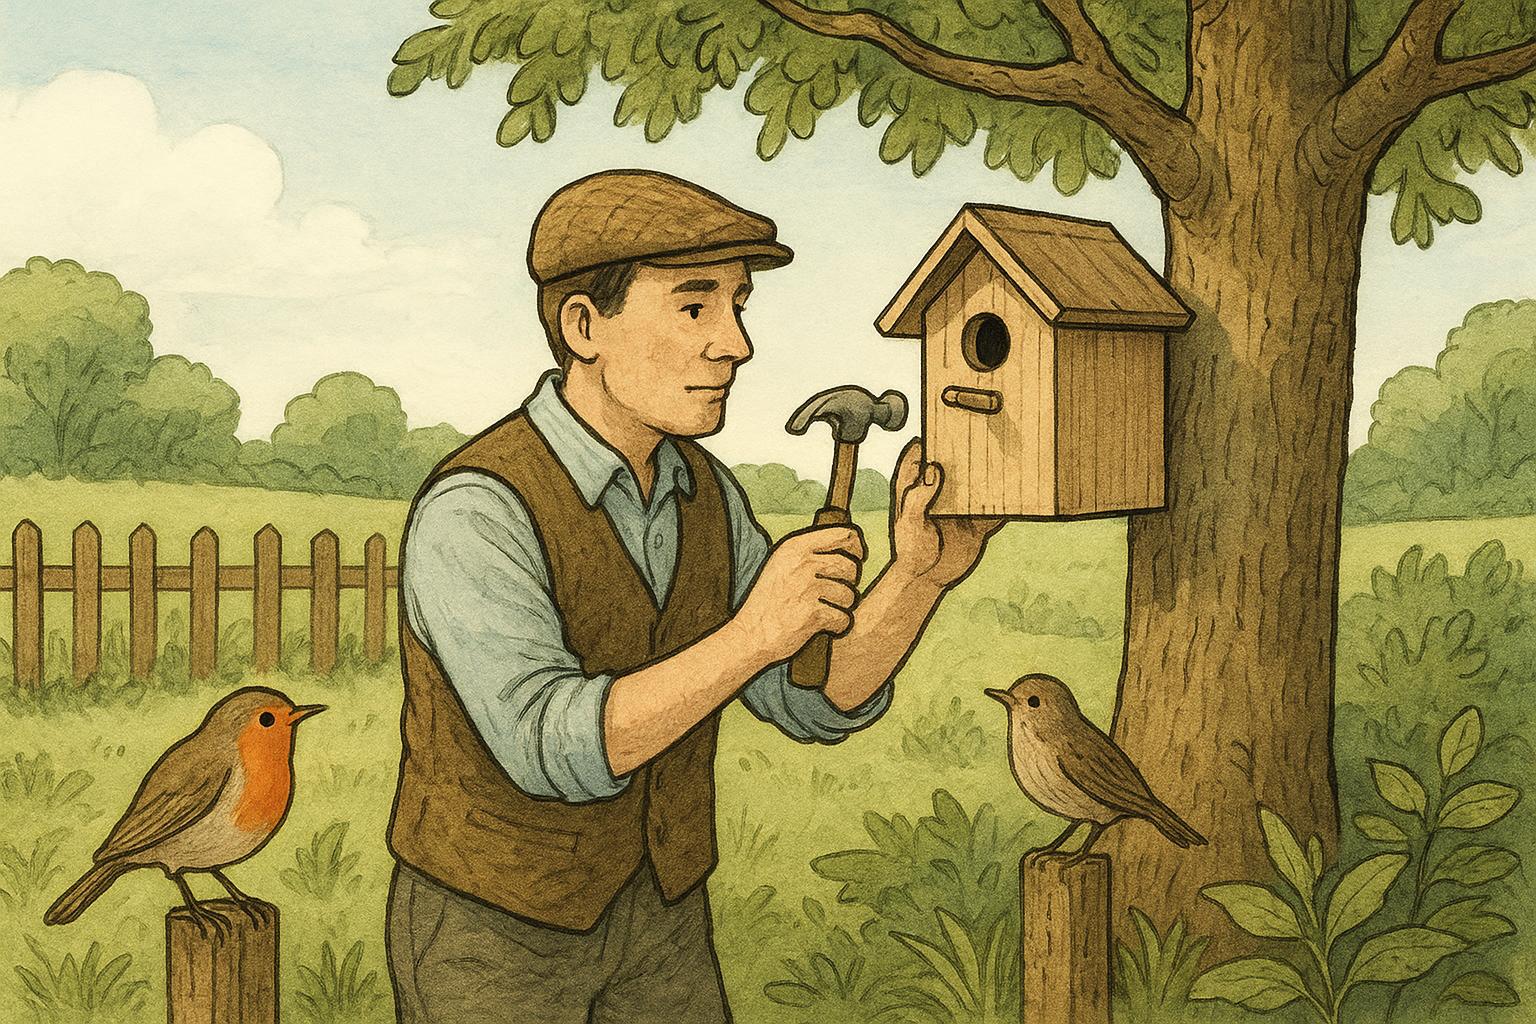
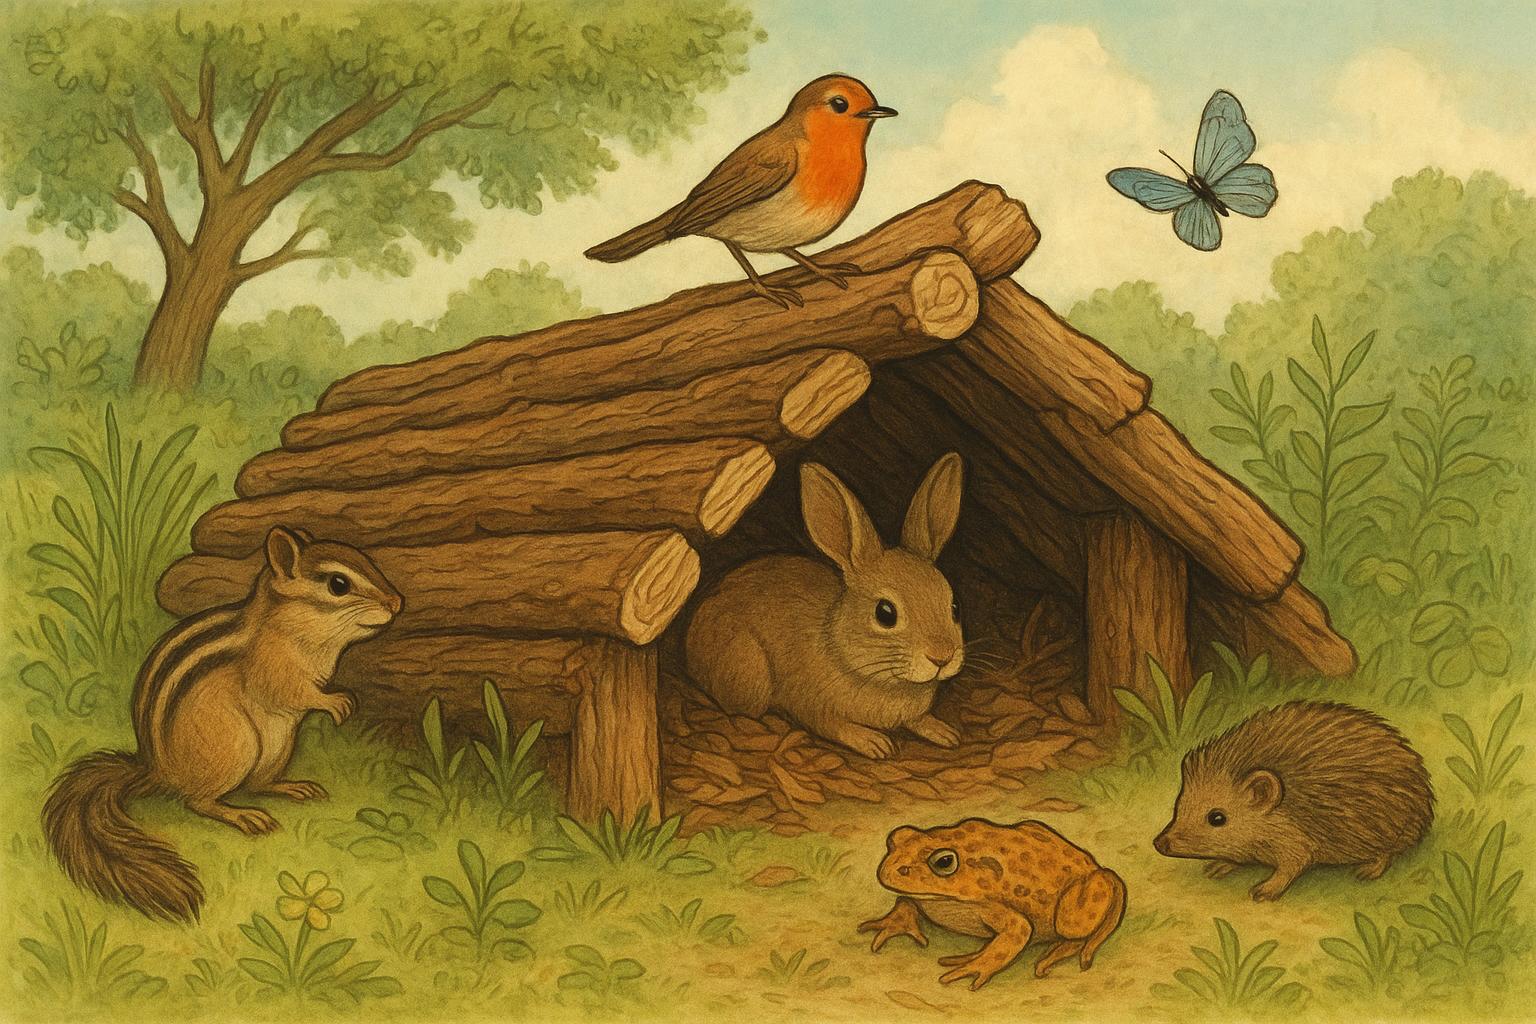
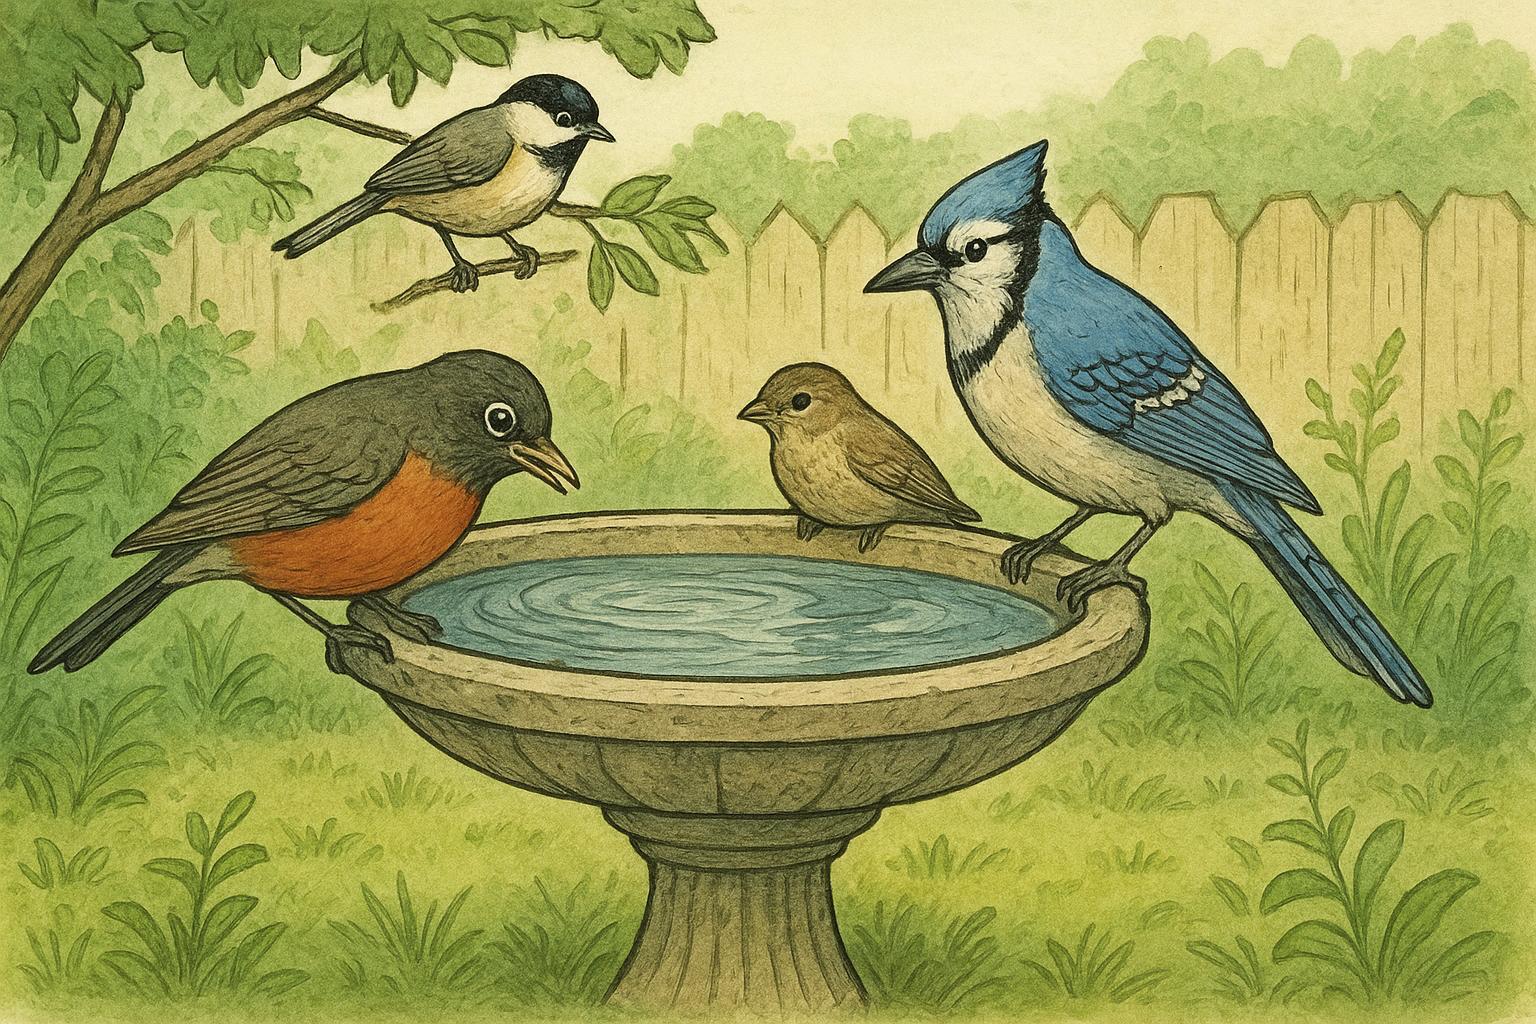
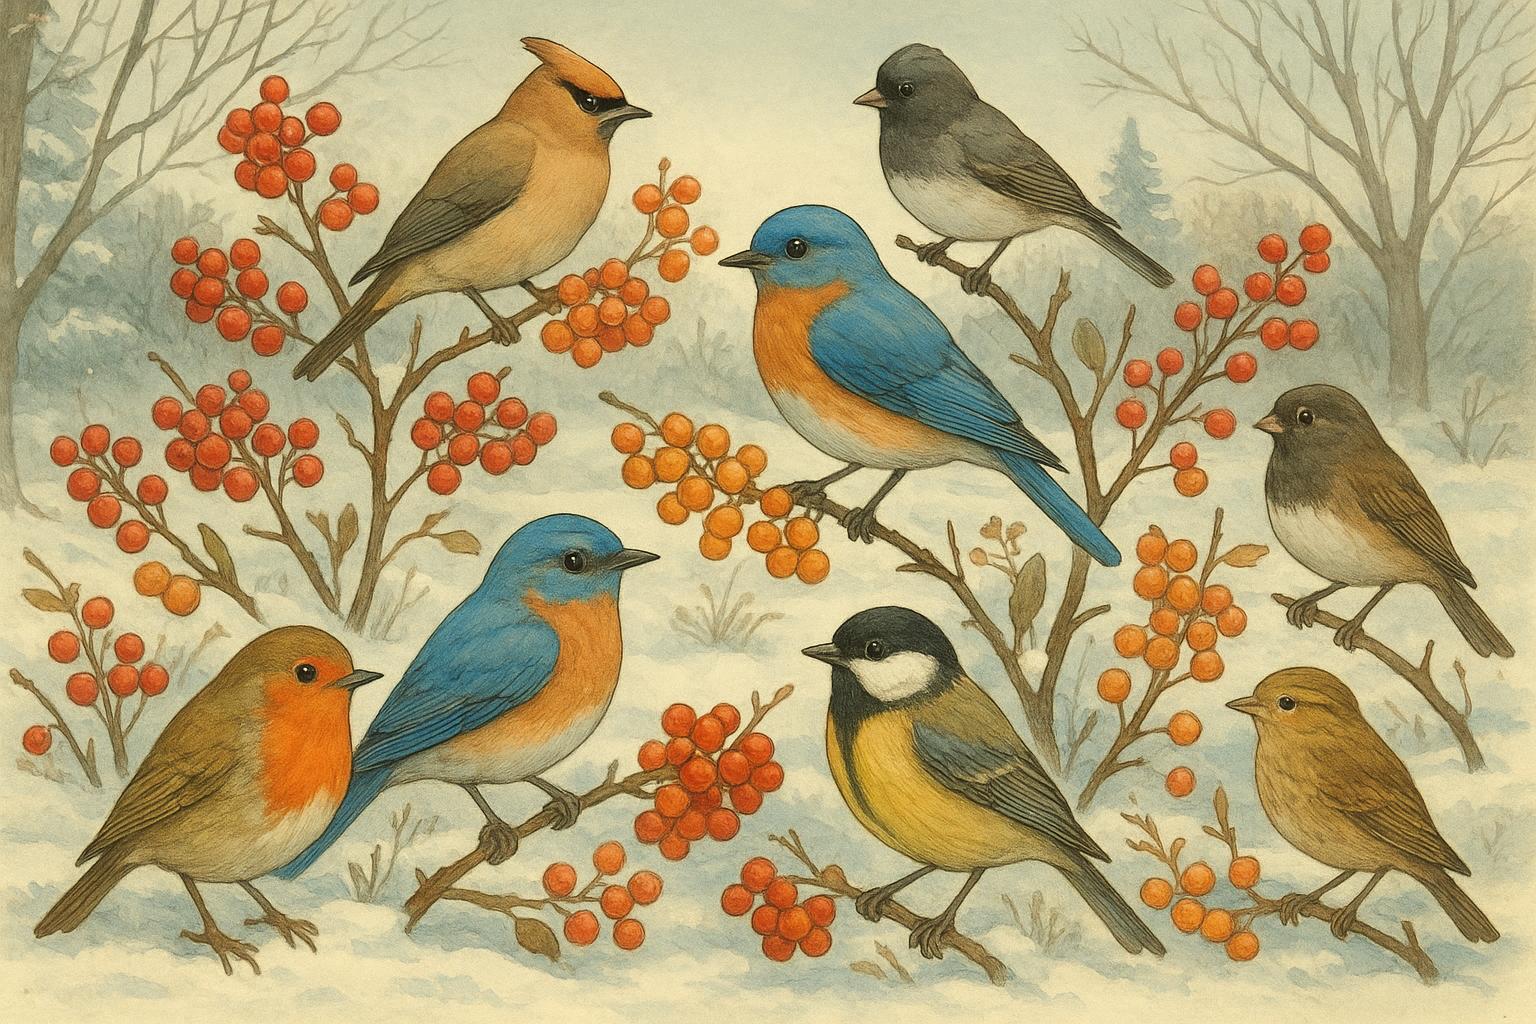
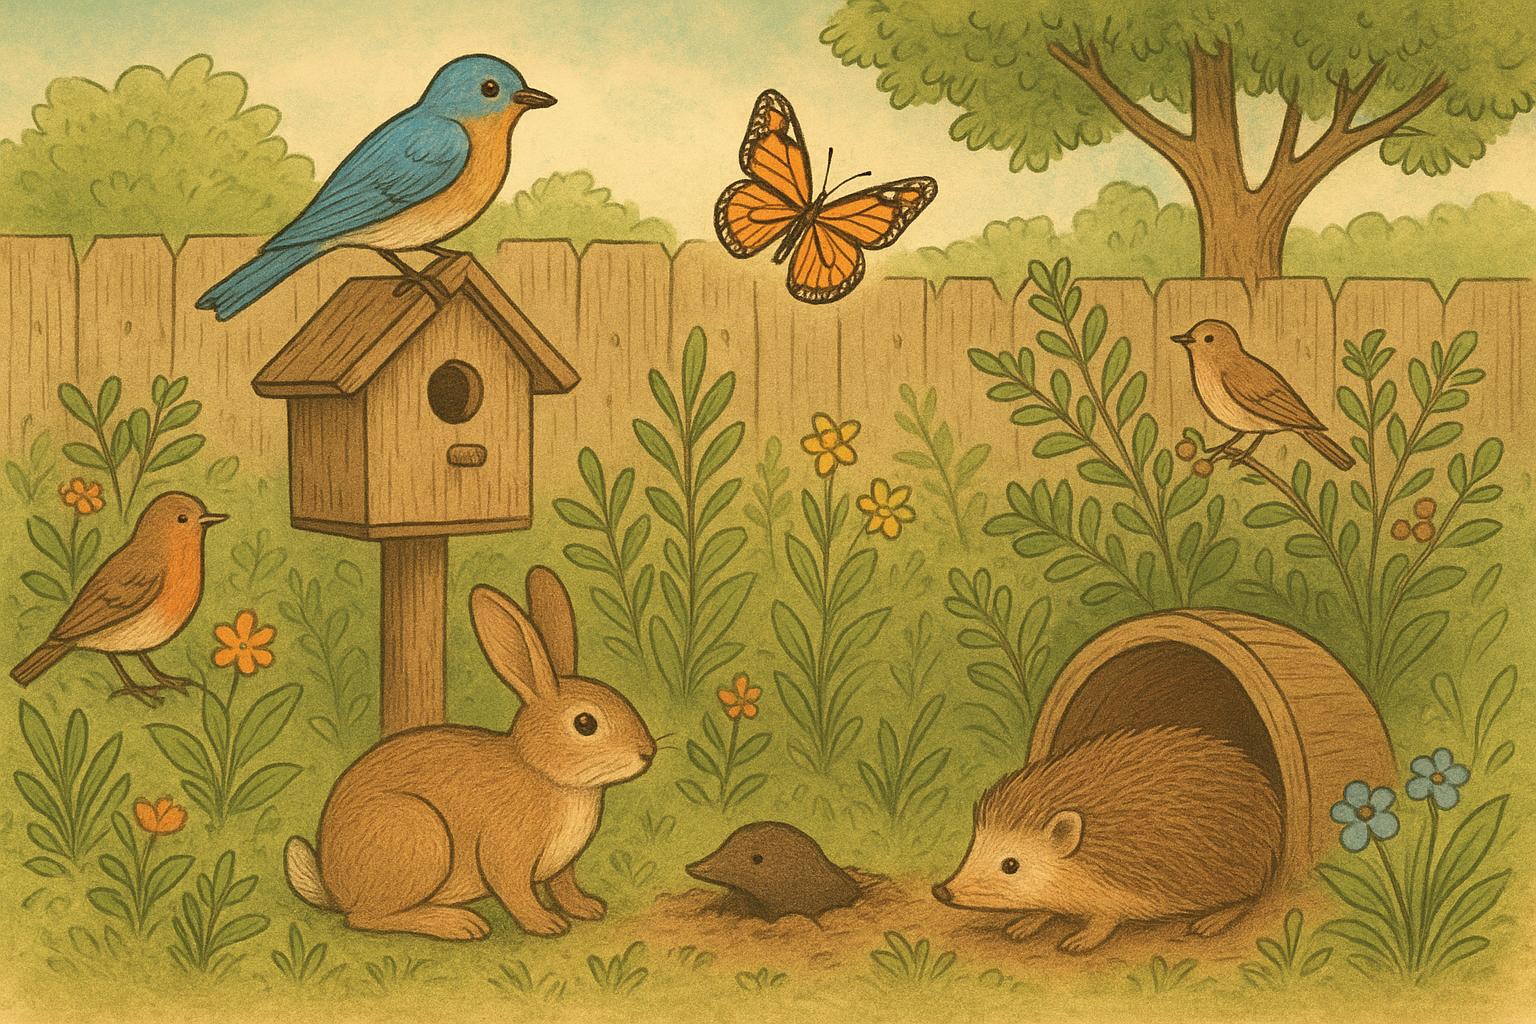
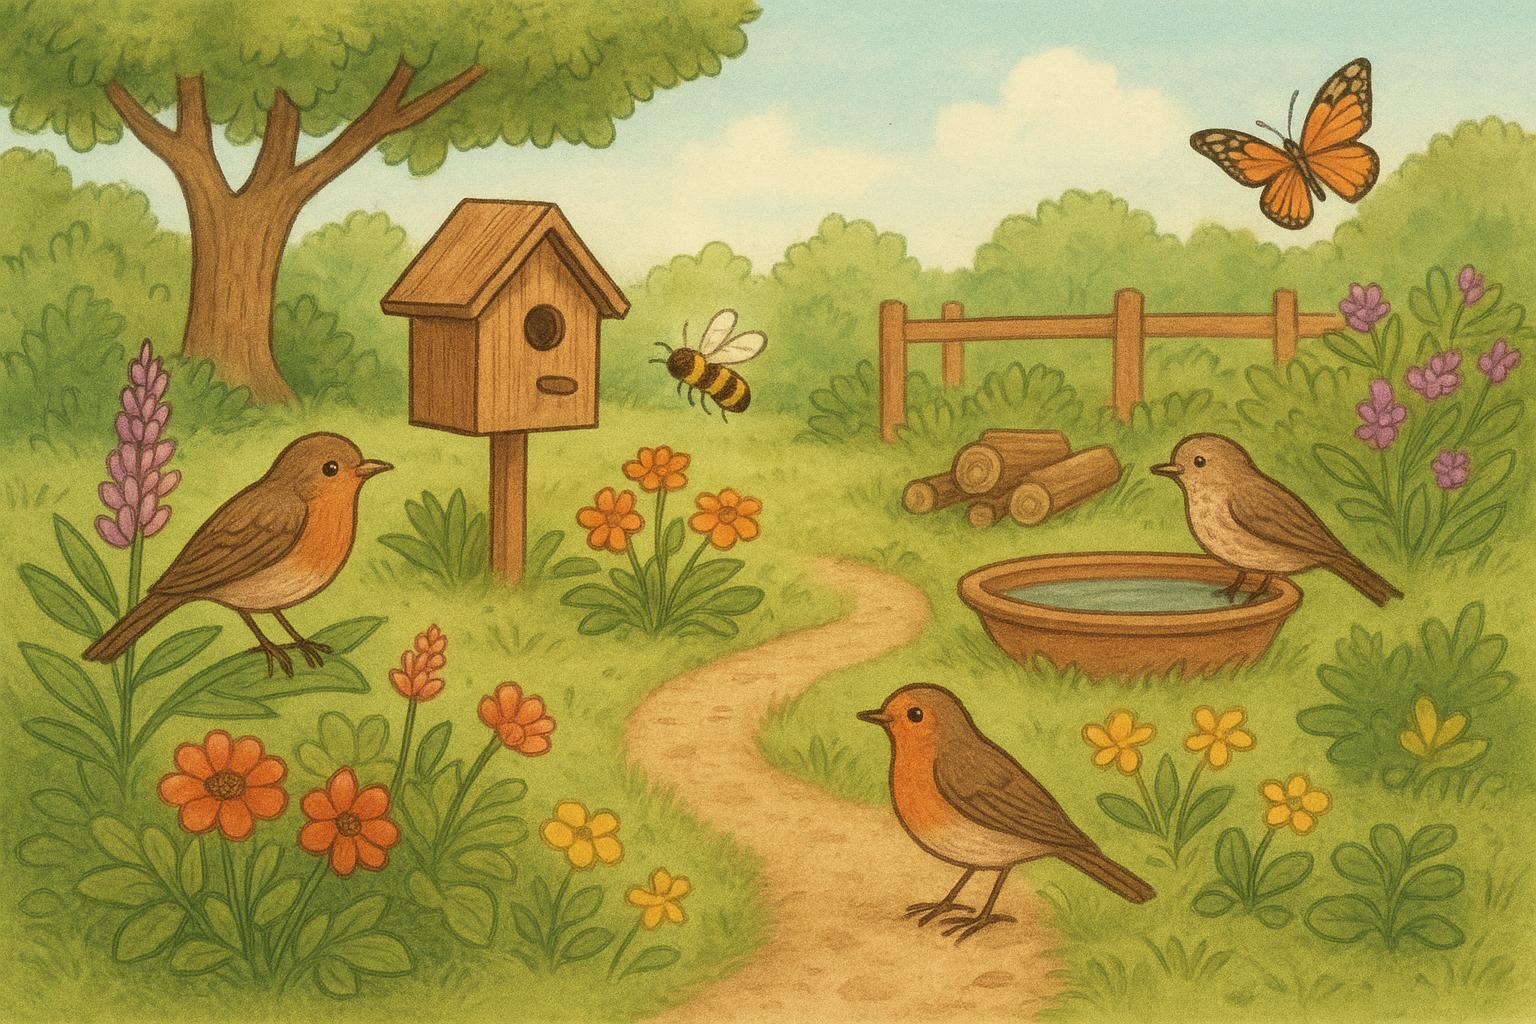
A little planning goes a long way when inviting feathered tenants to your yard. Thoughtful birdhouse placement reduces stress for nesting birds, limits predation, and makes your watch-from-the-porch mornings much more enjoyable. Below are friendly, practical, and—when it matters—formally precise guidelines to keep nests safe and your conscience clear.
## Formal Guidelines On Birdhouse Placement For Nest Box Safety
### Why Proper Placement Matters
Good birdhouse placement affects survival rates, breeding success, and how often you’ll need to intervene. Incorrect locations increase exposure to predators, flood risk, direct sun, or human disturbance. You might think a place “looks cute” (and it might), but birds have very specific preferences that often differ by species. Proper birdhouse placement helps mimic the safe cavities many species evolved to use, lowering stress and improving nesting success.
### Common Hazards To Avoid
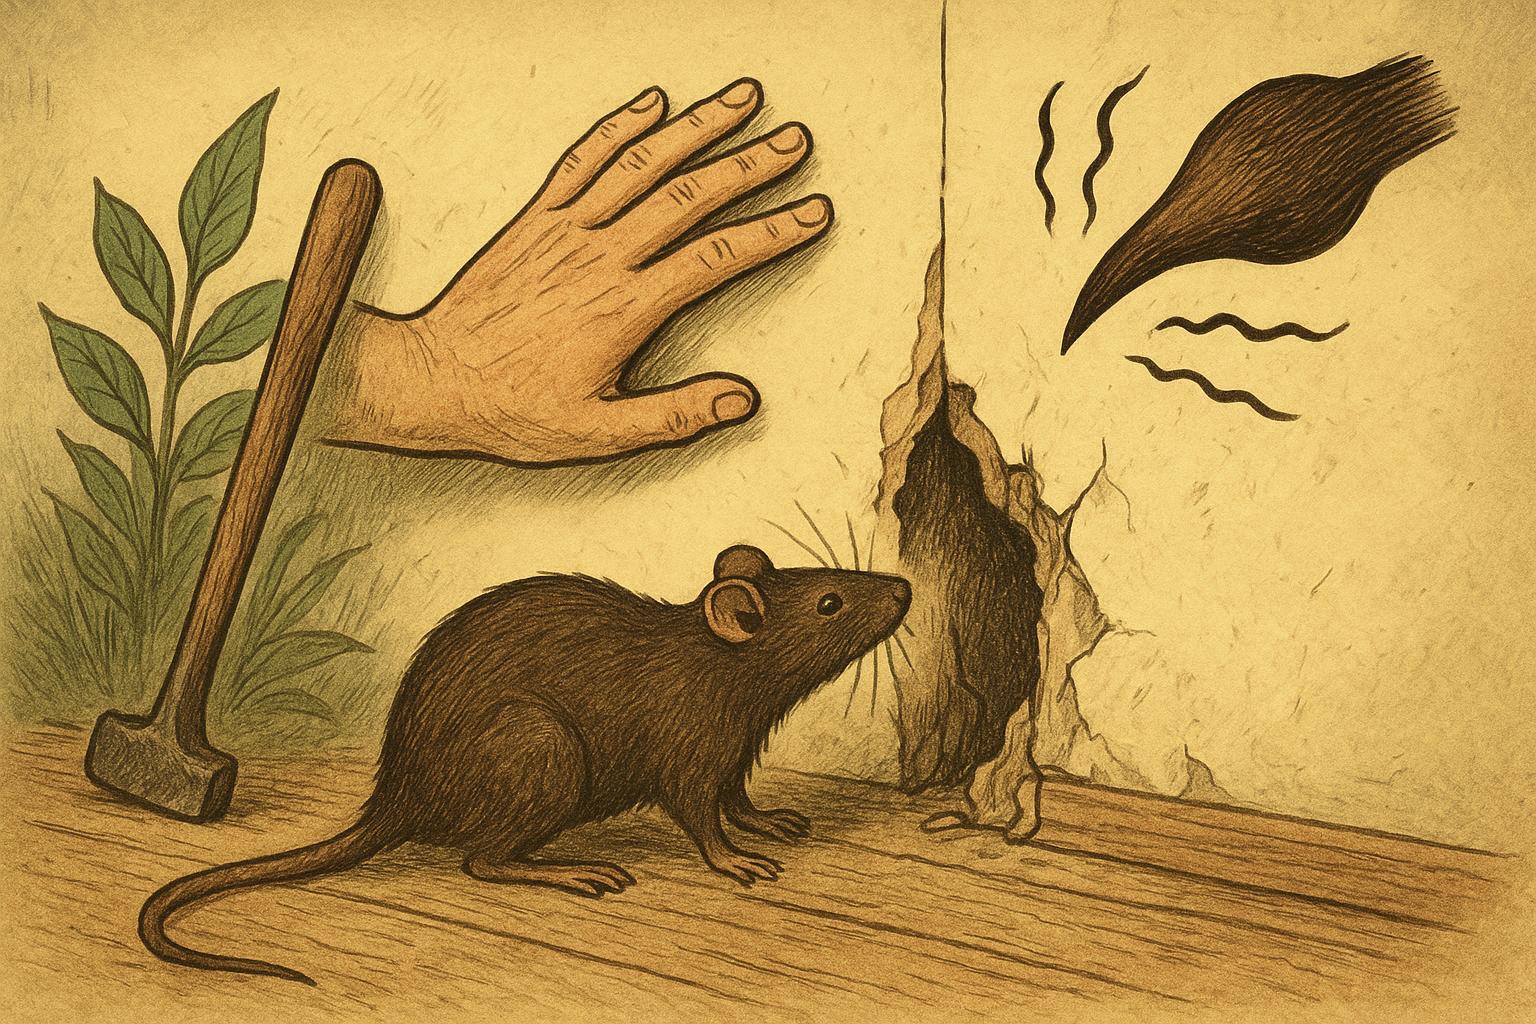
#### Predator Access
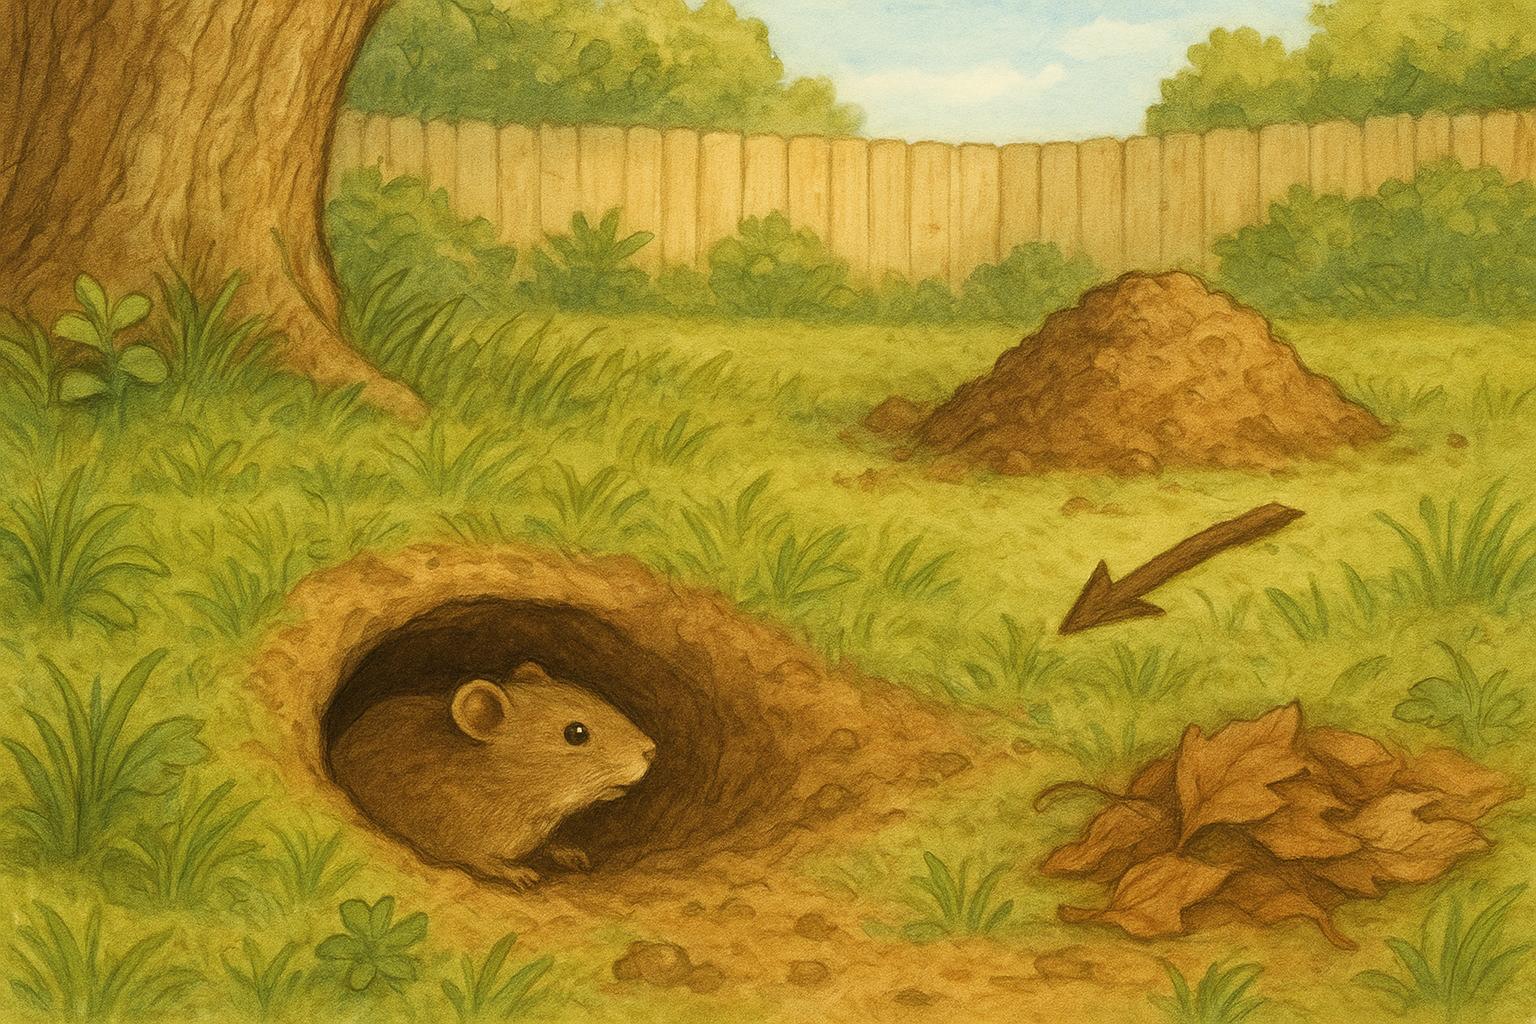
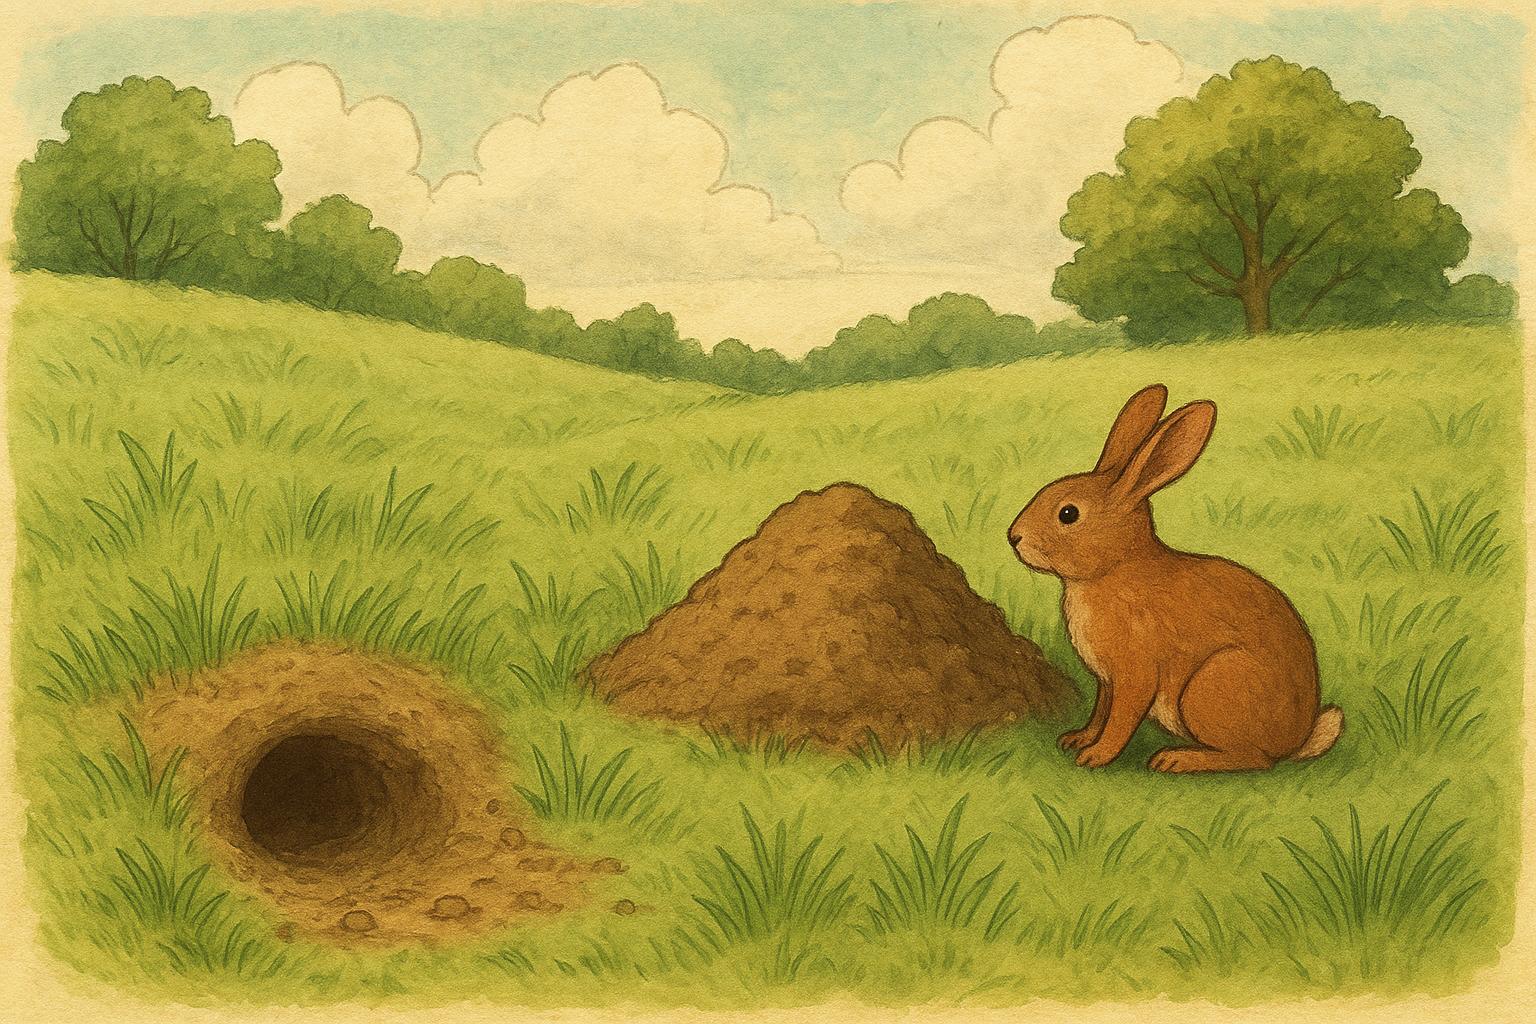
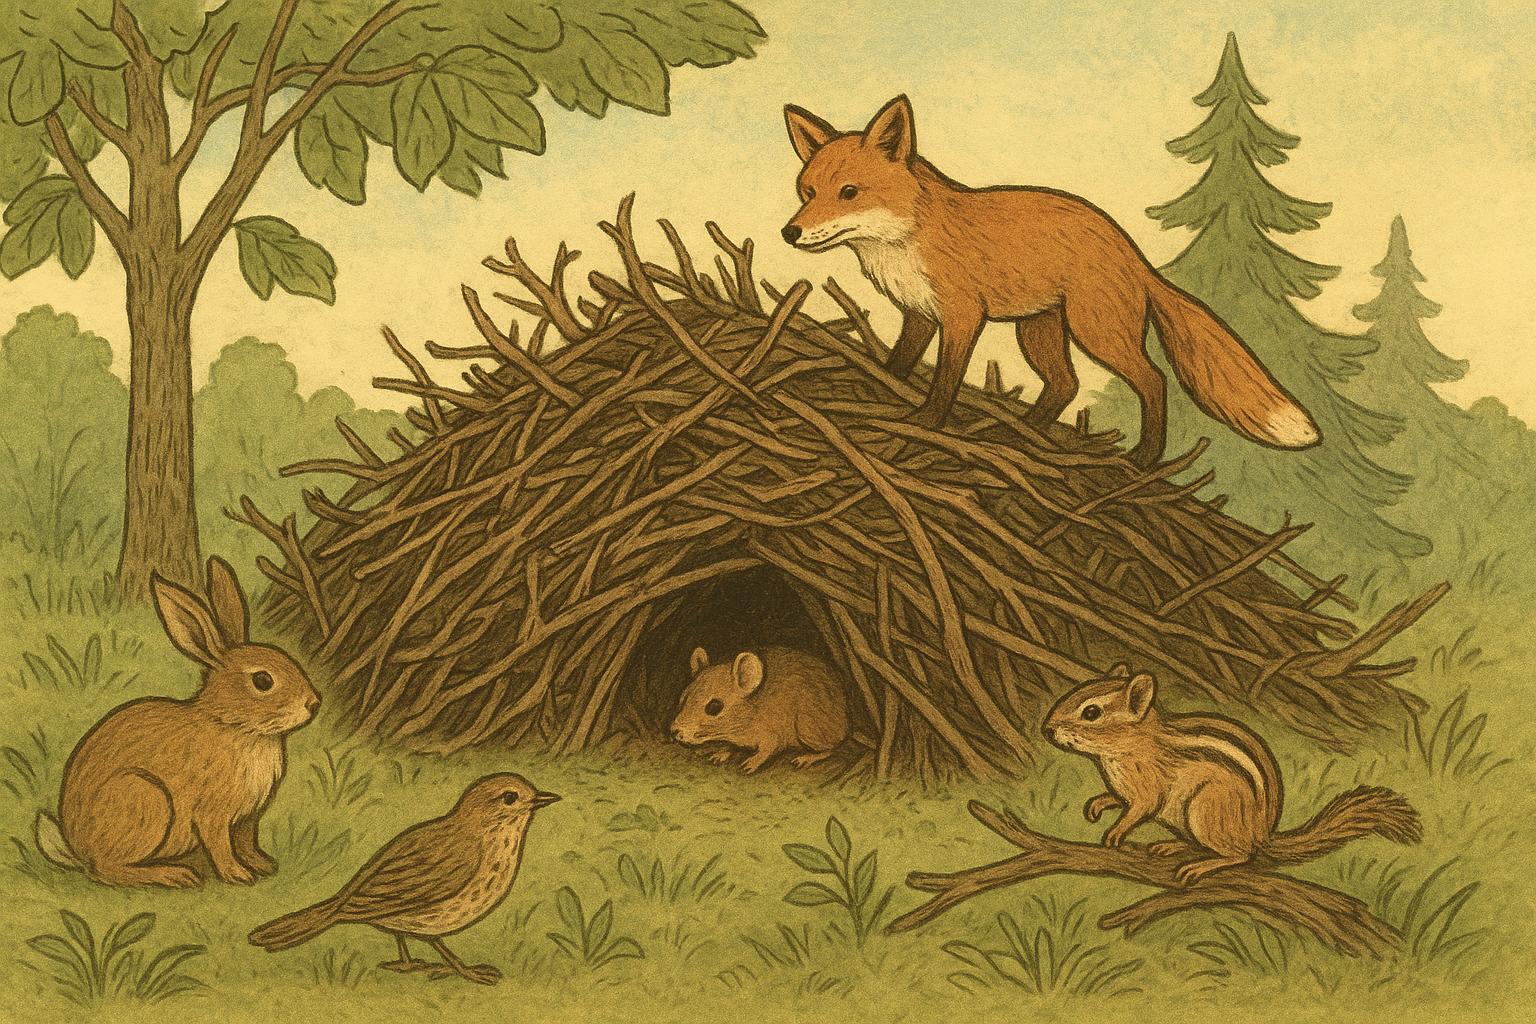
Predators (cats, raccoons, snakes, squirrels) are surprisingly inventive. Placing a nest box near easy climbing routes or low branches is an open invitation. Avoid mounting boxes where squirrels can run along fences or where raccoons can reach from a nearby tree limb.
#### Weather And Ventilation
Boxes that face direct afternoon sun or have poor ventilation can cook occupants, or trap humidity that fosters mites and mold. Conversely, boxes placed where wind funnels directly through the entrance can chill nestlings. Drainage is equally important; pooled water spells disaster for young birds.
### Basic Placement Rules
– Height: Most small songbird boxes do best 5–12 feet above ground. Predatory risk and species preferences change this number, so check species-specific guidance when possible.
– Orientation: Face the entrance away from prevailing winds and harsh afternoon sun—often east to southeast works well.
– Spacing: If you want multiple boxes, space them according to territorial norms for the species you expect. Too close and they’ll compete; too far and you waste good habitat.
– Substrate: Mount on a pole or predator-resistant post rather than directly on a tree when possible. Poles allow predator guards and reduce access from climbing mammals.
These are not hard laws, but they are the working rules of thumb that reduce problems before they begin and improve your birdhouse placement outcomes.
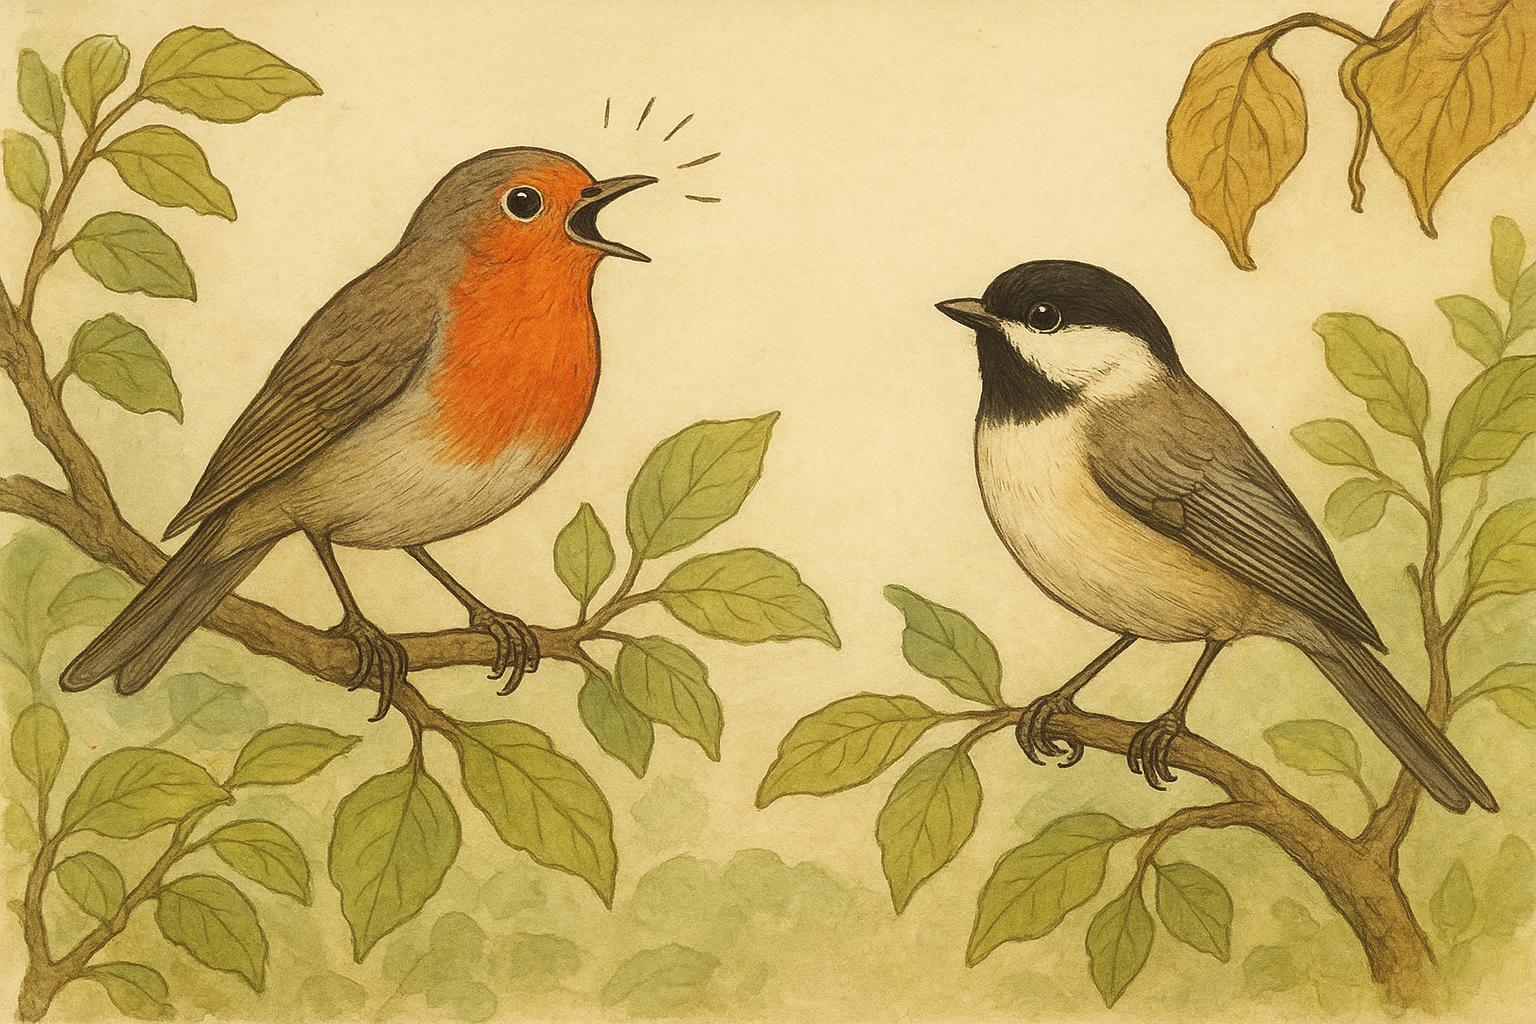
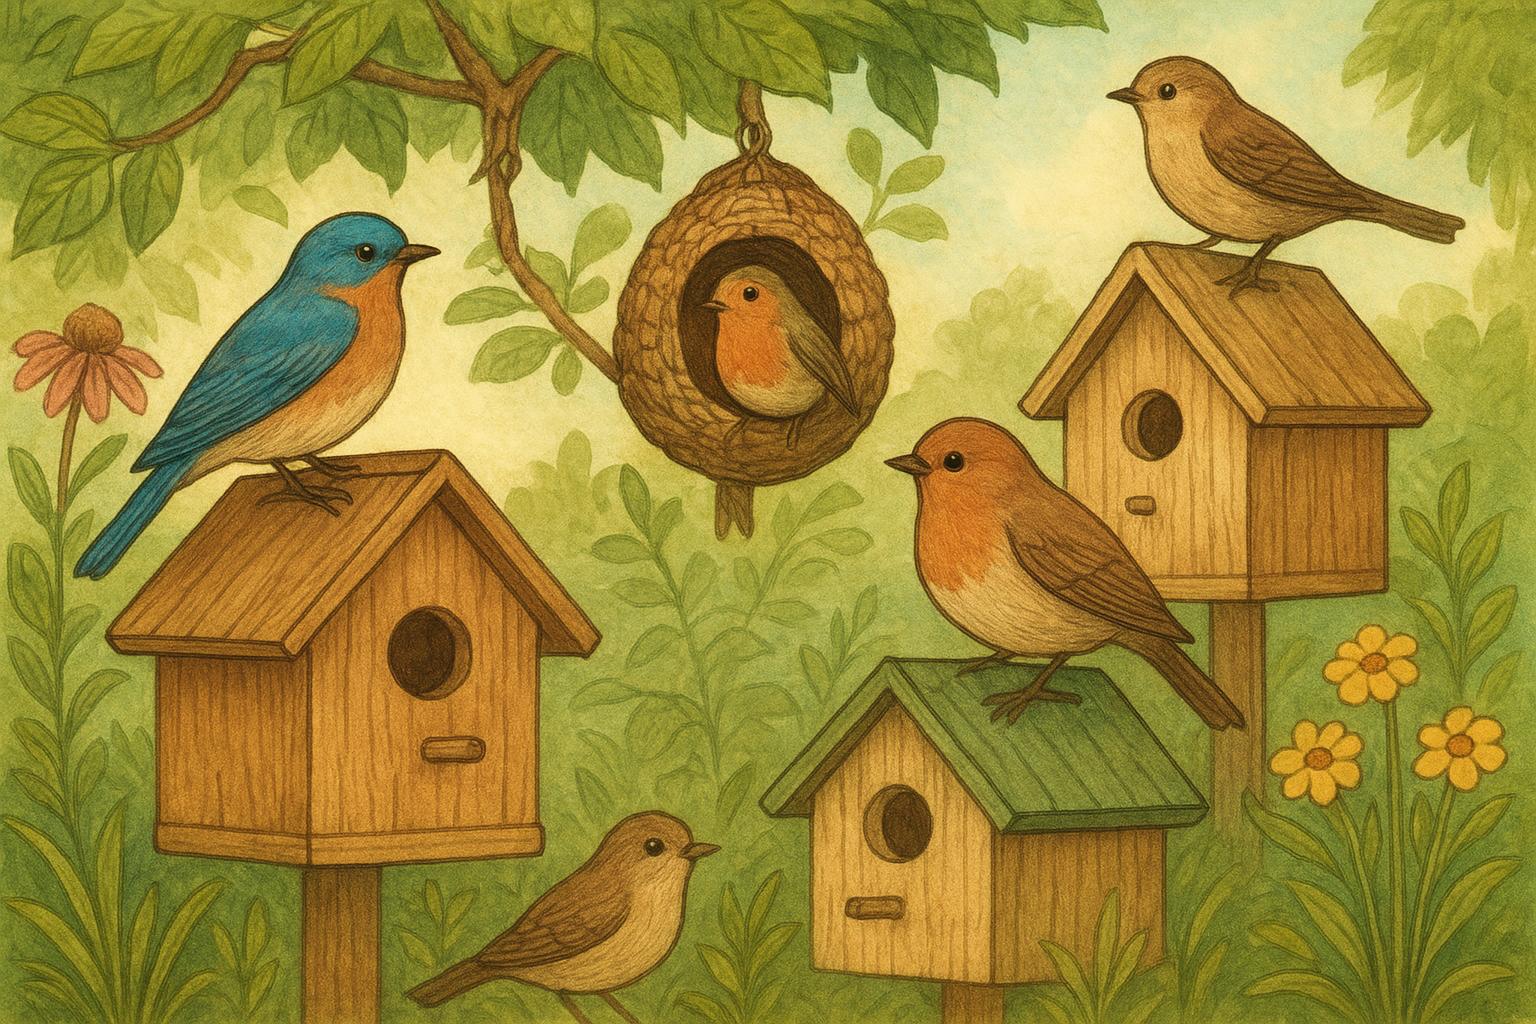
### Species Matters
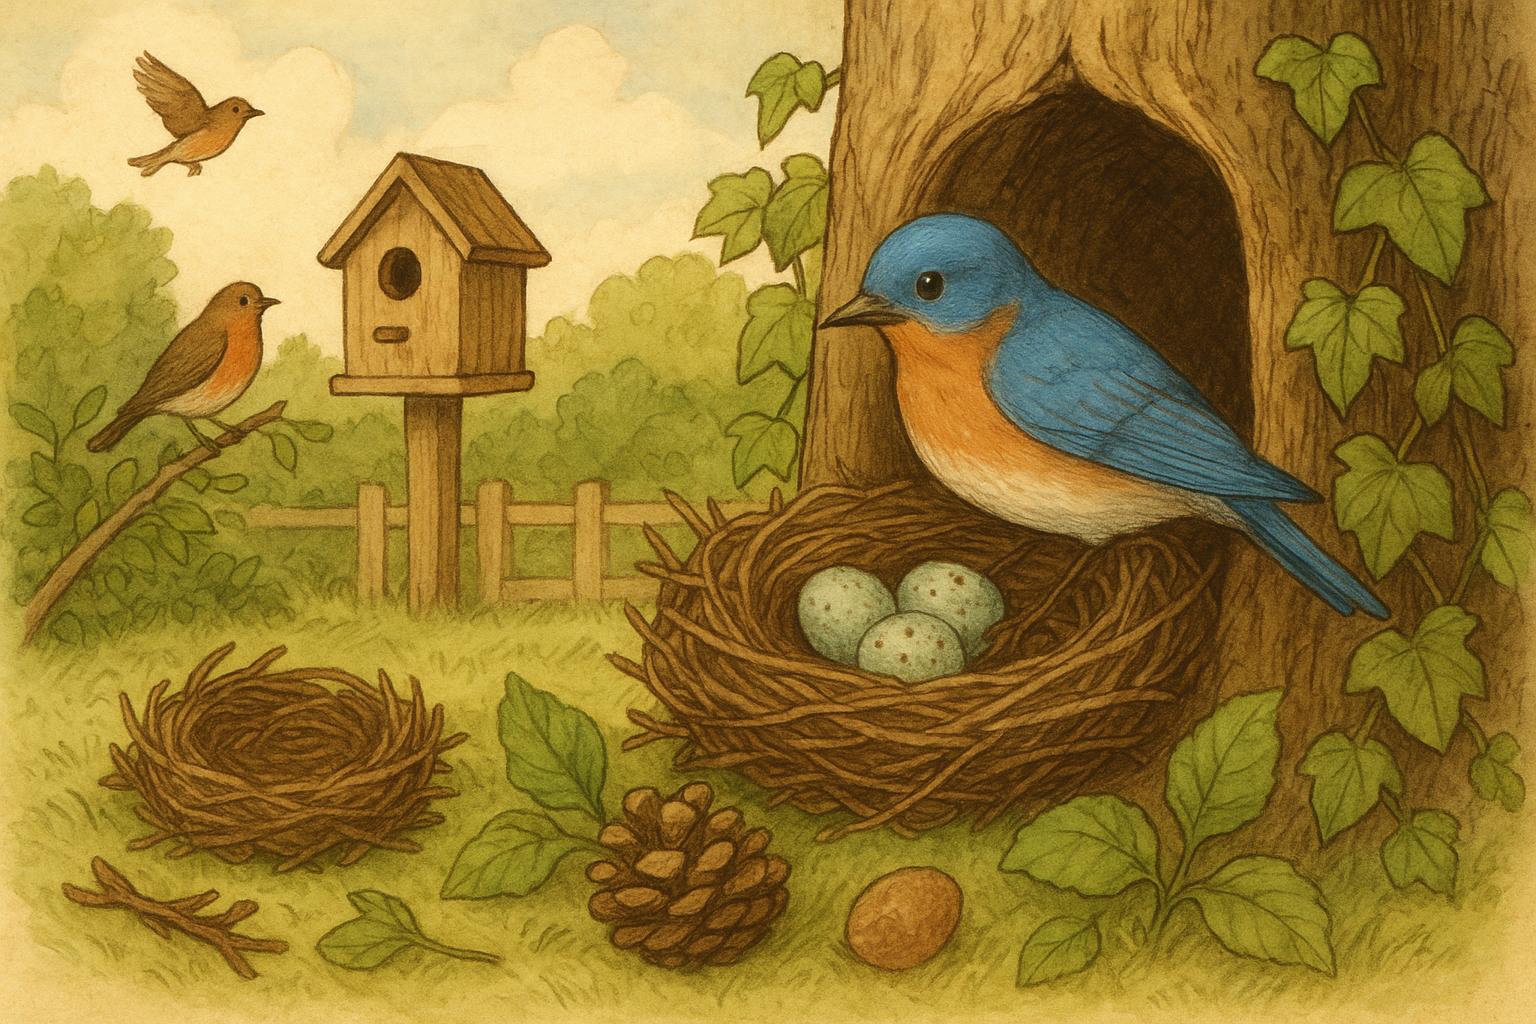
Different birds have different ideas about a “good” house. Bluebirds prefer open areas with perches and boxes spaced broadly. Chickadees and titmice prefer wooded edges and more sheltered entrances. Swallows appreciate open, sheltered ledges and often accept boxes under eaves. Always check the target species and prioritize their needs when choosing birdhouse placement.
## Remedies 1 And 2 For Nest Box Safety
Below are two concrete remedial fixes you can build and apply if a box is exposed to predators or suffering from poor ventilation/drainage. The instructions are formal and procedural to ensure consistent, safe results.
### Remedy 1: Predator Guard Installation
Materials Required:
– Metal flashing (12–18 inch diameter) or a stainless steel baffle
– Galvanized screws or stainless steel hose clamps
– Drill with metal bit (if needed)
– Measuring tape
– Protective gloves and eye protection
Procedure:
1. Measure the mounting post diameter and the distance from ground to the nest box bottom. Select a baffle large enough to prevent animals from reaching the box.
2. If using metal flashing, form it into a cone or cylinder around the pole with the wider diameter toward the top; the surface must be smooth and slippery to prevent climbing.
3. Fasten the baffle to the pole using stainless steel hose clamps or galvanized screws. Position it at least 3–4 feet below the box for most small predators; for raccoons or larger climbers, position a second baffle 2–3 feet above the ground.
4. Ensure the baffle is at least 18–24 inches in height and has no adjacent branches, wires, or fences that provide bypass routes.
5. Confirm stability by applying moderate lateral force; the structure must not sway or detach under weather conditions.
6. Inspect periodically for rust or compromised fasteners and replace materials as needed.
Notes: Metal baffles are superior to plastic near acutely hungry or determined predators; they resist chewing and provide longer-term protection. Properly installed, a baffle does not impede nest access for adult birds but effectively denies predators a foothold.
### Remedy 2: Ventilation And Drainage Modification
Materials Required:
– 1/8 to 1/4 inch drill bit or hole saw
– Small galvanized or stainless steel screws
– Fine mesh stainless steel screen (optional)
– Silicone sealant (exterior-grade)
– Small level and ruler
Procedure:
1. Identify high and low points: Ventilation holes should be near the top of the box walls beneath the roof overhang; drainage holes should be in the floor near corners.
2. Ventilation: Drill two or three 1/4-inch holes on opposite upper sides of the box, just below the roof line. These vents enable cross-flow without exposing nest to rain.
3. Drainage: Drill three to four 1/4-inch holes through the bottom of the box, one near each corner. Ensure holes are clear of debris and lead to a dry, well-drained area when water escapes.
4. Install screen (optional): If holes are large enough to let in parasites or predators, affix fine mesh over vents on the exterior using stainless screws and silicone sealant to prevent moisture ingress into screw holes.
5. Seal seams: Use silicone sealant on any gaps in the roof or sides that could channel water into the box. Do not seal ventilation or drainage holes.
6. Test: Simulate rain with a hose for a short period to confirm water drains freely and no pooling occurs. Reposition or enlarge holes if water retention occurs.
7. Maintain: Check vents and drains annually and after storms; clear any blockages without disturbing active nests when unsafe.
Notes: Proper ventilation reduces overheating and moisture accumulation, both of which dramatically reduce fledgling survival. Keep vents out of direct wind channels to prevent chilling young birds.
### Monitoring And Maintenance
Routine monitoring is part of good birdhouse placement practice. Visit boxes at intervals appropriate for your local regulations and the species’ sensitivity—usually once every 7–14 days outside the nest-building and early incubation stages. When checking:
– Look for signs of predators, parasites, or excessive sap/wasp activity.
– Verify fasteners, mounting integrity, and that baffles are still effective.
– Record observations (date, species, number of eggs/nestlings) for longer-term pattern tracking.
Remember to follow local wildlife regulations: some jurisdictions restrict direct nest checks during sensitive periods or require permits for interference.
### Legal And Community Considerations
Before you modify or mount boxes, check local ordinances and neighborhood rules. Some community associations limit new structures or require specific setbacks. Also coordinate with neighbors if boxes are visible from adjacent properties—good birdhouse placement includes being a good neighbor too.
Here’s a quick sanity checklist to carry when deciding any change: will the change reduce predation risk, reduce exposure to water or sun, comply with regulations, and minimize disturbance to the birds? If yes, you’re on the right track.
Enjoy the process—nest boxes are small investments that yield a lot of joy. A modest amount of thoughtful planning and a couple of properly executed remedies will keep birds safer and your yard humming with life.


Leave a Reply