## Ground Cover Shelter For Yard Wildlife: Design And Placement
If you want more wildlife in your yard, start at ground level. A well-placed ground cover shelter for yard wildlife gives frogs, beetles, shrews, and solitary bees a reason to stick around. It’s not a fancy installation. Mostly it’s about piling the right stuff in the right order and letting nature do the rest.
### Why Ground Cover Matters
Ground-level habitats buffer temperature swings, hold moisture, and hide creatures from hawks and neighborhood cats. Compare a bare patch of mulch to a shady tangle of leaves and logs. The tangle stays cooler and wetter for longer. That matters if you’re hosting amphibians or insects that desiccate easily.
Think of a ground cover shelter for yard wildlife as a tiny apartment building with many units. Each crack and hollow accommodates a different tenant. A damp crevice under a rotting log favors salamanders. A loose pile of sticks gives nesting material and protection to solitary bees. The variety is the point.
#### Benefits For Small Species
– Moist refuge during heat and drought.
– Hiding spots to avoid predators.
– Overwintering sites for insects and small mammals.
– Breeding and nesting cavities for invertebrates.
– Microhabitats for fungi and beneficial microbes.
These are real, measurable effects. Even a modest log pile shelter can increase local insect diversity within a single season.
### Choosing Materials
Not everything belongs in a log shelter. Use a mix of logs, branches, leaf litter, rotten wood, stones, and native plants. Avoid treated lumber, cedar chips in large quantities, or chemically composted matter. Those materials repel or harm the very creatures you want to attract.
Hardwoods like oak and maple rot slower and give long-term structure. Softer woods, like poplar or willow, break down faster and give quick, nutrient-rich microhabitats. If you have access to both, mix them. Large diameter logs create stable cavities; small branches fill gaps and let in little tunnels.
A log pile shelter should include a low, dense base and a looser top layer. Base logs contact the soil and retain moisture. Upper layers trap air and provide insulation. Interleave leaf litter and soil in the base for immediate cover and fungal growth.
#### Best Wood Types And Waste Materials
Avoid pressure-treated or painted wood. Brush up on local tree removals—urban pruning often yields free, good-quality material. Roots and stumps can be used if cut into manageable pieces. If you get pallets, dismantle and use only the untreated planks.
Compostable yard waste makes excellent filler. Grass clippings alone compact and heat; mixed with leaves and wood, they’re useful. Stones and bricks can add thermal mass, creating warm refuges for reptiles on sunny days.
### Building A Log Pile Habitat
Start by scouting a spot. Look for partial shade and proximity to a water source if you have one. Many species move no more than a few meters from a moist shelter, so putting a log pile near a pond, rain garden, or damp hedge increases use. Keep the pile away from heavy foot traffic and house foundations.
Lay the largest, sturdiest logs flat on the ground first. Stack medium logs in a crisscross pattern for stability. Tuck smaller sticks and leaf litter into the crevices to create smaller tunnels. If you want a long-lived structure, place a couple of stones or a large flat slab as a lid over a small cavity. That lid keeps the interior dark and damp.
A common mistake is stacking everything too neatly. Creatures prefer irregularity. Leave some gaps and avoid perfect symmetry. A stable but asymmetrical mound encourages more niches. Also, include a few horizontal logs partially buried; those buried ends provide the most moisture and fungal activity.
Use the term log pile shelter when you describe the project to neighbors. It helps them picture what you’re doing and reduces questions about untidiness. But be prepared for some skepticism. A tidy yard culture sees mess as neglect. Explain that this is deliberate habitat creation.
#### Where To Place It
Place a log shelter under a shrub or near a hedge to connect canopy cover with ground cover. Edges are useful—where lawn meets wildflower patch, for example. Avoid placing a log shelter directly against your house, particularly near combustibles and vents.
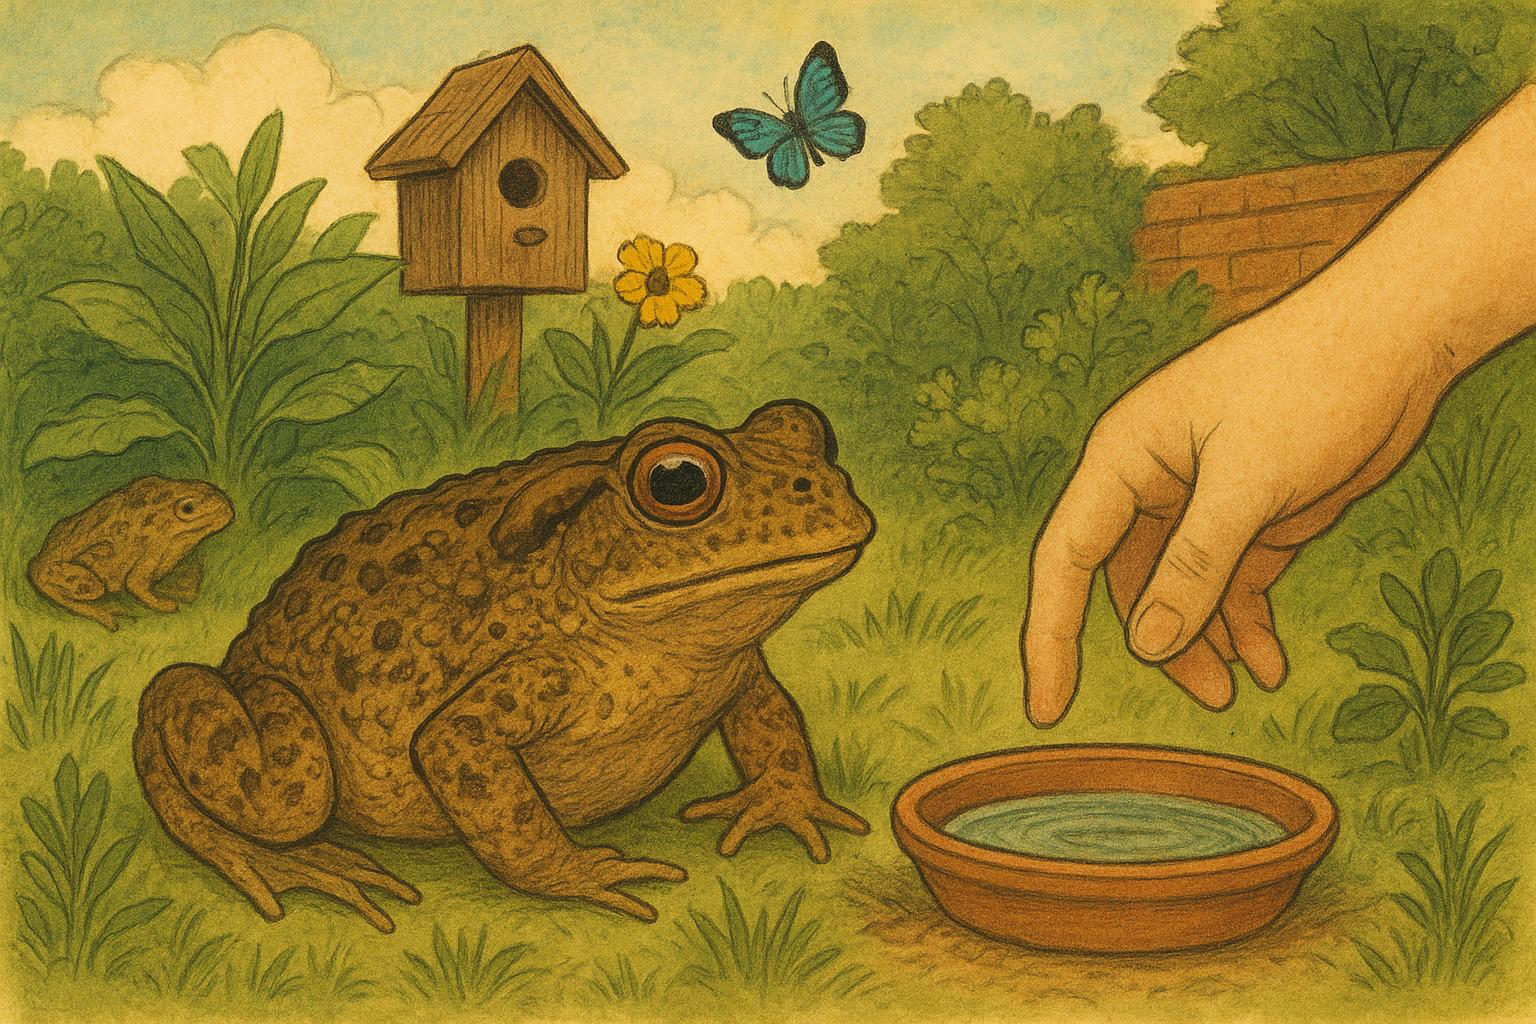
If you expect to host reptiles, ensure some sunlit rocks or slabs are adjacent to the pile. Reptiles need thermoregulation spots. Amphibians, in contrast, prefer shaded, moist areas.
### Adding Ground Cover Plants
Plants are part of the shelter. Low-growing natives like wild strawberries, violets, sedges, and ferns knit the structure into the yard. These plants trap leaf litter and reduce drying. They also provide nectar and seeds, increasing the site’s overall value.
Lining the base with native grasses creates a soft transition from lawn to log pile. Avoid aggressive invasive ground covers; they can dominate the microhabitat and reduce diversity. Plant diversity matters more than perfection. A few well-chosen native species will make the difference.
Include a small patch of bare soil if you want ground-nesting bees. They need exposed earth to dig burrows. A sunlit, compacted-sand strip next to the wood pile works well. Place some small stones nearby for bees to orient themselves.
### Seasonal Maintenance And Monitoring
Once built, log shelters need very little work. Check them once or twice a year. In spring, look for signs of occupancy: shed skins, droppings, and tiny tunnels. Avoid flipping logs unless necessary. Disturbance stresses inhabitants.
If you must move or reduce the pile, do it in stages over several months. That allows mobile animals to relocate. Keep records, take photos. You’ll notice seasonal changes: beetles in summer, frogs in wet months, mice in cold spells.
Use a simple wildlife camera if you’re curious. Motion-triggered cameras cost little and can reveal nocturnal visitors. But don’t set traps or bait the site. You’re trying to create natural cover, not feed wildlife.
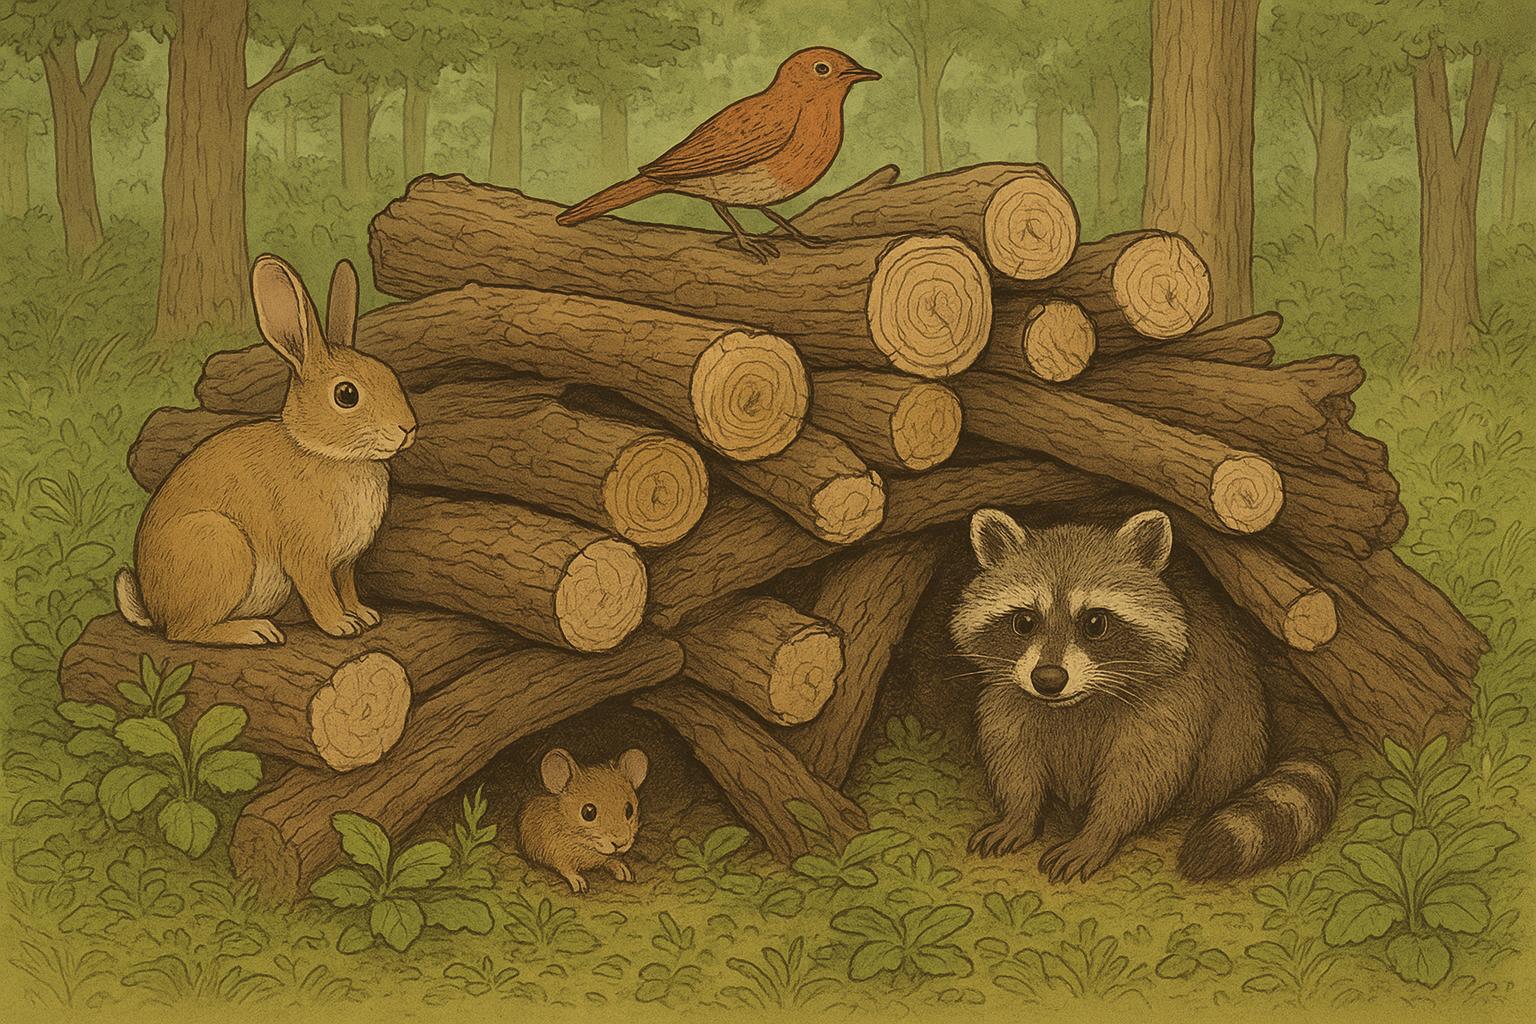
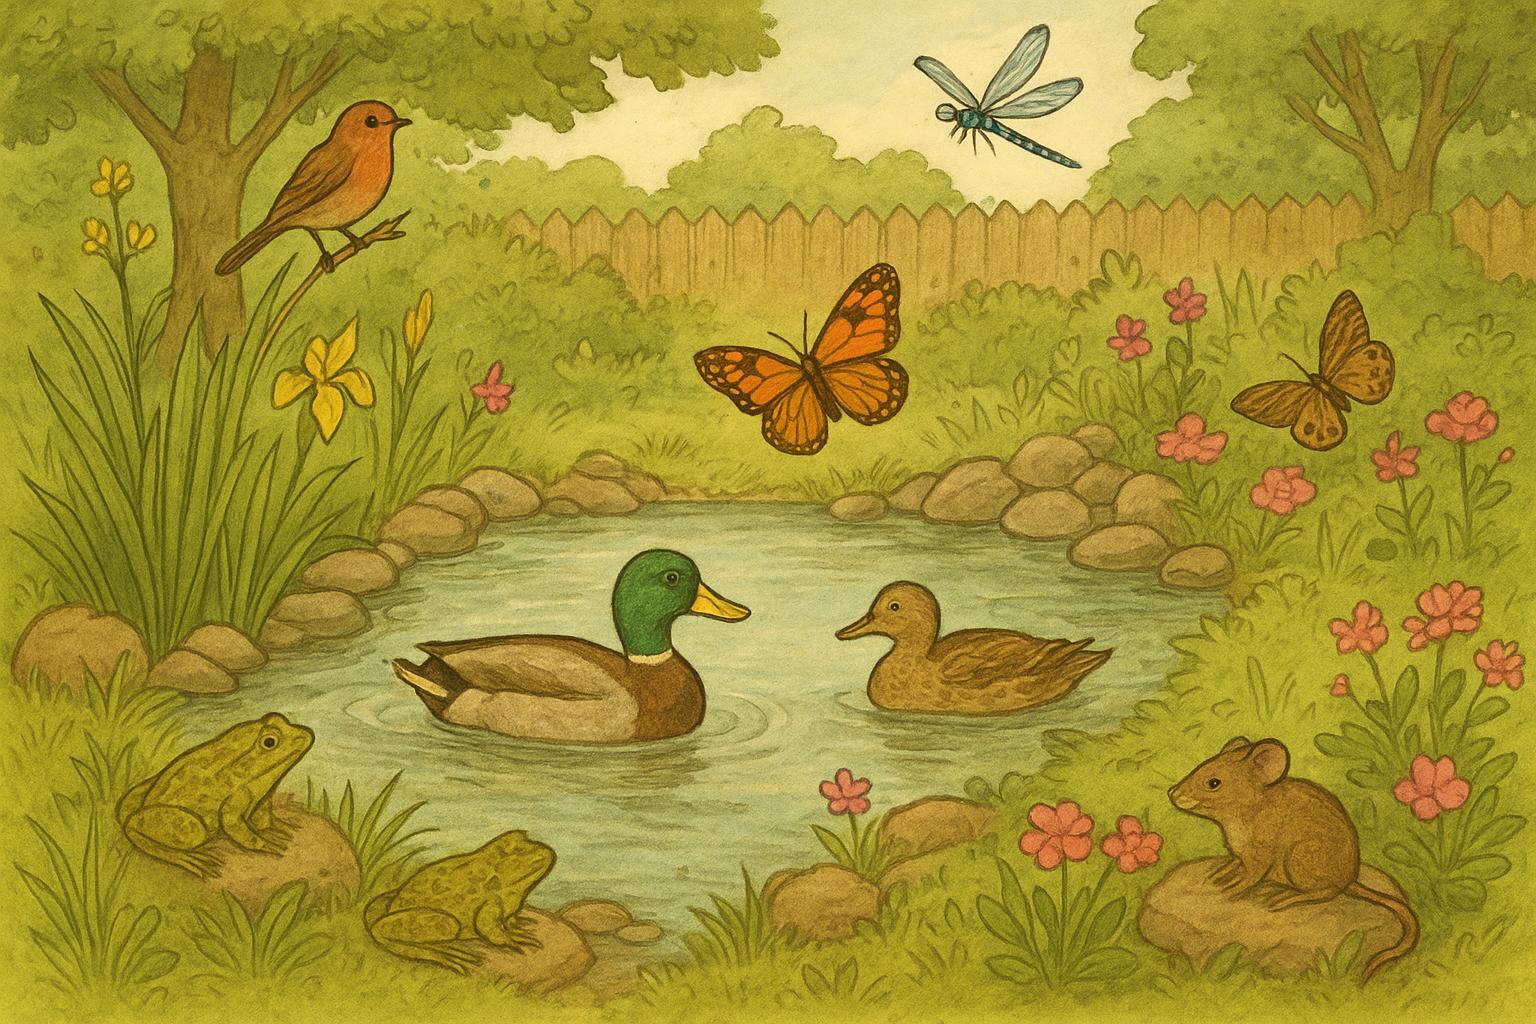
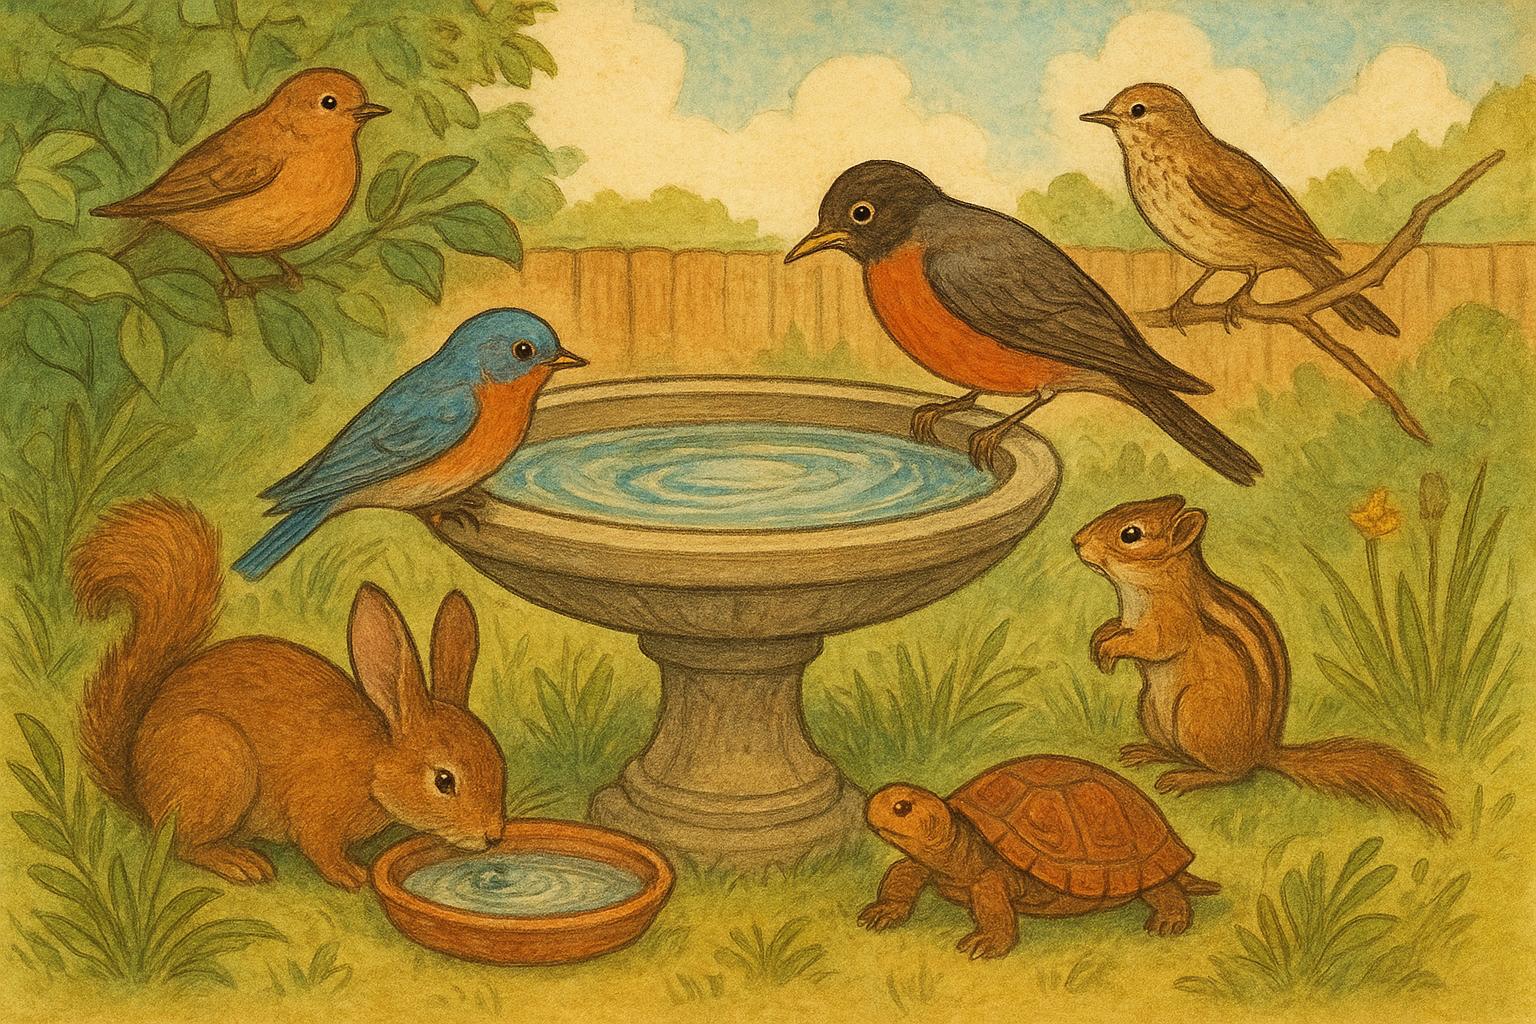
### Common Inhabitants And How They Use The Shelter
A log pile shelter supports an ecosystem. Expect an array of users:
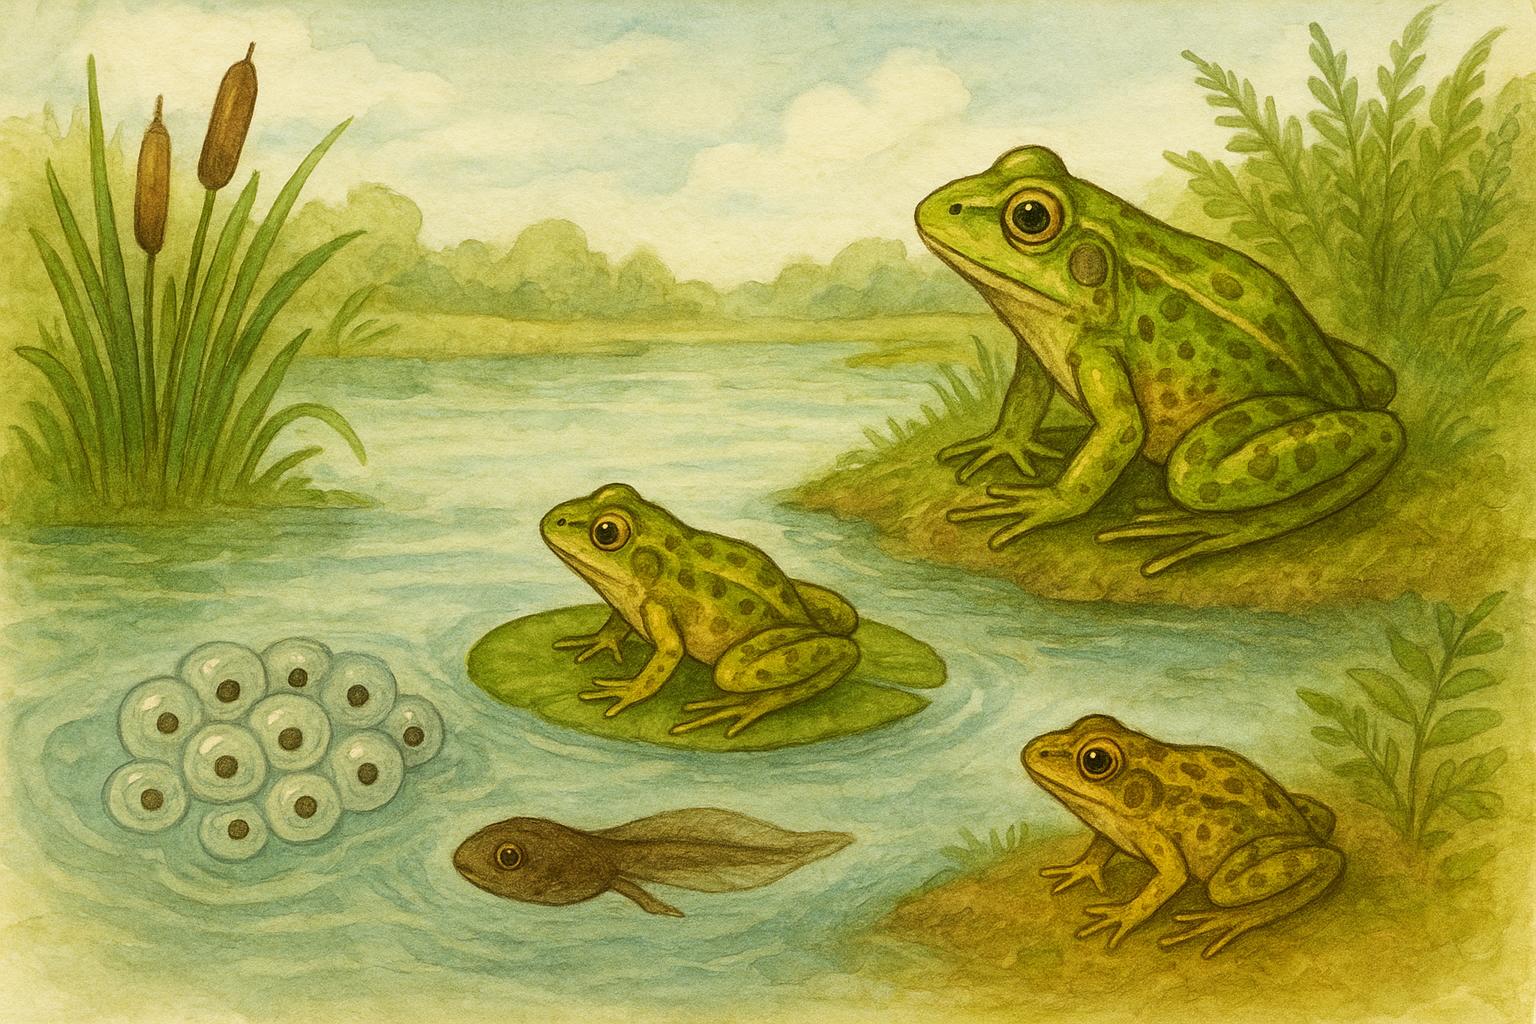
– Amphibians: salamanders and toads use damp crevices for daytime refuge and breeding season shelter.
– Reptiles: small snakes and skinks bask on the surface and hide in deeper crevices.
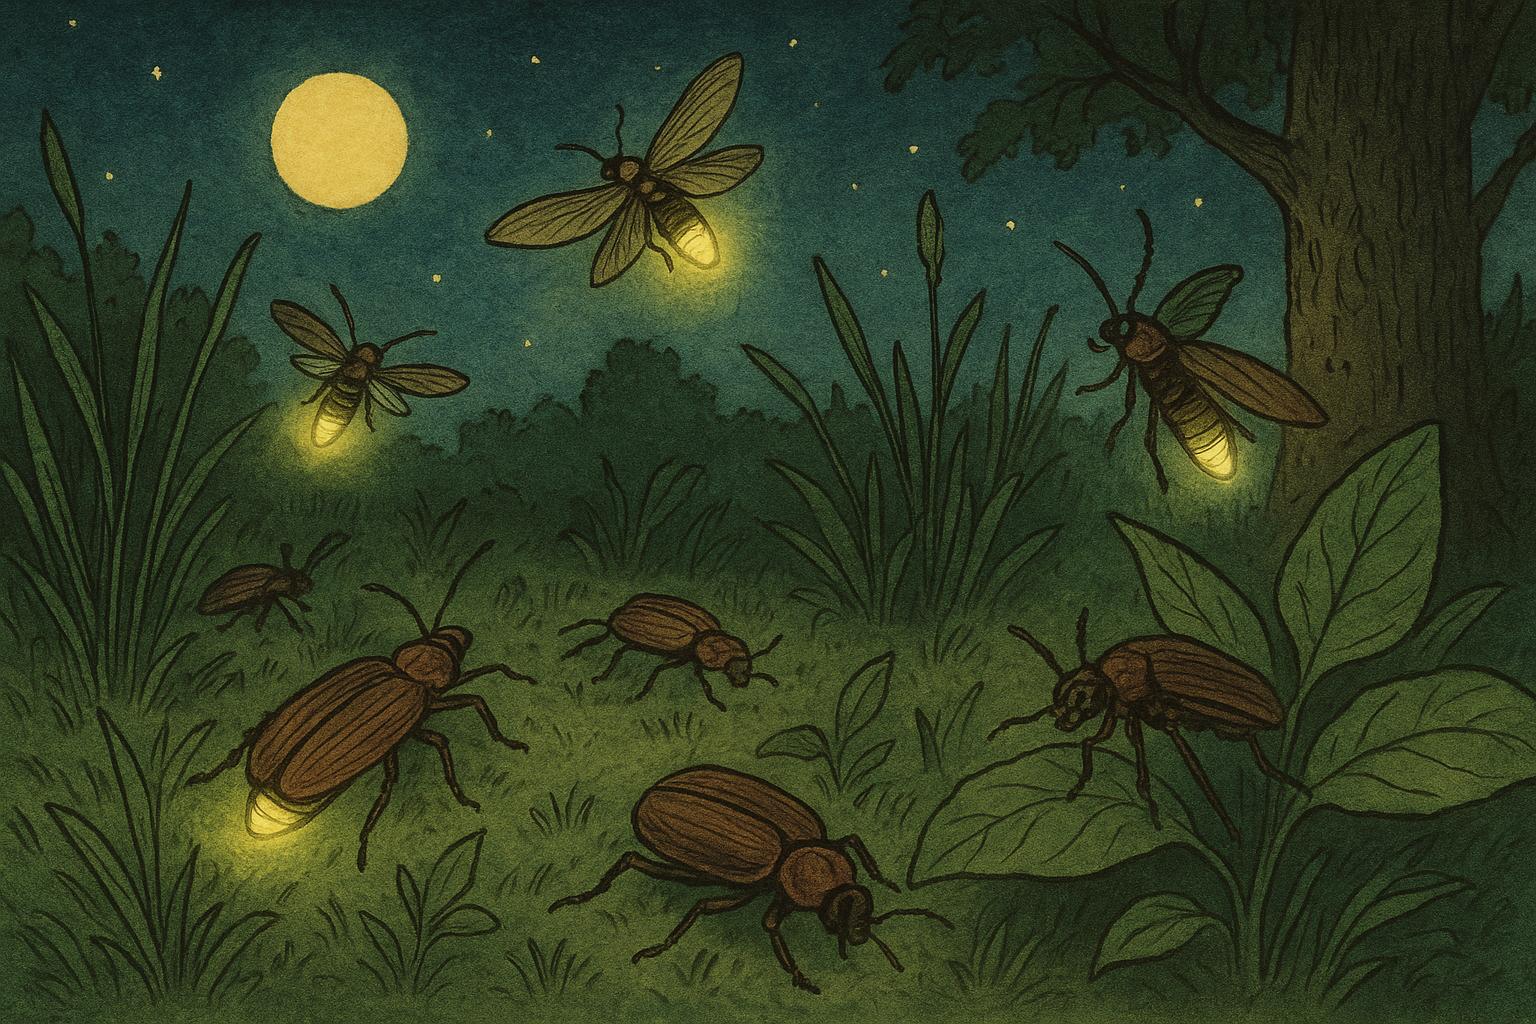
– Invertebrates: ground beetles, centipedes, spiders, and wood-boring beetles break down the wood.
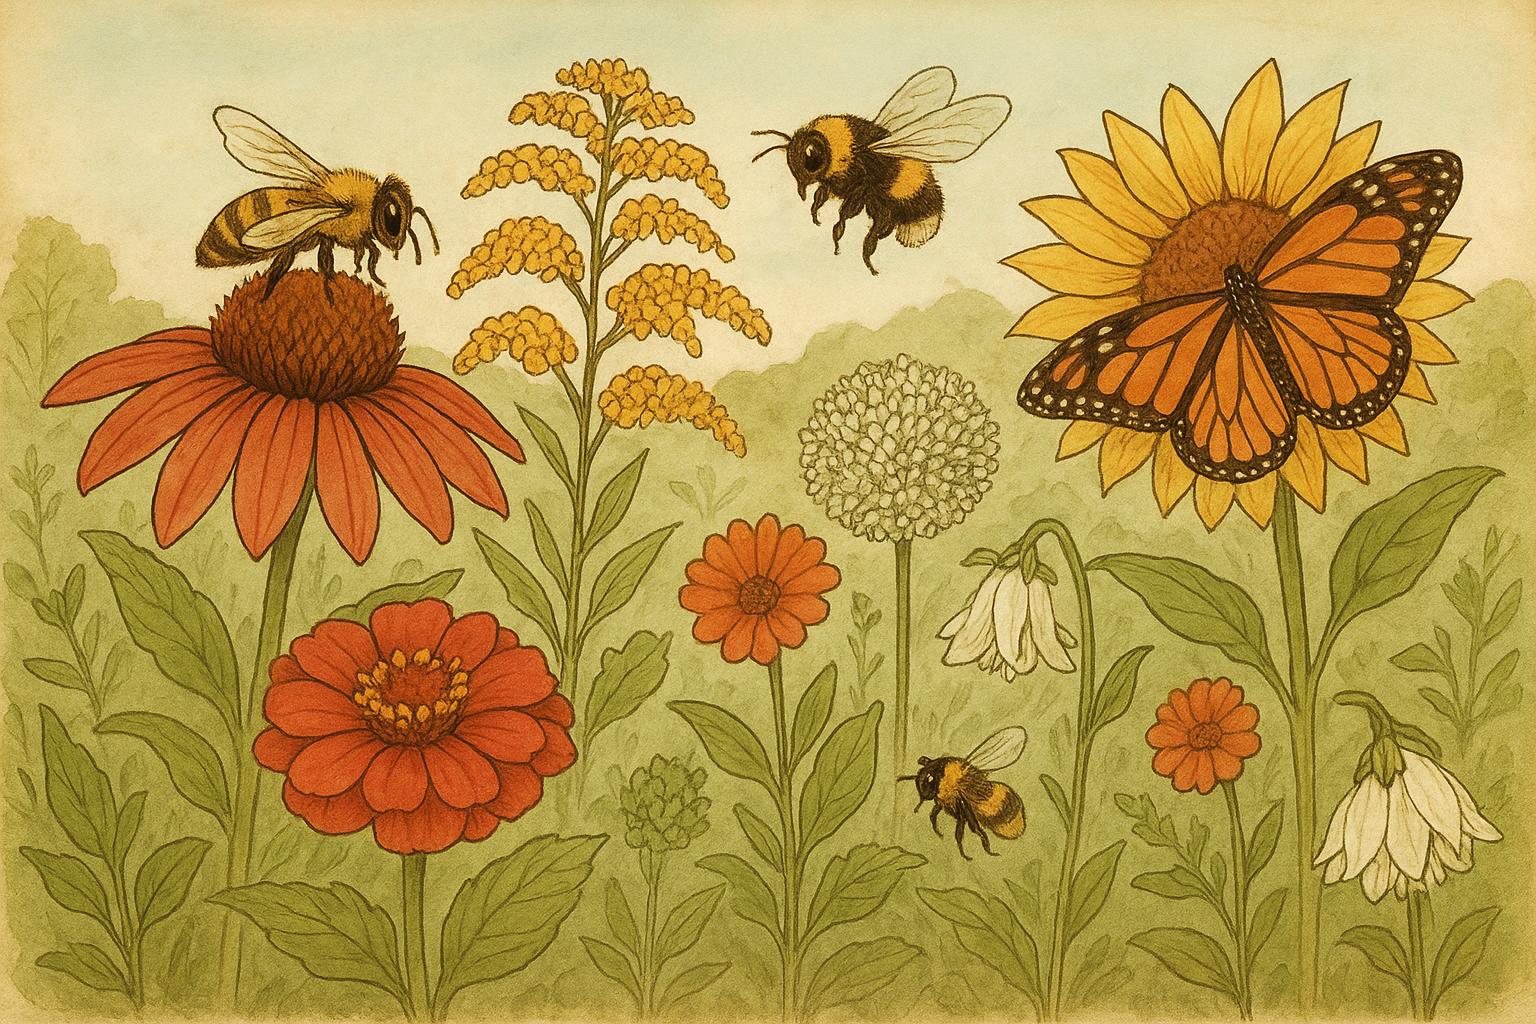
– Pollinators: solitary bees nest in pithy stems and crevices; some use small tunnels in soft wood.
– Small mammals: shrews and voles use the litter and tunnels for foraging and nests.
– Fungi and microbes: they drive wood decay, creating the habitat in the first place.
Observing this rotation is part of the pleasure. A log shelter that looks dead at first will be teeming a month later. The microclimate shifts and different groups show up in sequence.
Mentioning the phrase ground cover shelter for yard wildlife to neighbors usually changes their perspective. When they see a frog or a beneficial beetle, their curiosity replaces suspicion.
### Avoiding Problems And Risks
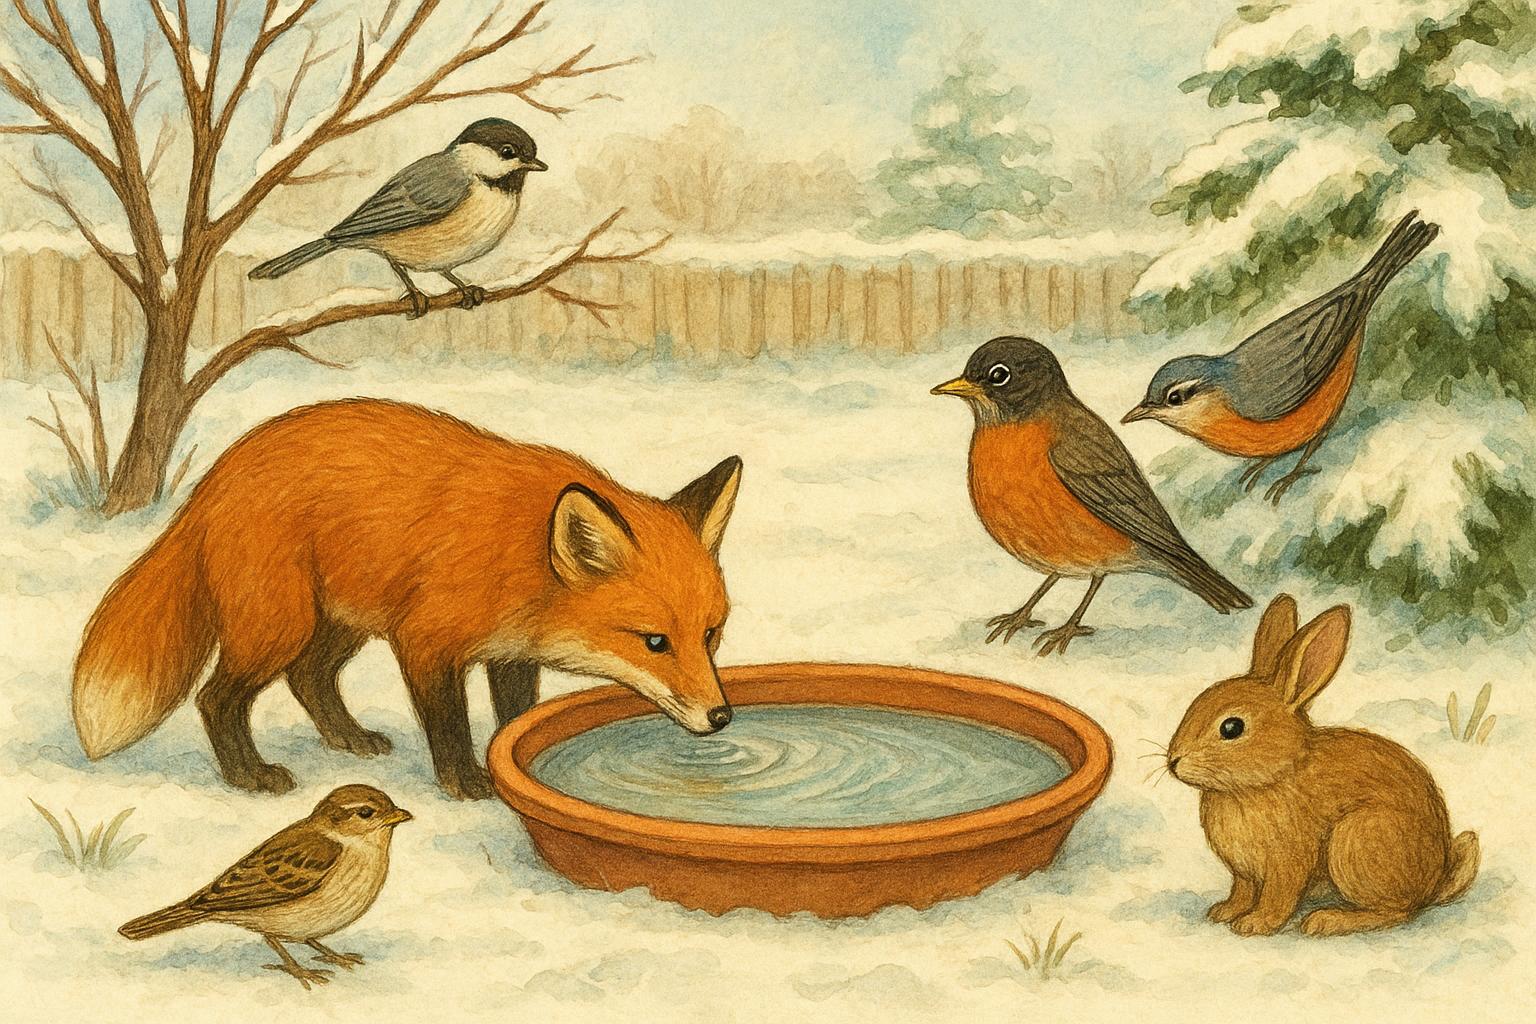
There are risks, but most are manageable. Rodents sometimes take up residence. That’s natural; they’re part of the food web and can be prey for owls and foxes. If rodents become too numerous near structures, move the pile a few meters away.
Wasps may nest under a flat board. If you regularly use the immediate area, place the pile out of common walkways. Avoid building a log pile shelter where it can become a fire hazard. Keep it a safe distance from buildings and combustible mulch.
Don’t use treated wood or materials contaminated with oil or paint. That poisons fungi and invertebrates and reduces habitat value. Keep piles off underground utilities and away from septic systems.
### Integrating Multiple Log Shelters
A single pile is useful, but a series of small log shelters connected by brush piles, hedges, or flower strips creates corridors. Wildlife moves along edges and cover. Multiple shelters spaced every few meters let animals travel without exposing themselves in the open.
Small, dispersed log shelters also reduce the risk of producing a concentrated pest population. If one pile attracts an undesirable species, others provide alternative habitats and balance the local ecology.
Use the term log shelter when discussing these smaller, intentional units. Each log shelter can have slightly different characteristics—some drier, some deeper—so different species can choose.
### Citizen Science And Learning Opportunities
A log pile shelter is a live classroom. Invite neighborhood kids to help stack logs and plant natives. Teach them to check for salamanders respectfully and to move slowly. Document what appears over a season and submit observations to local biodiversity projects. Even simple entries to iNaturalist or a community birdlist contribute useful data.
You’ll learn to read the pile. Fresh droppings mean recent use. Slime trails show amphibians. Tiny holes indicate wood-boring beetles. That feedback helps you tweak future piles—more sun, more shade, thicker base—depending on who you want to attract.
## Siting For Safety And Effectiveness
Pick sites with sensible access and minimal disturbance. A shady corner under a tree is excellent, but watch for heavy root systems that will be damaged by large logs. If your yard floods, raise the pile slightly so it isn’t washed away. Elevation differences help create variety. A small mound becomes a warm ledge; a hollow beneath a log becomes a persistent moisture trap.
If nesting birds are a priority, place some of your logs near shrubs that offer elevated perches. For amphibians, place the pile near damp leaf litter and avoid direct sun. If you’re in a fire-prone area, keep spacing between piles and use mostly green, high-moisture materials.
One intentionally mispelled word in the pile description helps it look hand-built and lived-in. Your neighbors will see the result, not the typo, but it makes the writing feel like someone in the yard with dirt on their hands.
Start small, observe, and expand. The best ground cover shelter for yard wildlife grows over time—more logs, more plants, more species. You’ll find the work is less about construction and more about patience and attention.


Leave a Reply