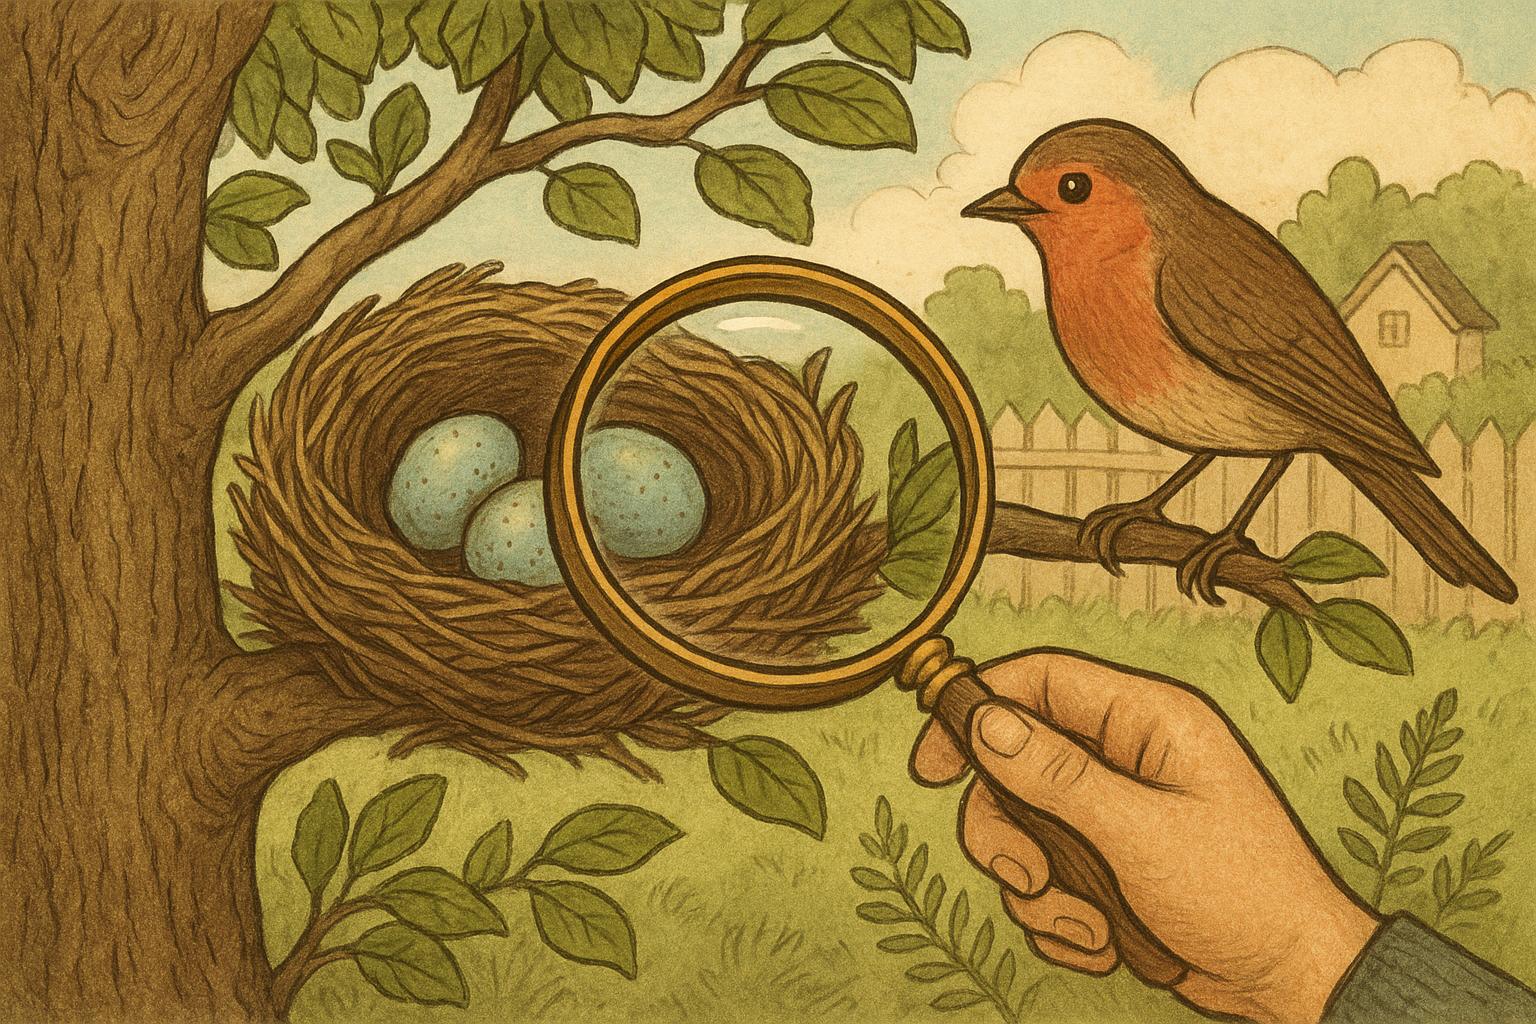
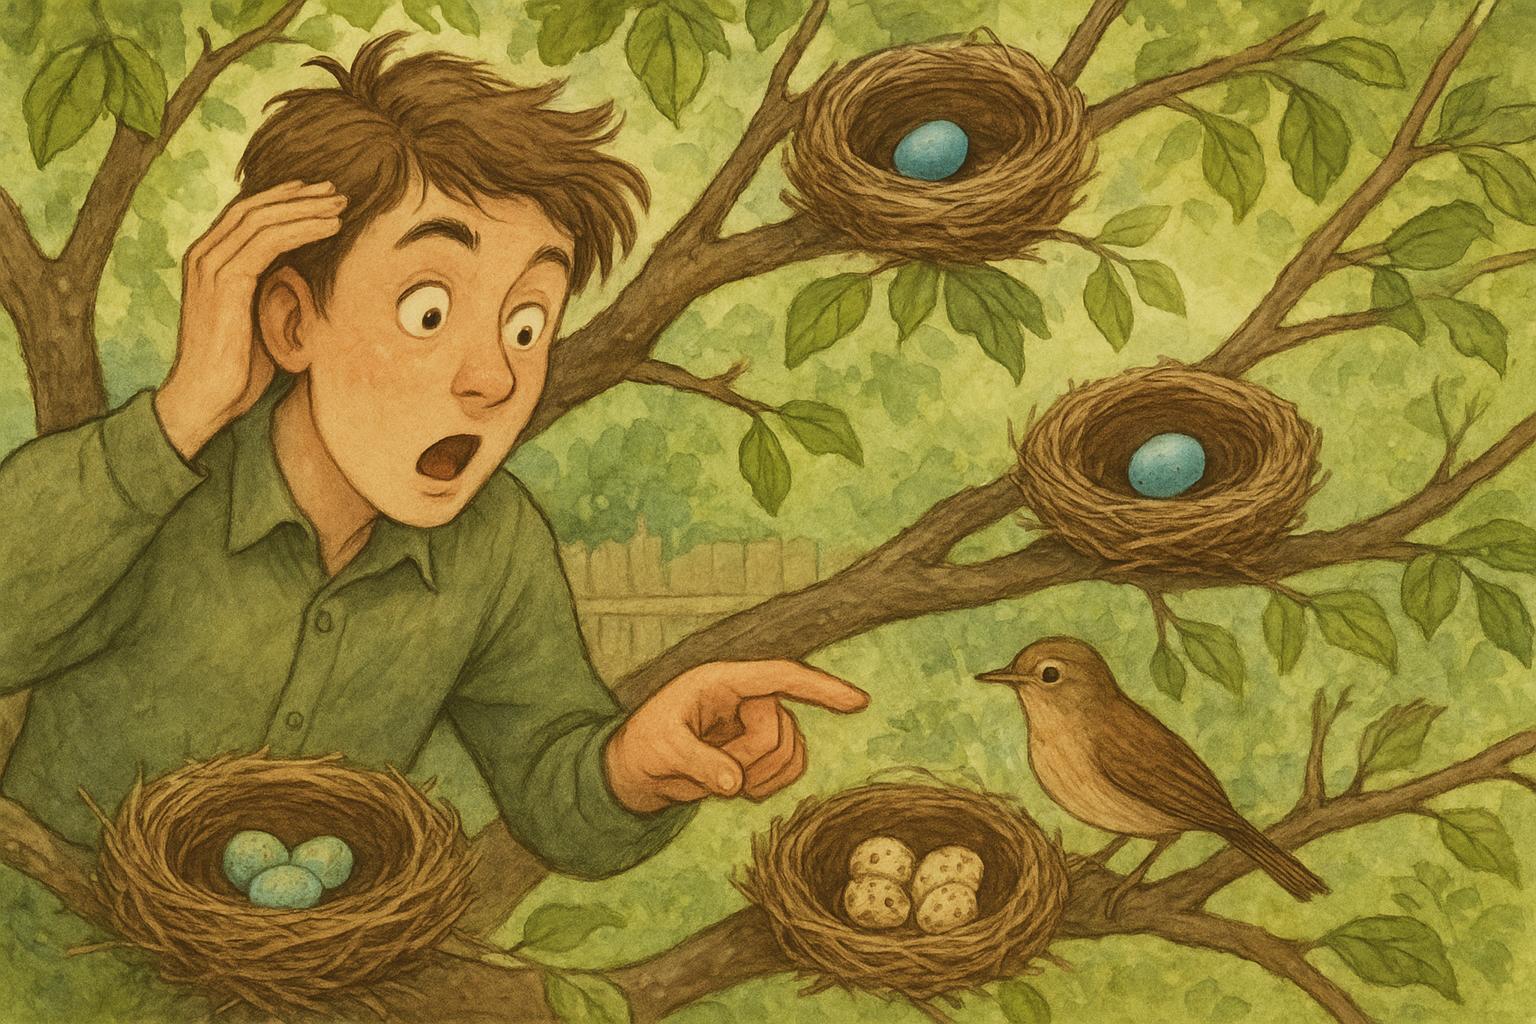
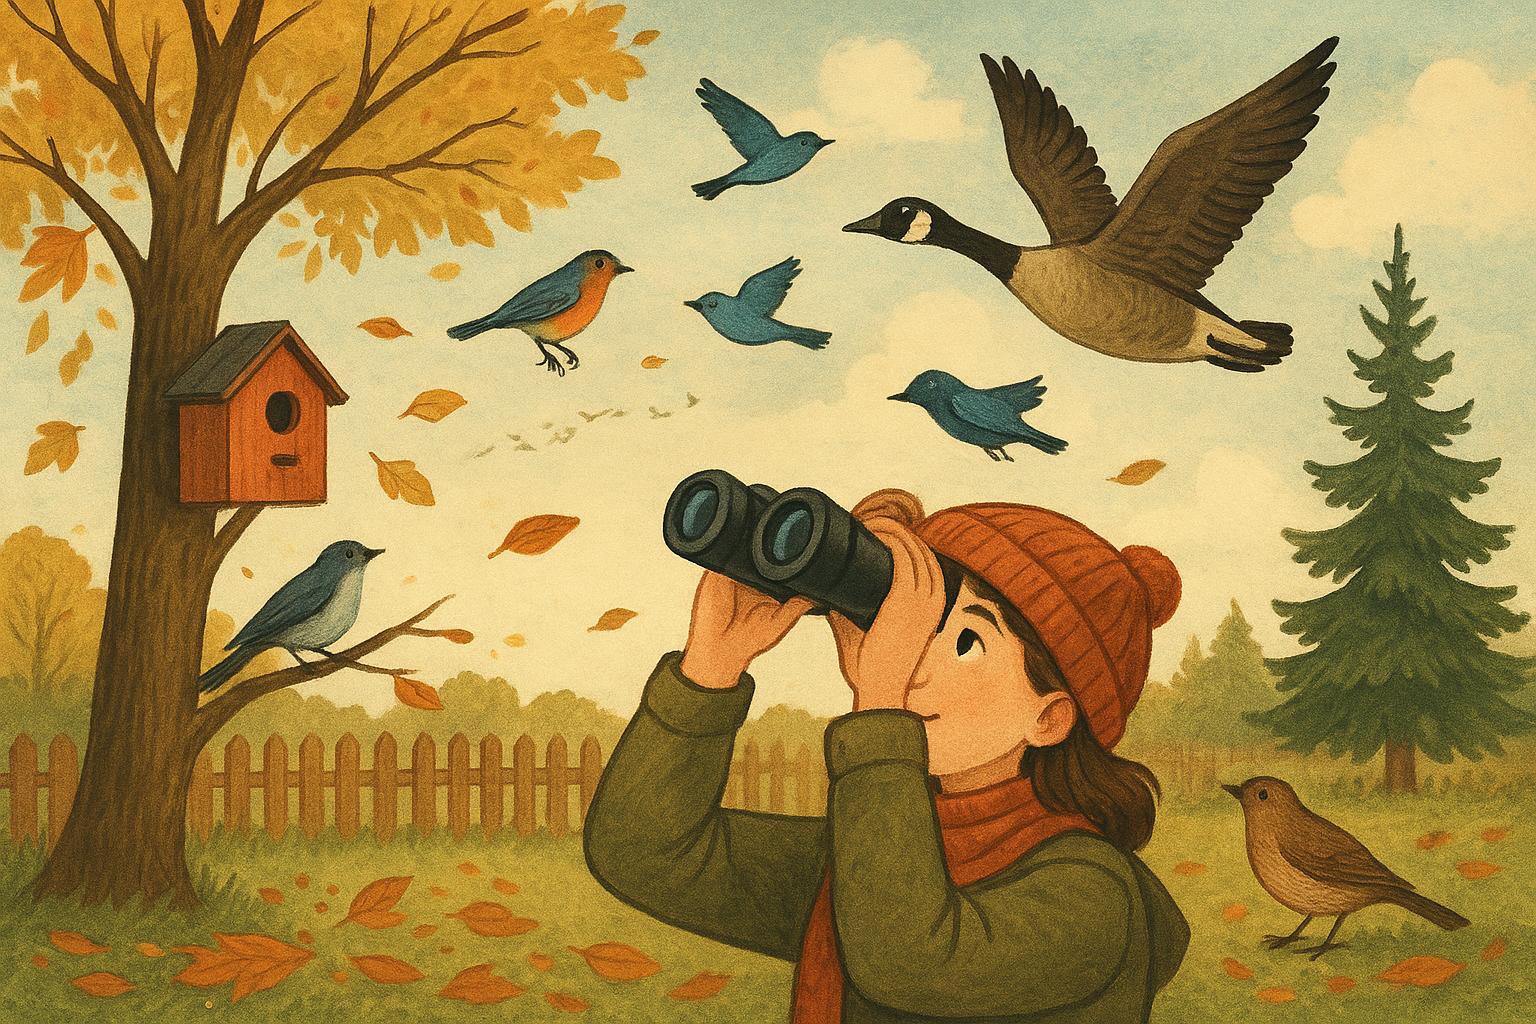
If you like watching birds, you quickly learn they’re surprisingly obvious about where they’re trying to raise a family—if you know the clues. From tiny tufts of grass tucked in a shrub to committed parental cartwheels around your eaves, backyard birds leave a trail of hints pointing to the nest site. Read on for friendly field tips and practical fixes to help those backyard residents thrive (or at least to satisfy your curiosity about what that frantic robin is up to).
## Nest Site Basics For Backyard Birds
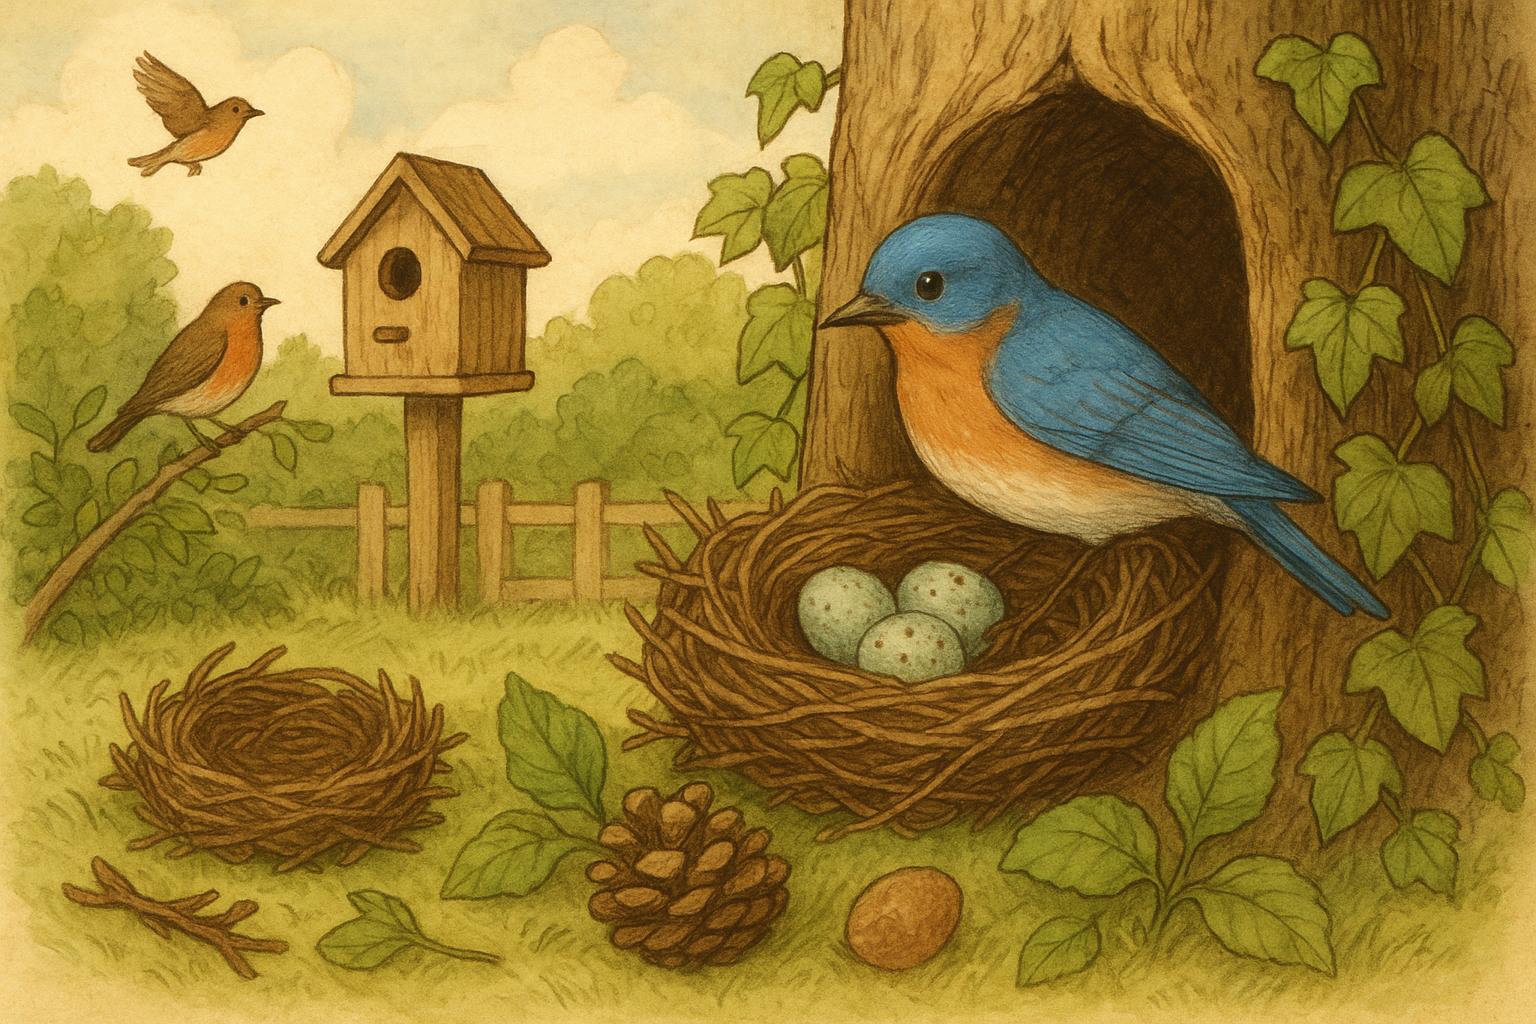
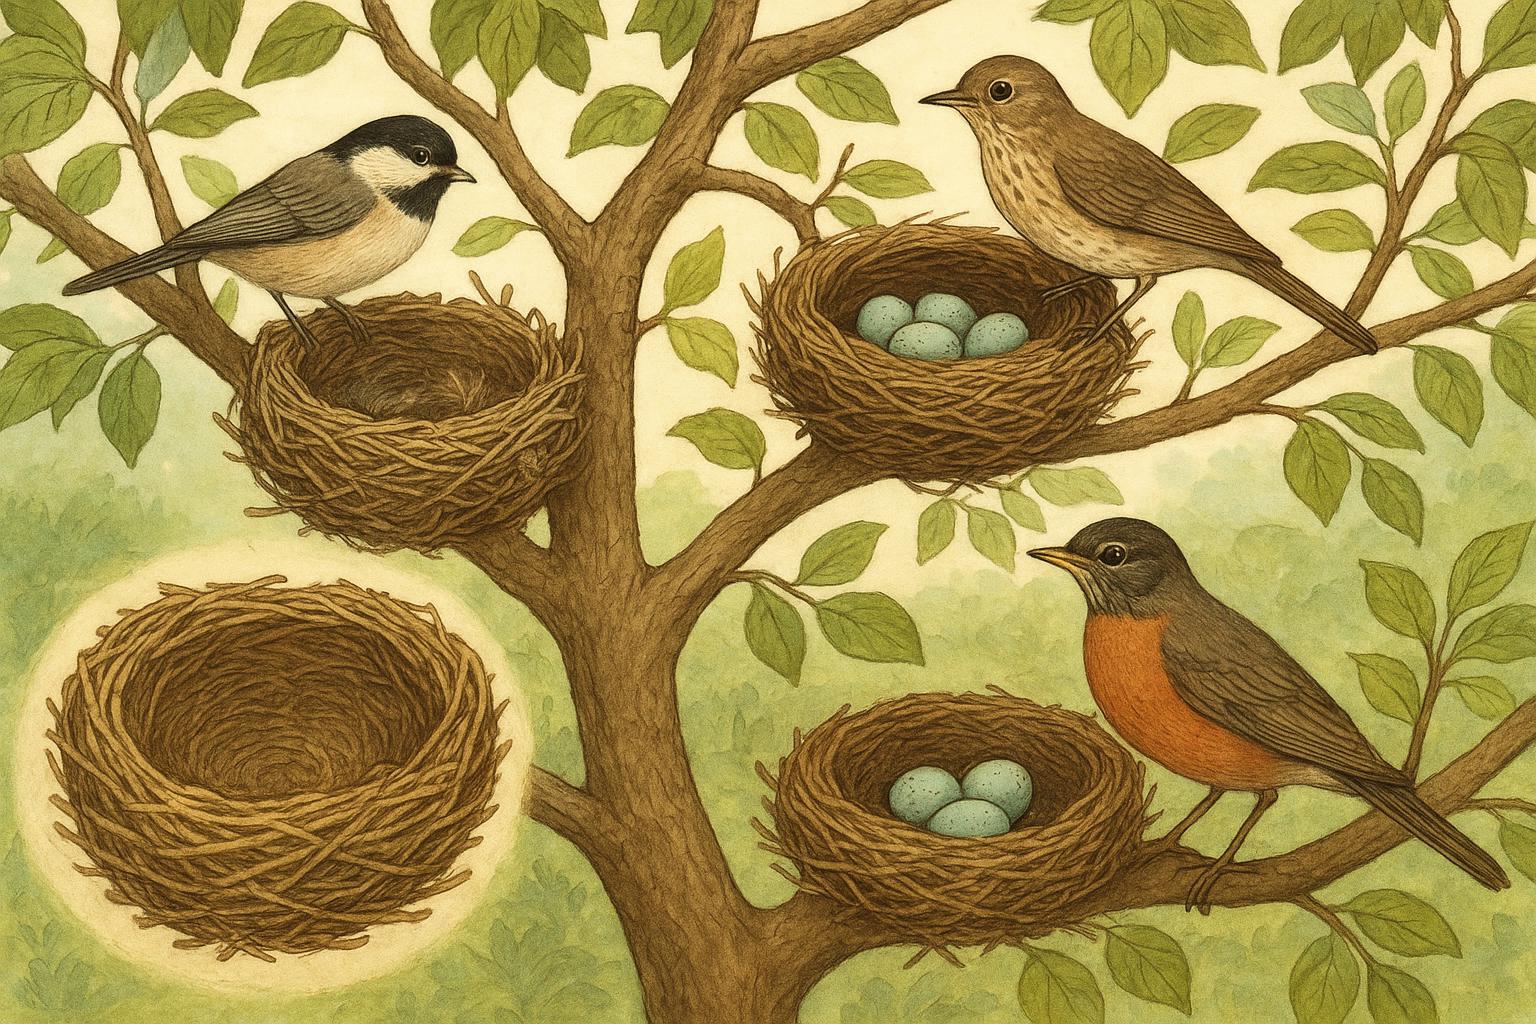
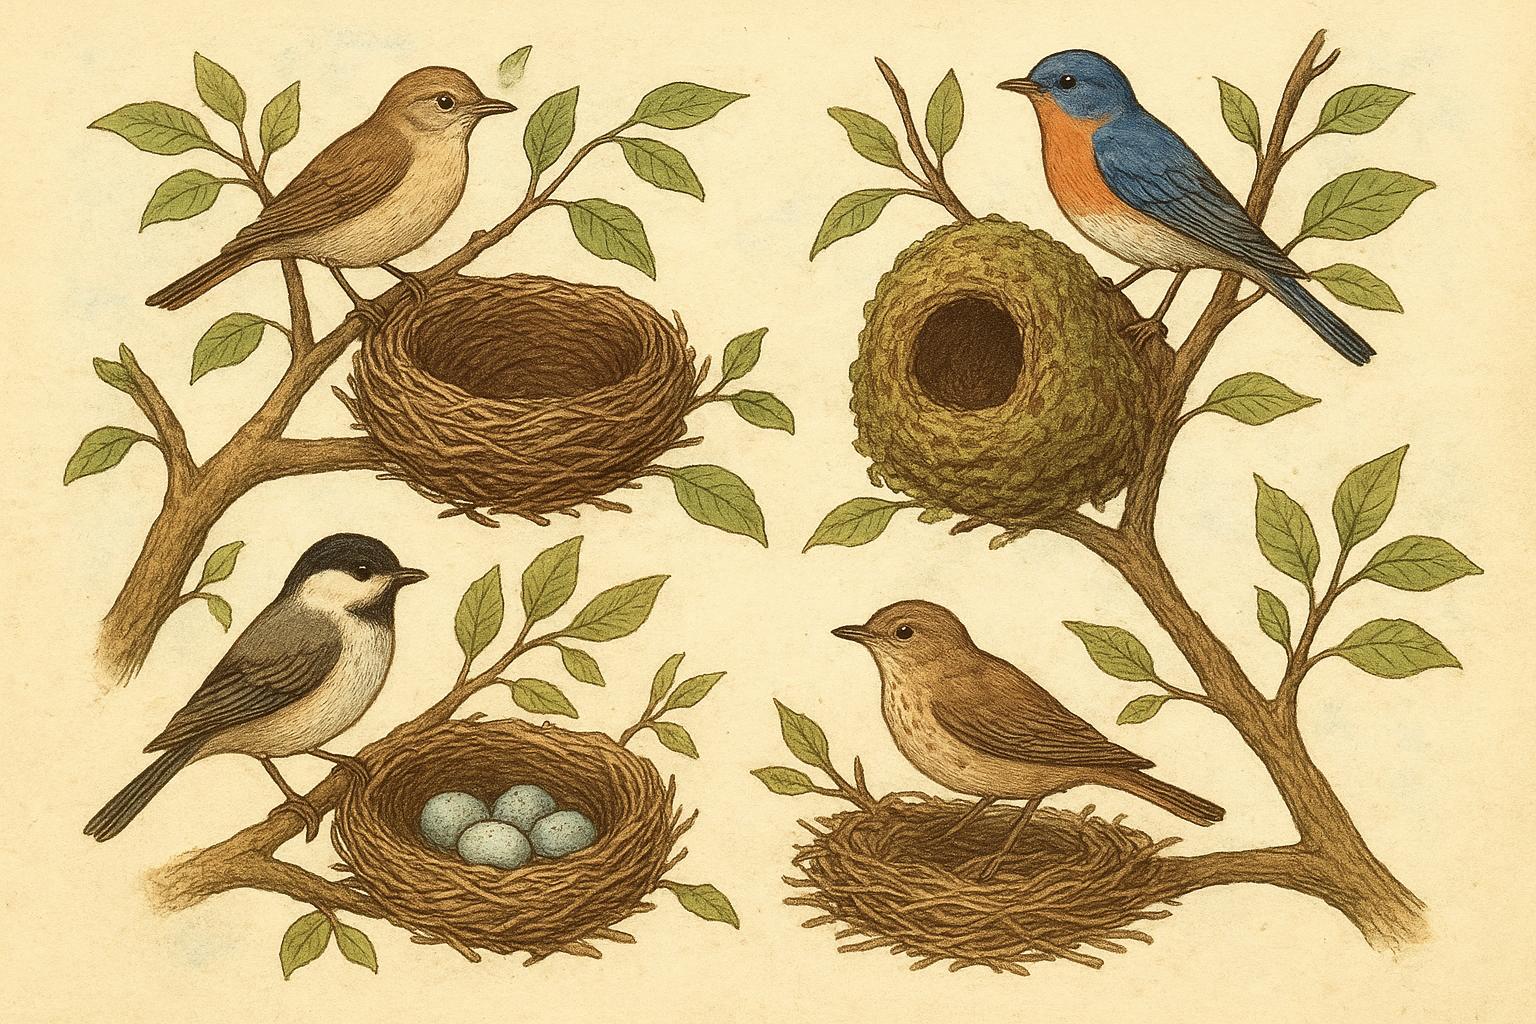
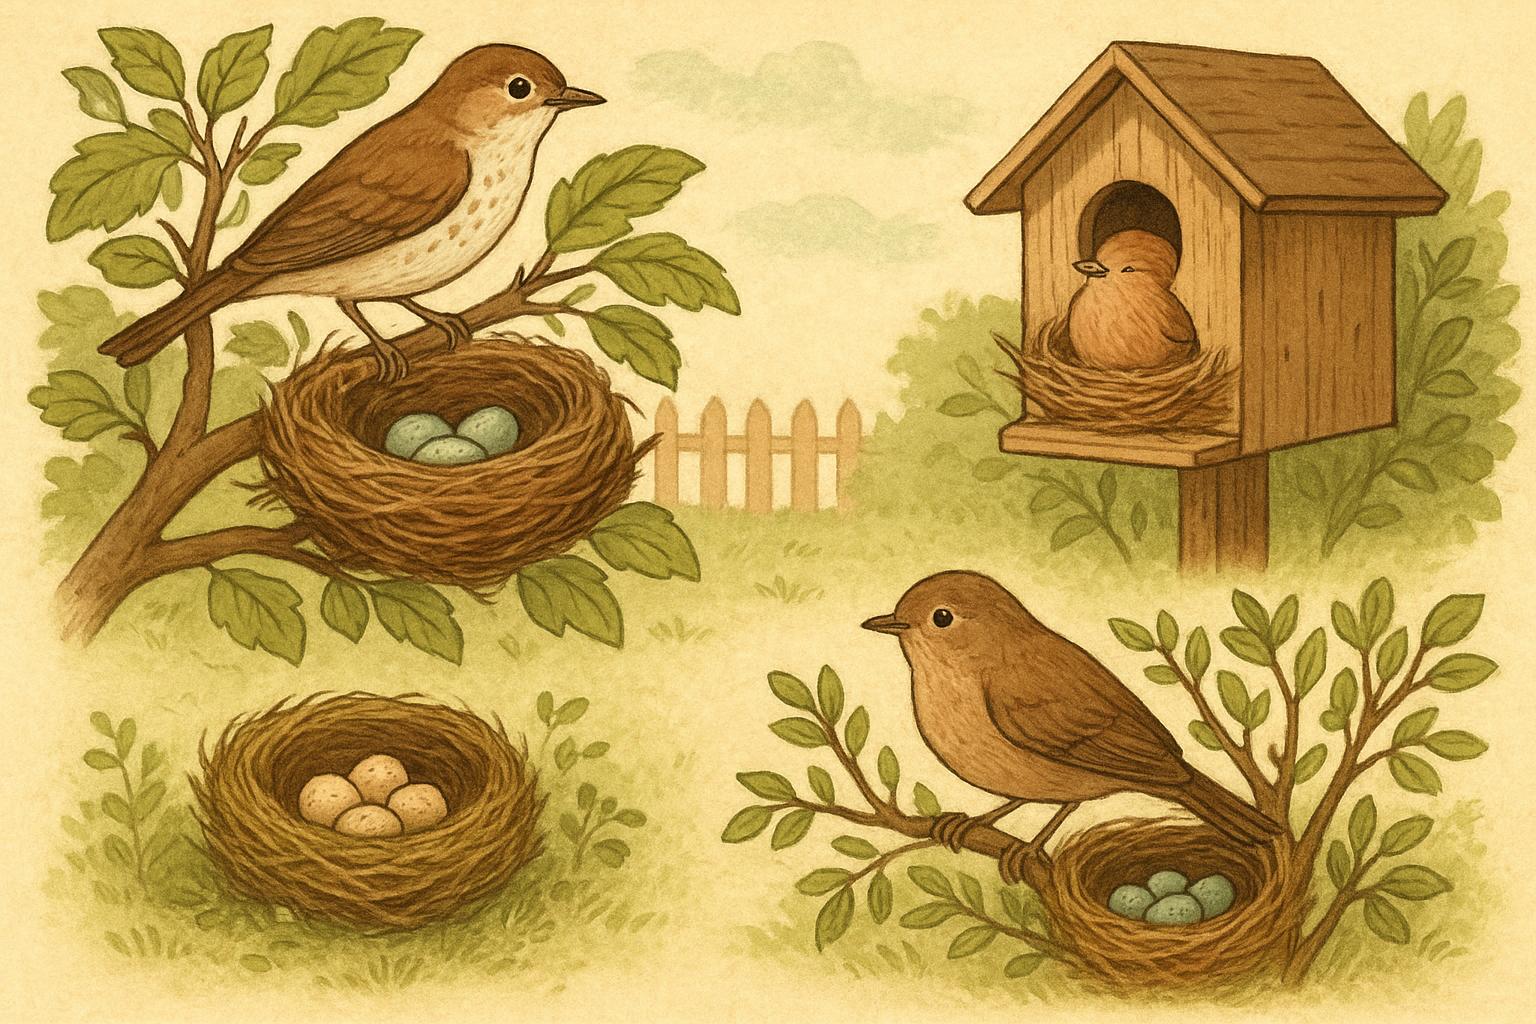
Birds select a nest site based on safety, shelter, and access to food. Different species have different priorities—woodpeckers want cavities, robins prefer the horizontal support of a cup nest, and swallows favor vertical surfaces under eaves. Even within the same yard, microhabitats matter: dense shrubs offer concealment from aerial predators, while open branches provide quick escape routes.
### Spotting Common Clues
You don’t need a binocular-powered detective kit. Look for:
– Loose plant fibers, feathers, or strips of bark gathered in a particular bush or ledge.
– Repeated trips made by one or two adults carrying nesting material or food, especially during early morning and late afternoon.
– Droppings concentrated under a branch or window ledge—the “drop zone” often betrays the nesting location.
– Mildly defensive behavior: birds fussing at you if you linger near a likely nest site.
– Small patches of whitewash (bird droppings) on surfaces beneath a nest.
These signs usually point to a nearby nest site; watch from a discreet distance and you’ll often see the “shuttle service” bringing moss, hair, or mud to the exact spot.
### Where Different Species Leave Clues
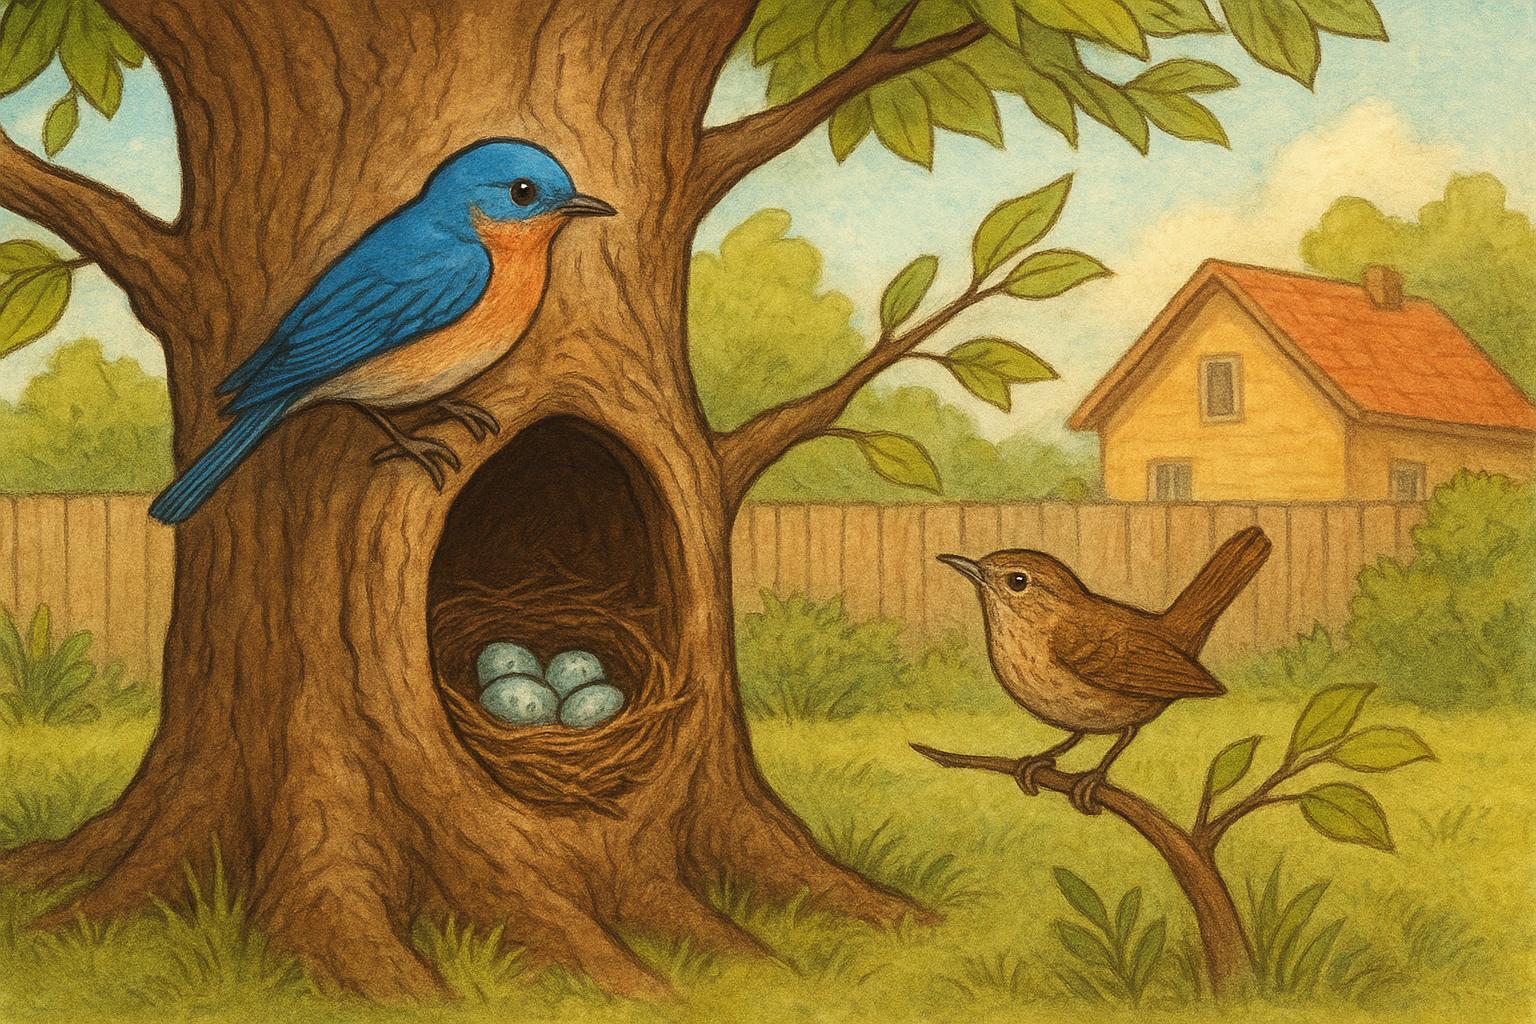
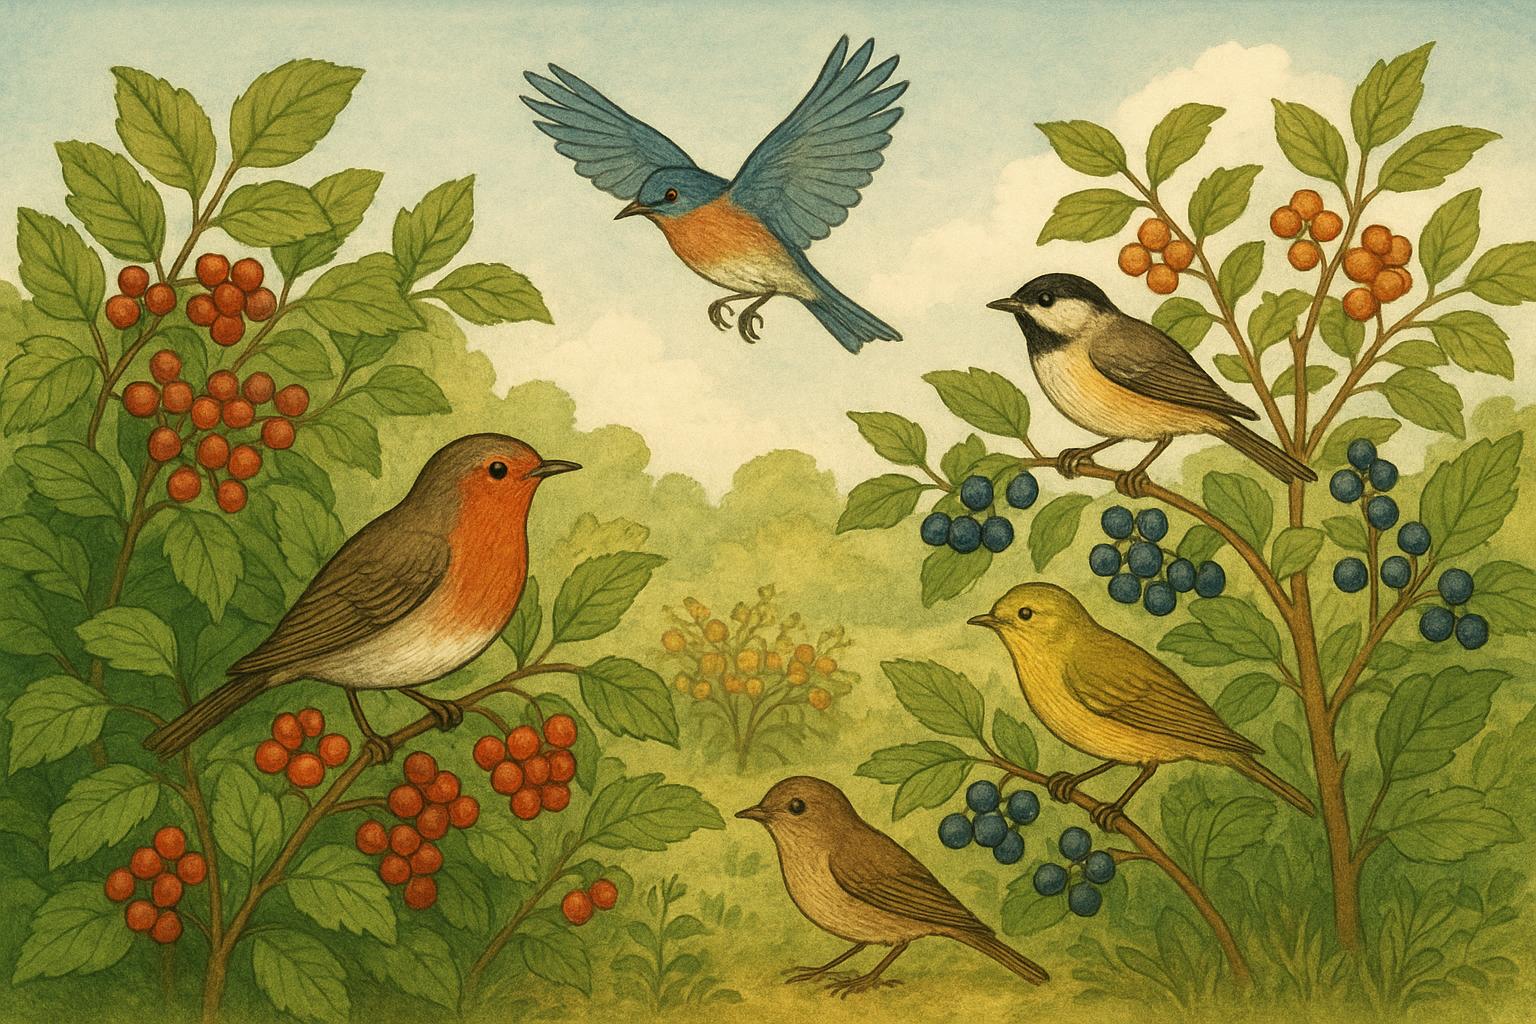
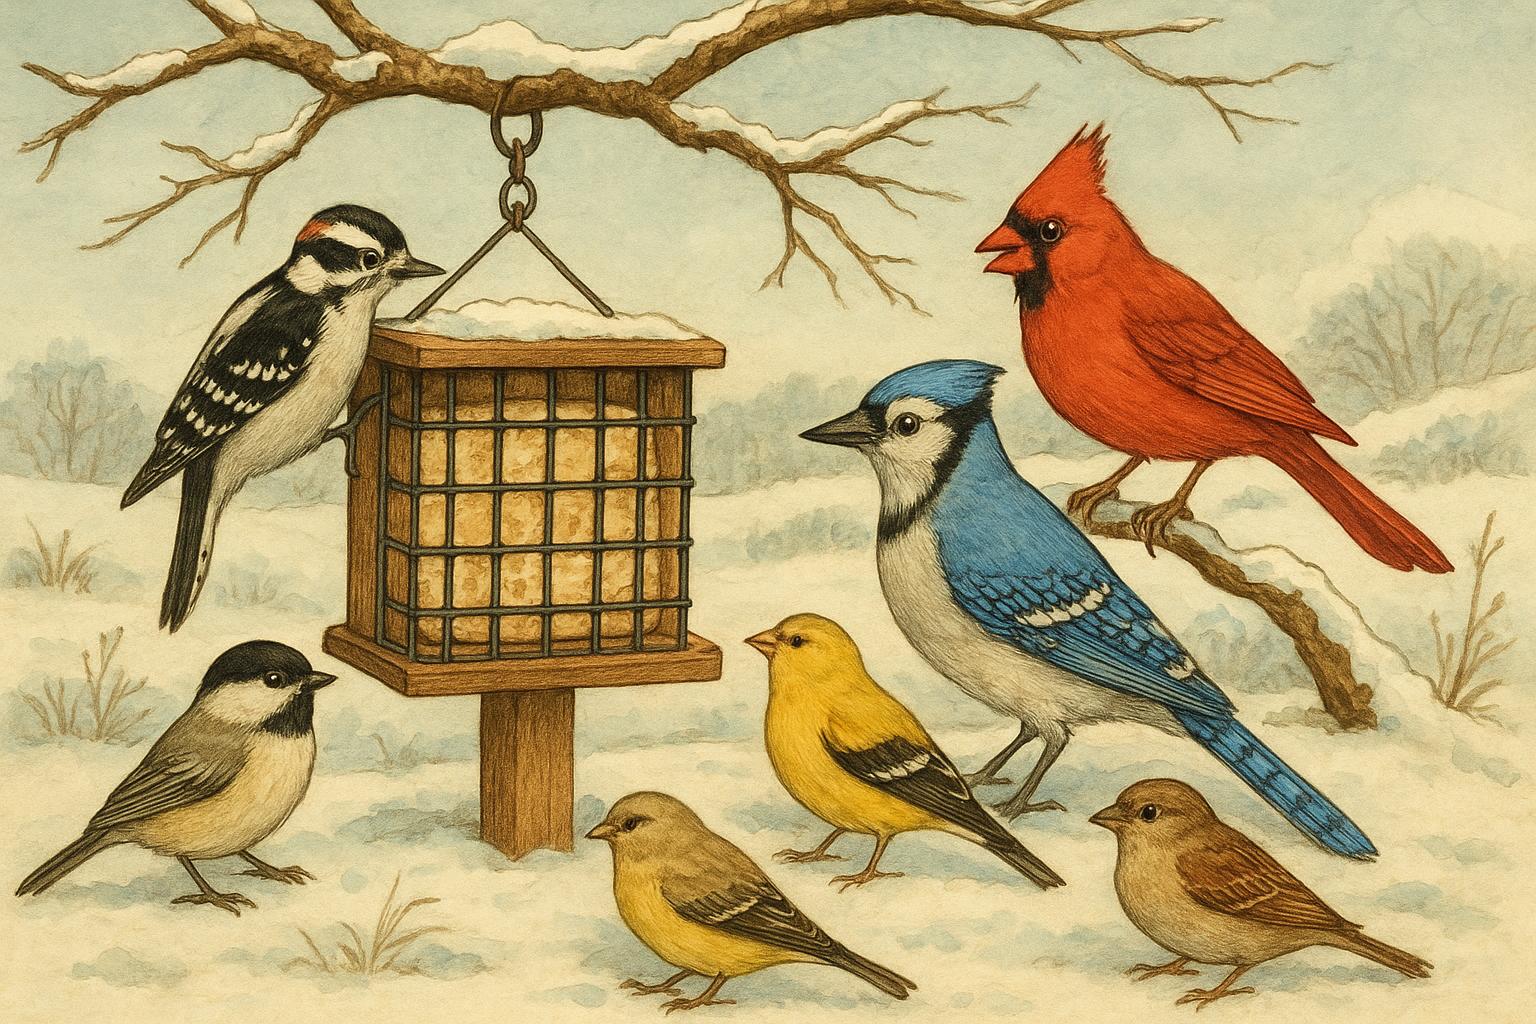
Cavity-nesting species (bluebirds, chickadees, woodpeckers) will leave sawdust, altered bark, or frequent entries to a box-shaped hole. Cup-nesters (robins, finches) show up with grasses and mud layered in forks of branches. Ground-nesters (killdeer, some sparrows) might only be revealed by behaviors: parents distracting you from a spot or carrying food low to the ground. Hummingbirds are easy to spot if you see spider silk and soft plant down being ferried to a sheltered, horizontal branch.
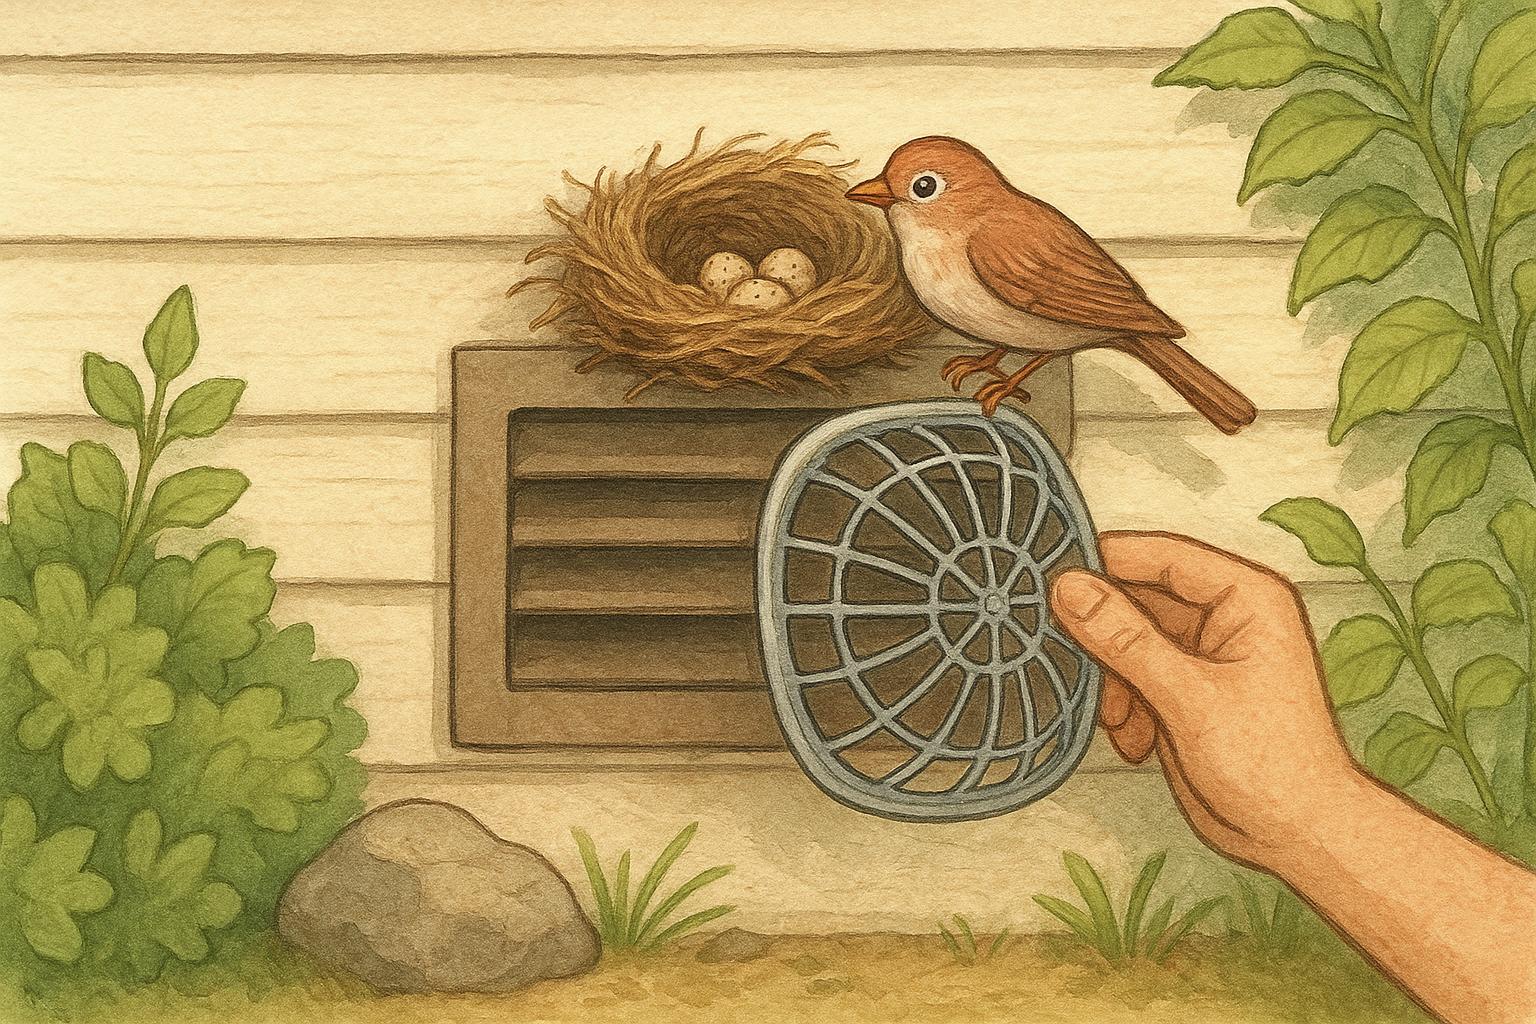
## 1. Build A Simple Nest Box For The Nest Site
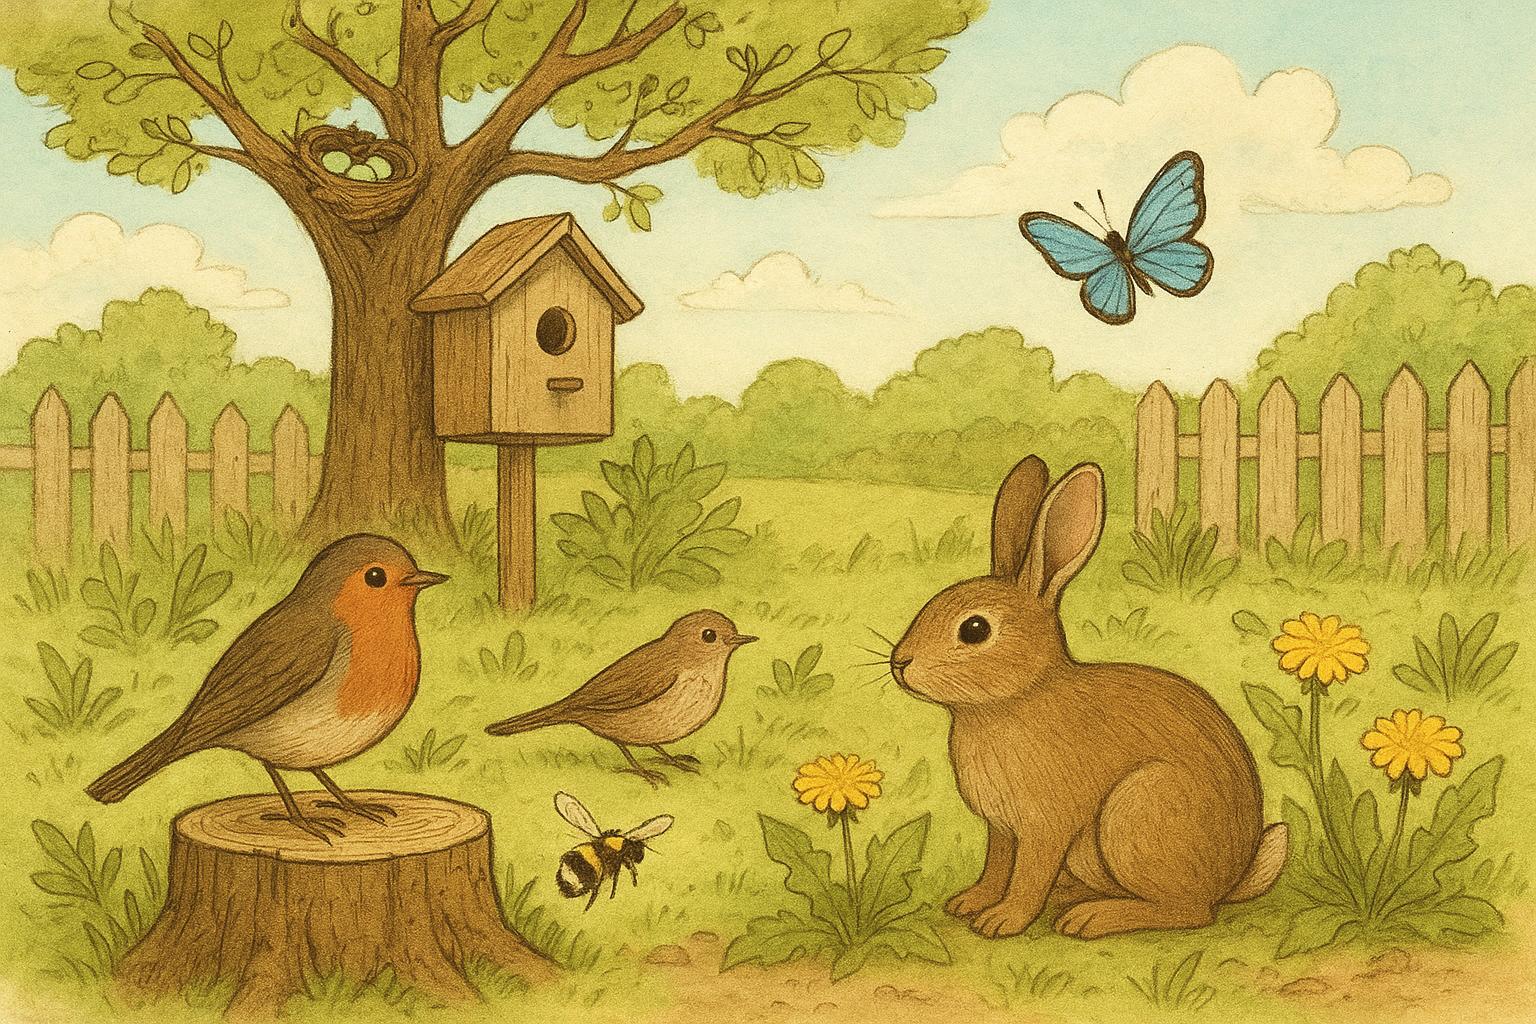
If you want to encourage cavity nesters, a nest box is one of the most effective, humane ways to create a reliable nest site. Be careful with placement and dimensions—small mistakes turn a welcome mat into a pest motel.
### Materials
#### Required Materials List
– Untreated exterior-grade wood (1″–1.25″ thickness), cedar preferred
– Galvanized or stainless steel screws
– Hinges and a simple latch for the clean-out panel
– 1 1/8″–1 1/2″ diameter entrance hole saw bit (size depends on species)
– Waterproof exterior paint or stain (non-toxic), sparingly
– Metal flashing or predator guard (optional)
### Construction And Installation Steps
1. Cut panels: back, front (with entrance hole), two sides, floor (with drainage holes), and a hinged roof.
2. Predrill and assemble with screws—no nails; they loosen over time.
3. Add ventilation near the top of the sides and drainage holes in the floor.
4. Attach a predator guard around the entrance (metal escutcheon) if you live where squirrels or larger birds are a problem.
5. Mount the box 5–30 feet above ground depending on species (e.g., chickadees ~6–10 feet, bluebirds ~4–6 feet), facing away from prevailing winds and direct afternoon sun.
6. Angle the box slightly forward so rain runs off the roof, and ensure it’s stable—avoid swaying branches.
7. Do not add nesting material; birds prefer to build their own lining. Check only outside of the nesting season.
These steps are precise because incorrect entrance size or placement can attract invasive species or predators, or worse, discourage the intended occupants.
## 2. Install A Nest Site Predator Guard
Predators (squirrels, raccoons, house cats) are often the reason a nest fails. A simple guard can drastically improve nesting success at your preferred nest site.
### Materials
#### Required Materials List
– Sheet metal or flashing (for baffles)
– Heavy-gauge wire mesh (hardware cloth) for ground-level protection
– Cable ties or screws and brackets
– Pole or mounting post (if pole-mounted)
– Optional: predator-proof mounting boxes or dome baffles
### Installation Steps
1. Determine the type of threat: if terrestrial predators are the issue, focus on pole-mounted baffles; if arboreal species climb, use metal collars or entrance guards.
2. For pole-mounted boxes, install a conical or cylindrical metal baffle 4–5 feet below the box. Ensure it is slippery and at least 18 inches wide to prevent animals from getting around it.
3. Wrap the pole base with heavy-gauge wire mesh, buried several inches into the soil and extending outward to deter digging.
4. For tree-mounted sites, install a metal predator collar on the trunk below the nest box, at least 2–3 feet wide.
5. Secure all hardware so nothing dangles or creates entanglement risks.
6. Inspect baffles annually and after storms. Repair or replace any compromised material immediately.
Follow local wildlife regulations and humane practices; never glue or permanently trap animals. These measures are preventative and should be installed before breeding season for best results.
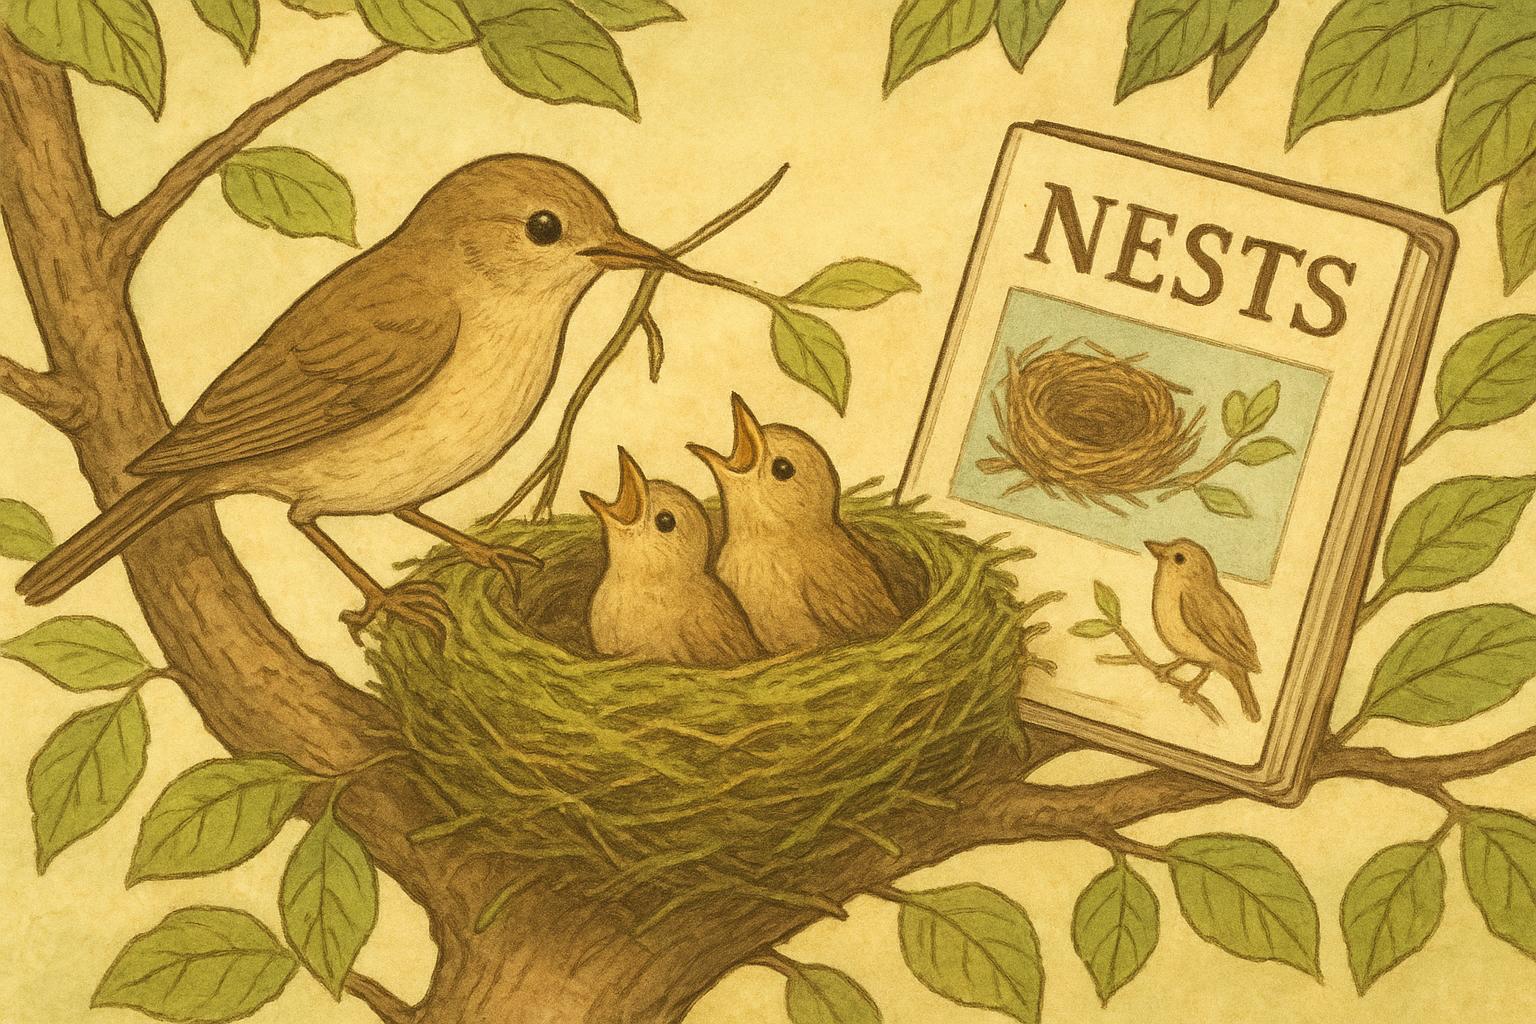
## 3. Provide Nesting Materials Near The Nest Site
Some birds benefit from an easily accessible stash of safe nesting materials. This is an intervention that helps without disturbing the nest itself.
### Materials
#### Required Materials List
– Natural cotton yarn or pet fur (clean, untreated)
– Coconut fiber, dried grass, and shredded natural fiber (not synthetic)
– A wire basket or mesh feeder to hold materials
– Durable string to hang the basket
– Scissors and a small scoop
### Creation And Application Steps
1. Prepare materials: only offer natural fibers—avoid wool with lanolin residue, dryer lint that contains plastics, and long threads that can tangle nestlings.
2. Fill a small wire basket with assorted fibers and hang it in a shaded, sheltered spot near known nest activity but not directly adjacent to an active nest.
3. Offer materials in short, tearable lengths (3–6 inches) so birds can carry them easily.
4. Replace materials regularly and clean the basket at season’s end with a diluted vinegar solution to prevent mold.
5. Monitor use from a distance; if invasive species monopolize the stash, remove it to avoid encouraging them.
Do not place materials inside an occupied nest. Leave the decision to the birds—they will take what they need.
### When To Intervene And When Not To
Interventions must be deliberate and minimal. Never handle eggs or nestlings unless law or safety dictates (injury, imminent nest collapse). If you suspect a nest is abandoned, observe for 24–48 hours from a distance; adults may still be foraging. Contact a licensed wildlife rehabilitator for guidance before taking any action. If an active nest is threatened by construction or tree removal, consult local wildlife authorities for relocation options and timing—legal protections often apply.
### Seasonal Maintenance For The Nest Site
Inspect nest boxes and guards between seasons, not during nesting. Clean out old nesting material in late fall or very early spring to reduce fleas and parasites. Repair loose hinges, replace rotting wood, and recoat exposed metal to prevent rust. Keeping the environment tidy improves the long-term suitability of a nest site and supports successive seasons of nesting.
Enjoy the sleuthing. With a little observation and these practical measures, you’ll learn the secret language birds use to pick a nest site and you can lend a hand that actually helps—without turning your yard into a reality show for raccoons.


Leave a Reply