
Glad you stopped by — if you’ve ever crouched over a muddy patch asking whether those little imprints were made by the front or back feet, you’re in the right place. We’ll take a friendly, slightly cheeky stroll through footprints, gait, and a few hands-on tips so you can confidently tell front from back tracks next time you’re outside playing detective.
## Front Back Tracks Guide How To Tell Front Vs Back Tracks
### Why Front And Back Tracks Matter
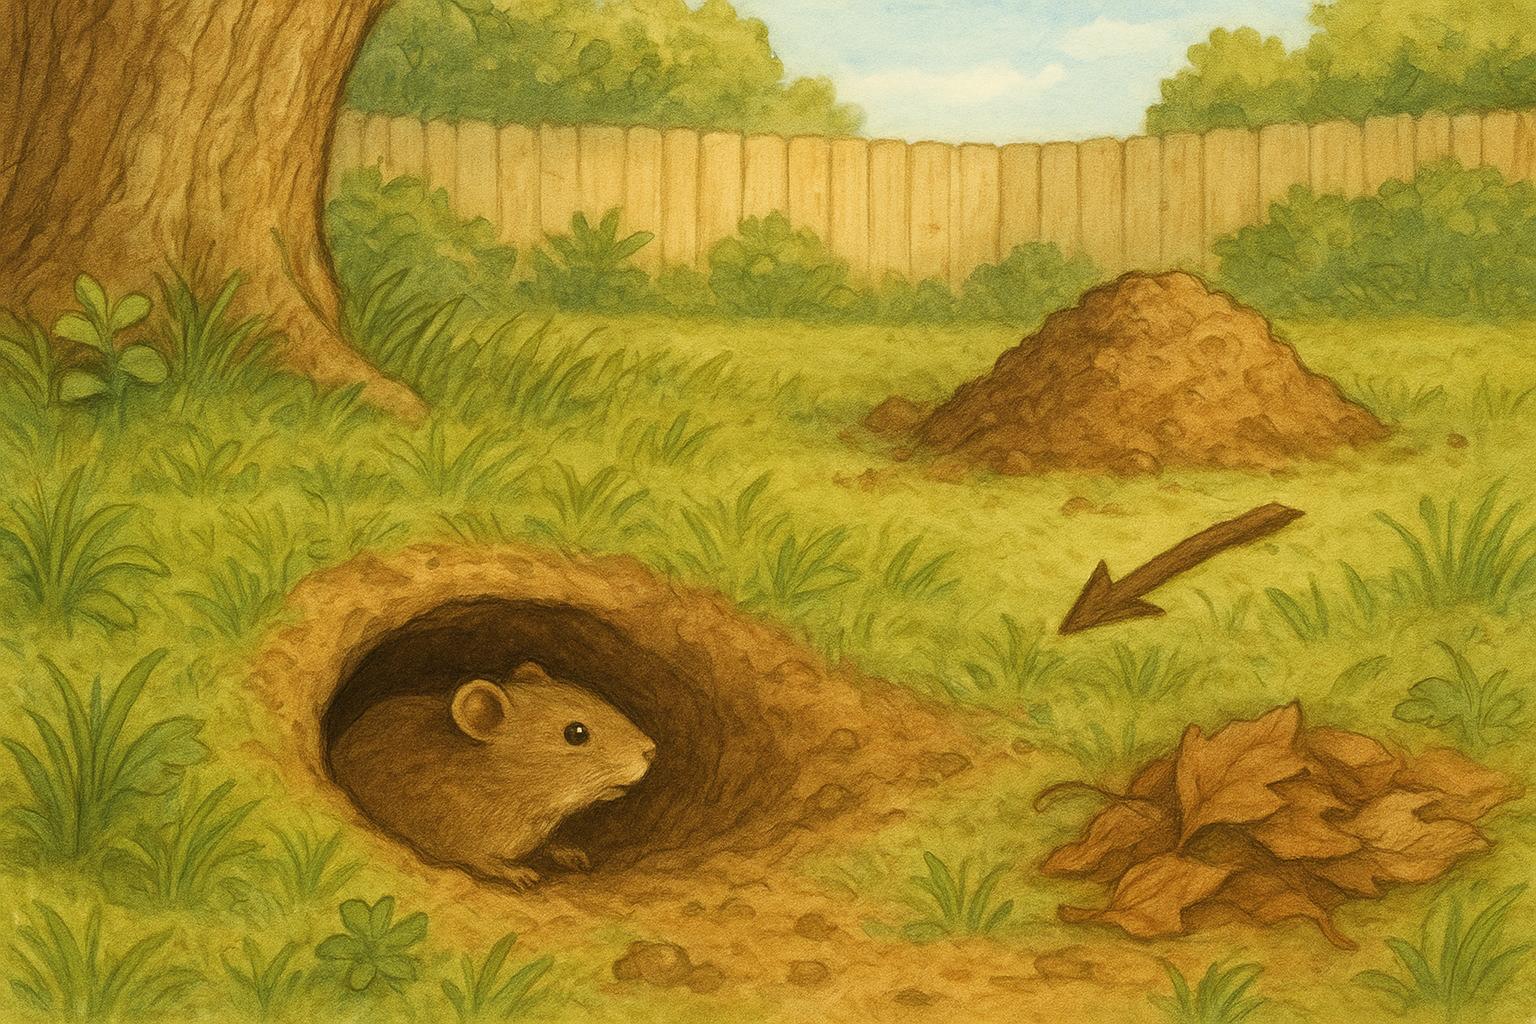
Knowing which prints are front versus back helps you understand animal behavior, direction of travel, speed, and even what the animal was doing (pausing, feeding, or bounding). That detail can turn a fuzzy observation into a meaningful story: was a raccoon investigating your bird feeder or simply passing through? Are those staggered prints a small dog or a fox? The difference between front back tracks often tells the tale.
### Basic Anatomy And How It Shows In Tracks
Animals put their anatomy on the ground. Front feet (forefeet) and back feet (hindfeet) differ in shape, size, and function across species.
– Forefeet are often wider and built for weight-bearing, digging, or manipulating objects. They can look shorter and rounder in the mud.
– Hindfeet are typically longer and built for propulsion — you’ll see elongated prints for animals that hop or run, and sometimes a distinctive heel or extra toe impression.
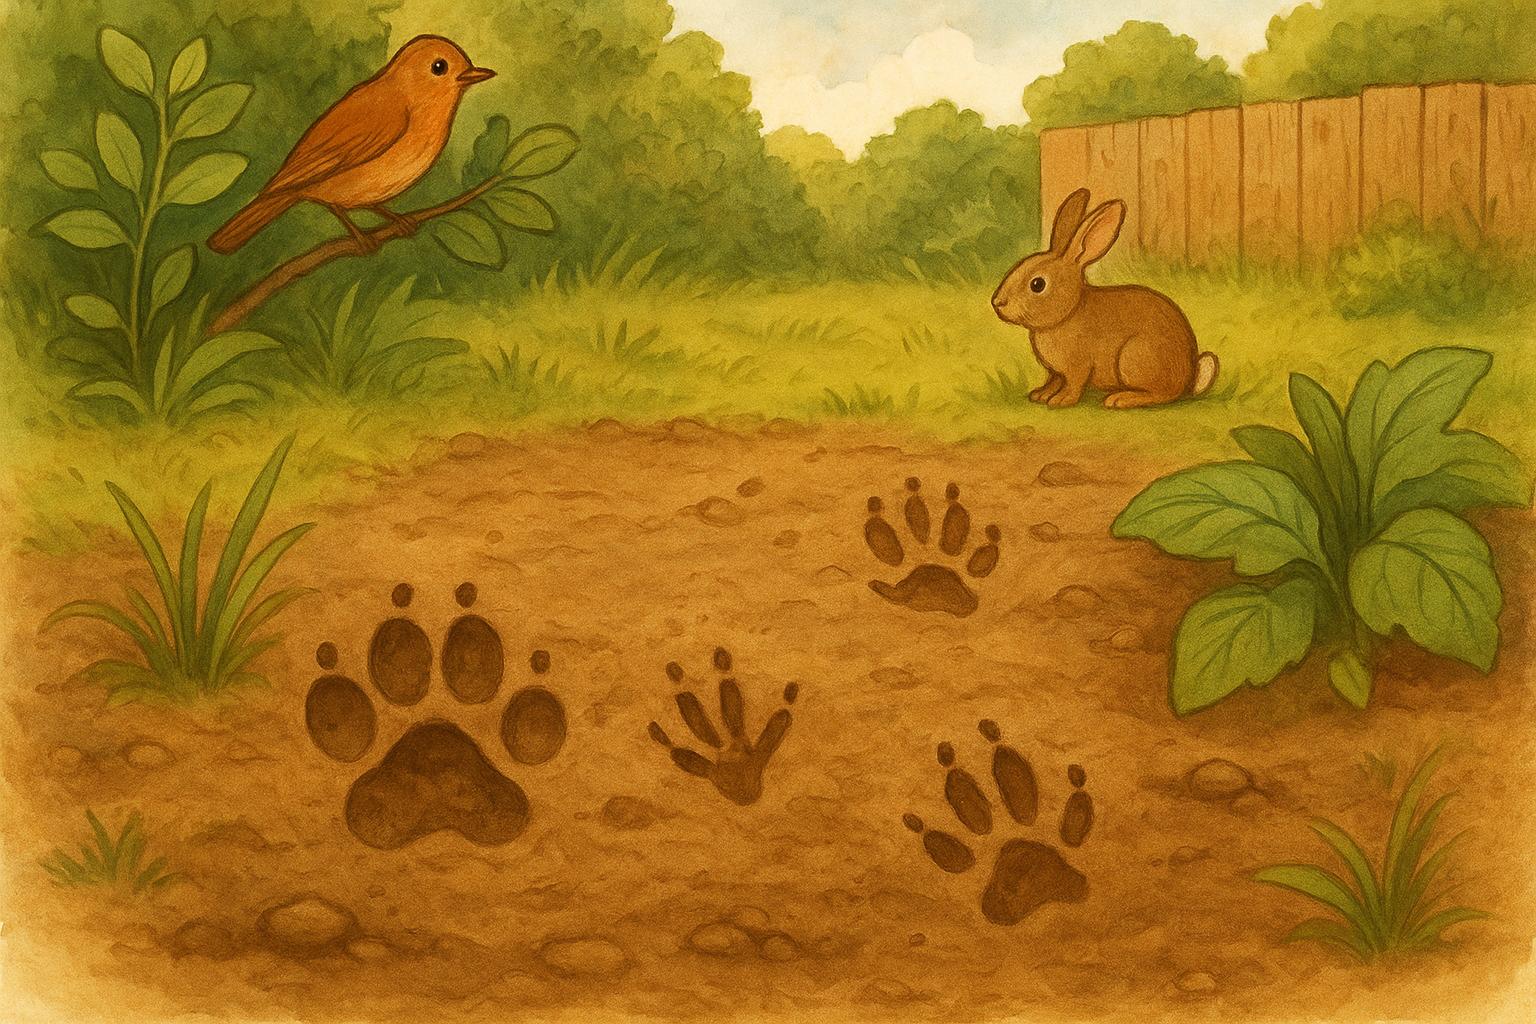
Look for toe arrangement, pad shape, and claw marks. These small cues help you differentiate front back tracks without needing a microscope.
### Key Visual Clues To Tell Front Vs Back Tracks
– Toe Shape And Spread: In many mammals, front toes are more spread and splayed; back toes align more in a row.
– Pad Shape: Fore pads are often more rounded; hind pads can be more elongated or show a pronounced heel-pad impression.
– Claw Marks: The forefeet may show heavier claw marks if used for digging or gripping. In dogs and coyotes, front claws often press deeper.
– Track Size: Hind tracks are often longer (especially in hares, rabbits, and deer), while front tracks may appear broader.
– Relative Placement: In walking sequences, fore and hind tracks alternate in predictable patterns. Reading gait helps assign prints to front or back.
### How Gait Highlights Front Back Tracks
Knowing gaits (walk, trot, bound, gallop) helps. For example:
– In a direct register walk, hind feet land in or close to the forefeet prints. If hind prints overlap fore prints, they’re the hind feet.
– In bounding animals, front prints may be clustered and set forward of the larger hind prints, which push off with more force.
Pay attention to stride length and print overlap. Those clues help you spot whether a print came from the front or the back.
### Species-Specific Notes To Make Life Easier
Different animals have different rules-of-thumb:
– Dogs/Coyotes/Wolves: Hind prints are narrower and more oval; front prints are wider with the outer toes more splayed.
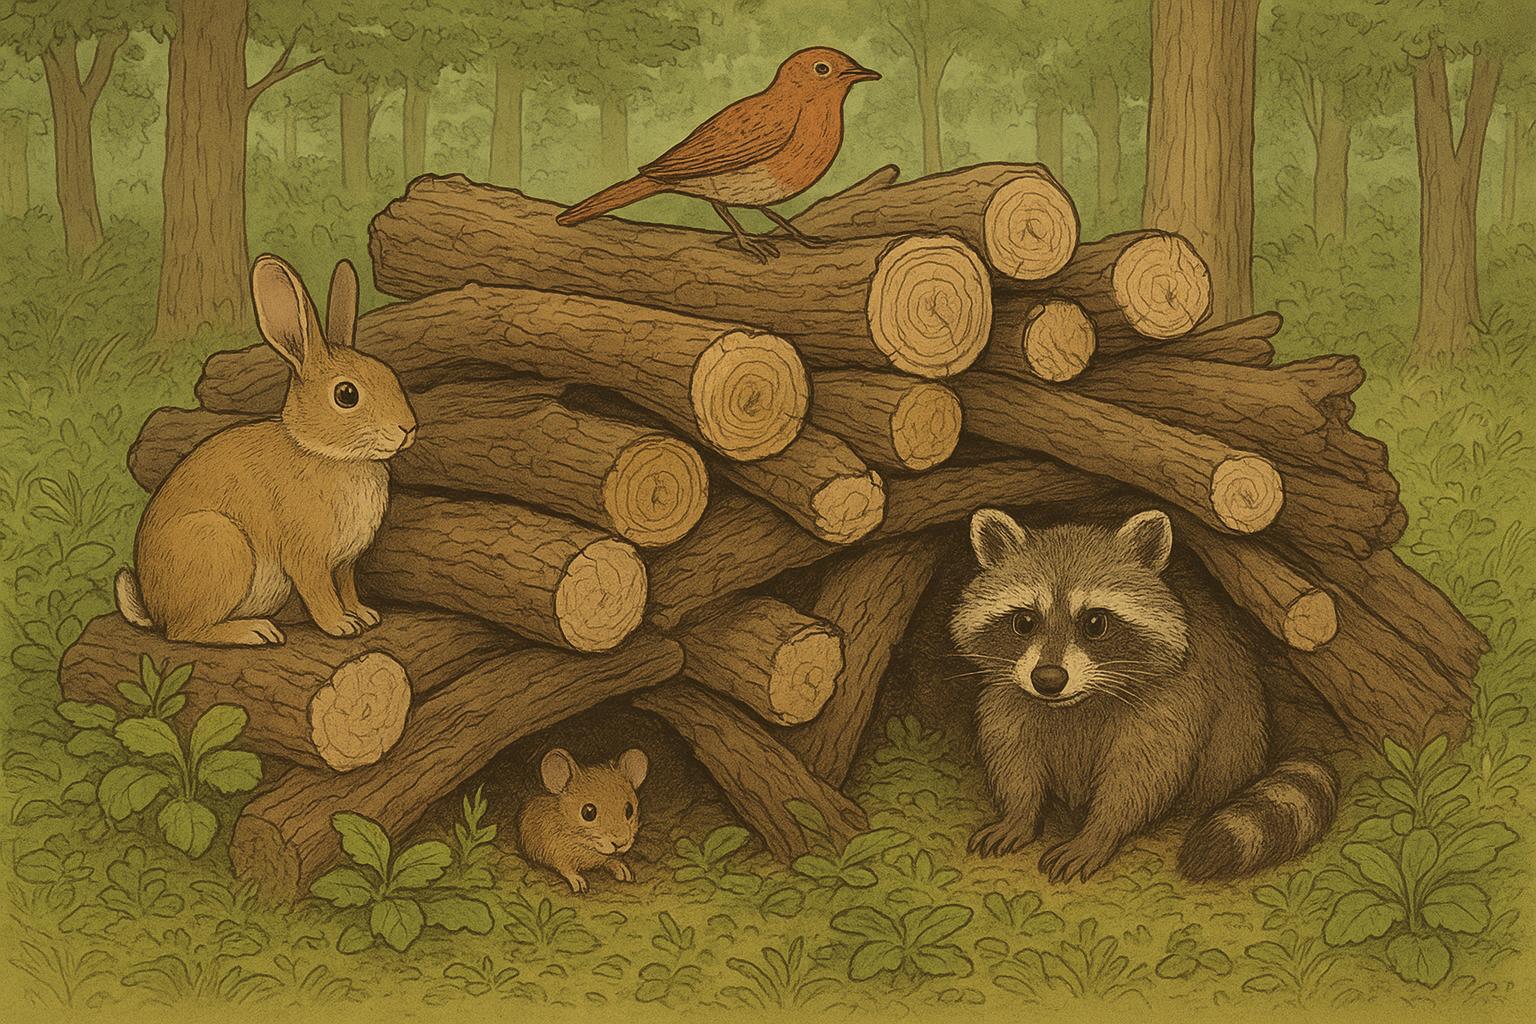
– Raccoons: Front prints can look very hand-like, often smaller than hind prints but with long finger-like toes.
– Deer: Front and hind prints are similar in shape, but hind feet may be longer and the hind track often overlaps the front track in a trot.
– Rabbits/Hares: Hind tracks are long and often land ahead of small front prints when bounding. That gives the classic “paired long prints then two small prints” pattern.
### Practical Field Tips For Telling Front From Back Tracks
– Look For Overlap First: If one print sits on another, the one on top is later — usually the hind foot in many gaits.
– Find Paired Prints: Left-right patterns can show whether the same foot made alternating impressions.
– Measure: A ruler or smartphone photo with a scale helps—size differences between front and back can be subtle.
– Check Depth: Stronger push from hind feet often makes deeper impressions in soft substrate.
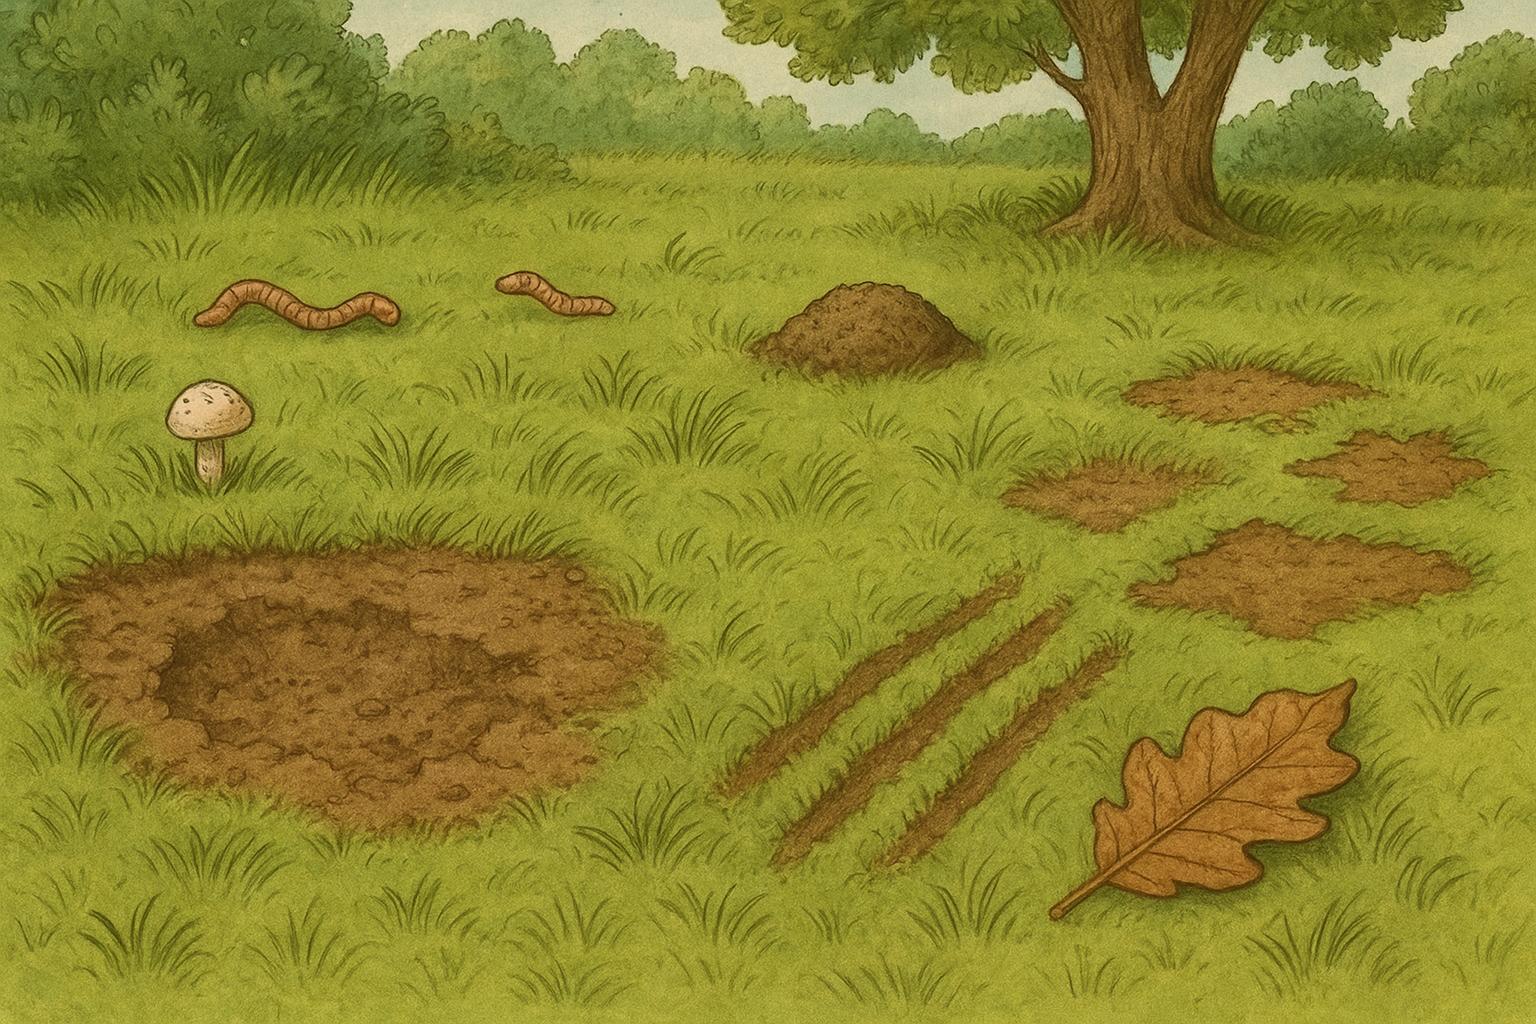
– Time Of Day And Location: Near trees or digging spots, expect more forefoot use (scratching, searching) — the prints there are probably front.
### Front Back Tracks: Common Mistakes To Avoid
People sometimes assume bigger equals back or front equals smaller, but that varies by species. Another classic slip-up: mistaking substrate irregularities (rocky soil, roots) for toe or pad features. Always consider context. If you only see a couple of prints, don’t over-interpret — a partial print might be a smudge of a front or back foot.
#### Remedy 1: Make A Plaster Cast Of A Track (Materials And Steps)
If you want to preserve a clear track to study later or to confirm whether it’s a front or back print, making a plaster cast is reliable. The following procedure is presented in a formal, step-by-step manner to ensure accurate results and preserve the track responsibly.
Materials Required:
1. Plaster of Paris (or fast-setting casting plaster)
2. Clean water (measured)
3. Mixing bucket and stirring stick
4. Cardboard or flexible form strip (to make a mold rim)
5. Soft brush or small twig for cleaning the track
6. Toothpicks or small pins (to mark orientation if needed)
7. Tape measure or ruler
8. Gloves and eye protection
9. Plastic sheet or bag for transporting the cast
10. Notebook and pen to label location, date, and orientation
Preparation And Casting Steps:
1. Document: Photograph the track from above with scale (ruler) and note compass direction. If possible, set a marker to indicate “up” (animal’s forward direction).
2. Clean Gently: Remove loose debris from the track with a soft brush or twig without altering edges. Do not press into the print.
3. Build a Rim: Use a strip of cardboard or flexible material to create a rim around the track approximately 1–1.5 inches from the edges. Press rim lightly into the soil to form a seal without disturbing the print.
4. Mix Plaster: Wearing gloves, mix Plaster of Paris in the bucket at manufacturer’s recommended ratio (typical is about 2 parts plaster to 1 part water by volume) until smooth. Aim for pancake-batter consistency, free of lumps.
5. Pour Carefully: Begin pouring from one side in a thin stream to allow plaster to flow under edges without trapping air. Continue until plaster is about 1–1.5 inches thick above the highest point of the print.
6. Wait: Allow plaster to set fully. Timing varies; typical set time is 20–40 minutes. Do not disturb the cast while it cures.
7. Remove And Label: Once fully set, gently loosen the rim and lift the cast with care. Record the track’s orientation, location, date, and any field notes onto the cast or a tag placed in the plastic bag with the cast.
8. Transport: Place the cast in a plastic bag or wrap in soft material to prevent damage in transit.
Safety And Legal Notes:
– Obtain permission on private land. Do not cast tracks in protected areas where collection is prohibited.
– Avoid casting sensitive or rare animal prints unless you are authorized or working with a wildlife professional.
### How To Use Your Cast To Decide Front Or Back
Once you have a cast, compare pad shapes, toe spread, and claw positions against field guides or reference images. Measure the cast dimensions. Check for deeper impressions where the hind feet pushed off. Use your earlier photos to place the cast within the track sequence — orientation helps determine whether the cast came from a fore or hind foot.
### When To Call In An Expert
If the tracks are from a potentially dangerous animal, a protected species, or the scene appears to be related to a wildlife conflict (e.g., predation or repeated property damage), contact local wildlife officials or a professional tracker. They can safely interpret tracks and advise on management.
### Keeping It Friendly: Quick Cheatsheet For The Field
– If prints are short and wide → likely front.
– If prints are long and narrow → likely back.
– If hind prints consistently land ahead of small front prints → bounding hopper (rabbit/hare).
– If prints overlap in a direct register → examine which impression is on top (the topmost is later).
A little practice, some careful photos, and one successful plaster cast will make your next wildlife detective session more satisfying. Keep a small notebook of species and their front/back print quirks — you’ll be surprised how quickly your eye sharpens.


Leave a Reply