If you’ve stepped outside to admire your lawn only to find winding ridges and popcorn-sized mounds, you’re probably dealing with more than an aesthetic blip. Those wriggly tunnels and scattered earth are classic signs of mole damage, and while moles are fascinating little engineers, their appetite for subterranean insects and tunneling can leave your turf looking like a tiny moonscape. Relax — understanding what’s happening beneath the grass is the first step to fixing it.
## Recognizing Mole Damage: Signs And Causes
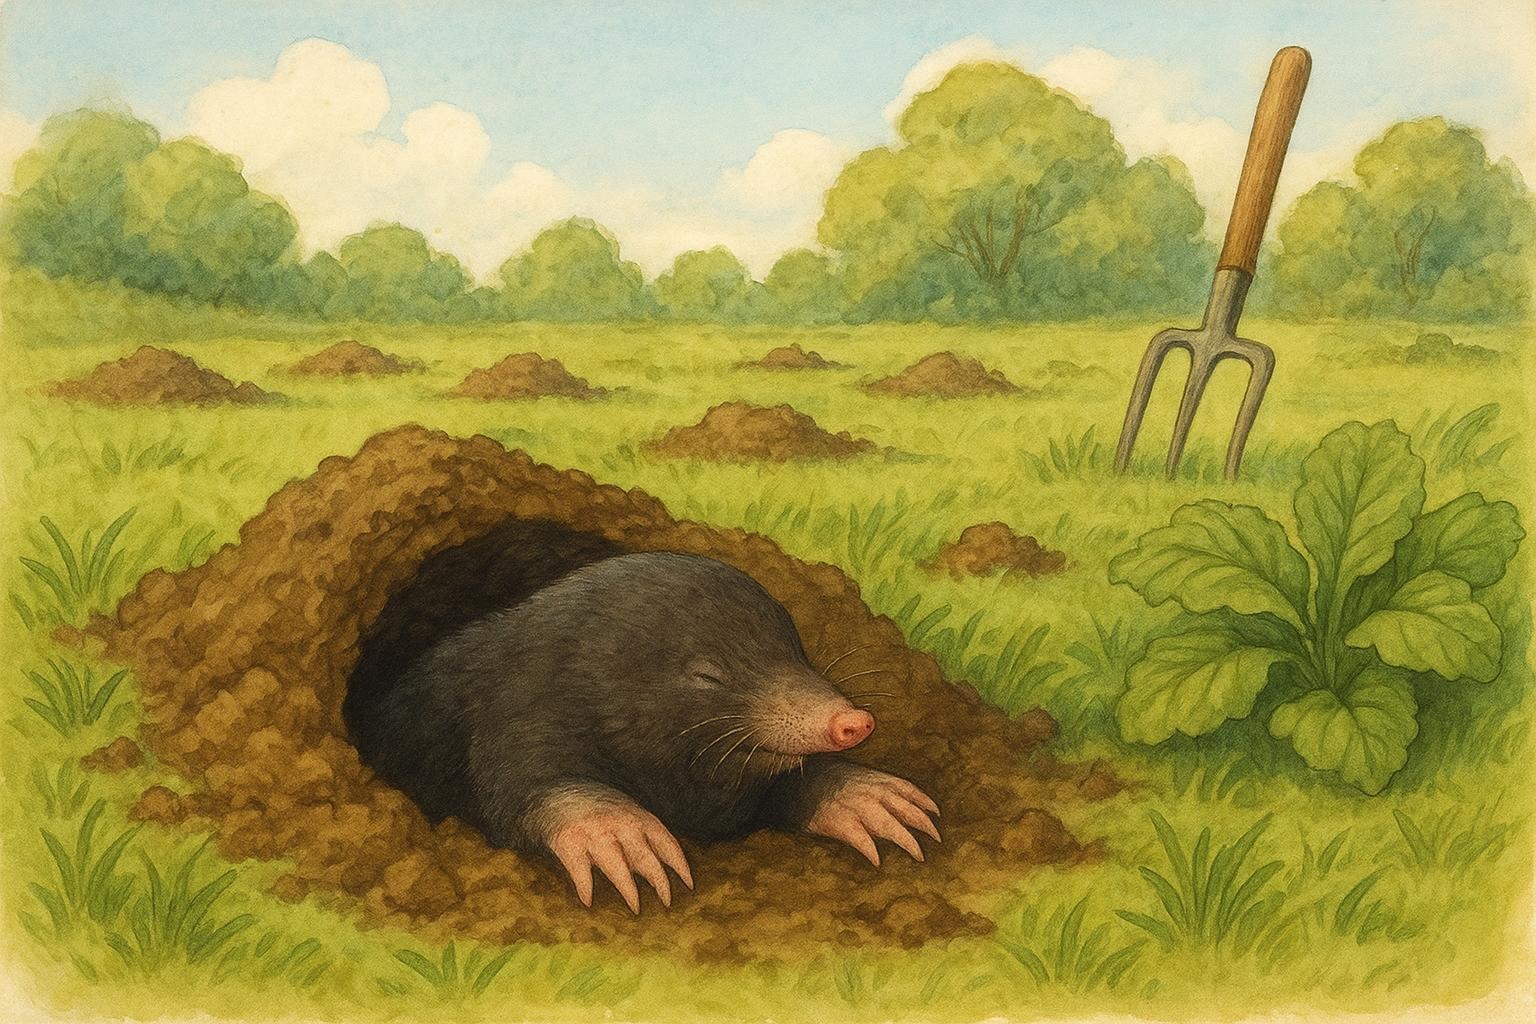
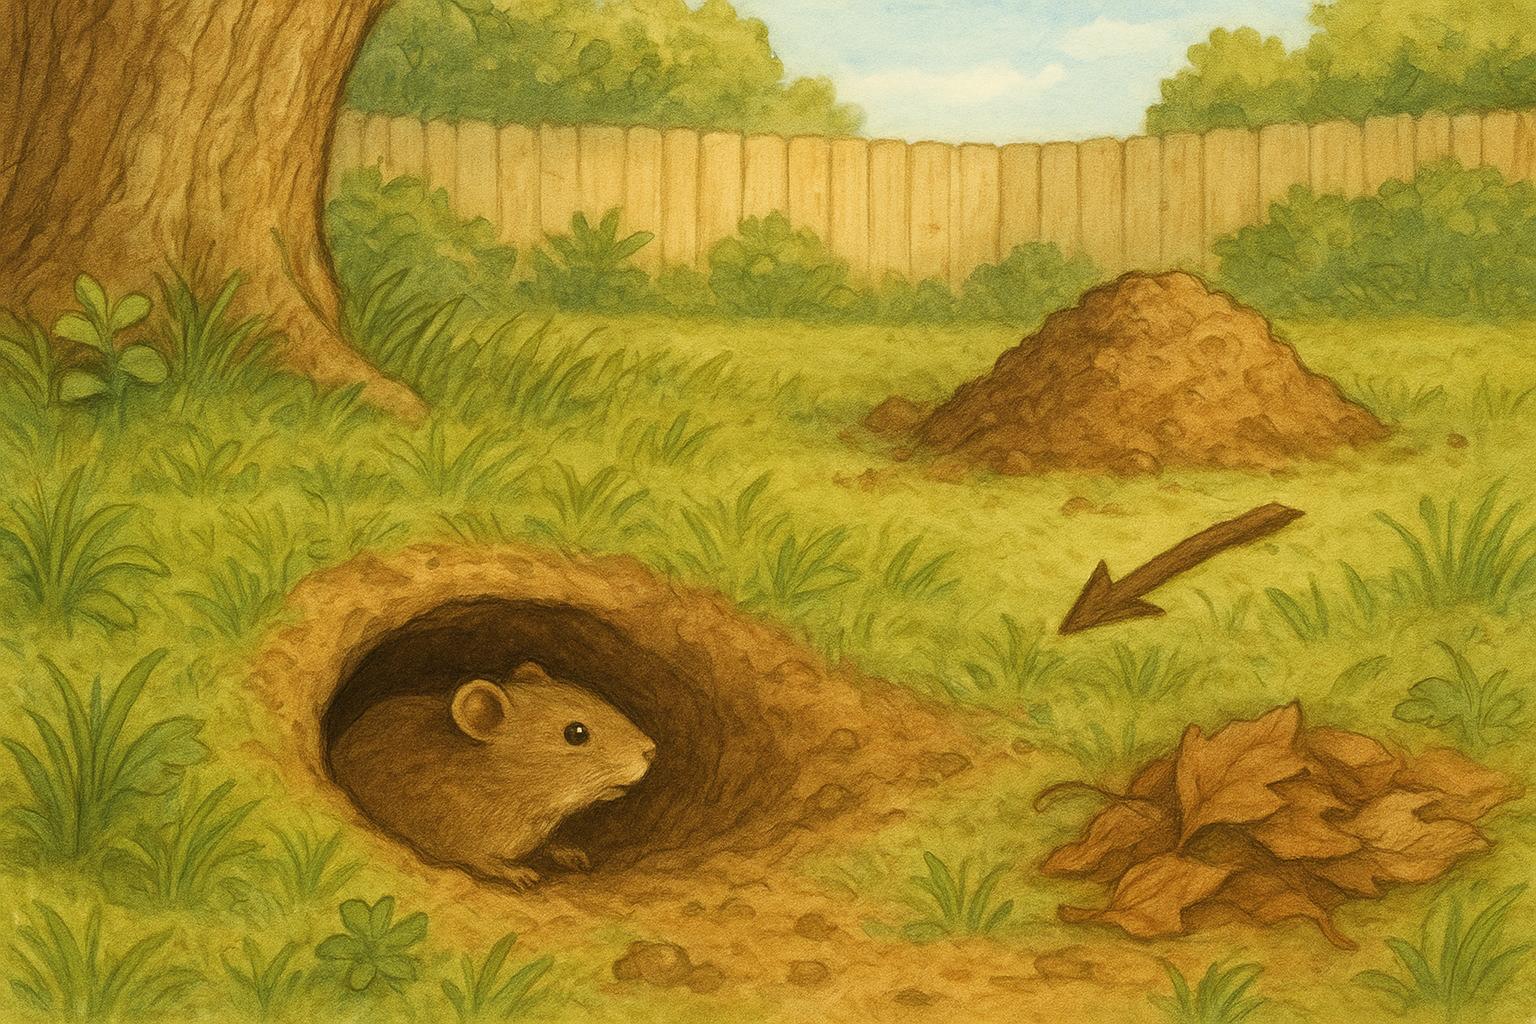
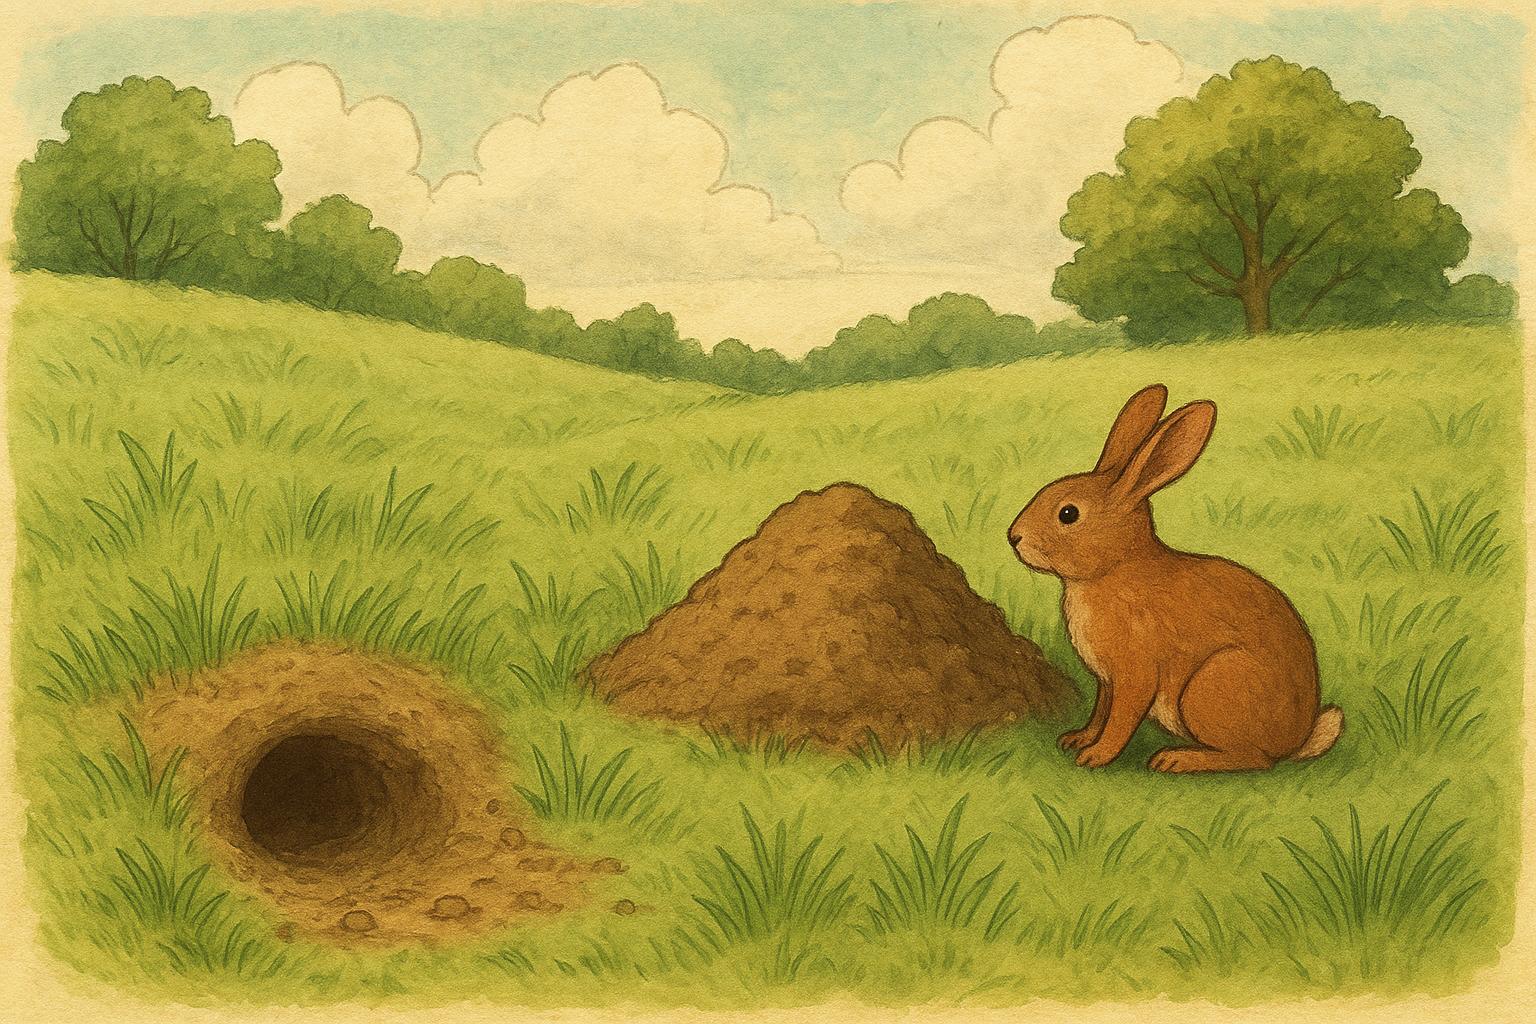
Mole damage tends to be distinct: raised ridges that snake across the yard, fan-shaped mounds, and patches of dead or sunken grass where tunnels have collapsed. Unlike voles or gophers, moles rarely chew roots or eat plants; they’re primarily insectivores. So when you see lots of tunnels, it’s usually a sign of a rich food supply below ground — grubs, earthworms, and beetle larvae.
### How Moles Differ From Other Pests
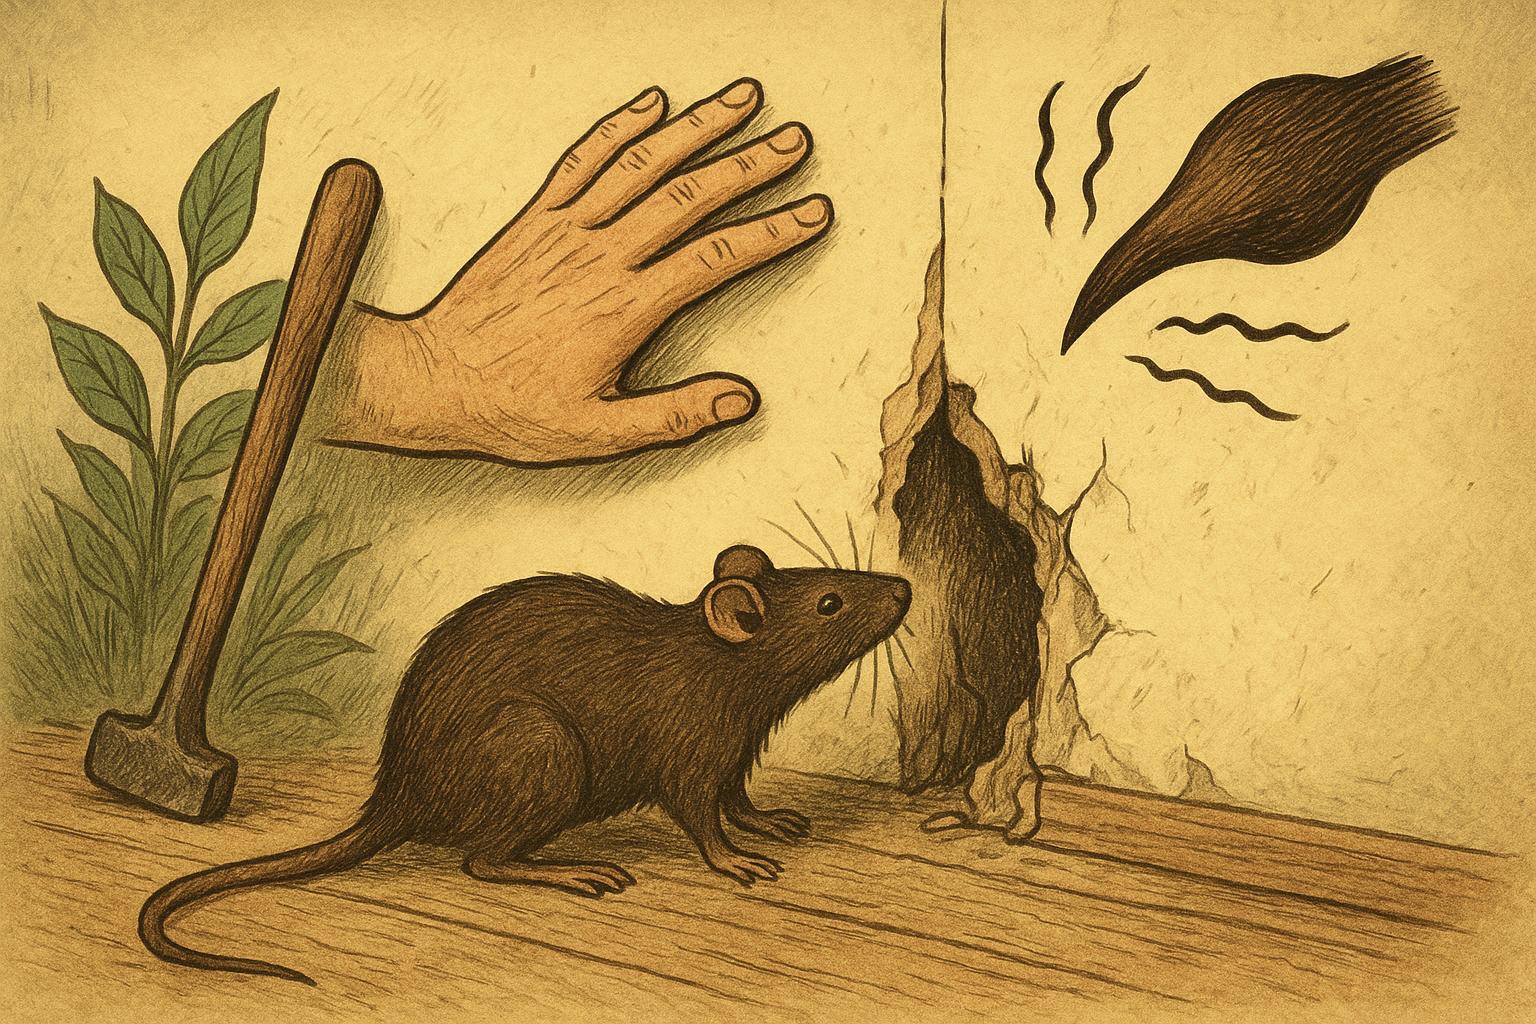
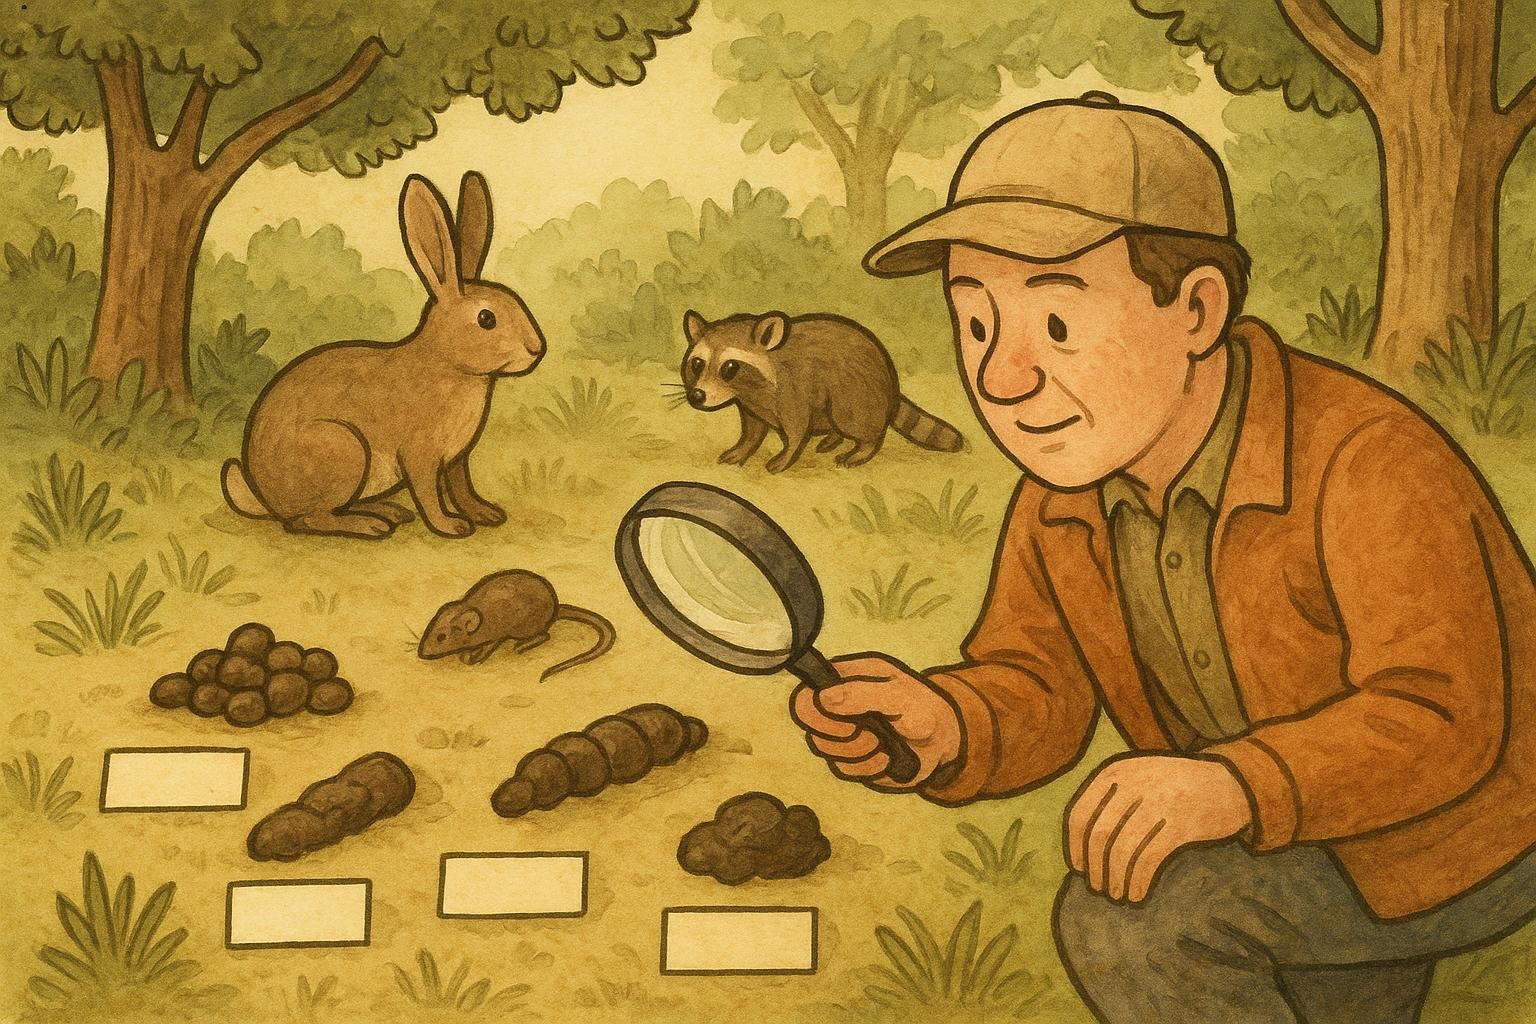
People often confuse mole damage with that caused by voles or ground squirrels. Moles push soil up from tunnels, creating ridges and molehills. Voles make small surface runways and nibble on plant stems. Identifying the true architect saves you time and prevents unnecessary treatments.
### Why The Lawn Suffers
Mole activity can kill grass in two ways: by disturbing roots when tunnels are made and by creating uneven soil that dries out faster. Even if moles aren’t eating the turf, the structural changes they cause can leave brown patches and soft spots. In lawns used for play or entertaining, mole damage can be a tripping hazard as well.
## Assessing The Extent Of Mole Damage
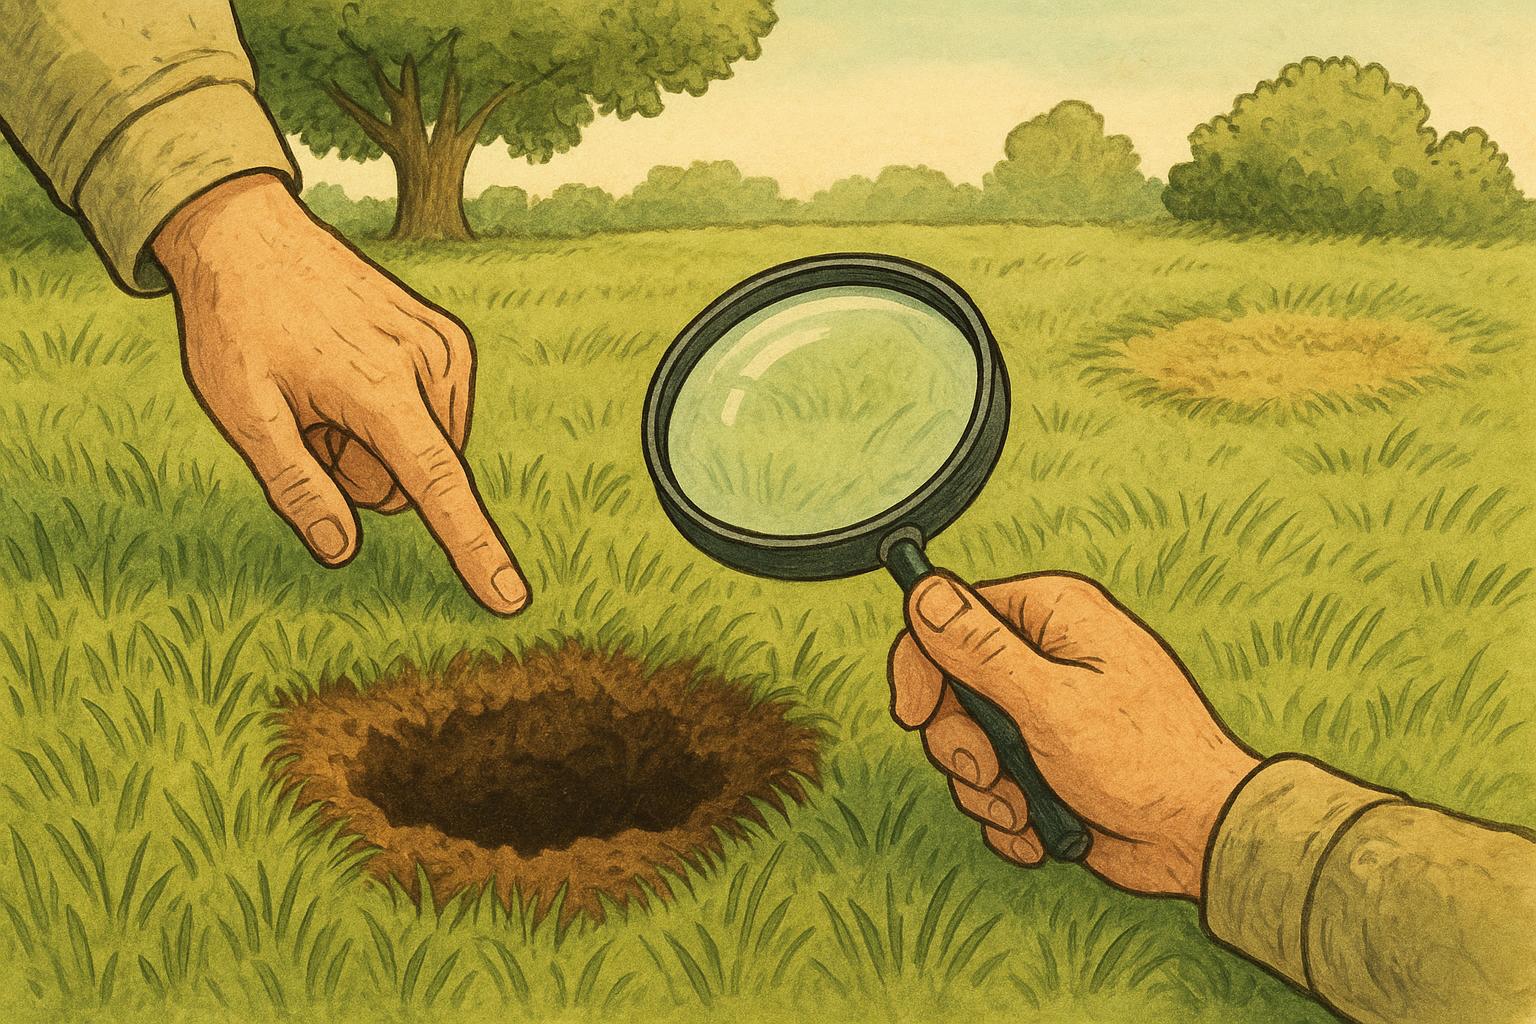
Before taking action, assess how widespread the issue is. Walk the yard after rain — tunnels are more visible — and note whether damage is concentrated or throughout the property. Small, isolated patches might recover on their own; widespread tunneling requires intervention.
### Quick Tests To Map Activity
1. Smooth a short section of the ridge with your foot and check if it’s rebuilt within a day or two. Rebuilt ridges indicate active tunneling.
2. Probe a mound with a stick to find the tunnel direction and whether it connects to larger runs.
### When To Act
Immediate remedies are usually warranted if mole damage:
– Is active and widespread,
– Is causing significant lawn or garden loss,
– Creates unsafe conditions (uneven ground in play areas).
## Remedy 1: Trapping (Humane And Effective)
Trapping is one of the most reliable ways to reduce mole numbers when done correctly. The following is presented in a formal procedural style to ensure safety and effectiveness.
#### Materials Required
1. Two scissor-type or harpoon mole traps (commercially available).
2. Gloves (leather or heavy-duty nitrile).
3. Shovel or hand trowel.
4. Marker flags.
5. Optional: soil probe or metal rod.
#### Steps For Setting Traps
1. Locate Active Run: Choose a freshly used tunnel (confirmed by the quick-smooth test). Mark it with a flag.
2. Expose Tunnel: Carefully remove soil above the tunnel for about 6–8 inches of the run until the tunnel is open on both sides.
3. Place Trap: Position the trap so the jaws straddle the tunnel, following manufacturer orientation. Ensure the trap sits level and the trigger plate is aligned with tunnel traffic.
4. Conceal Lightly: Replace a little soil around the trap to darken the opening without blocking the trap mechanism; do not compact heavily.
5. Check Regularly: Inspect traps daily. If triggered, dispose of the mole as local laws permit, or arrange for professional handling. Reset traps as needed.
6. Remove And Sanitize: Once activity ceases for a week, remove traps and fill tunnels.
Note: Trapping requires care for safety and legal compliance. Always read product instructions and local wildlife regulations. Trapping is effective and targeted, minimizing impact on non-target species when placed correctly.
## Remedy 2: Natural Repellents And Barriers
If you prefer non-lethal options, repellents and barriers can deter moles by making the soil less hospitable. This section is practical and procedural.
#### Materials Required
1. Castor oil-based repellent (commercial concentrate) or household castor oil and dish soap.
2. Water and a pump sprayer.
3. Garden rake.
4. Hardware cloth (1/4″ or 1/2″ mesh) for barrier installations.
5. Shovel and landscape staples.
#### Steps For Repellent Application
1. Mix Solution: For homemade repellent, mix 2 cups of castor oil with 1/4 cup of dish soap and 2 gallons of water; for commercial products, follow label rates in the sprayer.
2. Pre-Wet Soil: Lightly moisten the targeted area with water so the repellent can penetrate soil.
3. Apply Evenly: Spray the prepared area, focusing on active runs and surrounding turf. Dosage should follow product directions.
4. Reapply: Repeat every 2–4 weeks, or after heavy rains, until activity declines.
#### Installing A Barrier
1. Dig Trench: Excavate a trench around garden beds or small lawns to a depth of 24–30 inches.
2. Install Hardware Cloth: Place hardware cloth vertically with top edge folded outward at the surface to discourage digging and secure with staples.
3. Backfill And Tamp: Backfill trench firmly to remove air pockets.
Effectiveness: Repellents may be hit-or-miss; barriers are best for protecting specific areas (gardens, patios) rather than whole lawns.
## Remedy 3: Lawn Care Adjustments To Discourage Moles
Changing the yard environment can reduce the food supply and thus make your lawn less attractive to moles. This approach is preventative and long-term.
#### Materials Required
1. Grub control product (biological nematodes or insecticide labeled for lawn use).
2. Soil test kit.
3. Compost and aerator (manual or mechanical).
4. Seed or sod (for repair if needed).
#### Steps For Environment Modification
1. Test Soil: Conduct a basic soil test to check moisture and nutrient levels that influence pest populations.
2. Reduce Grubs: Apply beneficial nematodes (Steinernema species) or an appropriate insecticide according to label instructions to control grub populations, which are a primary food source.
3. Improve Drainage And Aeration: Aerate compacted areas and improve drainage; overly moist, compacted soils favor insect larvae and mole foraging.
4. Revise Watering: Water deeply and infrequently to avoid a perpetually damp environment that supports grubs and worms in the topsoil.
5. Repair And Reseed: After mole control, repair damaged sections with topsoil and seed; keep off repaired areas until grass establishes.
Formally: Reducing prey density and eliminating favorable soil conditions are effective, non-confrontational strategies that can lower mole activity over time.
### When To Combine Methods
In practice, combining methods often produces the best results. Trapping can reduce current populations, while repellents, barriers, and lawn care changes reduce future attraction. Select methods that align with local regulations, environmental concerns, and your personal tolerance for lethal control.
## Monitoring And Follow-Up
After implementing remedies, continue monitoring for at least one growing season. Moles may return if conditions become favorable again. Use the quick-smooth test periodically, and keep a log of sightings and repairs to guide future action.
### Friendly Final Tip
Moles play a role in soil aeration and pest control, so if the damage is minor, you might opt to coexist — think of them as very committed garden collaborators with questionable manners. If their tunneling goes from quaint to catastrophic, choose a remedy above, follow instructions carefully, and you’ll stand a good chance of restoring your lawn without turning it into a science experiment.
(End of guidance — practical steps provided above; consult local extension services or a licensed pest professional for complex or persistent mole damage.)


Leave a Reply