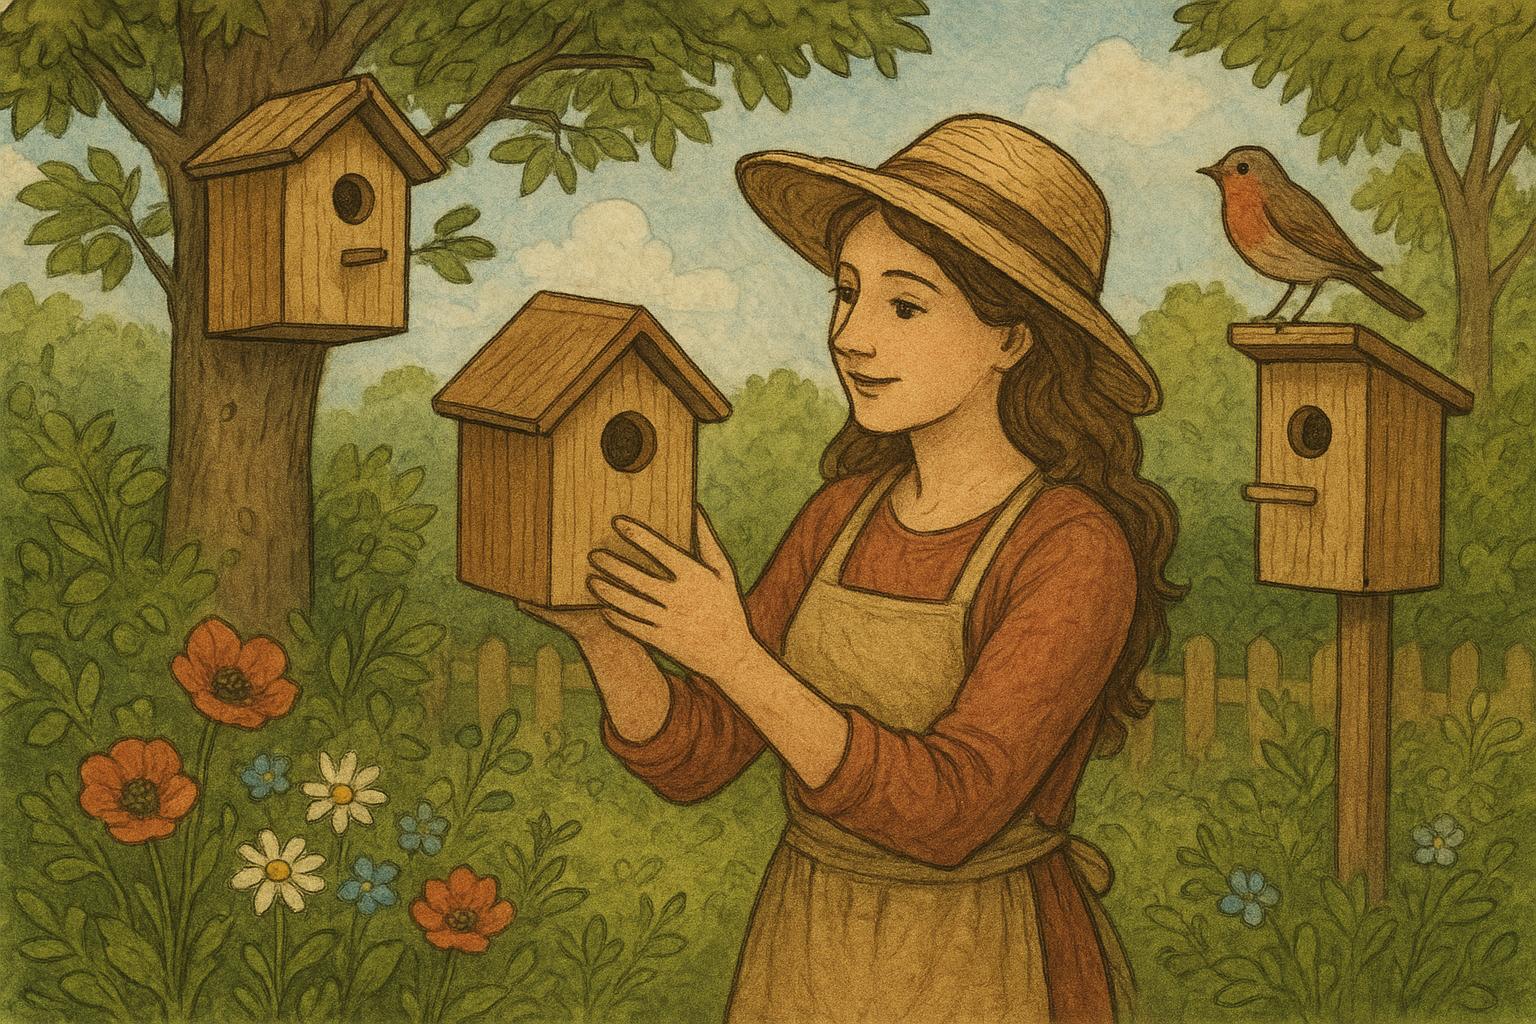
Welcome to the cozy side of your garden, where feathered tenants can raise families and you can enjoy the soundtrack of birdsong. Providing a safe place for birds to nest is one of the most rewarding things a backyard steward can do, and it’s surprisingly simple when you pick and use the right nest boxes. Think of them as tiny real estate investments for wildlife—no HOA fees, just a bit of upkeep.
## Why Garden Birds Love Nest Boxes
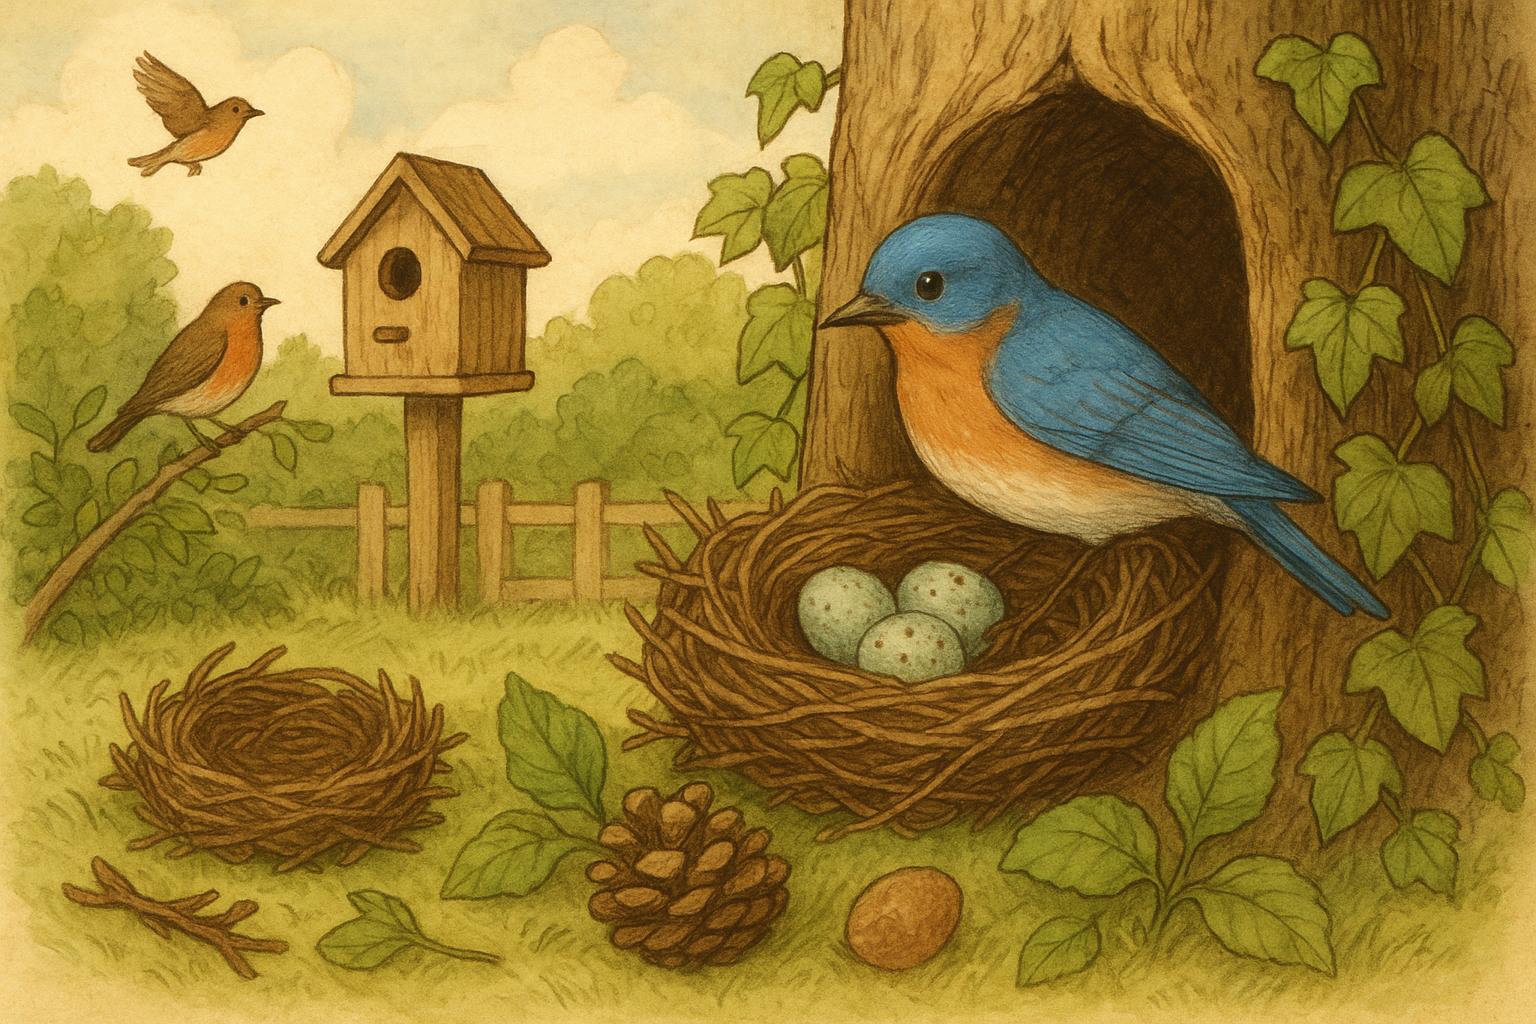
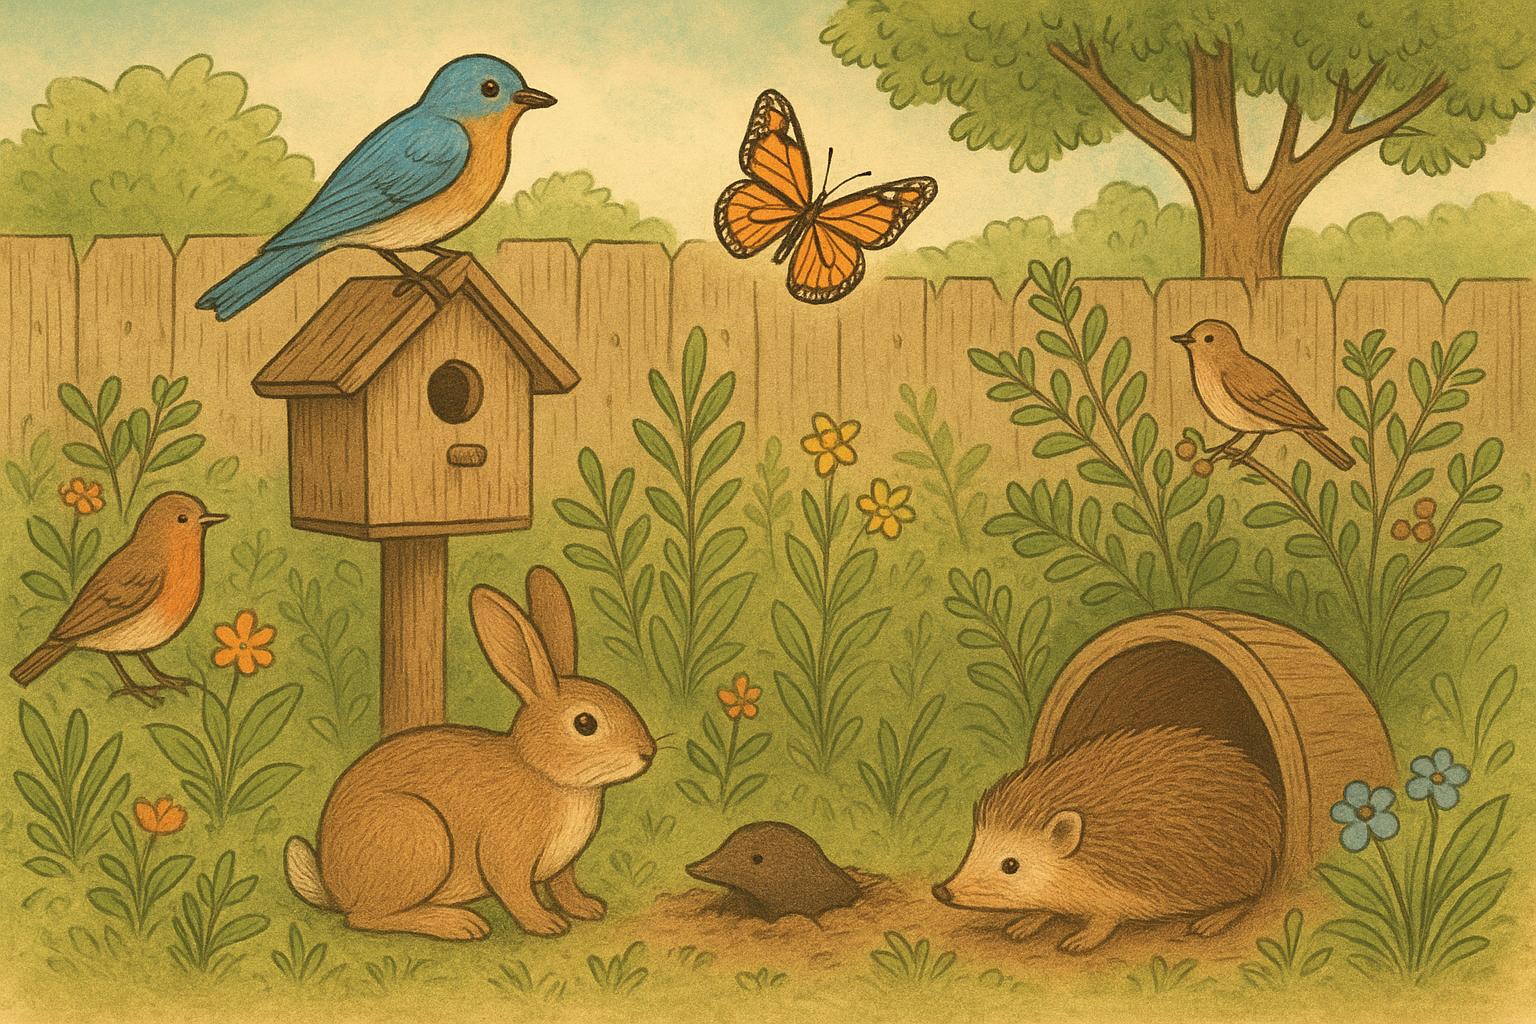
Many cavity-nesting species—blue tits, sparrows, starlings, great tits, chickadees and even certain owls—prefer dark, enclosed spaces to raise their young. Natural tree cavities are great, but mature trees with suitable holes aren’t always available in suburban and urban landscapes. That’s where nest boxes come in: they mimic the safe hollows birds crave and can dramatically boost local nesting success.
Birds choose nest boxes for safety from predators, shelter from the elements, and predictable microclimates that help eggs and chicks survive. A well-designed box reduces stress and improves fledging rates. Plus, watching activity at a nest box can turn your patch of grass into a living nature documentary—without the fuzzy commentator voice.
### The Most Common Species And Their Preferences
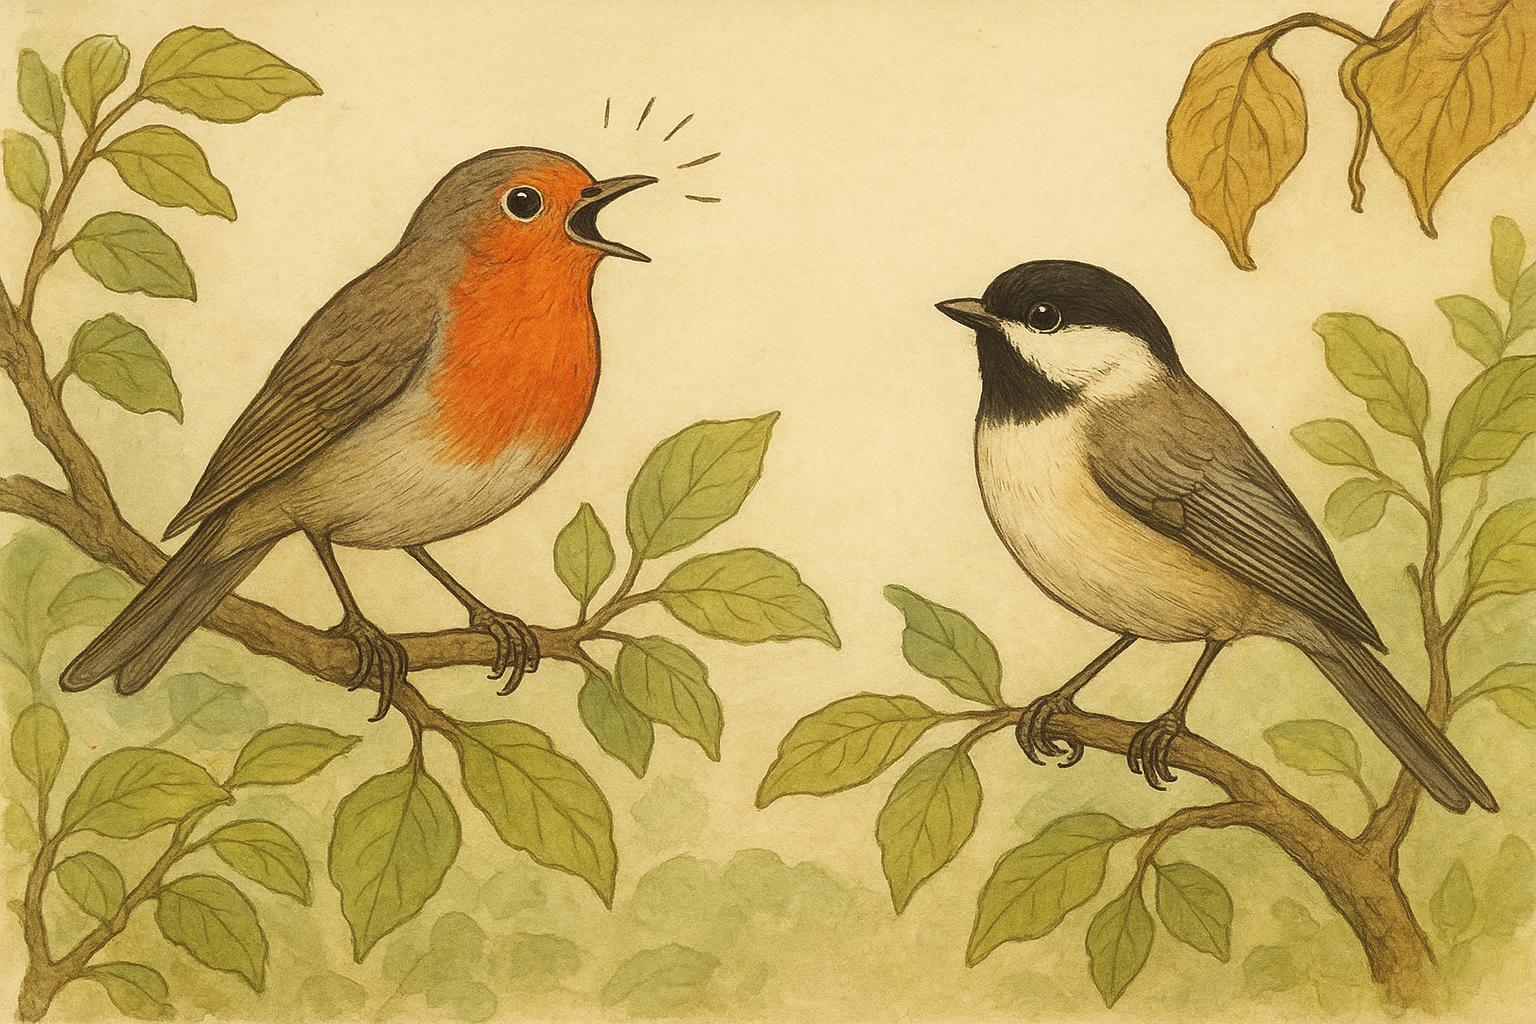
Different species have different tastes. Small hole sizes suit blue tits and chickadees, while larger entrances attract starlings or house sparrows. Robins and wrens typically don’t use closed-front boxes; they prefer open-front shelves. Knowing your resident birds’ preferences helps you select the right style of nest box and avoid attracting species you don’t intend to host.
#### Entrance Size And Internal Space
Entrance diameter and internal box volume control which species will use a box. Generally:
– 25–28 mm: Small tits and chickadees
– 32–35 mm: Bluebirds and robins (species-dependent)
– 45–50 mm: Starlings and larger birds
Match dimensions to local species lists from a birding guide or your local wildlife group.
## Choosing The Right Nest Box For Your Birds
When choosing nest boxes, prioritize material, ventilation, drainage, predator protection and ease of cleaning. Untreated, durable wood is best—avoid thin plywood, PVC, or toxic paints that can bake in heat. A rough interior surface helps chicks climb out when fledging. Steer clear of boxes with perches; those invite predators.
Mounting matters as much as design. Boxes attached to poles or mounted on metal guards are safer than those nailed to thin branches. Orientation should offer some shelter from prevailing winds and intense midday sun; east- or southeast-facing is a safe bet in many climates.
### Materials And Dimensions For Common Nest Boxes
Use solid, untreated cedar, pine or other weather-resistant hardwoods at least 15 mm thick. Key dimensions for small garden species (example):
– Internal floor: 12 x 12 cm for small tits, 15 x 15 cm for larger species
– Height: 20–25 cm internal depth for small passerines
– Roof overlap: Extend roof by 3–5 cm to keep rain out
Adjust according to local species; consult local wildlife resources for exact specs.
#### Safety Features To Look For
Good boxes include:
– Sloped, overhanging roof to shed rain
– Ventilation slots near top of side panels
– Drainage holes in floor
– A removable side or roof for annual cleaning
– Predator guards or baffles if possible
These features increase nest success and make maintenance straightforward.
## Remedy 1: Build And Install A Safe Nest Box
If you want a hands-on solution, build and install your own nest boxes. The instructions below are presented formally to ensure safety and effectiveness. Follow dimensions appropriate to your target species and local regulations.
Materials Required:
– Untreated, seasoned wood planks (15–20 mm thick), typically cedar or pine
– Galvanized screws or exterior-grade nails
– Waterproof wood glue suitable for exterior use
– Hinges (for a removable roof or side panel)
– Metal entrance-guard plate (optional; prevents electro-gouging by predators)
– Sandpaper (medium grit)
– Drill with hole saw or spade bit sized for entrance hole
– Saw (hand or power)
– Measuring tape, pencil, square
– Steel mesh or predator baffle (if using pole mounting)
– Non-toxic exterior wood preservative (optional, applied to outer surfaces only)
Step-by-Step Construction And Installation:
1. Design Selection: Choose a plan that fits your target species (see typical dimensions above). Ensure roof overhang and removable access for cleaning.
2. Cut Panels: Accurately cut the back, front, two sides, floor and roof using measured templates. Label parts to avoid assembly errors.
3. Drill Entrance Hole: Using the appropriate-sized bit, drill the entrance hole into the front panel. Position the hole about 12–15 cm above the floor for small passerines.
4. Create Ventilation And Drainage: Drill two small ventilation slots near the top of the side panels and 4–6 small drainage holes in the floor panel.
5. Roughen Interior Surfaces: Lightly sand or score the inside of the front panel below the entrance and the inside of the floor so nestlings can grip their way out.
6. Assemble Box: Pre-drill screw holes to prevent splitting. Apply exterior wood glue to joints, then screw panels together securely. Ensure seams are flush to prevent drafts.
7. Attach Roof: Affix the roof so it overhangs the front and sides. Install a hinge if you want the roof or side to open for cleaning. Ensure the hinge position does not create a gap when closed.
8. Install Predator Protection: Fit an entrance-plate to guard the hole from being enlarged by predators; if mounting on a pole, add a metal baffle or smooth pipe to deter climbing predators.
9. Apply Finish (Optional): Treat only exterior surfaces with a non-toxic preservative if desired. Do not paint or varnish the interior.
10. Mounting: Attach to a pole, post, tree trunk, or wall at the recommended height for your species (usually 2–4 meters for small passerines; higher for owls). Secure fastenings to prevent wobble and ensure the entrance faces away from prevailing winds and direct afternoon sun.
11. Monitoring And Maintenance: Check the box annually outside of breeding season. Remove old nesting material and inspect for wear; replace damaged parts. Wash with a dilute bleach solution (10% bleach) only when necessary and rinse thoroughly; allow to dry before reinstallation.
## Best Placement And Maintenance Tips
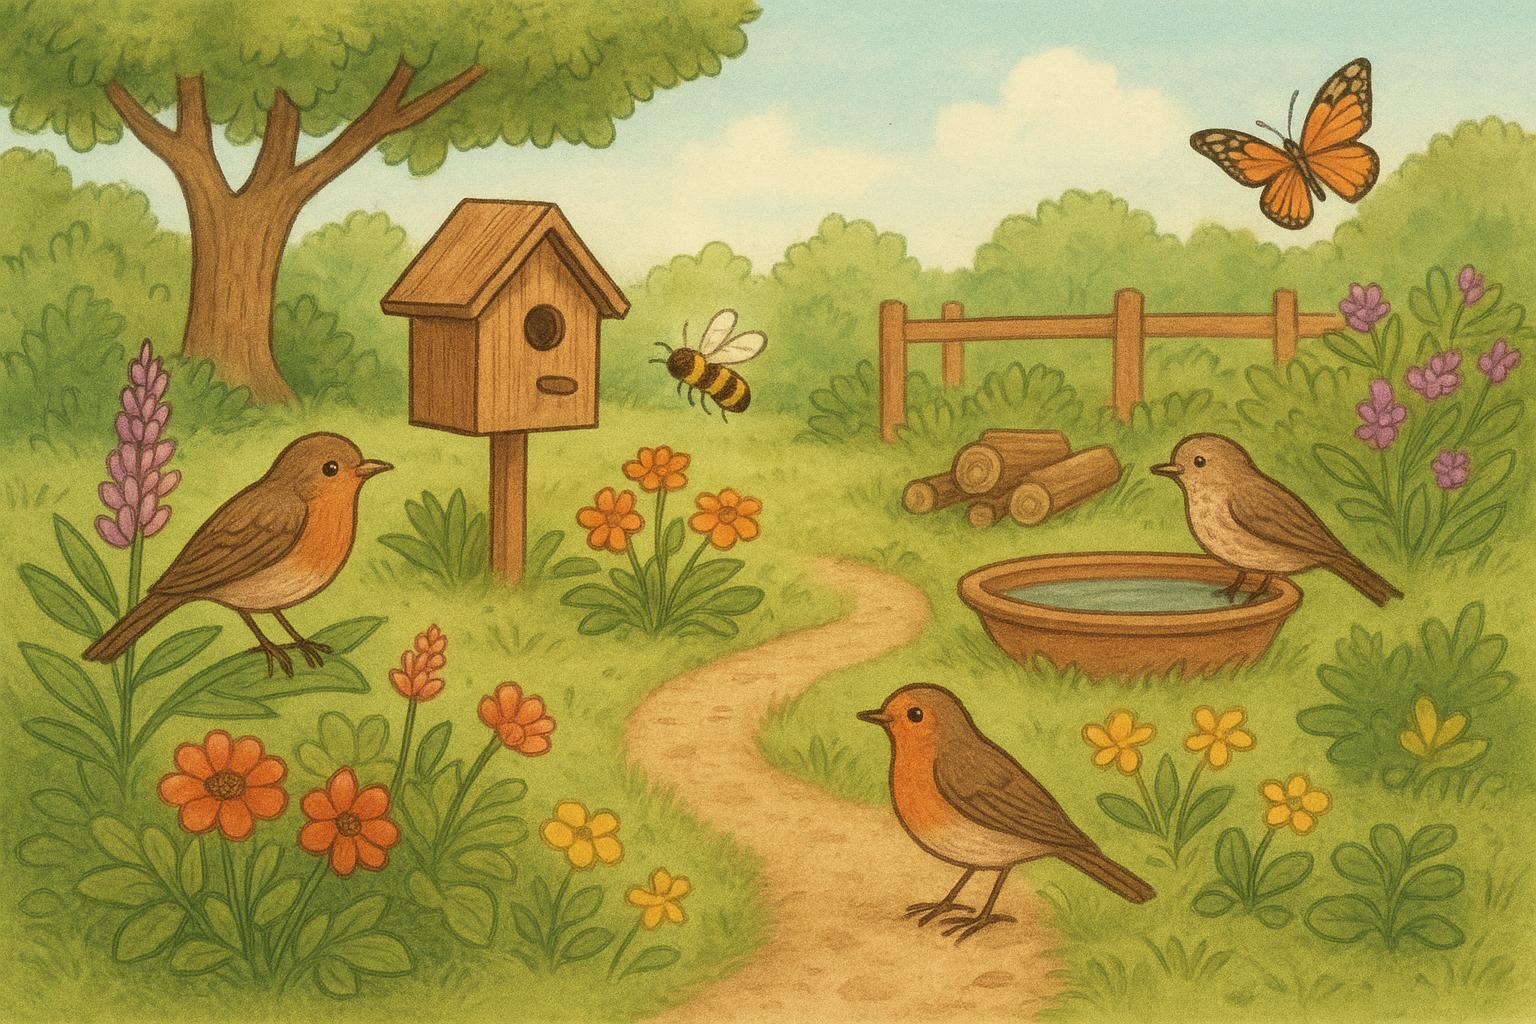
Placement tips are practical and straightforward. Install boxes at the right height and facing a sheltered direction, preferably toward shrub cover that provides foraging nearby but not immediate predator hiding spots. Avoid busy human activity, but don’t be so remote that predators go unnoticed.
Maintenance should be performed outside the breeding season—late autumn or early spring. Clean out old nests, check ventilation, and repair cracks. Record occupancy each year to track species trends. If you find invasive starlings or house sparrows dominating, consider swapping the box type or entrance size.
### Seasonal Considerations And Timing
Put up boxes well before the breeding season begins. Many birds prospect in winter; offering boxes in late autumn or winter increases chances they’ll claim them come spring. Conversely, avoid disturbing occupied boxes. If you encounter active nests, leave them undisturbed until the young have fledged.
#### Monitoring Ethically
Observe from a distance with binoculars. Use non-intrusive methods like remote cameras only if they don’t stress the birds. Frequent opening or direct interference increases nest abandonment risk.
## Common Mistakes To Avoid
Over-enthusiasm can lead to well-meaning but counterproductive choices. Don’t paint the interior, place boxes too low or too close to feeding areas (that can invite predators), or install boxes without access for cleaning. Avoid putting perches on boxes—those attract predators and are unnecessary for cavity nesters.
If you’re attracting unexpected species, adjust entrance size or box dimensions. If predators are a problem, add baffles or change mounting style. And yes, while it’s tempting to match the exact aesthetics of your home, bright colors and shiny finishes can heat the box and deter birds.
### When To Seek Expert Help
If you find sick or injured young, or an unusual species occupying a box, contact a local wildlife rehabilitator or bird conservation group for guidance. They can offer species-specific advice and handle situations that require permits or specialized care.
#### Record Keeping For Better Results
Keep a simple log: box ID, placement, species observed, dates of first eggs, hatch, fledging and any issues. Over a few seasons you’ll build valuable local knowledge and likely witness fascinating patterns—such as which boxes are preferred or how weather affects timing.
Now get your hammer, pick a calm spot in the garden, and prepare to welcome a new generation of backyard residents. A properly chosen and maintained nest box is a small gesture with outsized rewards—reliable wildlife visits, educational moments, and a front-row seat to nature’s drama.


Leave a Reply