
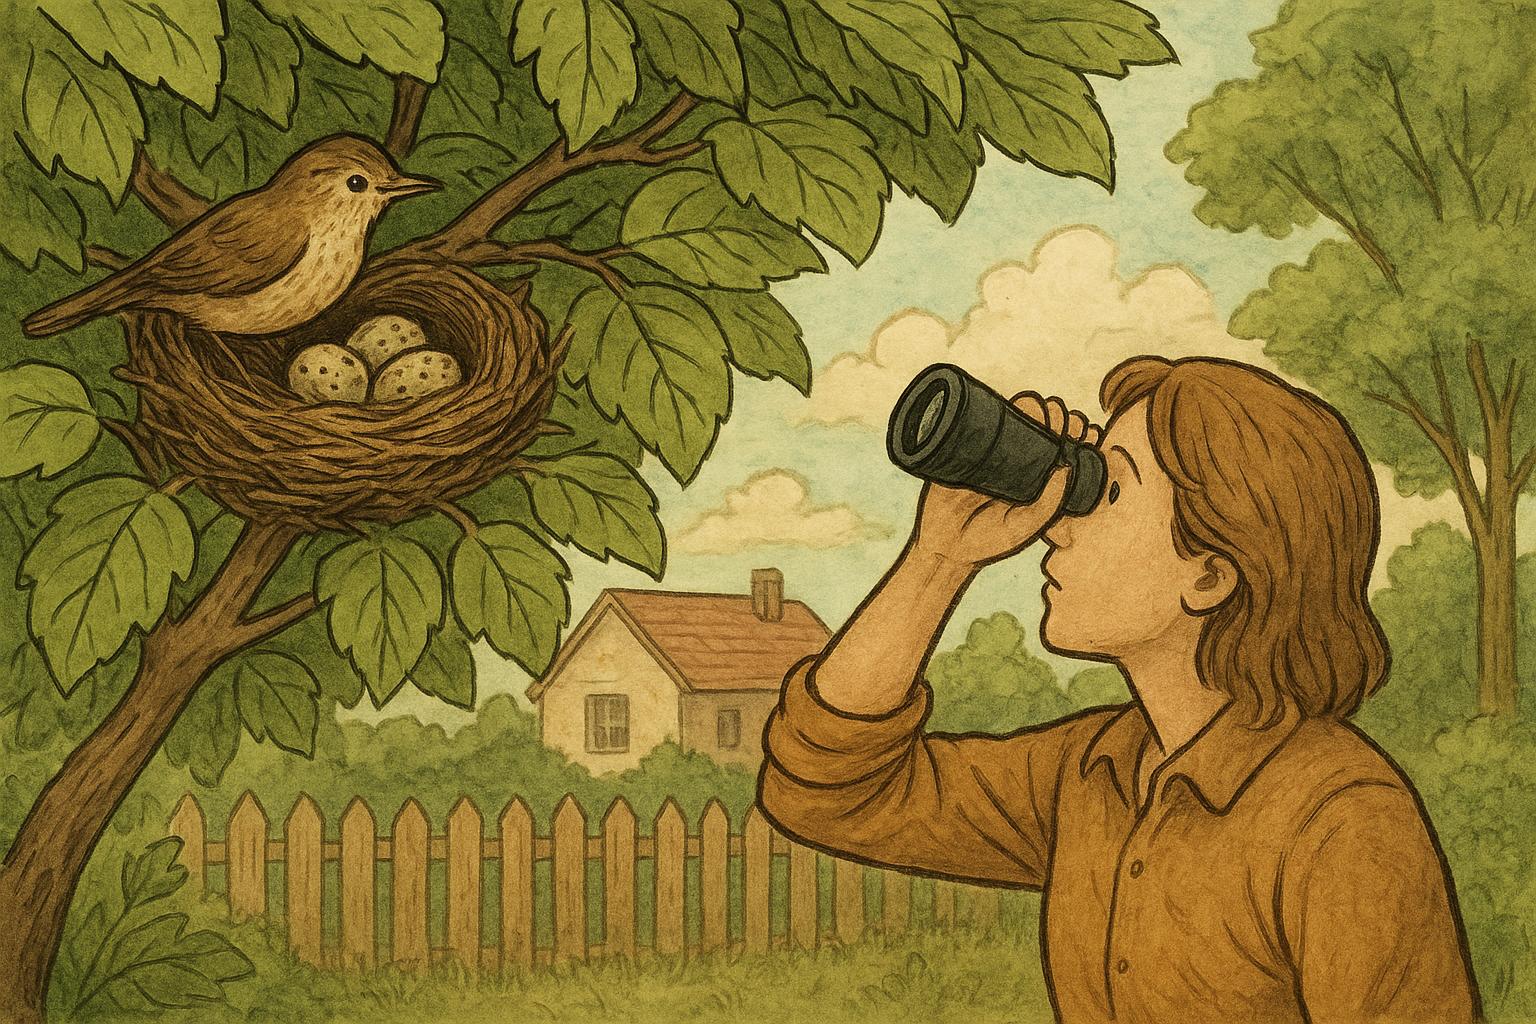
If you step into your yard as the moon warms the night and the neighborhood hum folds into a hush, you might feel like you’ve been let into a secret. There are few backyard moments as quietly thrilling as the visit of a night hunter. Welcome to your relaxed guide to owls in the backyard—how to spot them, what their signs look like, and how to encourage safe, respectful visits without turning your garden into a nature reality show.
## Owls: Identifying Common Backyard Species
Not every hoot at night means the same thing. In many parts of North America and similar temperate regions, the most commonly encountered backyard types are barn owls, great horned owls, and barred owls. Each has its own silhouette, voice, and preferred habitat edge.
### Barn Owl Basics
The barn owl is slim and ghostlike, carrying a heart-shaped face and long legs. They hunt by sound, dropping silently onto mice and voles in open grass or pasture. Unlike some raptors, the barn owl’s calls are often more like hisses or screeches than the stereotypical “hoot.”
### Great Horned Owl Characteristics
The great horned owl is the big, tuft-eared powerhouse. Recognizable by deep, resonant hoots and a stocky build, this species takes a surprisingly wide range of prey—everything from small rodents to other birds—and can use tall trees, cliff ledges, or even old nest platforms for roosting.
### Barred Owl Behavior
Barred owls are the chatty neighbors: they’ll call in the day and evening with a series of hoots that certain folks describe as “who cooks for you?” They prefer mixed woods and are often detected by their insistence on vocalizing near tree lines and ponds.
## Where Owls Hunt At Night
The key to spotting these visitors is understanding where they choose to hunt. They love edges—lawns next to woods, windbreaks, marsh margins, and field borders—because those edges aggregate rodents and small birds. Quiet observation points along these transition zones increase your chances of a sighting without disturbing the animal.
Watching how owls quarter a field is an education in fly-by physics: slow wingbeats, sudden dead-silent drops, and an almost theatrical pause before retrieval. Also look for indirect signs: accumulated feathers beneath a roost, pellets (those compacted fur-and-bone bundles cast up after digestion), and small, bone-scattered spots that indicate a recent meal.
### Reading Calling Patterns
Learning species calls is the easiest way to know what you’re hearing. Hoots and hoarse “barks” typically indicate territorial adults; screeches and whistles can indicate distress or juvenile chatter. If you can map call locations over a few nights, you’ll often find the same birds holding the same territory—useful if you want to put up a box or protect a roost tree. If you learn these calls, you’ll know whether the neighborhood owls are singletons, pairs, or a council of resident birds.
## Remedy 1: Build An Owl Nest Box
When done correctly, providing a nest box is one of the most effective and least intrusive ways to encourage local nocturnal raptors to use your property. This section is presented formally to ensure safety and success.
#### Materials
– Exterior-grade plywood (3/4 inch; avoid treated wood)
– Galvanized screws and nails
– Exterior-grade wood glue
– Metal flashing (for roof protection)
– Hinges and a locking hasp (for maintenance access)
– 1/4 inch hardware cloth (optional, for predator guards)
– Waterproof sealant (non-toxic exterior)
– Mounting pole, bracket, or a heavy-duty tree strap
– Tools: saw, drill, screwdriver, measuring tape, level
#### Step-By-Step Creation And Installation
1. Design Dimensions: Use species-appropriate dimensions. For medium to large species (e.g., great horned), allow an interior floor of roughly 14 x 14 inches and a height of about 30 inches. Adjust smaller for species-specific guidance.
2. Cut Panels: Cut back, front, two sides, floor, and roof from plywood according to your plan. Include a recessed or angled entry panel for predator deterrence—no open perch.
3. Assemble Box: Glue and screw panels together with weatherproof glue and galvanized screws. Ensure seams are tight; water infiltration shortens box life.
4. Ventilation and Drainage: Drill small holes near the top for ventilation and a few drain holes in the floor for moisture control.
5. Roof and Flashing: Attach a slanted roof with overhang and seal edges with metal flashing to keep water away from seams.
6. Access Panel: Install a hinged side or front panel with a secure hasp for seasonal cleaning and inspection.
7. Surface Treatment: Apply non-toxic waterproof sealant to the exterior only. Avoid painting the interior or using strong-smelling treatments that could repel birds.
8. Mounting: Mount the box on a pole or tree at the appropriate height (generally 10–30 feet depending on the species), facing away from prevailing winds and toward open hunting areas. Use a slight forward tilt for water runoff.
9. Monitoring and Maintenance: Check and clean once per year outside of the breeding season. Remove old nesting material carefully and wear gloves when handling pellets or droppings to reduce disease transmission.
Placement and installation are critical: position boxes to minimize access by predators, avoid close proximity to busy roads, and never place boxes where they’ll be flooded or in direct afternoon sun without shade.
## Remedy 2: Create A Nocturnal-Friendly Yard
This is a practical habitat-remedy designed to increase the safety and attractiveness of your property for nocturnal raptors while reducing conflict.
#### Materials
– Native tall-grass seed mix or native groundcover plugs
– Brush pile materials (logs, limbs)
– Small mammal-friendly cover (rock piles, brush)
– Motion-activated, downward-facing lighting for safety (avoiding bright white lights)
– Predator-proof compost enclosure (optional)
#### Implementation Steps
1. Reduce Lawn, Increase Structure: Convert strips of lawn into native grass edges and wildflower strips to support voles and mice. These prey species are essential food sources.
2. Provide Perching Opportunities: Install a few sturdy perches—dead branches or single-pole snags—positioned between hunting fields and roosting cover. Perches should be bare and elevated for unobstructed flight paths.
3. Create Brush Piles: Assemble small brush piles in discrete locations to encourage small mammal habitat. Keep piles away from buildings and human activity areas.
4. Light Management: Replace bright, upward or outward-facing lights with warm, low-intensity, downward-facing fixtures. Use motion sensors for human safety but avoid continuous illumination at night that deters natural behavior.
5. Rodent Control Ethics: Avoid rodenticides. Rodent poisons lead to secondary poisoning of raptors. Use exclusion, habitat modification, and trapping methods compliant with local regulations and humane guidelines.
6. Water Sources: A small, shallow pond with sloped edges or a wildlife drinking dish can attract prey species and the birds that hunt them; keep water clean and free of chemical runoff.
7. Seasonal Considerations: Leave some standing dead trees or snags if safe and legal; they provide invaluable roosting and nesting structure.
## Responsible Watching And Safety
Enjoying nocturnal visitors responsibly keeps both you and the wildlife safe. Keep a respectful distance, use red-filtered flashlights when observing at night, and never attempt to handle a wild bird without proper licensing.
### Legal And Ethical Considerations
Many raptors are protected by local and national laws. Before installing boxes, modifying trees, or interfering with nests, verify permits and legal protections in your area. Do not attempt nest relocation or direct intervention unless directed by wildlife authorities or licensed rehabilitators.
### Tips For Quiet Nighttime Viewing
– Use a simple spotting scope or binoculars without a bright flashlight. A red-filtered headlamp preserves night vision and minimizes disturbance.
– Keep dogs and children indoors during active viewing periods; excited pets can disrupt roosting birds.
– Record calls and sightings in a notebook with date and location; local wildlife groups appreciate validated observations.
– If you encounter an injured bird, contact a licensed rehabilitator. Do not feed or try to treat wild birds yourself; incorrect care can do more harm than good.
Enjoy the slow, theater-of-the-night feel of these visits. With patient observation, thoughtful habitat improvements, and a respectful approach, your backyard can remain a quiet, moonlit stage for nature’s most stealthy performers—allowing you the pleasure of their presence while keeping them safe and wild.


Leave a Reply