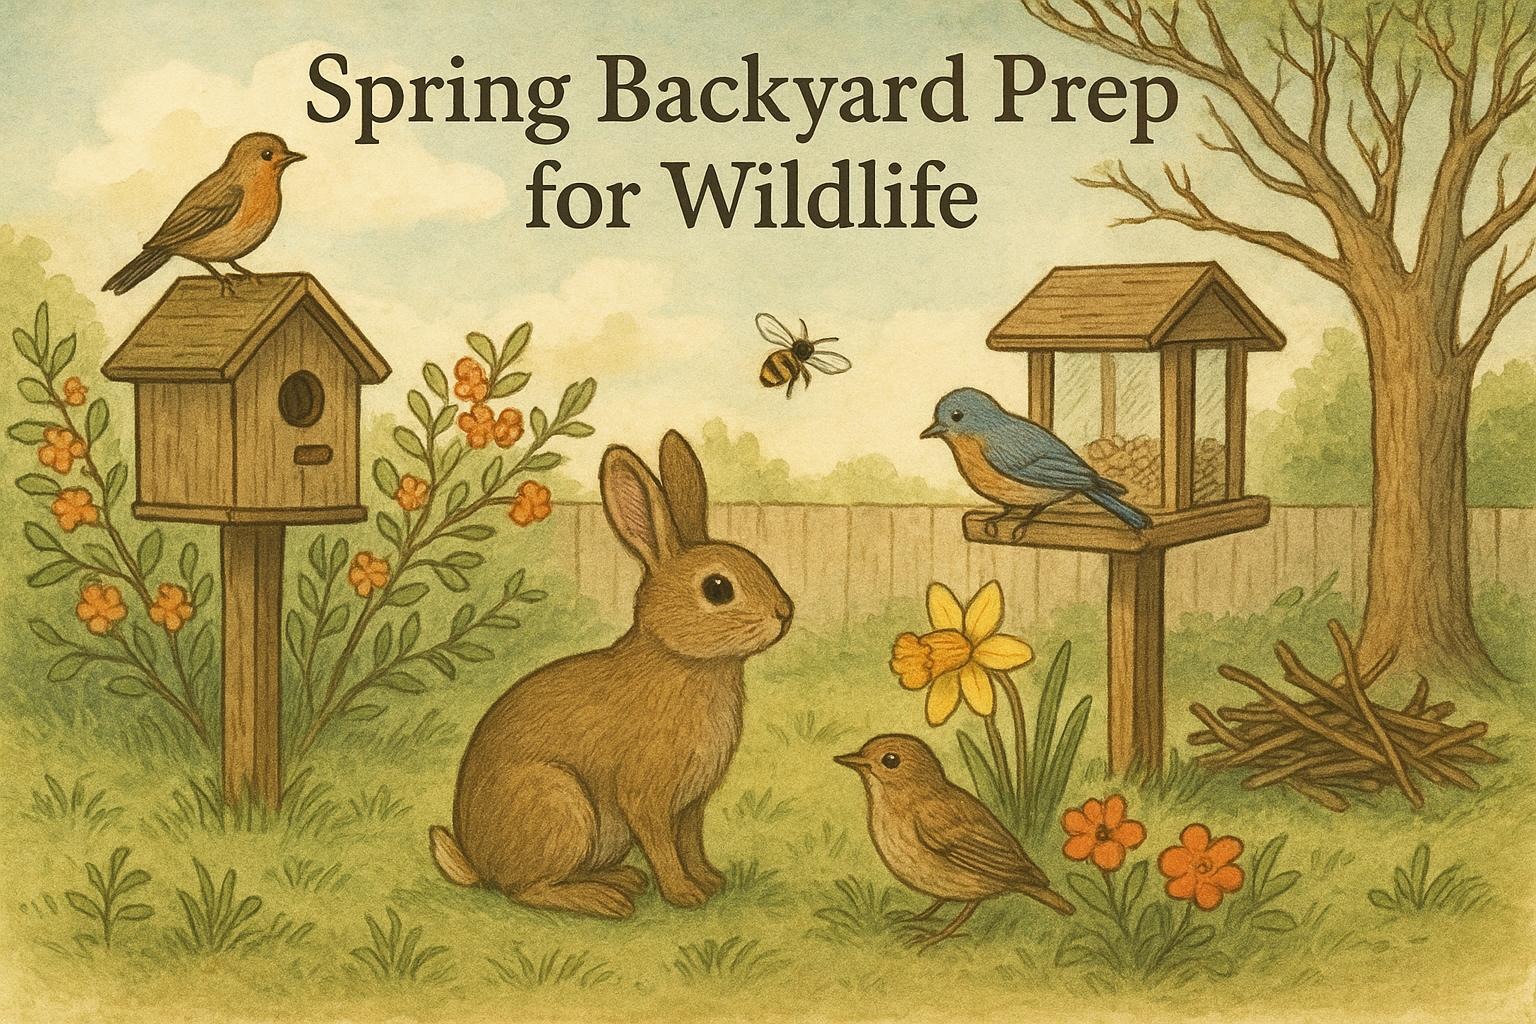
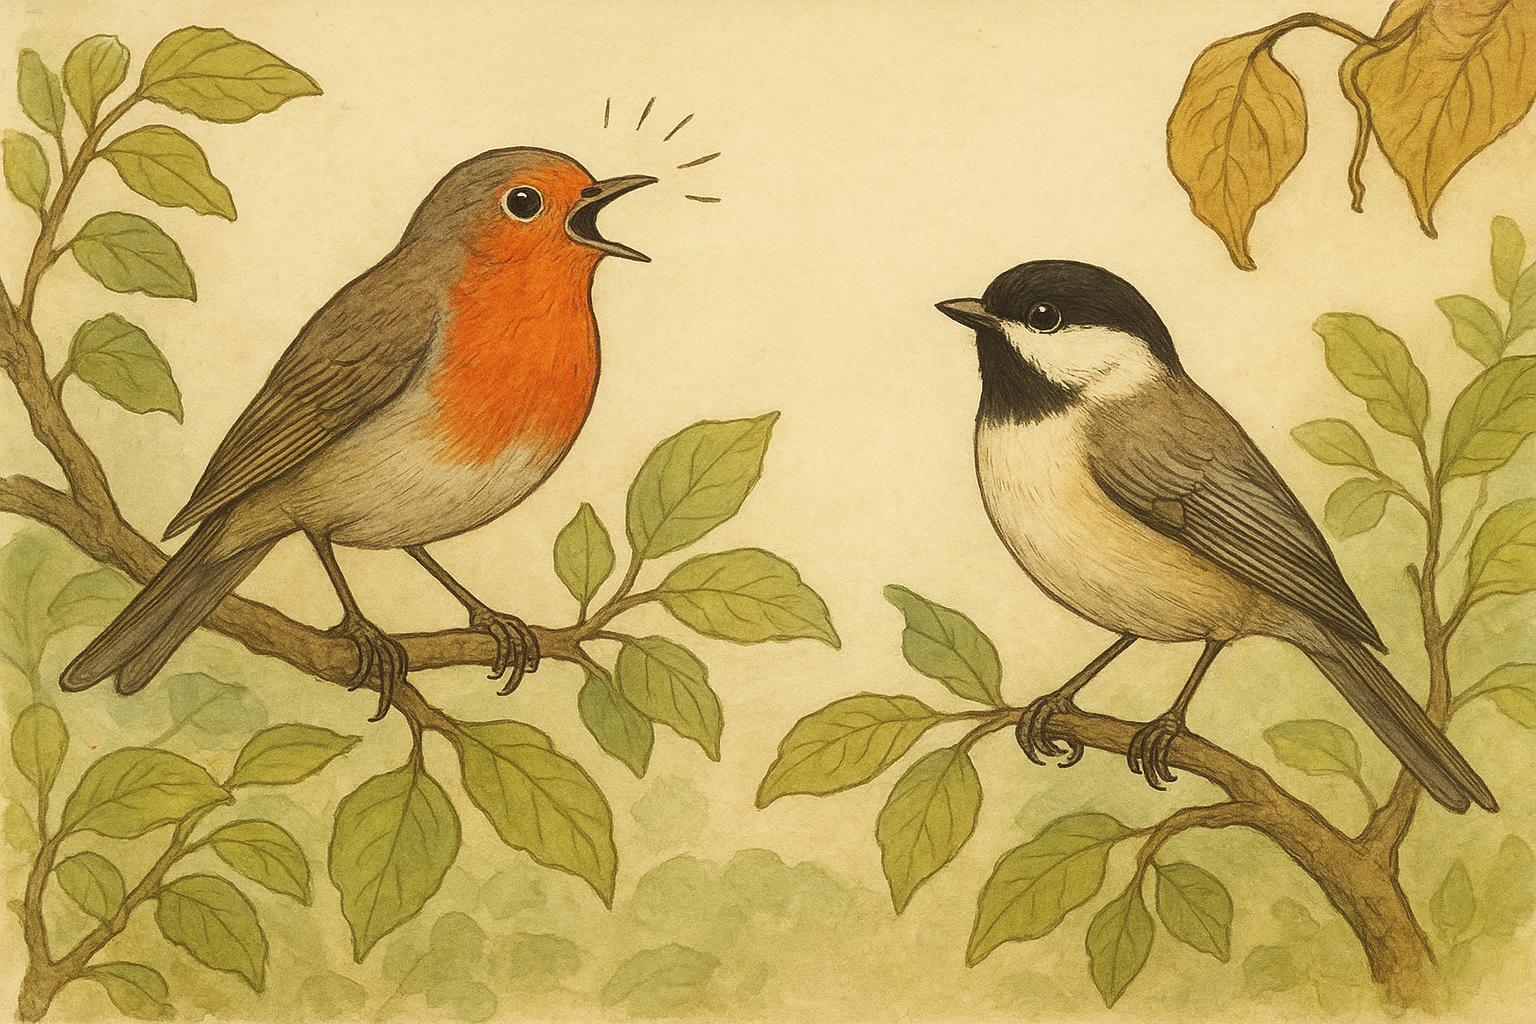
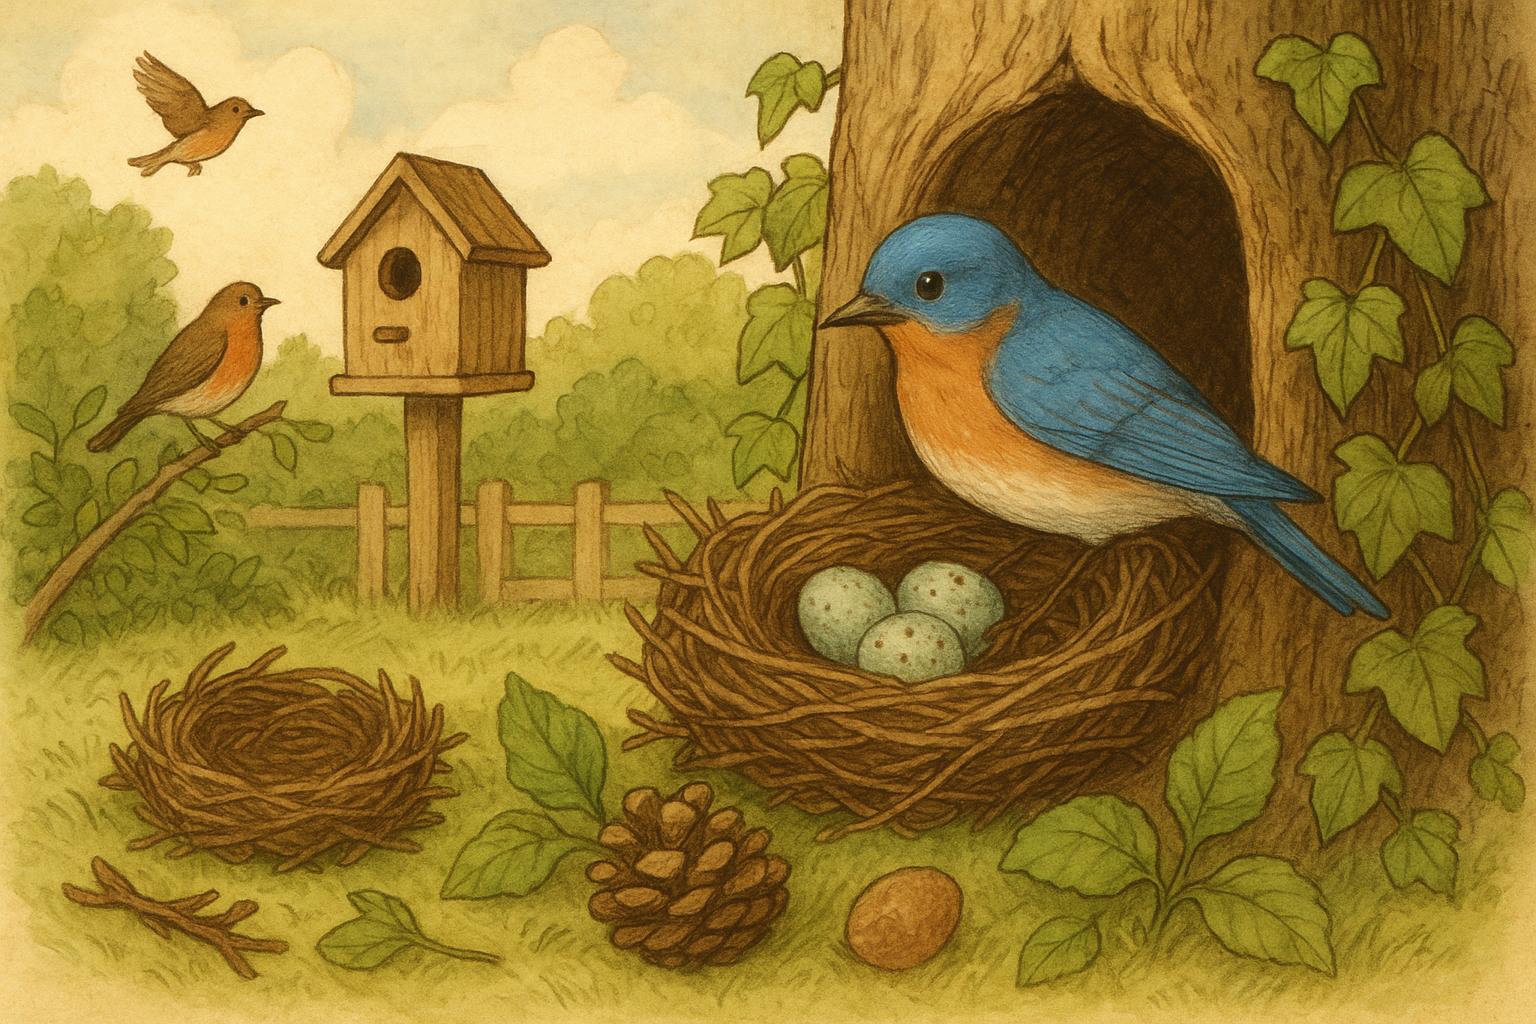
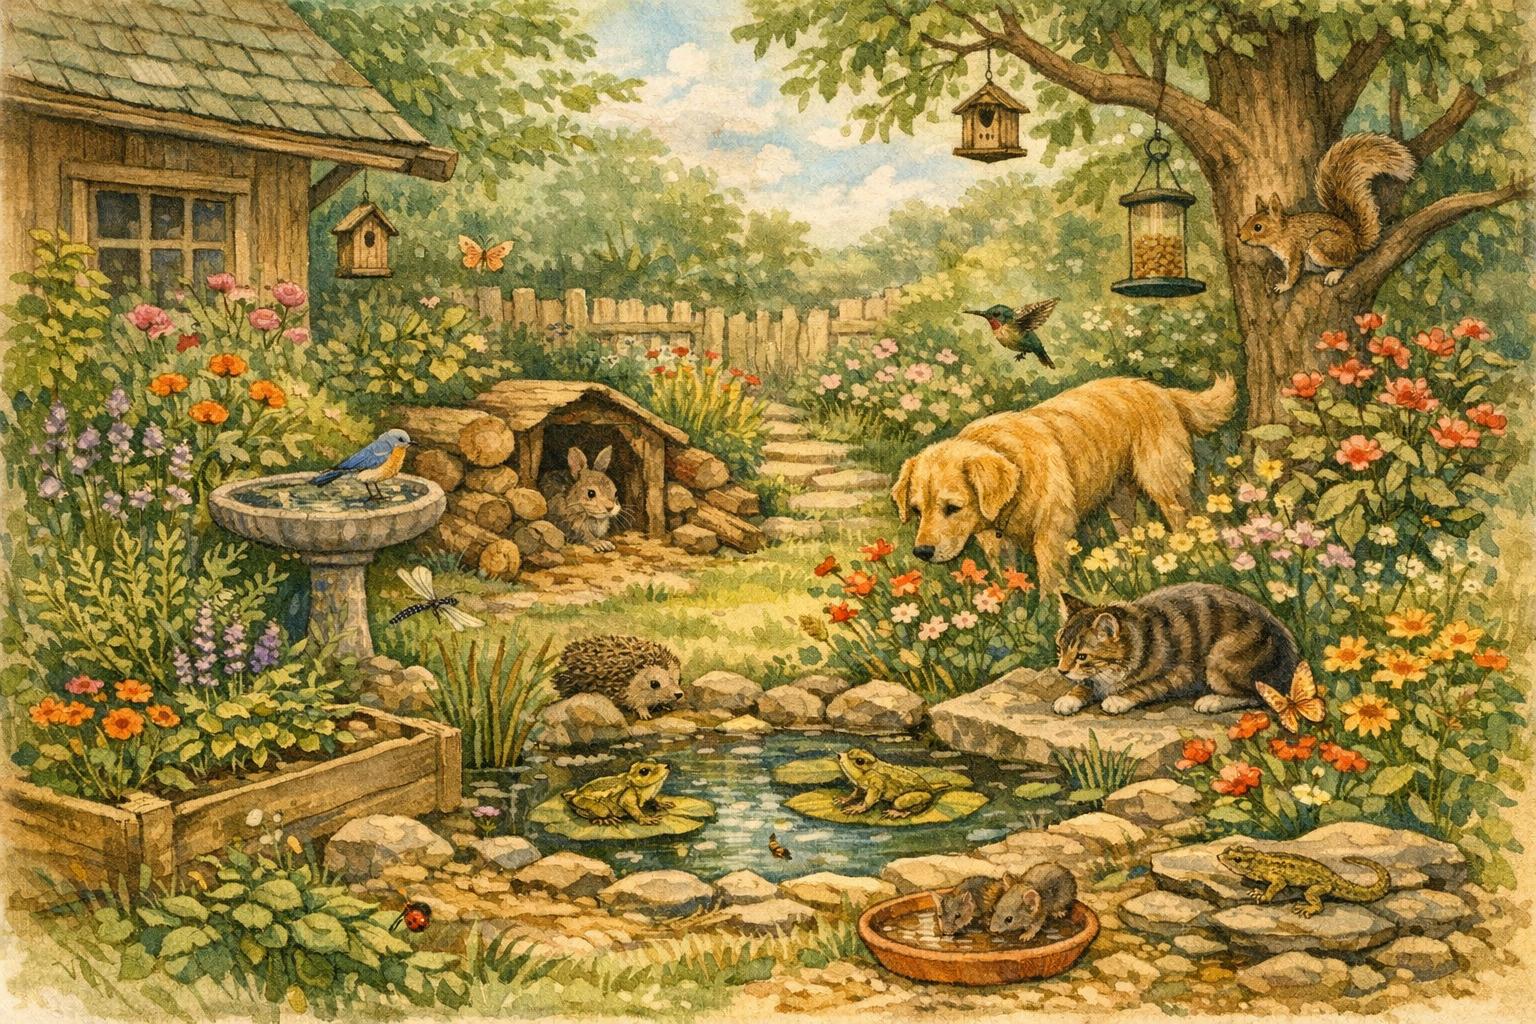
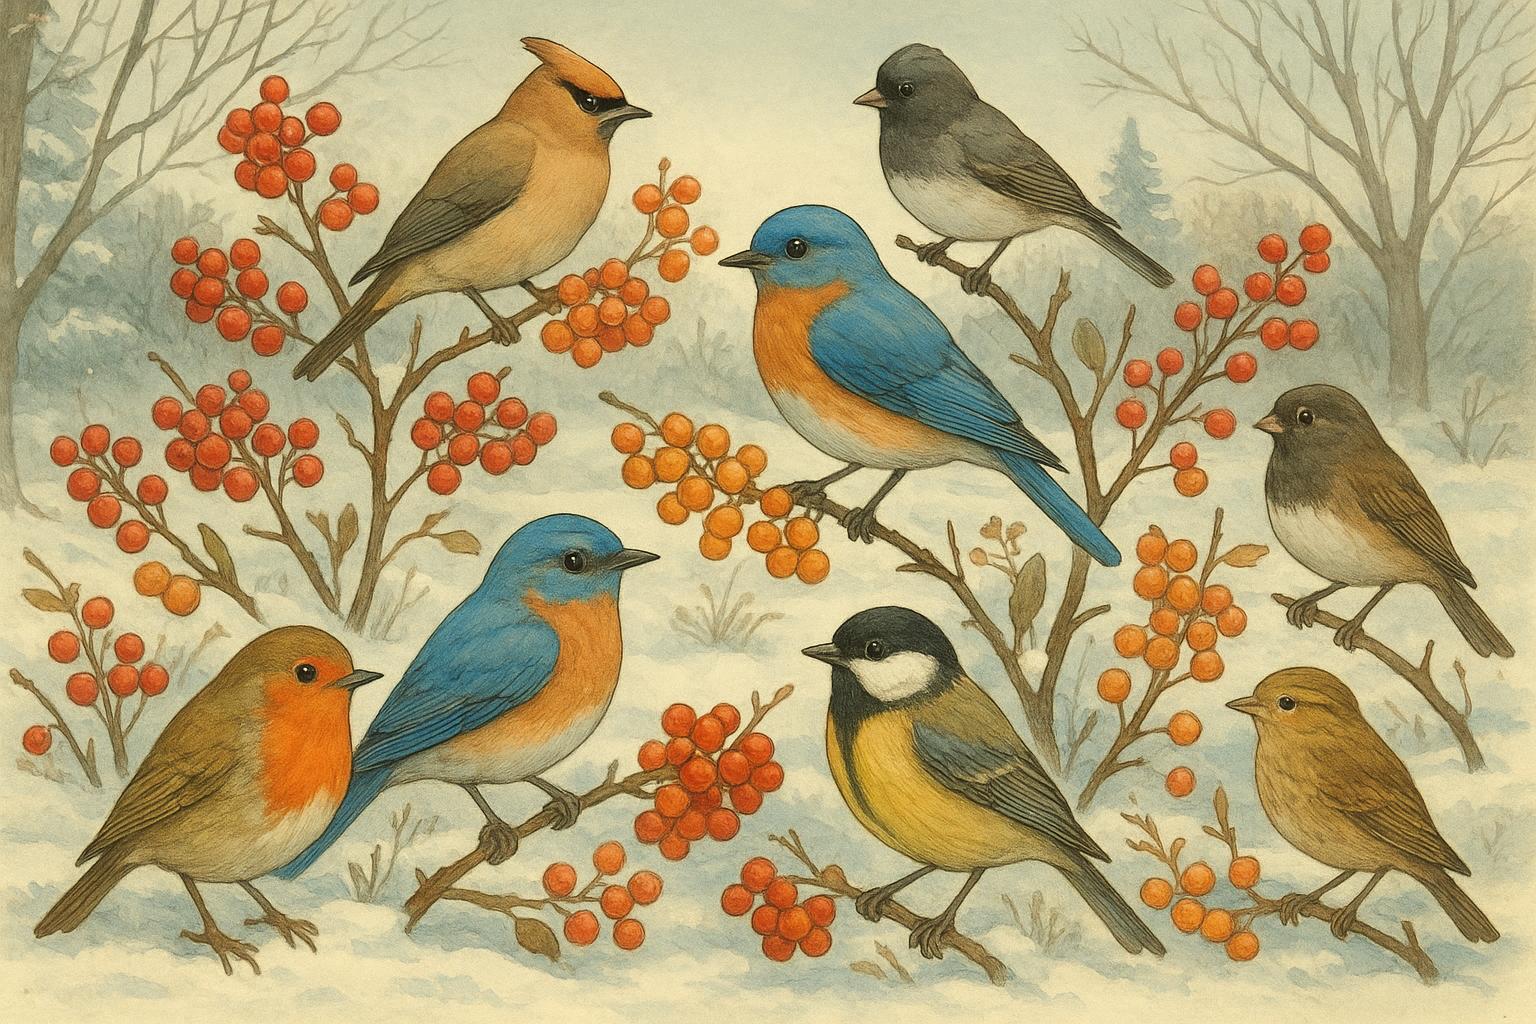
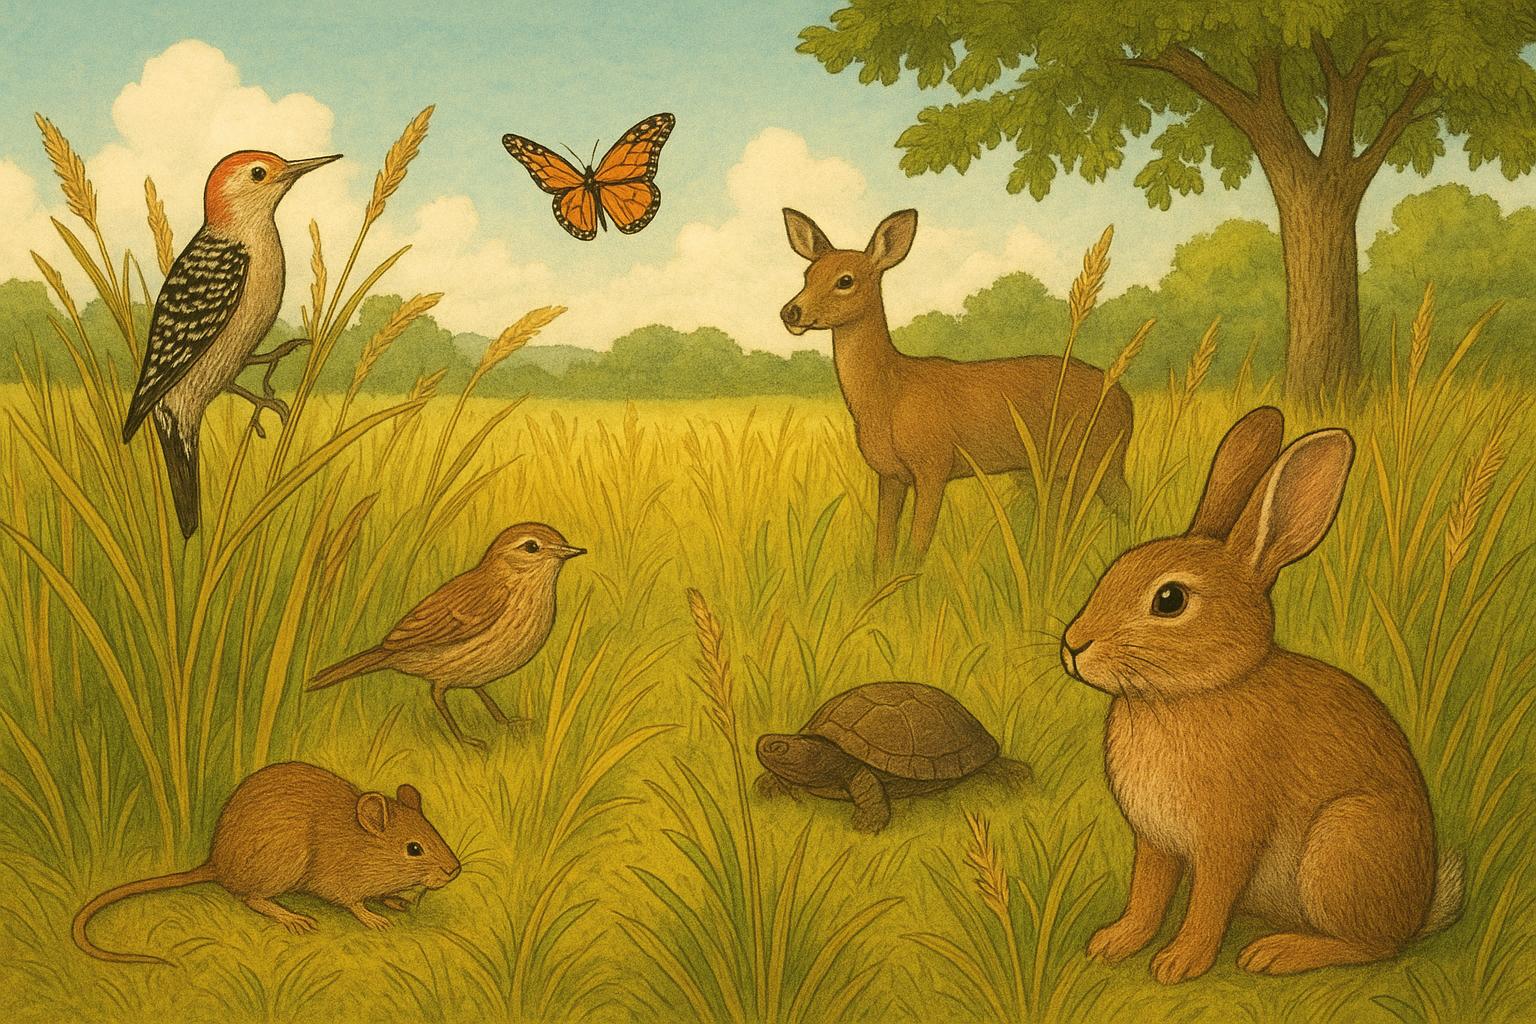
Spring has a way of waking up not just the flowers but the local wildlife gossip network. If you’d like to be a gracious host this season, a little intentional backyard prep goes a long way — think of it as preparing guest rooms for feathered, furry, and six-legged friends. This guide mixes friendly advice with practical, actionable projects so your yard becomes a safe, resource-rich neighborhood hub.
## Backyard Prep Checklist For Spring
Start by making a simple checklist so your efforts are targeted and efficient. A good backyard prep routine focuses on food, water, shelter, and safety. Prioritize native plants, safe water sources, and places critters can hide from predators and weather. Keep pesticides to an absolute minimum and use mechanical or cultural controls whenever possible.
### Assess The Habitat
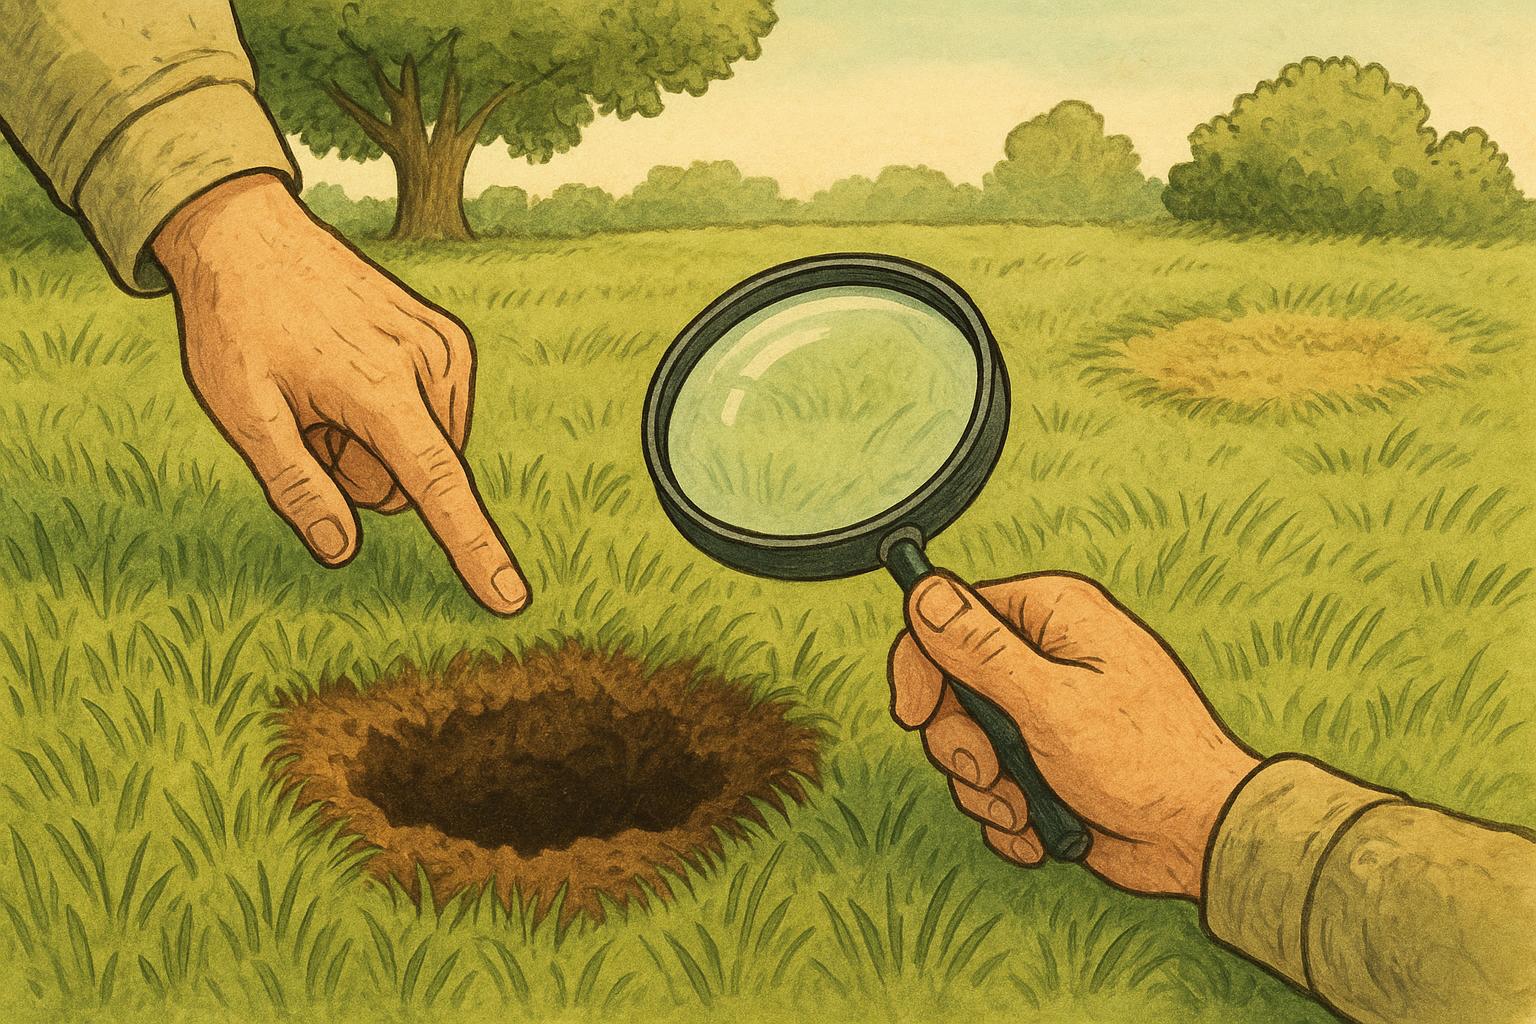
Walk your property with a notebook. Map sunny and shady spots, existing plantings, and any standing water. Look for gaps — bare lawn areas that could be a wildflower patch, or a hedge that could use some nesting boxes nearby. Note invasive species to remove and native species to keep or add. This assessment will guide your backyard prep priorities.
### Safety And Timing Considerations
Avoid major pruning during nesting season. Check local guidelines, as many songbirds nest in spring. Timing plantings for early spring or late fall gives new plants a better chance to establish. When creating shelter or water features, plan for maintenance access so you can keep these areas clean and functioning without disturbing wildlife unduly.
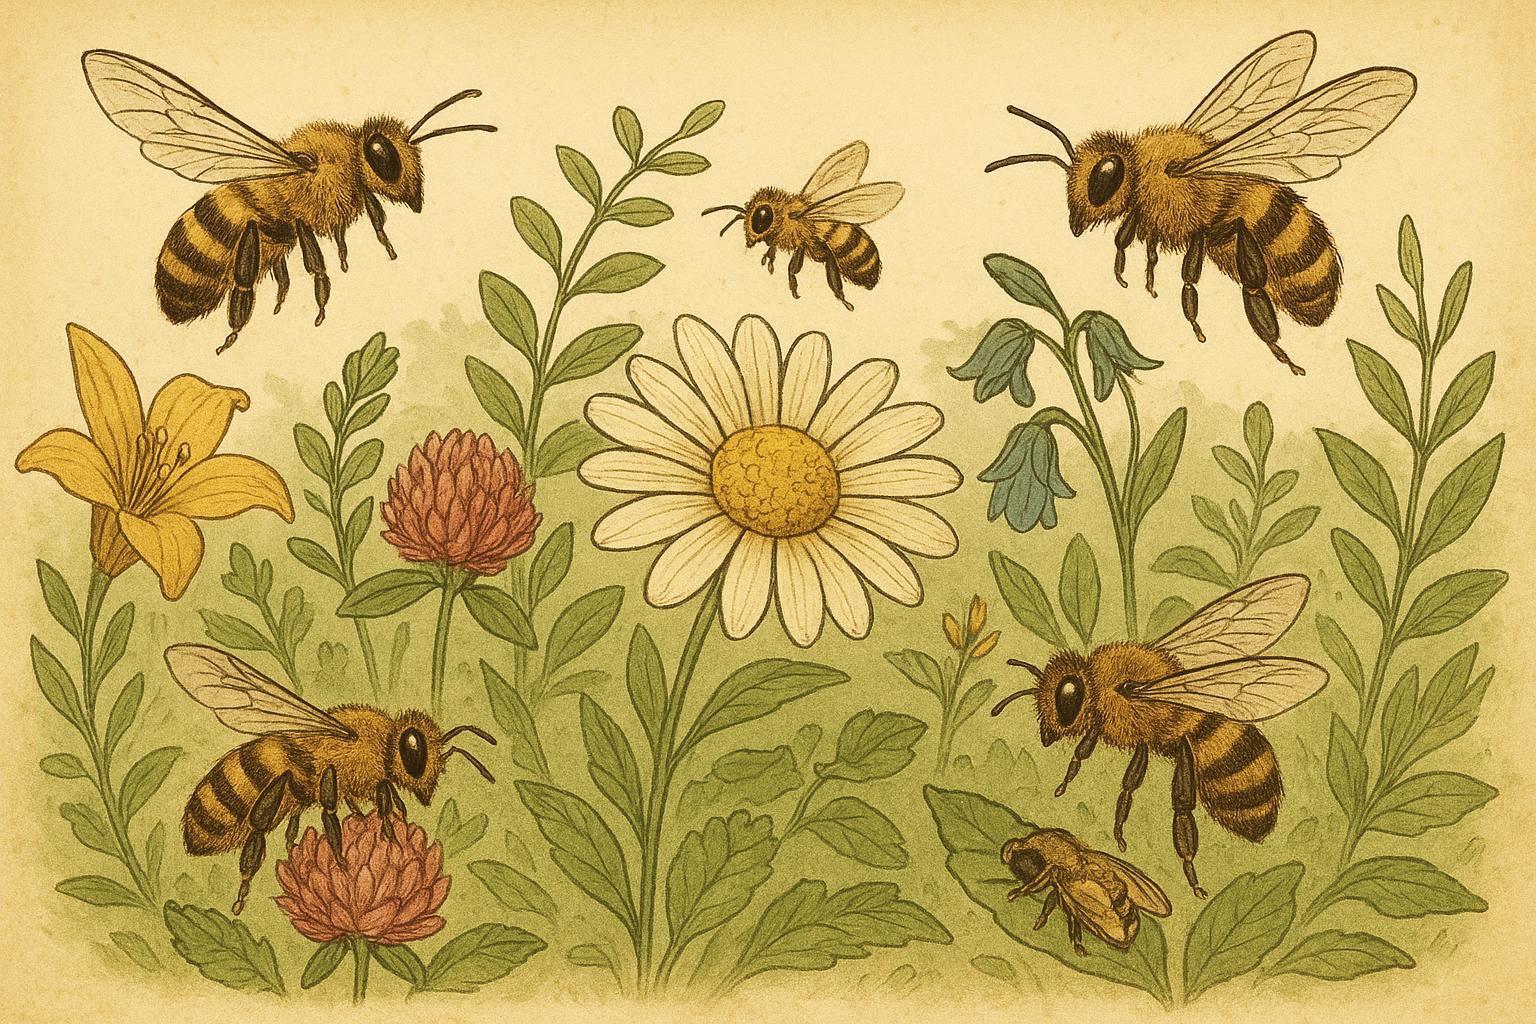
## Remedy 1: Native Pollinator Patch
Formal Description: Establishing a native pollinator patch increases nectar and pollen availability throughout spring and summer, supporting bees, butterflies, and hummingbirds. Native species provide the best nutritional match for local pollinators and often require less maintenance once established.
Required Materials:
– A 6–10 sq ft planting area (or larger, depending on space)
– Native wildflower seed mix appropriate to your region
– Small amount of compost or well-aged manure
– Mulch (shredded bark or leaf mulch)
– Hand trowel and gloves
Step-By-Step Creation And Application:
1. Site Preparation: Select a spot with appropriate sunlight for your chosen plants (most pollinators prefer sunny patches). Remove turf grass and weeds to expose soil.
2. Soil Preparation: Lightly loosen the top 2–3 inches of soil. Incorporate a thin layer (about 1/2 inch) of compost to improve structure and moisture retention without overwhelming the natives.
3. Seeding/Planting: Broadcast the native seed mix evenly across the prepared soil. If using plugs, space them according to supplier recommendations. Lightly rake to mix seeds into the topsoil but avoid deep burying.
4. Mulching: Apply a very light mulch layer only if erosion is a concern. Too thick a mulch can inhibit seed germination.
5. Watering Schedule: Water gently and regularly during the first 2–3 weeks to establish seedlings; thereafter, allow natural rainfall to maintain growth unless there is an extended drought.
6. Maintenance: Remove aggressive weeds manually in the first year. After establishment, reduce watering and avoid fertilization—native plants generally thrive in leaner soils.
### Why This Helps
Native pollinator patches provide continuous floral resources and reduce the need for chemical inputs. They also increase insect biodiversity, which supports songbirds and small mammals higher up the food chain.
#### Best Plant Choices
Choose species that bloom in succession: early (native crocus or columbine), mid (coneflower, bee balm), and late season (asters, goldenrod) bloomers to extend foraging resources.
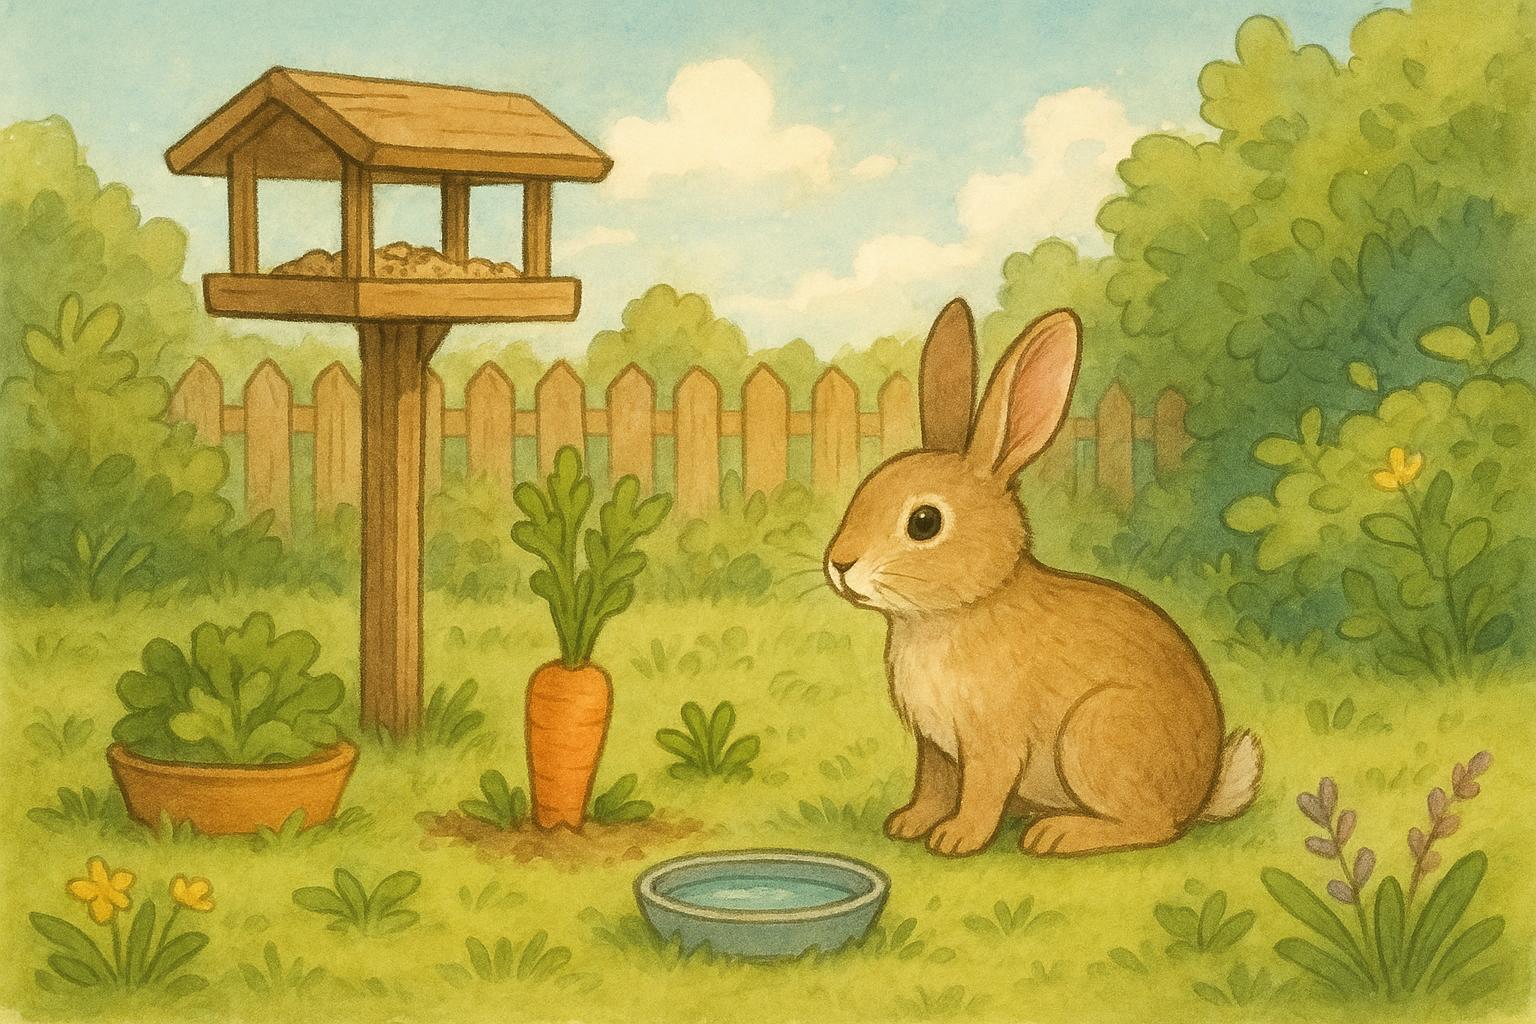
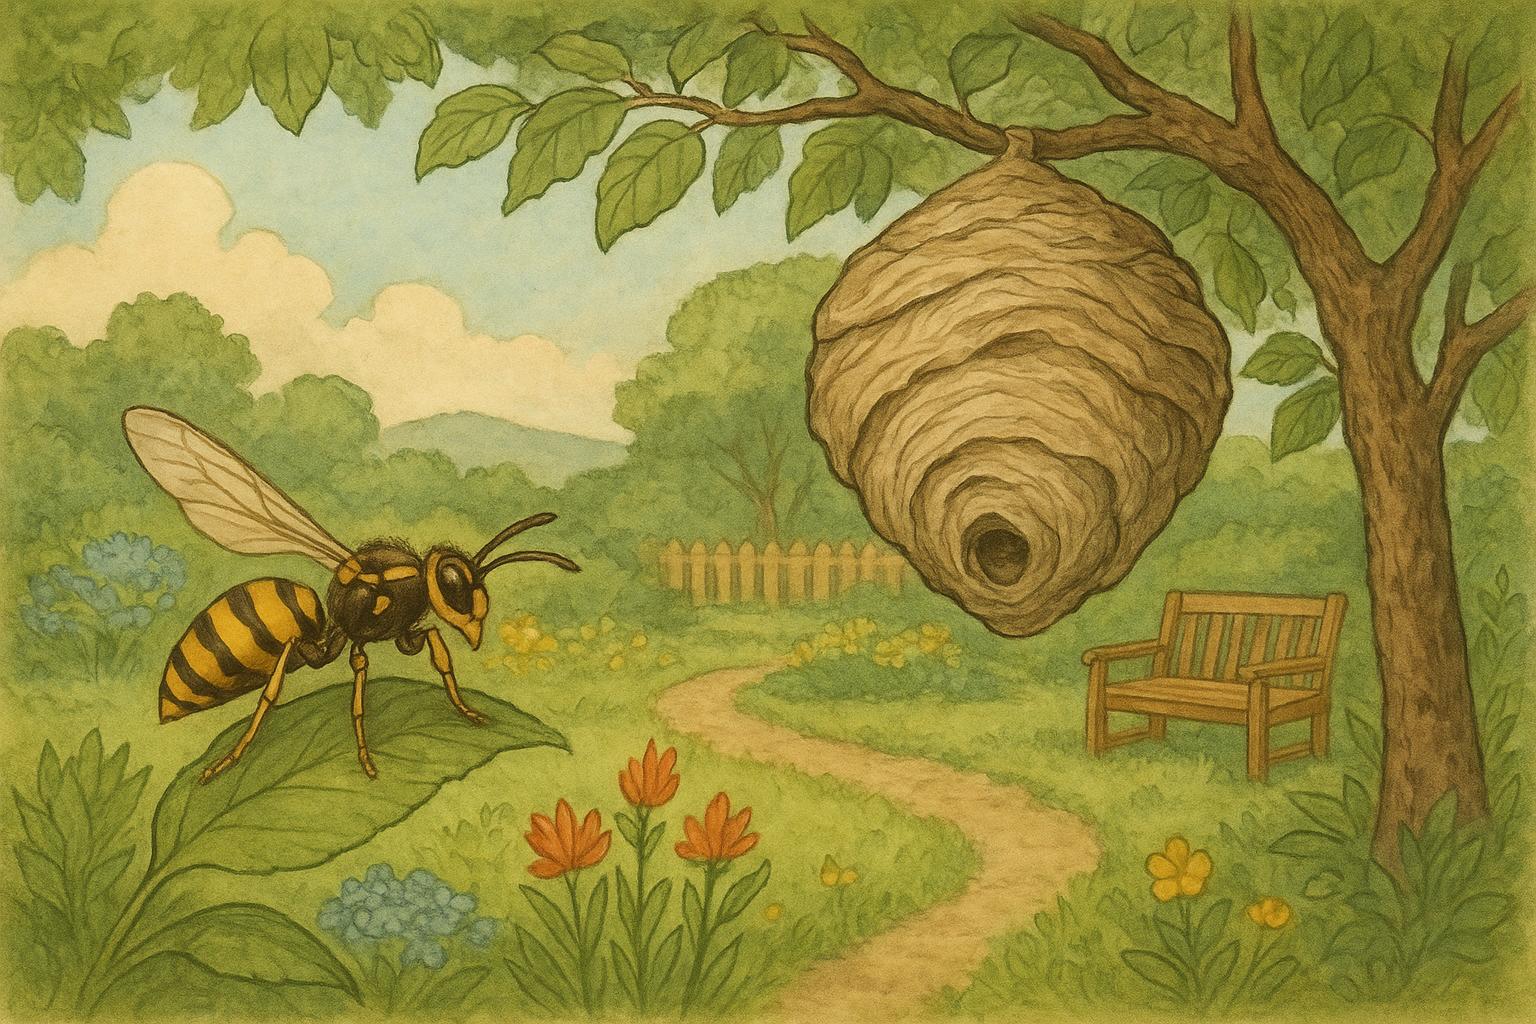
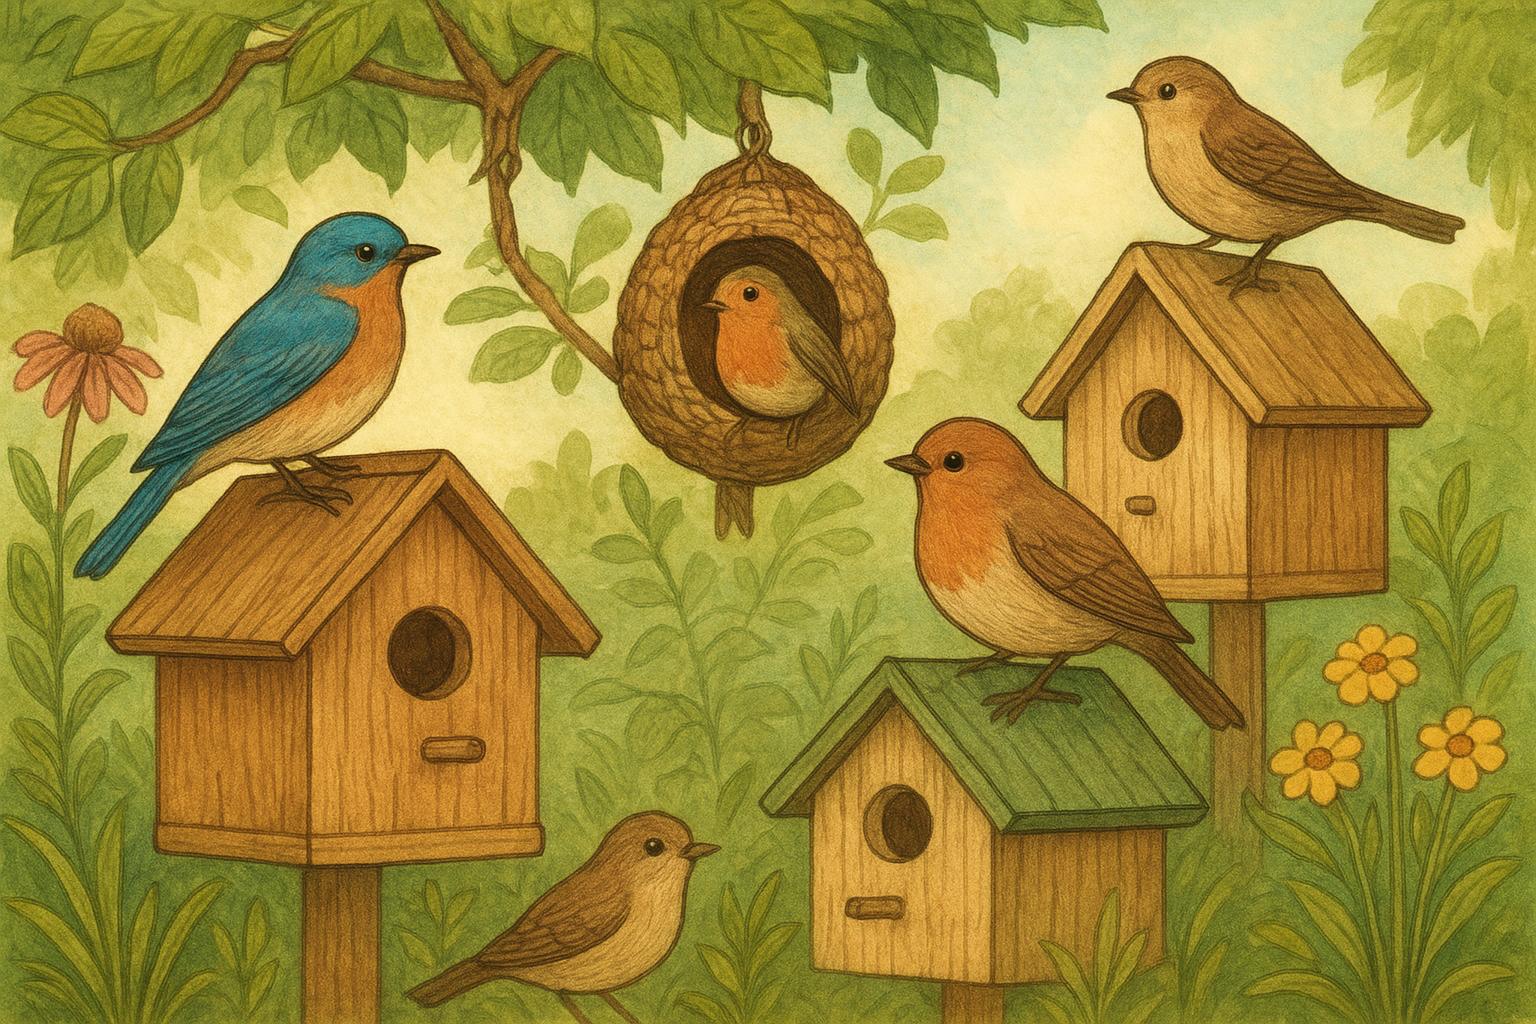
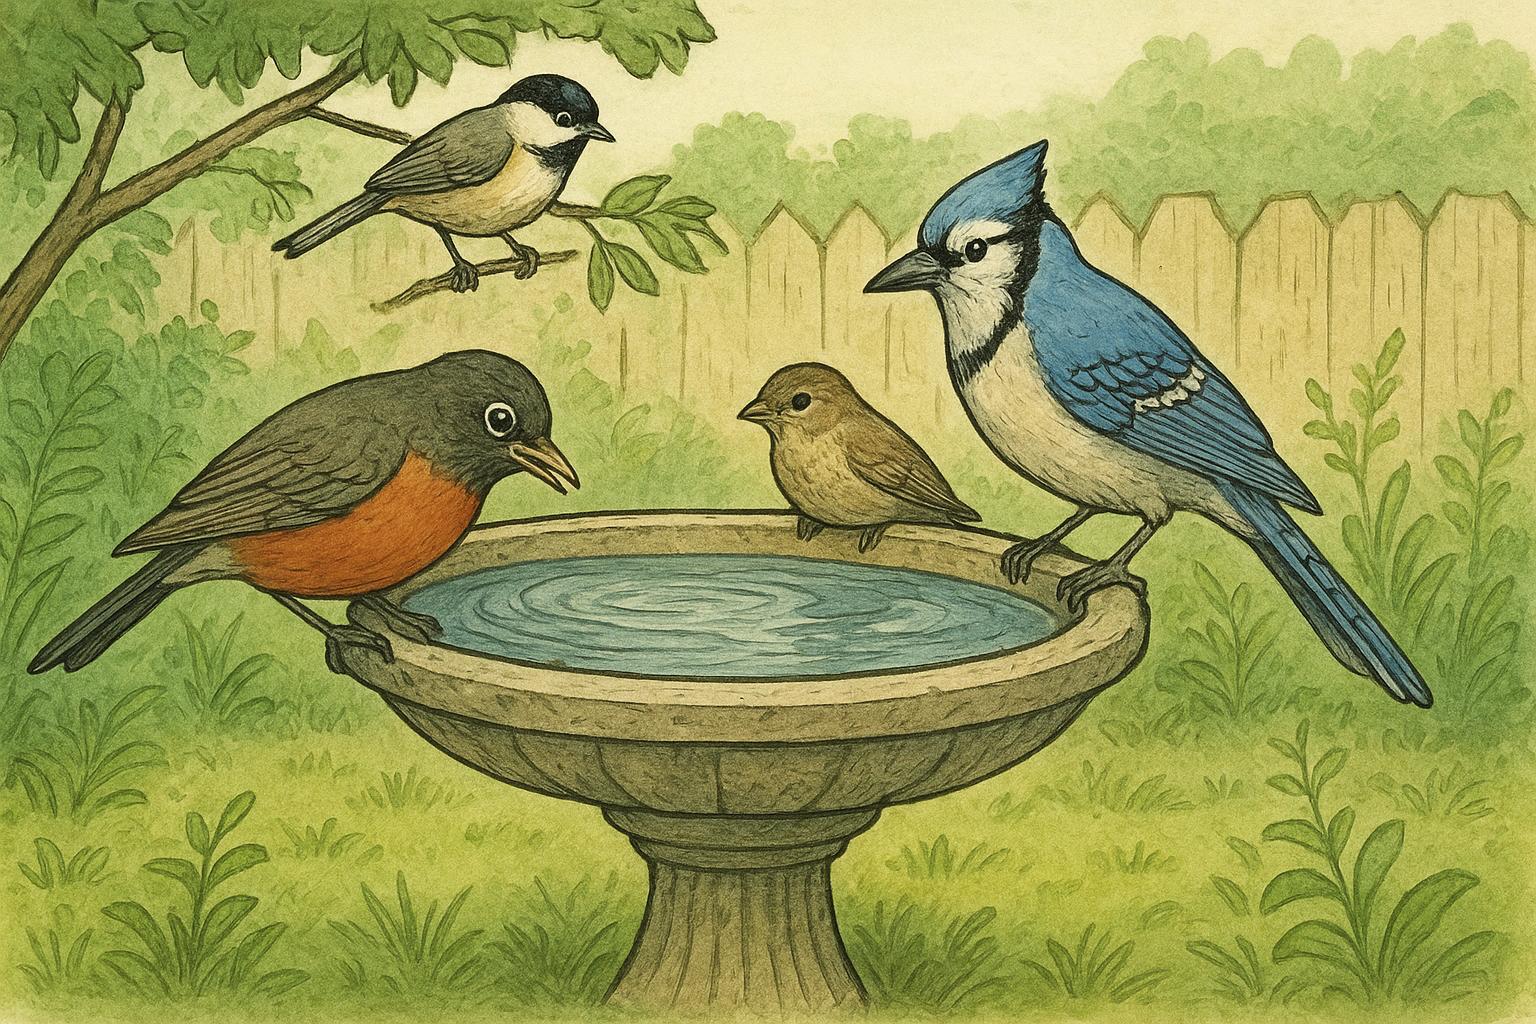
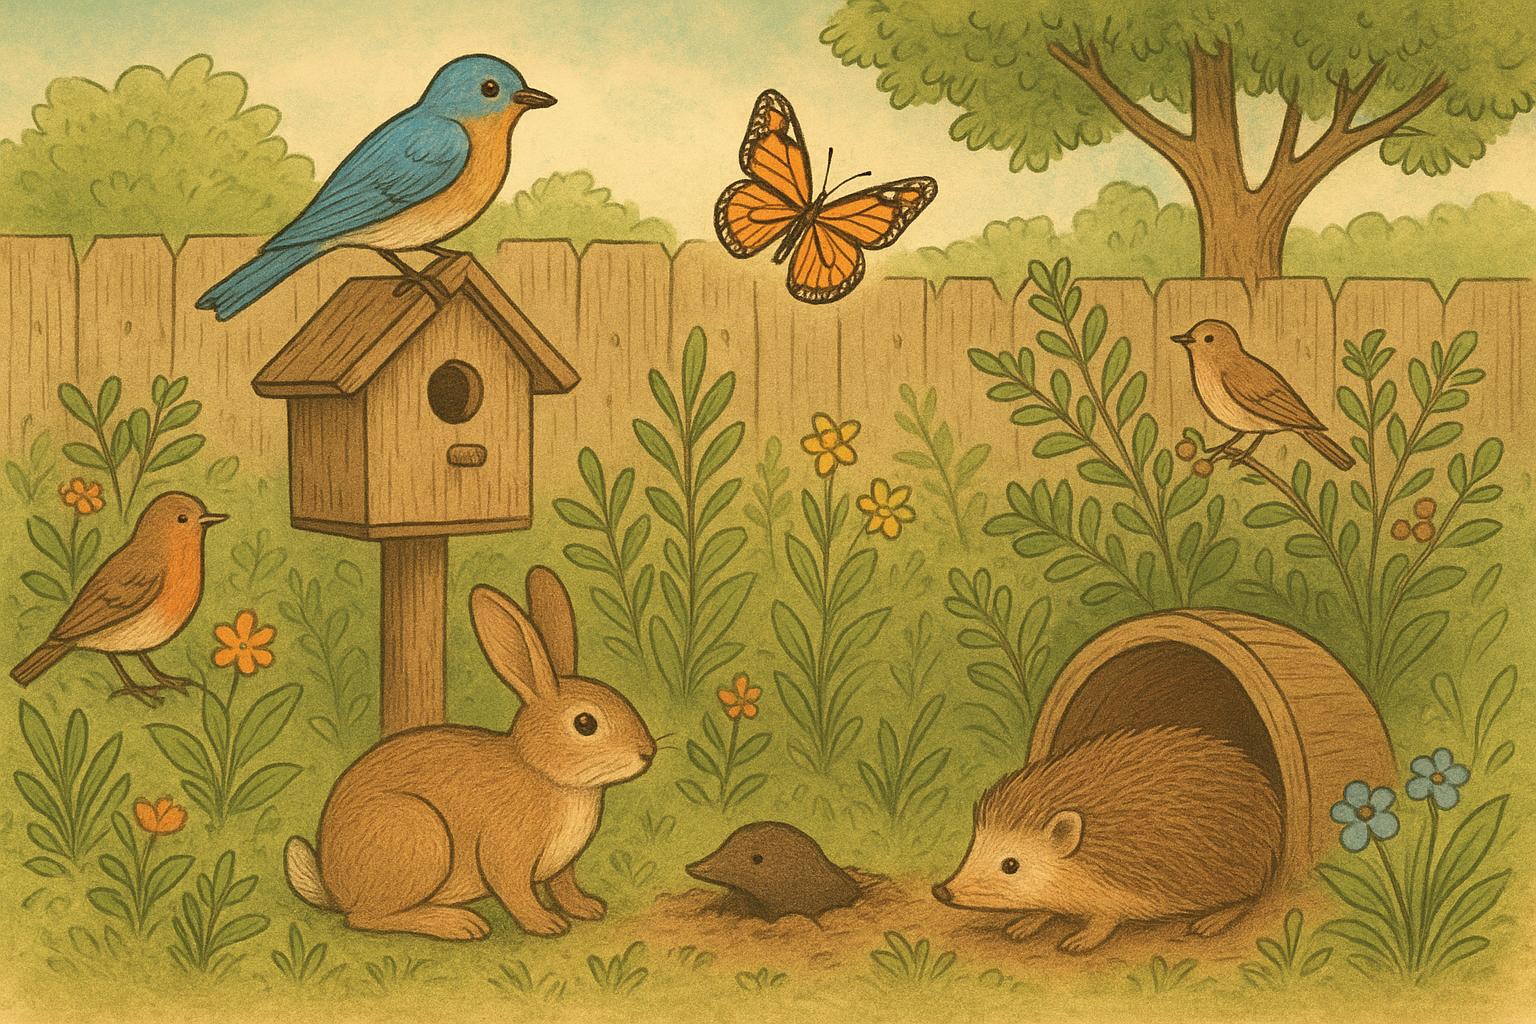
## Remedy 2: Simple Water Station
Formal Description: A reliable, clean water source is a magnet for wildlife. Properly designed water stations reduce disease risk, provide drinking and bathing opportunities, and can be adapted to small or large yards.
Required Materials:
– Shallow basin or birdbath (depth of 1–2 inches in the center, sloping gently)
– Flat stones or pebbles for perches
– Solar or low-flow pump (optional, for circulating water)
– Clean water source
– Brush or small stones to create gradual access for small mammals
Step-By-Step Creation And Application:
1. Site Selection: Place the water station in a quiet, partially shaded area near cover such as shrubs or trees so animals can approach safely.
2. Basin Setup: Install the basin on a stable surface. If using a pump for a fountain feature, follow manufacturer instructions for installation and ensure electrical safety.
3. Perches And Access: Arrange flat stones or pebbles in the basin to provide secure perches for birds. Add a gradual ramp if small mammals like hedgehogs or squirrels are expected.
4. Water Quality Management: Change water frequently (every 2–3 days) or install a small pump to keep water moving. Clean the basin weekly with a brush; avoid harsh chemicals. For disease prevention, scrub surfaces to remove algae and debris.
5. Winter Considerations: Use a birdbath heater in freezing climates or replace with shallow dishes mounted under shelter during cold snaps.
### Why This Helps
Water availability influences residency and breeding decisions for many species. Clean, shallow water is imperative to prevent drowning and reduce pathogen transmission.
#### Placement Tips
Keep the basin within 10–20 feet of natural cover. Too close invites ambush by predators; too far leaves animals exposed.
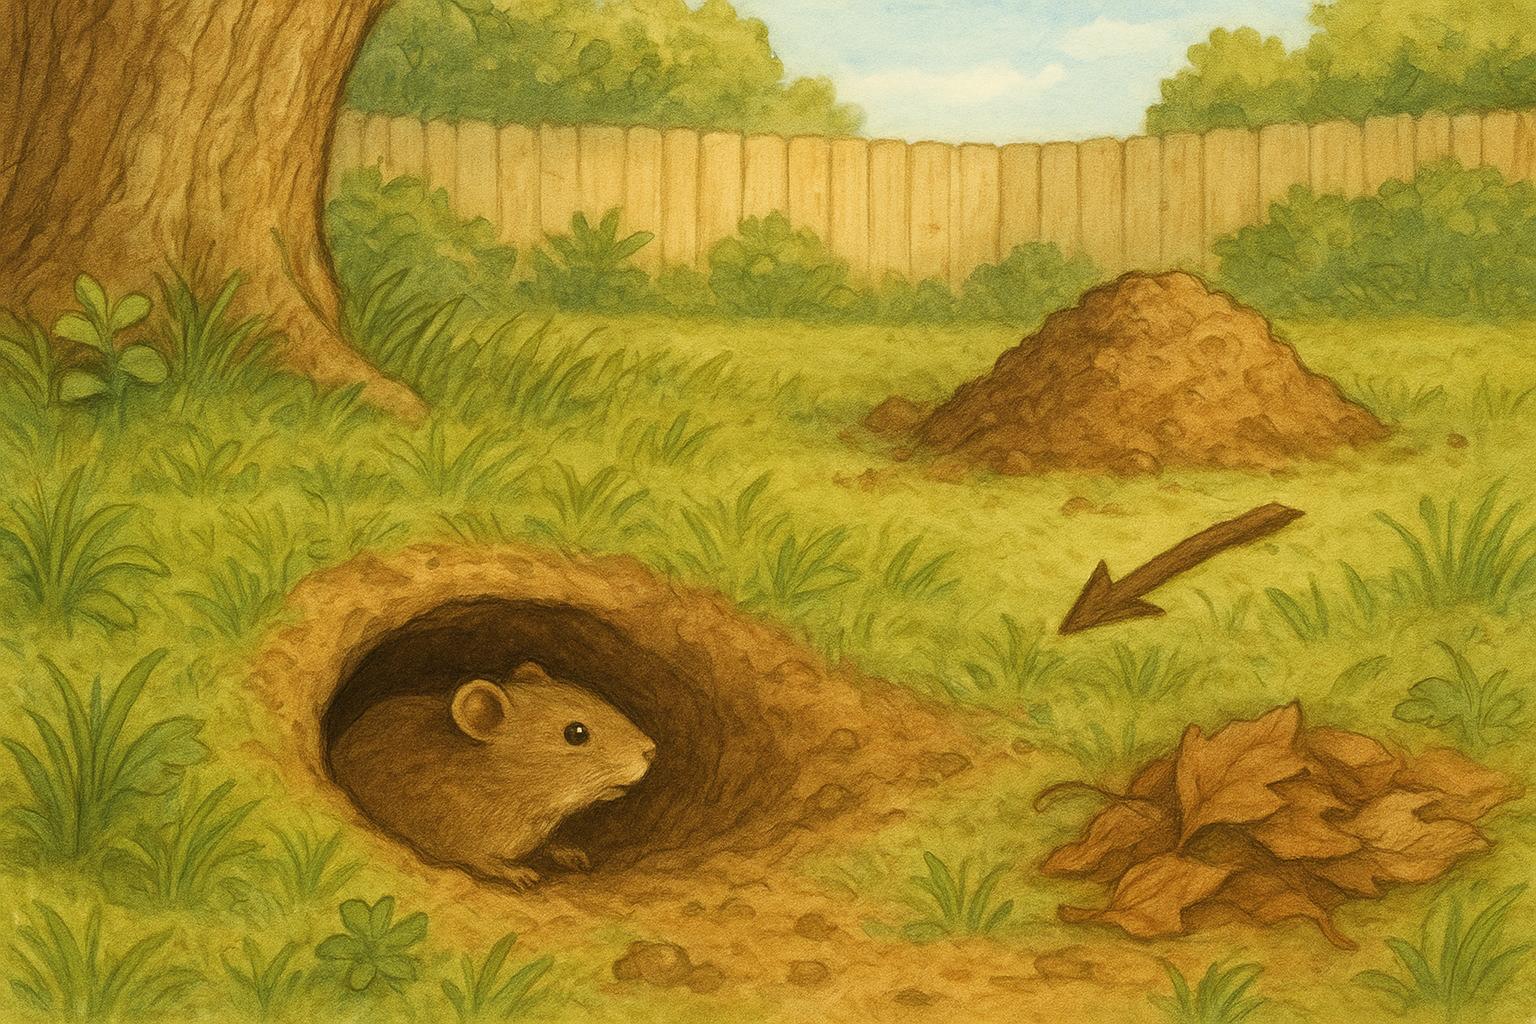
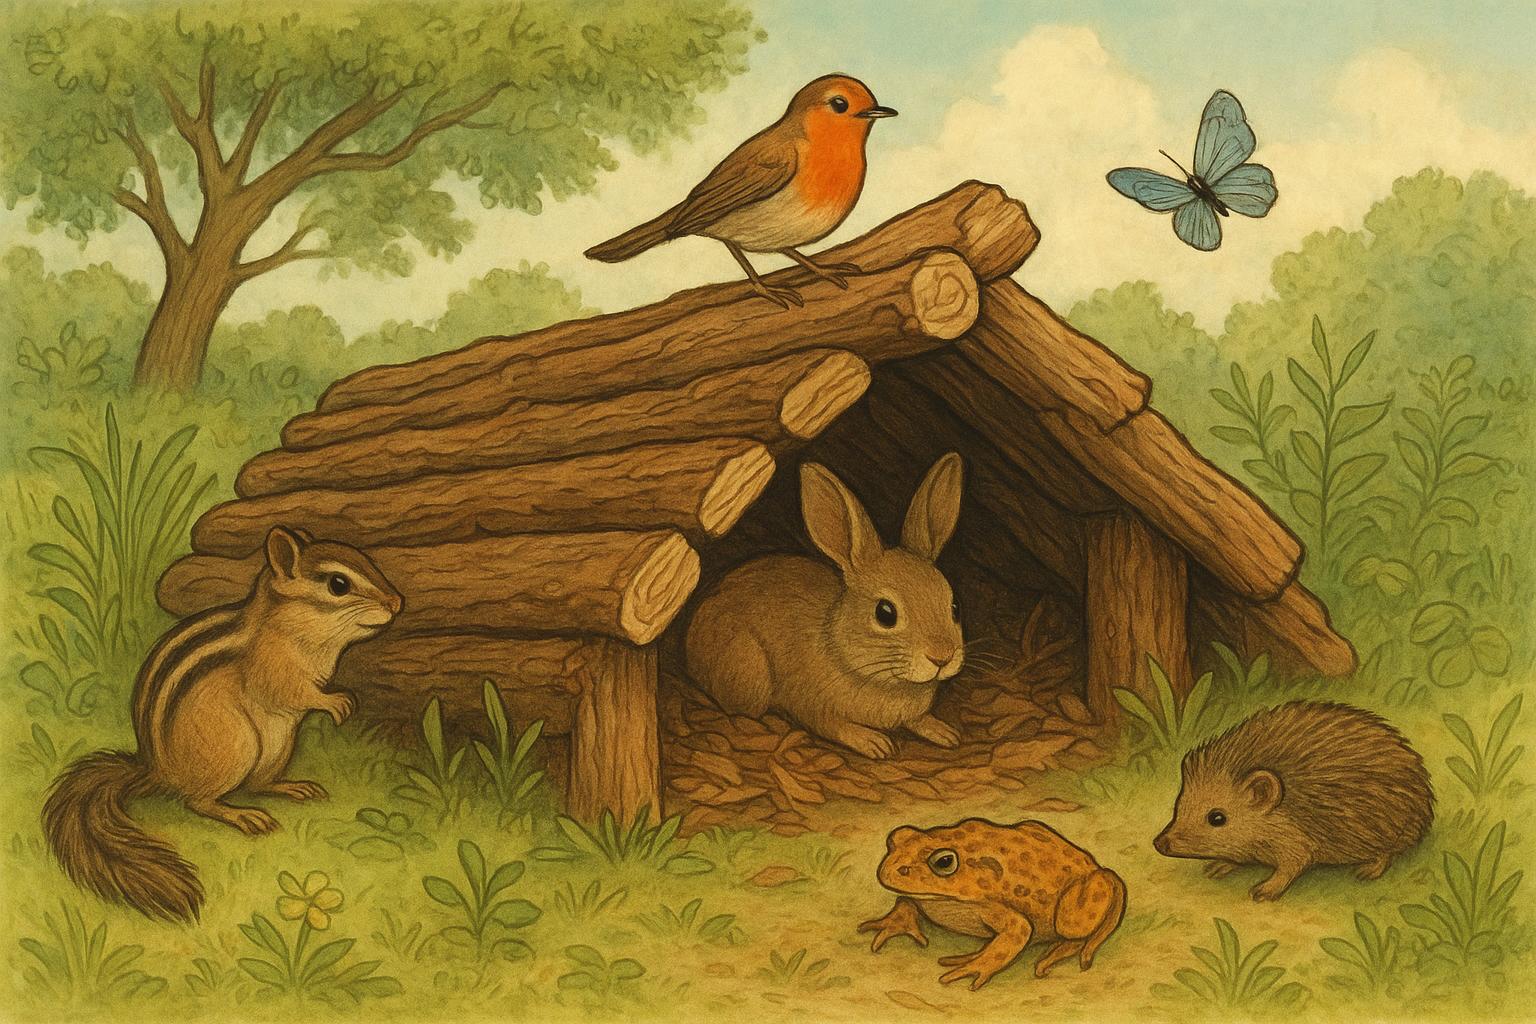
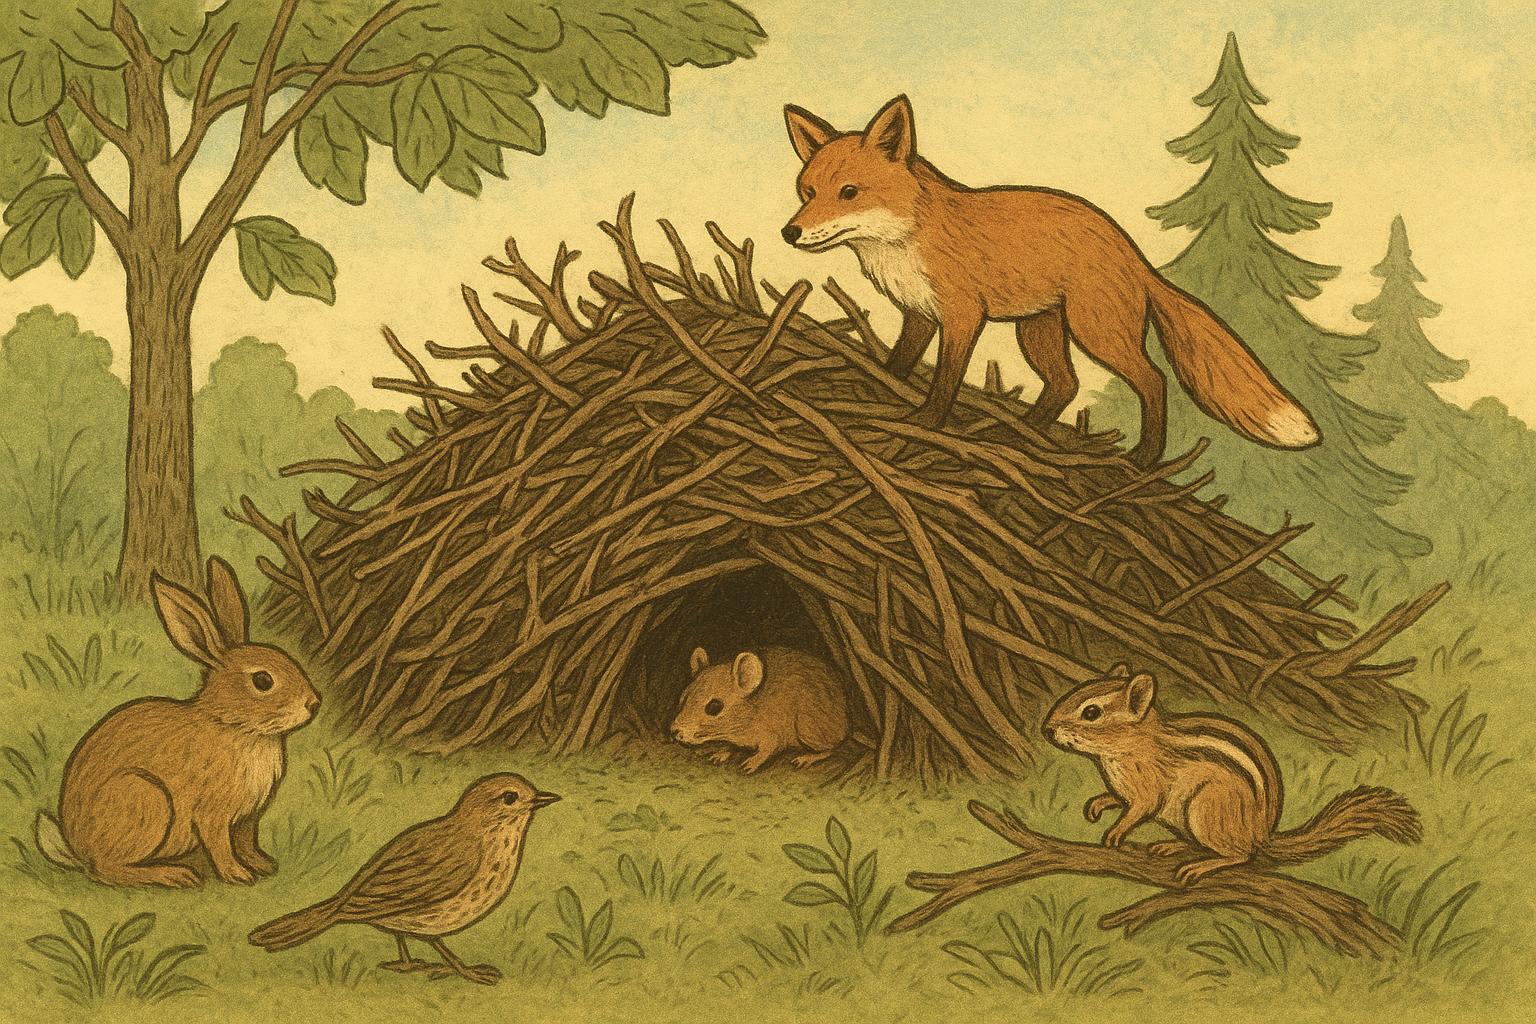
## Remedy 3: Brush Pile Shelter And Log Habitat
Formal Description: Brush piles and log habitats provide nesting, foraging, and hibernation sites for birds, small mammals, reptiles, and beneficial insects. Constructed correctly, they mimic natural deadwood structures and increase structural diversity in the yard.
Required Materials:
– Branches and twigs of varying diameters
– Larger logs or trunk sections
– Leaf litter and small root wads
– Optional: untreated logs for beetle-attracting habitats
– Safety gloves and eye protection
Step-By-Step Creation And Application:
1. Location: Choose a quiet, low-traffic area near shrubs or tree cover to increase usage by wildlife.
2. Base Layer: Lay larger logs or trunk sections as a stable base. This creates crevices and moisture retention for fungi and invertebrates.
3. Mid Layer: Pile branches and medium-sized limbs atop the base in a crisscross fashion to form voids and tunnels.
4. Surface Layer: Add finer twigs, leaf litter, and root wads on top to provide insulation and nesting material.
5. Final Touches: Leave some exposed cavities and partially buried logs for amphibians and ground beetles. Avoid tightly compacting the pile; air flow and access are critical.
6. Maintenance: Replenish material every 2–3 years as decomposition proceeds. Monitor for unwanted pests (e.g., wasp nests near entry points) and adapt placement if issues arise.
### Why This Helps
Brush pile shelters accelerate ecological succession and provide immediate microhabitats. They support decomposer communities that improve soil health and support higher trophic levels.
#### Safety And Neighborhood Etiquette
Inform neighbors if your project is near a shared boundary. Avoid piles against structures to reduce rodent attractants near homes, and use only untreated wood to prevent chemical leaching.
## Integrating Projects Into A Spring Schedule
Plan projects sensibly: start with the habitat assessment, then install a water station and pollinator patch, and build brush piles last so you don’t disturb nesting activities. Rotate chores to avoid overwhelming your schedule; a little backyard prep each weekend keeps things manageable and the wildlife happy.
If you keep food, shelter, and water in mind and follow these practical remedies, your property will hum with life in a responsible, low-maintenance way that benefits both the animals and your own backyard enjoyment.


Leave a Reply