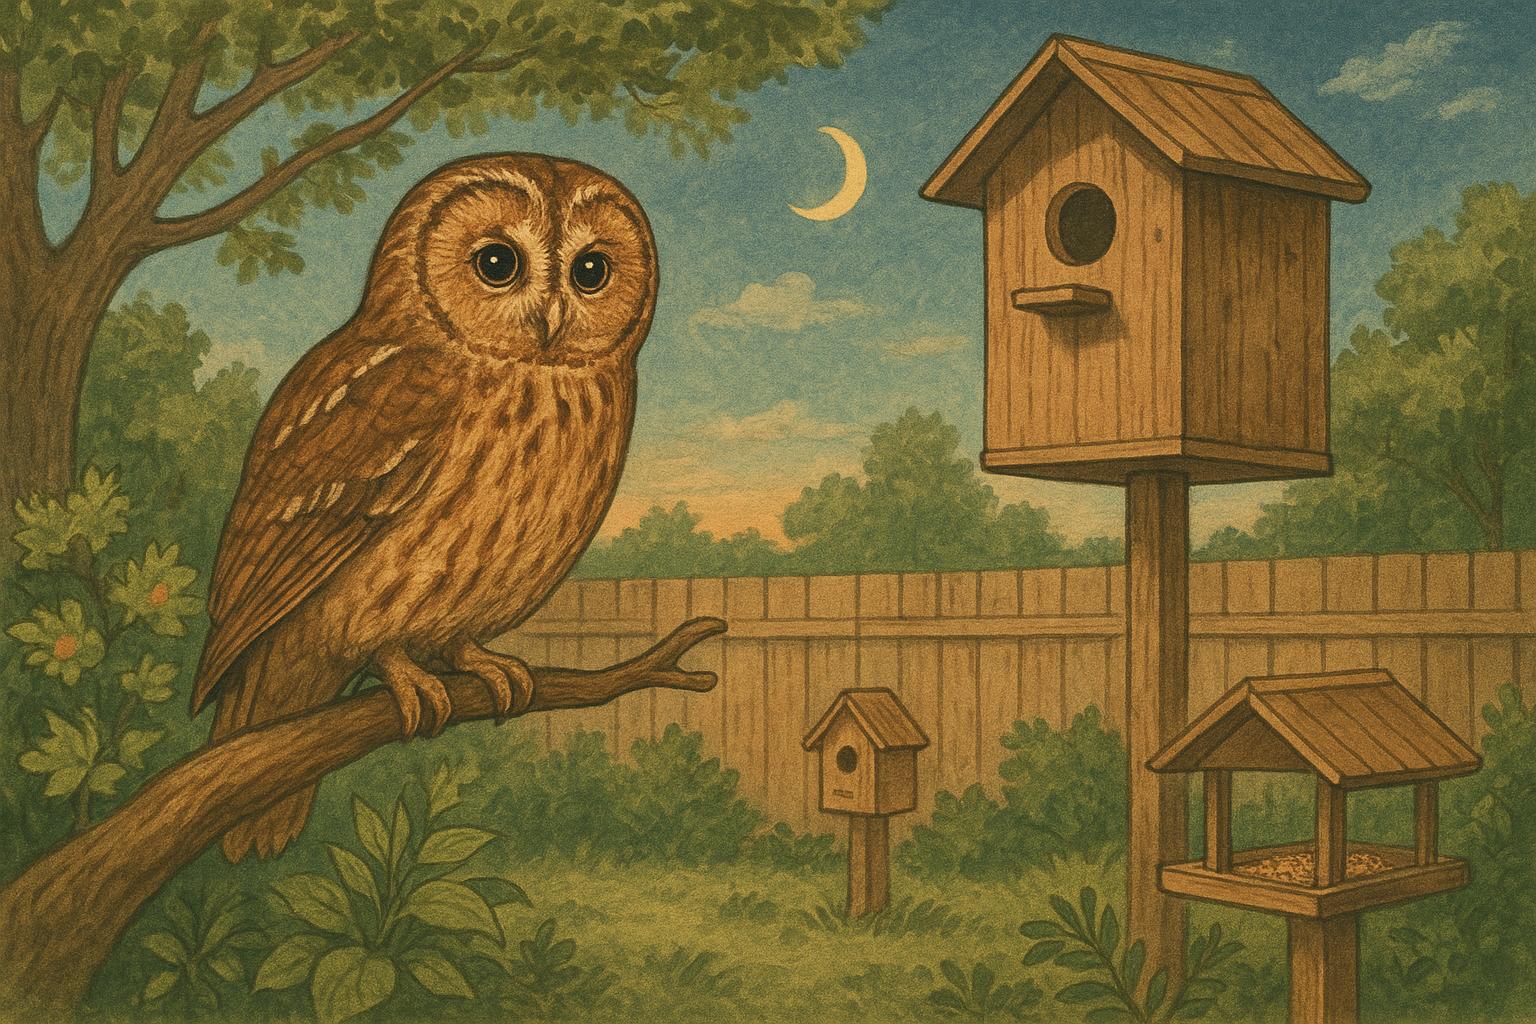
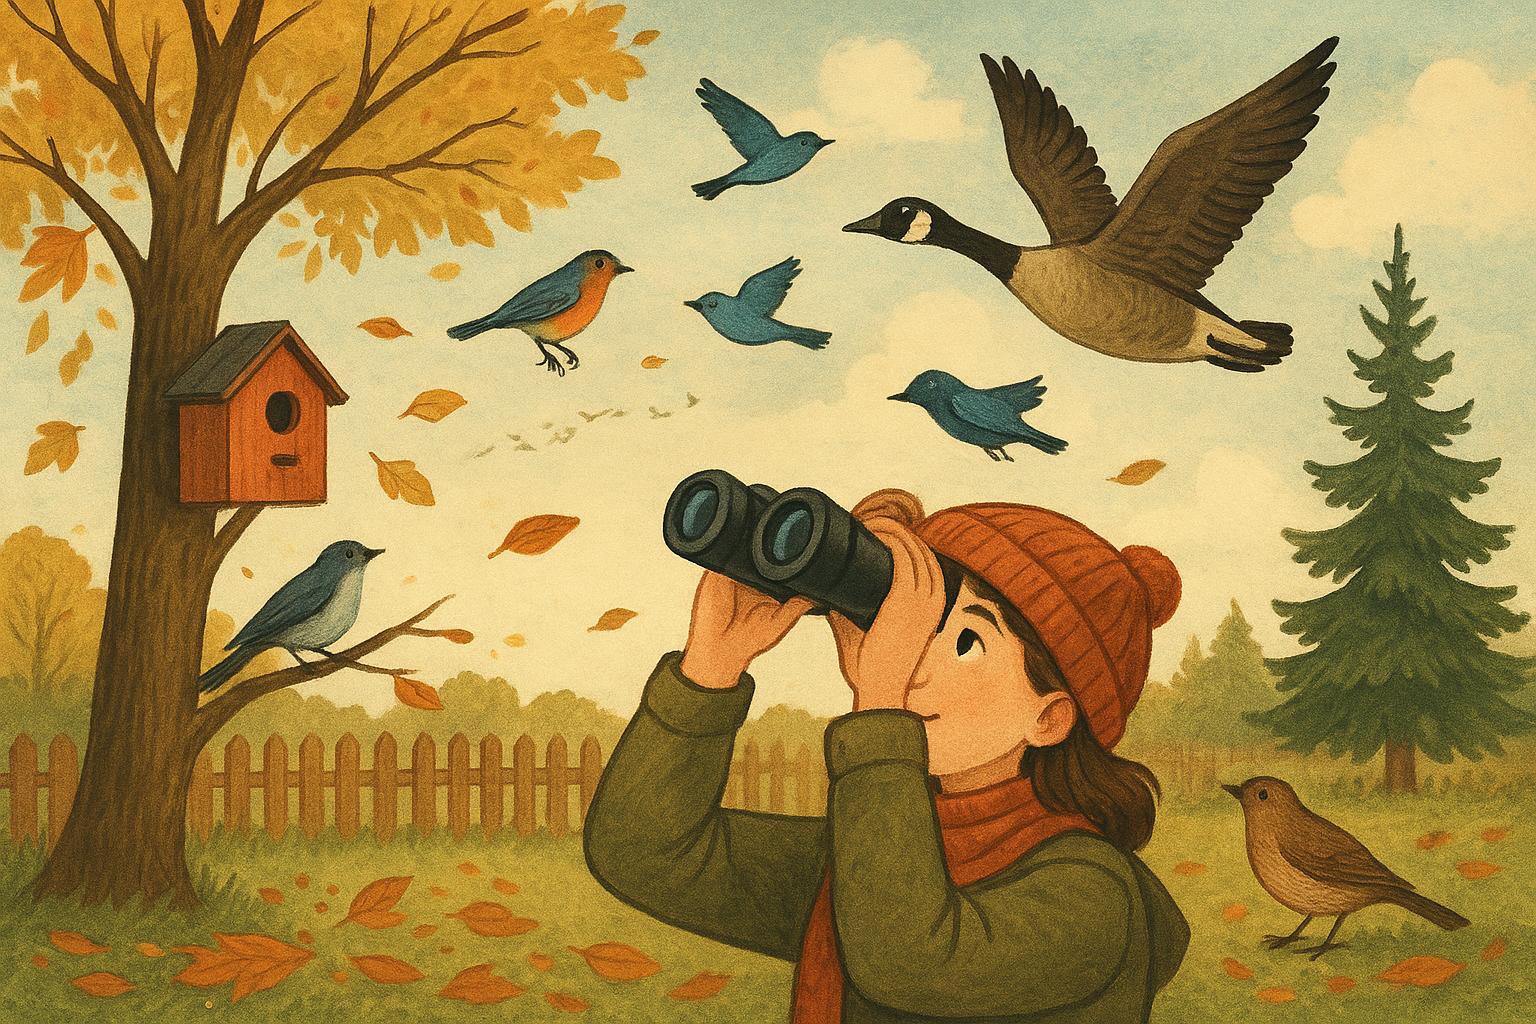
Welcome to your backyard’s coziest real estate market. If you’ve ever been delighted by the burst of activity around a well-placed birdhouse, you already know how much joy a simple shelter can bring. Gardeners, coffee-sippers, and casual birdwatchers all benefit when birds have safe places to nest and raise their young. This article explores how nesting boxes create attractive, secure homes for a variety of species, how to choose and place them, and a clear, formal remedy for building and installing your own.
## Why Birds Need Safe Spaces
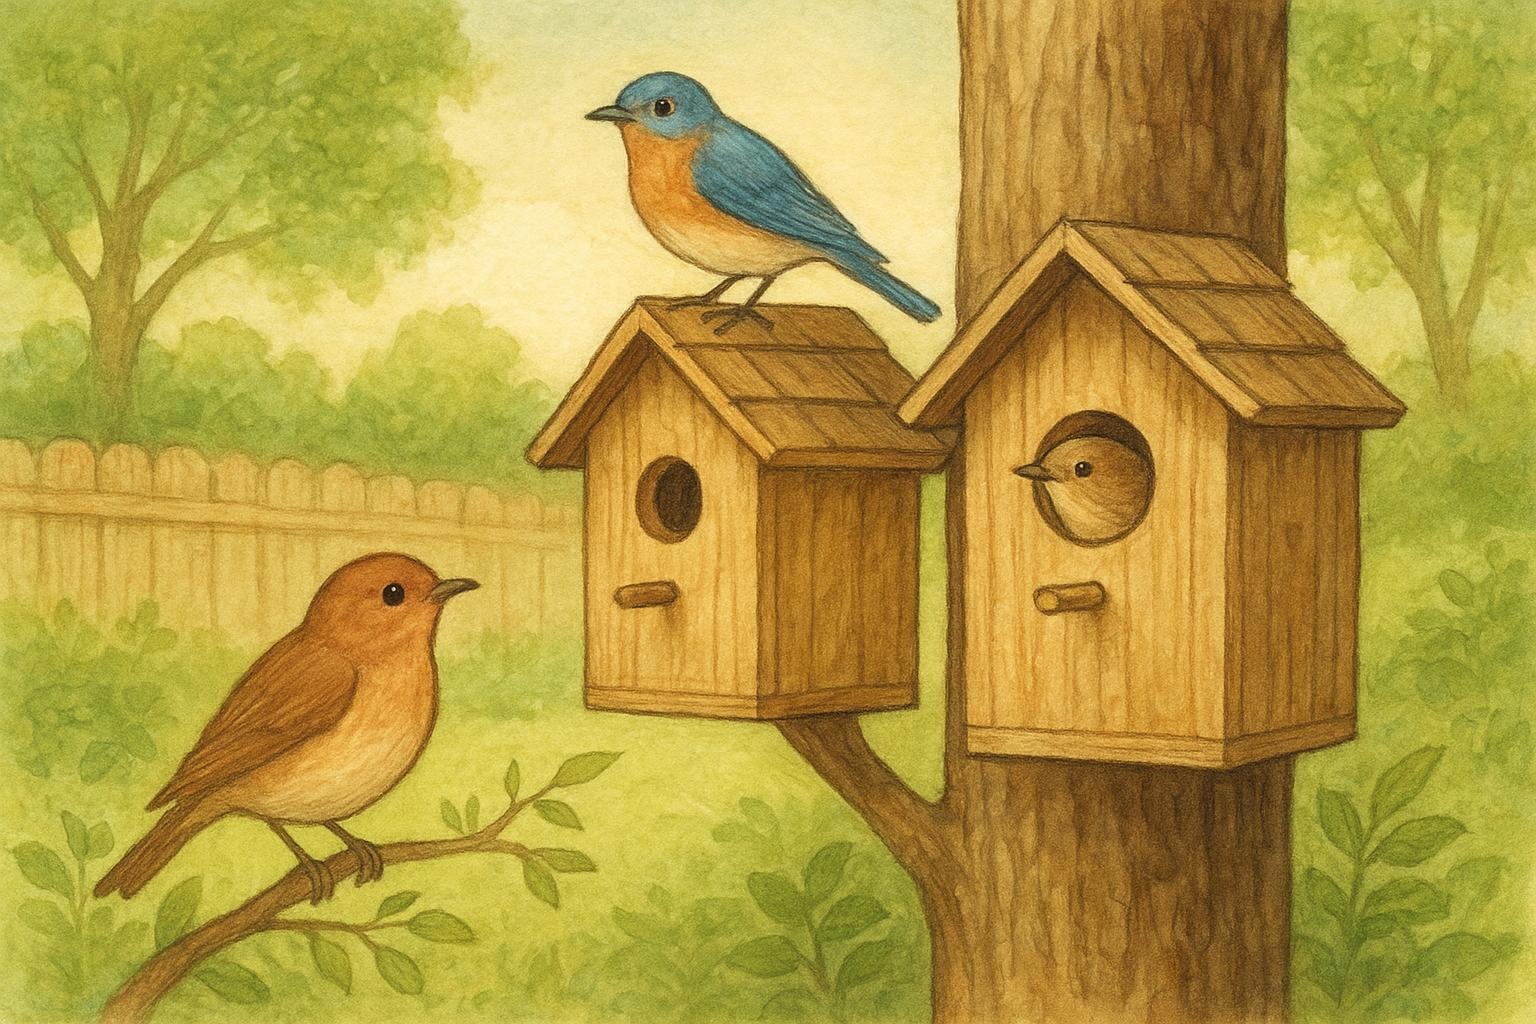
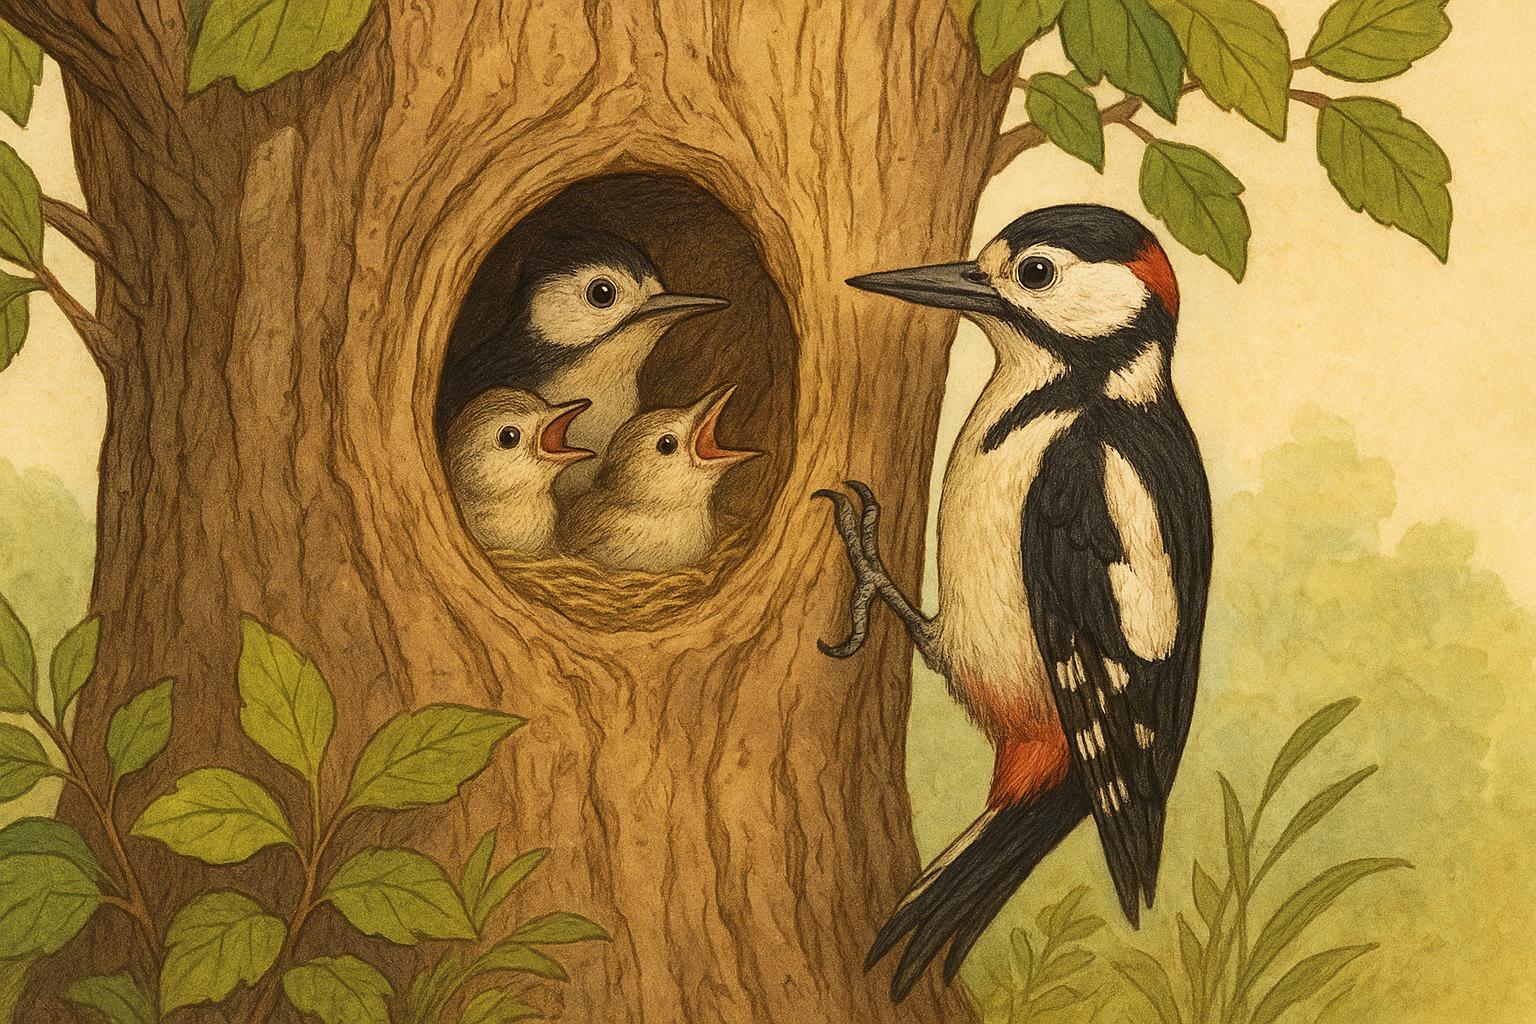
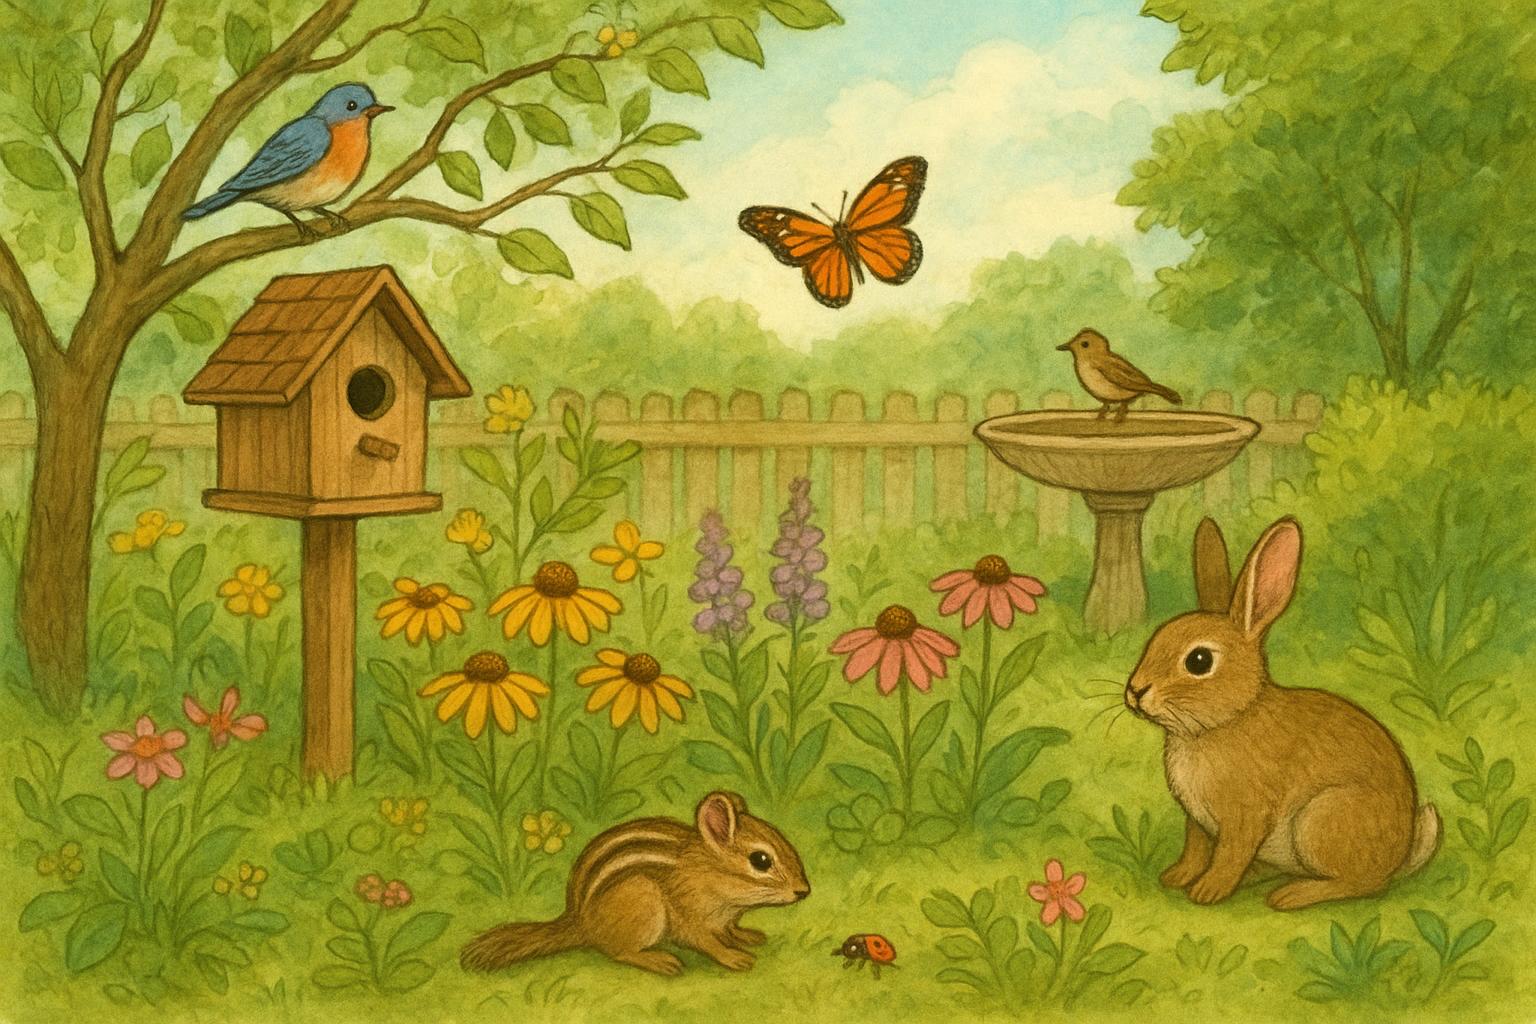
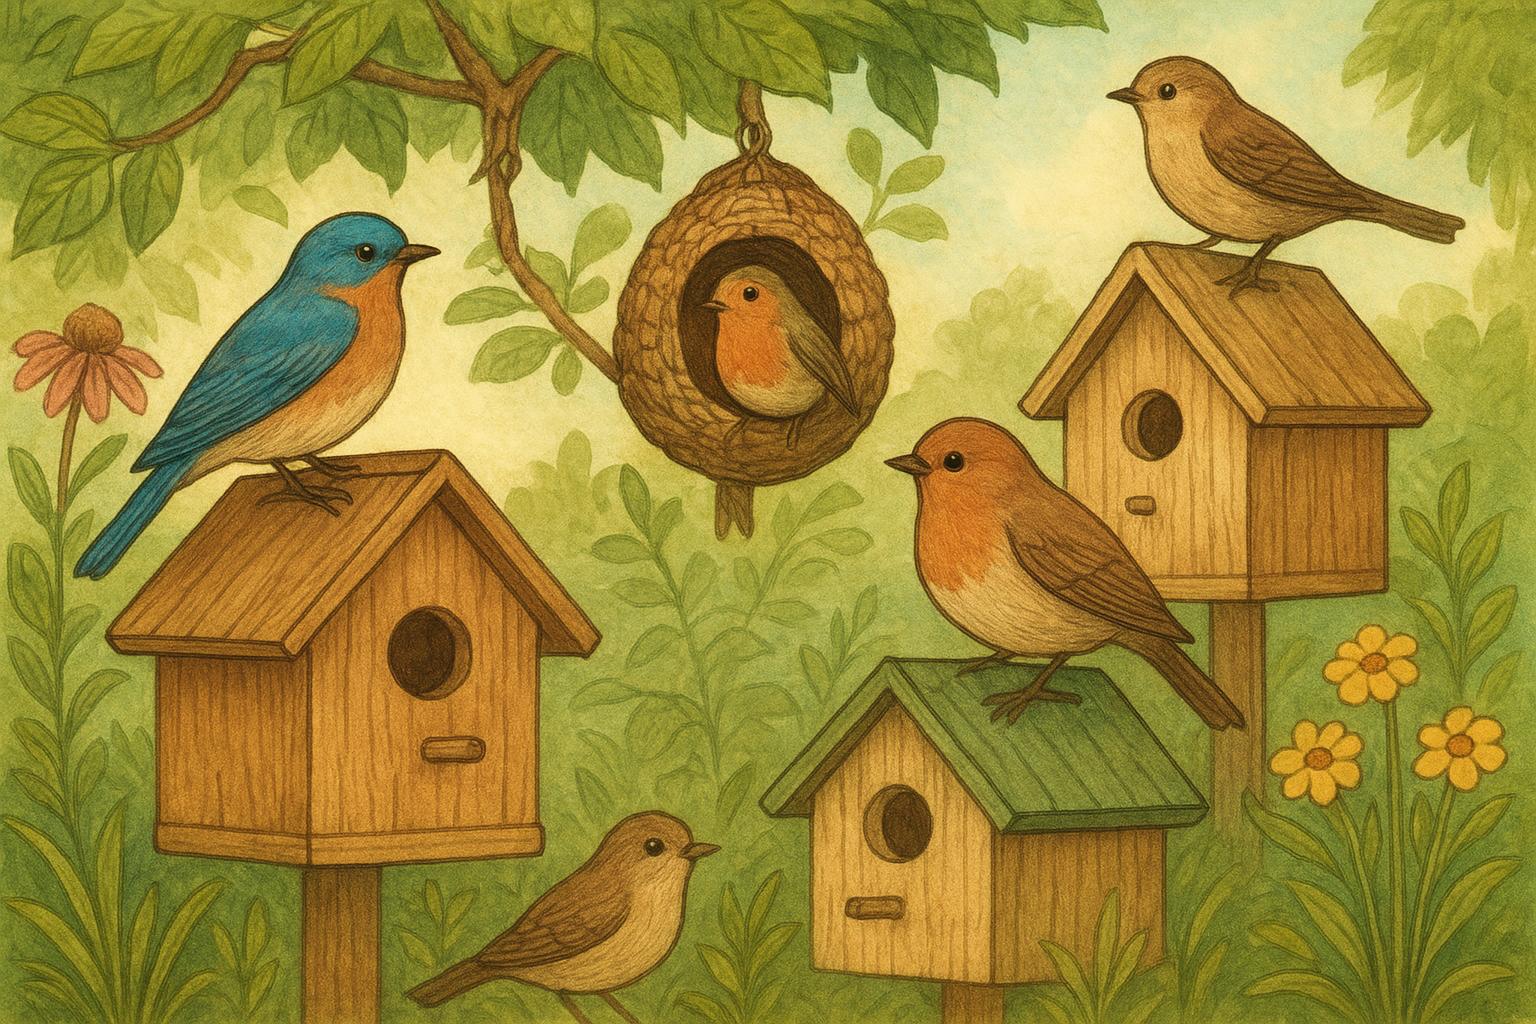
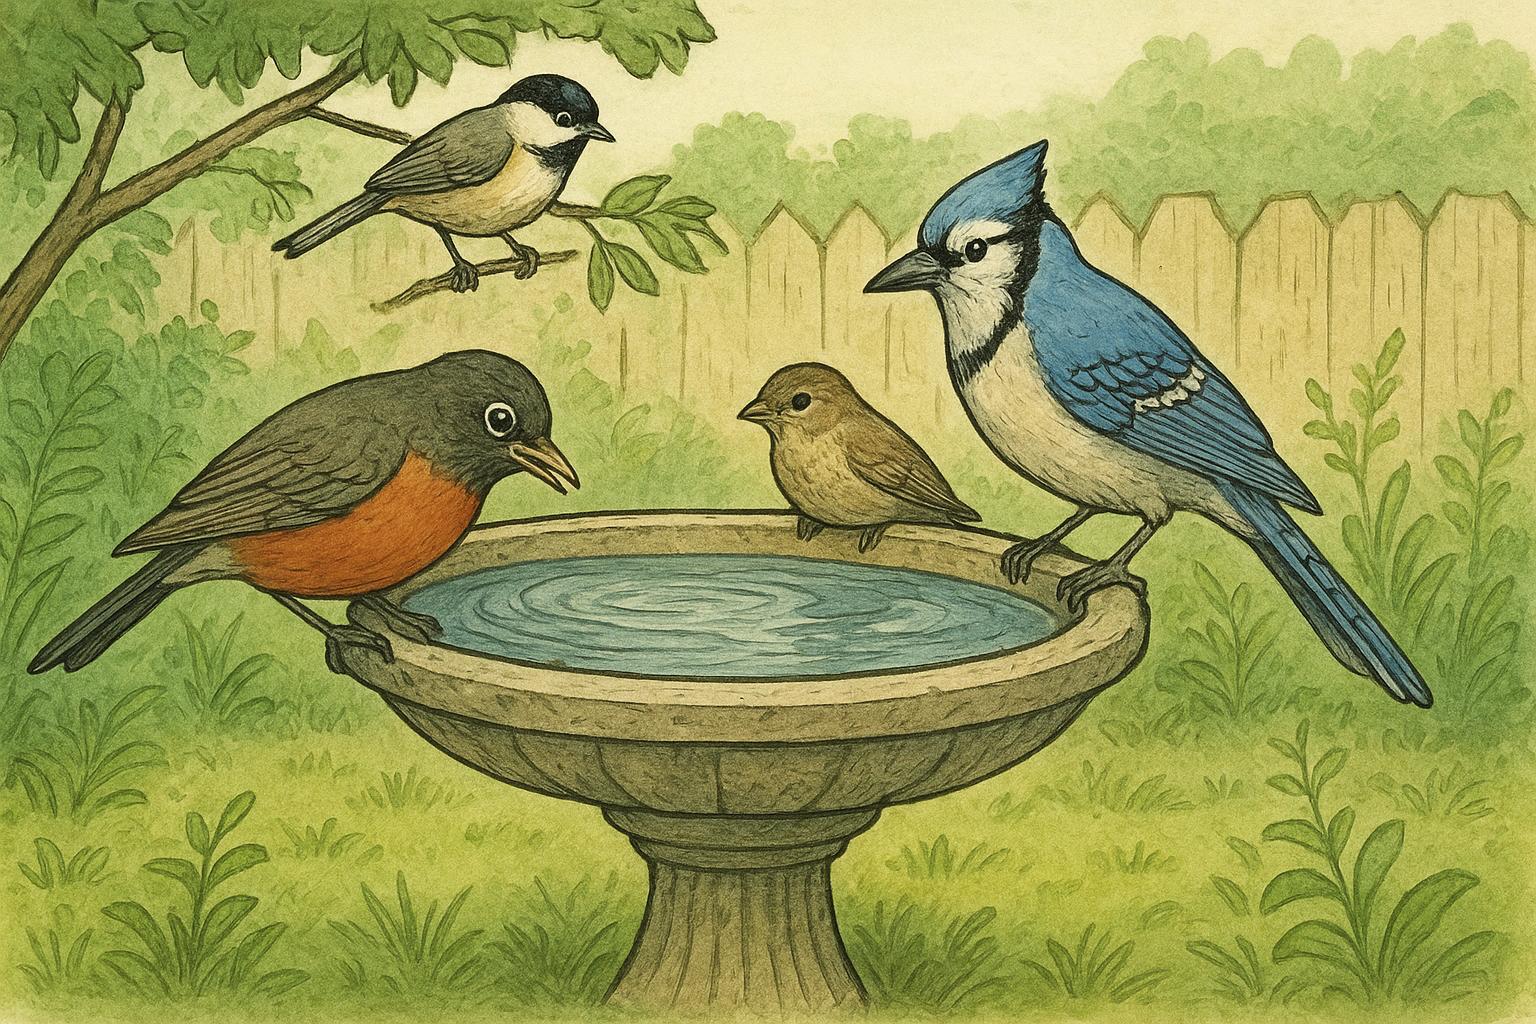
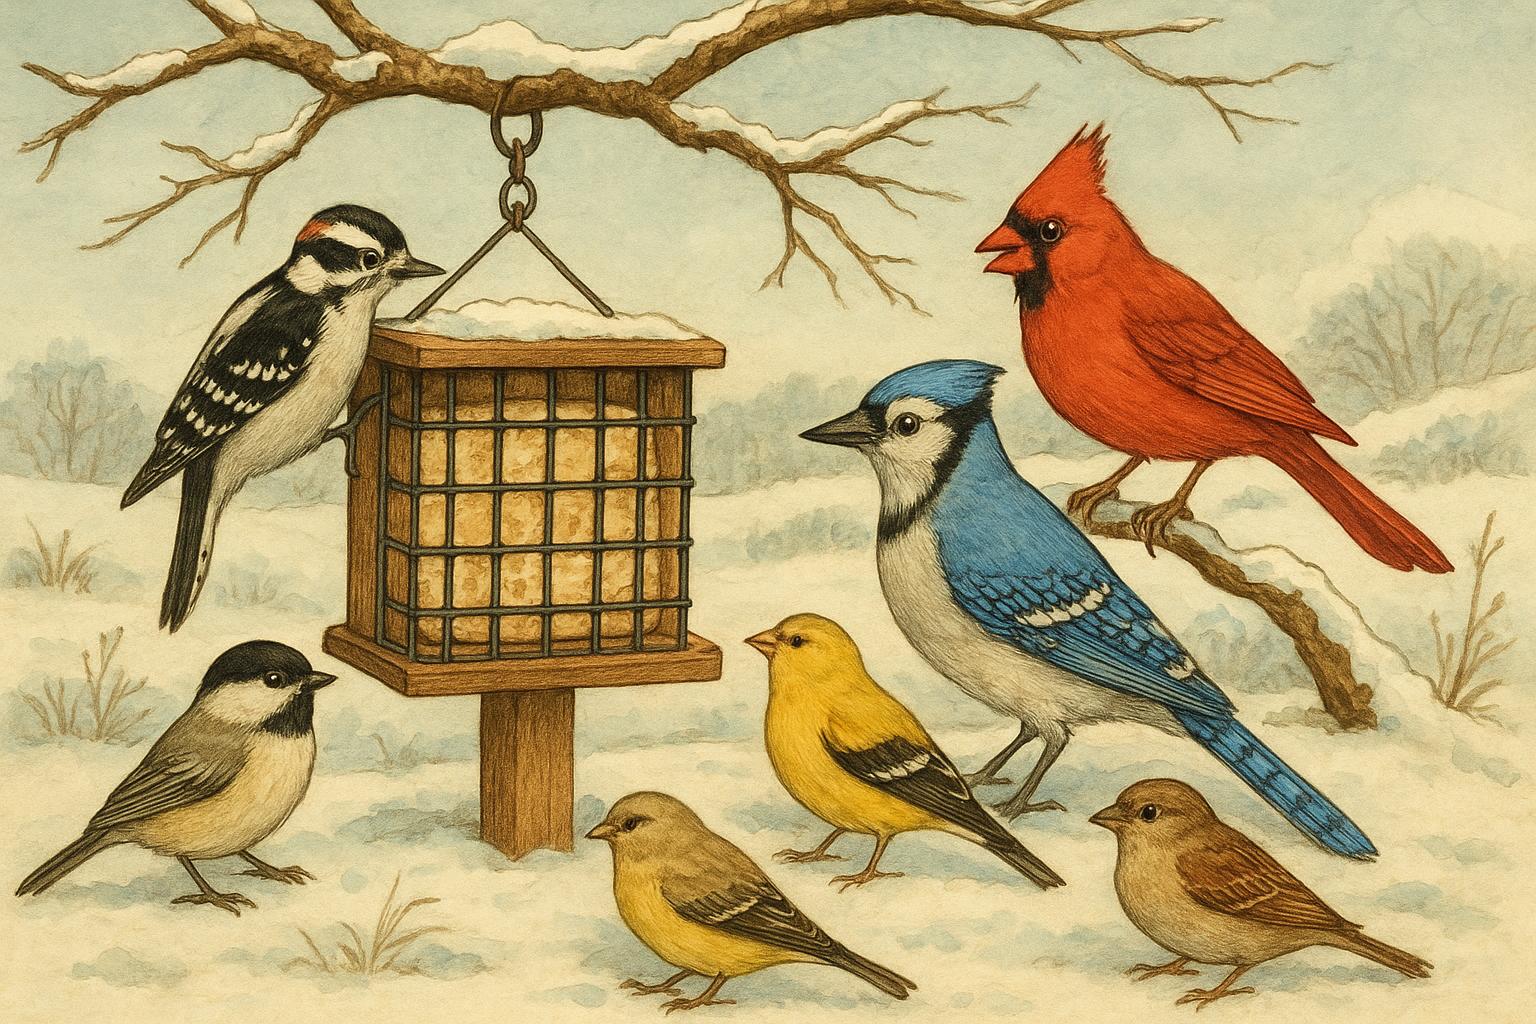
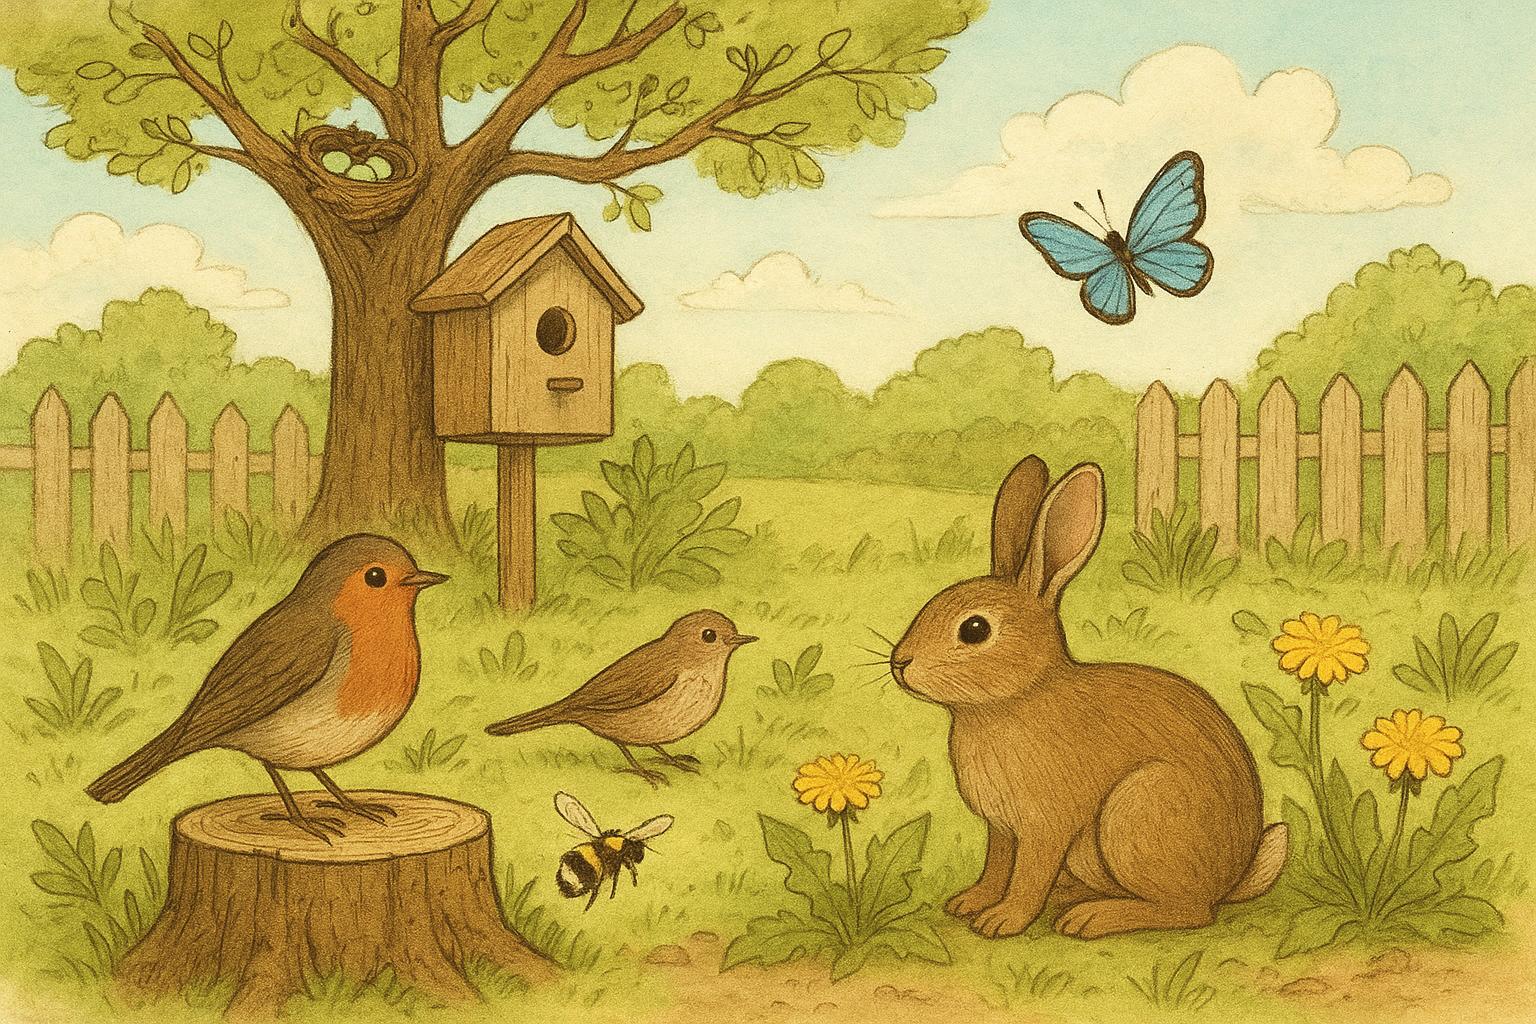
Many backyard birds are cavity nesters by nature—meaning they evolved to raise chicks in tree holes, rock crevices, or abandoned woodpecker excavations. Urbanization and modern yard practices can reduce the number of natural cavities, so people who provide nesting boxes help fill a real habitat gap. Nest boxes also protect young birds from bad weather and some predators, improve reproductive success for species like bluebirds and chickadees, and give you a front-row seat to avian family life.
### Which Species Use Nesting Boxes Most Readily
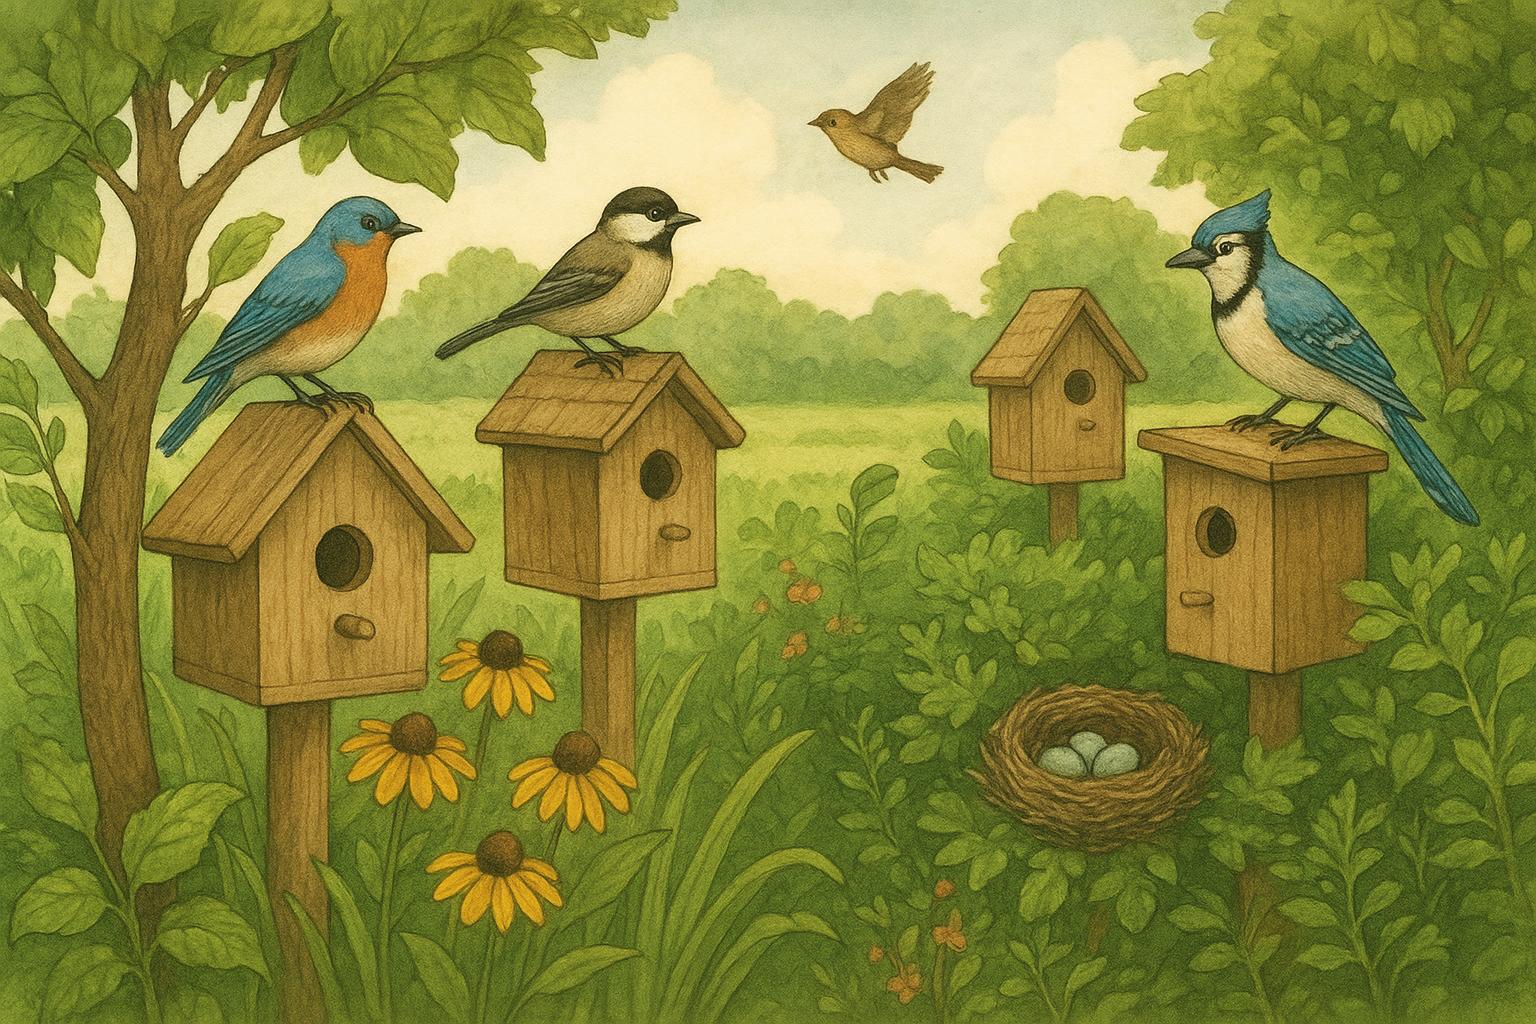
House wrens, bluebirds, tree swallows, chickadees, and some sparrows are enthusiastic tenants. Each species has preferences for entrance hole size, box dimensions, and mounting height. For instance, Eastern Bluebirds favor a 1 1/2-inch hole and a box mounted 4–6 feet off the ground in an open area, while chickadees prefer a smaller 1 1/8-inch hole and are comfortable in more wooded spots.
### The Ecological Benefits
Beyond the delight of observation, nest boxes support local ecosystems. Cavity-nesting birds often help control insect populations and bring ecological balance to backyard gardens. Nest boxes can also be used strategically to attract beneficial species and discourage species that might be less desirable in certain contexts.
## Nesting Boxes For Common Backyard Species
### Entrance Hole Sizes And Box Dimensions
Design matters. Here are some standard recommendations (formal guidance for effective results):
– Chickadee: 1 1/8-inch entrance, interior floor ~4×4 inches.
– House Wren: 1 1/8–1 1/4-inch entrance, smaller interior volume.
– Eastern Bluebird: 1 1/2-inch entrance, interior floor ~5×5 inches.
– Tree Swallow: 1 1/2-inch entrance, shallow box to allow flight.
These dimensions reduce the likelihood of takeover by larger, more aggressive birds and provide species-appropriate shelter.
### Placement, Orientation, And Predator Protection
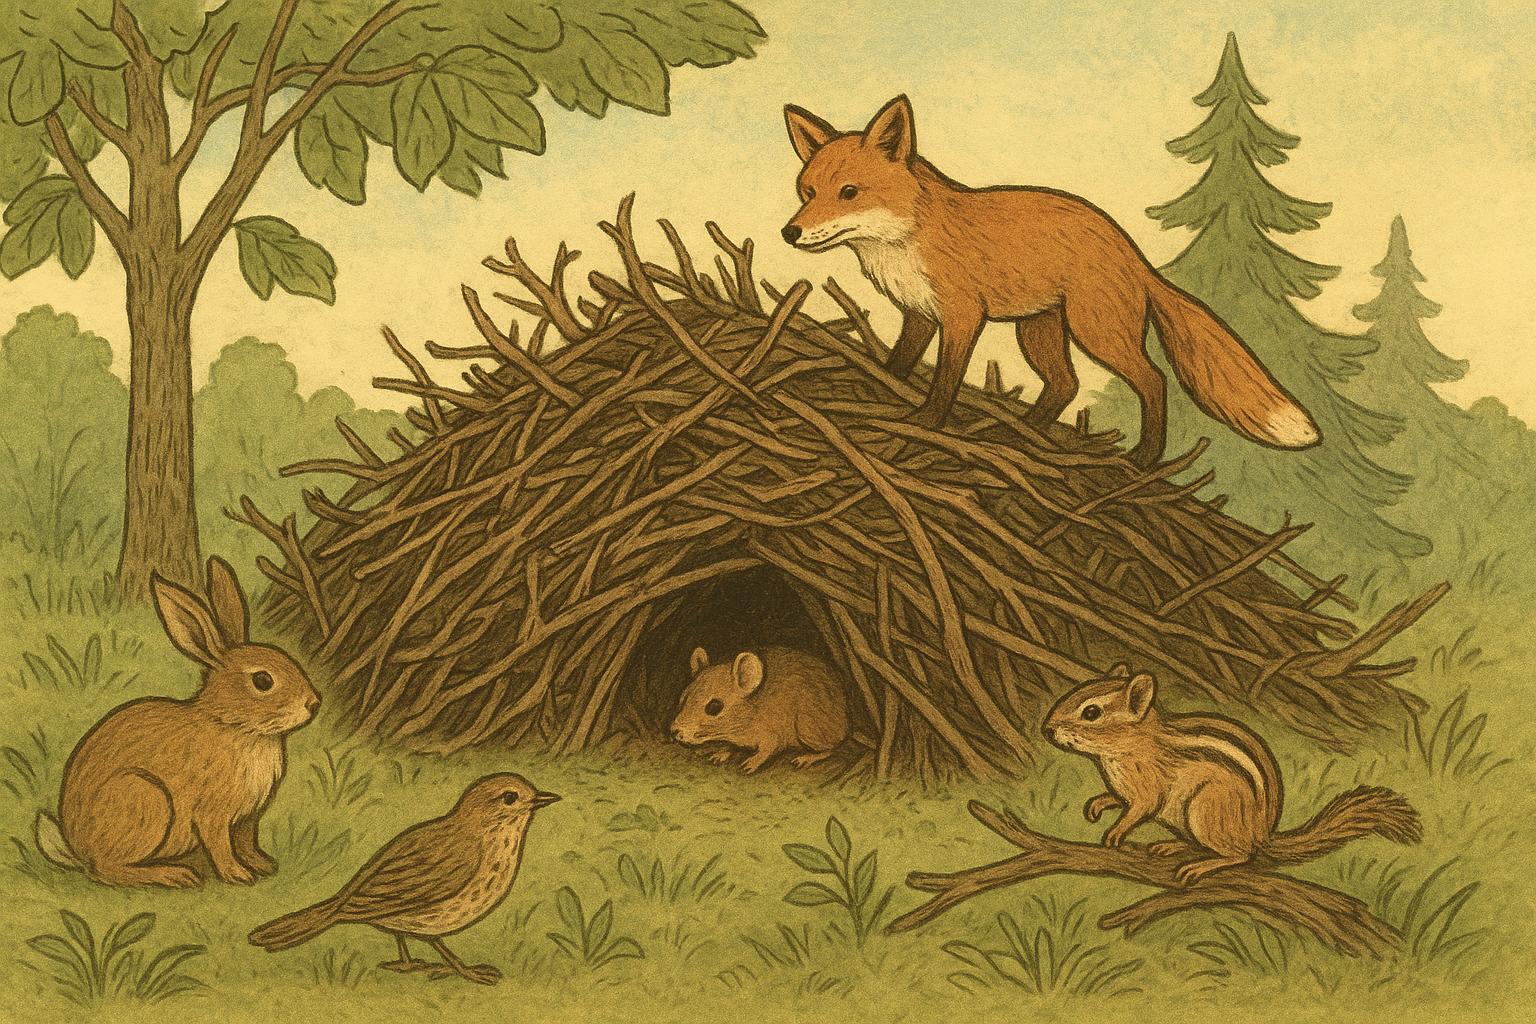
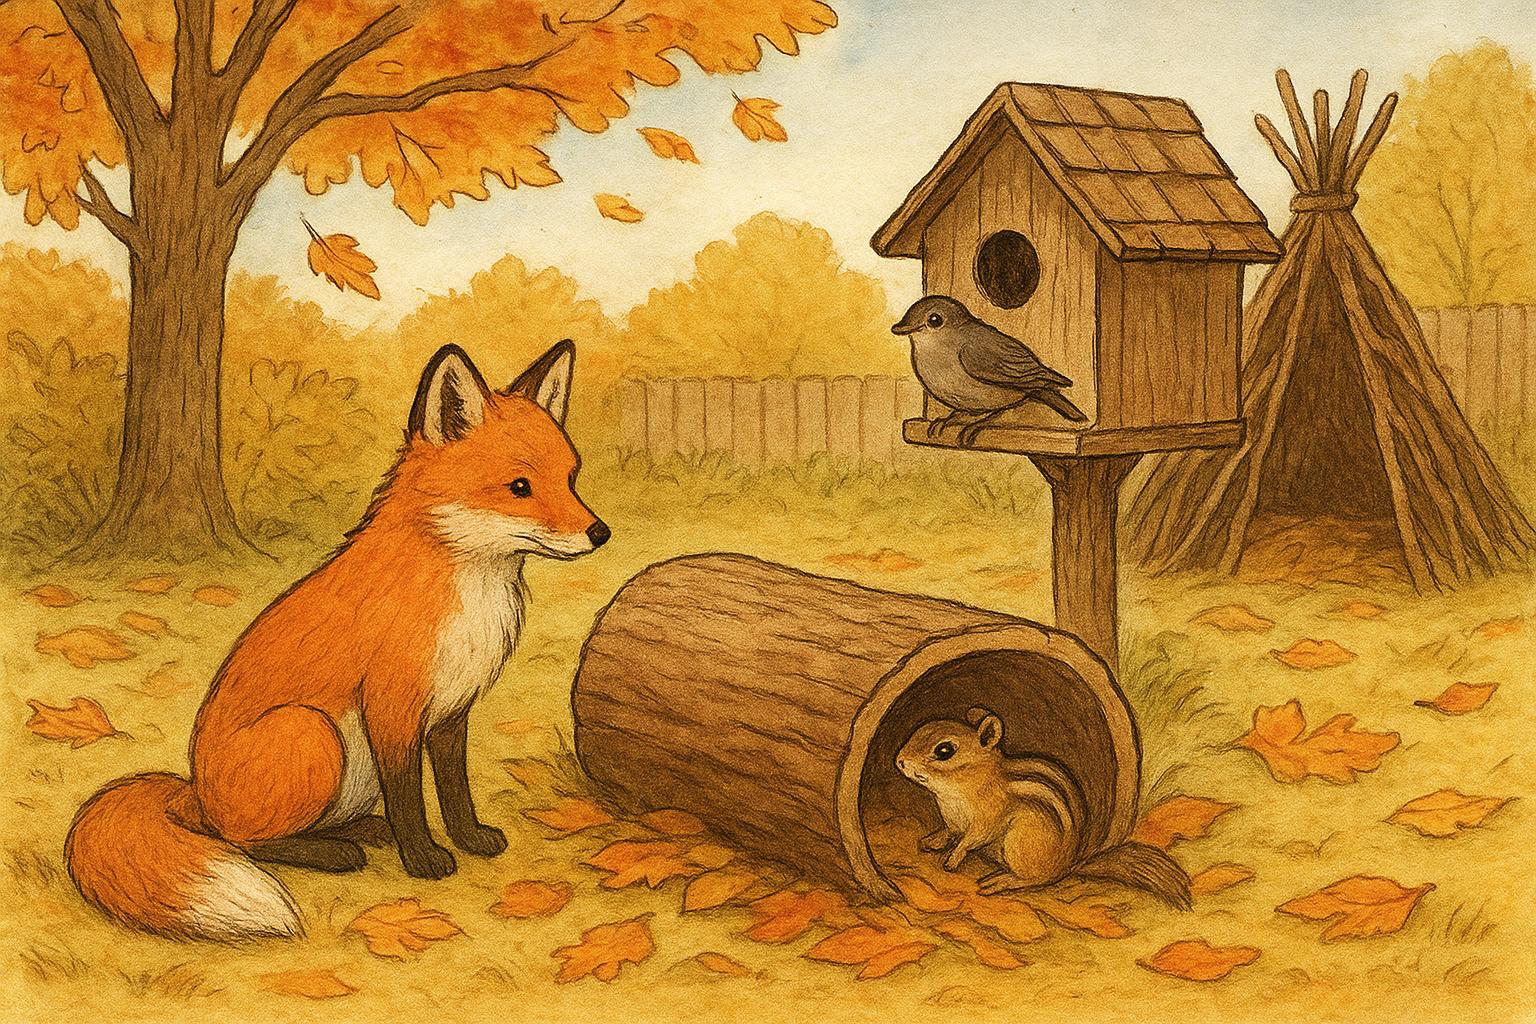
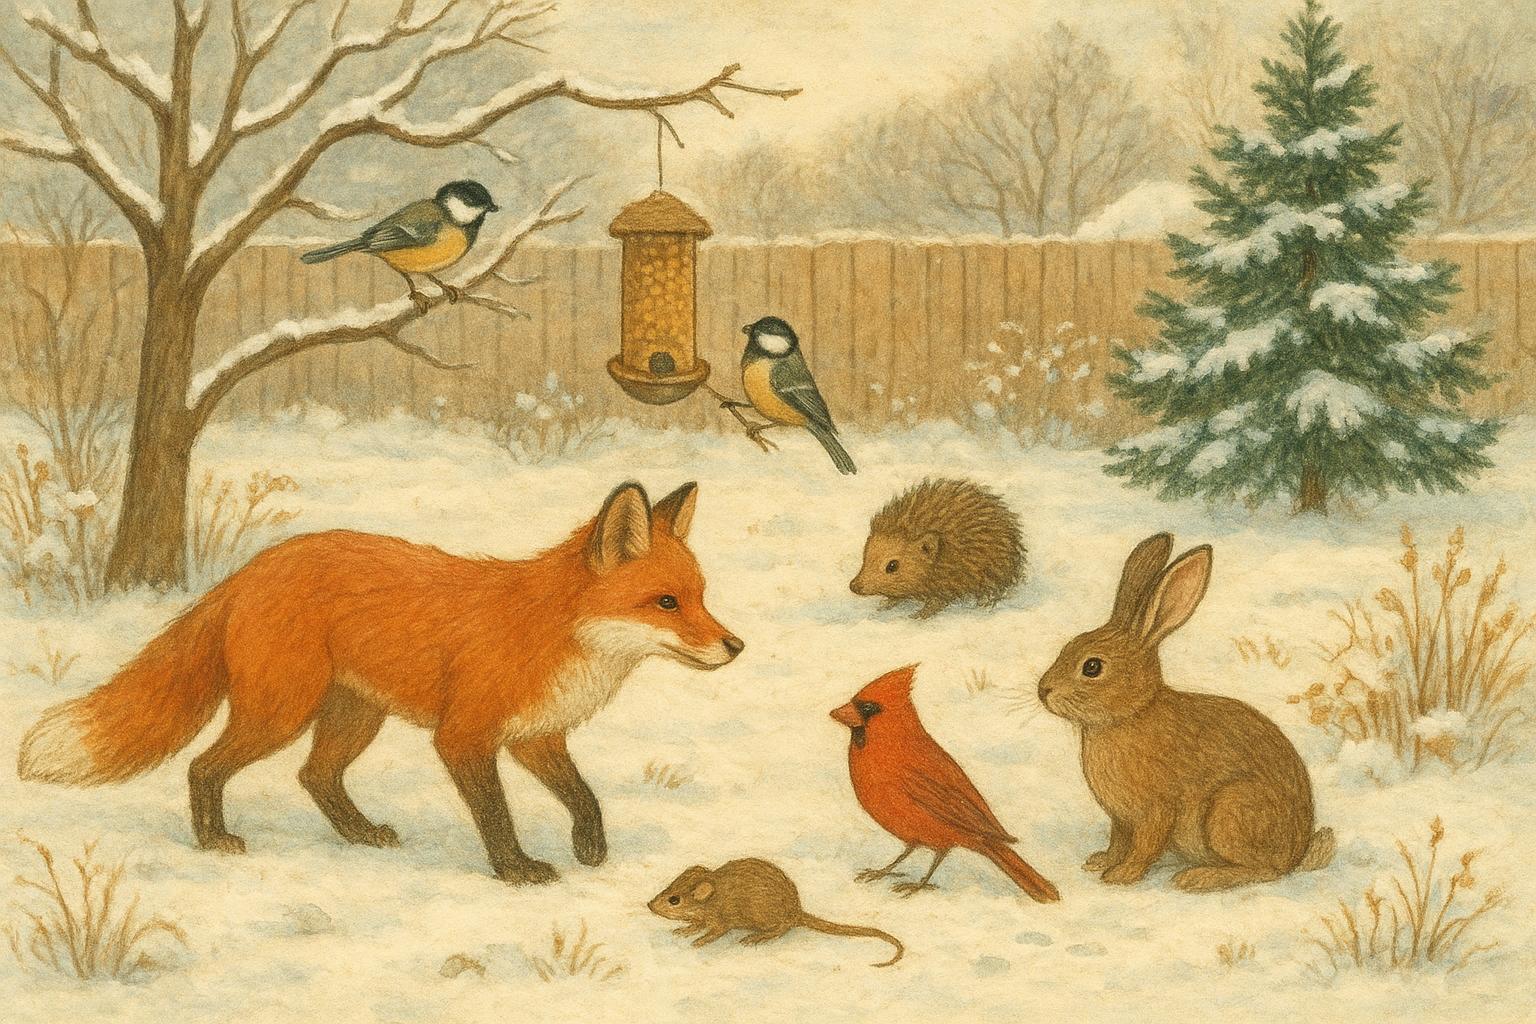
Place boxes where target species naturally nest—open fields for bluebirds, shrubby edges for wrens, and wooded patches for chickadees. Face the box away from prevailing winds and direct hot afternoon sun (east or northeast is often good). Use predator guards on poles and keep boxes at recommended heights. Avoid placing boxes too low where cats and raccoons can reach them easily.
## How To Build And Install Nesting Boxes (Remedy)
Below is a formal, step-by-step guide to building and installing a standard wooden nesting box that suits a variety of small cavity-nesting birds. Follow these instructions carefully for durable, bird-safe results.
#### Materials Required
– One 6-foot untreated cedar board, 1″ x 6″ (or exterior-grade plywood, 3/4″)
– Galvanized or stainless steel screws (1 1/4″ to 1 1/2″)
– Waterproof, non-toxic exterior wood glue (optional)
– 1 1/2-inch hole saw or spade bit (substitute 1 1/8-inch for chickadee/wren)
– Sandpaper (80–120 grit)
– Hinges (small butt hinge or piano hinge) and a simple fastener for clean-out access
– Mounting pole or post with predator guard, or heavy-gauge wire/strap for tree mounting
– Exterior, non-toxic paint or stain (optional; use light colors, paint only outer surfaces)
– Drill, saw (circular or handsaw), measuring tape, pencil, clamps
#### Step-By-Step Construction
1. Measure And Cut The Wood Precisely
– Cut pieces: front (10–12″ tall), back (12–14″ tall—extend for mounting), two sides (depth 6–7″ with an angled top to shed water), floor (5×5″ or appropriate floor for the chosen species), and a roof (overhang of 1–2 inches).
– Use the back piece slightly taller than the front to allow mounting brackets/holes above the roof line and to help with rain protection.
2. Drill The Entrance Hole
– Mark the entrance hole location: typically 6–8 inches above the floor for small songbirds; adjust per species.
– Use a hole saw or spade bit to cut a clean, round hole. Sand the edges smooth to avoid injuring birds.
3. Assemble The Box
– Apply wood glue to joints if desired. Align the sides, bottom, and front; clamp and screw them together using corrosion-resistant screws.
– Attach the back panel last so the front and sides are flush. Predrill screw holes to prevent splitting.
4. Add Ventilation And Drainage
– Drill 3–4 small holes (1/4-inch) near the top of each side or back for ventilation and a few small holes in the floor for drainage. Position vents near the top to help regulate temperature.
5. Install The Roof And Clean-Out
– Attach the roof so it overhangs the front and sides slightly. For easy cleaning, mount the front or side with a hinge and a simple slide or latch, or attach a hinged roof.
– Ensure the fastener is secure yet accessible for annual cleaning.
6. Sand And Finish
– Sand all interior and exterior surfaces to remove splinters. Paint or stain only the exterior with a thin coat of non-toxic exterior paint or stain; light colors reflect heat. Do not paint the interior.
7. Mounting Preparation
– If using a pole, prepare a predator guard (cone or baffle). For tree mounting, use straps or screws on a mounting board to avoid girdling the tree.
– Drill mounting holes in the extended back board; countersink screws for a neat finish.
#### Installation Procedure
1. Select Appropriate Location
– Choose a spot matching the target species’ preferences (open field, edge habitat, or woodland).
– Avoid placing boxes near bird feeders to reduce predation and disease risk.
2. Mount The Box Securely
– Install on a pole with a predator guard, or attach to a tree using straps. Use hardware that minimizes harm to the tree (e.g., wide straps).
– Mount at the recommended height for the species and ensure the box is stable and won’t wobble in wind.
3. Monitor And Maintain
– Check boxes twice a year—late winter or early spring before nesting season, and after breeding season for cleaning.
– Wear gloves when cleaning; remove old nesting material and inspect for damage. Replace or repair as necessary.
## Tips For Maximizing Success
### Timing And Monitoring
Install nesting boxes well before the breeding season so birds can find and inspect them. Early spring or late winter is ideal. Use a camera or binoculars for unobtrusive observation rather than frequent physical checks.
### Keeping Competition Down
To discourage invasive or aggressive species (like house sparrows in some regions), use species-appropriate hole sizes, add small baffles, and remove nesting material of undesirable occupants promptly and humanely according to local regulations.
### Safety And Hygiene
When handling used boxes, practice basic hygiene: gloves, mask if dusty, and wash hands afterward. Clean boxes annually to reduce parasites and disease transmission.
## Simple Upgrades That Make A Big Difference
### Predator Guards And Baffles
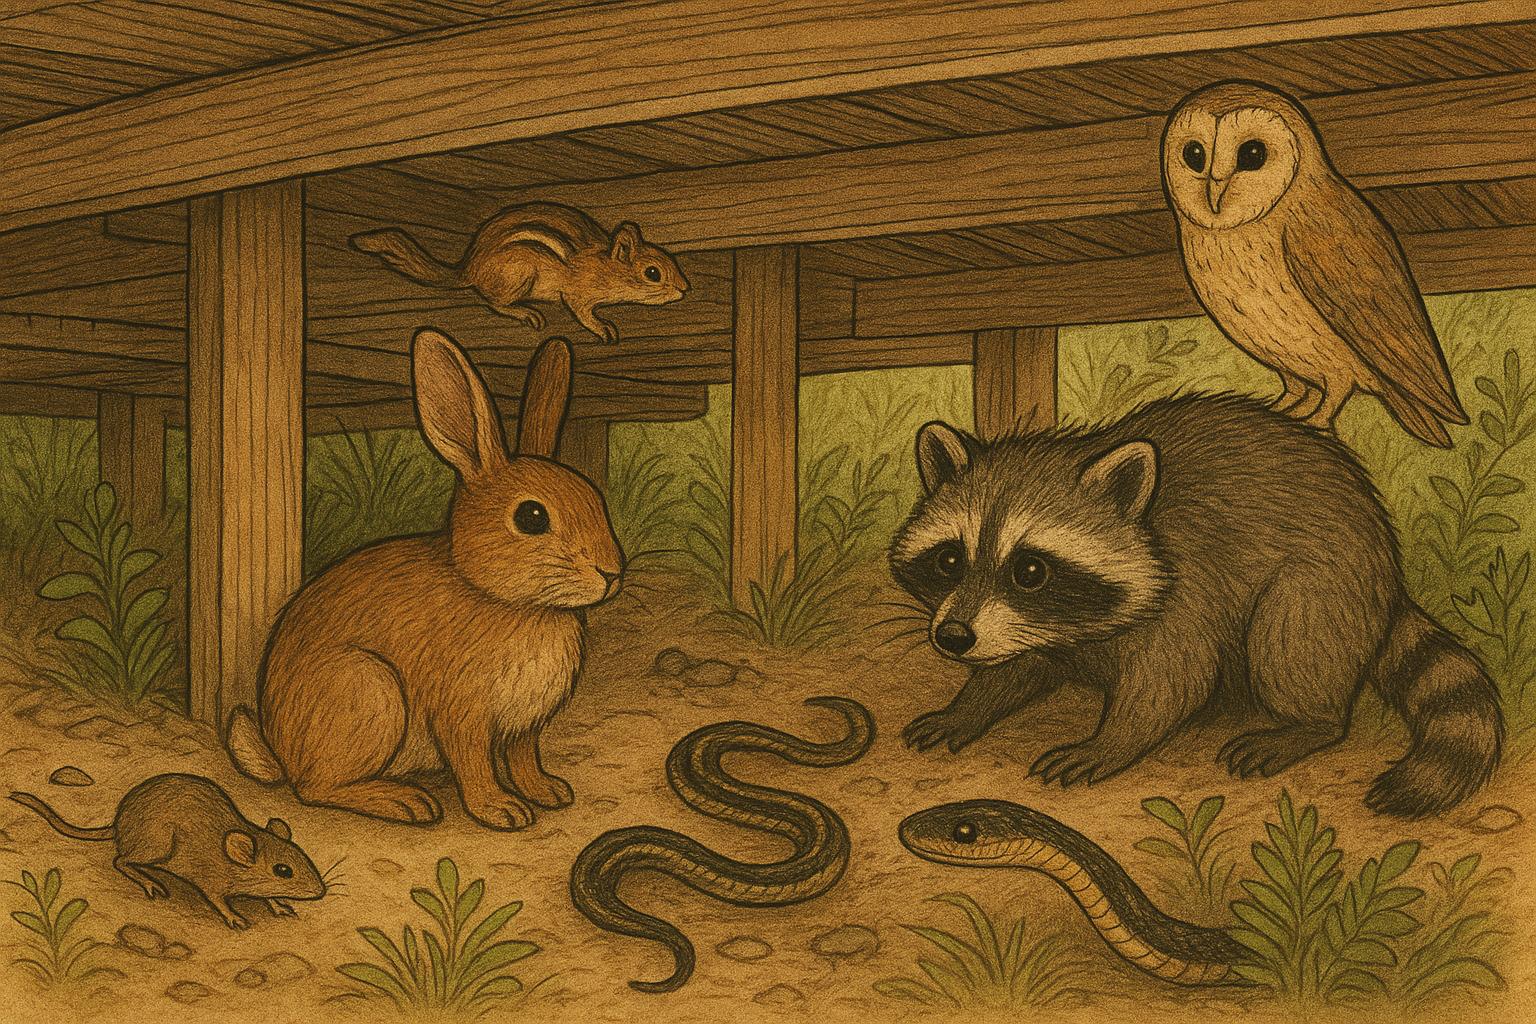
A well-fitted baffle beneath the box or a cone-type guard on the pole significantly reduces predation by raccoons and snakes. These are cost-effective investments for protecting eggs and nestlings.
### Ventilation And Insulation Adjustments
If you live in a hot climate, add extra ventilation near the roofline and position boxes where they receive morning sun but are sheltered from intense midday heat. In cold regions, ensure the box faces away from prevailing winds and add a small overhang to reduce wind exposure.
### Monitoring With Respect
If you use trail cameras or nest cams, place them discretely and maintain a respectful distance during sensitive periods. Minimize disturbance during egg-laying and early chick-rearing.
## Legal And Ethical Considerations
Many regions have laws protecting birds and nests. Check local wildlife regulations before interfering with active nests. It’s illegal in many areas to remove nests during the breeding season. When in doubt, contact a local wildlife biologist or bird conservation group for guidance.
Enjoy the gentle chaos of spring—songs, feathers, and occasional parenting drama. Your yard can become a year-round refuge by providing thoughtful, species-appropriate nesting boxes and a little seasonal care.


Leave a Reply