Many homeowners and stewards of urban wildlife seek to enhance biodiversity by adding purpose-built homes for animals. Choosing appropriate sites requires knowledge of species habits, microclimate, and long-term maintenance. The following guidance emphasizes evidence-based placement and practical construction, with particular attention to safety, predator avoidance, and seasonal considerations.
## Best Locations For Nesting Structures In Your Yard
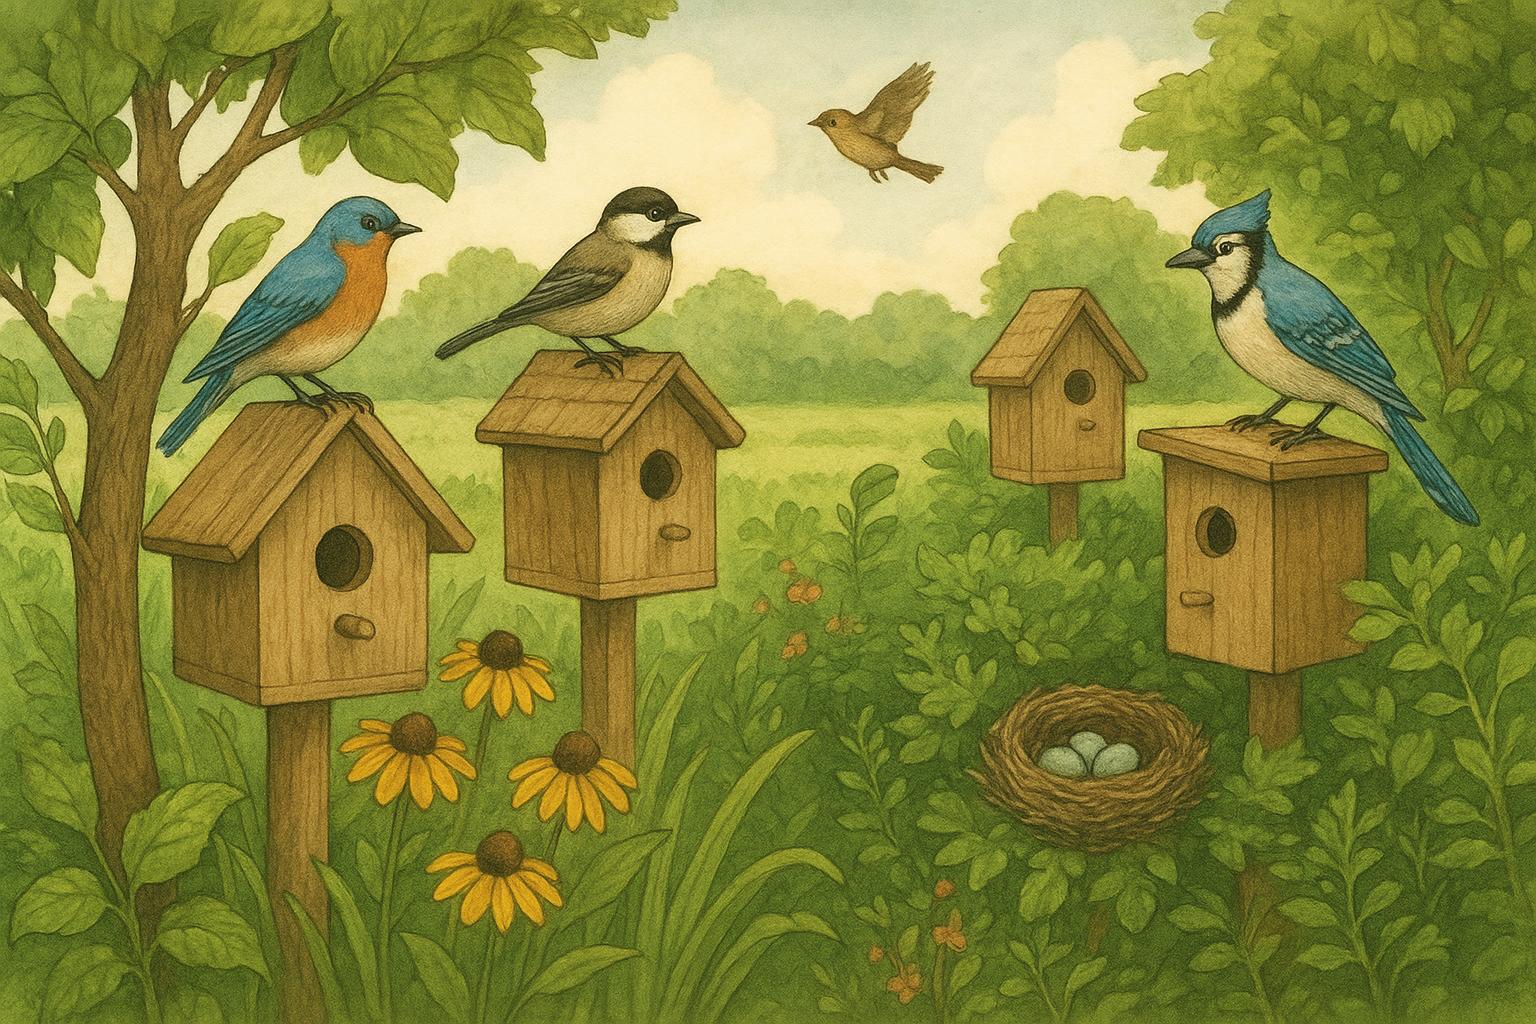
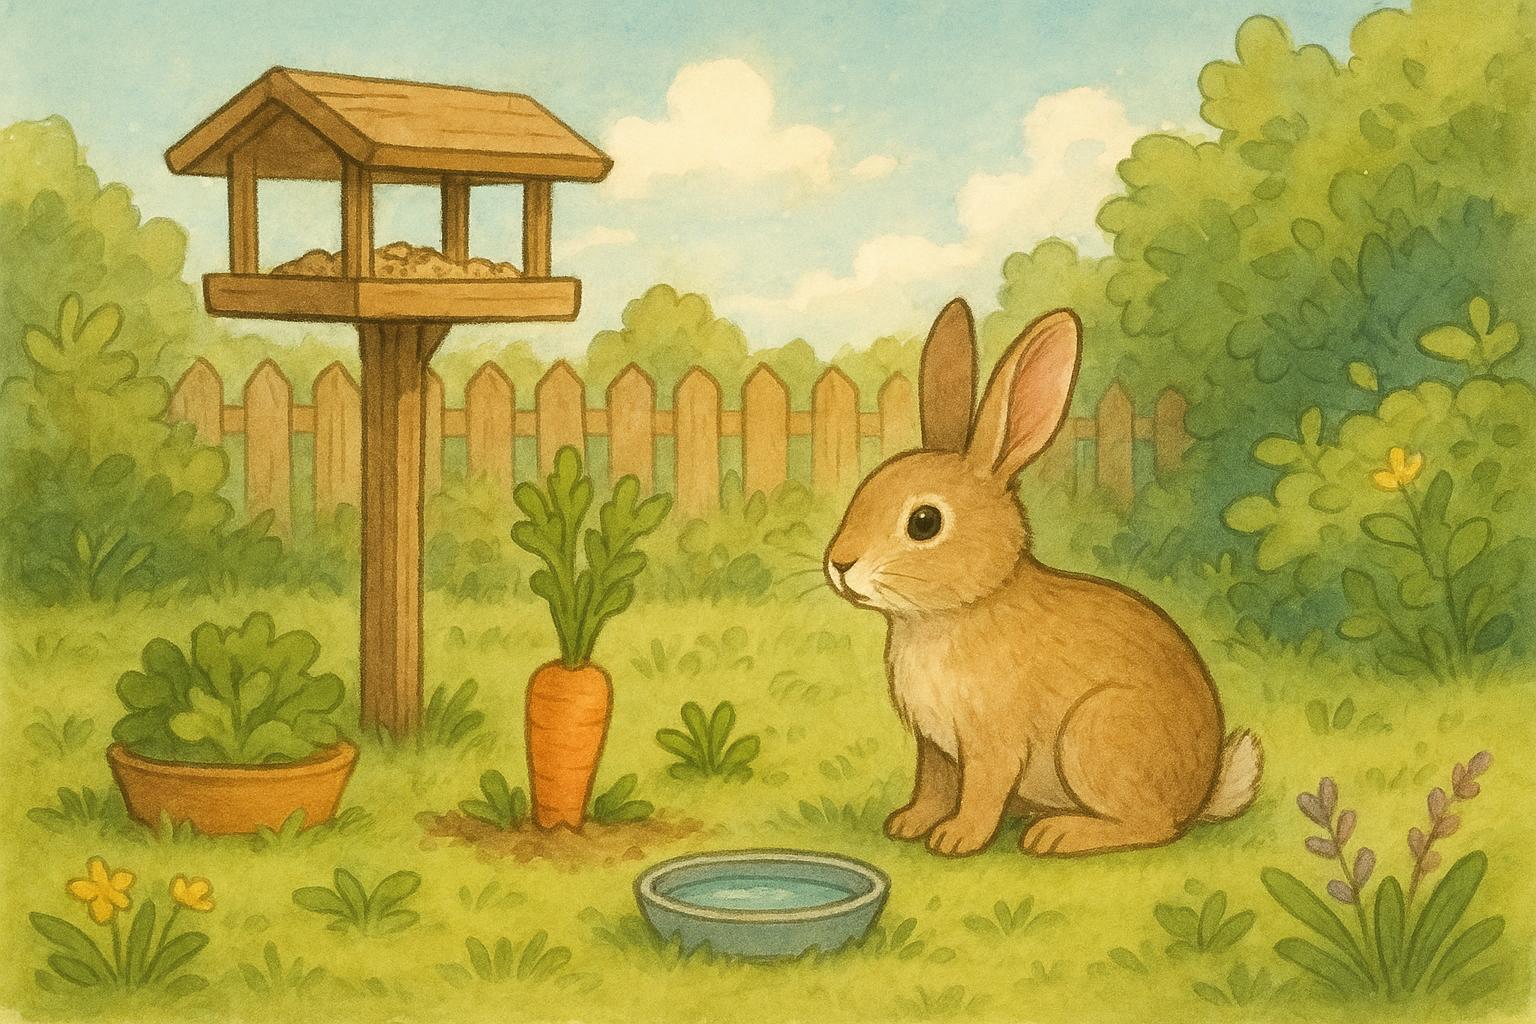
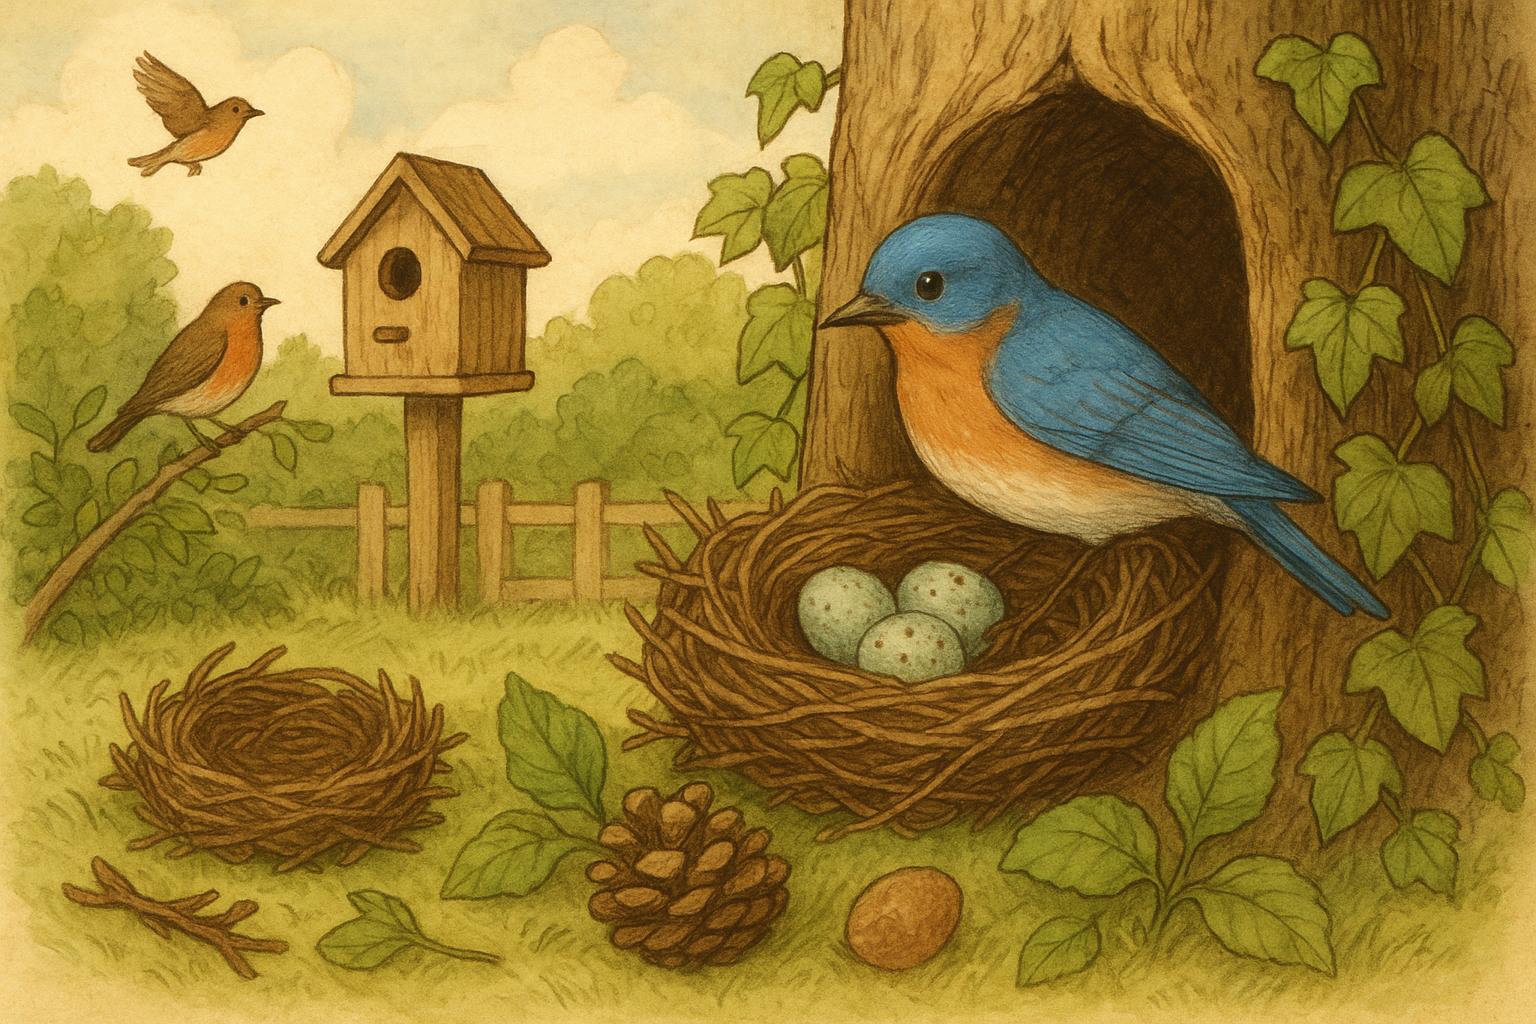
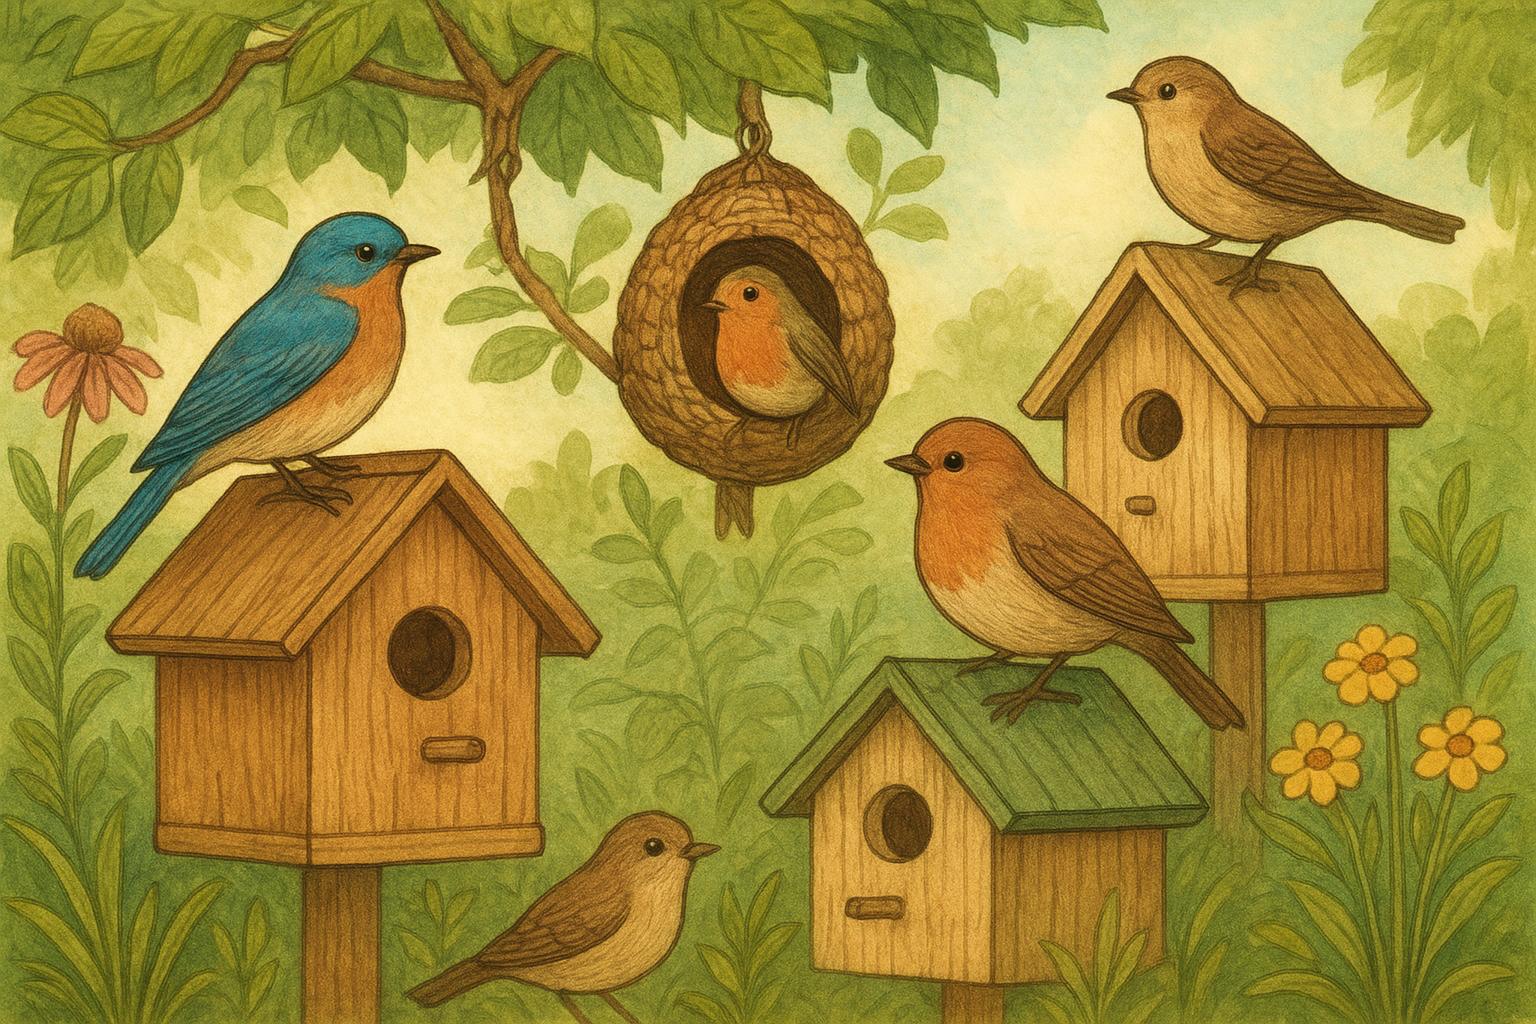
Selecting the best locations for nesting structures begins with the recognition that different species require distinct conditions. Songbirds, cavity nesters, raptors, bats, and pollinators all respond to variations in elevation, exposure, and nearby resources. The single most important principle is to match the nesting structure to the species’ natural preferences: a swallow box should mimic a sheltered cliff face, while a bluebird box benefits from open lawn nearby.
### Site Selection Principles
Location decisions should prioritize food availability, water access, and shelter from prevailing winds. Avoid placing nesting structures in isolated pockets where foraging resources are limited. Consider seasonal microclimates: locations that are warm and dry in spring promote egg incubation, while summer shade reduces heat stress for nestlings.
#### Orientation And Sun Exposure
Orient boxes to reduce direct afternoon sun in hot climates; east- or southeast-facing orientations often provide morning sun and afternoon shade. For ground-level shelters or native bee houses, drier, sloped sites that shed water are preferable.
### Predation And Human Disturbance
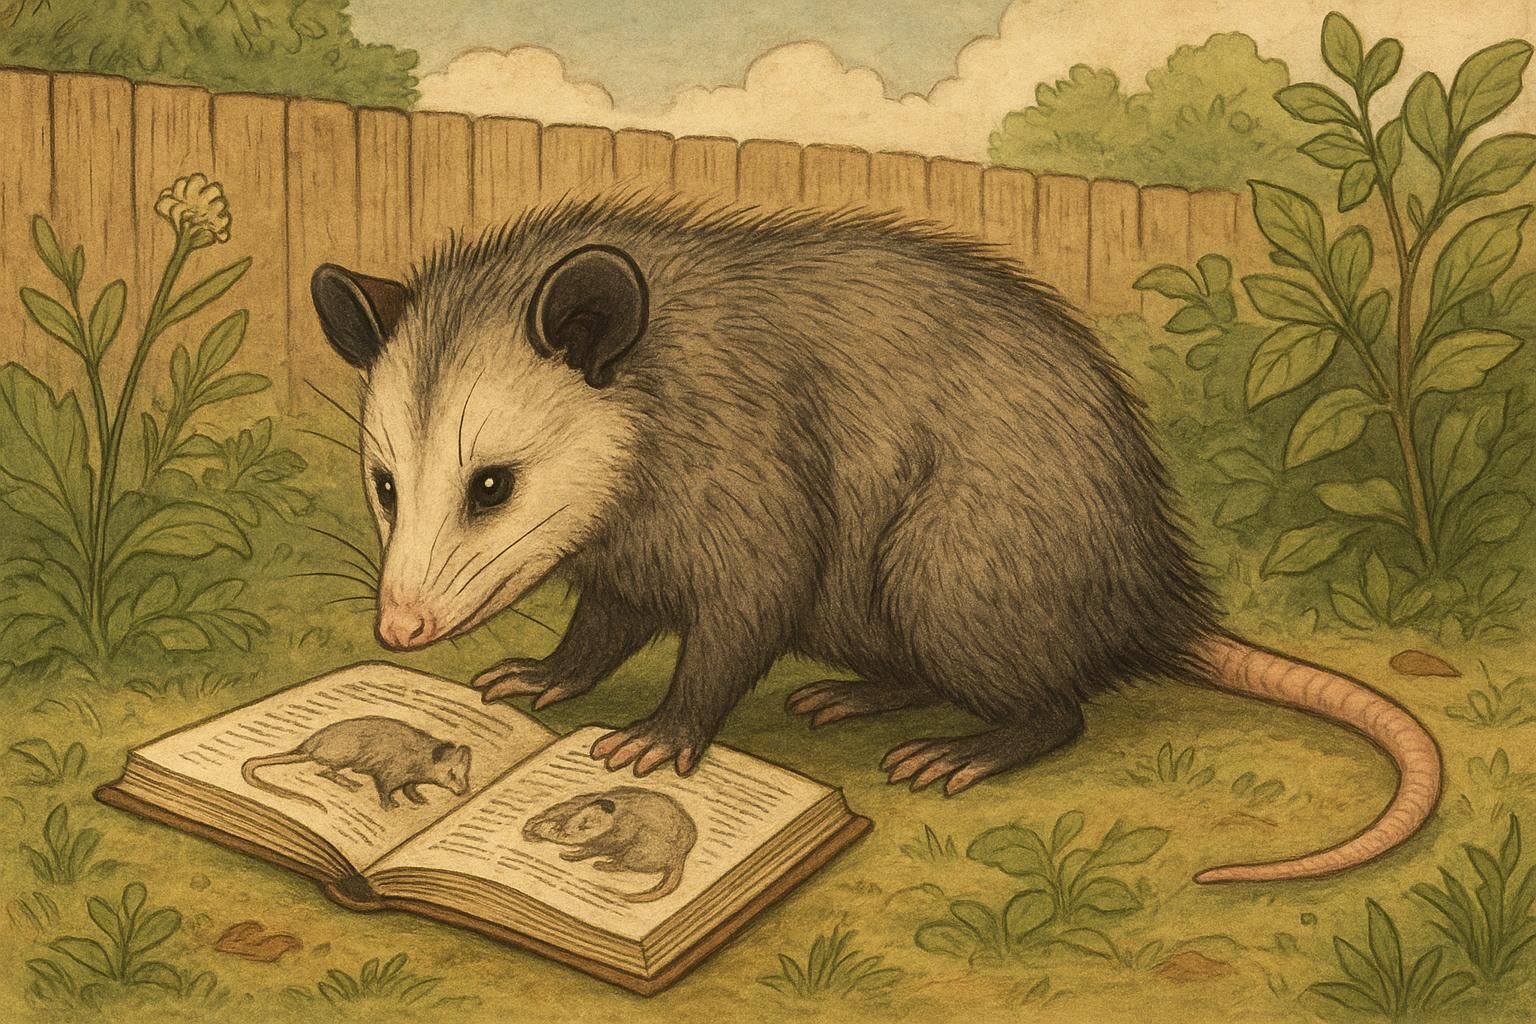
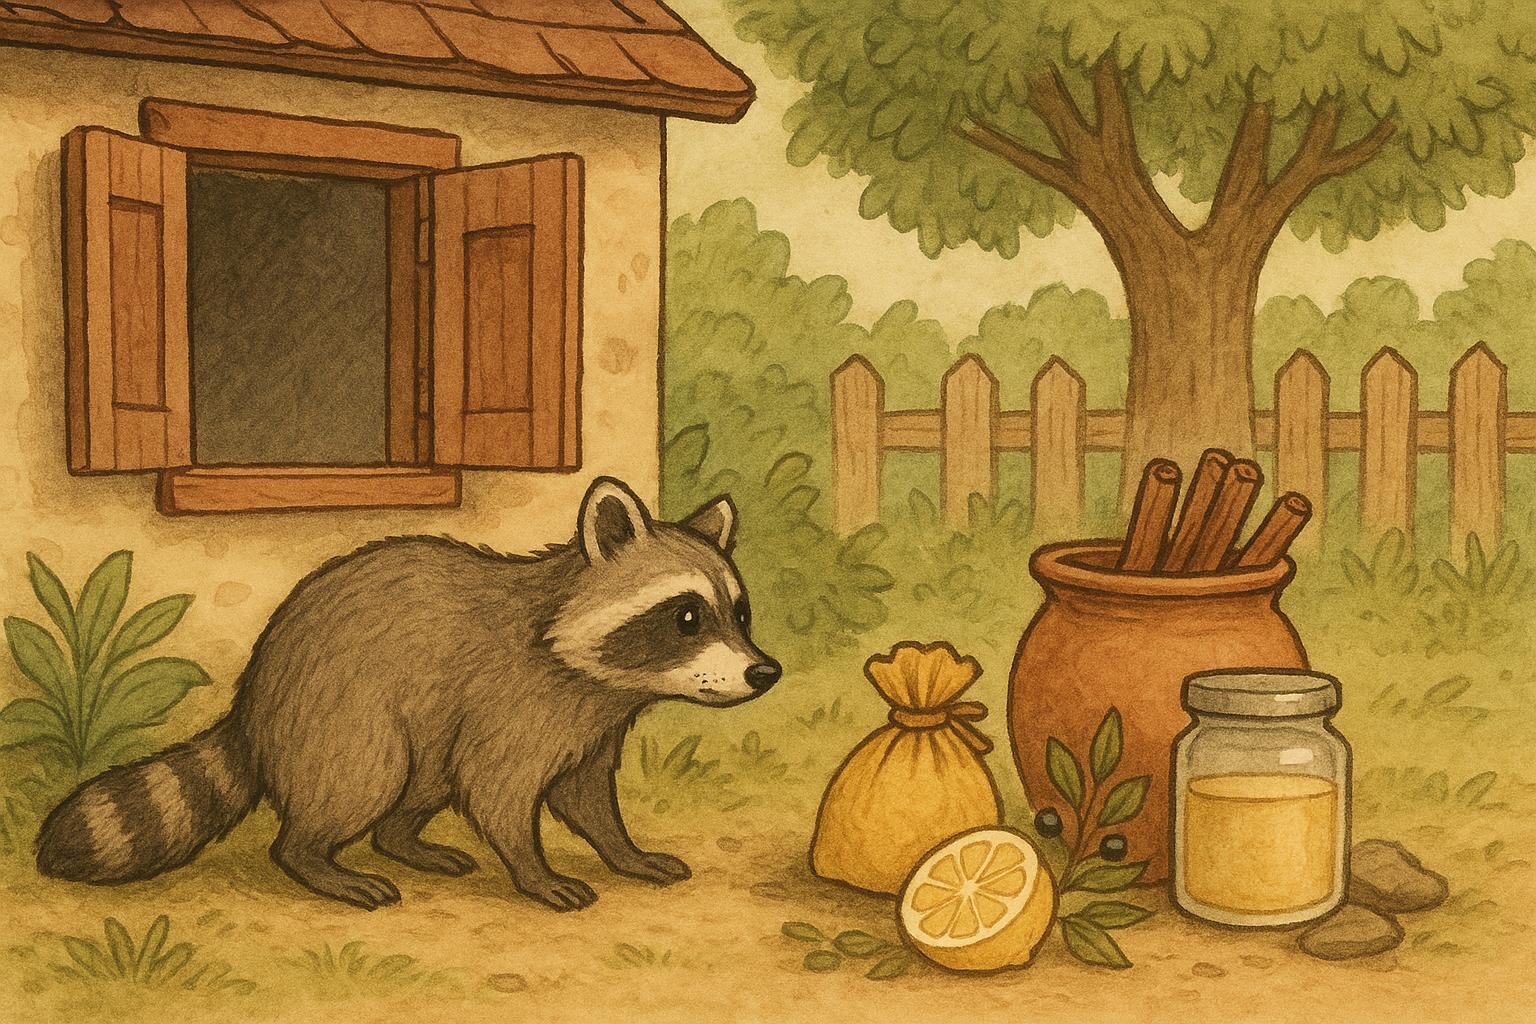
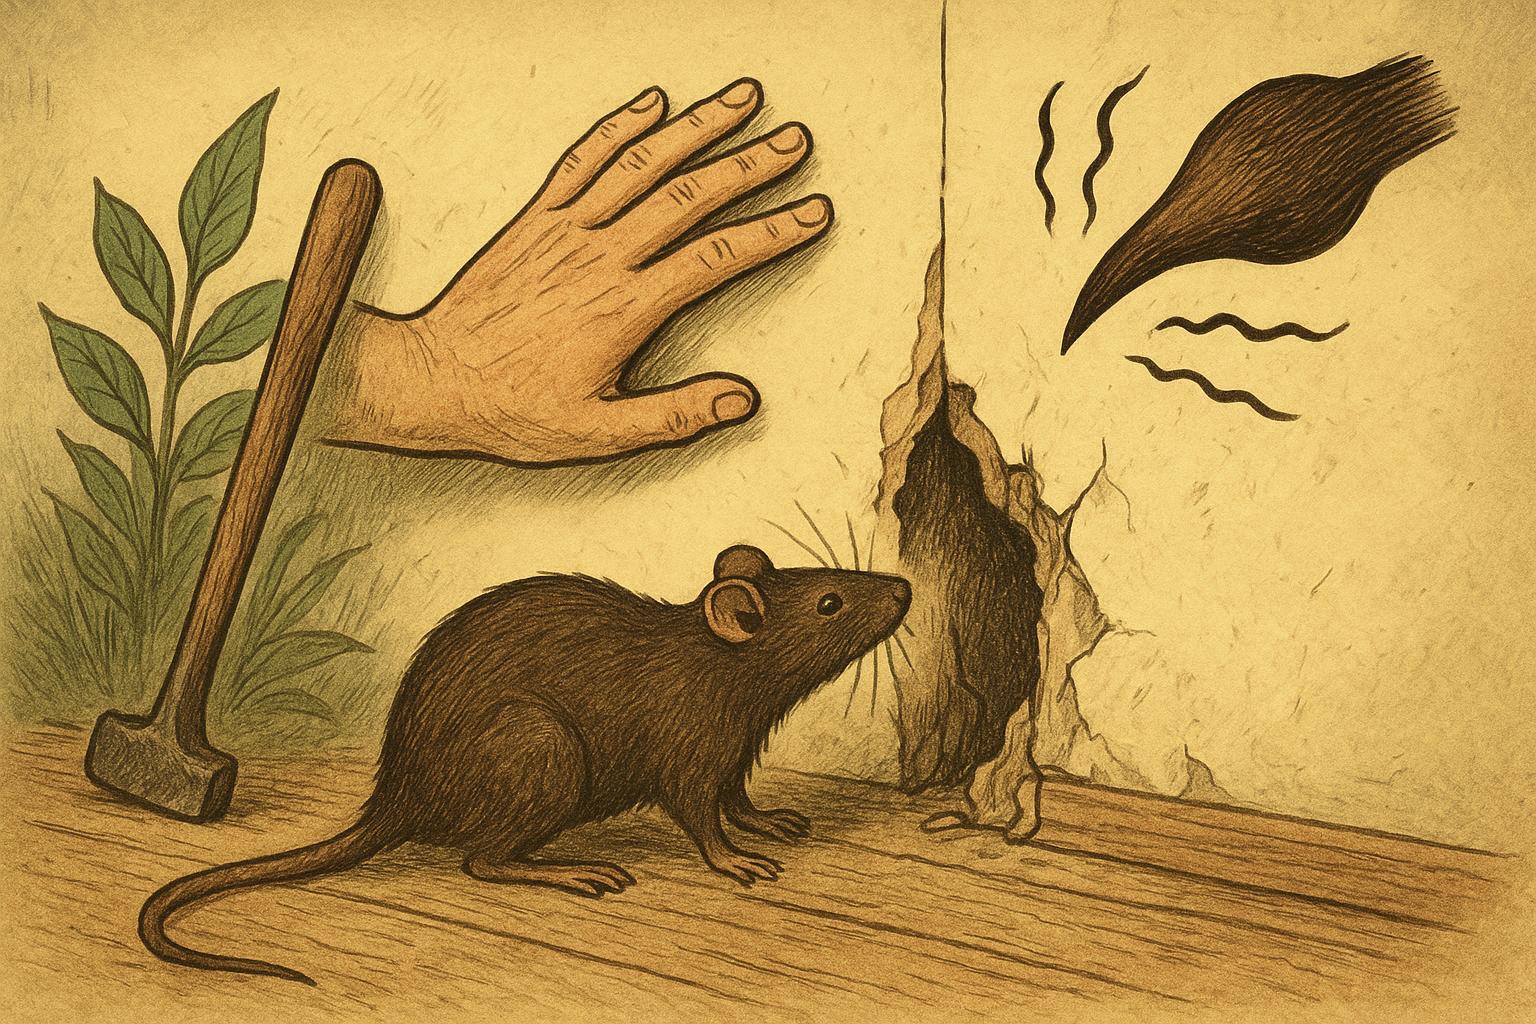
Predation risk dictates many placement choices. Avoid areas with easy access for cats, raccoons, or snakes—this often means keeping boxes away from low dense shrubs that provide stalking cover. Maintain a reasonable buffer between high-traffic human areas and nesting locations; many species tolerate human presence if activity is predictable and not intrusive.
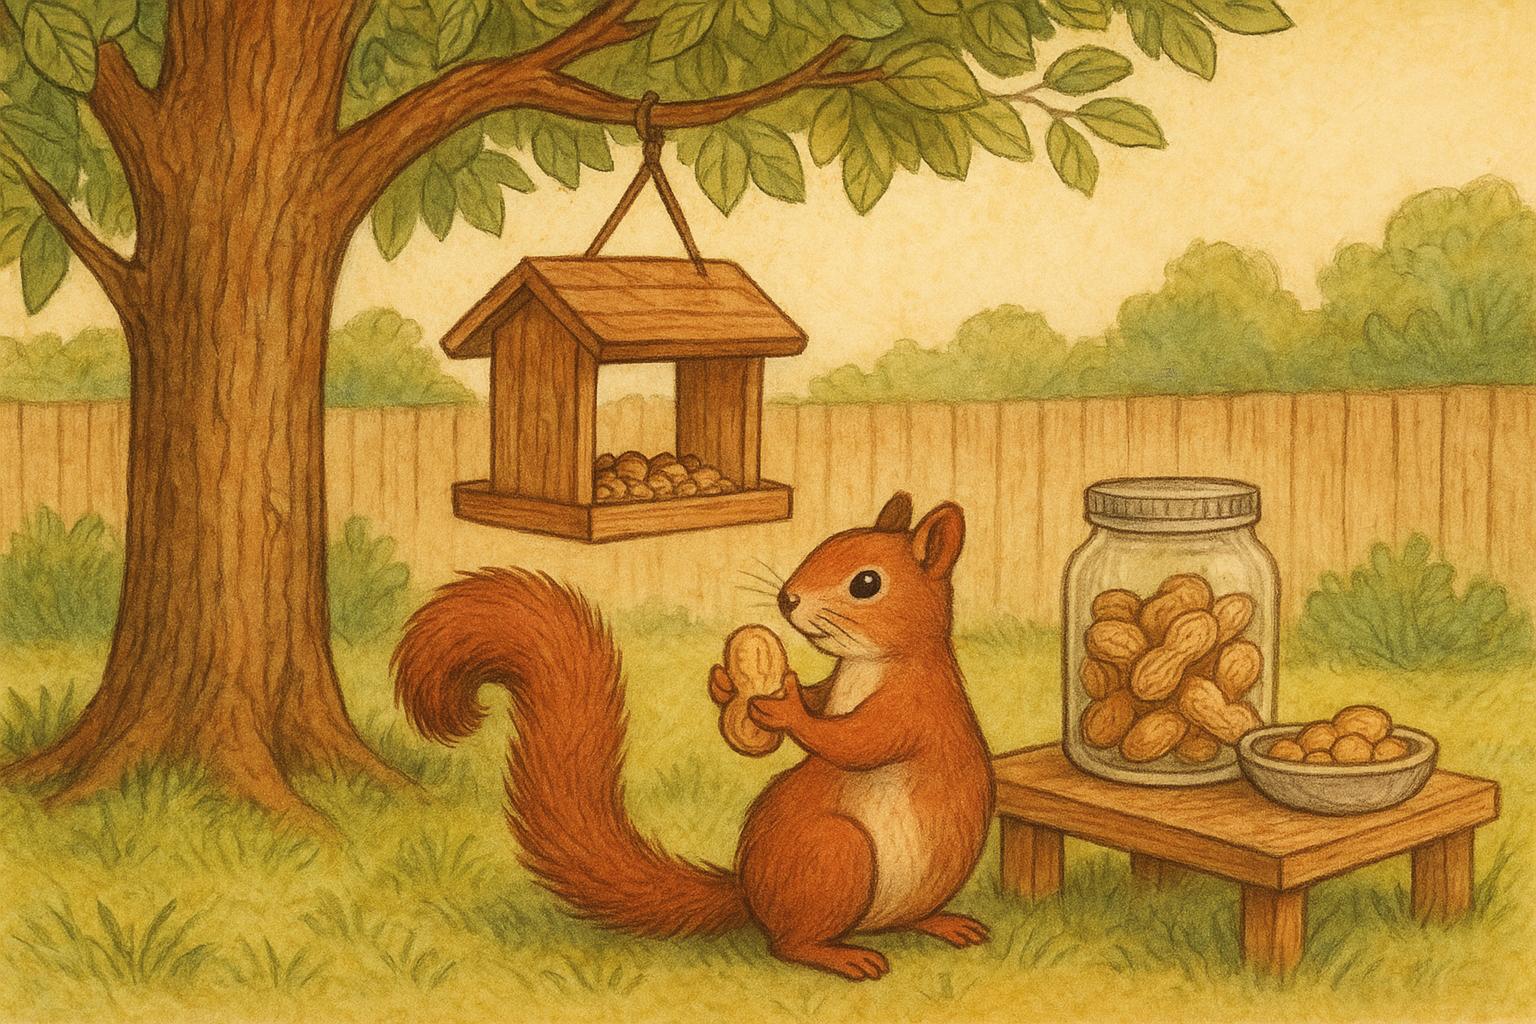
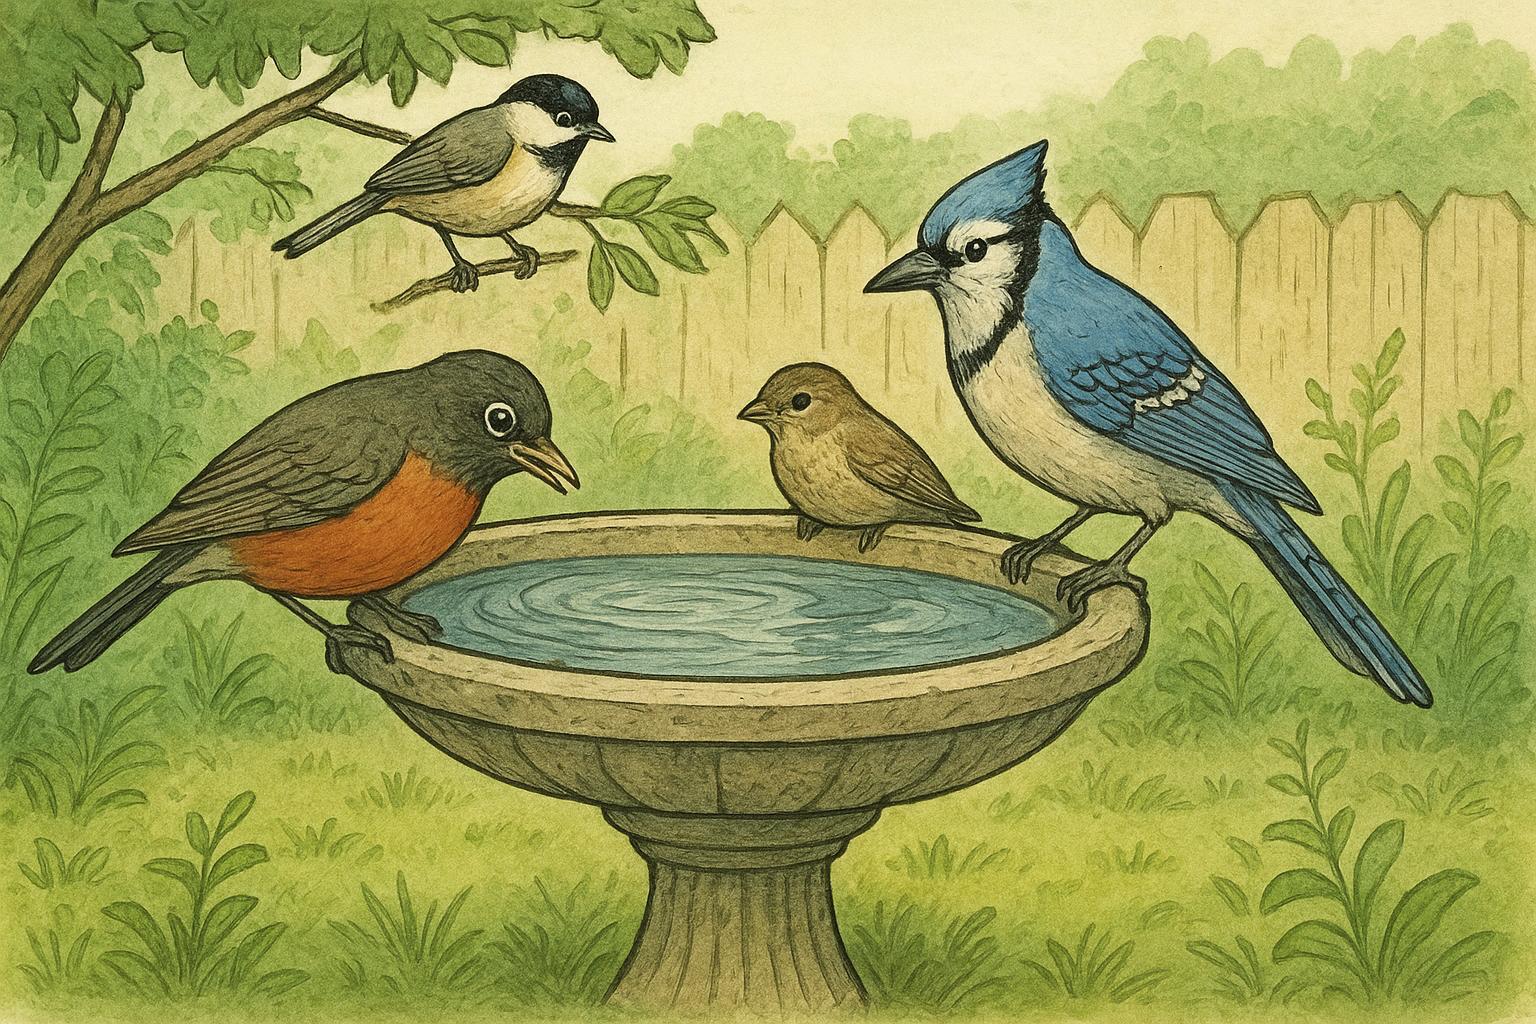
#### Distance From Feeders And Bird Baths
While proximity to feeding and watering stations can be beneficial, crowding nest boxes too close to feeders can amplify predator activity and interspecific competition. A general guideline is to site nest boxes 20–30 meters from feeders where possible, depending on yard size.
### Vegetation And Habitat Context
Integrate nesting structures into existing habitat types. Woodland species prefer edge habitats or mature trees; open-country nesters require clear lines of flight and nearby foraging grounds. Preserving native shrubs and grasses not only supplies nesting materials but also increases insect abundance for nestling diets.
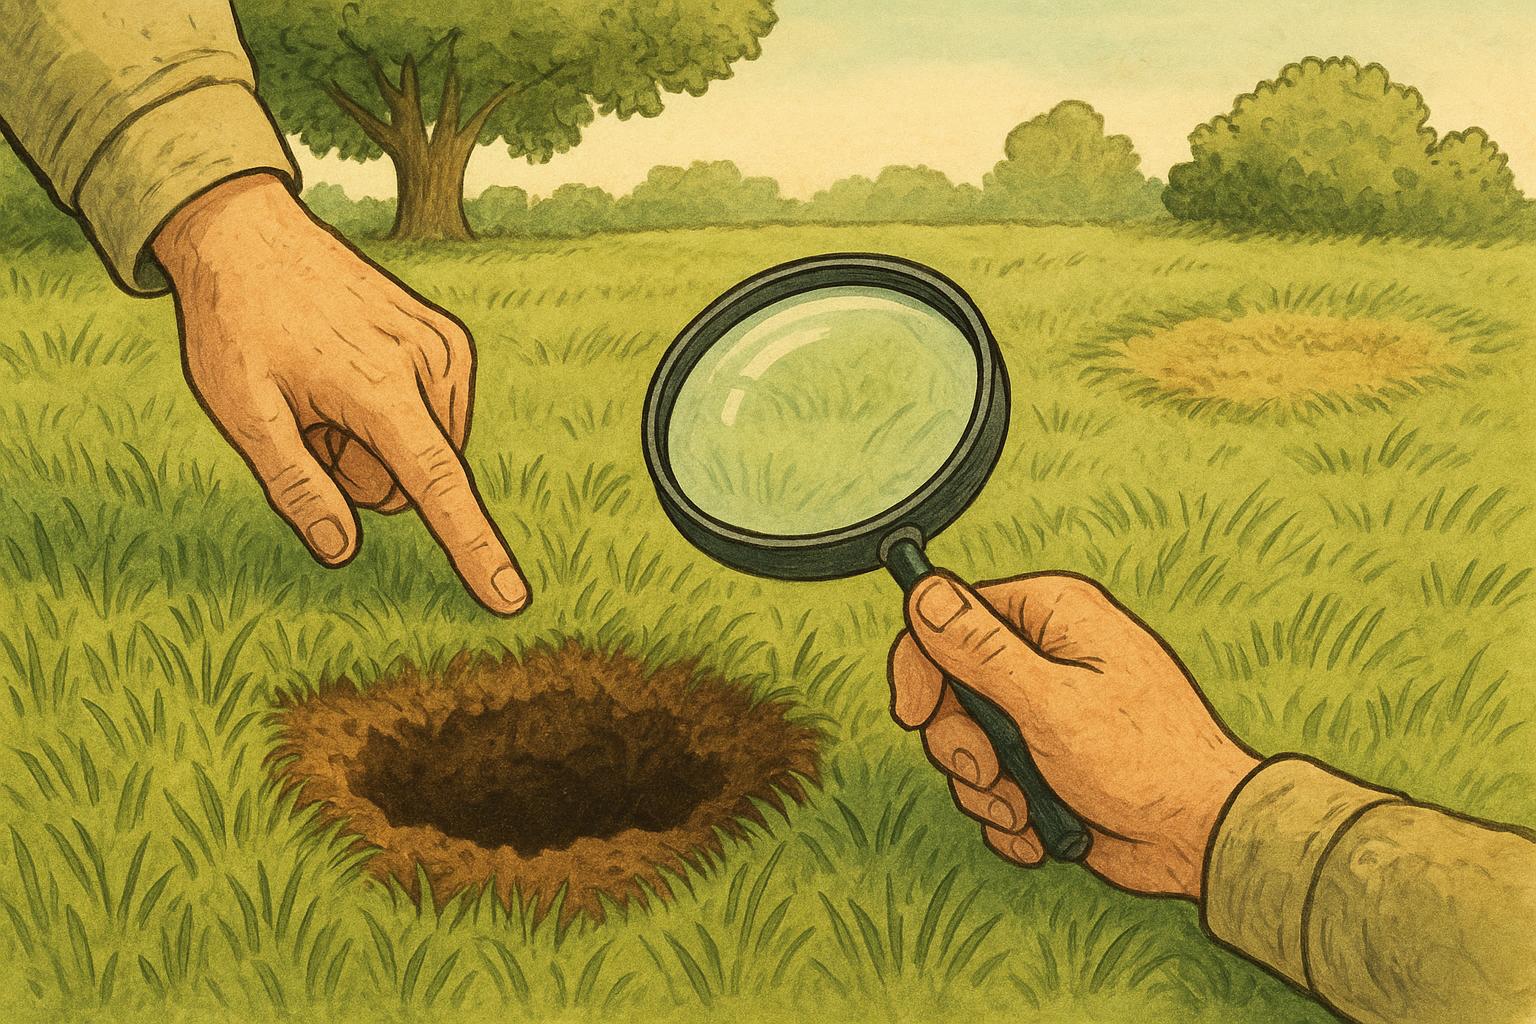
## How To Assess Potential Sites
A formal assessment of candidate sites ensures long-term success and reduces the need for relocation. Use a structured checklist and, when possible, make multiple visits across seasons to observe changes in shade, wind paths, and predator activity.
### Site Survey Checklist
– Record sunlight patterns at different times of day.
– Note proximity to food and water.
– Map potential predator pathways and human disturbance zones.
– Verify substrate stability for mounting and long-term use.
#### Using A Simple Grid For Yard Mapping
Divide the yard into a grid to document potential locations and compare them objectively. Mark existing trees, fences, and structures; annotate for elevation and exposure.
## 1. Nest Box Placement For Songbirds (Remedy)
This remedy addresses the practical construction and placement of a basic bird nest box and provides explicit steps to select the proper nest box location. The approach is formal and prescriptive to ensure durability and avian safety.
Materials Required
– Untreated exterior-grade plywood or cedar (12–15 mm thickness)
– Galvanized or stainless-steel screws
– Non-toxic exterior wood glue
– Hinges and a small latch for access
– Small perch-free entrance hole cutter (size matched to species)
– Weatherproofing (non-toxic paint or natural linseed oil)
– Mounting hardware (pole mount kit or tree straps)
Step-by-Step Construction
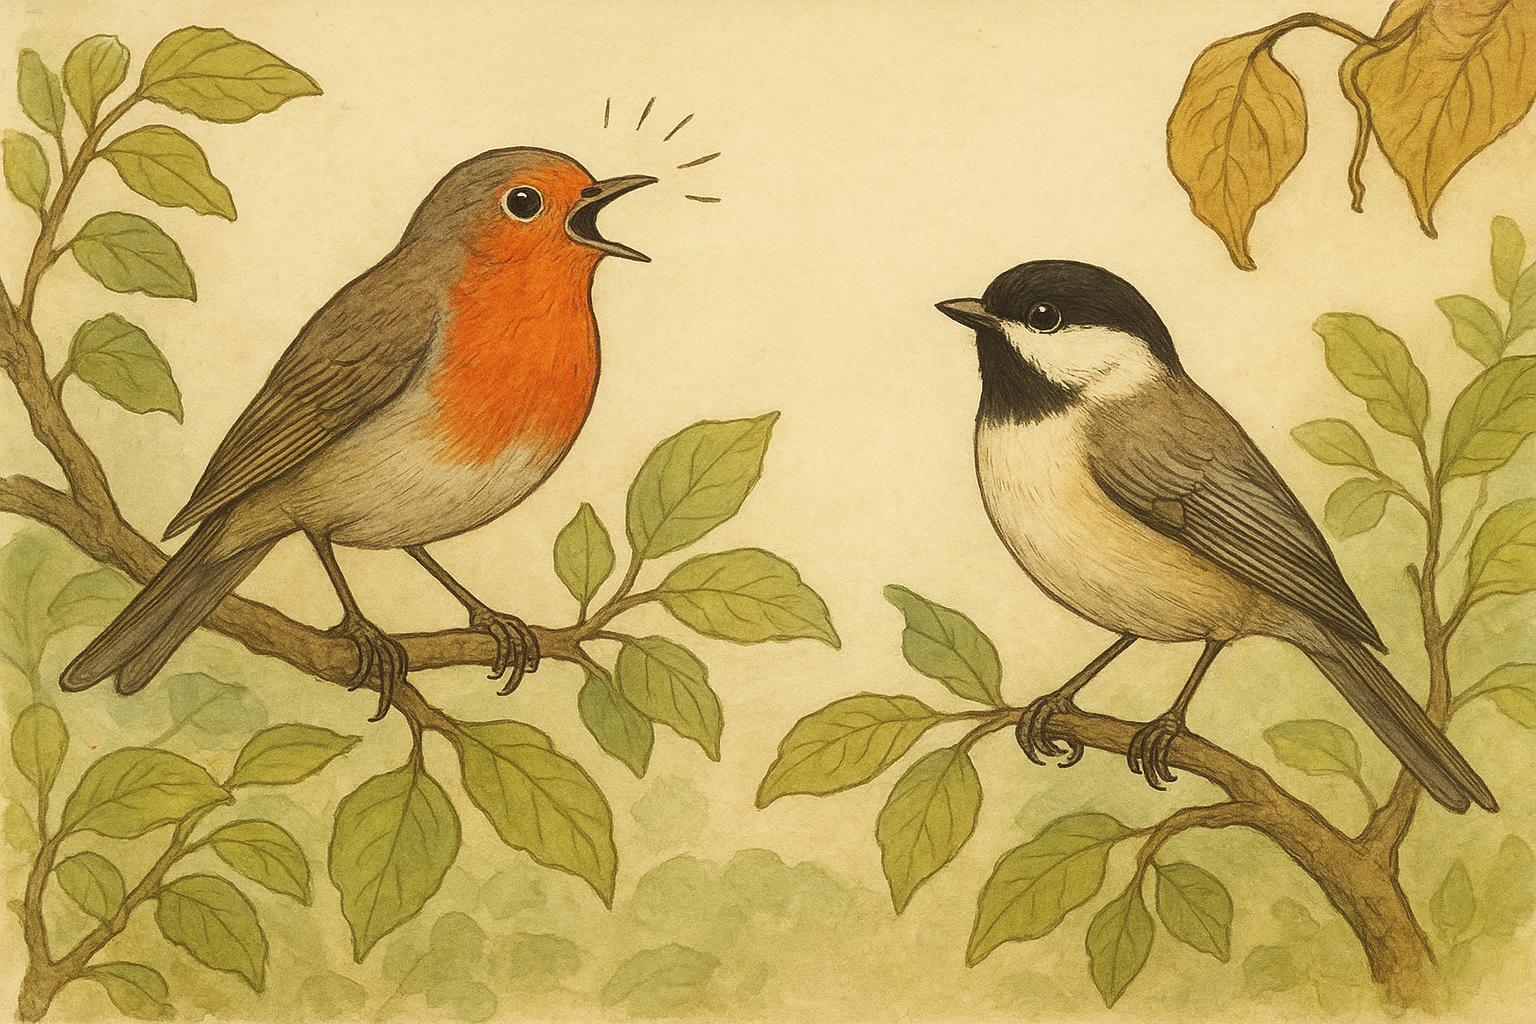
1. Determine Target Species: Select the species you intend to attract (e.g., chickadees, bluebirds) and confirm the appropriate entrance-hole diameter and internal dimensions from authoritative guides.
2. Cut Panels: Prepare front, back, two sides, floor, and roof panels. Ensure ventilation slots near the top of the box and drainage holes in the floor.
3. Assemble Box: Use exterior wood glue and galvanized screws. Ensure joints are flush and weather-tight while allowing necessary ventilation and drainage.
4. Finish Exterior: Apply two thin coats of non-toxic exterior paint or linseed oil to the outside only; avoid painting the interior.
5. Install Access Panel: Fit hinges and a latch to permit seasonal cleaning; this reduces parasites and increases longevity.
Step-by-Step Placement And Application
1. Select Mounting Height: For small songbirds, install at 1.5–3 meters above ground; for species-specific guidance, consult species profiles.
2. Choose Nest Box Location: Place the box in one of the best locations for nesting structures identified by your site assessment—preferably sheltered from prevailing winds, with partial morning sun and a clear flight path.
3. Mount Securely: Use a pole mount or tree straps; avoid nailing directly into live trees. Ensure the box is level and stable.
4. Monitor Minimally: Conduct health checks and clean annually in late winter. Minimize disturbance during the breeding season.
5. Record Outcomes: Keep a log of occupancy, species, and dates to inform future placement decisions.
Note on Nest Box Location Selection: Selecting the correct nest box location is critical; avoid placing boxes near dense ground cover where predators can hide, and maintain appropriate spacing between boxes to reduce territorial conflicts.
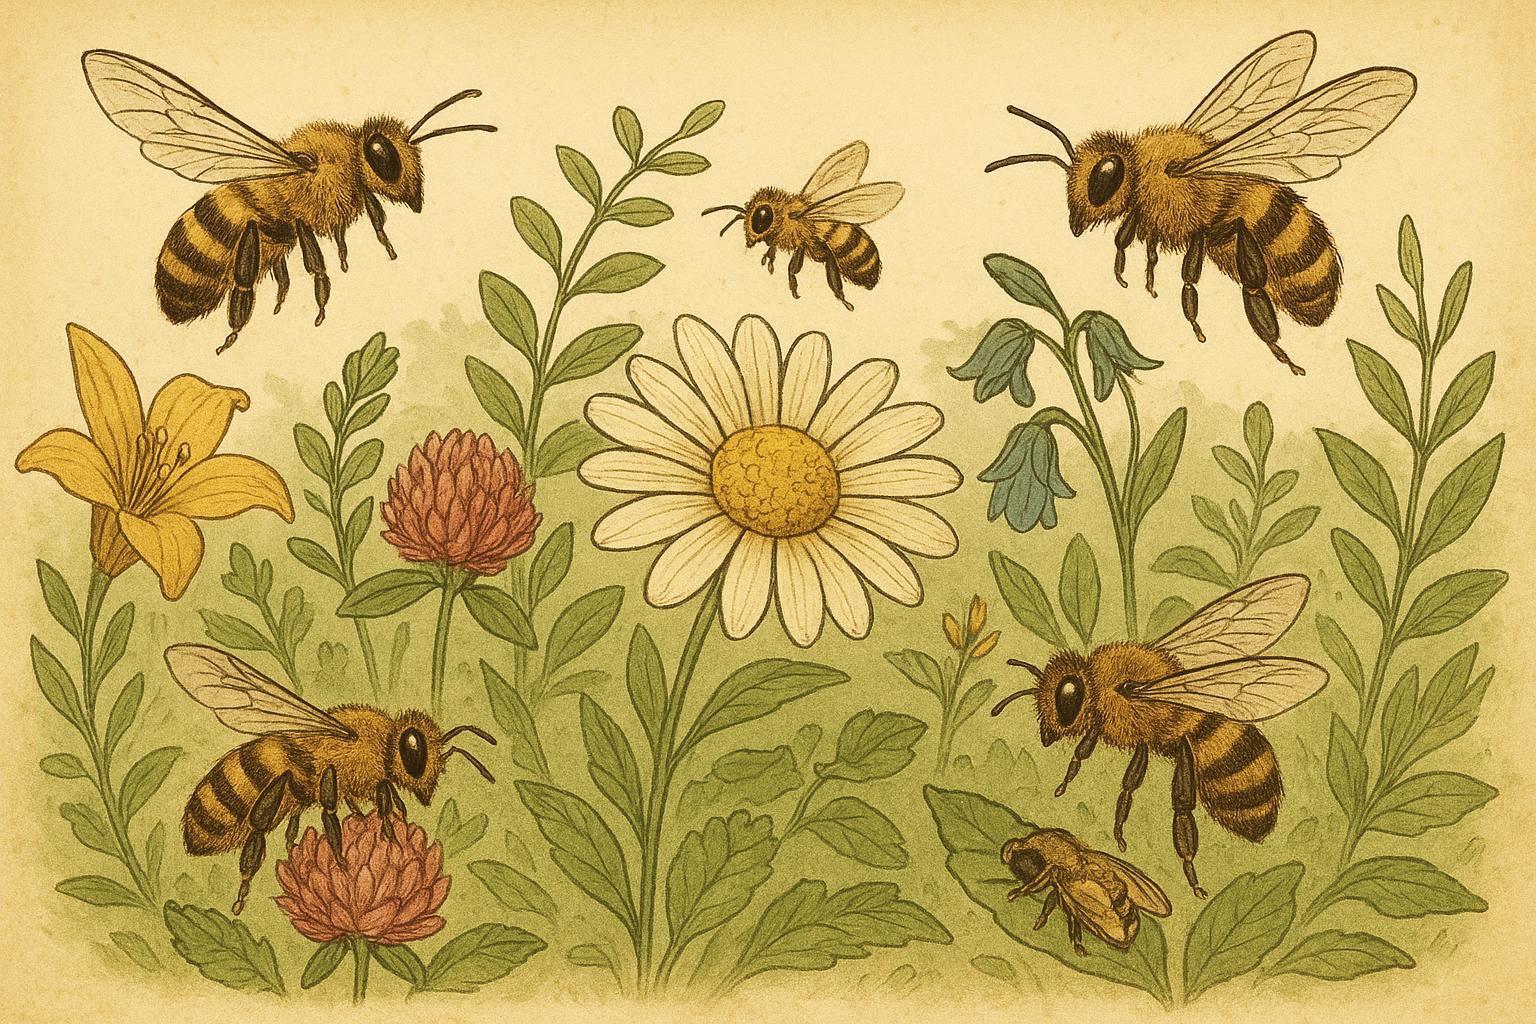
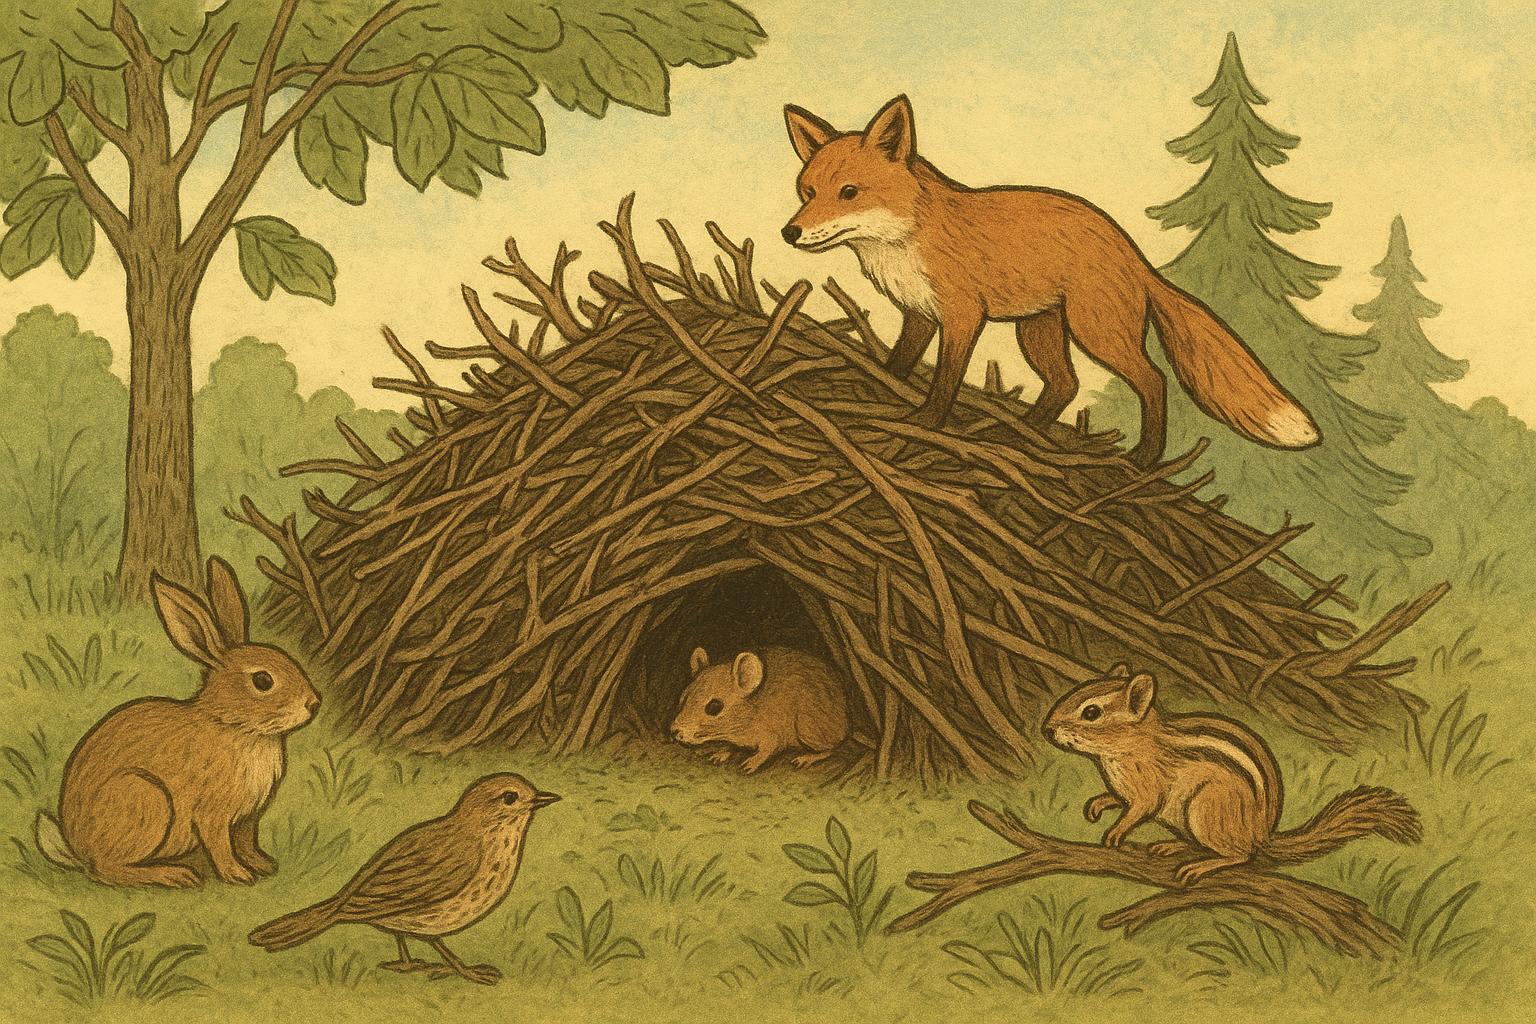
## 2. Natural Ground Shelter For Native Bees (Remedy)
Creating ground or cavity habitats for native bees is a beneficial complement to aerial nesting structures. This remedy provides materials and methodical instructions for creating a safe, dry nesting substrate.
Materials Required
– Untreated wood or reclaimed bricks to construct a raised, dry frame
– Coarse sand, loam, and finely sifted soil
– Hollow-stem bundles (bamboo, reed) cut to varying diameters
– Gravel for drainage
– Simple mesh or slatted cover to protect against heavy rain
Step-by-Step Creation
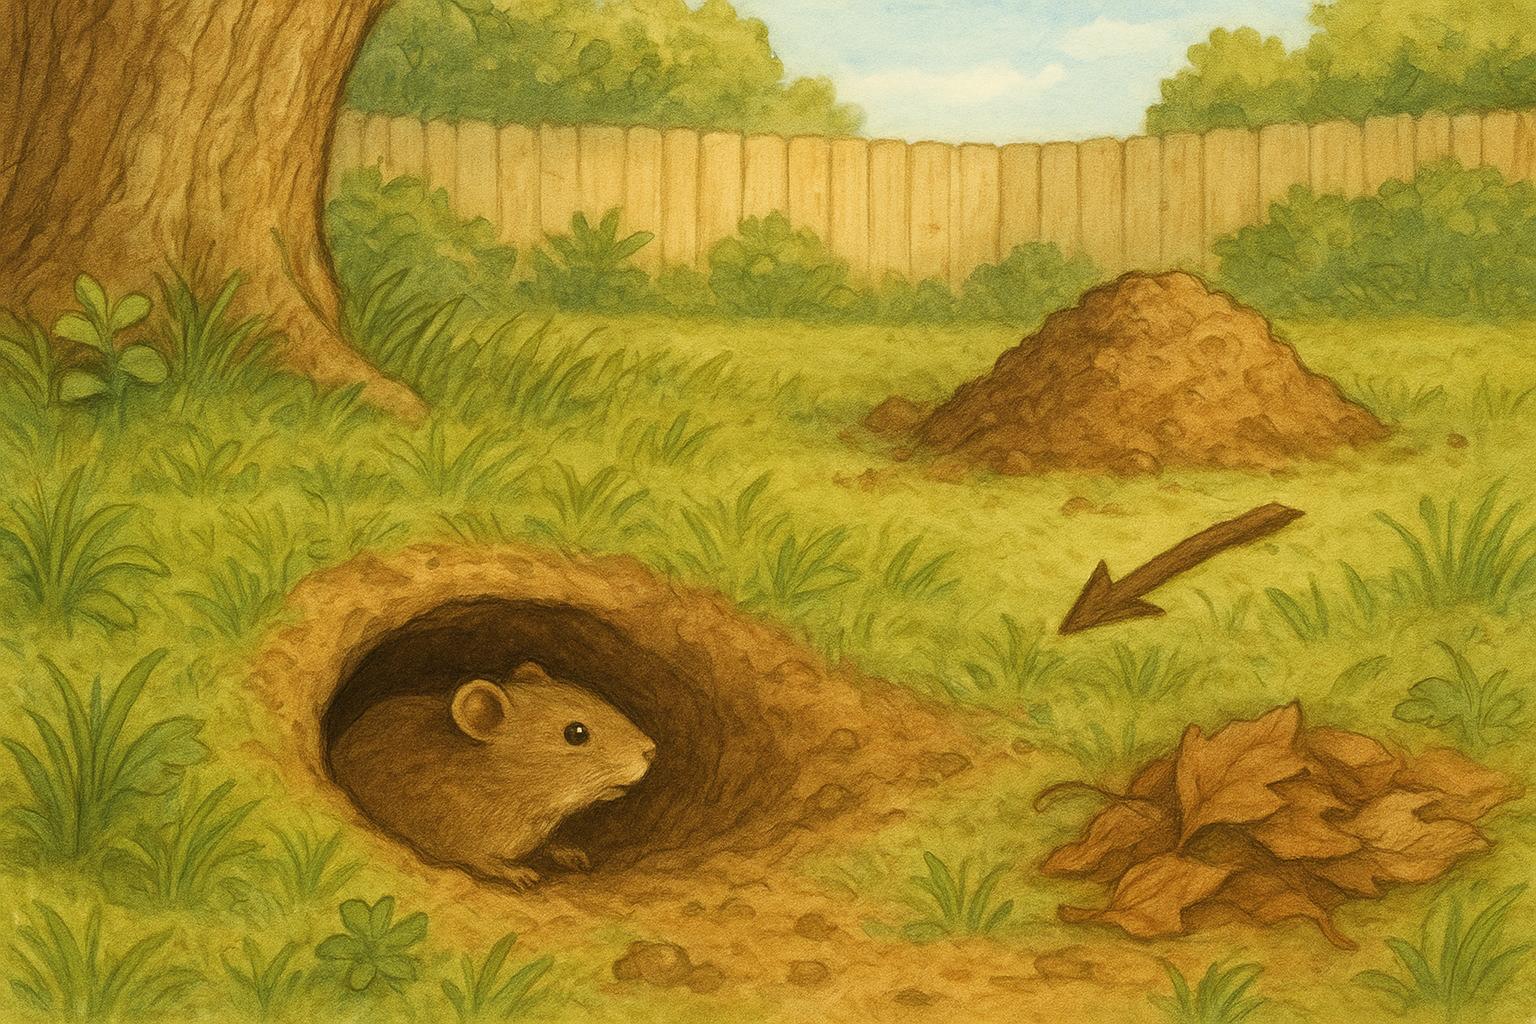
1. Site Selection: Choose a sunny, south-facing slope with well-drained soil; this is one of the best locations for nesting structures for ground-level pollinators.
2. Prepare Foundation: Install a shallow raised frame and add a coarse gravel layer for drainage.
3. Add Nesting Substrate: Fill with a layered mix of sand and sifted soil to a compact depth of 30–50 cm for ground-nesters; for cavity-nesters, bundle hollow stems and tuck them into a sheltered box.
4. Protect From Moisture: Install a slanted roof or cover that allows air flow but sheds heavy rain.
5. Monitor And Maintain: Inspect in late winter and replace damp material; avoid disturbance during active nesting months.
Application Notes
– Avoid pesticide use near nesting areas.
– Provide a nearby water source and flowering plants for sustained foraging.
### Maintenance Best Practices
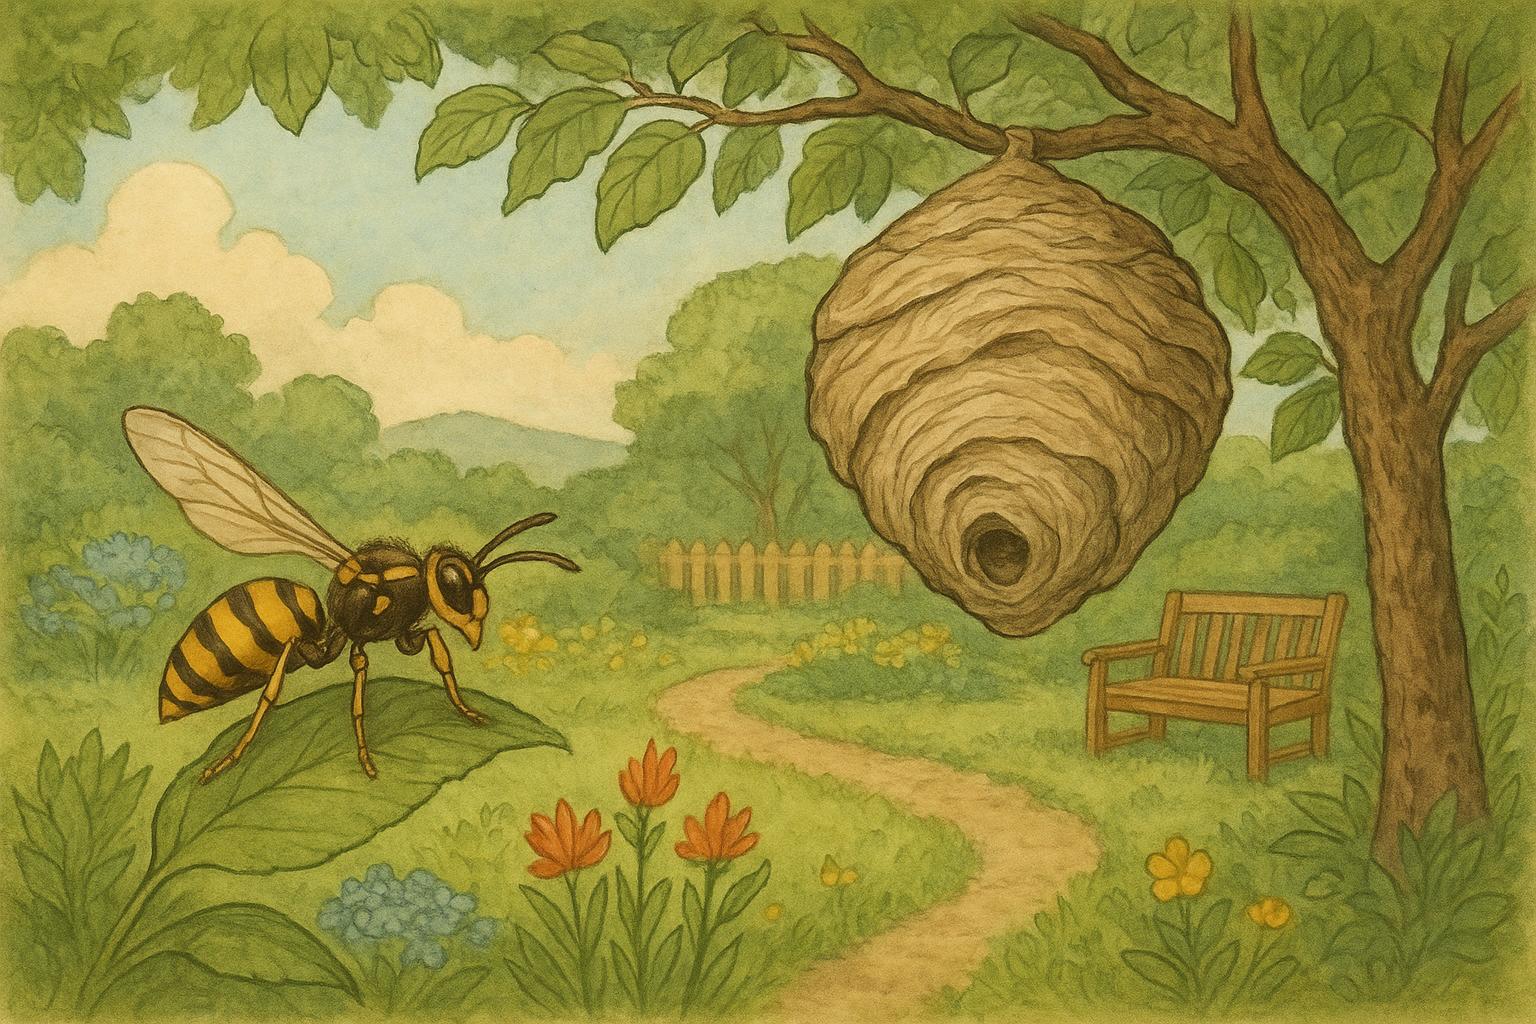
Regular inspection and cleaning extend the useful life of nesting structures. Remove invasive wasp nests, check for rot or loose mounts, and replace or repair damaged boxes in off-season months. When performing maintenance, adhere to local wildlife regulations and avoid handling chicks or young animals unless authorized.
### Documenting Success And Adjusting Placement
Keep records of occupancy, predator events, and fledging success. Use this empirical data to refine future locations; over time, you will identify consistent patterns that define the best locations for nesting structures in your specific yard and climate.


Leave a Reply